Freshdesk is a popular customer support platform that helps businesses efficiently manage and respond to customer inquiries. Snowflake, on the other hand, is a powerful cloud data warehouse that enables organizations to store, manage, and analyze vast amounts of data. By connecting Freshdesk to Snowflake, businesses can gain valuable insights into their customer support operations and make data-driven decisions to improve their services.
In this blog post, we’ll explore three methods to connect Freshdesk with Snowflake: Coefficient, Fivetran, and Stitch.
Advantages of Connecting Freshdesk to Snowflake
Integrating Freshdesk with Snowflake offers several key advantages:
- Predict Customer Churn: By analyzing historical support data alongside customer lifecycle information in Snowflake, you can identify patterns that indicate a customer is at risk of churning. This allows your team to proactively intervene and improve retention rates.
- Optimize Support Team Allocation: Combine Freshdesk ticket data with peak business hours and seasonal trends stored in Snowflake to forecast support volume. This enables more accurate staffing predictions and improves overall team efficiency.
- Personalize Product Recommendations: Merge support interaction history from Freshdesk with product usage data in Snowflake to identify cross-sell and upsell opportunities based on customer pain points and feature requests.
Connecting Freshdesk to Snowflake: 3 Methods
Now that we’ve covered the benefits of connecting Freshdesk to Snowflake, let’s dive into the three methods you can use to achieve this integration.
| Solution | Best For |
| Coefficient | Small to medium-sized businesses with limited technical resources. Ideal for marketing or customer success teams who need quick access to support data for analysis without relying on IT. Offers pre-built dashboards and easy-to-use interface for rapid deployment. |
| Fivetran | Large enterprises with complex data ecosystems. Suited for organizations that need to integrate Freshdesk data with multiple other sources in Snowflake. Provides advanced data transformation capabilities and supports high-volume, near real-time data syncing. |
| Stitch | Growing companies that prioritize simplicity and cost-effectiveness. Perfect for businesses new to data integration who want a straightforward setup process and transparent pricing. Offers a balance between ease of use and customization options. |
Method 1: Coefficient – No-Code, User-Friendly

Coefficient is a powerful no-code tool that connects Google Sheets with business systems like Freshdesk and Snowflake for easy data management. With its user-friendly interface and automatic data updates, Coefficient is an excellent choice for both technical and non-technical users.
Pros:
- Simple, no-code setup: Allows users to connect Freshdesk to Snowflake without any coding knowledge.
- Automatic data updates: Ensures data is kept current with minimal effort.
- Affordable pricing plans: Makes it accessible for small to medium-sized businesses.
Cons:
- Scheduled automations are part of premium plans: Full automation features require a paid subscription.
How to Connect Freshdesk to Snowflake with Coefficient
Step 1: Install the Coefficient
For Google Sheets
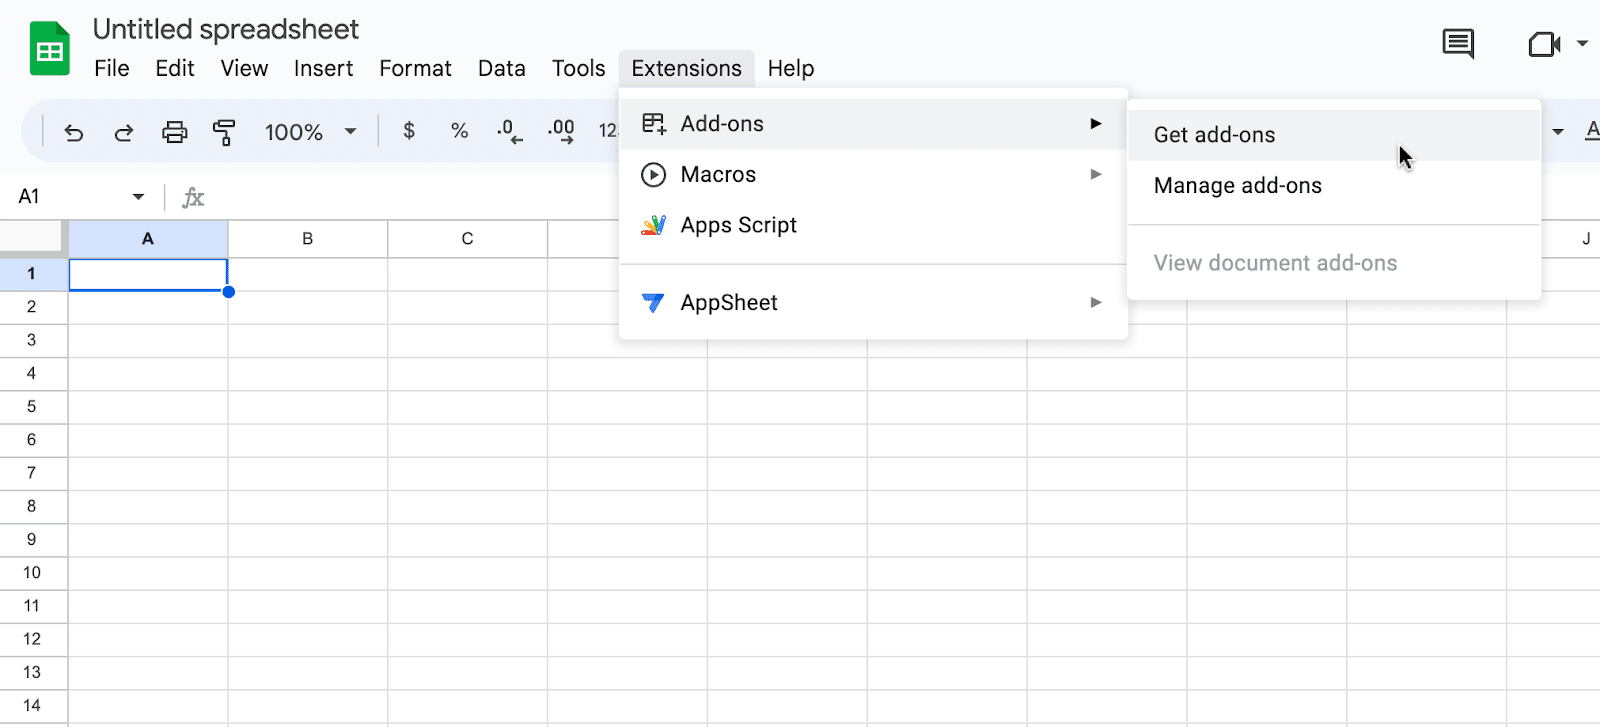
Open a new or existing Google Sheet, navigate to the Extensions tab, and select Add-ons > Get add-ons.
In the Google Workspace Marketplace, search for “Coefficient.”
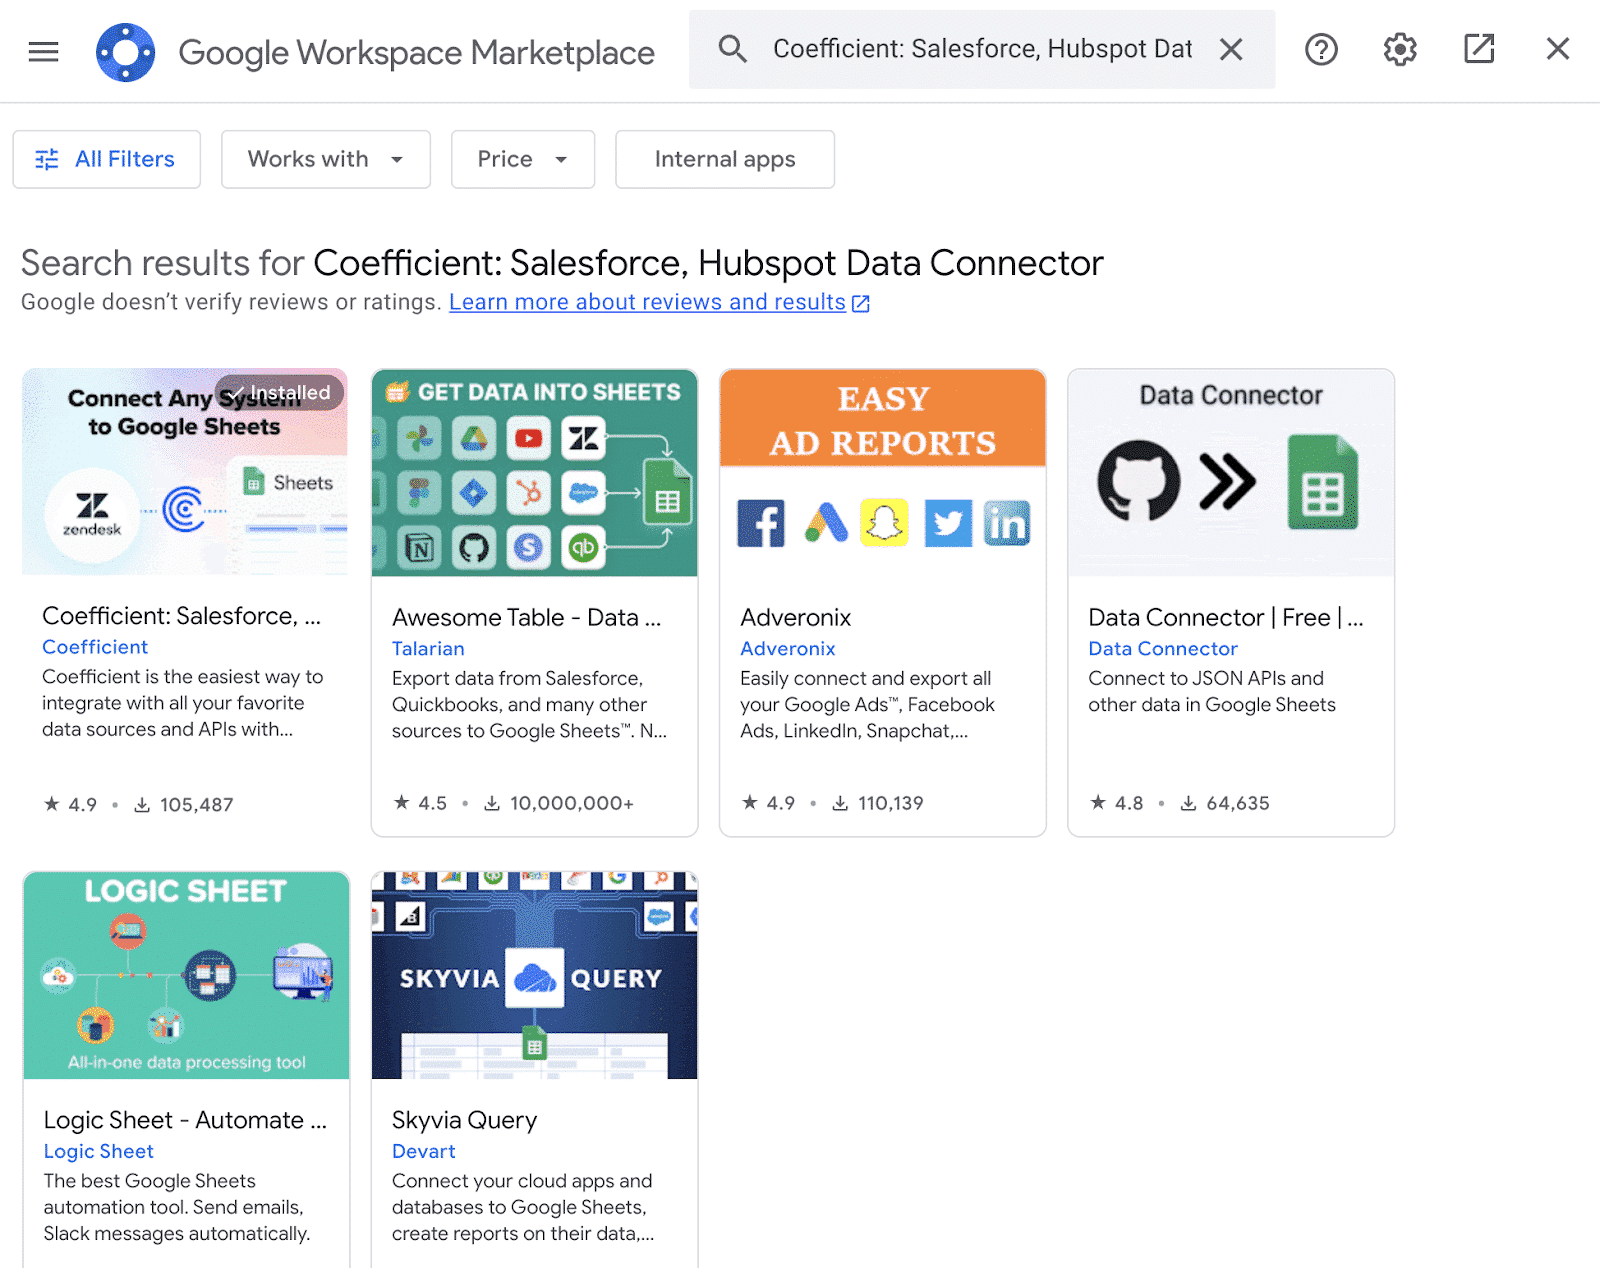
Follow the prompts to grant necessary permissions.

Launch Coefficient from Extensions > Coefficient > Launch.

Coefficient will open on the right-hand side of your spreadsheet.

For Microsoft Excel
Open Excel from your desktop or in Office Online. Click ‘File’ > ‘Get Add-ins’ > ‘More Add-Ins.’

Type “Coefficient” in the search bar and click ‘Add.’
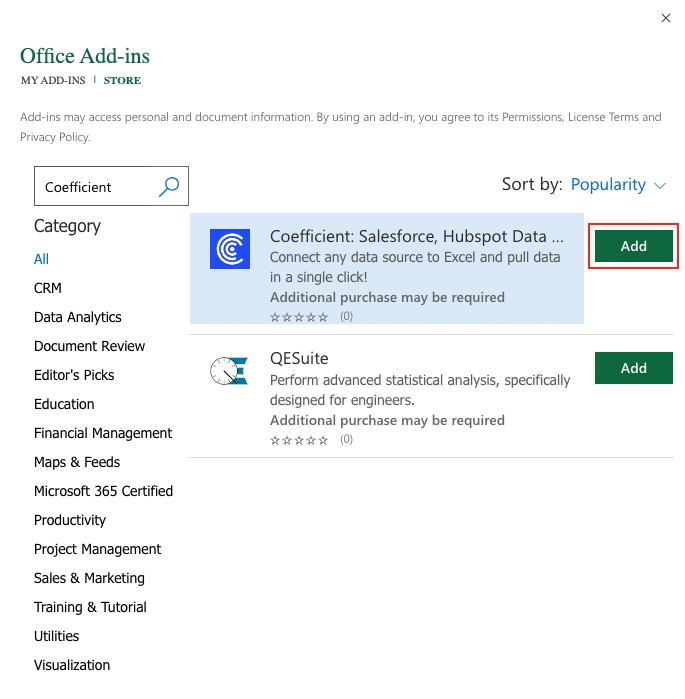
Follow the prompts in the pop-up to complete the installation.
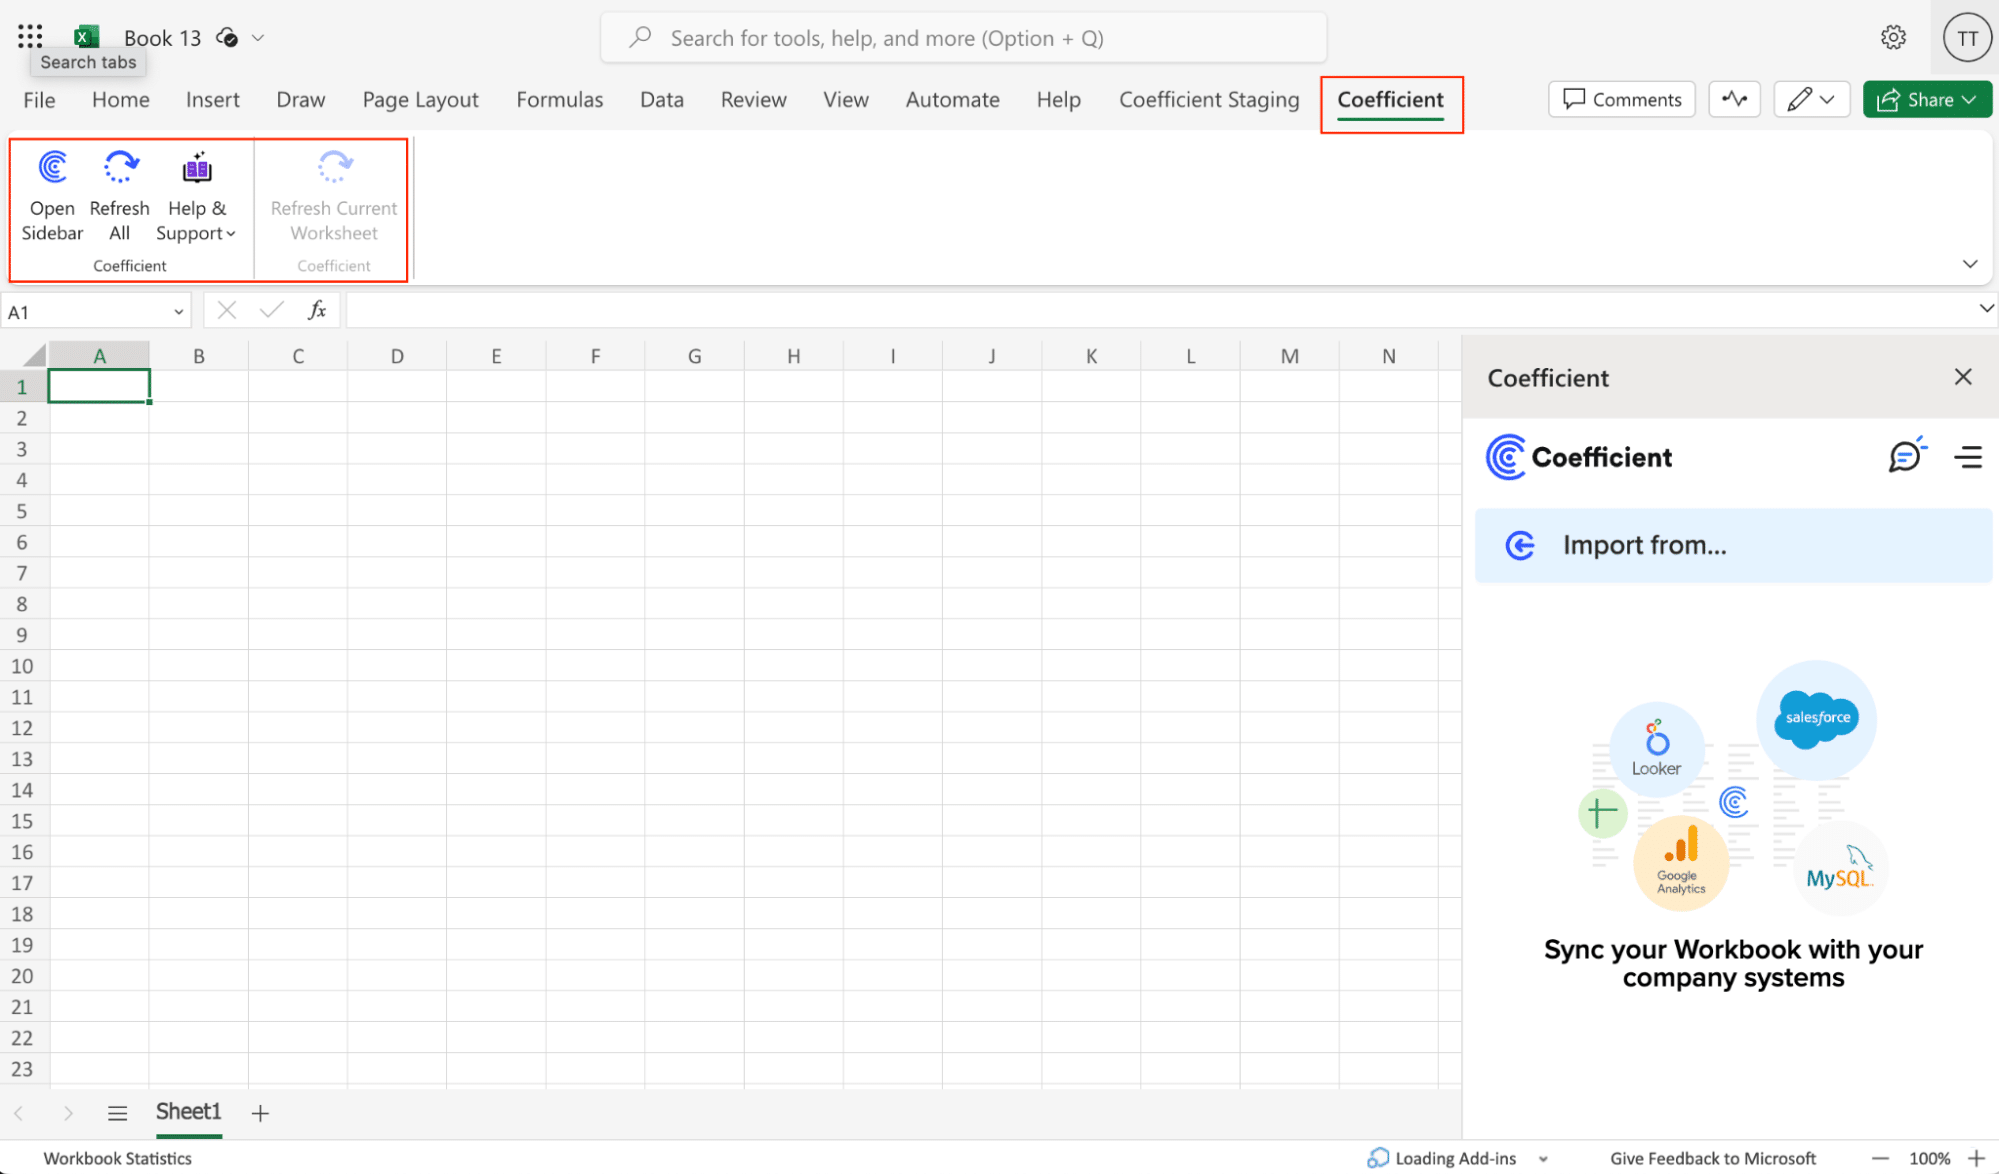
Once finished, you will see a “Coefficient” tab in the top navigation bar. Click ‘Open Sidebar’ to launch Coefficient.
Step 2: Import Data from Freshdesk into Your Spreadsheet
With Coefficient installed, you’re now ready to import your Freshdesk data into Excel. Let’s walk through the process step by step:
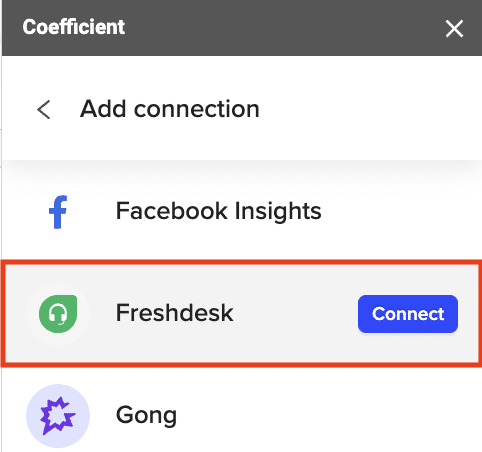
In the Coefficient sidebar, click on “Import From” > “Add a Connection.” Select “Freshdesk” from the list of available data sources.
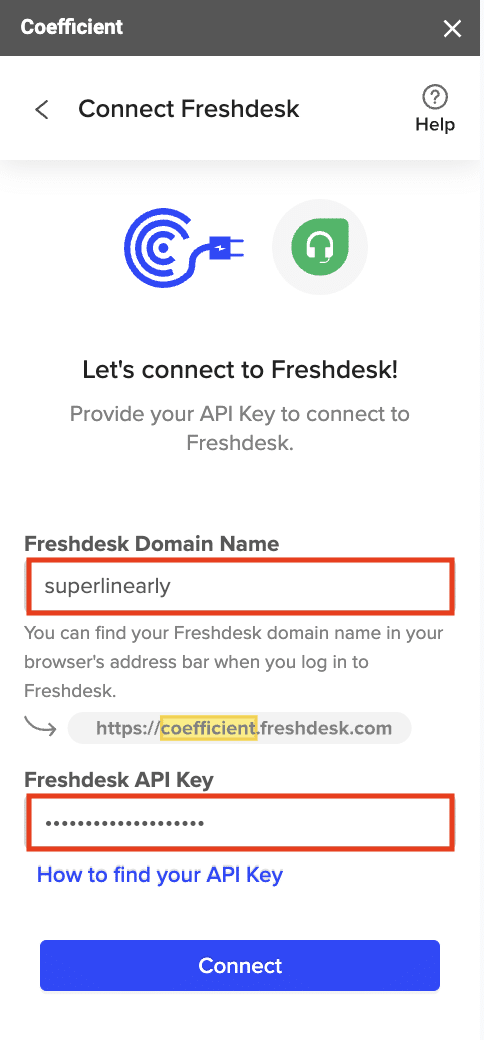
Add your Freshdesk domain name, which can be found in the URL when logged into Freshdesk (e.g., “Coefficient” in “coefficient.freshdesk.com”).

Enter your Freshdesk API key and click “Connect.”
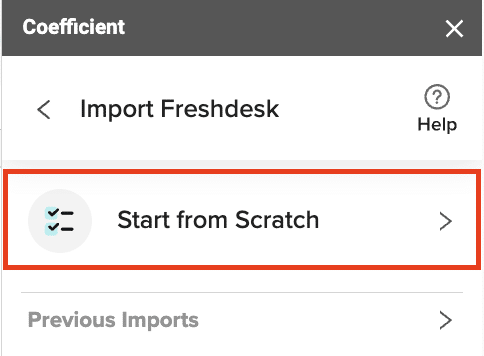
In the next screen, select “Start from Scratch.”
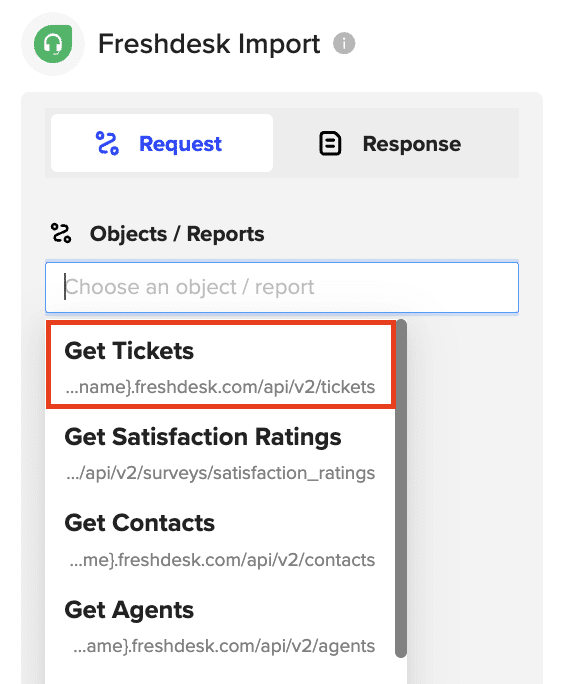
Select an endpoint, such as “Get Tickets”, to fetch data from.
Optionally, add filters to refine your data import, such as searching for a specific requester’s email.

Click “Preview” to continue.
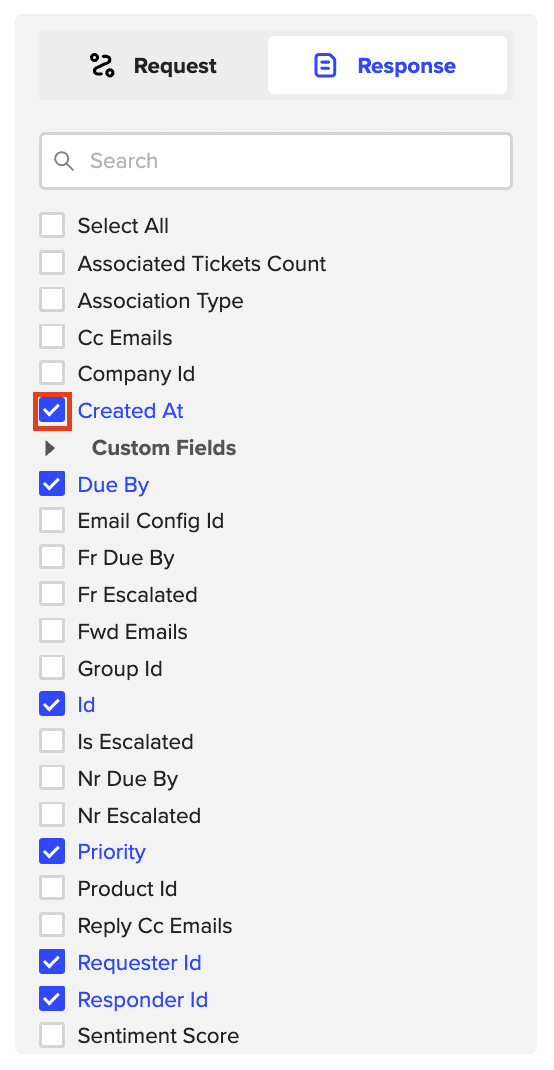
Choose the data fields you want to include in your import, such as subject, status, requester, priority, creation date, due date, ticket ID, and tags.
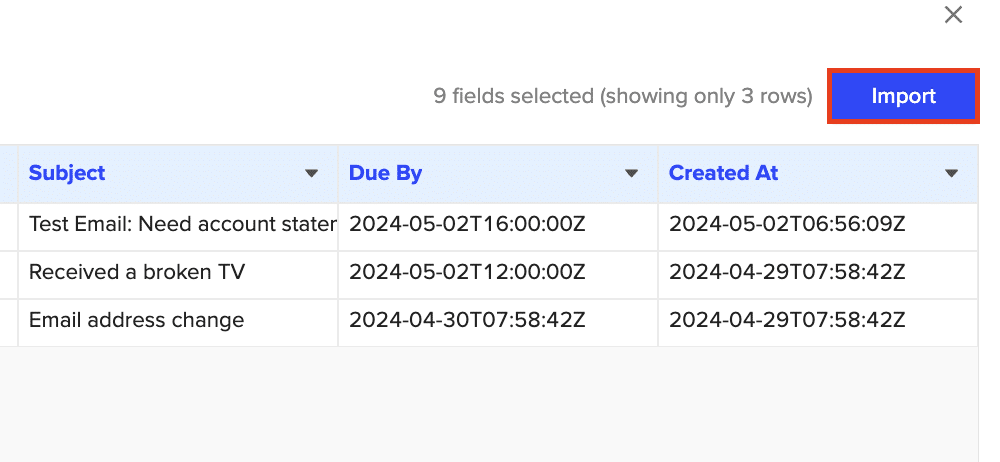
When you’re finished, click “Import” to fetch the selected data into your spreadsheet.
Step 3. Export Data Snowflake
Before starting, make sure you’ve connected to Snowflake.
https://www.youtube.com/watch?v=Zjym92WHgLM
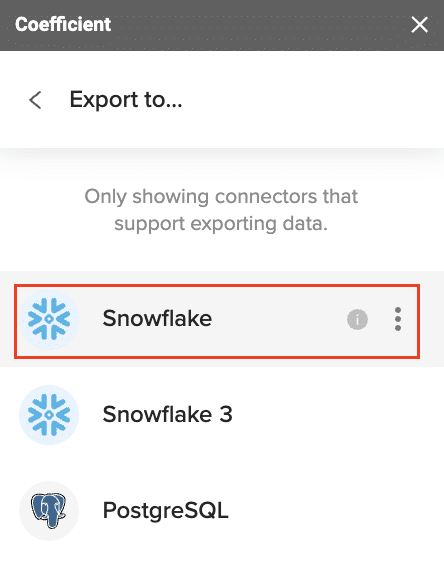
Then, navigate to Coefficient’s menu. Click “Export to…”

Step 2: Select Snowflake as the Data Source
Choose Snowflake from the list of available data sources.
Select the tab and header rows in your spreadsheet that contains the data you want to export.
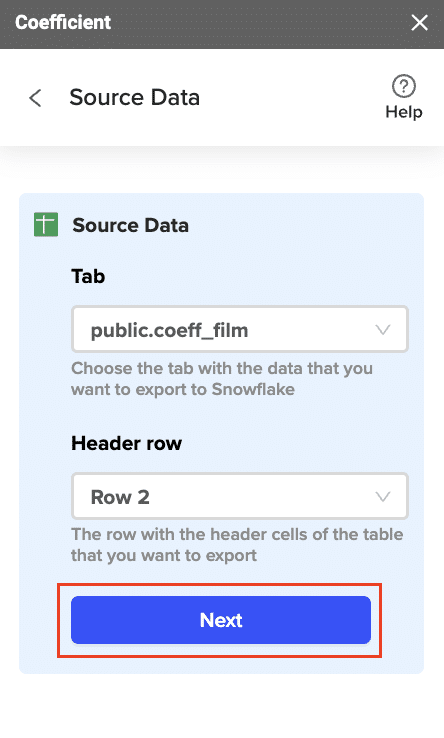
Click “Next” to continue.
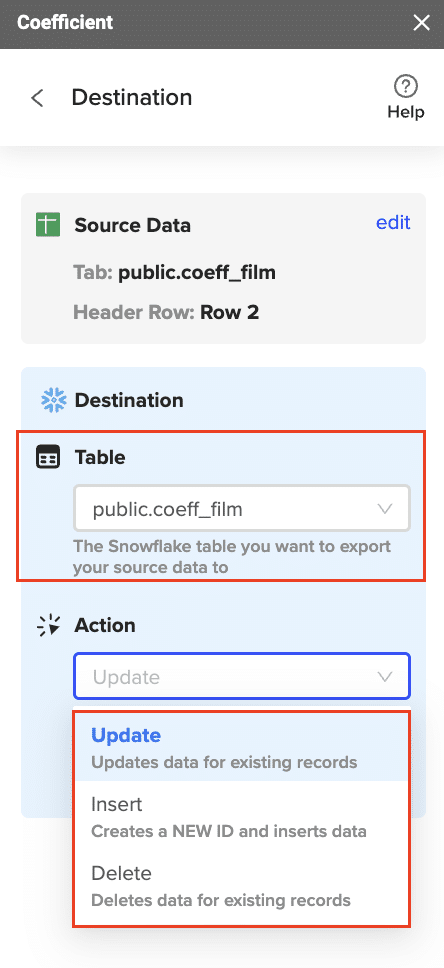
Select the table in your Snowflake database that you want to update. Then, select the type of action you want to perform—Update, Insert, Upsert, or Delete.
Map the fields from your spreadsheet to the corresponding Snowflake fields.
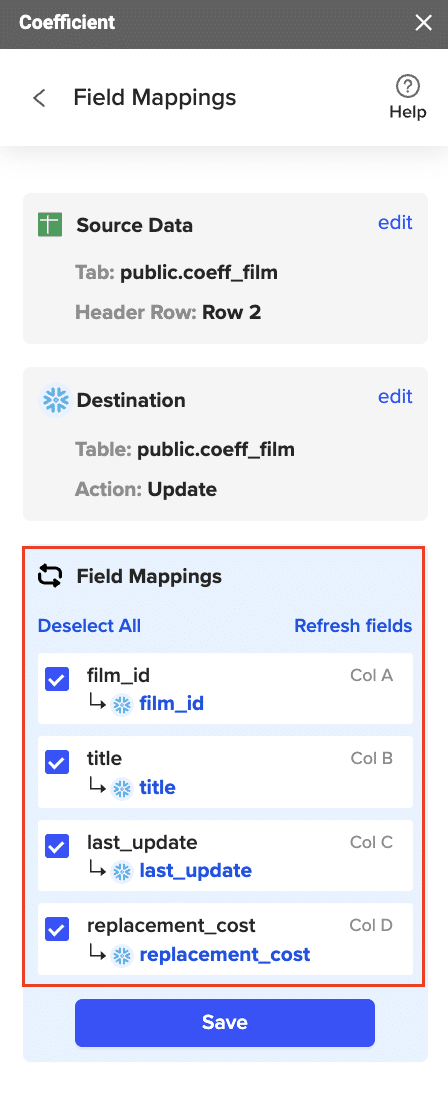
Note: Primary Keys (ID fields) are required for Update and Delete actions. For Insert actions, the Primary Key field can be set to auto populate if it’s configured in Snowflake.
Specify additional settings such as batch size, whether to export empty cells on an update, and the column for results.
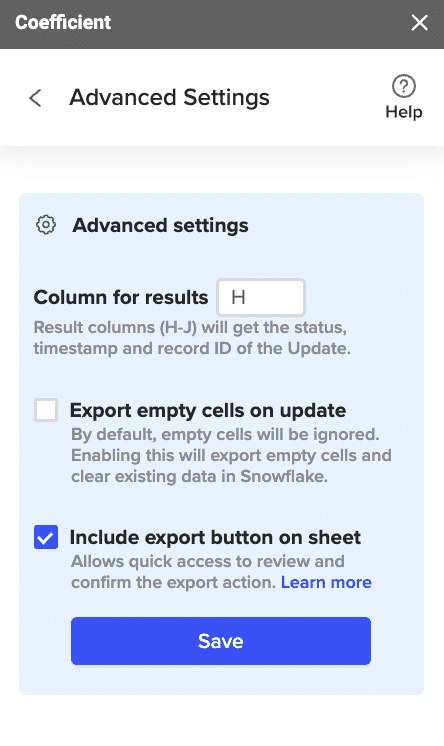
Confirm your settings.

Then, highlight the rows you want to update or export. You can choose to export all rows or specific rows.
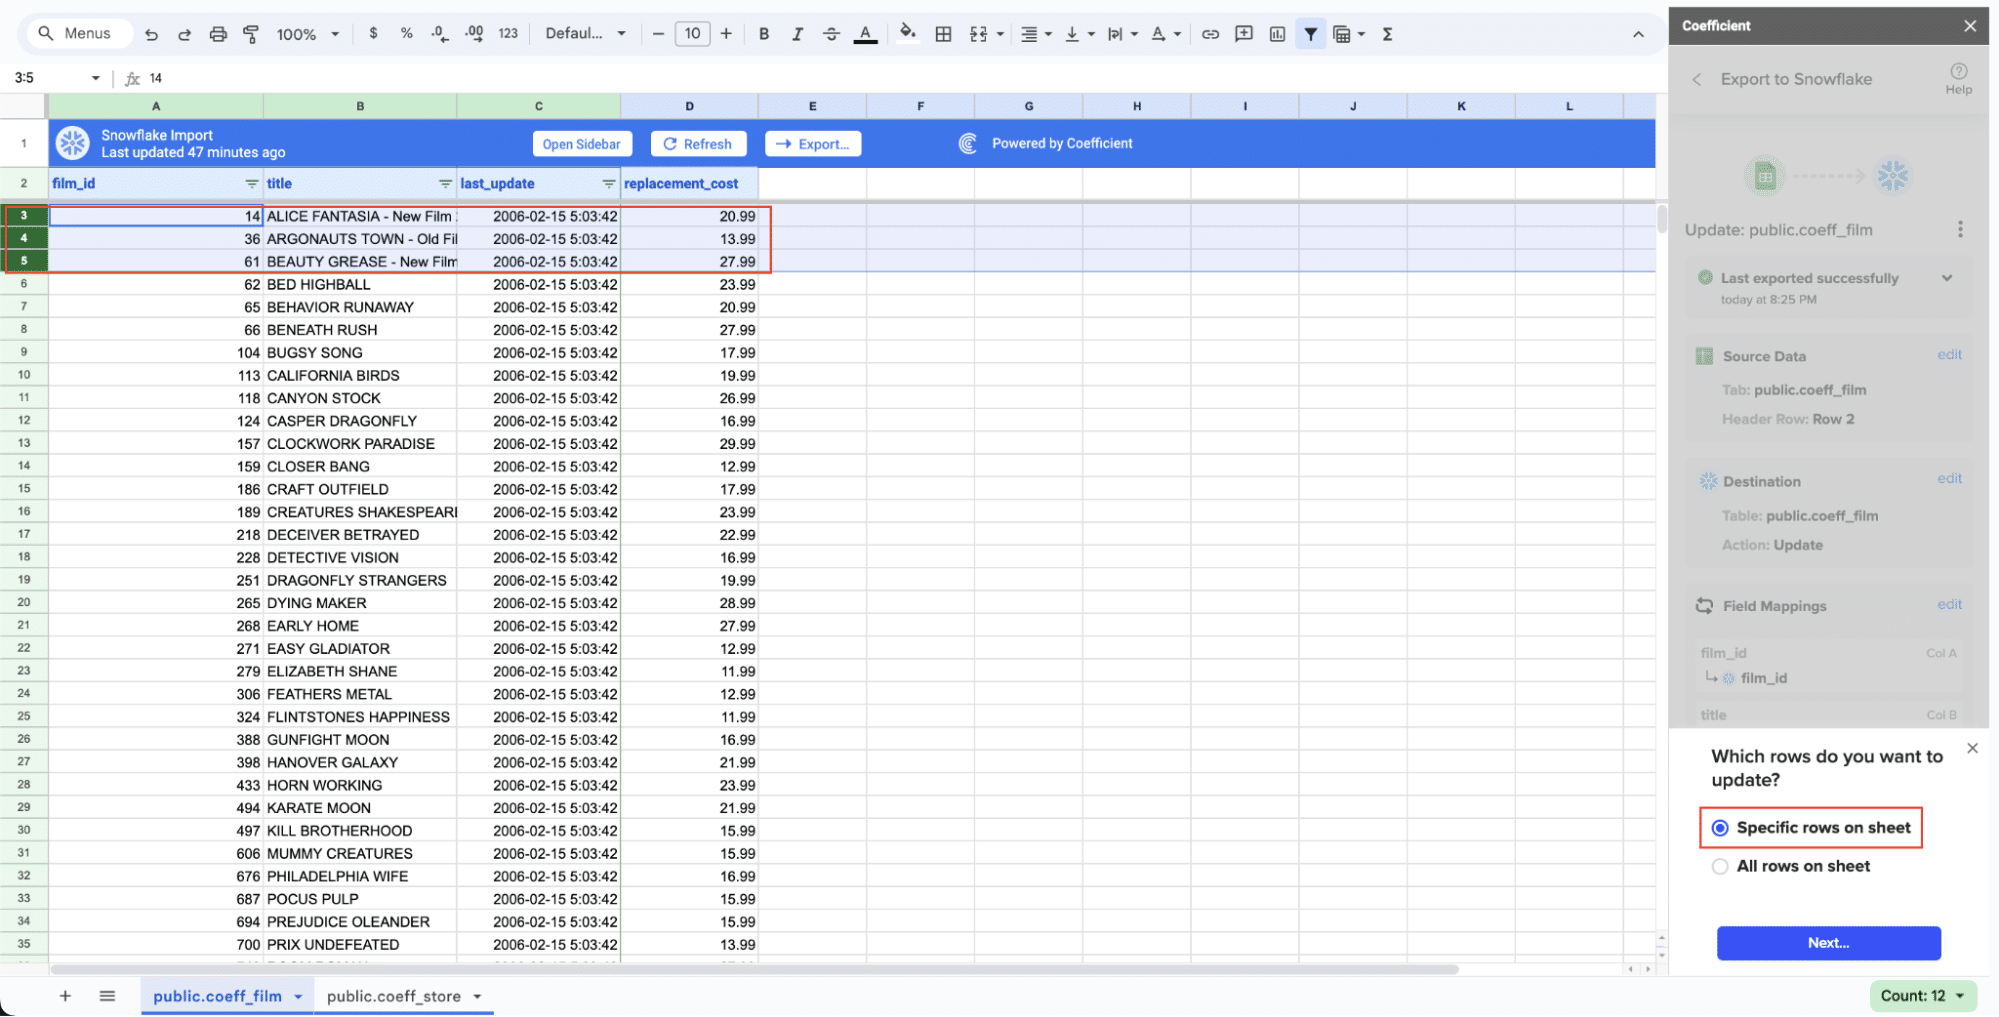
After you’re finished, review your settings and click “Export.”
Follow the prompts to confirm your changes.

In a few seconds, data from your spreadsheet will push to Salesforce.

Review your settings and click “Export” to push your data from the spreadsheet to Snowflake.
Coefficient will then update the records in Snowflake, displaying the status, record ID, and timestamp of the updates in your spreadsheet.
Method 2: Fivetran – Reliable ETL Tool
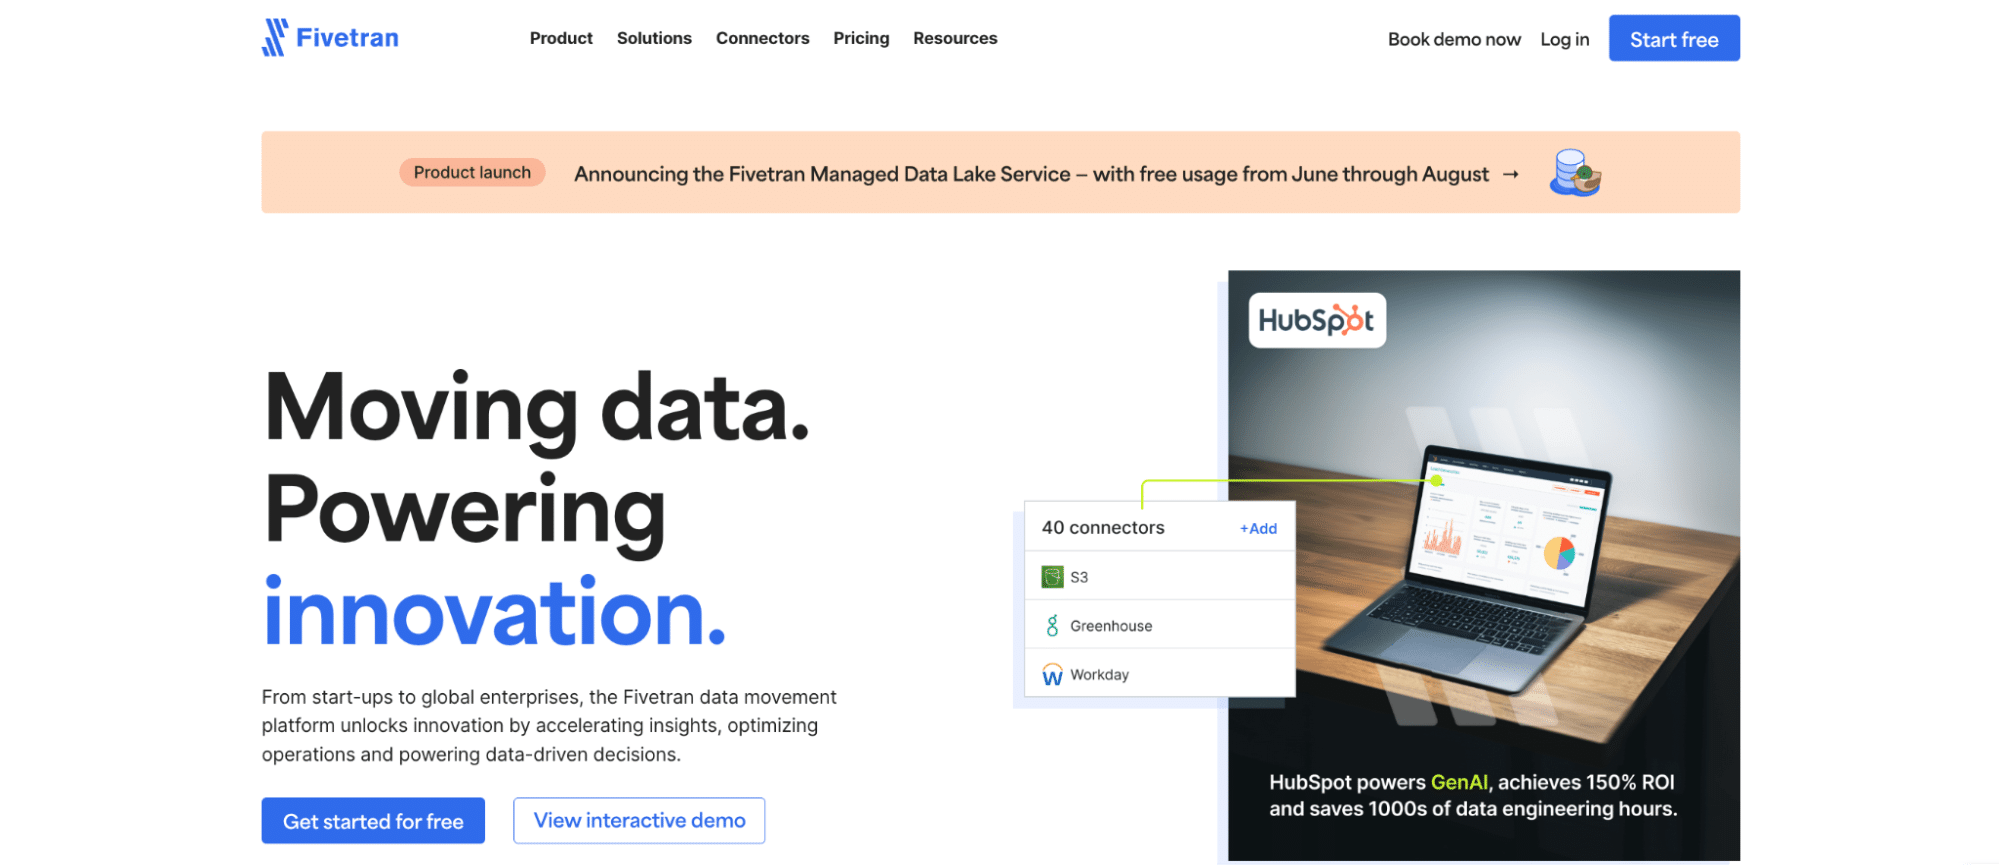
Fivetran is an enterprise-grade ELT (Extract, Load, Transform) platform that offers fully managed data pipelines. With Fivetran, you can automatically replicate data from Freshdesk to Snowflake in a reliable and scalable manner.
Features:
- Fully automated data pipelines: Provides continuous and seamless data synchronization without manual intervention.
- Scalable to handle large data volumes: Ideal for businesses with extensive data needs and growth potential.
- Robust security and compliance features: Ensures data integrity and security throughout the process.
Pros:
- Fully automated: Minimizes manual workload and simplifies data management.
- Handles large data volumes: Suitable for businesses with extensive data needs.
- Highly reliable and secure: Ensures data integrity and security throughout the process.
Cons:
- Can be expensive for smaller organizations: Higher cost may be a concern for small businesses.
- Less flexibility compared to more manual tools: Limited control over data transformation and customization.
How to Connect Freshdesk to Snowflake with Fivetran
Step 1. Sign Up for Fivetran:
- Go to the Fivetran website and sign up for an account.
- Complete the onboarding process and set up your organization.
Step 2. Configure the Freshdesk Connector:
- In your Fivetran dashboard, click on “Connectors” and then “+ Add Connector.”
- Search for “Freshdesk” and select it.
- Click “Setup Connector.”
- Provide your Freshdesk domain and API key to authenticate your account.
- To find your API key, log in to your Freshdesk account.
- Navigate to “Profile Settings” > “API Key.”
- Copy the API key and paste it into Fivetran.
- Configure the data replication settings, such as selecting the specific Freshdesk objects and fields you want to replicate.
Step 3. Set Up Snowflake Destination:
- In the Fivetran dashboard, click on “Destinations” and then “+ Add Destination.”
- Select “Snowflake” as your destination.
- Enter your Snowflake account details:
- Account URL (e.g., xyz123.snowflakecomputing.com)
- Username and password
- Database and schema where you want to load the data
- Configure any additional settings required by your Snowflake instance.
Step 4. Review and Save Configuration:
- Review your configuration to ensure all settings are correct.
- Click “Save & Test” to verify the connection.
- Once the setup is complete, Fivetran will automatically start replicating data from Freshdesk to Snowflake on a scheduled basis.
Step 5. Monitor Data Pipeline:
- Monitor the status of your data pipeline from the Fivetran dashboard.
- Verify that data is being synced correctly by checking the tables in your Snowflake database.
- Address any errors or issues by following Fivetran’s troubleshooting guides.
- Set up email alerts for pipeline issues to stay informed of any problems.
Method 3: Stitch – Simple Data Integration Service
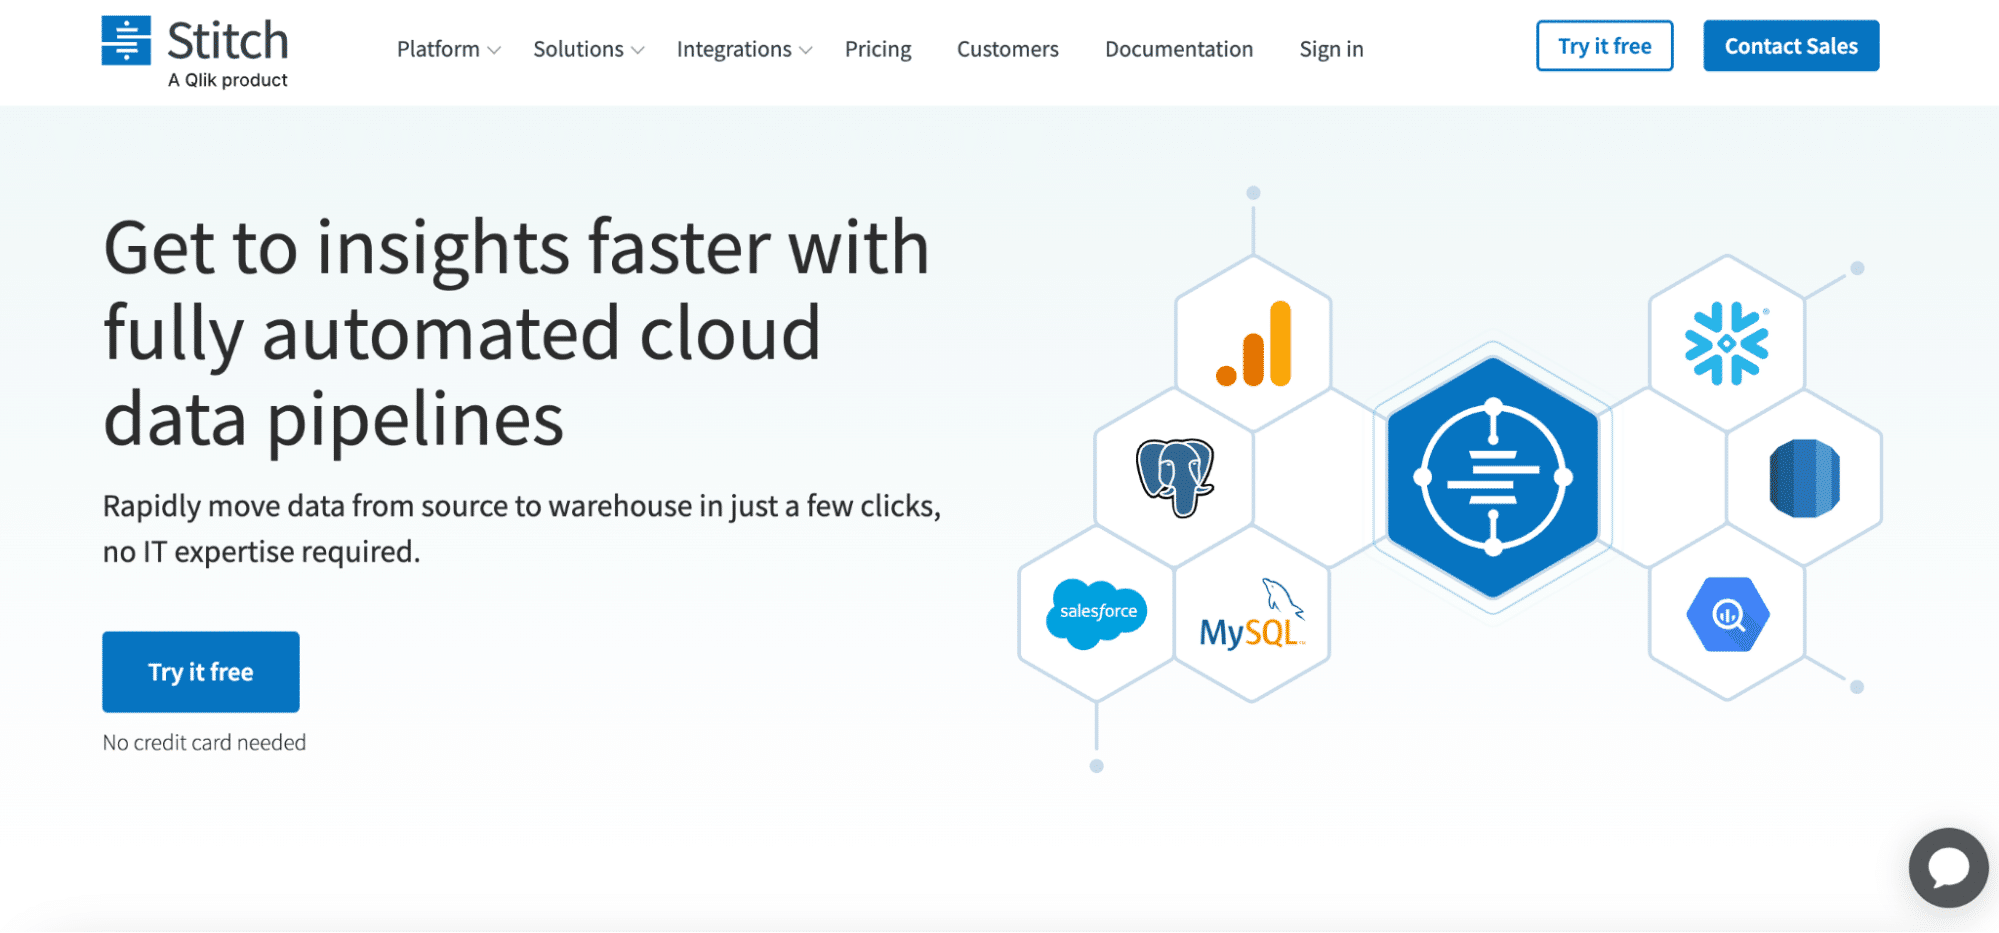
Stitch is a user-friendly data integration service that enables you to easily connect Freshdesk to Snowflake. With its wide range of connectors and simple setup process, Stitch is a great choice for organizations looking for a straightforward solution.
Features:
- Easy to set up and use: Provides a hassle-free setup process with an intuitive interface.
- Wide range of connectors: Supports numerous data sources and destinations, making it versatile.
- Real-time data replication: Ensures that your data is always up-to-date with minimal latency.
Pros:
- Easy to set up and use: Suitable for users without technical expertise.
- Wide range of connectors: Offers flexibility to connect various data sources and destinations.
- Real-time data replication: Keeps your data current and accurate.
Cons:
- Limited data transformation capabilities: Less control over how data is transformed during the integration process.
- Costs can add up at scale: Pricing can become a concern as data volume increases.
How to Connect Freshdesk to Snowflake with Stitch
Step 1. Sign Up for Stitch:
- Go to the Stitch website and sign up for an account.
- Complete the onboarding process and set up your workspace.
Step 2. Configure the Snowflake Destination:
- In your Stitch dashboard, click on the “Destinations” tab.
- Select “Snowflake” as your destination.
- Enter your Snowflake account details:
- Account URL (e.g., xyz123.snowflakecomputing.com)
- Username and password
- Database and schema where you want to load the data
- Configure any additional settings required by your Snowflake instance.
Step 3. Configure the Freshdesk Source:
- Navigate to the “Sources” tab and search for “Freshdesk.”
- Click on the “Freshdesk” source and then click “Configure New Source.”
- Authenticate your Freshdesk account by providing your Freshdesk domain and API key.
- To find your API key, log in to your Freshdesk account.
- Navigate to “Profile Settings” > “API Key.”
- Copy the API key and paste it into Stitch.
- Select the specific Freshdesk objects and fields you want to replicate.
Step 4. Map Data Fields:
- Map the Freshdesk fields to the corresponding columns in your Snowflake table.
- Review the mapping to ensure accuracy.
Step 5. Configure Replication Settings:
- Configure the replication frequency and any other desired settings.
- Click “Save & Finish” to complete the setup.
Step 6. Monitor Data Pipeline:
- Stitch will start replicating data from Freshdesk to Snowflake based on your configured settings.
- Monitor the sync status from the Stitch dashboard.
- Troubleshoot any issues using Stitch’s monitoring tools and logs.
Connect Freshdesk to Snowflake: No Code Required
Connecting Freshdesk to Snowflake empowers businesses to unlock valuable insights from their customer support data. By leveraging tools like Coefficient, Fivetran, or Stitch, you can automate the data integration process and ensure that your support data is always up-to-date and ready for analysis.
Choosing the right integration method depends on your specific needs and resources. Coefficient offers a user-friendly, no-code solution that is perfect for businesses looking for an affordable and easy-to-use option. Fivetran provides a fully managed, enterprise-grade ETL solution for organizations that require scalability and reliability. Stitch, on the other hand, is a simple and straightforward data integration service with a wide range of connectors.
By connecting Freshdesk to Snowflake, you can supercharge your customer support analytics and make data-driven decisions to improve your business. Ready to get started? Sign up for Coefficient today and experience the power of seamless data integration!


