Can you access QuickBooks Online reports without full permissions? Absolutely!
This comprehensive guide will show you seven proven methods to view QuickBooks Online reports, even without admin access. You’ll learn step-by-step processes, best practices, and discover how Coefficient can enhance your reporting capabilities without additional QuickBooks seats.
Let’s dive in!
Method 1: Share from Your Spreadsheet with Coefficient
Coefficient is a powerful spreadsheet add-on that connects your business data from various sources directly to Excel and Google Sheets. It offers a robust solution for accessing QuickBooks Online reports without needing additional QuickBooks seats. This method is particularly cost-effective for organizations looking to expand report access without increasing their QuickBooks subscription costs.
Setting Up Coefficient for QuickBooks Report Access
Step 1: Sign up for Coefficient.
- Visit the Coefficient website and create an account.
- Choose the plan that best fits your organization’s needs.
Step 2: Install the Coefficient add-on.
- For Google Sheets: Go to the Google Workspace Marketplace and search for “Coefficient.”
- For Excel: Download the Coefficient add-in from the Microsoft Office Add-in Store.
Step 3: Connect Coefficient to QuickBooks Online.
- Open a new spreadsheet and launch the Coefficient add-on.
- Select QuickBooks Online from the list of available integrations.
- Follow the prompts to authenticate and connect your QuickBooks Online account.
Step 4: Import QuickBooks data into your spreadsheet.
- Use Coefficient’s data import feature to select the reports or data you want to access.
- Choose the specific fields and date ranges for your report.
Step 5 (optional): Set up automatic data refresh.
- Configure Coefficient to automatically update your spreadsheet with the latest QuickBooks data.
- Set the refresh frequency based on your reporting needs.
Step 6: Share your import.
Share the spreadsheet with team members using Google Sheets’ or Excel’s built-in sharing features. Your colleagues can view live QuickBooks data without needing their own QuickBooks login.
Method 2: Set Up a Reports-Only User in QuickBooks Online
Creating a Reports-Only user is an excellent way to provide limited access to QuickBooks Online reports.
Pros and Cons of Reports-Only User
Pros:
- Built-in QuickBooks feature
- Provides focused access to reports
Cons:
- Limited customization options
- Requires a QuickBooks Online subscription (Plus and Advanced subscription tier)
Step-by-Step Tutorial: Creating a Reports-Only User
Step 1: Log in to QuickBooks Online as an admin.
- Access your QuickBooks Online account using administrator credentials.
Step 2: Navigate to user management.
- Click on the gear icon in the top-right corner.
- Select “Manage Users” under “Your Company.“

Step 3: Add a new user.
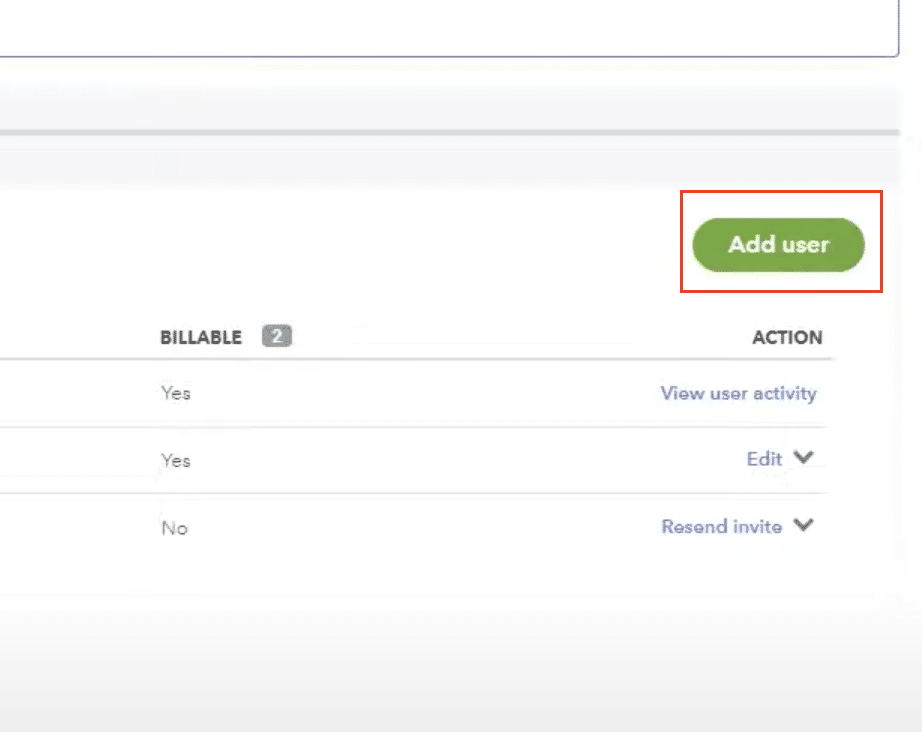
- Click the “Add user” button.

- Choose “Reports only” as the user type.

Step 4: Enter user details.
- Provide the new user’s email address and name.

- Create a username or use their email address as the username.
Step 5: Set user permissions.
- Review the default permissions for the Reports-Only user.
- Adjust any specific report access settings if needed.
Step 6: Send invitation.
- Click “Save” to create the user.
- An invitation email will be sent to the new user with login instructions.
Reports Accessible to Reports-Only Users
Reports-Only users can access most standard QuickBooks Online reports, including:
- Profit and Loss
- Balance Sheet
- Statement of Cash Flows
- Accounts Receivable Aging
- Accounts Payable Aging
- Sales by Customer
- Expenses by Vendor
Limitations and Considerations
While Reports-Only access is useful, it has some limitations:
- Users cannot create or modify transactions.
- Some advanced customization options may be restricted.
- Access to certain sensitive reports (e.g., Audit Log) is not available.
Method 3: Share Specific Reports with Non-QuickBooks Users
QuickBooks Online allows you to share individual reports with users who don’t have a QuickBooks account.
Pros and Cons of Sharing Specific Reports
Pros:
- No QuickBooks account required for recipients
- Can set expiration dates for shared reports
Cons:
- Limited to specific reports
- Requires manual sharing for each report
Tutorial: Using the Shared Reports Feature
Step 1: Generate the desired report.
- Open QuickBooks Online and navigate to the Reports section.
- Select and customize the report you want to share.
Step 2: Access sharing options.
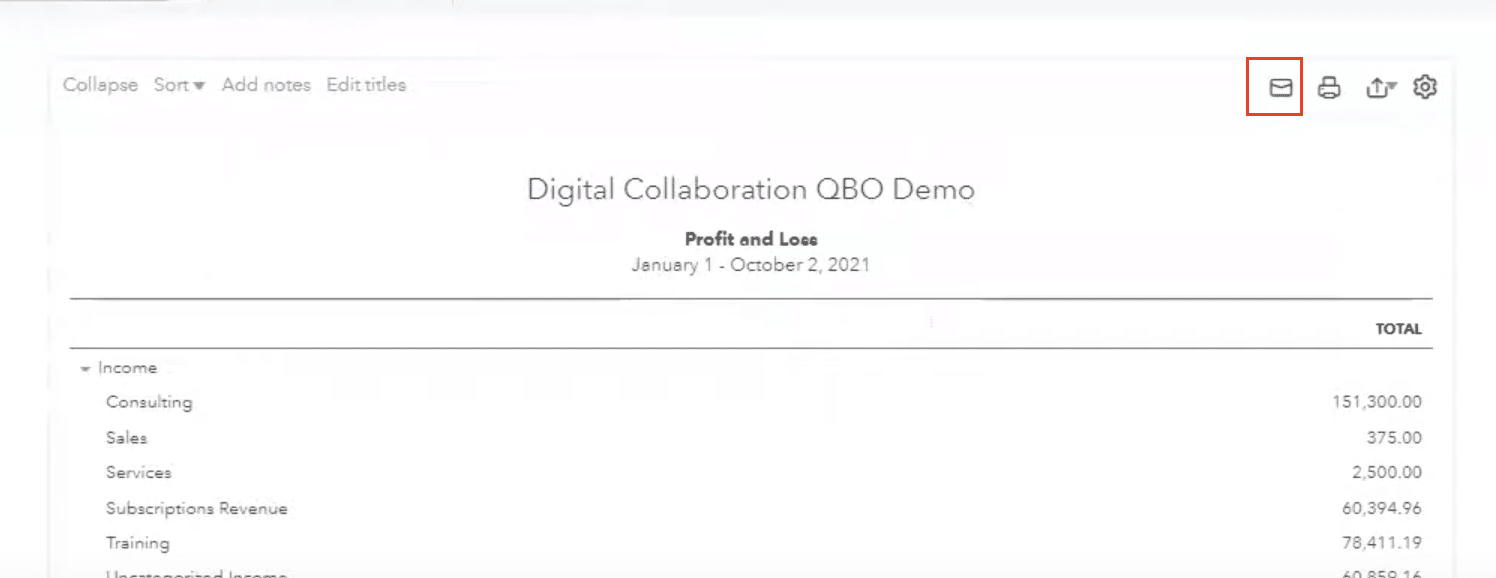
- Click the “Share” button at the top of the report.

Step 3: Configure sharing settings.
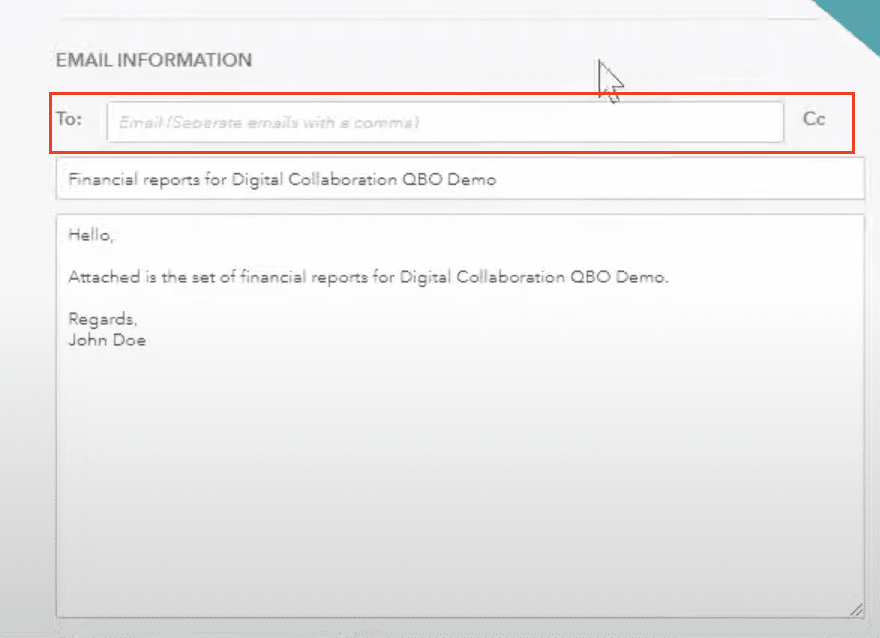
- Enter the email addresses of the recipients.
- Choose whether to allow recipients to view only or to view and export the report.
Step 4: Set an expiration date (optional).
- Decide how long the shared link should remain active.
Step 5: Add a message (optional).
- Include any necessary context or instructions for the report.
Step 6: Send the shared report.
- Click “Send” to share the report with the specified recipients.
Setting Up Recurring Shared Reports
To automate report sharing:
Step 1: Open the report you want to share regularly.
Step 2: Click “Save customization” and then “Schedule.”

Step 3: Set the frequency (e.g., daily, weekly, monthly).

Step 4: Enter recipient email addresses.

Step 5: Choose the file format (e.g., PDF, Excel).

Step 6: Click “Save schedule” to activate recurring sharing.
Best Practices for Secure Report Sharing
- Regularly review and update your shared report list.
- Use expiration dates for sensitive reports.
- Avoid sharing reports with personal or sensitive information.
- Educate recipients on the confidentiality of shared reports.
Method 4: Use QuickBooks Online Accountant for Client Report Access
QuickBooks Online Accountant (QBOA) provides a way for accountants to access client reports without needing full access to the client’s QuickBooks Online account.
Pros and Cons of Using QBOA
Pros:
- Designed specifically for accountants
- Provides comprehensive access to client data
Cons:
- Limited to accounting professionals
- Requires separate QBOA account
Accessing Client Reports as an Accountant
Step 1: Sign up for QuickBooks Online Accountant.
- Visit the QuickBooks Online Accountant website and create an account.
Step 2: Connect with your client.
- In QBOA, go to the “Clients” tab and click “Add client.”
- Enter your client’s QuickBooks Online information.
Step 3: Access client reports.
- Once connected, select the client from your client list.
- Navigate to the “Reports” section to view available reports.
Collaborating with Clients Through QBOA
- Use the “Work” tab to manage tasks and communicate with clients.
- Share report insights and recommendations through secure messaging.
- Schedule virtual meetings to discuss reports and financial strategies.
Tips for Maximizing QBOA Reporting Features
- Utilize the customizable client dashboard for quick financial overviews.
- Take advantage of the Accountant Toolbox for advanced reporting options.
- Use the “Books Review” feature to identify and resolve discrepancies in client reports.
Method 5: Utilize QuickBooks Online’s Report Export Feature
Exporting reports from QuickBooks Online allows you to share financial data without granting direct access to the system. For a more automated approach, consider exporting QuickBooks data to Google Sheets or Excel with Coefficient.
Pros and Cons of Report Exporting
Pros:
- Easy to share reports with non-QuickBooks users
- Allows for offline analysis of data
Cons:
- Manual process for each report
- Data may become outdated quickly
Step-by-Step Guide: Exporting Reports
Step 1: Generate the desired report in QuickBooks Online.
Step 2: Click the “Export” button at the top of the report.
Step 3: Choose the export format:
- PDF: Best for preserving report layout
- Excel: Ideal for further analysis
- CSV: Suitable for importing into other systems
Step 4: Configure any additional export options:
- For Excel/CSV: Choose to export formatted or raw data
- For PDF: Select page orientation and paper size
Step 5: Click “Export” to download the report file.
Scheduling Automatic Report Exports
Step 1: Open the report you want to export regularly.
Step 2: Click “Save customization” and then “Schedule.”

Step 3: Set the export frequency and recipient email addresses.

Step 4: Choose the export format (PDF, Excel, or CSV).

Step 5: Click “Save schedule” to activate automatic exports.
QuickBooks Online Report Access 101: User Roles and Permissions Explained
Before diving into the methods, it’s crucial to understand how QuickBooks Online (QBO) manages user roles and permissions for report access.
Different User Roles in QuickBooks Online
QuickBooks Online offers several user roles, each with varying levels of access:
- Company Administrator
- Custom User
- Reports Only
- Time Tracking Only
- Vendor and Purchases Only
Specific Permissions for Report Access
Report access permissions vary depending on the user role:
- Company Administrators have full access to all reports
- Custom Users can be granted access to specific reports
- Reports Only users can view and customize reports but can’t make changes to company data
The “Reports Only” User Role
The Reports Only role is designed specifically for users who need to view financial data without the ability to modify it. This role:
- Can access and customize most reports
- Cannot make changes to transactions or company settings
- Is ideal for managers or stakeholders who need financial insights without full system access
Tips for Managing Exported Reports
- Create a consistent file naming convention for easy organization.
- Use cloud storage solutions to securely share exported reports.
- Implement version control for reports that are updated frequently.
- Regularly review and delete outdated exported reports.
Maximizing QuickBooks Online Report Access with Coefficient
Accessing QuickBooks Online reports without full access can be challenging, but the seven methods we’ve explored offer various solutions to this common problem.
While each method has its merits, Coefficient stands out as a comprehensive solution that addresses the limitations of other methods:
- Seamless integration with QuickBooks Online
- Cost-effective solution that doesn’t require additional QB seats
- Advanced reporting and analysis capabilities
- Easy sharing through familiar spreadsheet interfaces
Ready to transform your QuickBooks Online reporting experience? Try Coefficient today and discover how it can streamline your financial reporting process while providing enhanced access and insights.


