Want to sync Stripe with QuickBooks? This guide will show you how to connect these platforms, streamline your financial reporting, and simplify reconciliation. You’ll learn three effective methods to link Stripe and QuickBooks, with step-by-step instructions for each approach.
Advantages of Connecting Stripe to QuickBooks
Connecting Stripe to QuickBooks offers several benefits for businesses:
Analyzing Stripe and QuickBooks data together offers several benefits for businesses:
- Comprehensive financial analysis: By combining Stripe transaction data with QuickBooks records, you can perform more in-depth financial analysis. This approach provides a fuller picture of your business’s financial health.
- Improved data-driven decisions: Comparing Stripe payments with QuickBooks entries allows for better insights into revenue patterns and financial trends. This information helps in making more informed business decisions.
- Detailed revenue tracking: Gain a more nuanced view of your income by analyzing Stripe revenue data alongside QuickBooks financial records. This combined perspective enables better financial planning and forecasting.
Top 3 Methods to Connect Stripe to QuickBooks
Here’s a comparison of the three main methods to connect Stripe to QuickBooks:
| Solution | Best For |
| Coefficient | Users who want to analyze Stripe and QuickBooks data using Google Sheets or Excel, allowing for custom data transformation and in-depth analysis |
| Commerce Sync | Small to medium-sized businesses seeking automated data syncing between Stripe and QuickBooks for easier comparison and analysis |
| Zapier | Users who need a flexible, no-code solution to create custom workflows for transferring and comparing data between Stripe and QuickBooks |
Let’s explore each method in detail:
Method 1: Coefficient
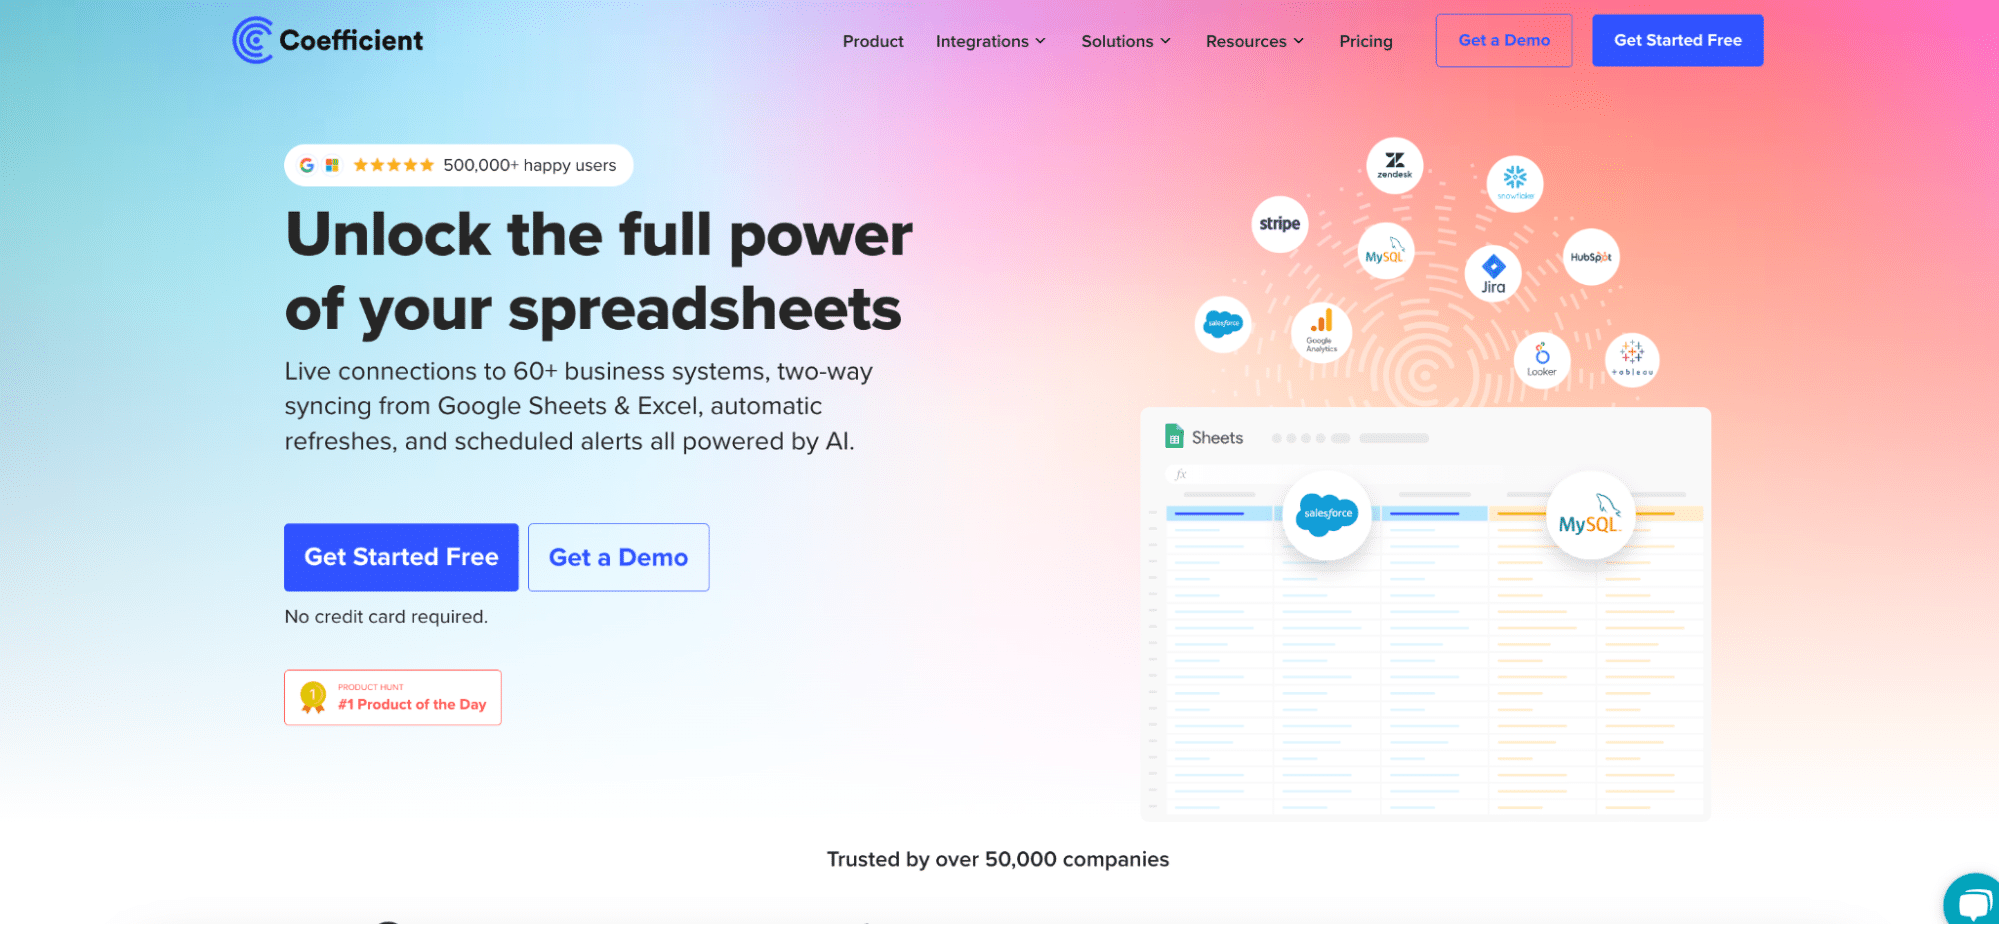
Coefficient is a spreadsheet add-on that allows you to sync data from various sources, including Stripe and QuickBooks, into Google Sheets or Excel. This method is particularly useful for users who want to analyze or transform their data before syncing it to QuickBooks.
Step 1. Install Coefficient
For Google Sheets
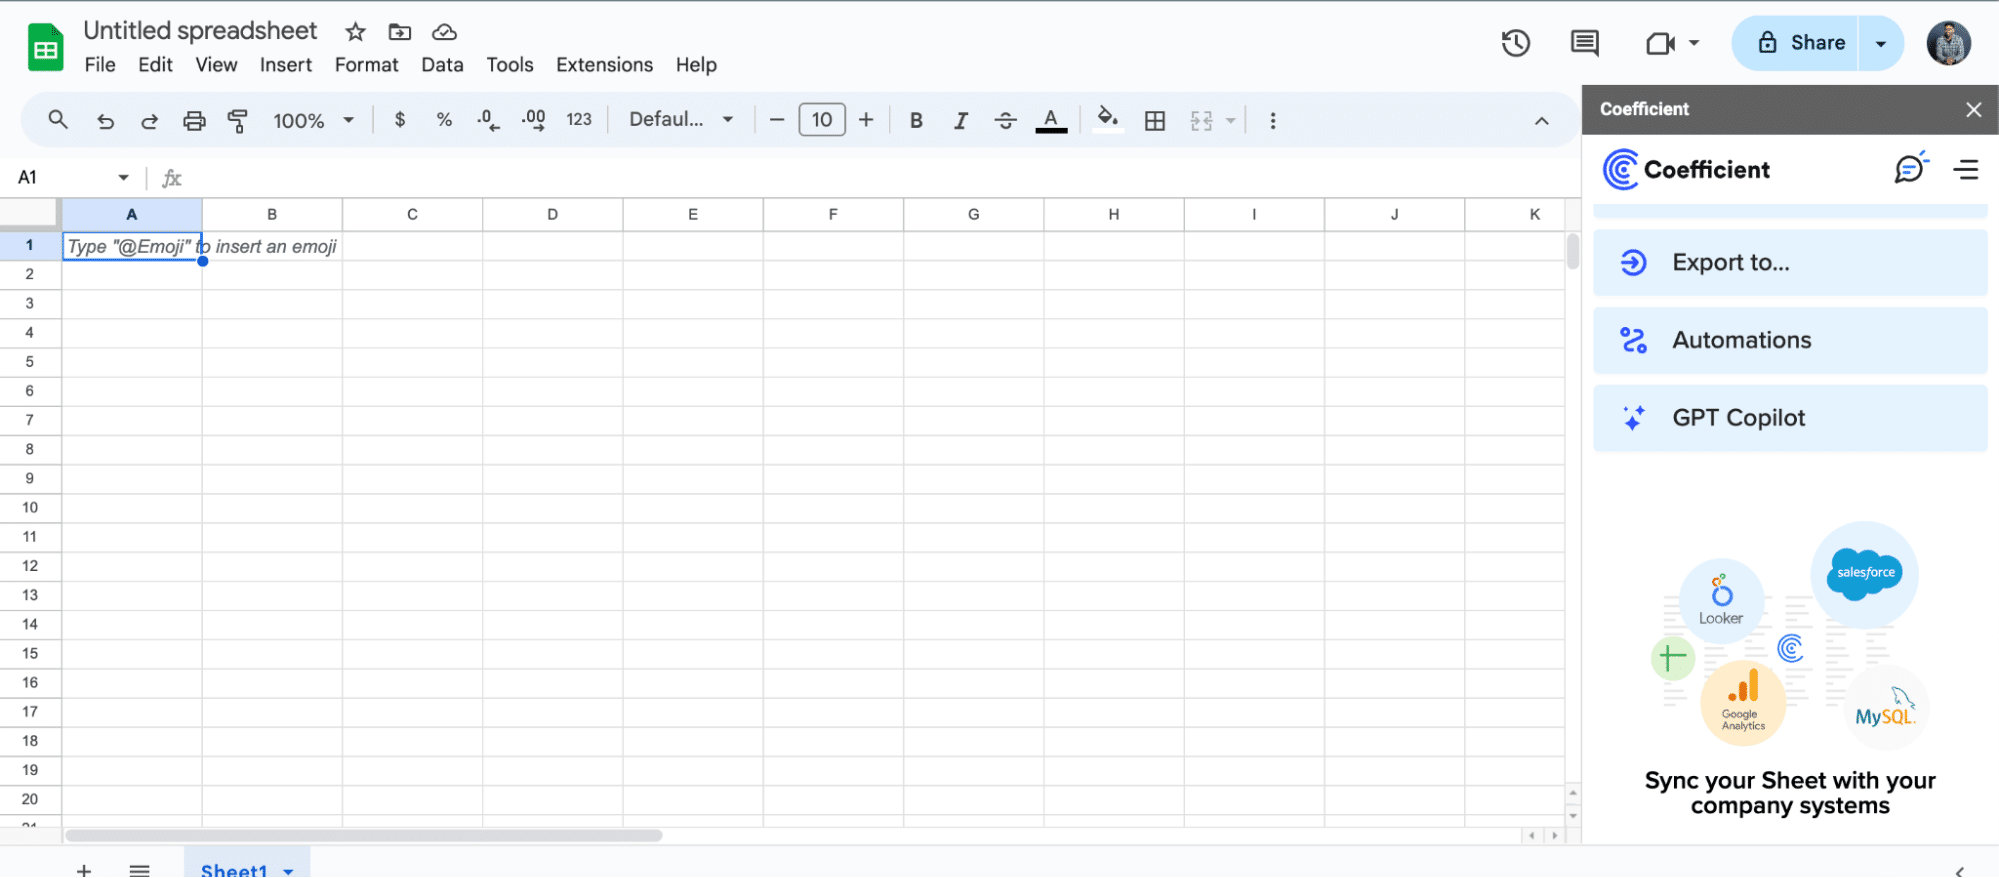
- Open a new or existing Google Sheet, navigate to the Extensions tab, and select Add-ons > Get add-ons.
- In the Google Workspace Marketplace, search for “Coefficient.”
- Follow the prompts to grant necessary permissions.
- Launch Coefficient from Extensions > Coefficient > Launch.
- Coefficient will open on the right-hand side of your spreadsheet.
For Microsoft Excel
- Open Excel from your desktop or in Office Online. Click ‘File’ > ‘Get Add-ins’ > ‘More Add-Ins.’
- Type “Coefficient” in the search bar and click ‘Add.’
- Follow the prompts in the pop-up to complete the installation.
- Once finished, you will see a “Coefficient” tab in the top navigation bar. Click ‘Open Sidebar’ to launch Coefficient.

Step 2: Connect and Import Data from Stripe
- Open Coefficient Sidebar: In Google Sheets, go to Extensions > Coefficient > Launch.
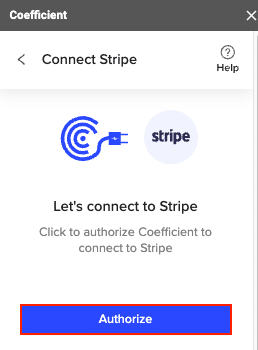
- Connect Stripe: Click Import Data from the Coefficient sidebar, then select Stripe.
- Authenticate: Select the Stripe account you want to connect and click Connect.
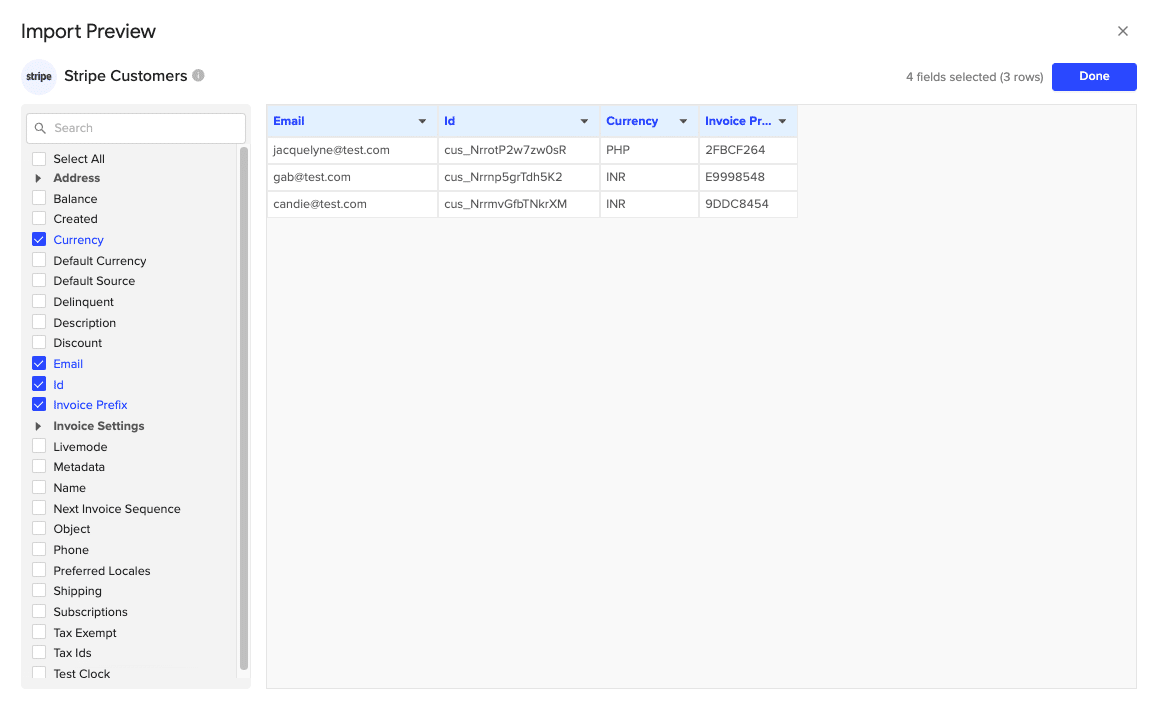
- Select Data: Choose the object fields you want to import by clicking Select Fields. Configure any necessary filters and click Import.
Step 3. Export Data to QuickBooks
Pros:
- The user-friendly interface makes it easy for non-technical users to set up and manage the integration.
- Flexible data transformation options allow for customized reporting and analysis.
- Coefficient works with both Google Sheets and Excel, providing flexibility in your choice of spreadsheet software.
Cons:
- This method requires a spreadsheet as an intermediary, which may not be ideal for all users.
- There may be limitations for very large data sets, depending on the spreadsheet’s capacity.
Learn more about connecting QuickBooks to Google Sheets
Method 2: Commerce Sync
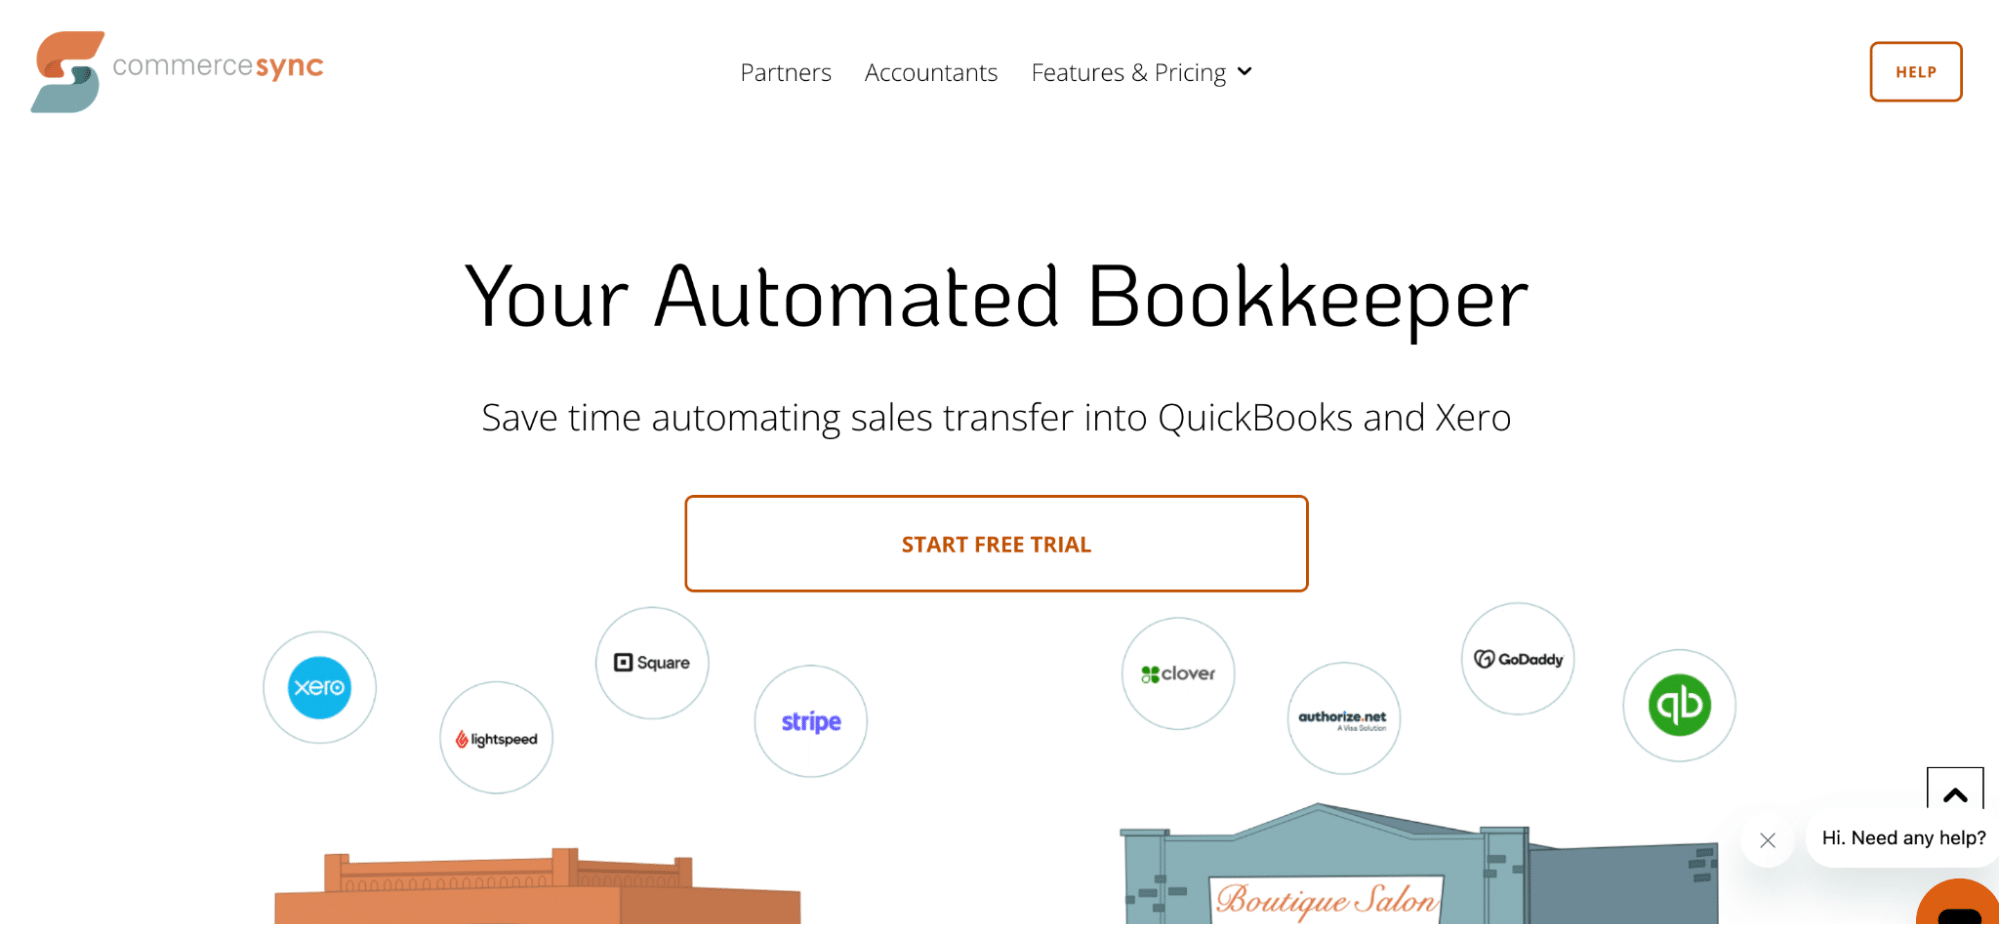
Commerce Sync is a popular app that automates the transfer of Stripe sales activity into QuickBooks. This method provides a direct integration between the two platforms.
Step 1: Install Commerce Sync from the QuickBooks App Store.
- Log in to your QuickBooks Online account.
- Navigate to the App Store and search for “Commerce Sync.”
- Click “Get App Now” and follow the installation prompts.
Step 2: Connect your Stripe account.
- In the Commerce Sync setup wizard, select Stripe as your payment processor.
- Follow the authentication process to link your Stripe account.
Step 3: Configure sync settings.
- Choose which Stripe data you want to sync (e.g., sales, fees, refunds).
- Map Stripe data fields to the corresponding QuickBooks categories.
Step 4: Set up automatic daily syncs.
- In the Commerce Sync settings, enable automatic daily syncs.
- Choose a preferred time for the sync to occur each day.
Step 5: Review and reconcile transactions in QuickBooks.
- After the first sync, check your QuickBooks account to ensure the Stripe data has been imported correctly.
- Reconcile the transactions as needed.
Pros:
- Direct integration with QuickBooks eliminates the need for intermediary software.
- Automated daily syncs keep your financial data up-to-date with minimal effort.
- Commerce Sync handles complex transaction types, including refunds and fees.
Cons:
- Limited customization options compared to more flexible solutions like Coefficient or Zapier.
- May require a paid subscription for advanced features or higher transaction volumes.
Method 3: Zapier

Zapier is a no-code automation platform that allows you to create custom integrations between Stripe and QuickBooks. This method offers the most flexibility in terms of customizing your integration.
Step 1: Sign up for a Zapier account.
- Visit the Zapier website and create a new account.
- Choose a plan that suits your integration needs.
Step 2: Create a new Zap.
- In your Zapier dashboard, click “+ Create.”

- This will start the process of setting up your custom integration.
Step 3: Choose Stripe as the trigger app.
- Search for Stripe in the trigger app selection.
- Select the specific Stripe event that will trigger the integration (e.g., “New Charge” or “New Invoice”).

Step 4: Select QuickBooks as the action app.
- Search for QuickBooks in the action app selection.
- Choose the action you want to occur in QuickBooks (e.g., “Create Invoice” or “Create Journal Entry”).

Step 5: Configure the data mapping.
- Map the Stripe data fields to the corresponding QuickBooks fields.
- Use Zapier’s built-in functions to transform data if needed (e.g., formatting dates or calculating totals).
Step 6: Test and activate your Zap.
- Run a test to ensure the integration works as expected.
- If successful, turn on your Zap to start the automated integration.
Pros:
- Highly customizable workflows allow for complex integrations tailored to your specific needs.
- Supports multiple trigger events, enabling various automation scenarios.
- Can integrate with other apps beyond Stripe and QuickBooks for more comprehensive automation.
Cons:
- May require some technical knowledge for setting up complex integrations.
- Can become costly for high-volume integrations, as Zapier pricing is based on the number of tasks performed.
Streamline Your Stripe and QuickBooks Integration Today
Connecting Stripe to QuickBooks is crucial for maintaining accurate financial records and simplifying your accounting processes. While there are several methods available, Coefficient offers a unique approach that leverages the power of spreadsheets for data transformation and analysis. By using Coefficient, you can ensure that your Stripe data is accurately synced with QuickBooks while gaining valuable insights along the way.
Ready to simplify your Stripe and QuickBooks integration? Get started with Coefficient today and experience the benefits of seamless data synchronization.
For more information on optimizing your QuickBooks workflow, check out our guide on Top QuickBooks Connector Apps.
Frequently Asked Questions
How do I match Stripe payments in QuickBooks?
To match Stripe payments in QuickBooks:
- Sign in to your QuickBooks Online account
- Go to Banking/Transactions from the left menu
- Select the Stripe account and go to the “For review” tab
- Choose each transaction and select categorize, match, or record as a transfer
Coefficient can automate this process by syncing Stripe data directly to QuickBooks, reducing manual matching efforts.
How do I sync payments in QuickBooks?
To sync payments in QuickBooks:
- Hover your mouse over the invoice or payment
- Click “Sync to QB”
- If already synced, click the QB icon to open the item directly in QuickBooks Online
With Coefficient, you can set up automatic syncs between Stripe and QuickBooks, ensuring all payments are up-to-date without manual intervention.
How do I add Stripe fees to QuickBooks?
To add Stripe fees to QuickBooks:
- Go to Accounting > Chart of Accounts > New on your QuickBooks dashboard
- Set Account Type to “Expenses”
- Choose Detail Type as “Other Business Expenses” or “Bank Charges”
- Name the account “Stripe Merchant Fees” or similar
- Click Save and Close
Coefficient can automatically import and categorize Stripe fees in QuickBooks, saving you time and ensuring accuracy.
Further Reading
- How to Connect QuickBooks to Excel
- How to Connect QuickBooks to Google Sheets
- Export QuickBooks Data to Google Sheets
- QuickBooks Integrations for Google Sheets
- QuickBooks Integrations for Excel
- Video: How to Connect QuickBooks to Google Sheets
- Video: QuickBooks to Google Sheets: Automate Custom Quickbooks Reports
- Stripe Integration for Google Sheets
- Stripe Integration for Microsoft Excel


