Are you looking to connect QuickBooks to MySQL? You’re in the right place.
In this guide, we’ll explore three methods – each suits different skill levels and needs. By the end, you’ll know which is best for you and how to set it up.
Let’s dive in!
Advantages of Connecting QuickBooks to MySQL
Before we dive into the “how,” let’s understand the “why.” Connecting QuickBooks to MySQL offers several benefits:
Accelerate accounts receivable process: Join QuickBooks invoice data with customer information in MySQL. This allows you to create automated aging reports and payment reminders, reducing days sales outstanding (DSO) and improving cash flow.
Enhance financial forecasting accuracy: Combine historical QuickBooks data with sales pipeline information in MySQL. This enables more precise revenue projections, helping you make informed decisions about hiring, investments, and expense management.
Streamline tax preparation: Store QuickBooks transaction details alongside tax-related information in MySQL. This makes it easier to generate comprehensive reports for different tax jurisdictions, saving time during tax season and reducing the risk of compliance issues.
Top 3 Methods to Connect QuickBooks to MySQL
Solution
Best For
Coefficient
Finance teams who want to use Google Sheets or Excel as an intermediary to move QuickBooks data to MySQL. Ideal for those who need to clean or transform data before loading it into the database.
CData SQL Gateway
IT departments that need to set up a direct, real-time connection between QuickBooks and MySQL. Suitable for scenarios requiring frequent, small data transfers or live querying of QuickBooks data.
Airbyte
Data engineers looking for a flexible, open-source solution to build custom data pipelines from QuickBooks to MySQL. Best for companies with complex data transformation needs or those wanting to avoid vendor lock-in.
Method #1: Using Coefficient to Connect QuickBooks to MySQL
Coefficient syncs live data from various business systems, like QuickBooks, directly into Excel and Google Sheets.
For QuickBooks users, this means you can build real-time financial reports, automate data updates, and streamline your accounting workflows without leaving your familiar spreadsheet environment.
Step-by-step walkthrough:
Step 1. Install Coefficient for your spreadsheet of choice
For Google Sheets
Open a new or existing Google Sheet, navigate to the Extensions tab, and select Add-ons > Get add-ons.
In the Google Workspace Marketplace, search for “Coefficient.”
Follow the prompts to grant necessary permissions.
Launch Coefficient from Extensions > Coefficient > Launch.
Coefficient will open on the right-hand side of your spreadsheet.
For Microsoft Excel
Open Excel from your desktop or in Office Online. Click ‘File’ > ‘Get Add-ins’ > ‘More Add-Ins.’
Type “Coefficient” in the search bar and click ‘Add.’
Follow the prompts in the pop-up to complete the installation.
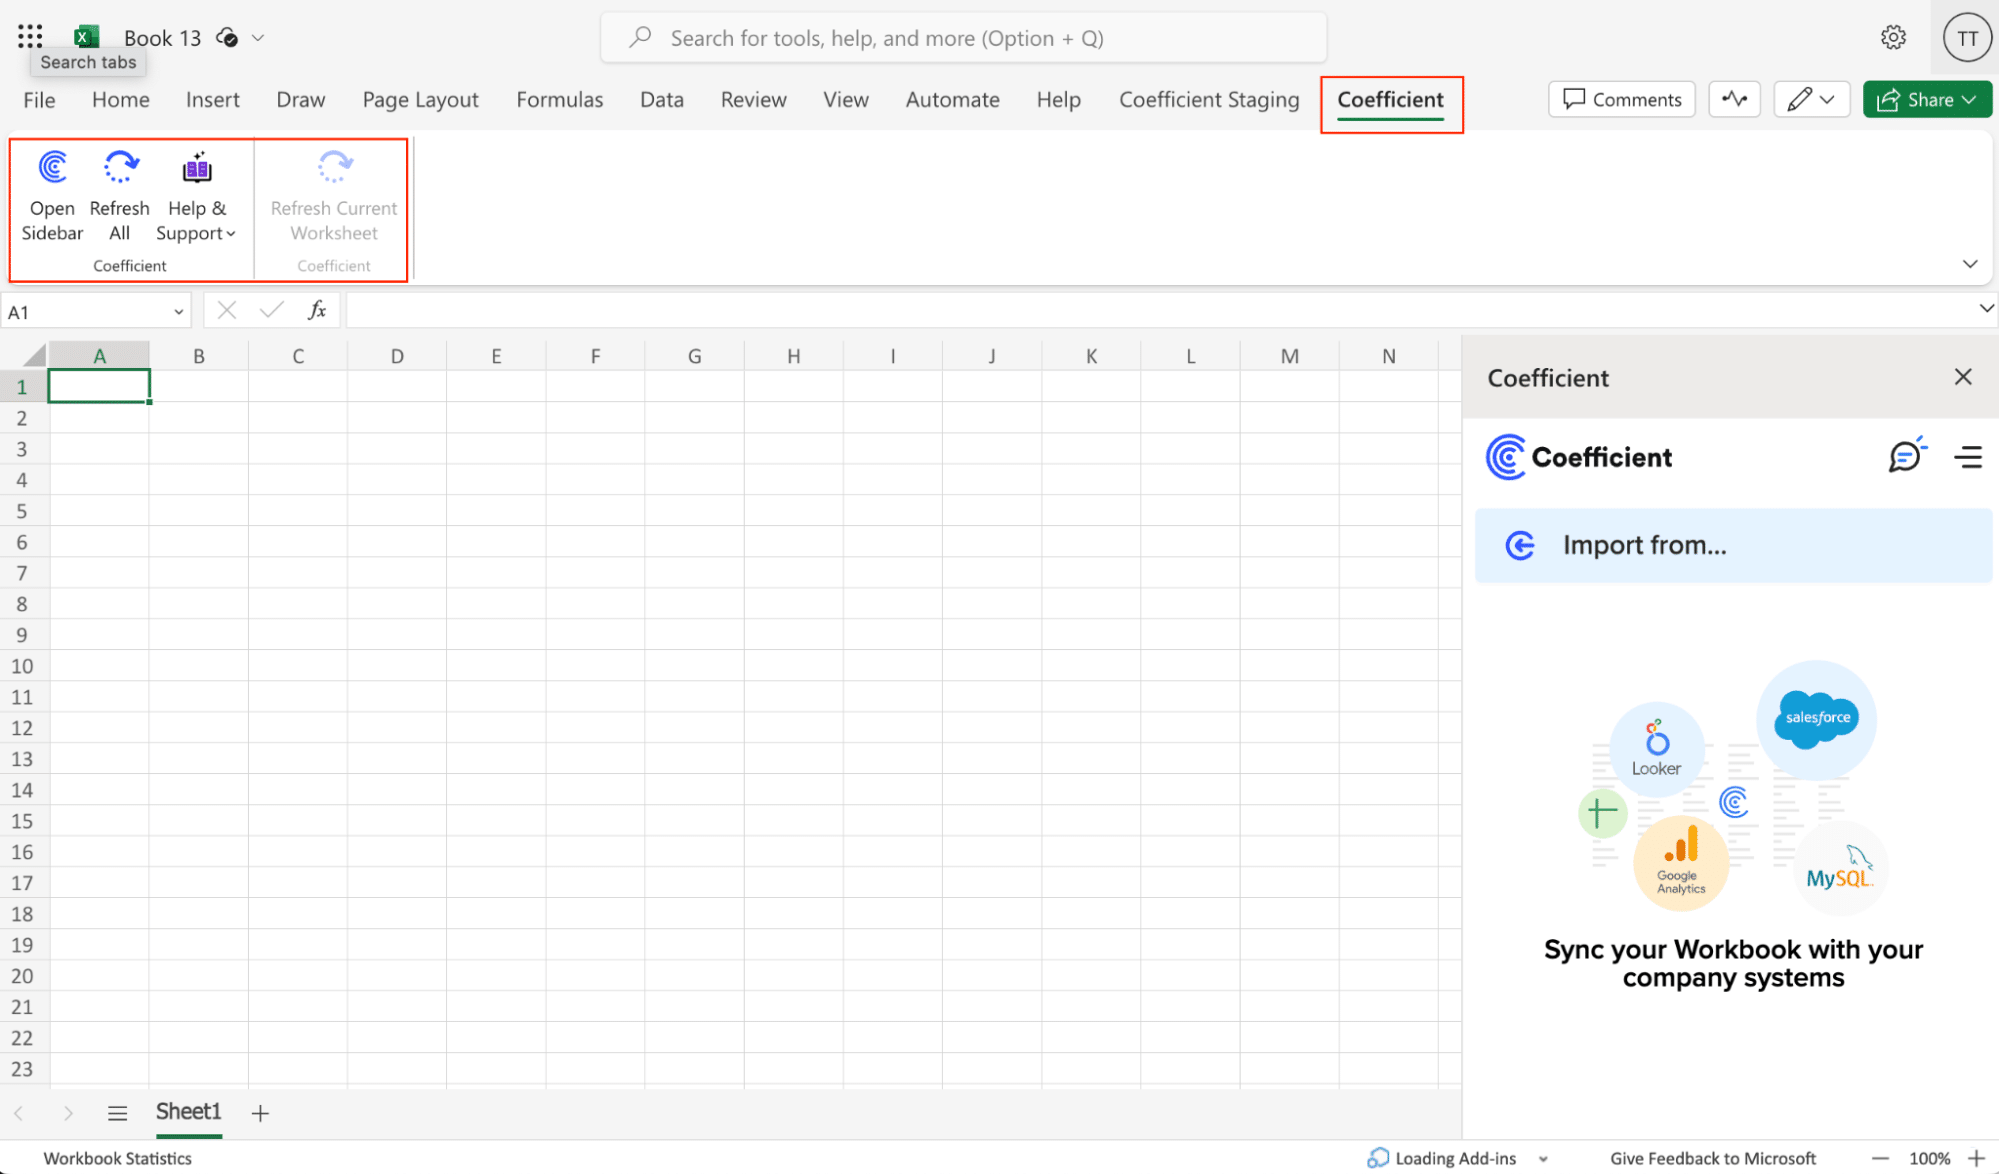
Once finished, you will see a “Coefficient” tab in the top navigation bar. Click ‘Open Sidebar’ to launch Coefficient.
Step 2. Import Data from QuickBooks to Your Spreadsheet
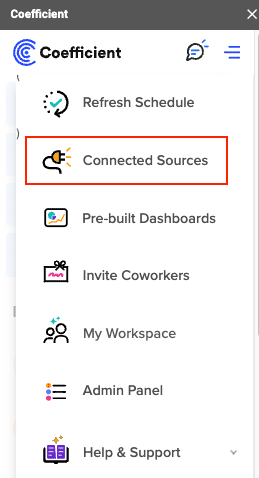
Open Coefficient Sidebar and Click on the Menu icon.
In the menu, Select “Import From…” and Select “Connected Sources.”
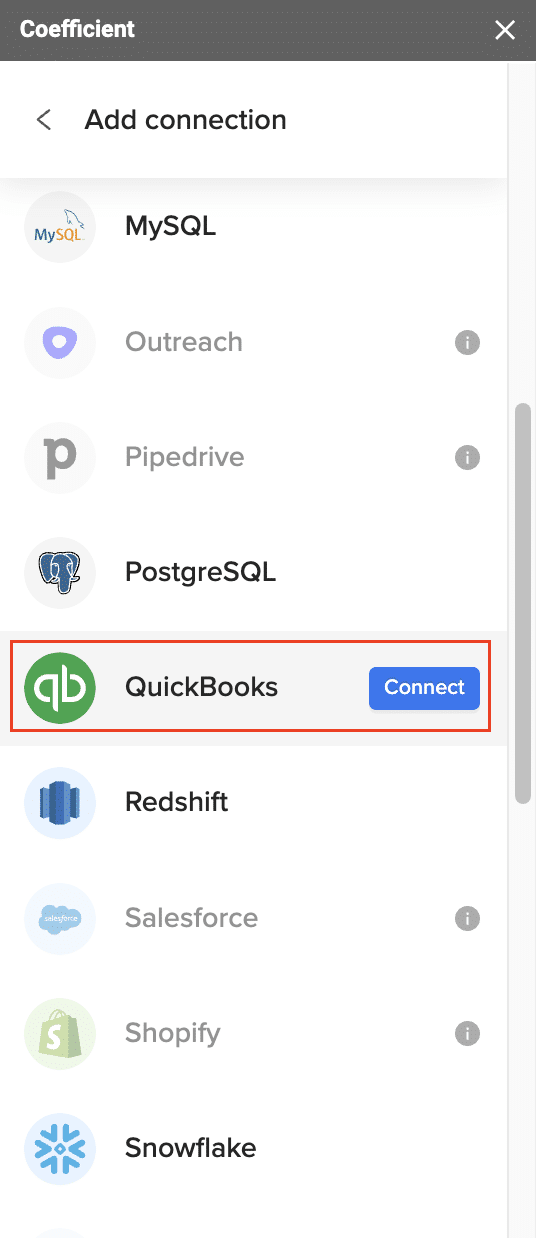
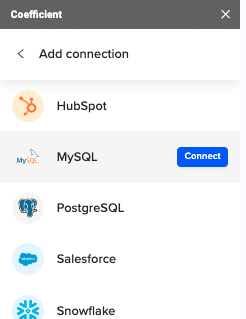
Select “Add Connection” at the bottom of the “Connected Sources” list and select QuickBooks.
Click on Connect. In the next window, you will be asked to authorize QuickBooks by providing your log in details and allowing data exchange to connect the Coefficient with the platform.
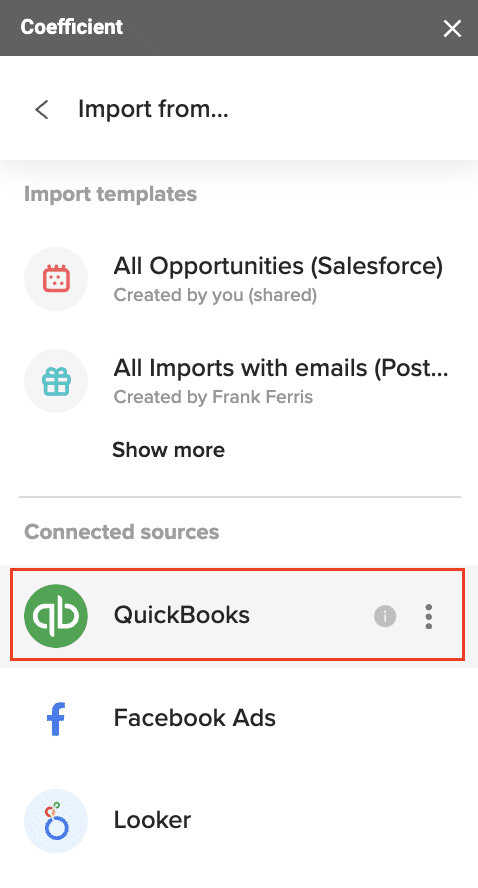
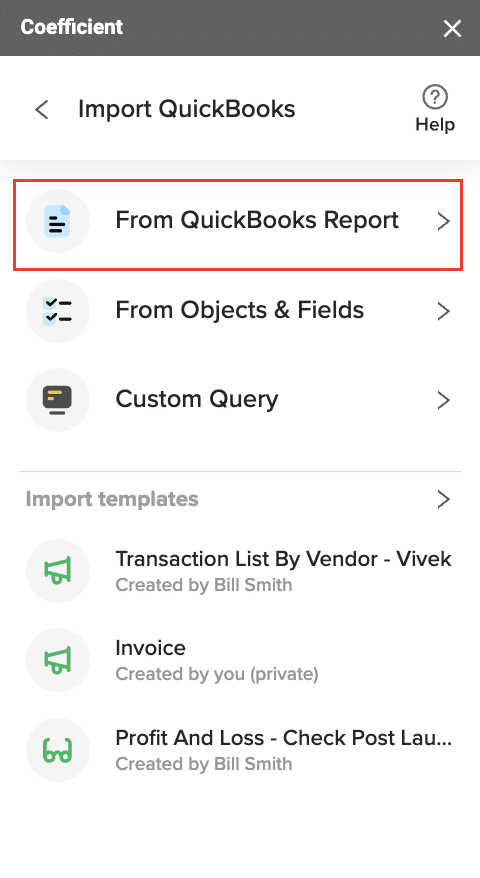
Open the Coefficient Sidebar and click the “Import from…” button to start the import. Choose “QuickBooks” from the provided list, and select “From QuickBooks Report“.
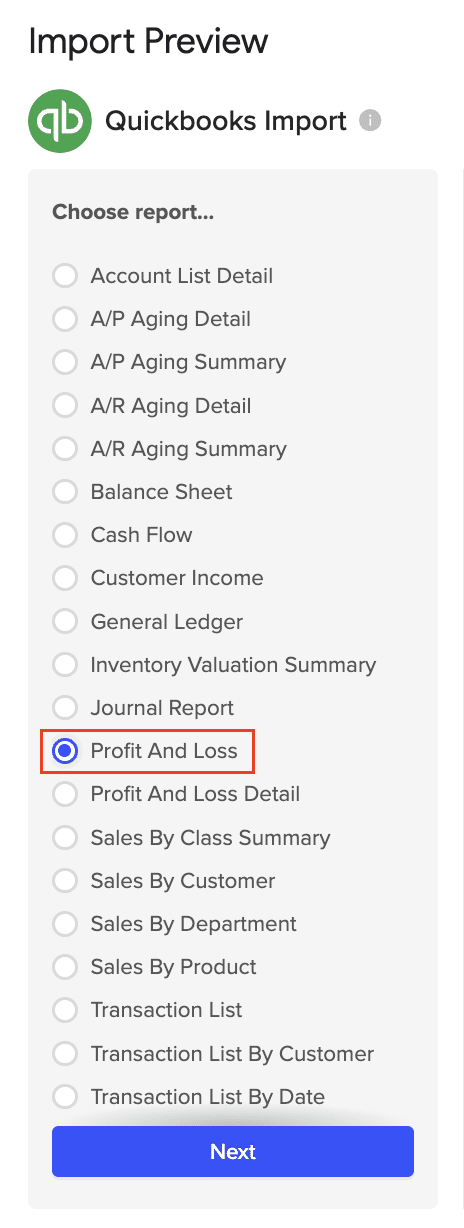
Pick the specific QuickBooks report you wish to import from your account (e.g., Profit and Loss).
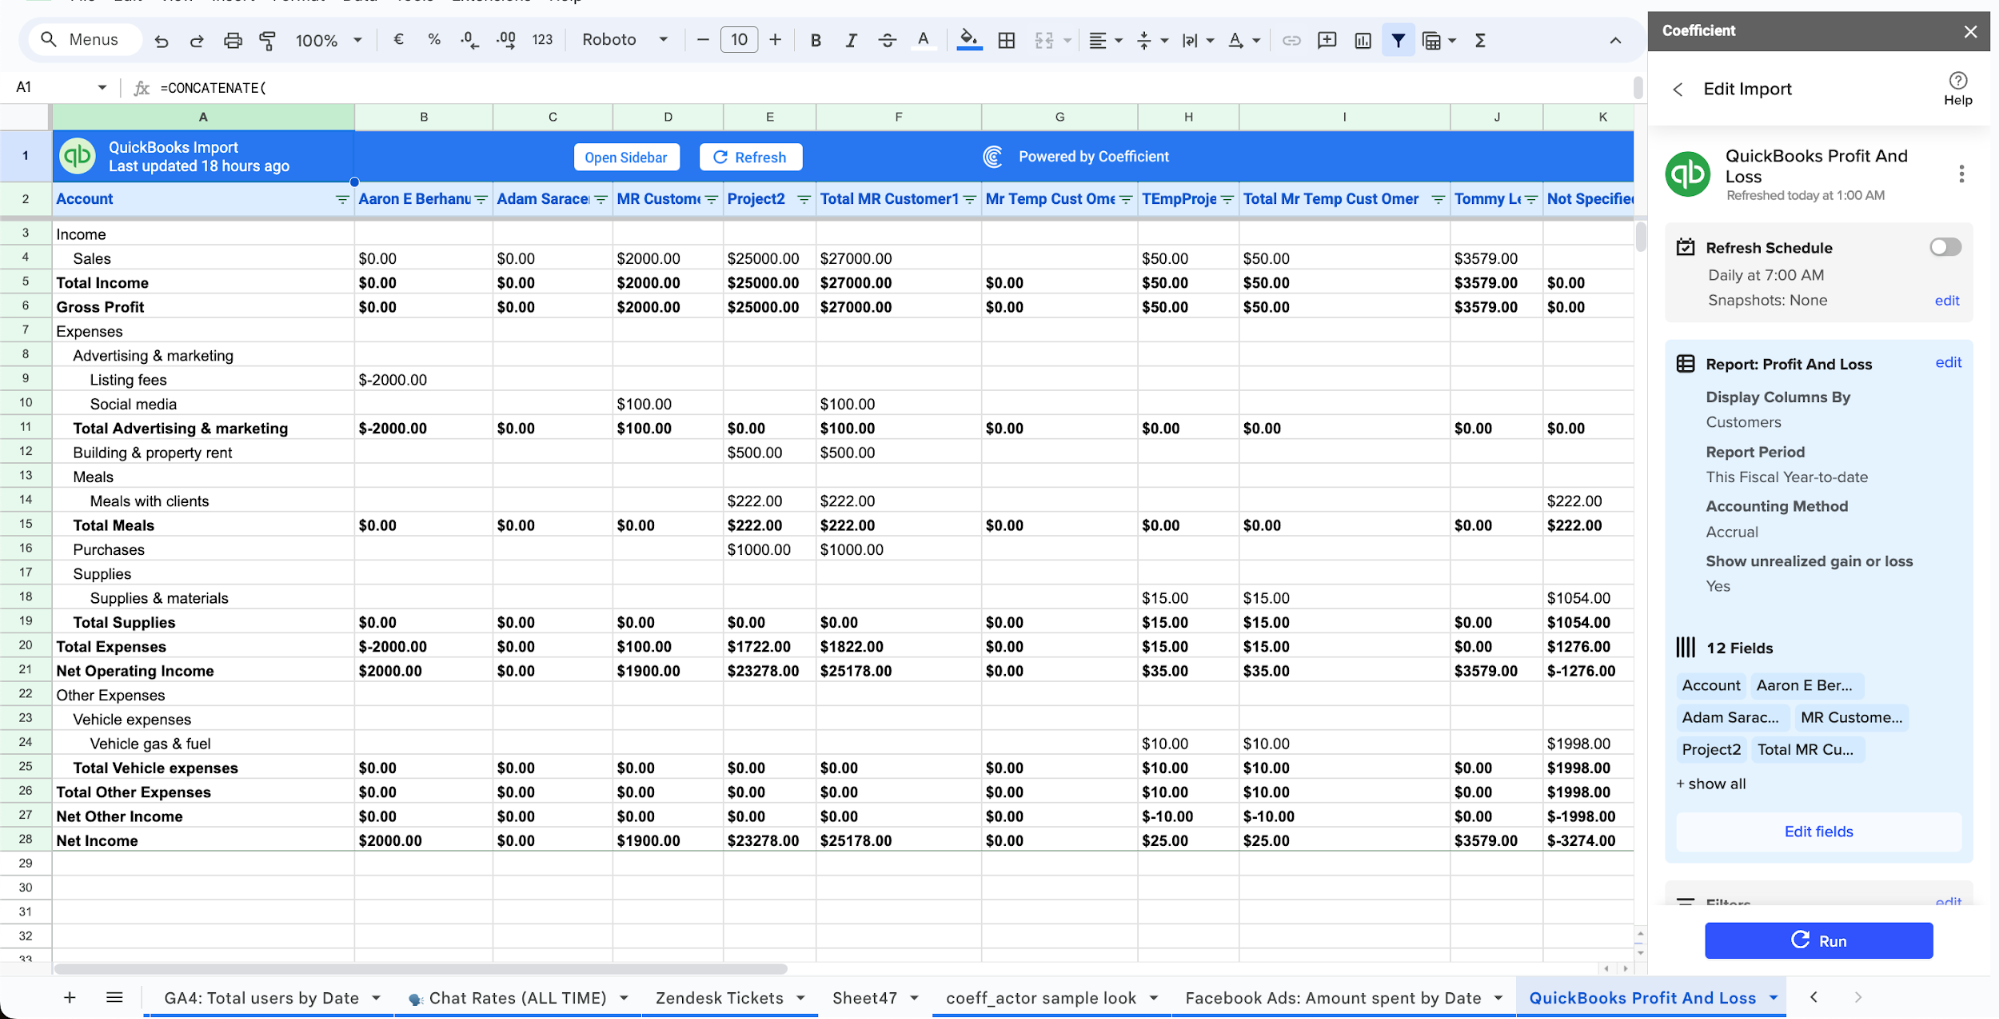
Personalize your import settings by selecting options for “Display Columns By, “”Report Period,” “Accounting Method,” and the necessary fields for this import.
Note: When adjusting your import settings, click “Refresh Preview” to see the updated sample data. The data will be sorted automatically based on the columns shown. For instance, “Customers” will appear alphabetically.
Click on Import in the top right corner, and you will have a spreadsheet synced with your QuickBooks!
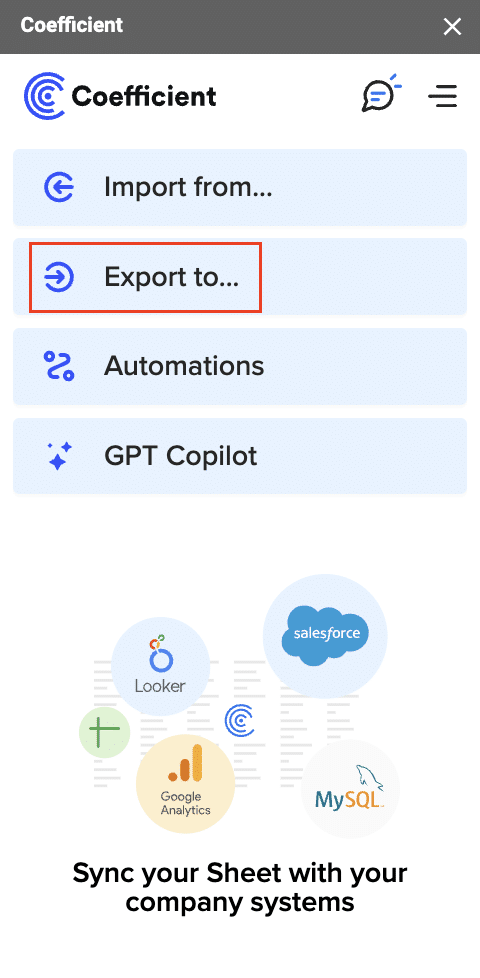
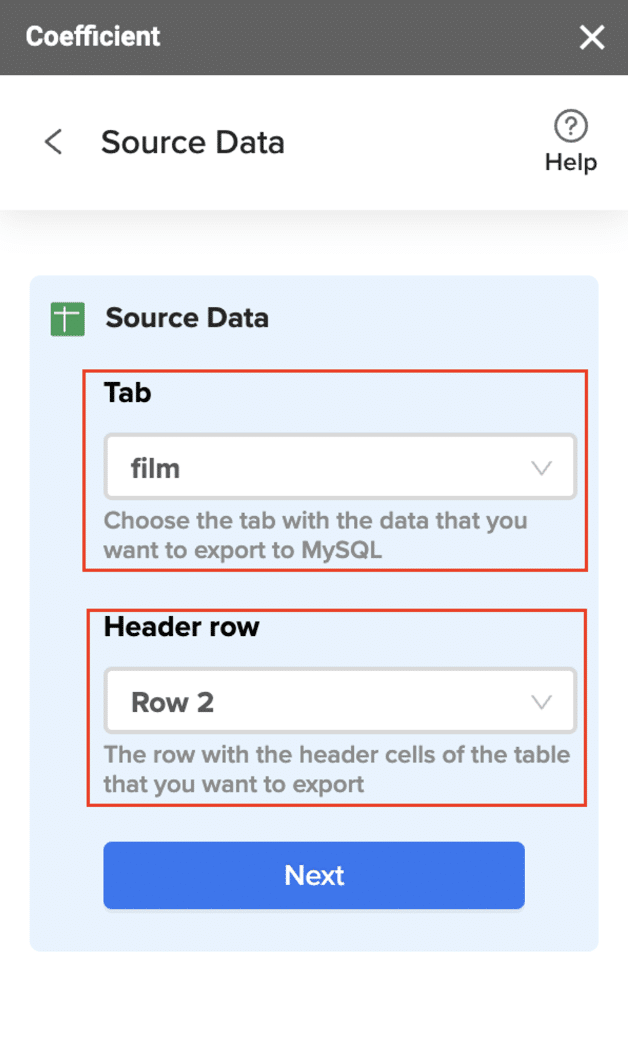
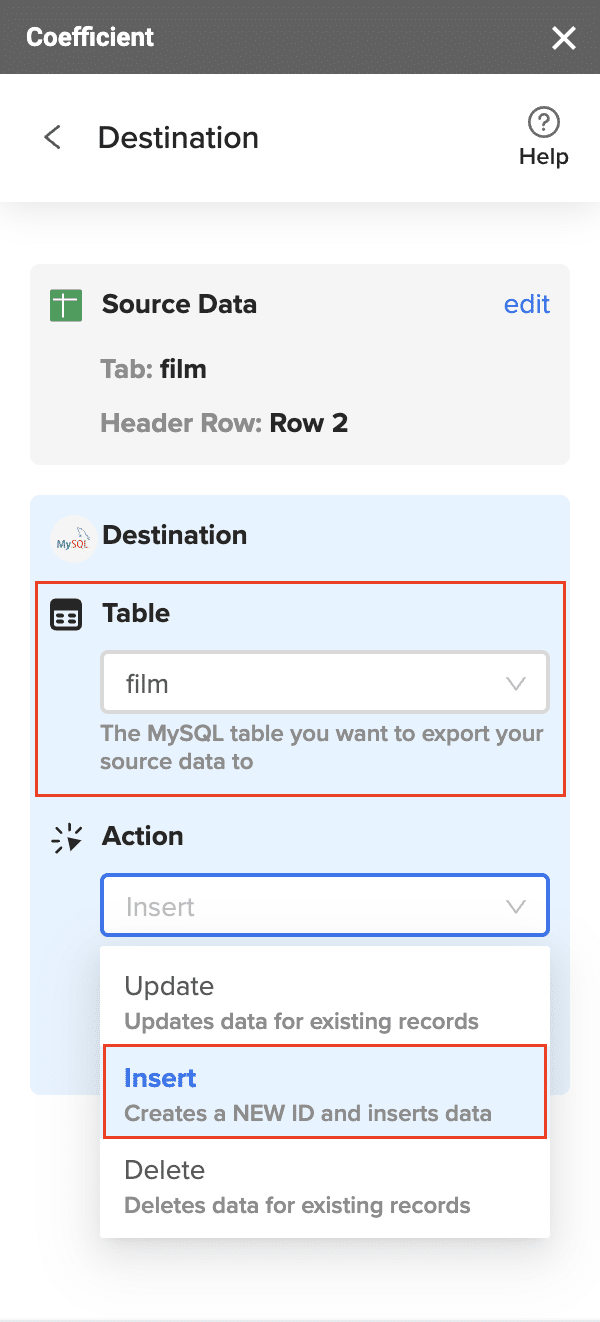
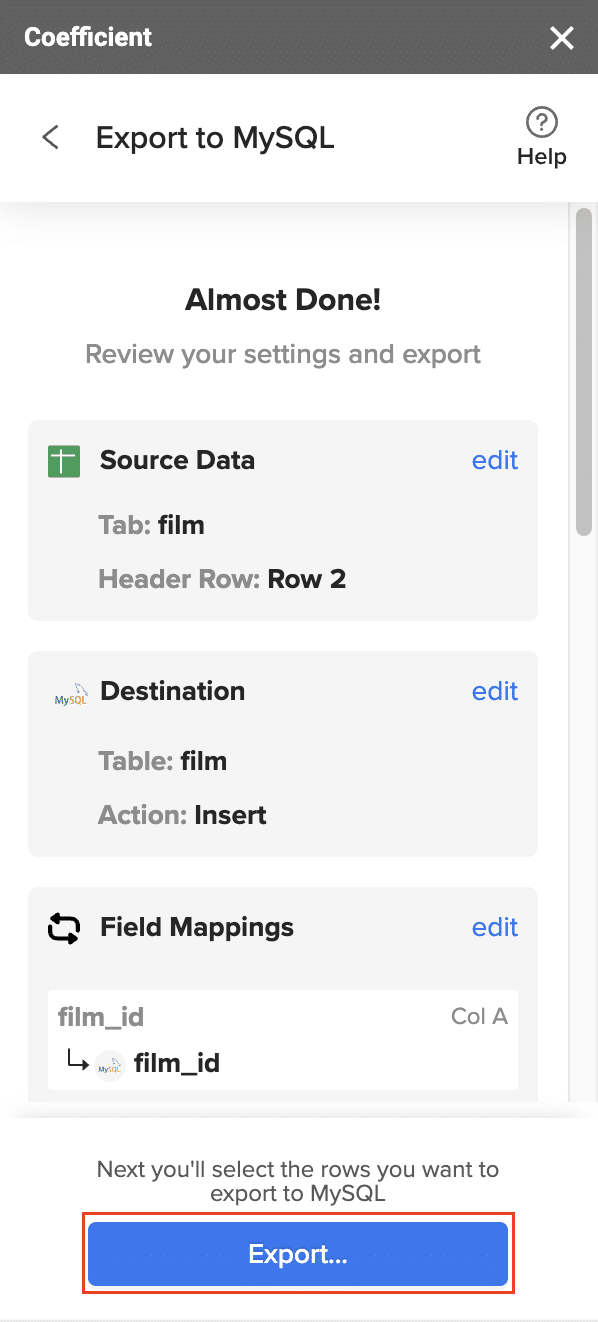
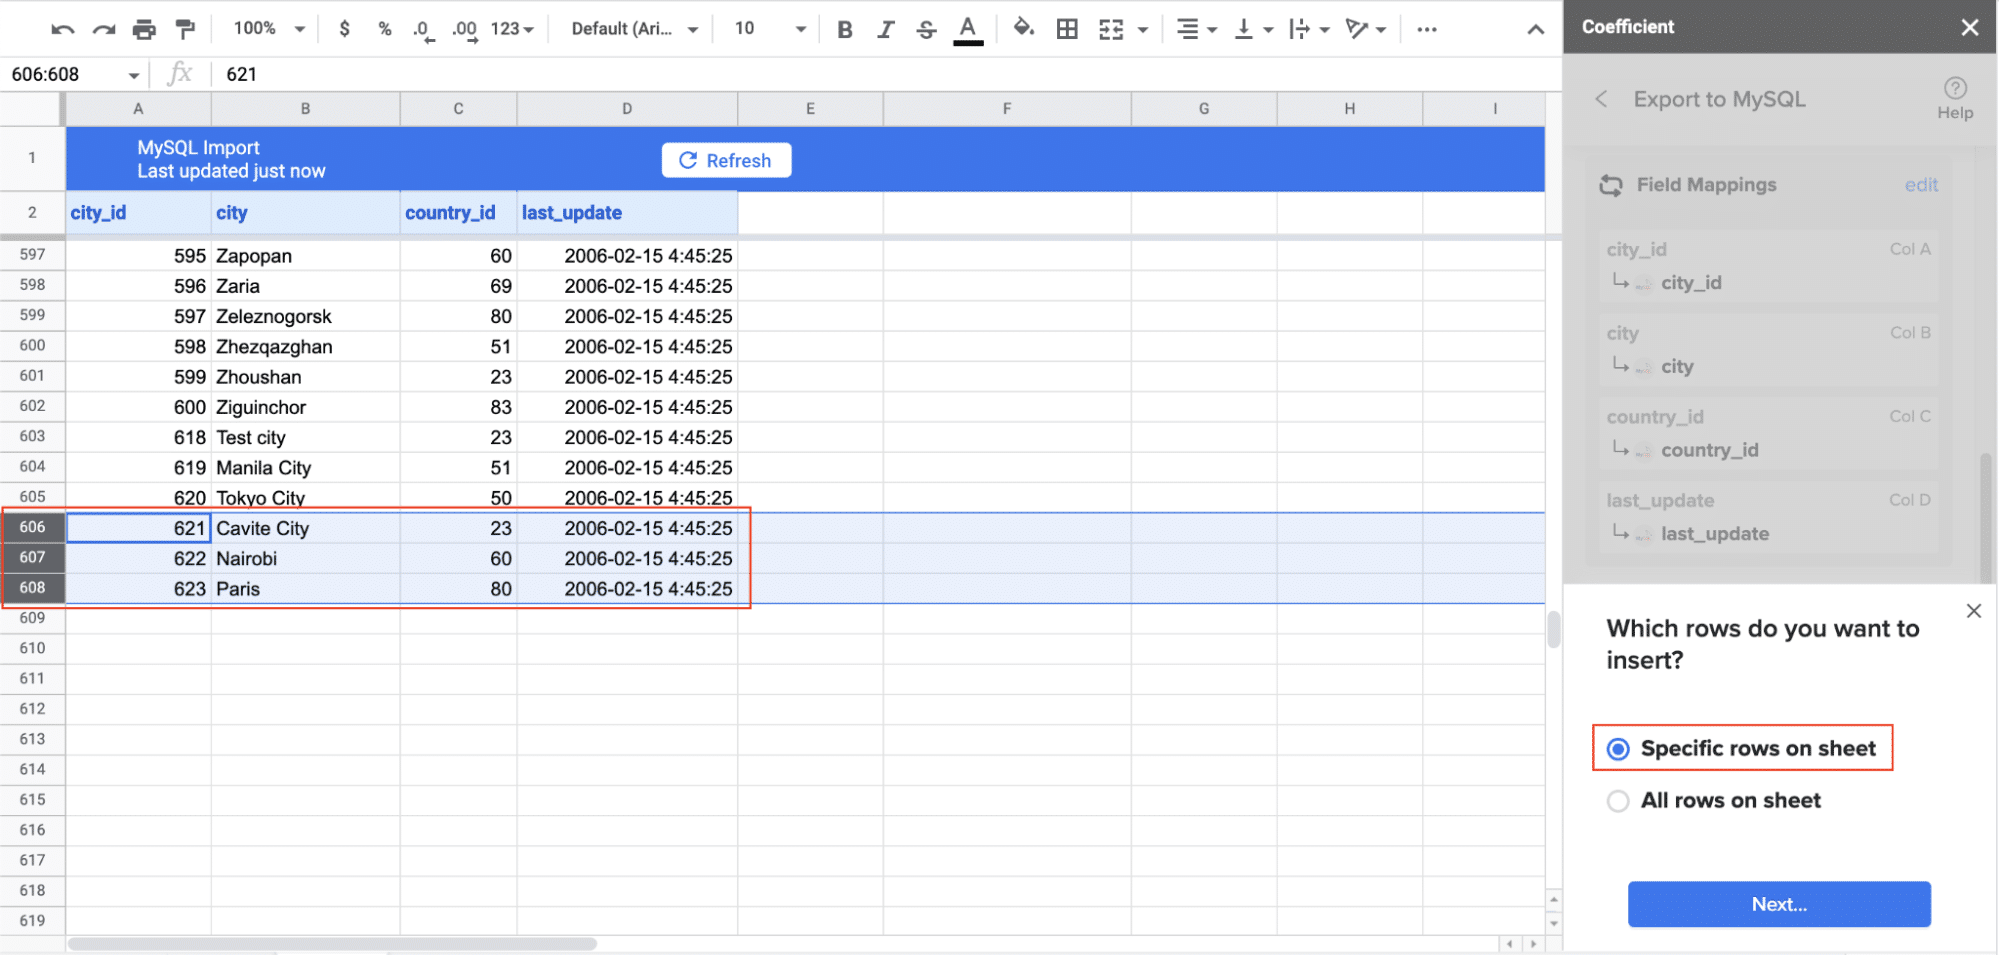
Step 3. Export Data from Your Spreadsheet to MySQL
Zapier is a versatile tool that can connect QuickBooks to MySQL along with thousands of other apps. Here’s how to set it up:
Create a Zapier account and set up a new Zap.
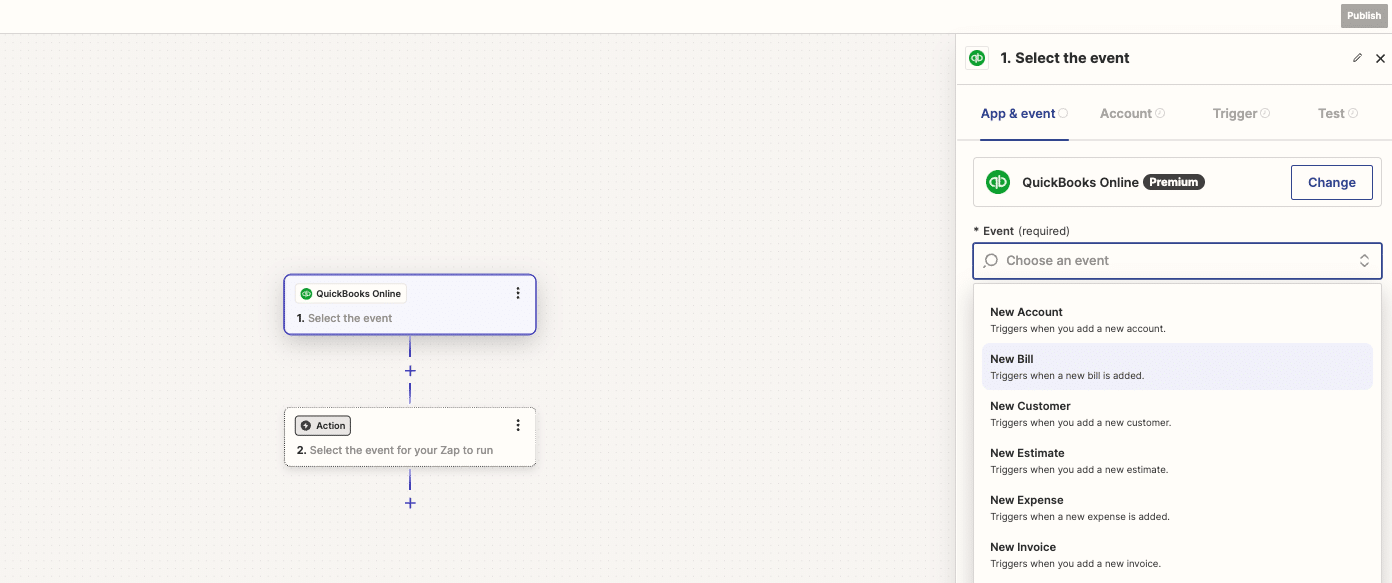
Choose QuickBooks as your trigger app.
Select the specific QuickBooks event you want to trigger the sync.
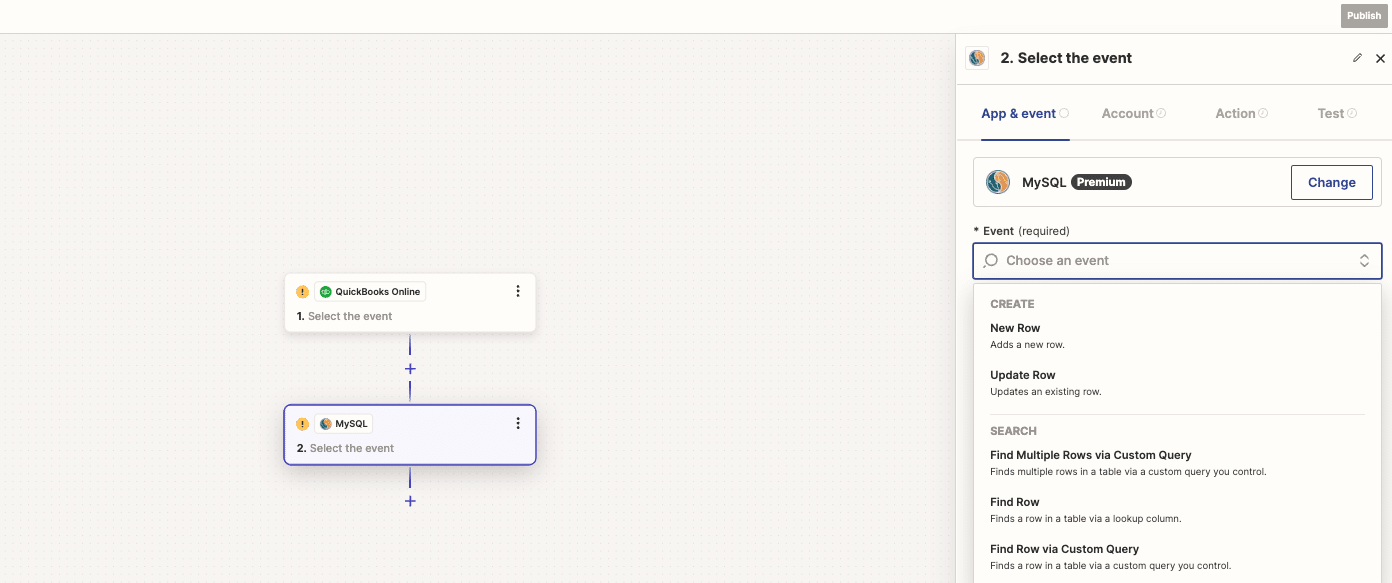
Connect your MySQL database as the action app.
Map the QuickBooks data fields to your MySQL table columns.
Test and activate your Zap.
Pros and Cons of Using Zapier
Pros:
Wide range of app integrations beyond just QuickBooks and databases
No coding required for basic automations
Regular updates and good customer support
Cons:
Limited customization for complex data transformations
Can become expensive for high-volume data transfers or multiple zaps
Not suitable for real-time data syncing (runs on schedules)
May have troubles with large datasets due to API limits
Method #3: Using Airbyte for QuickBooks to MySQL Integration
Airbyte is an open-source Extract, Transform, Load (ETL) platform that allows you to move data from various sources, including QuickBooks, to destinations like MySQL.
Airbyte is designed for data engineers and developers who want a customizable, scalable solution for data integration. It offers a wide range of pre-built connectors and allows for custom connector development.
Step-by-step walkthrough:
Set up Airbyte: Deploy Airbyte locally or on a cloud server.
Configure QuickBooks as a source: In Airbyte’s UI, add a new source and select QuickBooks. Provide your QuickBooks API credentials.
Set up MySQL as a destination: Add a new destination in Airbyte and configure your MySQL database details.
Create and run a connection: Define a new connection between the QuickBooks source and MySQL destination. Select the data you want to sync.
Schedule regular syncs: Set up a sync schedule to keep your MySQL database updated with fresh QuickBooks data.
Pros and Cons of Using Airbyte
Pros:
Open-source platform with a growing community
Highly customizable with ability to write custom connectors
Supports both cloud and self-hosted deployments
Good for handling large volumes of data
Cons:
Requires technical expertise to set up and maintain
Less user-friendly interface compared to no-code solutions
Community support may be less reliable than commercial options
Some advanced features may require the paid version
QuickBooks to MySQL? Do it in Seconds with Coefficient
Connecting QuickBooks to MySQL can significantly enhance your financial data analysis and reporting capabilities.
For most business users looking for an easy-to-implement solution, Coefficient stands out as the top choice. Its no-code approach and automated features make it accessible to a wide range of users while still providing powerful integration capabilities.
Ready to supercharge your financial data analysis? Get started with Coefficient today and unlock the full potential of your QuickBooks data in MySQL.
Nikesh Vora
Technical Product Manager @ Coefficient
Nikesh is a Spreadsheet Enthusiast and Product Manager at Coefficient, with over 8 years of experience in API integrations and turning customer needs into solutions. The humble spreadsheet – his go-to trusty sidekick for untangling data mysteries. At Coefficient, he’s all about making spreadsheets smarter, creating tools that keep them updated with data that matters.
700,000+ happy users
Make your QuickBooks data work harder
Sync QuickBooks data to Google Sheets, automate reporting, track business health, and quickly build financial projections.