How to Connect Airtable to Postgres: Your Ultimate Guide for 2024
Struggling to link your Airtable bases with PostgreSQL databases? This comprehensive guide will walk you through three proven methods to connect Airtable to PostgreSQL. You’ll learn how to efficiently migrate data, set up real-time synchronization, and leverage the strengths of both platforms.
Advantages of Connecting Airtable to PostgreSQL
- Expand data analysis capabilities: Move Airtable data into PostgreSQL to perform complex queries and joins with other datasets. This allows for deeper insights that aren’t possible within Airtable’s interface alone.
- Scale your data operations: Overcome Airtable’s record limits by regularly syncing data to PostgreSQL. This enables you to maintain a complete historical dataset for long-term analysis and reporting.
- Enhance data security and compliance: Leverage PostgreSQL’s advanced security features for sensitive data stored in Airtable. Implement row-level security, encryption, and detailed audit logs to meet stringent compliance requirements.
Top 3 Methods to Connect Airtable to Postgres
| Solution | Best For |
| Coefficient | Teams that want to use Google Sheets as an intermediate step for data cleaning and transformation before loading into PostgreSQL. |
| Zapier | Users needing simple, automated workflows to transfer specific Airtable records to PostgreSQL based on triggers. |
| Airbyte | Data engineers requiring a customizable, open-source solution for large-scale data migration from Airtable to Postgres. |
Method 1: Coefficient, No-Code Integration

Coefficient is an excellent tool for non-technical users who want to sync Airtable data to PostgreSQL using Google Sheets as an intermediary. It provides a user-friendly interface and doesn’t require coding knowledge.
Here’s how to use Coefficient to connect Airtable to Postgres:
Step 1. Install Coefficient
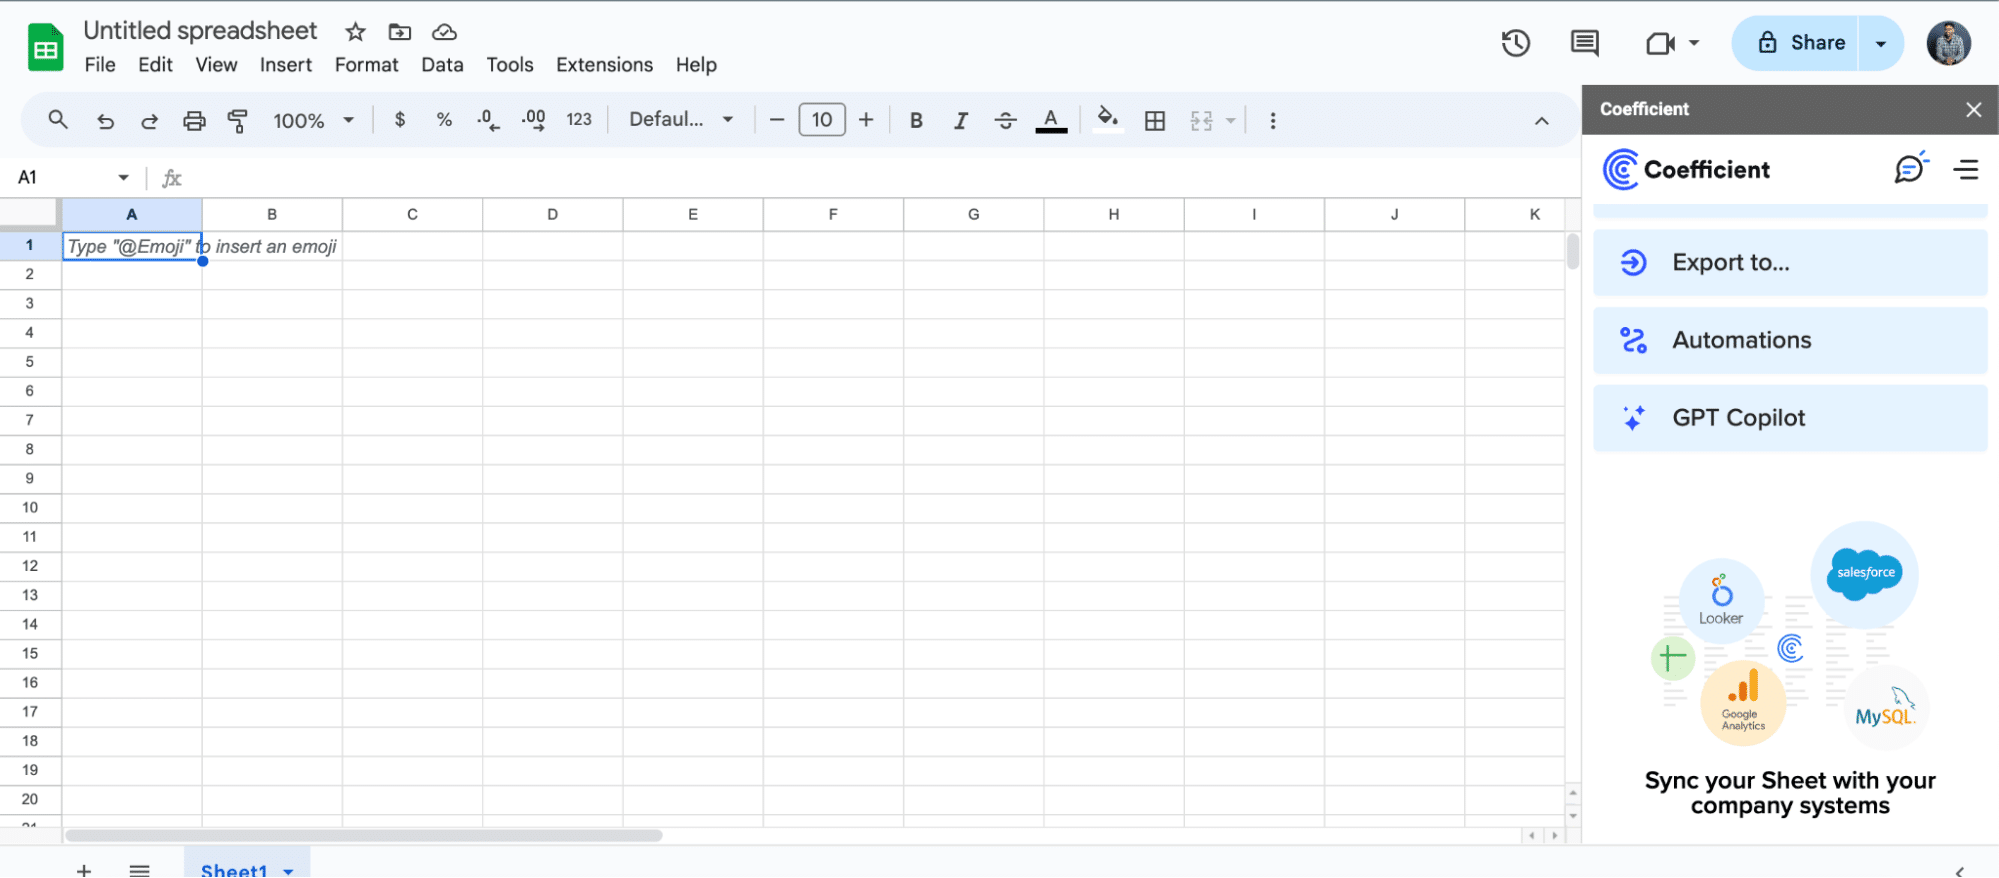
For Google Sheets
- Open a new or existing Google Sheet, navigate to the Extensions tab, and select Add-ons > Get add-ons.
- In the Google Workspace Marketplace, search for “Coefficient.”
- Follow the prompts to grant necessary permissions.
- Launch Coefficient from Extensions > Coefficient > Launch.
- Coefficient will open on the right-hand side of your spreadsheet.
For Microsoft Excel
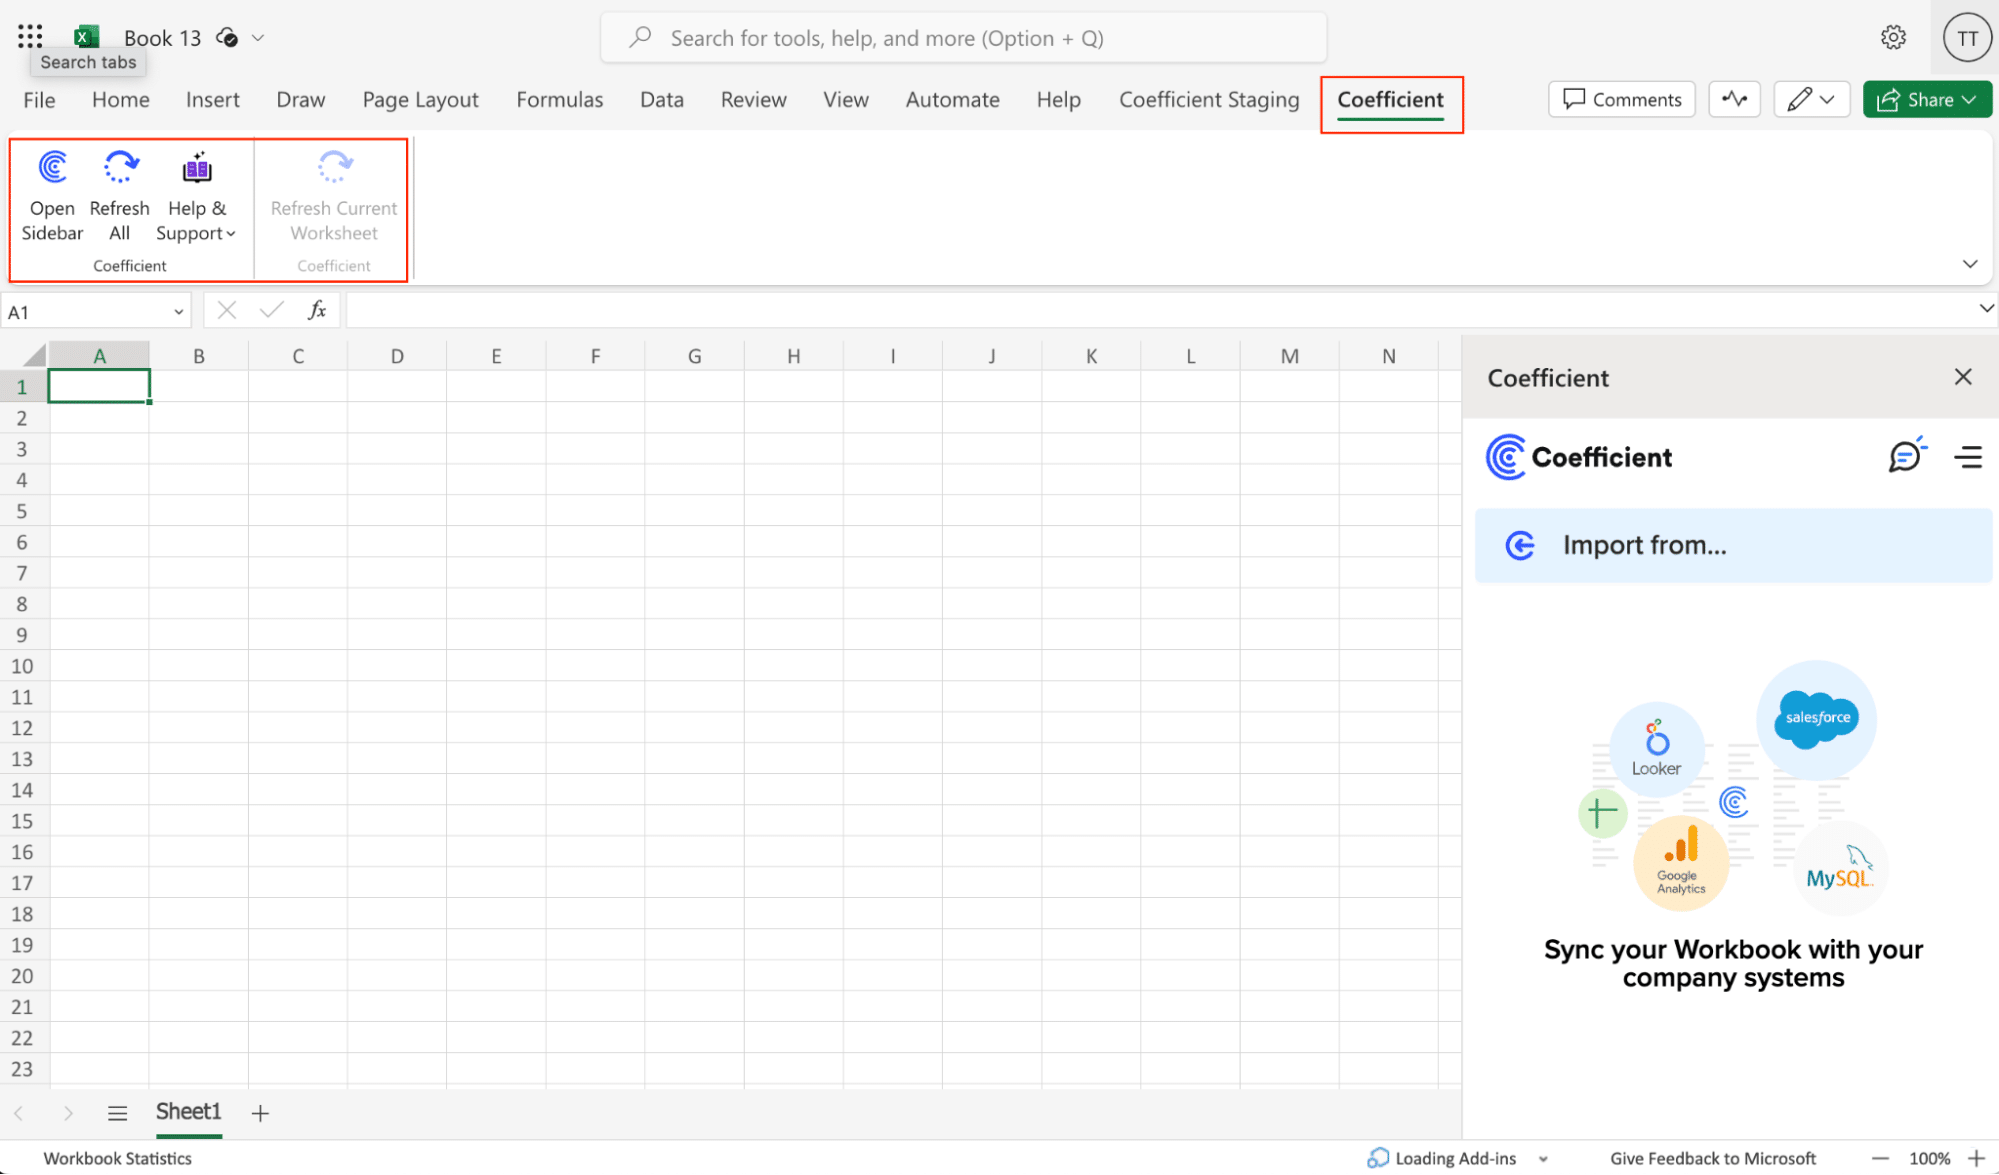
- Open Excel from your desktop or in Office Online. Click ‘File’ > ‘Get Add-ins’ > ‘More Add-Ins.’
- Type “Coefficient” in the search bar and click ‘Add.’
- Follow the prompts in the pop-up to complete the installation.
- Once finished, you will see a “Coefficient” tab in the top navigation bar. Click ‘Open Sidebar’ to launch Coefficient.
Step 2. Connect and Import Data from Airtable
- Open Coefficient Sidebar: In the Coefficient sidebar, click Import from…, then select Airtable.
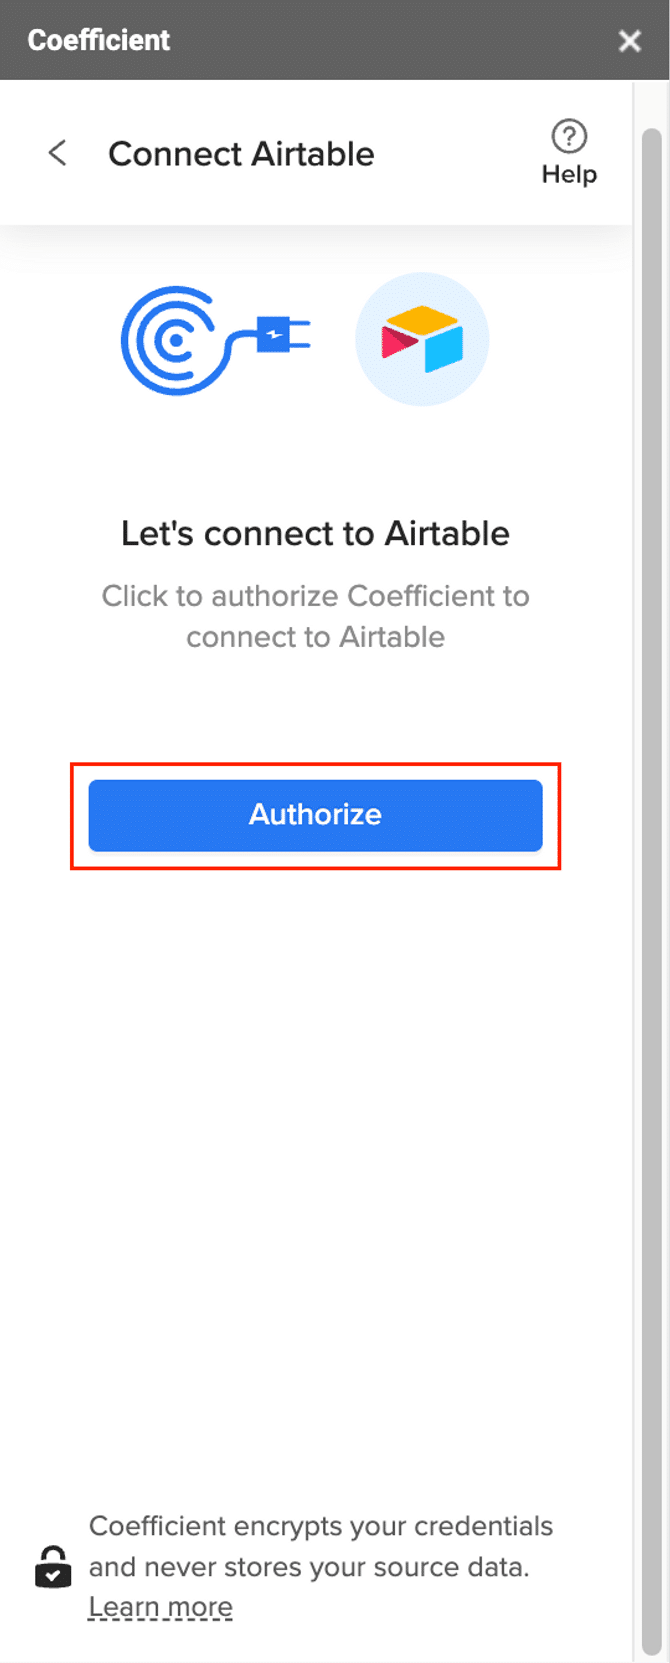
- Authenticate Airtable: Follow the prompts to authenticate and connect your Airtable account.
- Select Data: Choose the data you need from Airtable. Configure any necessary filters and click Import. Your Airtable data will automatically populate in spreadsheet.

Step 3. Export Data to PostgreSQL
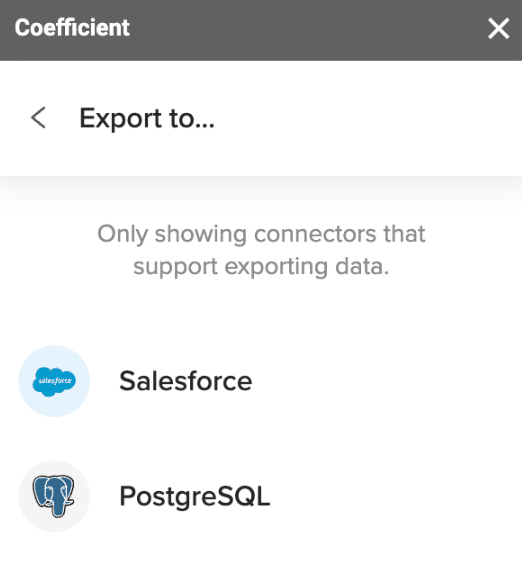
- Navigate to Export: In Coefficient’s sidebar, click Export to…, then select PostgreSQL.
- Select Data and Action: Choose the tab and header row in your sheet that contains the data you want to export. Define your tab and header row. Specify the table in your database where you want to insert the data and choose the action type: Update, Insert, Upsert, or Delete.
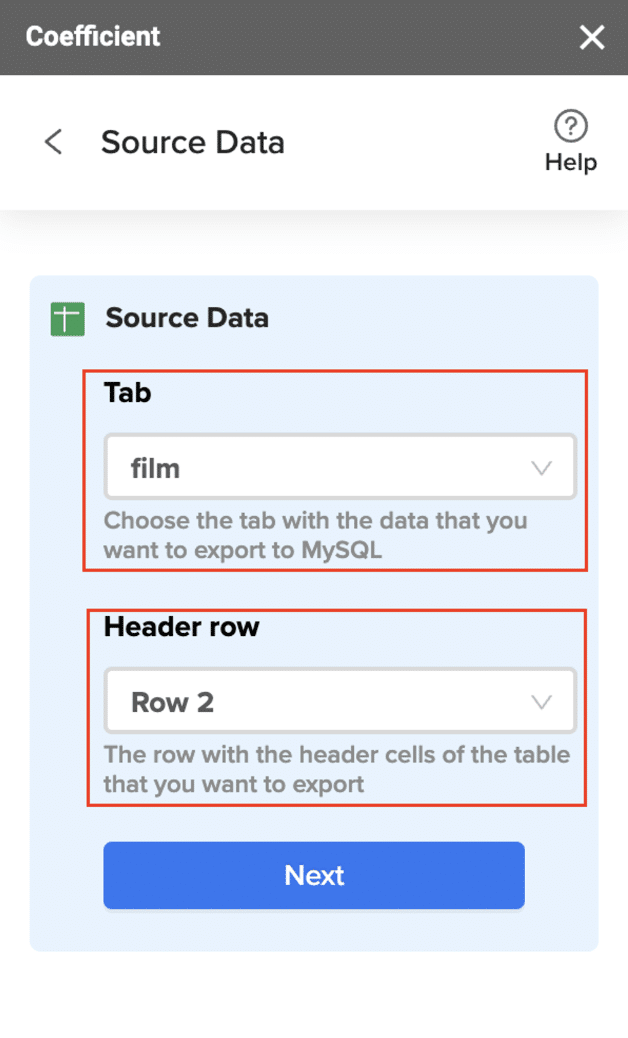
- Map Fields: Map the fields from your Google Sheets data to the corresponding fields in PostgreSQL. Manual mapping is required for first-time setups.
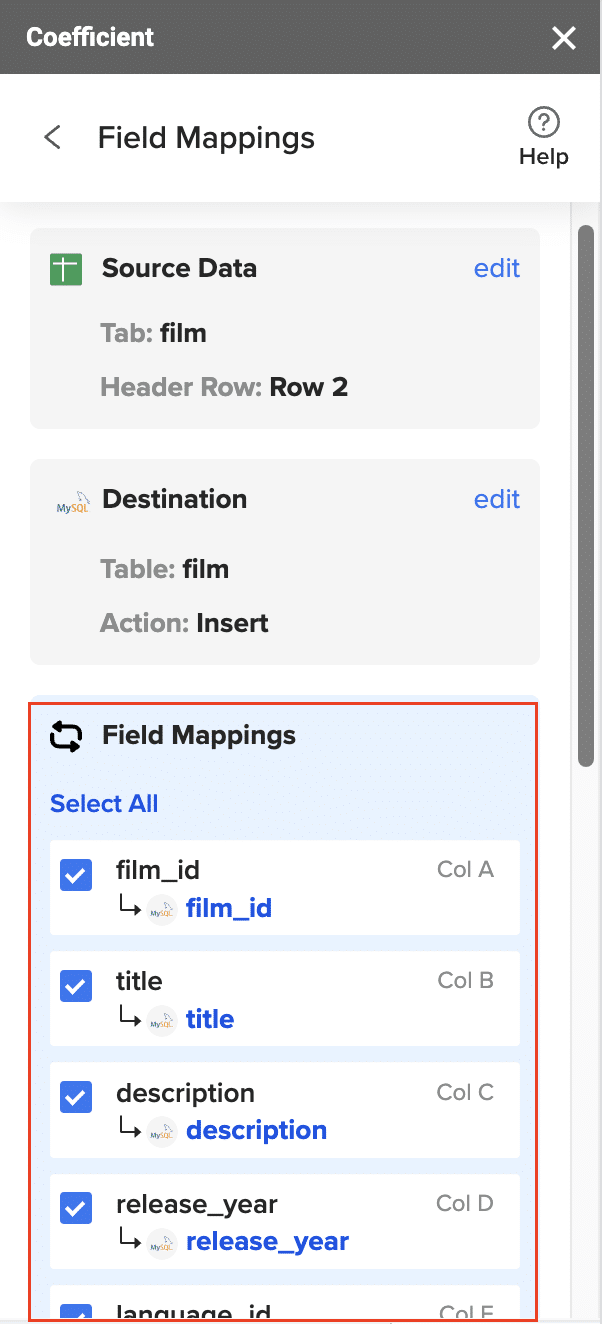
- Customize and Export: Specify batch size and any additional settings. Confirm your settings and click Export.

Pros:
- User-friendly interface that integrates seamlessly with Google Sheets
- No coding required, making it accessible to non-technical users
- Real-time data syncing capabilities
Cons:
- Requires Google Sheets as an intermediary
- May have limitations for extremely large datasets
Method 2: Zapier, Visual Workflow Automation
Zapier is a popular no-code automation platform that can connect Airtable to PostgreSQL without requiring technical expertise. It’s ideal for users who want to set up simple, trigger-based data transfers.
Step 1. Create a Zapier account
- Go to Zapier’s website and sign up for an account if you don’t have one.
- Once logged in, click “+ Create” > “New Zap” to start a new automation.

Step 2. Set up the Airtable trigger
- Search for “Airtable” in the app selection and choose it as your trigger app.
- Select the trigger event (e.g., “New Record,” “Updated Record,” or “New or Updated Record”).
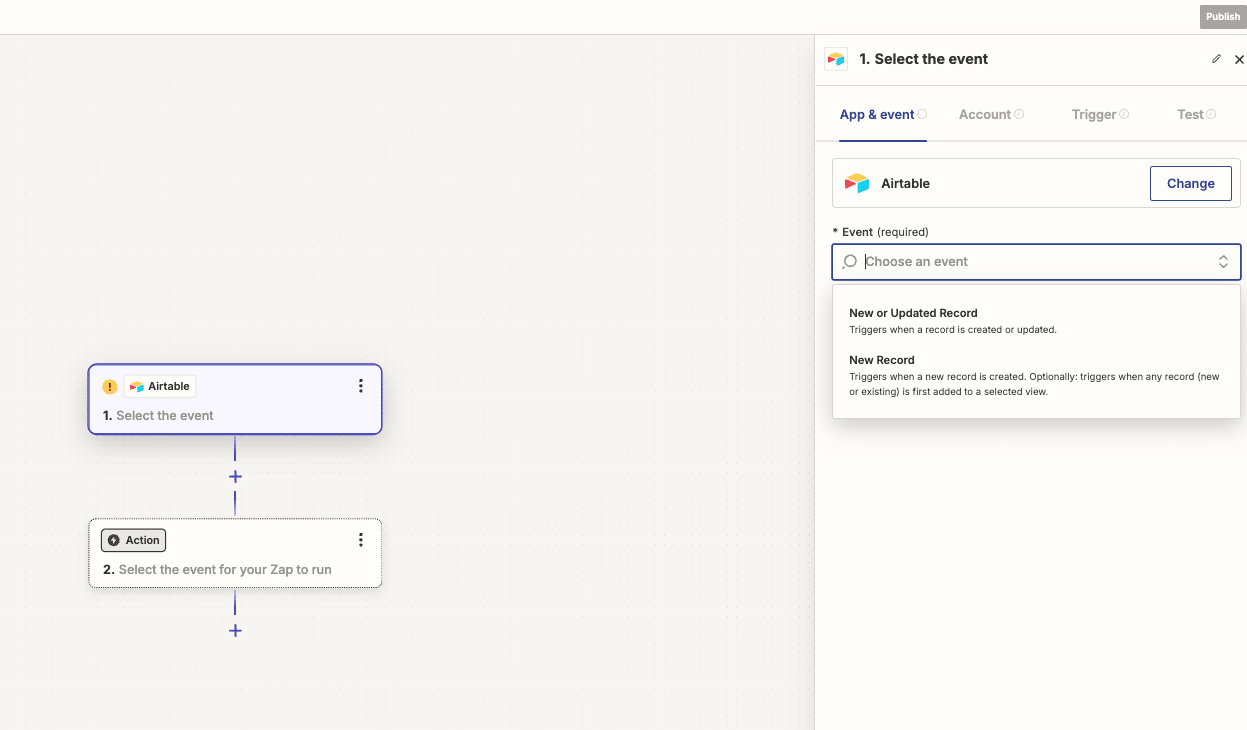
- Connect your Airtable account if you haven’t already.
- Choose the Airtable base and table you want to use as the trigger.
- Test the trigger to ensure it’s working correctly.
Step 3. Configure the PostgreSQL action
- For the action step, search for and select “PostgreSQL.”
- Choose the action you want to perform (e.g., “Insert Row,” “Update Row,” or “Insert or Update Row”).

- Connect your PostgreSQL database by providing the necessary connection details.
- Map the fields from Airtable to the corresponding columns in your PostgreSQL table.
- Test the action to ensure data is being inserted or updated correctly.
Step 4. Activate and monitor your Zap
- Review your Zap to make sure all steps are configured correctly.
- Give your Zap a name for easy reference.
- Click “Turn on Zap” to activate the automation.
- Monitor the Zap’s activity in your Zapier dashboard to ensure it’s running smoothly.
Pros:
- No coding required, making it accessible to non-technical users.
- Offers a wide range of customizable triggers and actions.
- Can handle complex workflows with multi-step Zaps.
Cons:
- May become costly for high-volume data transfers or frequent syncs.
- Limited control over data transformation compared to more advanced ETL tools.
Method 3: Airbyte, Open Source Data Integration
Airbyte is an open-source data integration platform that offers more flexibility and control for developers and data teams. It’s ideal for those who need advanced ETL (Extract, Transform, Load) capabilities and customization options.
Step 1. Set up Airbyte
- Install Airbyte on your local machine or cloud server following the official documentation.
- Once installed, access the Airbyte web interface (typically at http://localhost:8000).
- Set up your Airbyte workspace and create a new connection.
Step 2. Configure Airtable as a source
- In the Airbyte UI, go to “Sources” and click “New source.”
- Select “Airtable” from the list of available connectors.
- Provide your Airtable API key and select the base you want to use.
- Choose the tables you want to sync and configure any necessary options.
- Test the connection to ensure Airbyte can access your Airtable data.
Step 3. Set up PostgreSQL as a destination
- Go to “Destinations” in the Airbyte UI and click “New destination.”
- Choose “PostgreSQL” from the list of available destinations.
- Enter your PostgreSQL connection details (host, port, database name, username, and password).
- Configure any additional options, such as schema naming conventions or SSL settings.
- Test the connection to verify Airbyte can write to your PostgreSQL database.
Step 4. Create and run a connection
- In the Airbyte UI, go to “Connections” and click “New connection.”
- Select your Airtable source and PostgreSQL destination.
- Configure the sync settings, including frequency and which tables to sync.
- Set up any necessary transformations using Airbyte’s built-in options or custom SQL.
- Save and run the connection to start syncing data from Airtable to PostgreSQL.
Pros:
- Open-source platform offers maximum flexibility and customization.
- Supports a wide range of data sources and destinations beyond Airtable and PostgreSQL.
- Provides advanced ETL capabilities for complex data transformations.
Cons:
- Requires more technical knowledge to set up and maintain compared to no-code solutions.
- May need additional infrastructure for high-volume or production use cases.
Streamline Your Airtable to Postgres Connection Today
Connecting Airtable to PostgreSQL can significantly enhance your data management capabilities. Whether you’re a non-technical user looking for a simple solution like Coefficient, a business user seeking automation with Zapier, or a developer requiring the flexibility of Airbyte, there’s a method that fits your needs.
By following this guide, you can seamlessly integrate these powerful platforms and unlock new possibilities for your data-driven workflows. Ready to take the next step? Get started with Coefficient today and experience the benefits of streamlined data integration.


