If you want to learn how to easily connect PostgreSQL to Excel, this is your guide.
For three decades, PostgreSQL has been a cornerstone in the realm of relational database management systems (RDBMS), celebrated for its open-source nature and strict adherence to SQL standards.
However, the needs of sales and revenue teams diverge significantly from those of traditional SQL users.
These teams live and breathe spreadsheets, and many don’t have the time (or coding skills) to quickly and easily connect Postgres to Excel.
How to connect PostgreSQL to Excel? Learn about the different ways to pull data from PostgreSQL into Excel in this blog.
Best Ways to Connect PostgreSQL to Excel
Method 1 – Coefficient
Integrating PostgreSQL with Excel has traditionally required a blend of technical expertise, significant setup time, and often the involvement of engineers or data teams.
100% no-code, Coefficient is the fastest and easiest way for technical and non-technical teams to connect PostgreSQL to Excel.
- One-time setup & no coding – Pull data from your PostgreSQL tables into Excel without custom SQL queries. As a note, Coefficient does also offer the ability to pull data via SQL queries and also GPT functionality that can help with your SQL queries.
- No more manual imports – Visualize PostgreSQL database tables with Coefficient’s data inline previewer, and point-and-click to choose the data you want to import.
- Unlock multiple database connections – Connect multiple databases to your Connected Spreadsheet and combine your PostgreSQL data with data from other sources, including databases, BI tools, and CRMs in a few clicks.
How to Connect Postgres to Excel with Coefficient
To install Coefficient, you can get started here or open Excel from your desktop or in Office Online.
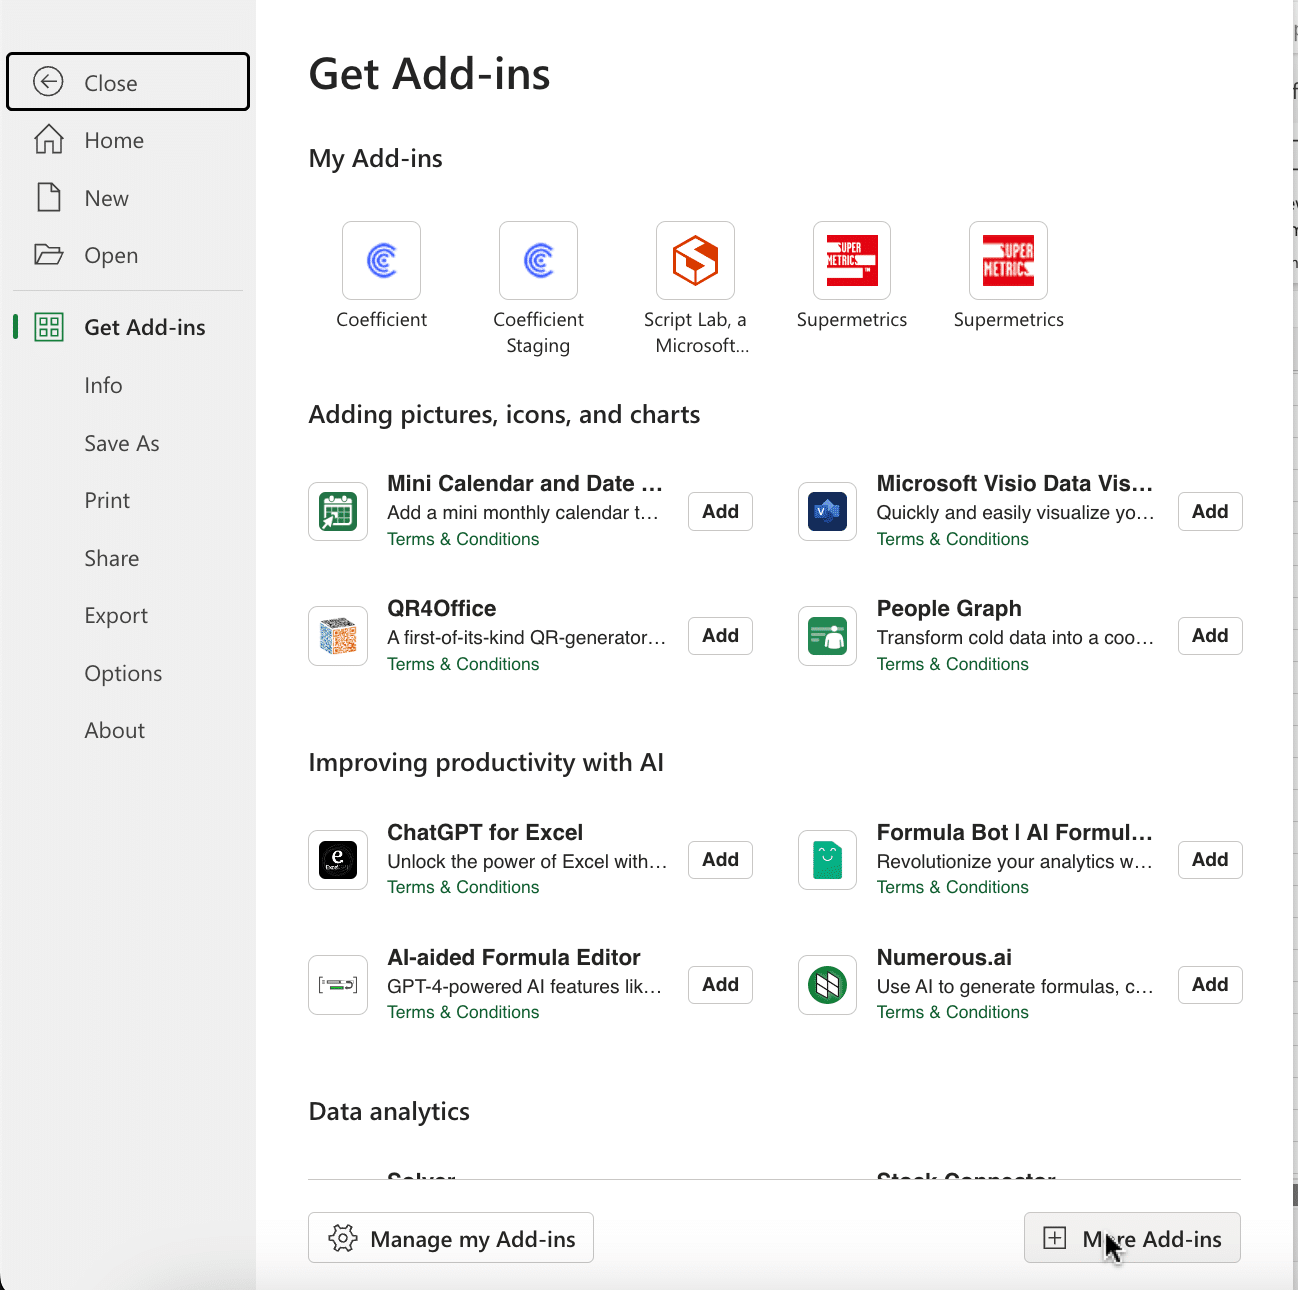
Click ‘File’ > ‘Get Add-ins’ > ‘More Add-Ins’
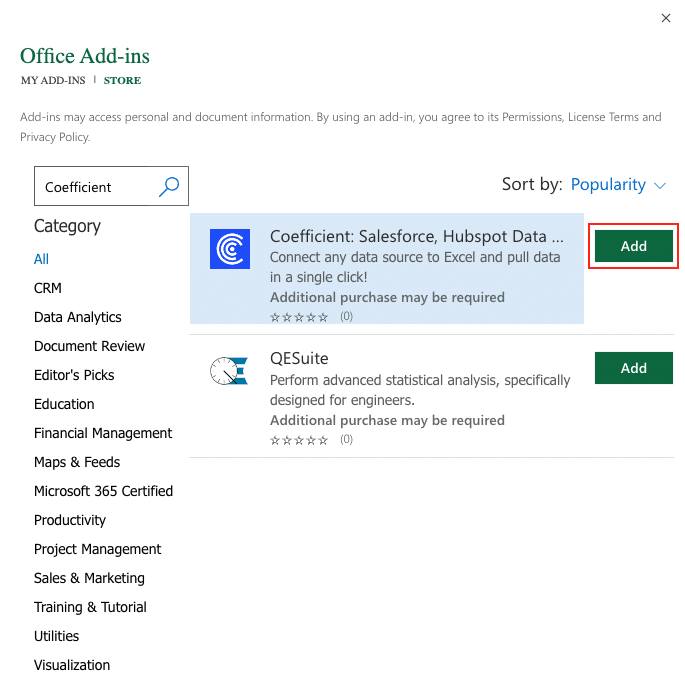
Type “Coefficient” in the search bar and click ‘Add.’
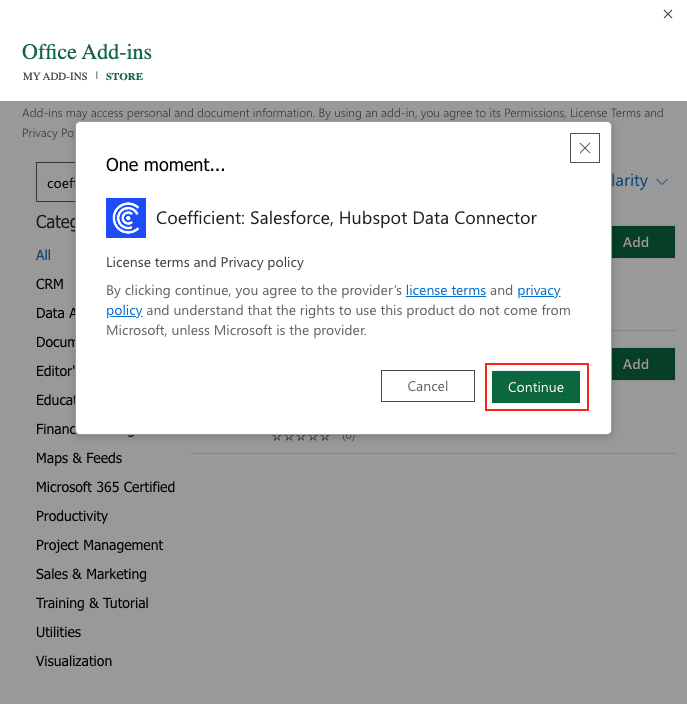
A pop-up will open up. Follow the prompts to complete the installation.
Once finished, you will see a “Coefficient” tab at the top navigation bar.
Click ‘Open Sidebar’ to launch Coefficient.
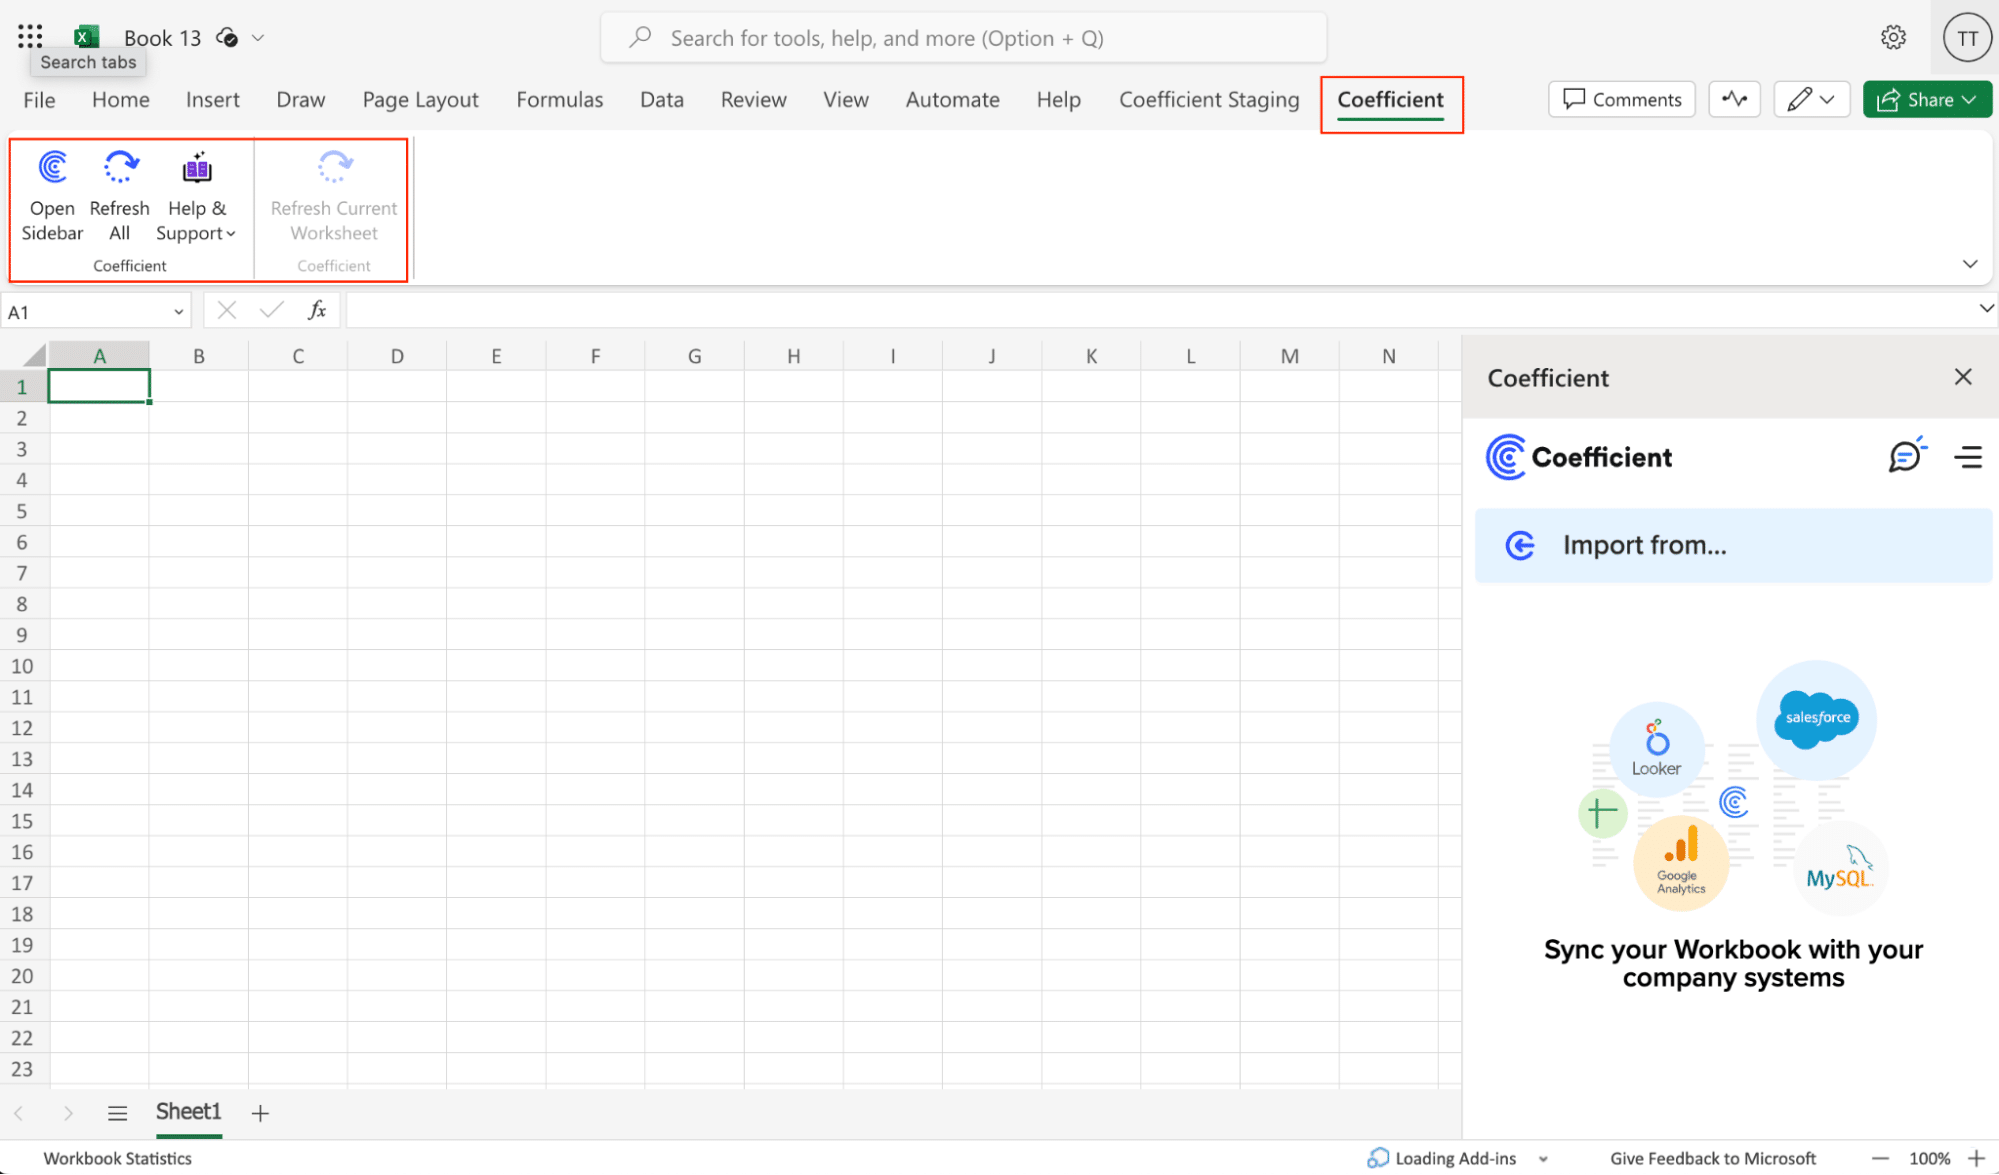
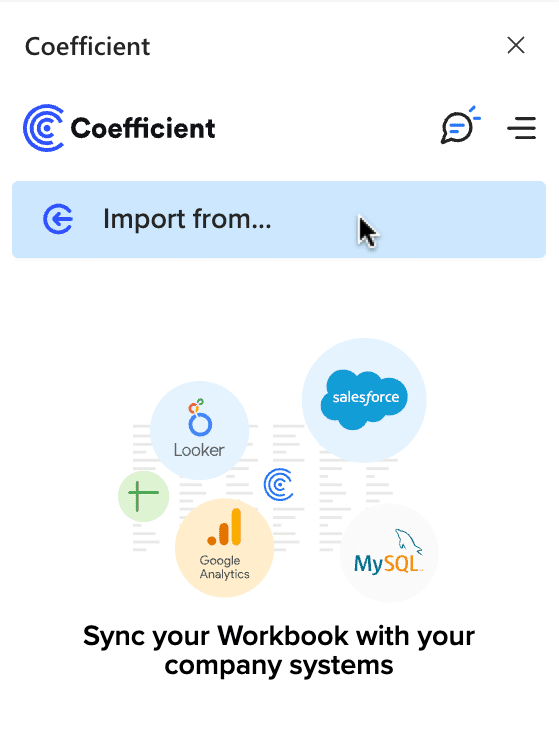
To start your Postgres import to Excel, click ‘Import from…’ in the Coefficient menu.
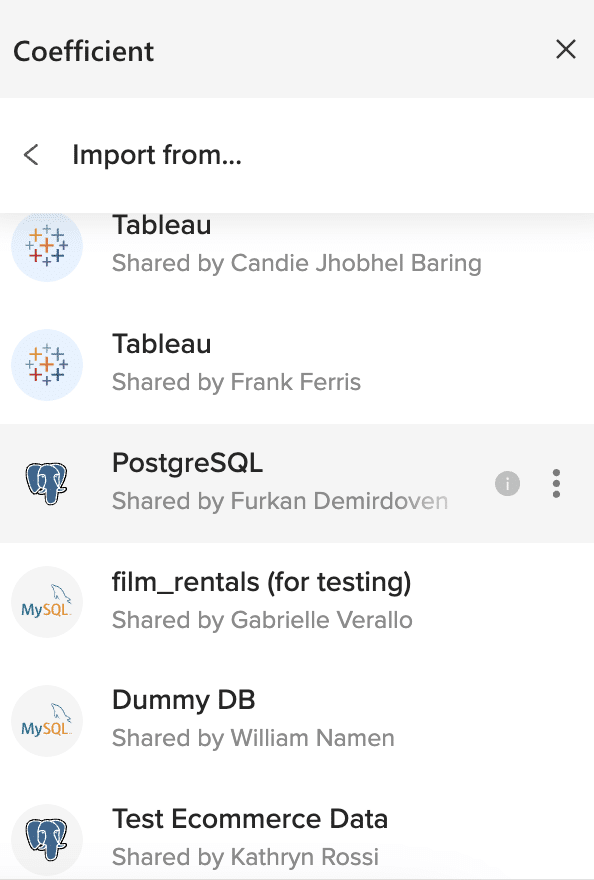
Scroll down the list of data sources until you find PostgresSQL
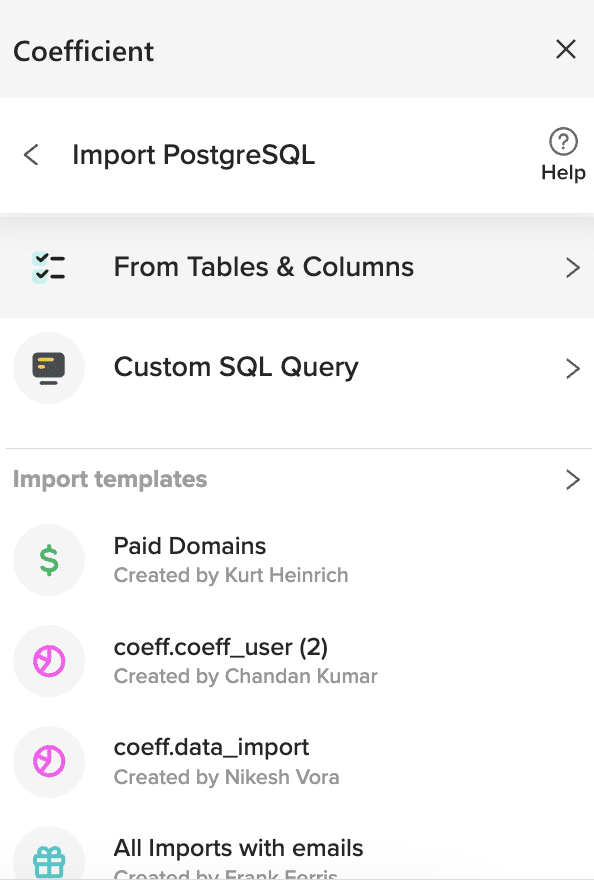
Choose whether to import from tables or custom SQL queries. With Coefficient, you can perform SQL queries on top of your PostgreSQL database directly from Excel.
Click ‘From Tables & Columns.’
Provide the connection details, such as the host, database username, password, port, and IP addresses.
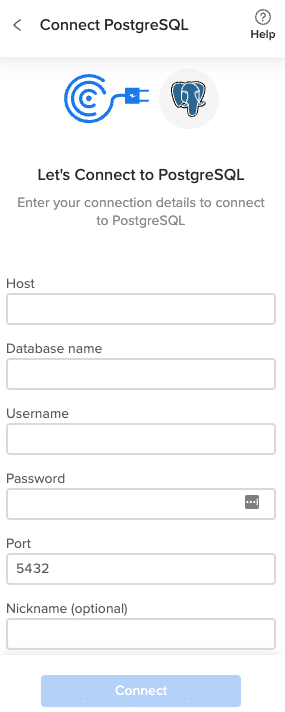
NOTE: All 3 of the Coefficient IP Addresses will need to be whitelisted in order to successfully connect to PostgreSQL as a data source.

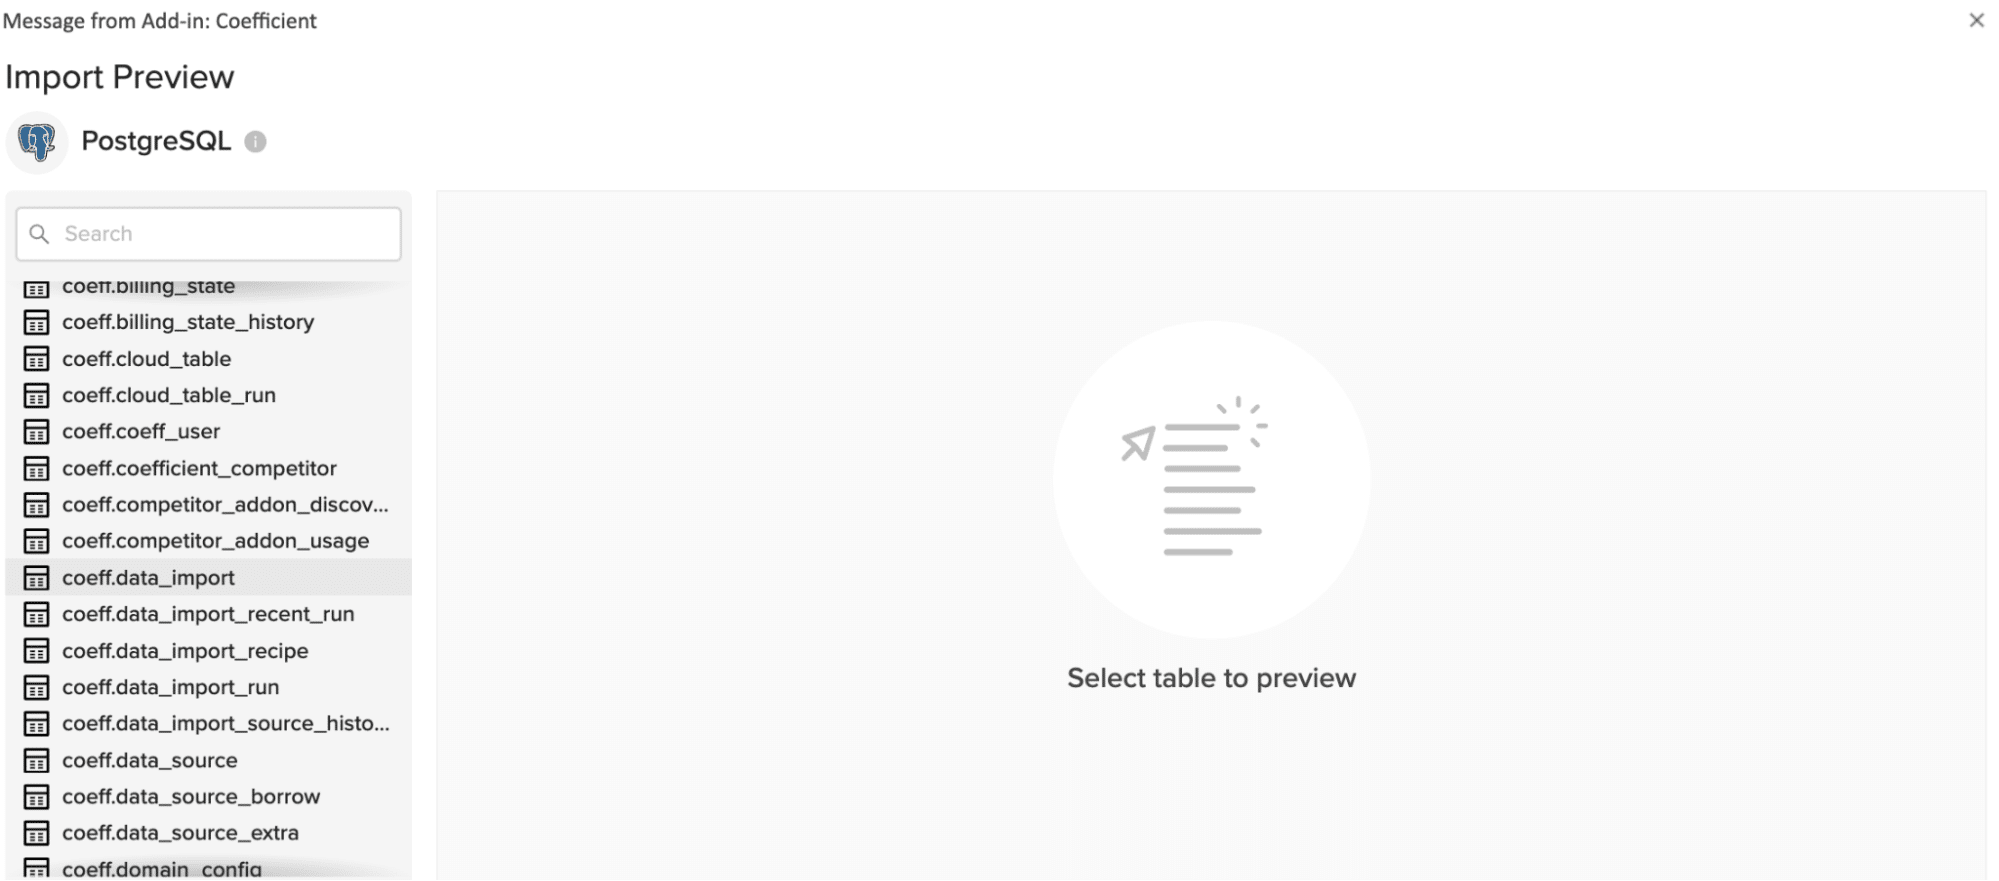
After connecting to Coefficient to your Postgres database, you will be returned to the Import Preview screen.
Select the table in your database that you would like to pull data from from the list on the left.
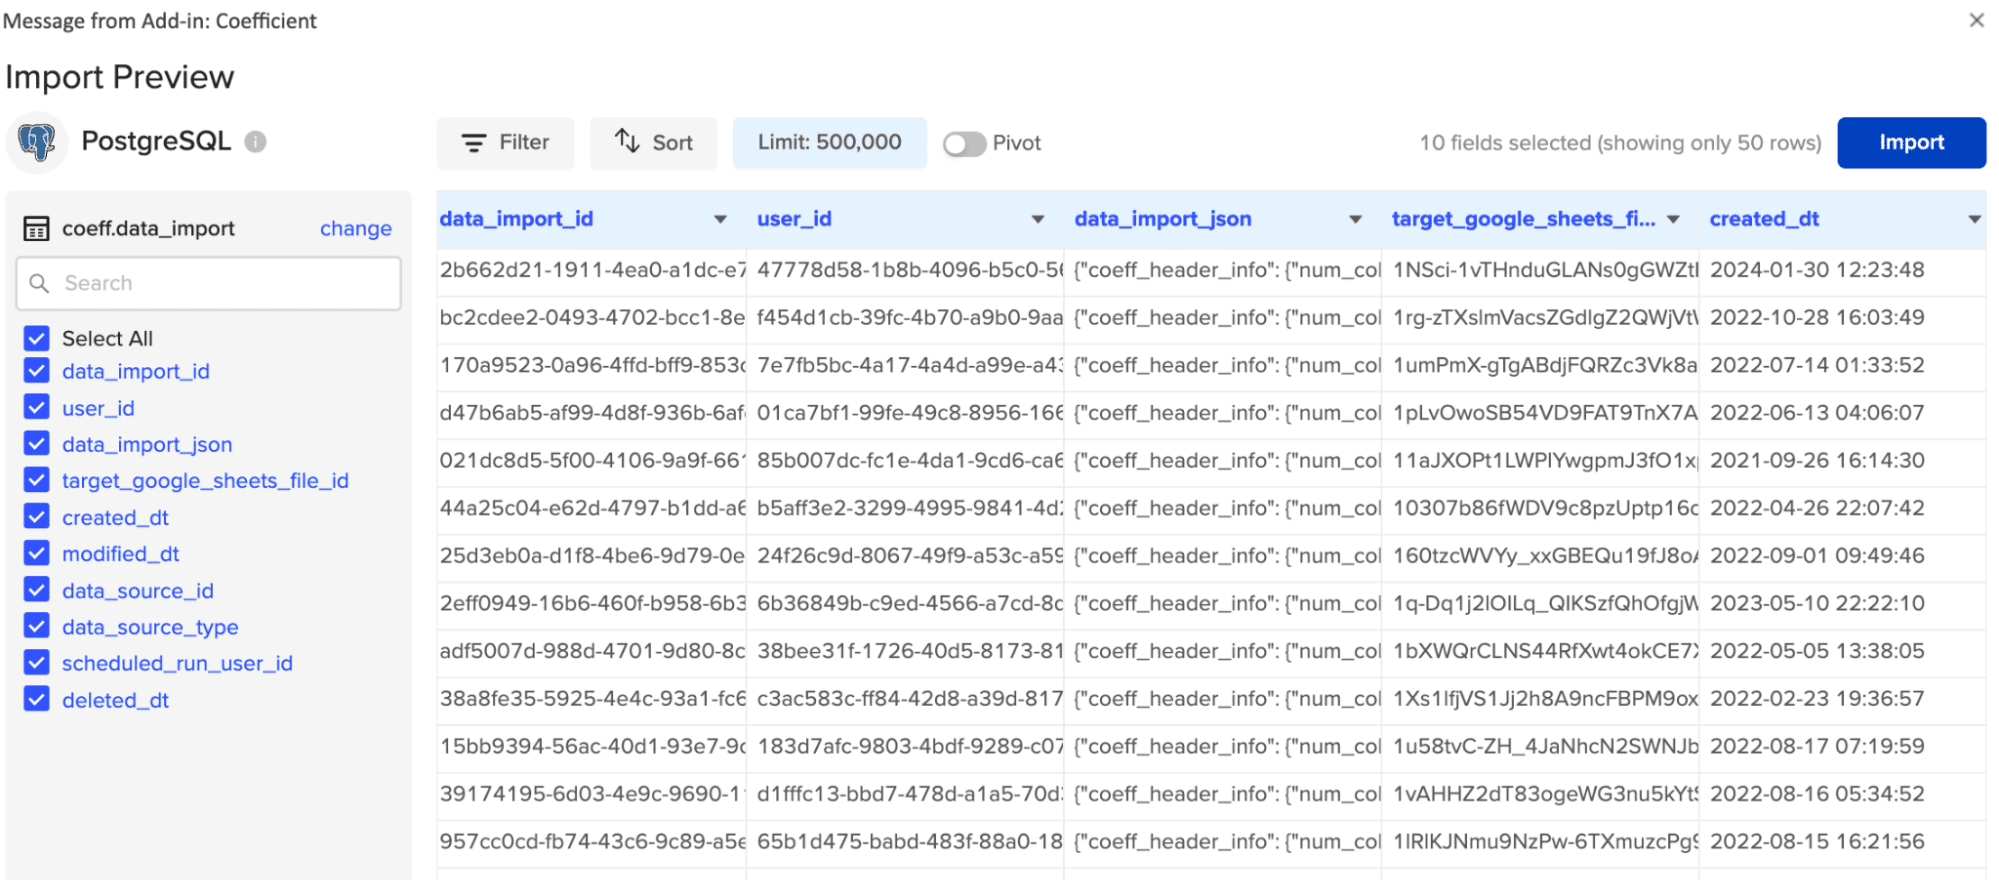
In a few seconds, the Import Preview window will automatically populate with the first 50 rows of your dataset.
From here you can set the filters, sort the data, set limits or import a cloud pivot to customize your Postgres to Excel import.
Once finished, click the ‘Import’ button to continue.
And in just a few clicks, you’ve completed your first data import from Postgres to Excel!
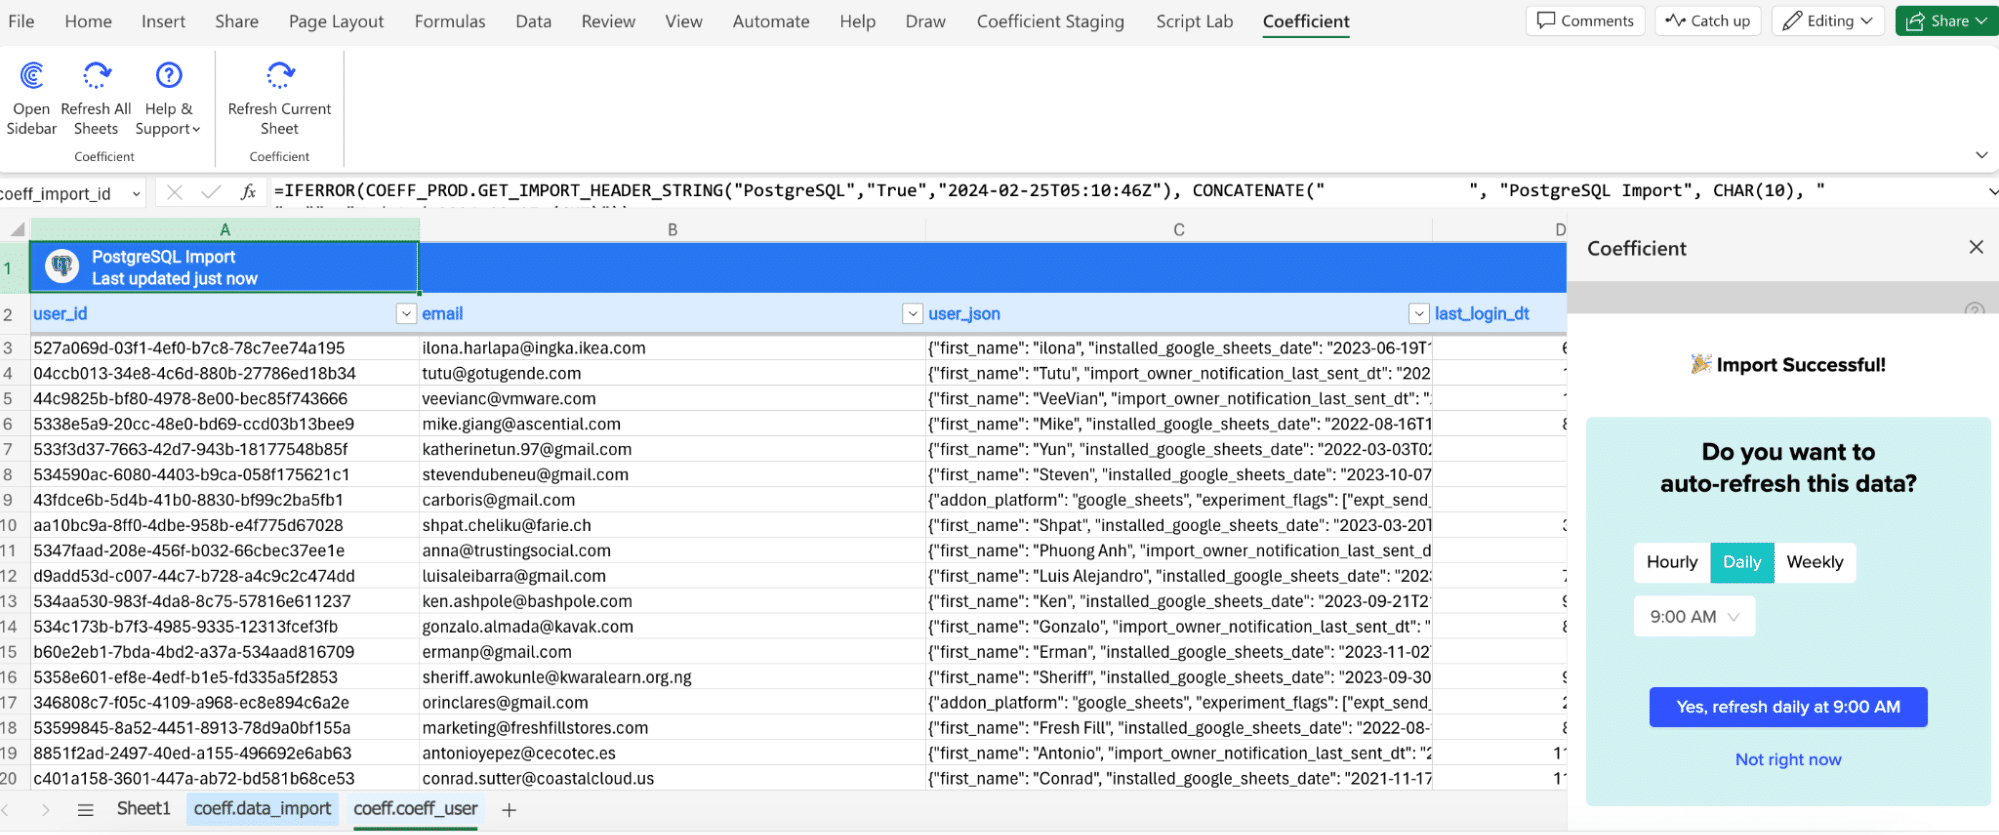
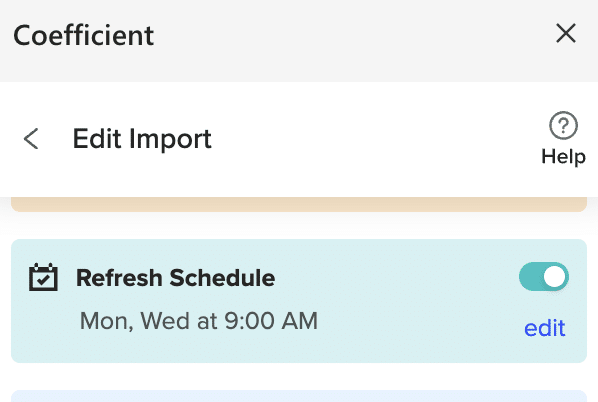
The last step of the process is to set up an auto-refresh to ensure your data is up-to-date.
Simply navigate to the side bar and choose a cadence (Hourly, Daily, or Weekly).
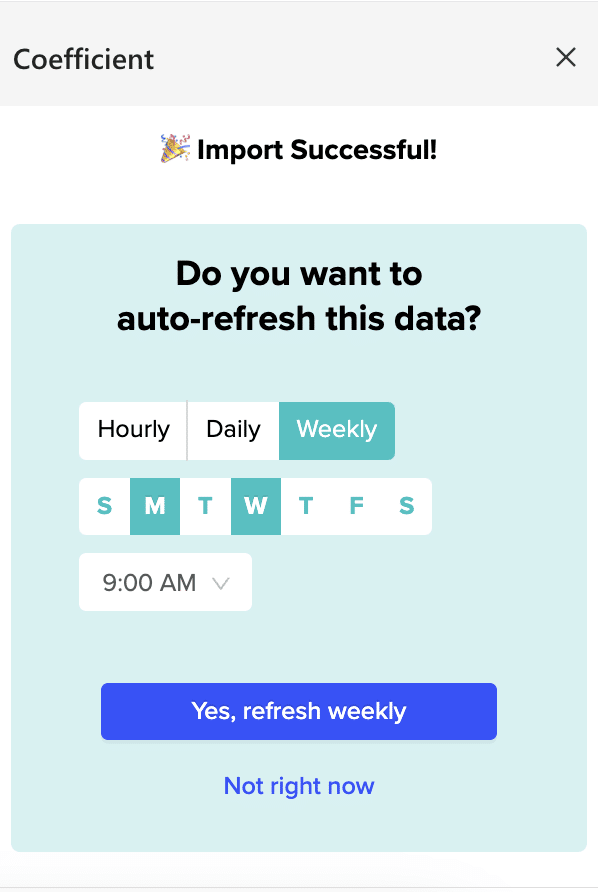
After making your selection, click the blue button – that’s it.
Method 2 – Power Query or Office Scripts
Power Query is a code-based method for importing live data into Excel for Desktop. It allows technical users to discover, connect, combine, and refine data across a wide variety of sources.
- Steps to Connect:
- Open Excel on your desktop.
- Go to the Data tab in Excel and select “Get Data”.
- Choose “From Database” > “From PostgreSQL Database”.
- Enter the PostgreSQL database details and select OK.
Office scripts is Power Query’s counterpart for Excel Web users. While it doesn’t provide a built-in connector to PostgreSQL like Power Query, technical users can use it to connect to PostgreSQL databases through a web service.
Step 1 – Web Service Setup
Before you start with Office Scripts, your PostgreSQL data needs to be accessible via a web service. This could be an existing REST API that your organization provides, or you might need to create one. The service should accept HTTP requests and return data in JSON format.
- Example Endpoint: https://yourdomain.com/api/data
- Access Method: GET or POST, depending on your setup.
Creating a Simple Web Service:
- You could use frameworks like Express.js with Node.js to quickly set up a REST API if one isn’t available.
- Your service should connect to your PostgreSQL database, run queries, and return the results as JSON.
Step 2 – Write the Office Script
Open a new workbook In Excel for the web.
Navigate to the Automate tab and click ‘New Script.’

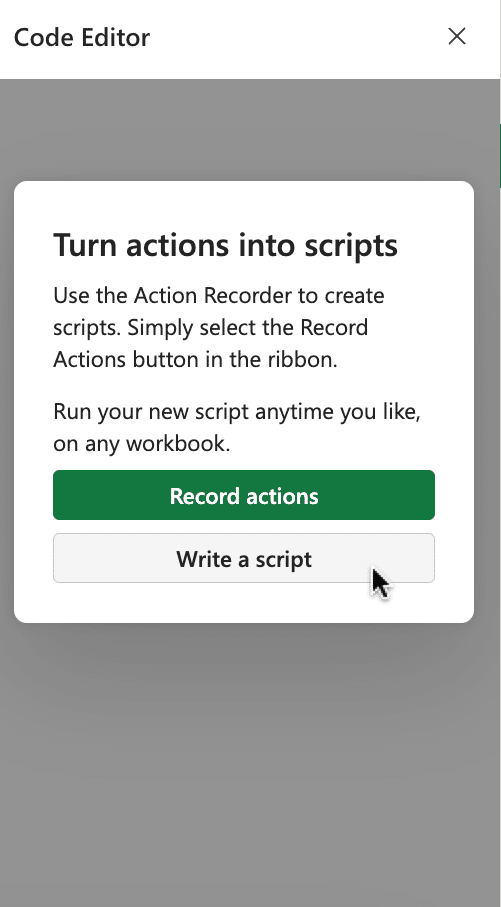
The Code Editor will open in the right corner of your spreadsheet. Click ‘Write a script’ to continue.
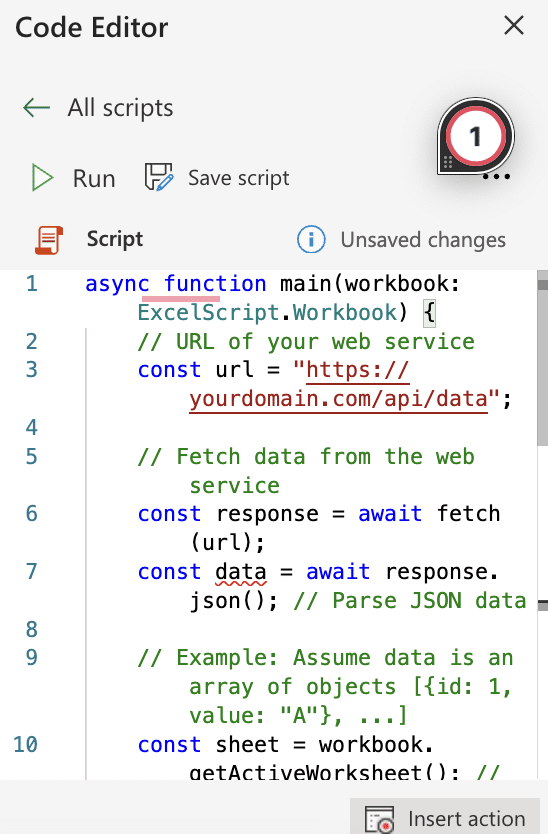
Copy and paste the following script into the editor:
async function main(workbook: ExcelScript.Workbook) {
// URL of your web service
const url = “https://yourdomain.com/api/data”;
// Fetch data from the web service
const response = await fetch(url);
const data = await response.json(); // Parse JSON data
// Example: Assume data is an array of objects [{id: 1, value: “A”}, …]
const sheet = workbook.getActiveWorksheet(); // Get the active sheet
// Loop through the data and add it to the worksheet
data.forEach((item, index) => {
sheet.getCell(index, 0).setValue(item.id); // Assuming first column is IDs
sheet.getCell(index, 1).setValue(item.value); // Assuming second column is values
});
}
Notes:
- You’ll need to modify the script based on your web service’s response structure and where you want to place the data in your Excel workbook.
- Make sure the script has the necessary permissions to run if your web service requires authentication.
Step 3 – Run your script
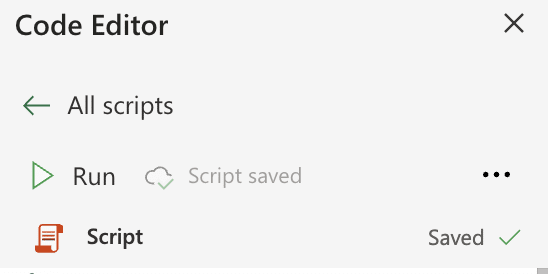
Test your script to ensure it works. Then, save it and click the ‘Run’ button.
Input your script into the Code Editor. It may look like the example below:
async function main(workbook: ExcelScript.Workbook) {
// URL of the web service delivering live data
const url = “https://api.example.com/data”;
// Fetch data from the API
const response = await fetch(url);
const data = await response.json();
// Assuming data is an array of objects
// where each object is a record with `name` and `value`
const sheet = workbook.getActiveWorksheet();
// Starting cell to write data
let rowIndex = 1;
for (const item of data) {
// Writing name and value in the first and second column, respectively
sheet.getRange(`A${rowIndex}`).setValue(item.name);
sheet.getRange(`B${rowIndex}`).setValue(item.value);
rowIndex++;
}
}
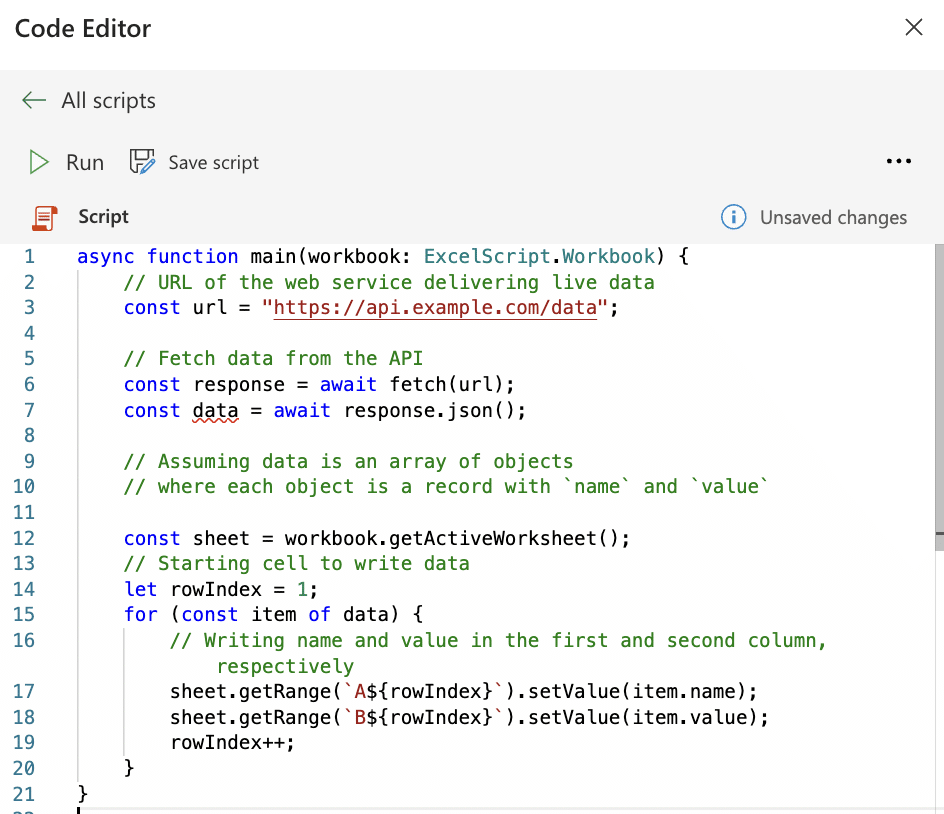
Note: Modify the URL to the actual API you’re using and adjust the parsing according to the structure of your JSON data.
Important Considerations:
- API Limits and Authorization: Many APIs have usage limits or require API keys for access. Ensure your script adheres to the API’s guidelines and includes necessary authorization headers.
- Cross-Origin Requests: Currently, Office Scripts support making fetch requests to external services. However, ensure the web service supports CORS (Cross-Origin Resource Sharing) if you’re accessing it from a domain other than its own.
- Data Parsing and Error Handling: Ensure your script can handle unexpected inputs without failing.
Step 3: Run the Script
Save your script and click the Run button to execute it.
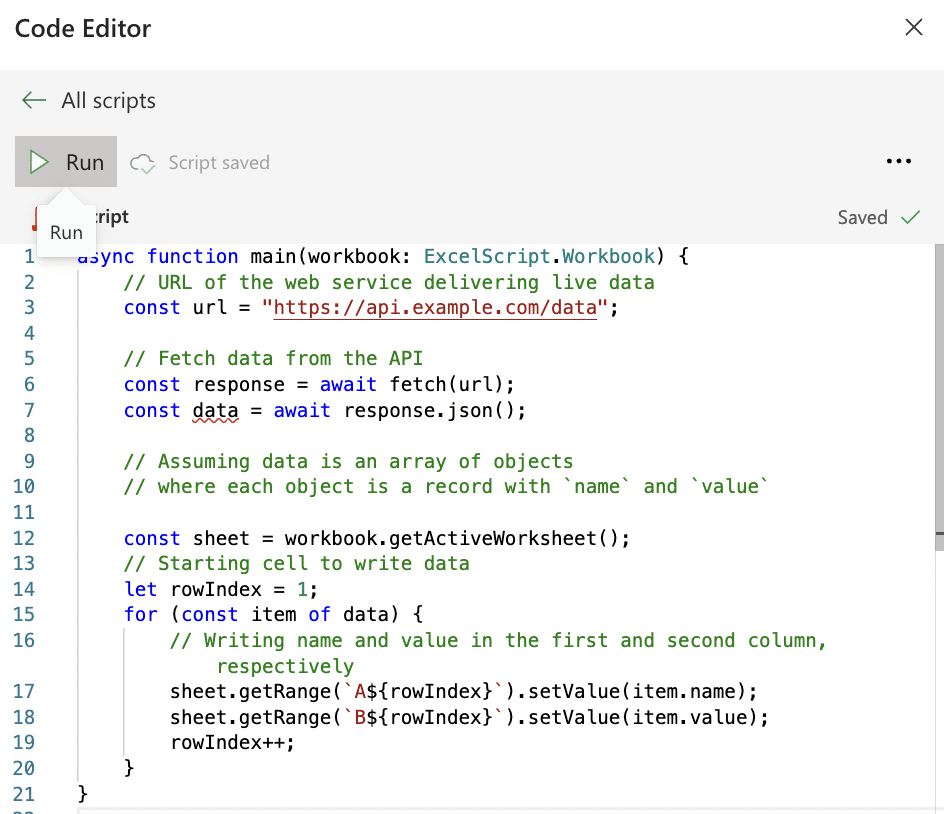
The script will fetch data from the specified API and populate your worksheet starting from the specified cell.
Method 3 – Zapier
Zapier enables connections between PostgreSQL and Excel through automated, code-free workflows known as Zaps.
These Zaps can be tailored to perform a variety of tasks, such as:
- Updating your PostgreSQL database whenever changes are made in Excel cells
- Adding a new row in Excel based on data from PostgreSQL
- Reflecting updates in Excel in response to modifications in PostgreSQL
Note: PostgreSQL is a premium connector, which requires at least Zapier’s Professional plan.
To set up a Zap, follow these steps:
Link your PostgreSQL and Excel accounts.
Choose Excel or PostgreSQL as the start point for automation.
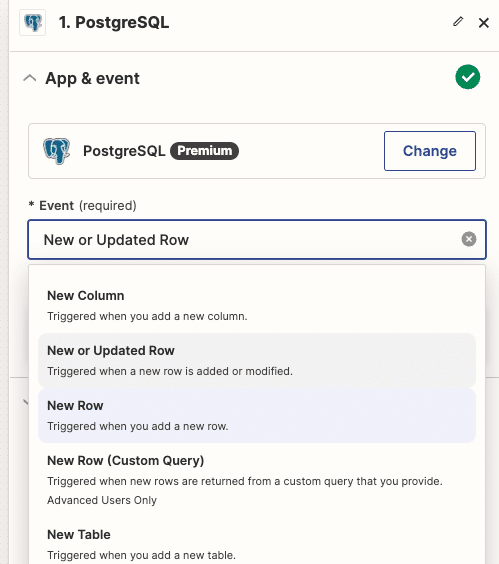
Pick the action for the other app.
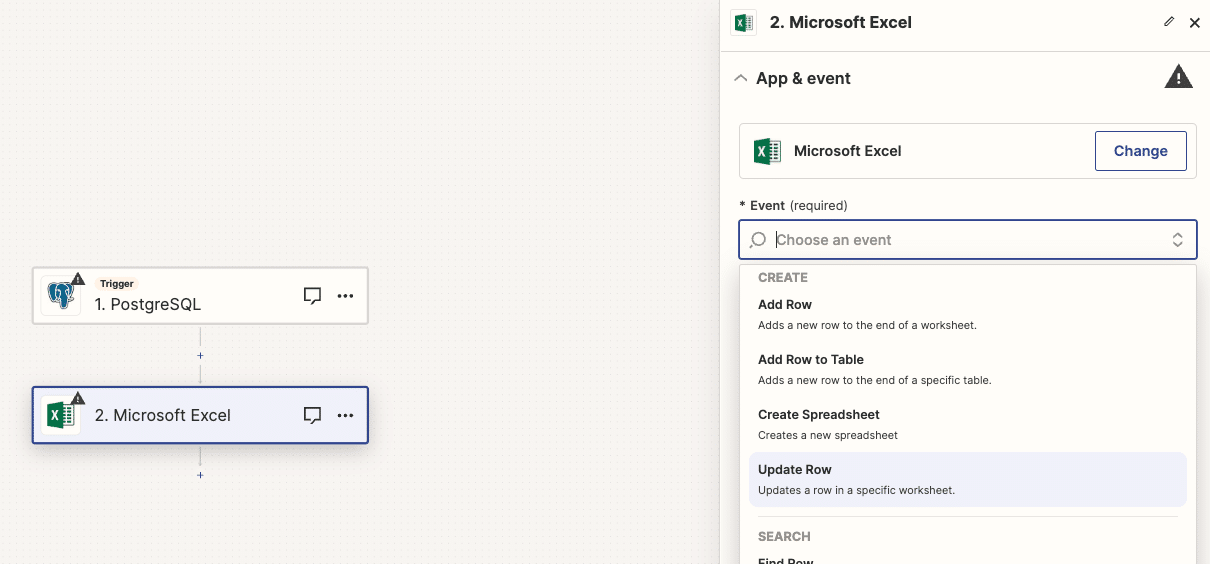
Select the data to transfer, then test your automation and publish it.
Challenges with Using Zapier:
- Setup and Maintenance: Zapier requires building custom Zaps, which can be complex and may need SQL knowledge or API use. This makes the process time-consuming and not straightforward.
- Cost: Zapier can get expensive, especially with many integrations and large amounts of data.
- User Experience: Using Zapier takes you out of Excel, disrupting the workflow.
The fastest way to export data from PostgresSQL? Coefficient.
Coefficient makes it easy for non-technical users to integrate data from Postgres to Excel.
It’s user-friendly, quick to set up, and is free to use!
Install Coefficient today to discover why sales and revenue teams rely on it every day.


