Keeping your financial records accurate and up-to-date is crucial for any business. But let’s face it: manual data entry is tedious and prone to errors. That’s where importing journal entries from Google Sheets to QuickBooks Online (QBO) comes in handy.
This guide will walk you through three methods to make this process smoother and more reliable.
Why Import Journal Entries?
Picture this: You’re hunched over your keyboard, squinting at spreadsheets, and manually entering data into QuickBooks Online. Sound familiar? It’s not just time-consuming—it’s a recipe for mistakes.
Accurate financial data is the backbone of sound business decisions. When your numbers are off, even by a little, it can lead to:
- Misguided budget allocations
- Inaccurate tax filings
- Skewed performance metrics
By automating the import process, you’re not just saving time. You’re:
- Minimizing human error
- Ensuring data consistency
- Freeing up resources for more strategic tasks
Now, let’s dive into the methods you can use to import those journal entries and reclaim your time.
Method 1: Using Coefficient to Sync Google Sheets with QuickBooks Online

Coefficient syncs live data from various business systems, like QuickBooks, directly into Excel and Google Sheets.
For QuickBooks users, this means you can build real-time financial reports, automate data updates, and streamline your accounting workflows without leaving your familiar spreadsheet environment.
Key Features
- Real-time data syncing
- Automated imports
- Advanced data transformation capabilities
- Flexible scheduling options
- Pre-built financial dashboards in spreadsheets that you can power with your live QuickBooks data, including a Profit and Loss template, SaaS P&L template, Cash Runway template, Accounts Payable Dashboard, Account Receivable Dashboard, Revenue Dashboard, and Cashflow template.
Step-by-Step Guide
Step 1. Install Coefficient
- Open a new or existing Google Sheet, navigate to the Extensions tab, and select Add-ons > Get add-ons.
- In the Google Workspace Marketplace, search for “Coefficient.”
- Follow the prompts to grant necessary permissions.
- Launch Coefficient from Extensions > Coefficient > Launch.
- Coefficient will open on the right-hand side of your spreadsheet.

Step 2. Connect to QuickBooks
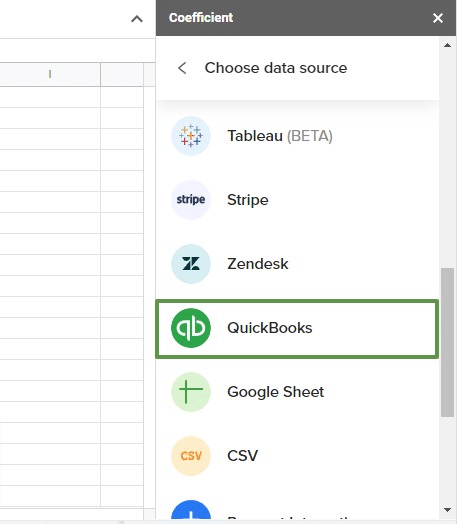
Click “Import from…” on the sidebar. Select QuickBooks from the list of data sources.
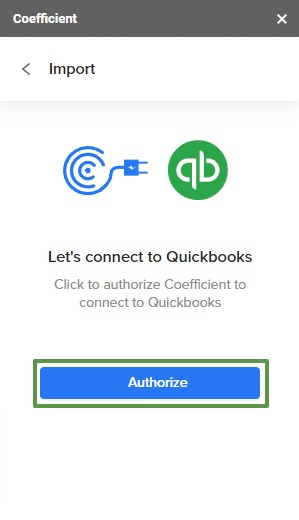
Follow the prompts to authorize Coefficient to your Intuit QuickBooks account.
Step 3. Import and Consolidate Your Data
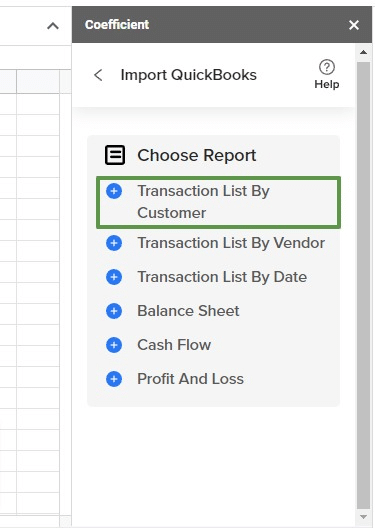
After connecting, return to QuickBooks from the menu and browse the available reports:
- Transaction list by customer
- Transaction list by vendor
- Transaction list by date
- Balance sheet
- Cash Flow
- Profit and Loss.
Adjust your filters as needed. Choose your date range. Decide which companies to include.
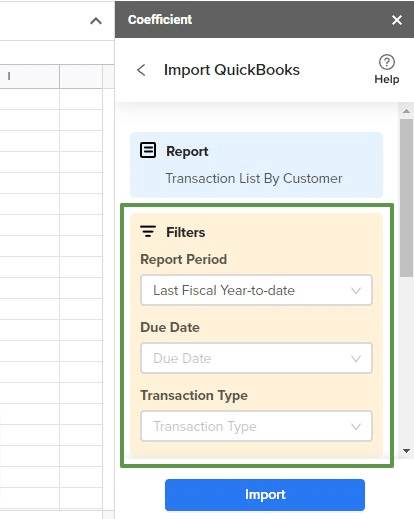
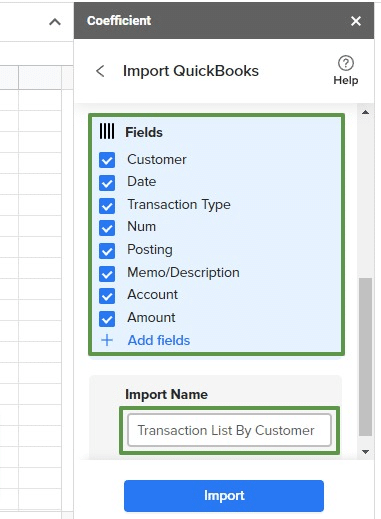
Choose the fields you want to include (or exclude), name your import, and click the button to push your data to your spreadsheet.
Pros and Cons
Pros:
- No coding needed, so anyone on the team can use it.
- Simple and easy-to-use interface with plug-and-play connectors.
- Quick installation; you can start using it in less than a minute.
- Automatic data updates keep your spreadsheet data up-to-date in real-time.
- Automates tasks like importing accounting data and invoice reconciliation.
Cons:
- Some features require an upgrade
Method 2: Importing Journal Entries Manually with CSV
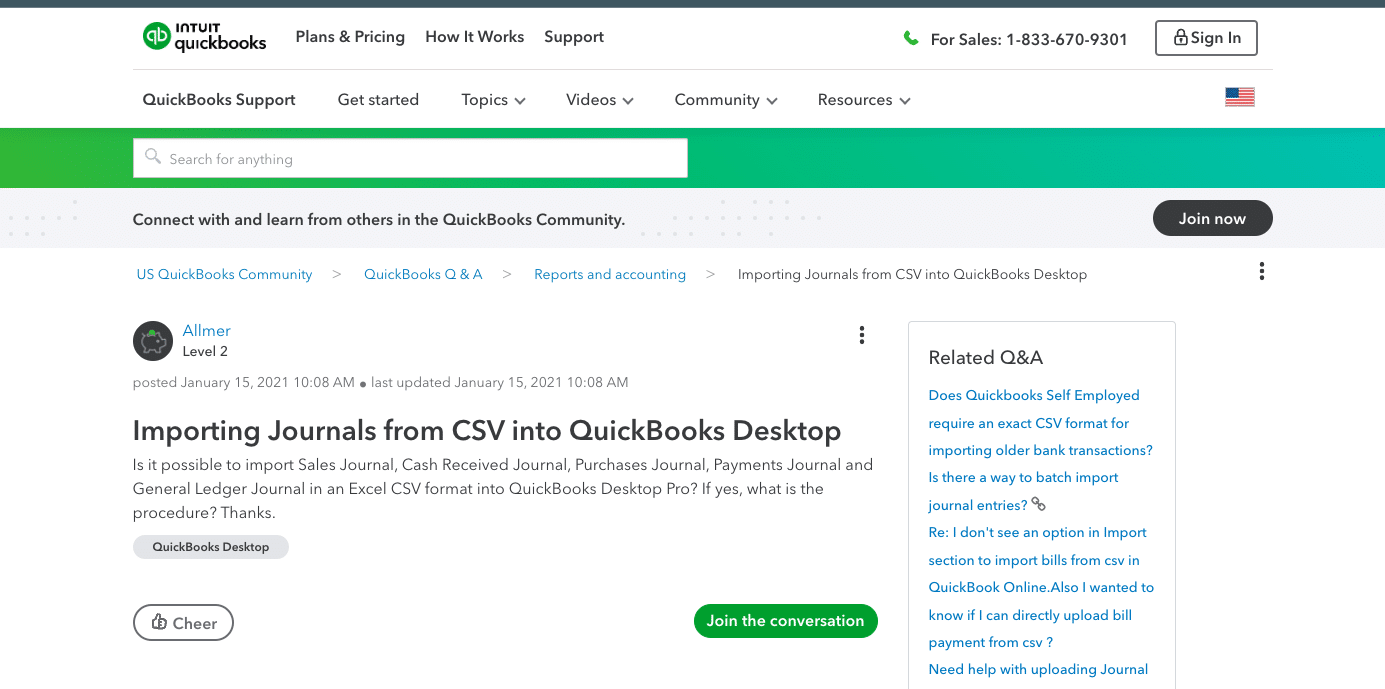
This method uses QuickBooks Online’s native import function to bring in journal entries from a CSV file exported from Google Sheets. It’s a quick, straightforward method but prone to error.
Key Features
- Direct use of QuickBooks Online tools
- Complete control over data formatting
- No additional software required
Step-by-Step Guide
- Prepare Your Journal Entries in Google Sheets
- Set up columns: Date, Account, Debit, Credit, Description
- Ensure debits and credits balance for each entry
- Verify account names match your QuickBooks chart of accounts exactly
- Export to CSV
- In Google Sheets: File > Download > CSV
- Save with a clear name (e.g., “JE_Import_[Date].csv”)
- Import to QuickBooks Online
- Go to: Gear icon > Tools > Import Data > Journal Entries
- Upload your CSV
- Map your columns to QuickBooks fields
- Review the preview carefully
- Complete the import
- Verify the Import
- Check Accounting > Journal Entries
- Run a Trial Balance to ensure everything balances
- Review any unmatched accounts or import errors
Pros and Cons
Pros:
- Control: Full visibility and control over each entry before it hits the books.
- No Extra Cost: Uses existing QuickBooks tools without additional expenses.
- Familiarity: No learning curve; uses processes most accountants already know.
Cons:
- Time Drain: Can be painfully slow for high volume of entries.
- Error Risk: More chance of typos or missed entries due to manual handling.
- Repetitive Work: Becomes a chore for recurring journal entries.
Method 3: Using G-Accon
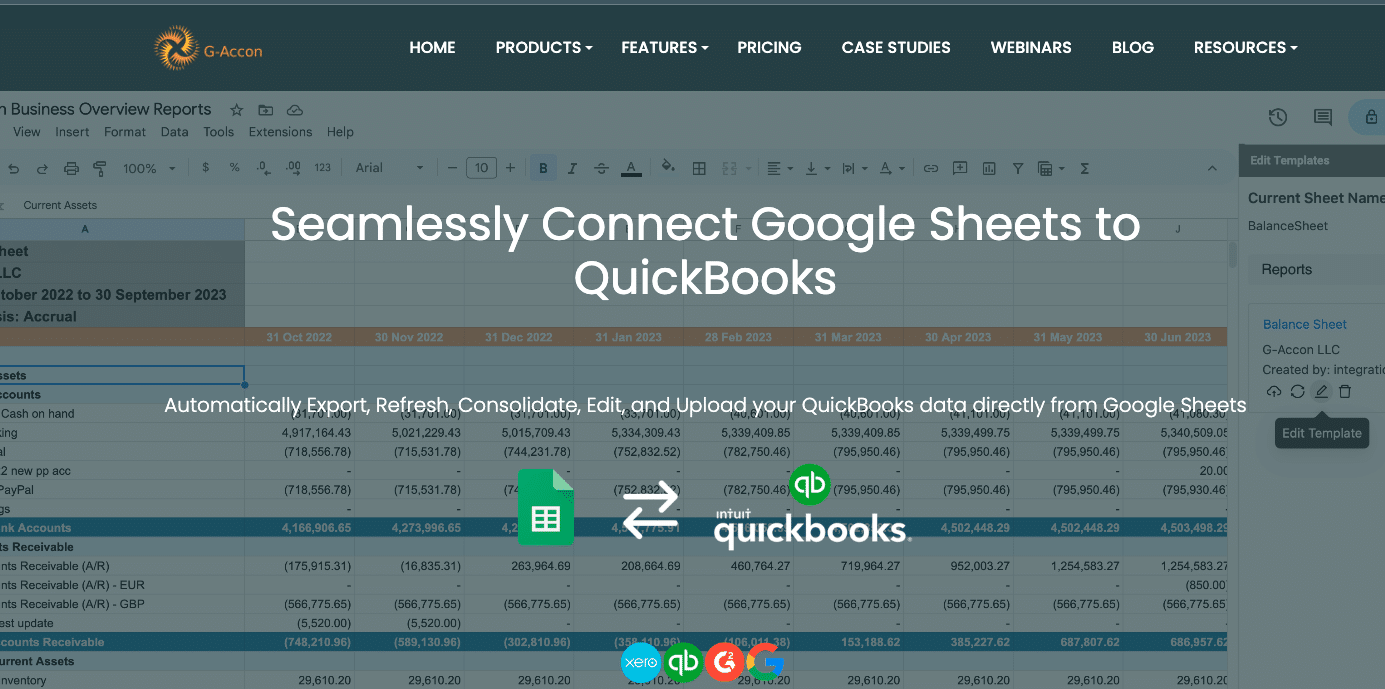
G-Accon is a third-party add-on that creates a direct link between Google Sheets and QuickBooks Online. It automates the journal entry import process, reducing manual work and potential for errors.
Step-by-Step Guide
- Automated syncing between Google Sheets and QuickBooks Online
- Supports complex journal entries (e.g., classes, locations)
- Built-in error checking and validation
Tutorial
- Set Up G-Accon
- Install G-Accon add-on in Google Sheets
- Connect it to your QuickBooks Online account
- Prepare Your Journal Entries
- Format your sheet similarly to the CSV method
- G-Accon allows for additional fields like Class or Location
- Configure and Run the Import
- Open G-Accon sidebar: Upload Data > Journal Entries
- Select your data range
- Map columns to QuickBooks fields
- Set any default values or import rules
- Run the import
- Verify in QuickBooks
- Check Accounting > Journal Entries
- Run a Trial Balance and General Ledger report
- Address any errors flagged by G-Accon
Pros:
- Time Saver: Dramatically cuts down on data entry time, especially for recurring entries.
- Accuracy Boost: Reduces human error in the transfer process.
- Handles Complexity: Better for complicated entries like multi-currency or inter-company transactions.
Cons:
- Extra Expense: Subscription cost adds to the accounting budget.
- Setup Time: Initial configuration and learning curve to get it right.
Best Practices for Importing Journal Entries
Regardless of your chosen method, these best practices will serve you well:
- Ensuring data accuracy and consistency:
- Double-check account names and numbers. A minor typo can cause major headaches.
- Verify that debits and credits balance. This is Accounting 101, but it’s easy to overlook.
- Use consistent date formats. YYYY-MM-DD is your safest bet.
- Proper formatting of journal entries in Google Sheets:
- Use clear, consistent headers that match QBO fields.
- Avoid merged cells or complex formatting. Keep it simple.
- Include all required fields for journal entries. Don’t leave QBO guessing.
- Regular reconciliation and error checking:
- Compare imported data with source documents. Trust, but verify.
- Run QBO reports to confirm successful imports.
- Address discrepancies immediately. Small errors can snowball quickly.
Troubleshooting Common Import Issues
Even with the best tools, issues can arise. Here’s how to tackle common problems:
- Addressing formatting errors:
- Check date formats. QBO can be picky about this.
- Look for hidden characters or extra spaces. They’re invisible troublemakers.
- Ensure numerical values are formatted correctly. No commas in thousands, please.
- Resolving account mapping problems:
- Verify account names in your sheet exactly match QBO. Case sensitivity matters.
- When in doubt, use account numbers. They’re unique identifiers.
- Handling duplicate entries:
- Use unique identifiers for each journal entry. A combination of date and entry number works well.
- With Coefficient, set up filters to exclude previously imported data. It’s smart like that.
Choose Your Import Method Wisely
Importing journal entries from Google Sheets to QuickBooks Online doesn’t have to be a chore. While QBO’s native import and G-Accon offer basic functionality, Coefficient stands head and shoulders above the rest for finance professionals who demand the best.
With Coefficient, you’re not just importing data—you’re transforming your entire financial workflow. Real-time syncing, powerful automation, and flexible data manipulation put you in control.
The choice is clear. Streamline your processes. Enhance your data accuracy. Free up time for strategic financial analysis. Don’t let inefficient data management hold you back.
Ready to revolutionize your journal entry process? Get started with Coefficient today. Your future self will thank you.


