


Table of Contents
![]()
- 1. How to close a month-end in QuickBooks
- 2. How to Close a Month-End in NetSuite
- 3. How to close a month-end in Sage Intacct
- 4. BlackLine vs FloQast: Choosing the Right Financial Close Platform for 2026
- 5. FloQast Pricing 2026: Plans, Real Costs & What Finance Teams Actually Pay
- 6. BlackLine Pricing 2026: What It Really Costs and How to Negotiate


QuickBooks Online (QBO) from Intuit is cloud accounting software used by many business owners. Month-end close is the process of finalizing your books before moving to the next accounting period. It ensures your financial records are accurate, complete, and ready for reporting.
A proper close process catches errors early, keeps your financials audit-ready, and gives you confidence in your numbers. This guide walks you through each step to close the books in QBO.
Let’s get started!
Step-by-step guide: Month-end close in QuickBooks
Before you begin closing the month, gather everything you’ll need:
- Bank and credit card statements for the period
- Outstanding invoices and bills documentation
- Payroll records and any pending expense reports
- A close deadline (typically 5-10 business days after month ends)
Having these materials ready prevents backtracking and speeds up the entire process.
Step 1: Reconcile bank and credit card accounts
Reconciliation is the foundation of a clean close. It matches your QuickBooks records against actual bank and credit card statements.
Navigate to Banking in the left menu, then select Reconcile. Choose the account you want to reconcile and enter the ending balance and date from your statement.
QuickBooks displays all transactions for that account. Check off each transaction that matches your statement. The difference should reach zero when everything aligns.
If transactions don’t match, investigate. Common culprits include duplicate entries, missing transactions, or incorrect amounts. Fix discrepancies before moving forward.
Repeat this process for every bank account and credit card.
Step 2: Review accounts receivable and payable
Your AR and AP reports reveal what’s owed to you and what you owe others. Both need attention before closing.
For accounts receivable, navigate to Reports and run the A/R Aging Summary. This shows outstanding customer invoices grouped by how long they’ve been unpaid. Follow up on overdue invoices. Write off bad debts that are clearly uncollectible by creating a credit memo or journal entry.
For accounts payable, run the A/P Aging Summary from the same Reports section. Verify all vendor bills are recorded. Check with department heads for any invoices that might be sitting in inboxes or filed incorrectly.
Missing a bill means your expenses are understated. Missing an invoice means your revenue is wrong. Neither helps your financial picture.
Step 3: Record accruals and adjusting entries
Accrual accounting requires recording expenses when incurred, not when paid. Month-end is when you catch up on these.
Common accruals include:
- Payroll earned but not yet paid
- Utilities consumed but not yet billed
- Services received but not yet invoiced
- Prepaid expenses that need partial recognition
To create a journal entry, go to + New and select Journal Entry. Enter the date, accounts, and amounts. Debit your expense account and credit your accrued liability account.
While you’re making adjustments, scan for miscategorized transactions. A software subscription coded to office supplies throws off your reporting. Reclassify anything that landed in the wrong account.
Step 4: Run and review financial reports
With reconciliation complete and adjustments recorded, generate your core financial statements.
Navigate to Reports and run:
- Profit and Loss (for the month and year-to-date)
- Balance Sheet (as of month-end)
- Statement of Cash Flows (if needed)
Compare this month to prior months and to the same month last year. Look for anything unexpected. Revenue down 40% with no explanation? An expense category triple its normal amount? These anomalies signal errors or issues worth investigating.
The goal is confidence. You should be able to explain every significant number to your stakeholders or auditors.
Step 5: Set the closing date
Once you’re satisfied with the books, lock the period. This prevents accidental (or intentional) changes to closed months.
Go to Settings (gear icon) and select Account and Settings. Click Advanced in the left menu. Find the Accounting section and select Close the books.
Enter the closing date (the last day of the month you’re closing). QuickBooks gives you the option to set a password. Use it. This adds a layer of protection—anyone trying to edit a closed period will need that password.
Hit Save and the period is locked.
How Coefficient speeds up month-end close
The steps above work. But they’re manual. And manual processes eat time.
Finance teams often spend 1-2 days just refreshing reports and exporting data during close. They’re copying and pasting from QuickBooks into spreadsheets, reformatting data, and rebuilding the same reports every single month.
Coefficient eliminates this repetitive work.
- Connect QuickBooks directly to Excel or Google Sheets. Pull your trial balance, P&L, balance sheet, and transaction details without manual exports. Schedule automatic refreshes so your close workbooks always have fresh data.
- Instead of spending hours on data extraction, your team focuses on analysis and review—the work that actually requires human judgment.
- Build live dashboards that update themselves. Set up Slack or email alerts when key accounts hit certain thresholds. Create snapshots to preserve point-in-time data for audit trails.
As Michael Kolodin, Director of Finance at Cyrq Energy, put it: “Our spreadsheets are now faster, more accurate, and easier to update.”
Loftium’s finance team saved over 40 hours per month by automating their manual workflows with Coefficient. That’s a full week back every month.
Watch: Automating month-end close
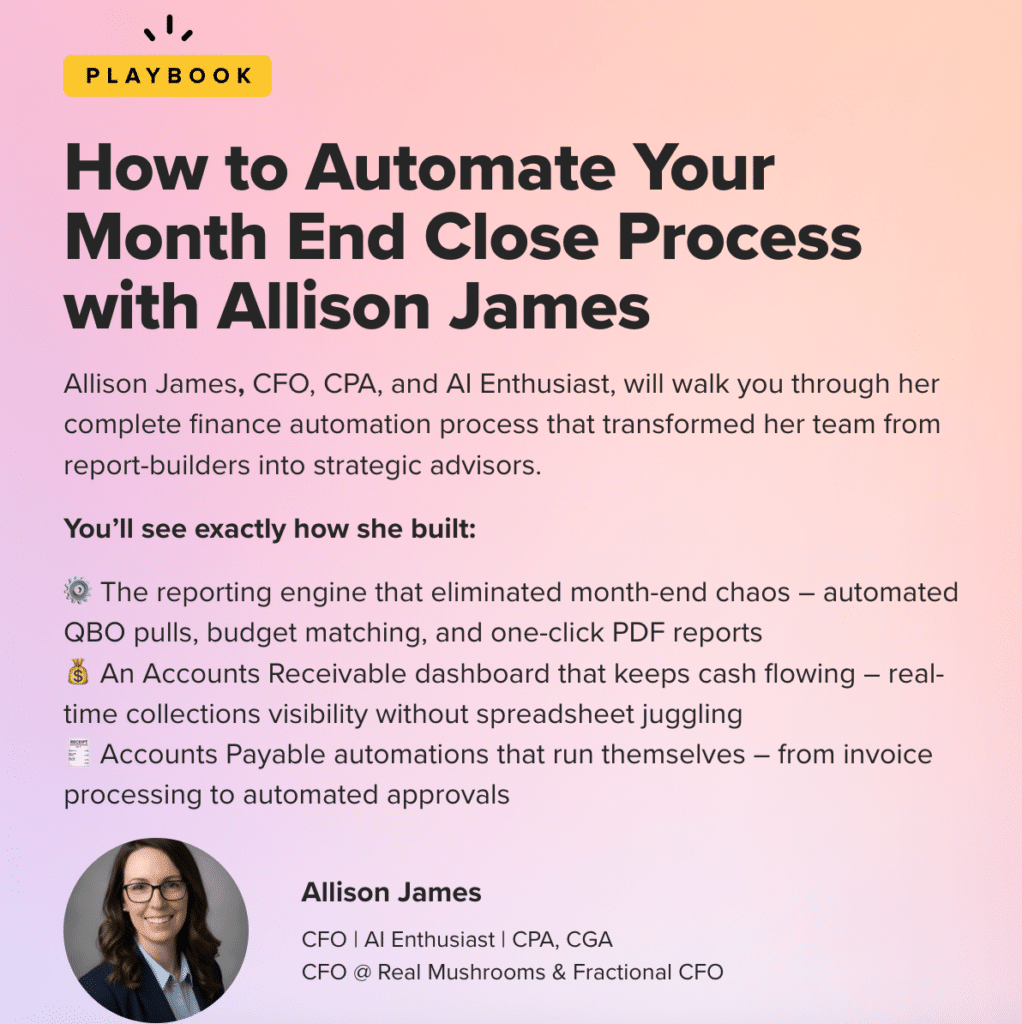
Want to see how finance teams actually implement this? Watch our on-demand webinar featuring Allison James, where she walks through automating the month-end close process step by step.
Watch the webinar: Month-End Close with Allison James
Close your books faster
Month-end close doesn’t have to consume days of manual work. Follow the steps above to get your QuickBooks books accurate and locked. Then automate the repetitive parts with Coefficient so next month’s close takes hours instead of days.
Ready to stop copying and pasting? Get started with Coefficient and connect your QuickBooks data to your spreadsheets.
Related resources
Templates and dashboards:
Connector guides:
- How to Connect QuickBooks to Excel
- How to Connect QuickBooks to Google Sheets
- Export QuickBooks Data to Google Sheets
Integration pages:
Video tutorials: