If you want to learn how to wrap text in Google Sheets, this guide is for you.
While you can fit a significant amount of content in a spreadsheet cell, a long text string can sometimes overflow into the adjacent cell.
This disrupts readability and comprehensibility, in addition to just making the spreadsheet look unclean.
So what’s the solution? You need to wrap the text.
Read this blog to learn all the different ways you can wrap text in Google Sheets, based on examples and step-by-step walkthroughs. Or grab some relevant spreadsheet templates to see wrapping in action yourself.
Video Walkthrough: How to Wrap Text in Google Sheets
How the Wrap Text Option in Google Sheets Works
When you activate the wrap text option, Google Sheets will fit the text entirely within the confines of the cell.
If the text reaches the end of the cell, any additional text will appear at the front of the cell on the next line.
Google Sheets automatically adjusts the cell’s height to accommodate this. You can easily toggle the text wrap option on and off.
Wrapped text makes your spreadsheets more organized and readable. This, in turn, allows for faster insights and analysis.
How to Wrap Text in Google Sheets: Top 6 Methods
Below, you will find the top methods for wrapping text in Google Sheets, including how to perform each one.
Method 1: Format Menu
Before diving into the first method, let’s obtain a sample dataset to work off of.
Let’s use Coefficient to import a HubSpot dataset into Google Sheets. Read our blog post on how to connect HubSpot to Google Sheets for a full walkthrough.

And voila — we have our HubSpot dataset in Google Sheets. As you can see, column H contains text that overflows into column I.

Now let’s wrap the text in this column using the Format Menu. Start by selecting the cells you want to wrap.
For this example, let’s select the cells in column H below the Meeting name header.

On the top menu of Google Sheets, select Format -> Wrapping from the dropdown list, then Wrap on the sub-menu.

Google Sheets will instantly wrap the text in your selected cells. The result will look like this:

It’s that simple. But there are alternative ways to wrap text in Google Sheets as well. Here’s a rundown of them.
Method 2: Google Sheets Toolbar
In Google Sheets, you can also access the text wrapping option via the toolbar below the top menu.
Let’s select the cell range we want to apply wrapped text to. Then click on the text wrapping icon on the toolbar.

Select wrap – the middle option — from the dropdown menu. And there you have it – the cells are wrapped.

Google Sheets automatically adjusts the row and column sizes to fit the text within each cell. The spreadsheet looks a lot cleaner now.
Method 3: Keyboard Shortcut
Google Sheets automatically wraps text based on the column width. However, you can also wrap specific parts of the text by using a manual keyboard shortcut.
Here’s how to set the line break manually when you wrap text:
- Select the cell where you want to insert the line break.
- Place the cursor where you want to insert your line break.
- Hold the ALT key and press Enter (ALT+Enter).
The ALT+Enter keyboard shortcut inserts a line break. This will place the text in separate lines before and after the break.
It’s a manual process, but the method works particularly well if you need to wrap text in specific locations.
Method 4: Create a Keyboard Shortcut to Wrap Text Using Macros
Google Sheets allows you to use macros to create a custom shortcut for wrapping text. Here’s how to do it.
First, select the cells you want to wrap. Navigate to Extensions on the top menu and select Macros > Record macro.

Select Use relative reference and wrap the text using your preferred method. Click Save to record the action.

Name your macro, assign a shortcut key number (zero in this example), and click Save.

If you’re using Mac, the shortcut key will be ⌘ + ⌥ + Shift + (your preferred number). Now you can use this custom shortcut key to wrap text in your selected cells.
Important note: macros only work in the Google spreadsheet where they were created.
Supercharge your spreadsheets with GPT-powered AI tools for building formulas, charts, pivots, SQL and more. Simple prompts for automatic generation.

If you know how to code, you can customize the macros script even further. To edit the macros script, navigate to Extensions > Macros, and click Manage macros.

Click on the three vertical dots icon and select Edit script.

This will take you to Google Apps Script. Click macros.gs under Files and edit the code as you prefer.

If you need to create a unique shortcut for wrapping text, macros might be a good option for you.
Method 6: Google Apps Script
Google Apps Script is a cloud-based JavaScript platform that allows you to extend and automate the functionality of Google products, including Google Sheets.
Here’s an overview of the Apps Script commands you can use to wrap text in Google Sheets.
- getWrap() determines if the text within a cell is wrapped.
- setWrap() sets the cell wrap for an individual cell.
For instance, the code below wraps the text in cell H3:

- getWraps() ascertains if the cells within a range are wrapped.
- setWraps() imposes wrapped text across a rectangular grid of cells.
- getWrapStrategy() returns the text-wrapping strategy of the top-left cell specified.
- setWrapStrategy() sets the text-wrap strategy of a cell range.
- getWrapStrategies() returns the text-wrapping strategies of a given cell range.
- setWrapStrategies() institutes the wrap strategies for a rectangular range of cells
For instance, the code below sets H1 to be clipped, H2 to be wrapped, H3 to be clipped, and H4 to overflow.

And that’s how to wrap text in Google Sheets using Apps Script.
Leverage AI to Build Your Google Sheets Formulas, Pivots, and Charts
Looking to speed up your workflows in Google Sheets? Never want to search for another tutorial again? You can use Coefficient’s free GPT Copilot to automatically create the Google Sheets formulas, pivots, charts, and more.
First, you’ll need to install the free Google Sheets Extension. You can get started with GPT Copilot here.
After you submit your email, follow along, and accept the prompts to install. Once the installation is finished, navigate to Extensions on the Google Sheets menu. Coefficient will be available as an add-on.
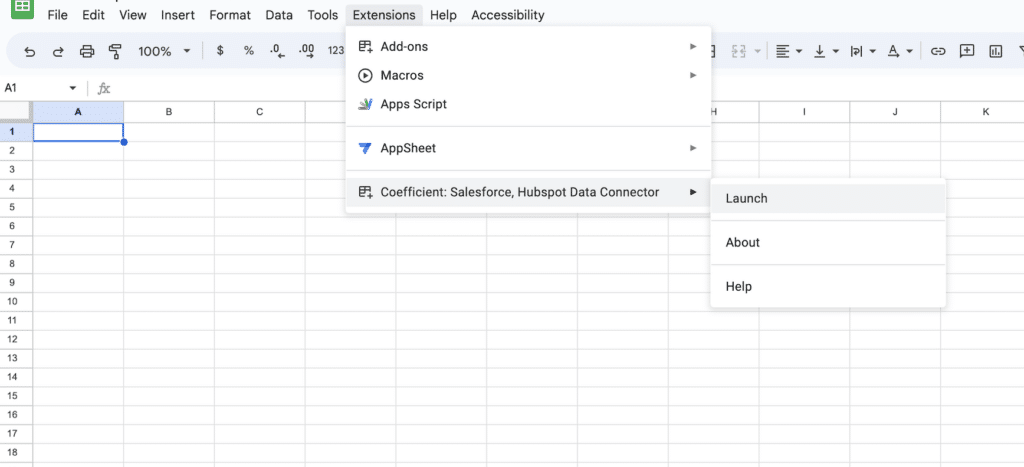
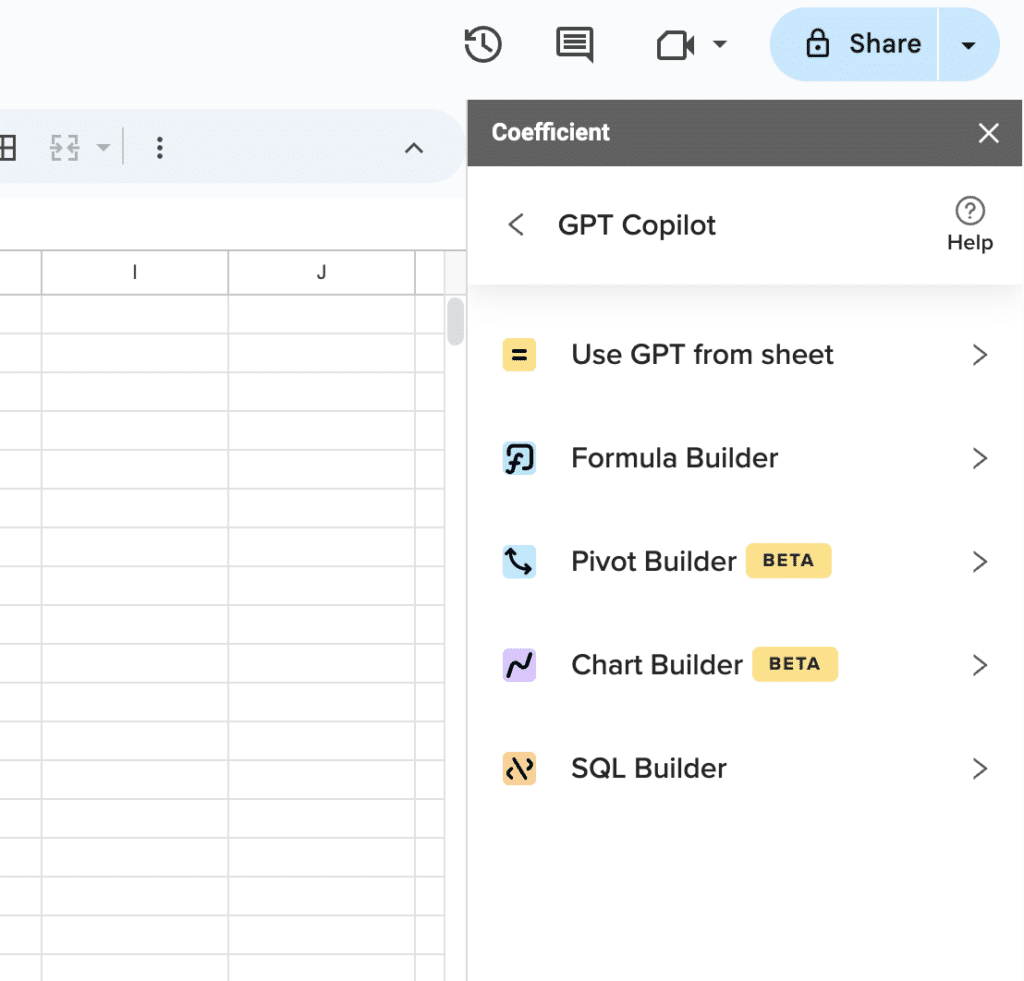
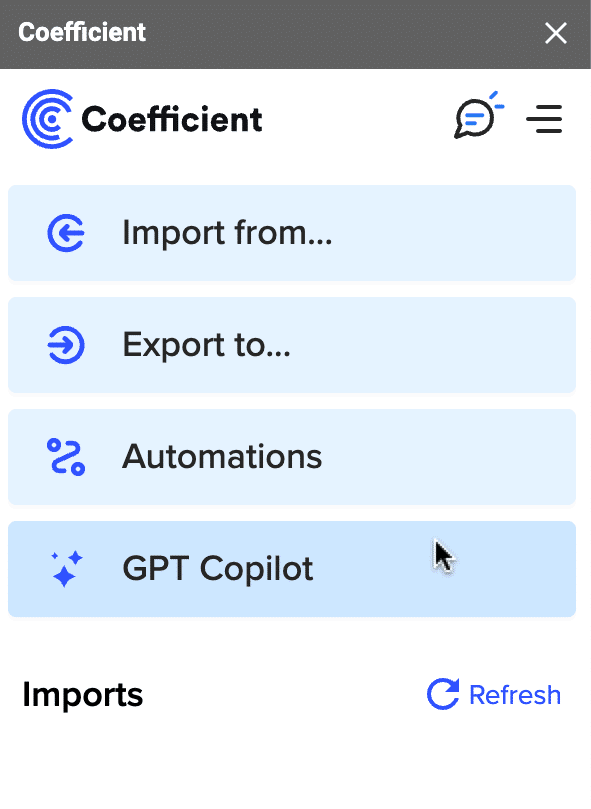
Now launch the app. Coefficient will run on the sidebar of your Google Sheet. Select GPT Copilot on the Coefficient sidebar.
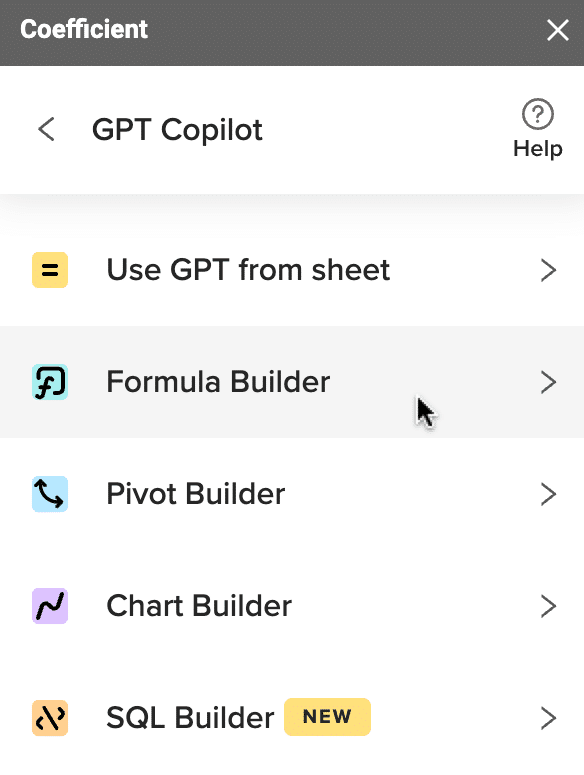
Then click Formula Builder.
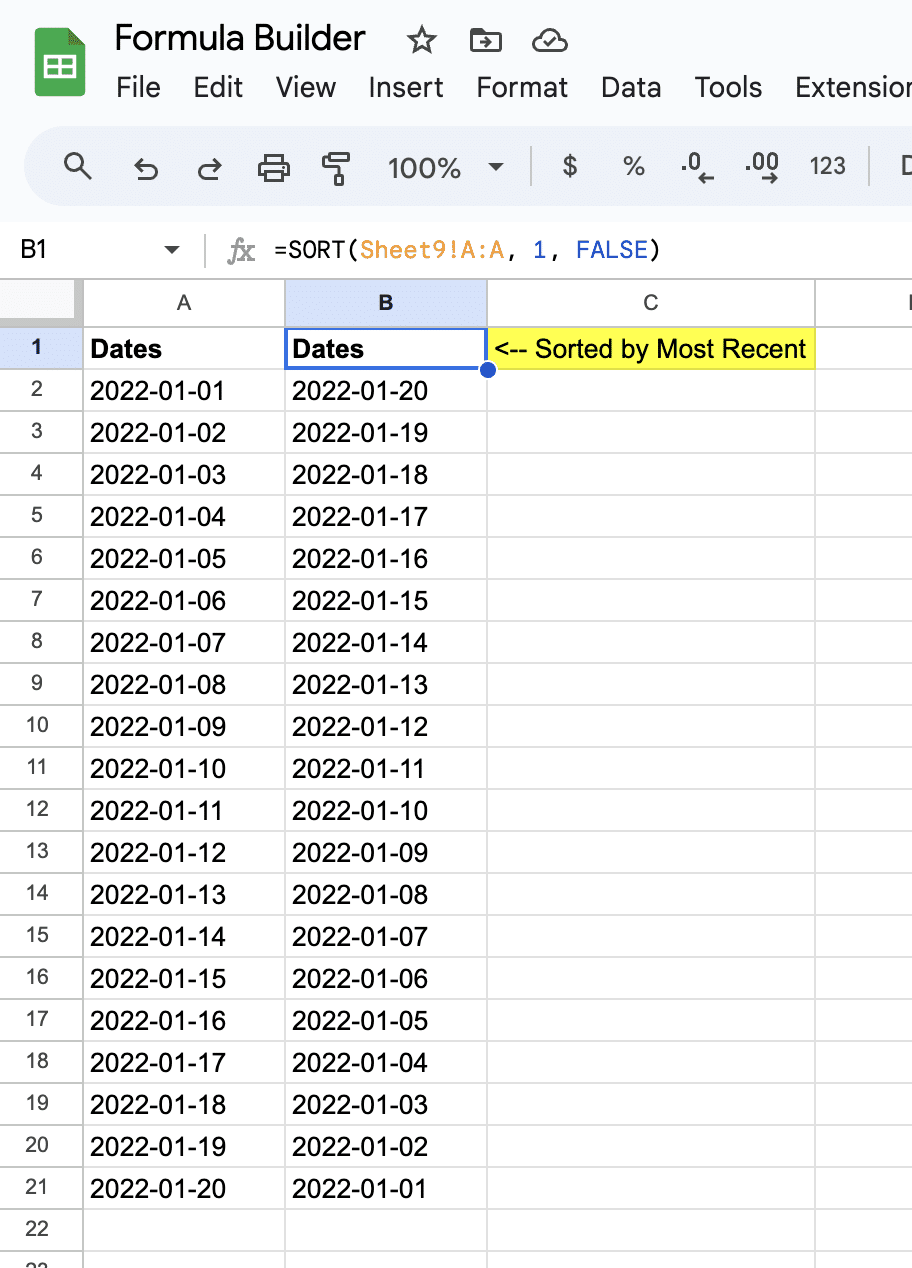
Type a description of a formula into the text box. In this example, let’s sort 20 dates starting with the most recent.
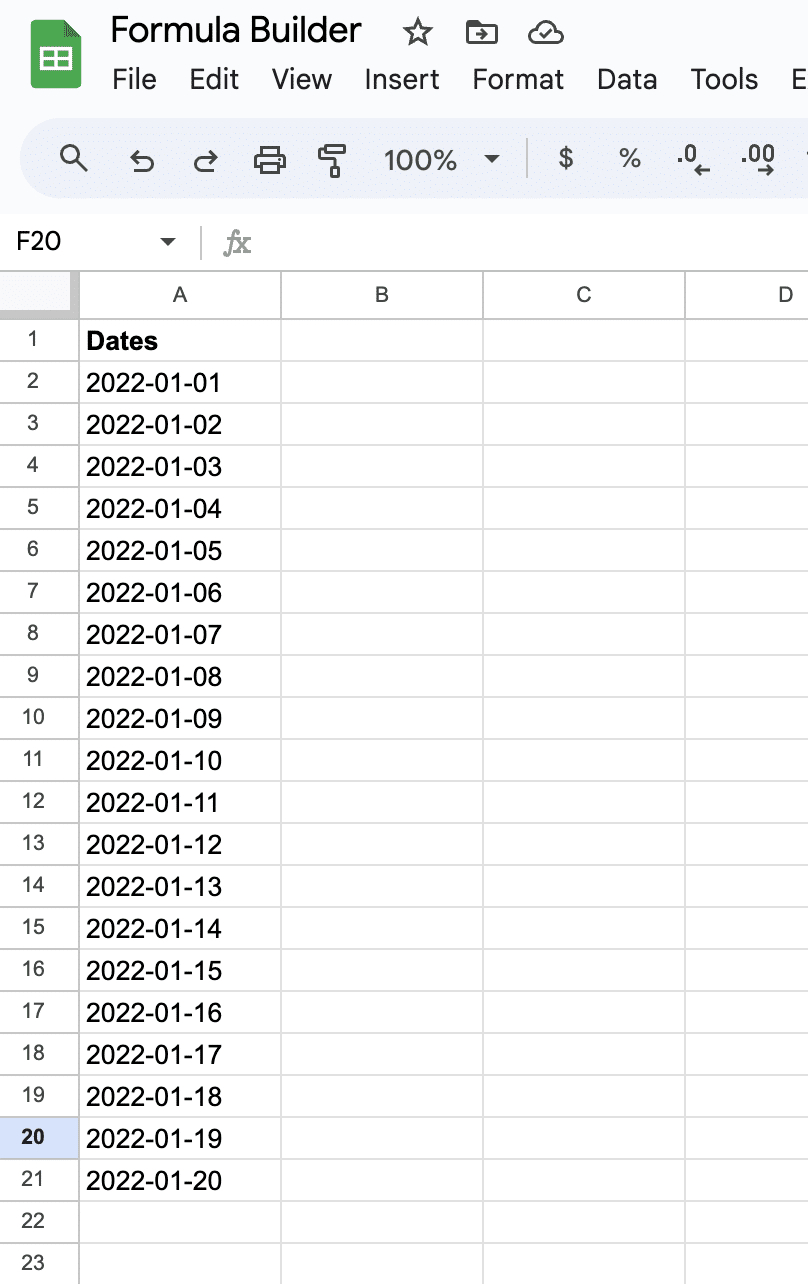
Simply type: Sort dates in column A in sheet9 by most recent date.
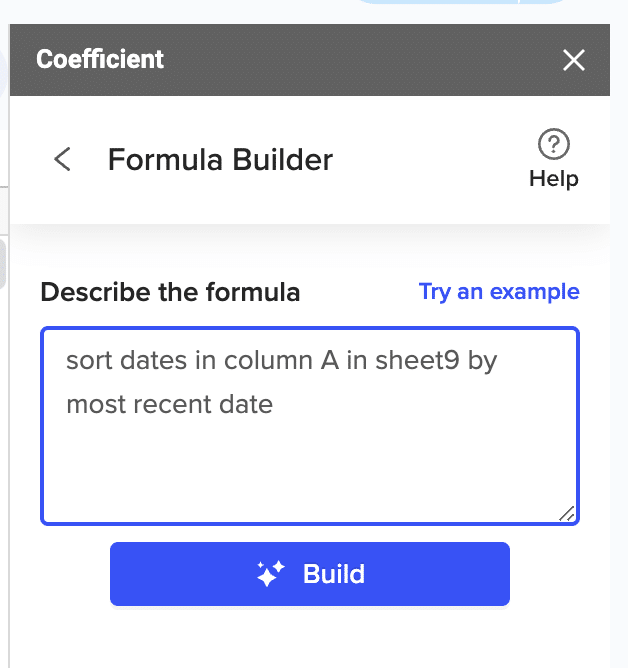
Then press ‘Build’. Formula Builder will automatically generate your sort formula.
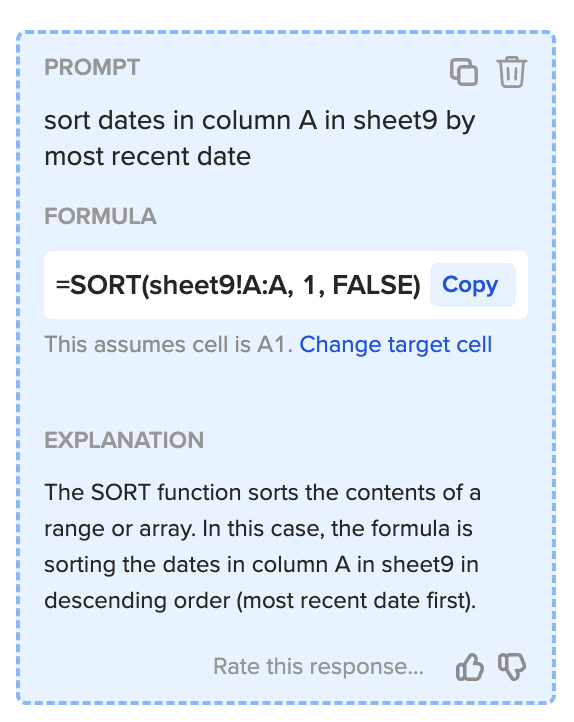
And, it’s that easy! Simply, place the formula in the desired cell.
Wrap Text in Google Sheets for a Cleaner Spreadsheet
Text wrapping isn’t the most advanced functionality in Google Sheets, but it’s critical for making cells easier to read and understand. Follow this guide to wrap long-string text in Google Sheets quickly and efficiently.
And now you can use Coefficient to supplement your pristine spreadsheet with AI builders and real-time data from your business systems. Try Coefficient for free to pull your mission-critical data into your spreadsheets easily.
