Coefficient’s Xero connector is by-request only at the moment as we finish up the marketplace approval process with Xero. If you’d like early access to our Xero connector, please reach to [email protected].
Xero is a leading cloud-based accounting software that enables businesses to manage their financial data, including invoices, quotes, purchase orders, bank transactions, and more.
By connecting Xero to Excel using Coefficient, you can seamlessly import your financial data into a spreadsheet for in-depth analysis and reporting. This tutorial will walk you through the steps of setting up the integration and fetching your Xero data into Excel.
Prefer to watch? Check out our video tutorial below for a step-by-step guide.
Advantages of Using Excel to Analyze Xero Data
- Familiar interface: Excel provides a well-known interface for financial data analysis, making it easy for users to navigate and work with Xero data.
- Powerful analysis tools: Excel offers a wide range of built-in functions, formulas, and pivot tables to help you analyze and visualize your financial data.
- Flexible reporting: Create custom financial reports and dashboards in Excel to share insights with stakeholders and make data-driven decisions.
How to Install Coefficient in Excel
Before we get started, you’ll need to install Coefficient in Excel. Don’t worry, it’s a fast and straightforward process that you only need to do once. Follow these simple steps to get started:
Open Excel from your desktop or in Office Online.
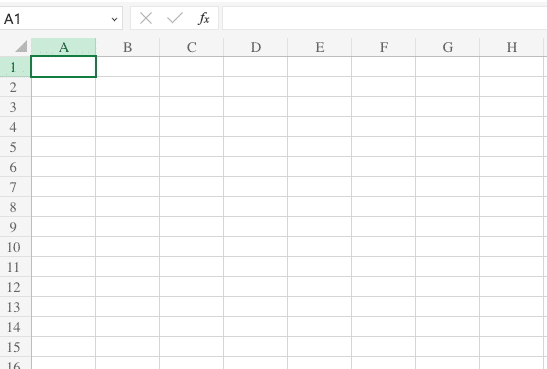
Navigate to the ‘File’ menu and select ‘Get Add-ins.’
- Click on ‘More Add-ins’ to access the available add-ins.
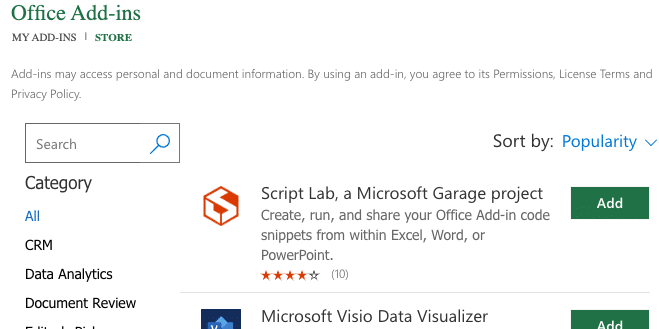
Type ‘Coefficient’ in the search bar and click ‘Add.’

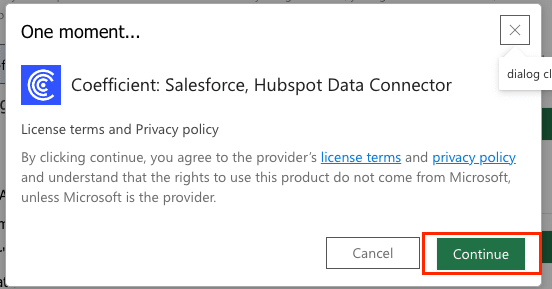
A pop-up window will appear, guiding you through the installation process. Follow the prompts to complete the setup.
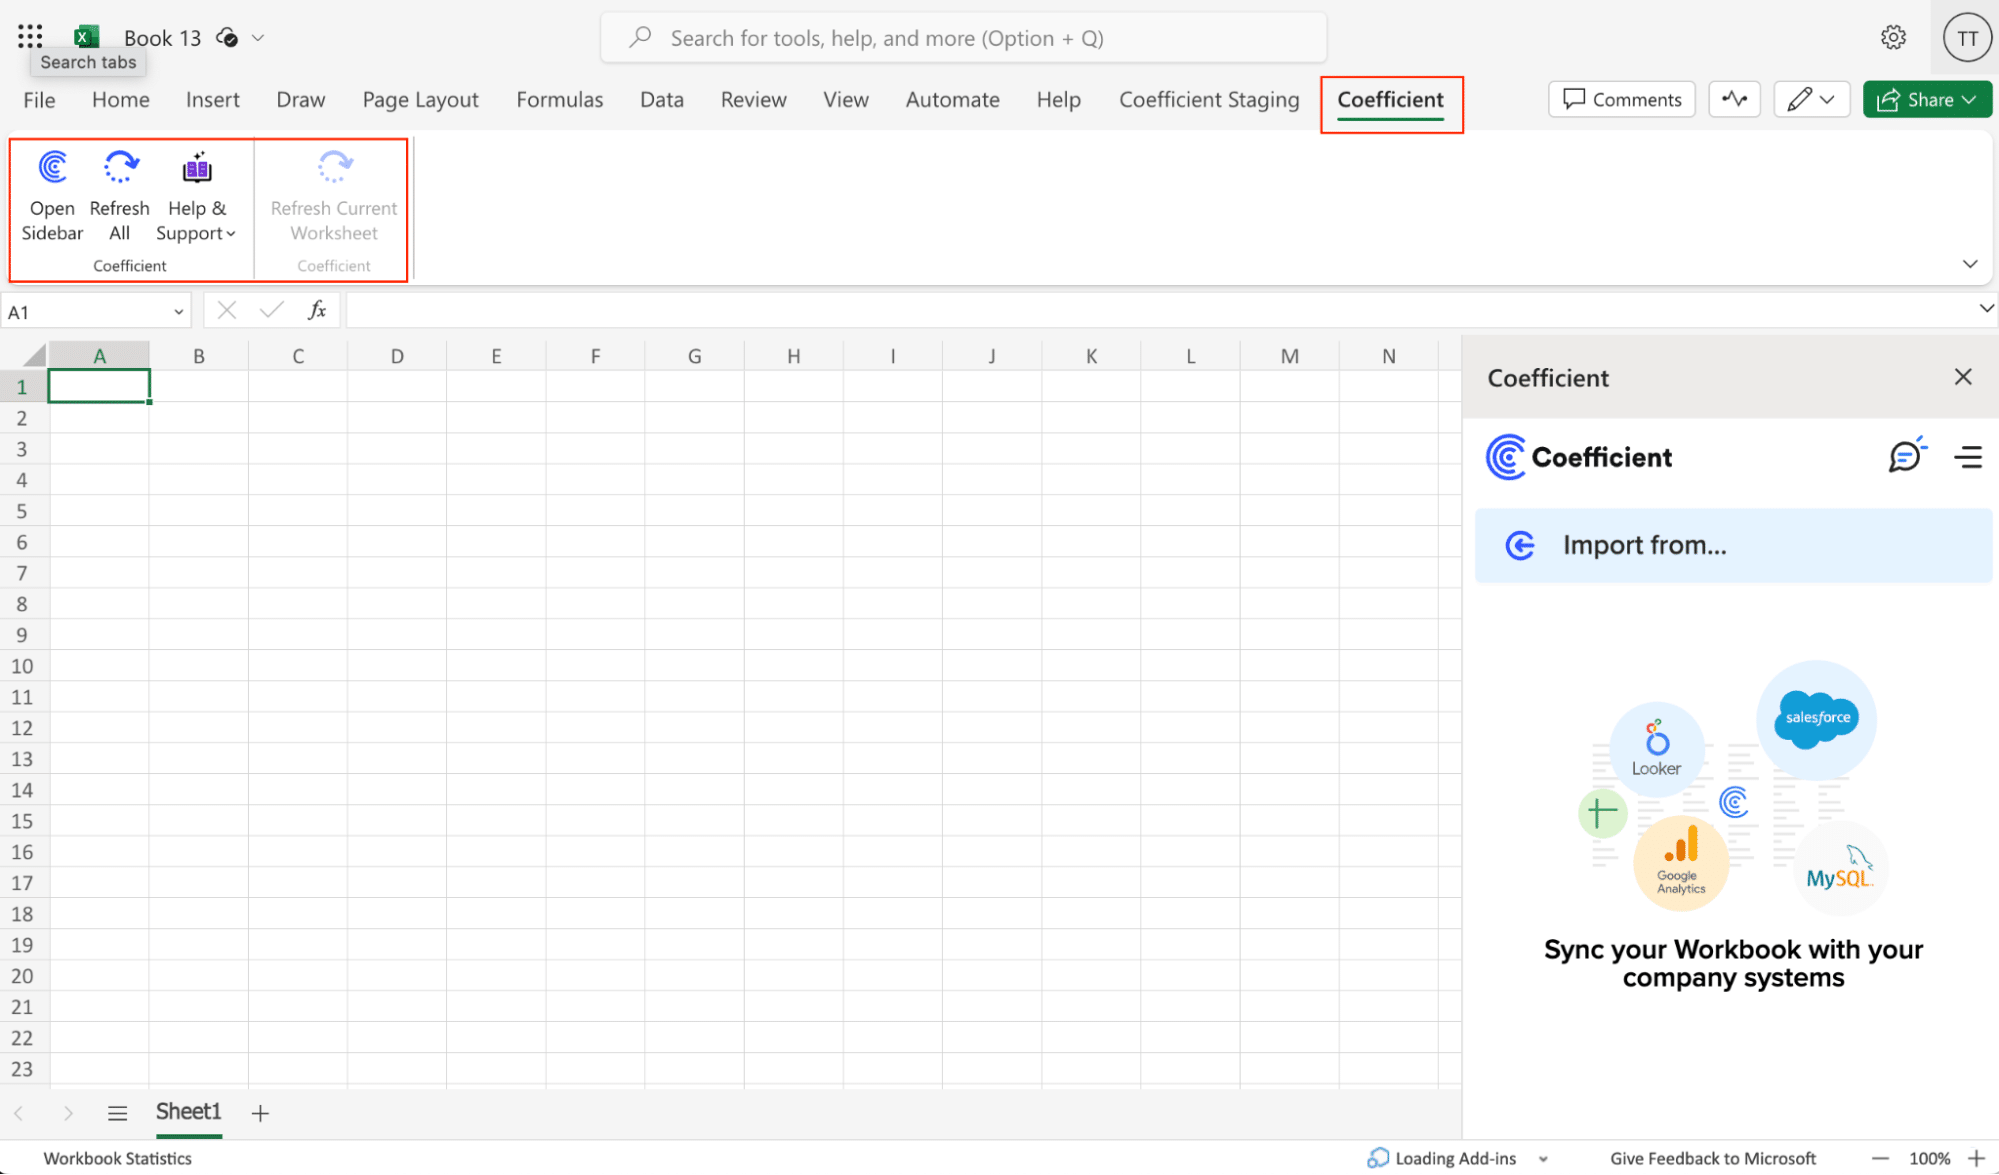
Once installed, you will see a ‘Coefficient’ tab in the top navigation bar. Click ‘Open Sidebar’ to launch Coefficient.
Connecting Xero to Excel Using Coefficient
With Coefficient installed, you’re now ready to import your ClickUp data into Excel
Step 1: Add Xero as a data source in Coefficient
In the Coefficient sidebar, click ‘Import From.’
Select “Xero” from the list of available data sources.
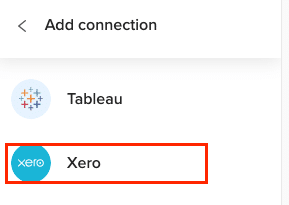
Step 2: Log in to your Xero account
Enter your Xero credentials and click ‘Login.’
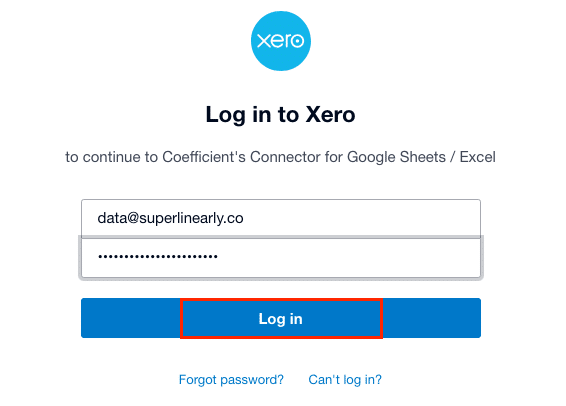
Step 3: Choose an organization to connect
Select one or more of the available organizations to connect to Coefficient.
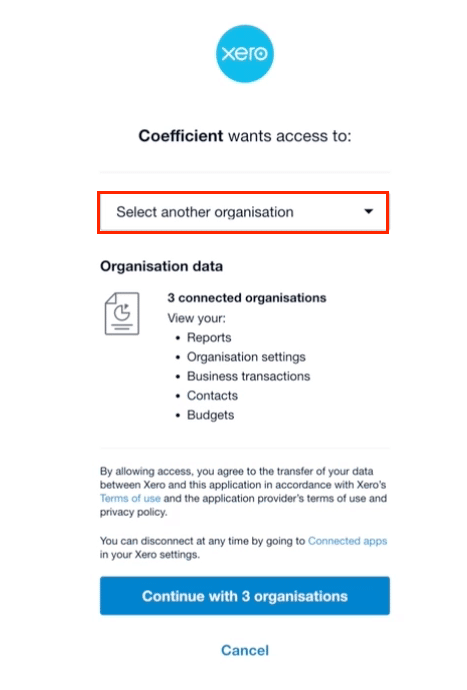
Click “Continue” to proceed with the selected organization(s).
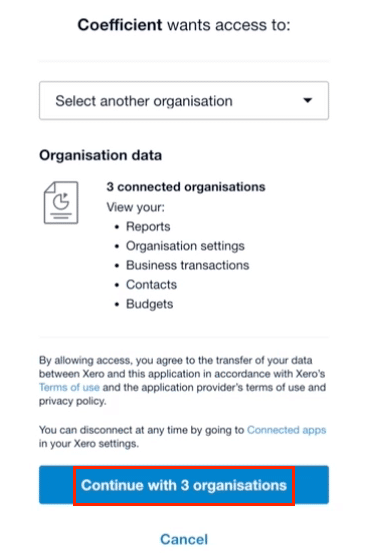
Step 4: Select an endpoint to fetch data from
Choose an endpoint from the available options, such as Invoices, Contacts, or Users.
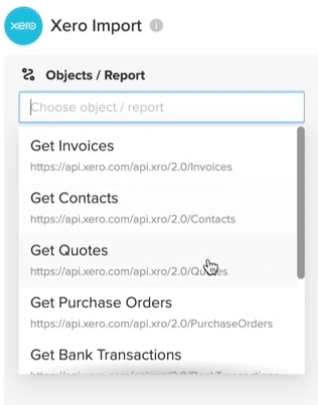
For this example, select “Get Invoices” to fetch invoice data from Xero.
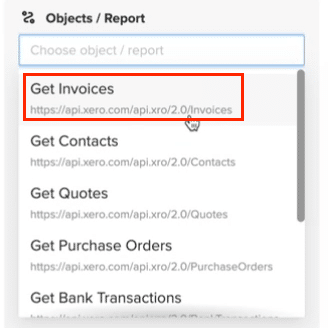
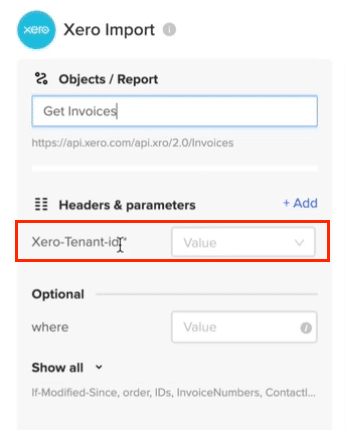
Step 5: Configure the data import
Enter the Tenant ID (organization ID) for the selected Xero organization.
Optionally, select additional fields to include in the data import.
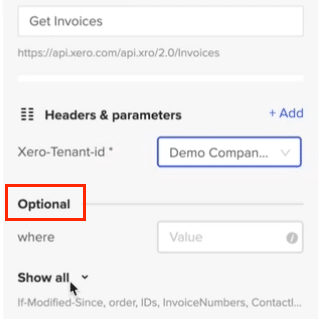
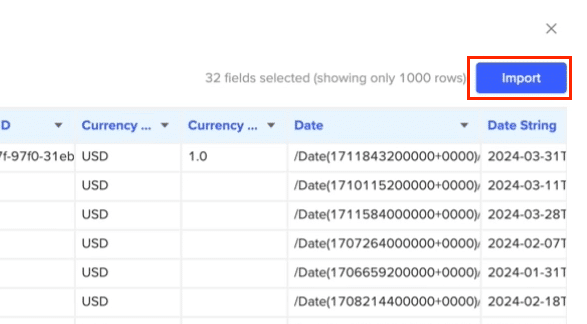
Click “Import” to fetch the invoice data into your spreadsheet.
Tips and Tricks: Analyzing Xero Data in Excel
- Create Interactive Dashboards: Utilize Excel’s powerful charting and formatting capabilities or Coefficient’s pre-built templates to create interactive dashboards that provide a clear overview of your Xero financial data.
- Ensure Data Freshness: Set up automatic data refreshes with Coefficient to keep your Xero data in Excel always up-to-date, providing a reliable foundation for your analyses and reports.
- Get Timely Notifications: Use Coefficient to configure alert notifications sent to Slack or email when specific conditions are met, such as when an invoice becomes overdue or a customer’s balance exceeds a certain threshold, helping you stay informed of critical financial updates without constantly monitoring your spreadsheets.
Streamline Your Xero Data Analysis with Coefficient and Excel
Connecting Xero to Excel using Coefficient simplifies the process of importing and analyzing your financial data.
By following this tutorial, you can easily fetch your Xero accounting data into an Excel spreadsheet and leverage the powerful analysis tools available in Excel to uncover valuable insights into your business’s financial performance.
Start using Coefficient today to enhance your Xero data analysis workflow.


