Custom field mapping during automated NetSuite journal entry imports requires proper field discovery, visual mapping configuration, and validation to ensure data integrity. The process supports most custom field types with specific considerations for complex field relationships.
This guide shows you how to effectively map custom fields, handle different field types, and create reusable templates for consistent journal entry automation.
Map custom fields for journal entries using Coefficient
Coefficient provides comprehensive support for custom field mapping during journal entry automation. When setting up a Records & Lists import for journal entries, the platform automatically detects all available custom fields associated with the transaction type. You can use the drag-and-drop interface to select custom fields, reorder columns to match your Excel template, and preview how data will map before importing.
The system supports text fields, number fields, date fields (imported as date only), checkbox/boolean fields, and list/record references. For advanced scenarios, you can use SuiteQL queries to handle complex custom field mappings with joins and custom logic.
How to make it work
Note: Before getting started, Install Coefficient and authenticate with your NetSuite account using OAuth. Your NetSuite admin will need to deploy the RESTlet script and configure external URL settings for secure API access.

Step 1. Set up field discovery for your journal entry type.

Configure a Records & Lists import for journal entries in NetSuite . The system automatically detects all available custom fields associated with your transaction type, including both header-level and line-level custom fields.
Step 2. Use the visual mapping interface for custom fields.
Select custom fields from the available fields list and use drag-and-drop to reorder columns matching your Excel template structure. Align Excel column headers with NetSuite custom field labels for consistent mapping.
Step 3. Configure advanced mappings with SuiteQL for complex scenarios.
For complex custom field relationships, write SuiteQL queries like: SELECT transactionline.custcol_custom_field, transaction.custbody_approval_status FROM transaction INNER JOIN transactionline ON transaction.id = transactionline.transaction. This handles custom fields across related records and supports up to 100,000 rows per import.
Step 4. Validate custom field data before import.
Use Coefficient’s preview feature to verify custom field data before import. Check that list/record references display correctly (they may show as IDs in datasets) and ensure date fields are properly formatted for NetSuite’s date-only import requirement.
Step 5. Create reusable templates with pre-mapped custom fields.
Once mapped, custom field configurations persist for future imports. Create standardized templates with pre-mapped custom fields to reduce manual mapping efforts and ensure consistency across journal entry imports.
Step 6. Configure automated refresh schedules.

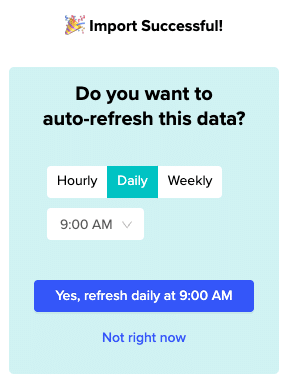
Set up hourly, daily, or weekly refresh schedules that align with your reporting cycles. Financial data updates automatically before month-end deadlines, and you can trigger manual refreshes when immediate updates are needed.
Streamline custom field management
Proper custom field mapping ensures your journal entry automation captures all necessary business data while maintaining data integrity and reducing manual effort. Set up your custom field mappings today.
)


