


Stripe is a leading payment processing platform used by businesses to accept online payments. PostgreSQL is a powerful open-source relational database for storing and managing data. Integrating Stripe with PostgreSQL is crucial for ensuring that your financial transactions and customer data flow seamlessly between the two systems.
This guide will walk you through the top methods to automate the Stripe to PostgreSQL integration efficiently.
Advantages of Connecting Stripe to PostgreSQL
Integrating Stripe and PostgreSQL provides several key benefits for managing your business’s financial data:
- Streamline financial data workflows: Automatically funnel Stripe transactions, customer data, and other financial information into PostgreSQL for centralized storage and management. This eliminates the need to manually export and import data between the systems.
- Facilitate real-time financial reporting: With Stripe data synced into PostgreSQL, you can access up-to-date financial data to generate reports and dashboards. Keep tabs on key metrics like revenue, new customers, failed charges, and more.
- Gain advanced financial insights: Feed your Stripe data into PostgreSQL to combine it with data from other sources and power advanced analytics queries. Uncover insights into your business’s financial performance, customer behavior, and more.
Connecting Stripe to PostgreSQL: 3 Methods
There are various solutions available to integrate Stripe with PostgreSQL, each with their own advantages. Here’s an overview of the top options:
| Solution | Best For |
| Coefficient | Non-technical users who need a simple, no-code way to connect Stripe to Google Sheets or Excel and sync that data to PostgreSQL. |
| Hevo Data | Businesses that want an automated, fully-managed pipeline for syncing data from Stripe to PostgreSQL in real-time. |
| Airbyte | Teams with technical resources who prefer an open-source, highly customizable solution for integrating Stripe and PostgreSQL. |
How to Connect Stripe to PostgreSQL
Method 1: Coefficient – No-Code Stripe to PostgreSQL Integration
Coefficient is a no-code tool that allows you to easily connect apps like Stripe to Google Sheets and Microsoft Excel. You can then sync that data to PostgreSQL, all without writing a single line of code. It’s ideal for non-technical users who want a simple, reliable way to automate data flows.
Relevant Coefficient Features
- No-Code Connectivity: Easily connect Stripe to Google Sheets or Excel, then sync that data to PostgreSQL, without any coding required. Coefficient’s intuitive interface makes it simple to integrate your data.
- Automated Data Syncing: Keep your PostgreSQL database up-to-date with the latest Stripe data. Set up automated data transfers from Stripe to your spreadsheet to PostgreSQL on an hourly, daily, or weekly basis.
- Custom Data Imports: Fine tune your Stripe data imports using Coefficient’s visual import flow builder. Choose specific fields, apply filters, and perform group by and sort operations without writing SQL queries.
- Connect to Multiple Data Sources: In addition to Stripe and PostgreSQL, you can use Coefficient to pull in data from dozens of other sources, including HubSpot, Salesforce, QuickBooks, and more. Combine data from all your business tools in Google Sheets or Excel.
Pros and Cons
- Pros:
- Simple, no-code setup process
- Automated data transfers from Stripe to PostgreSQL
- Supports incremental syncs for efficient updates
- Affordable pricing plans for teams of all sizes
- Cons:
- The free plan has some limitations on number of transfers and accounts
Step-by-Step Instructions
Follow these steps to use Coefficient to connect Stripe to Google Sheets or Excel and sync that data to PostgreSQL:
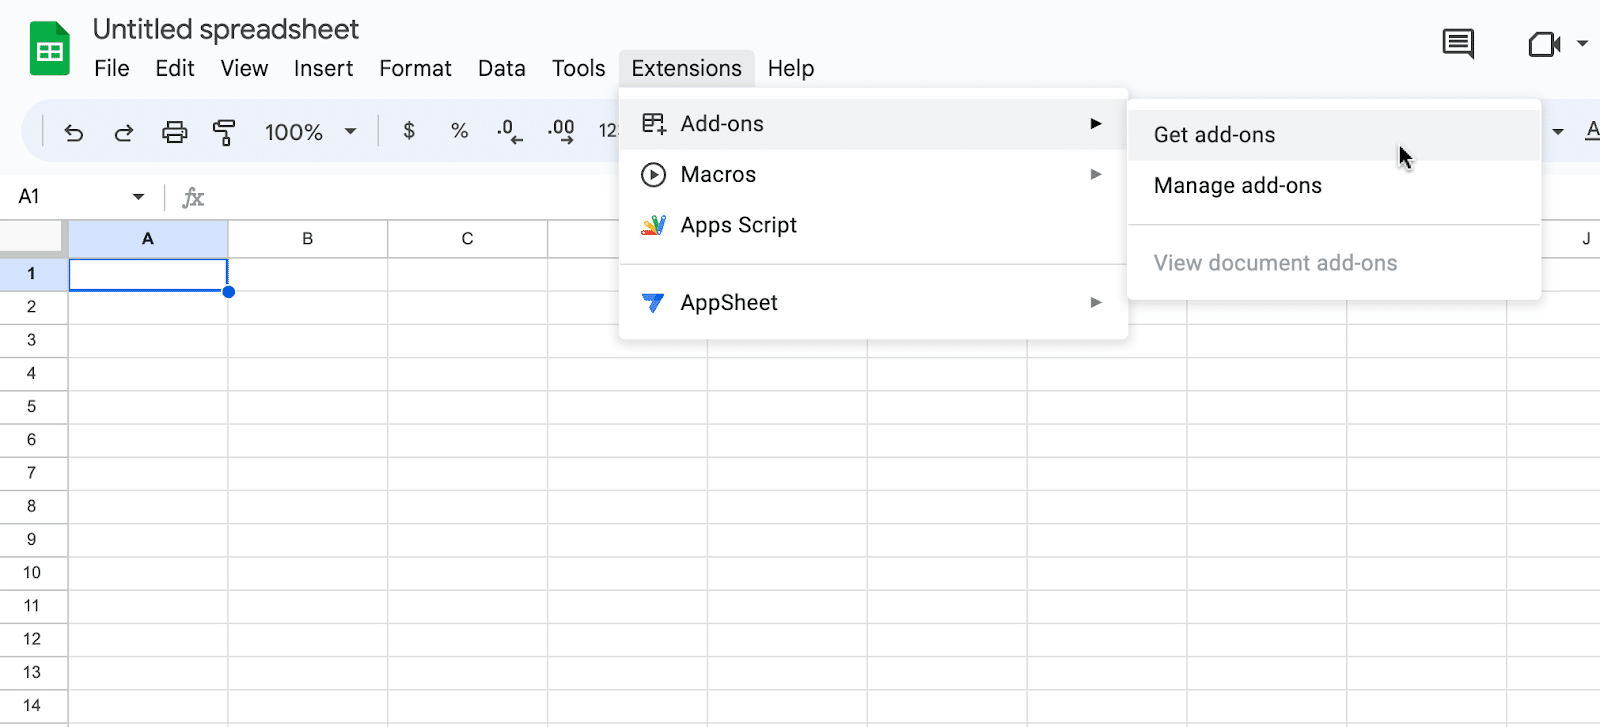
Step 1: Install the Coefficient
For Google Sheets
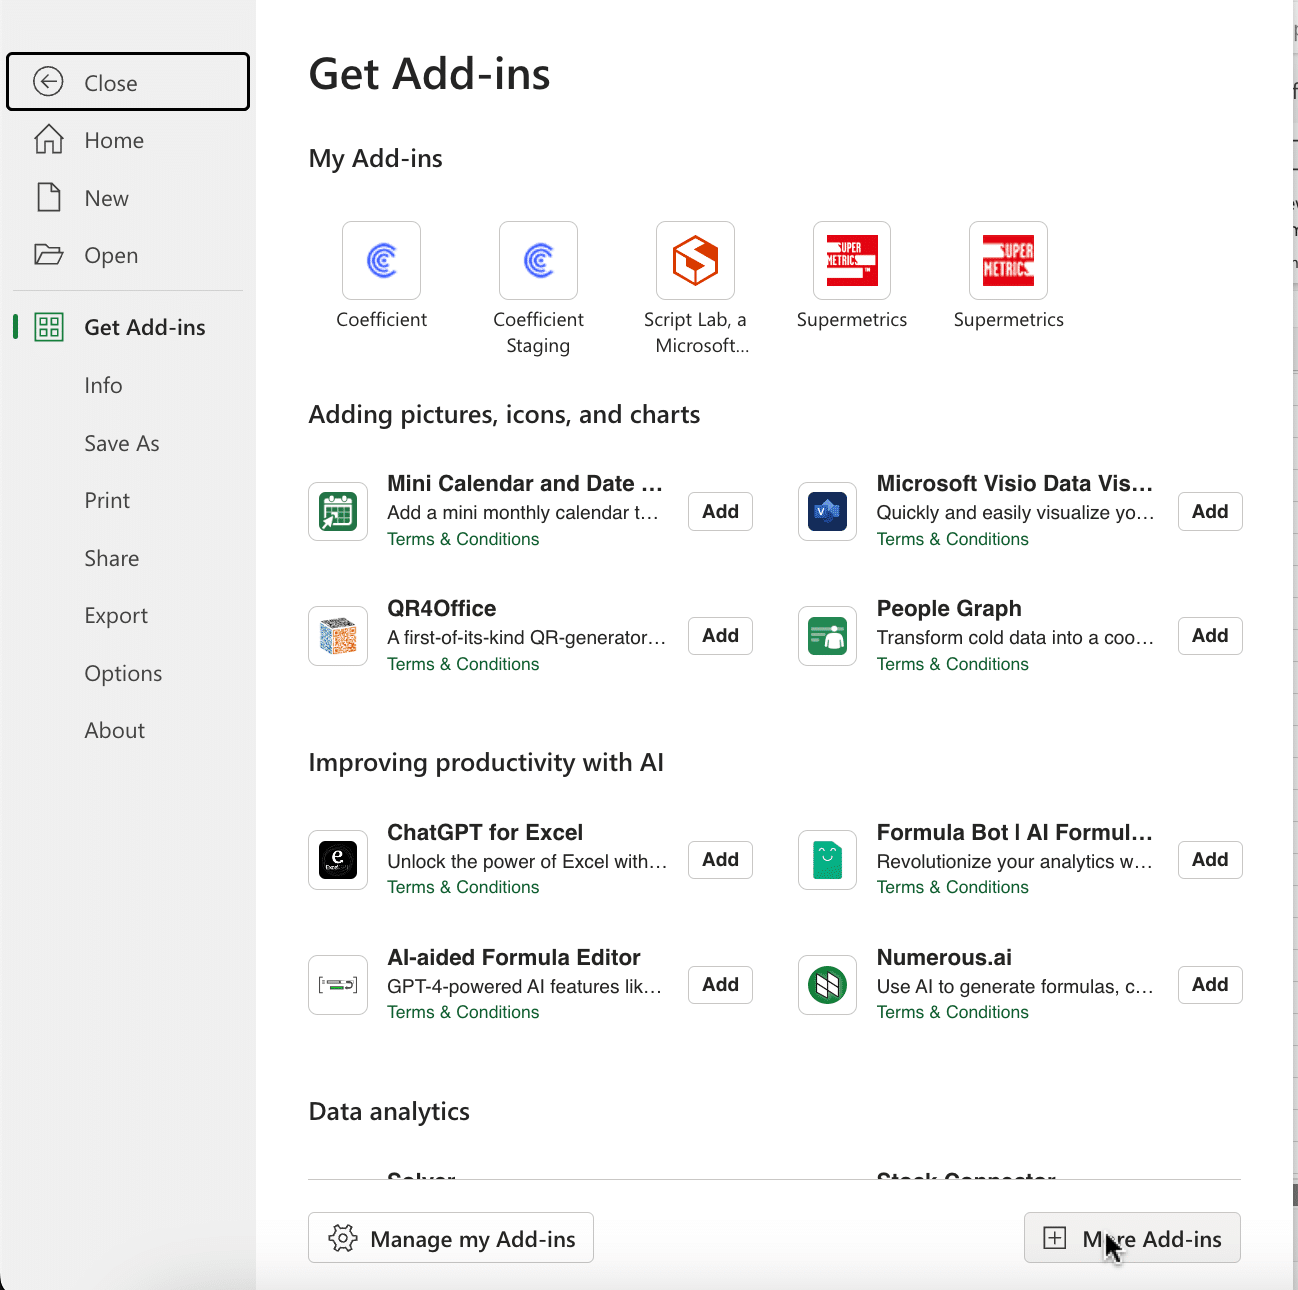
Open a new or existing Google Sheet, navigate to the Extensions tab, and select Add-ons > Get add-ons.
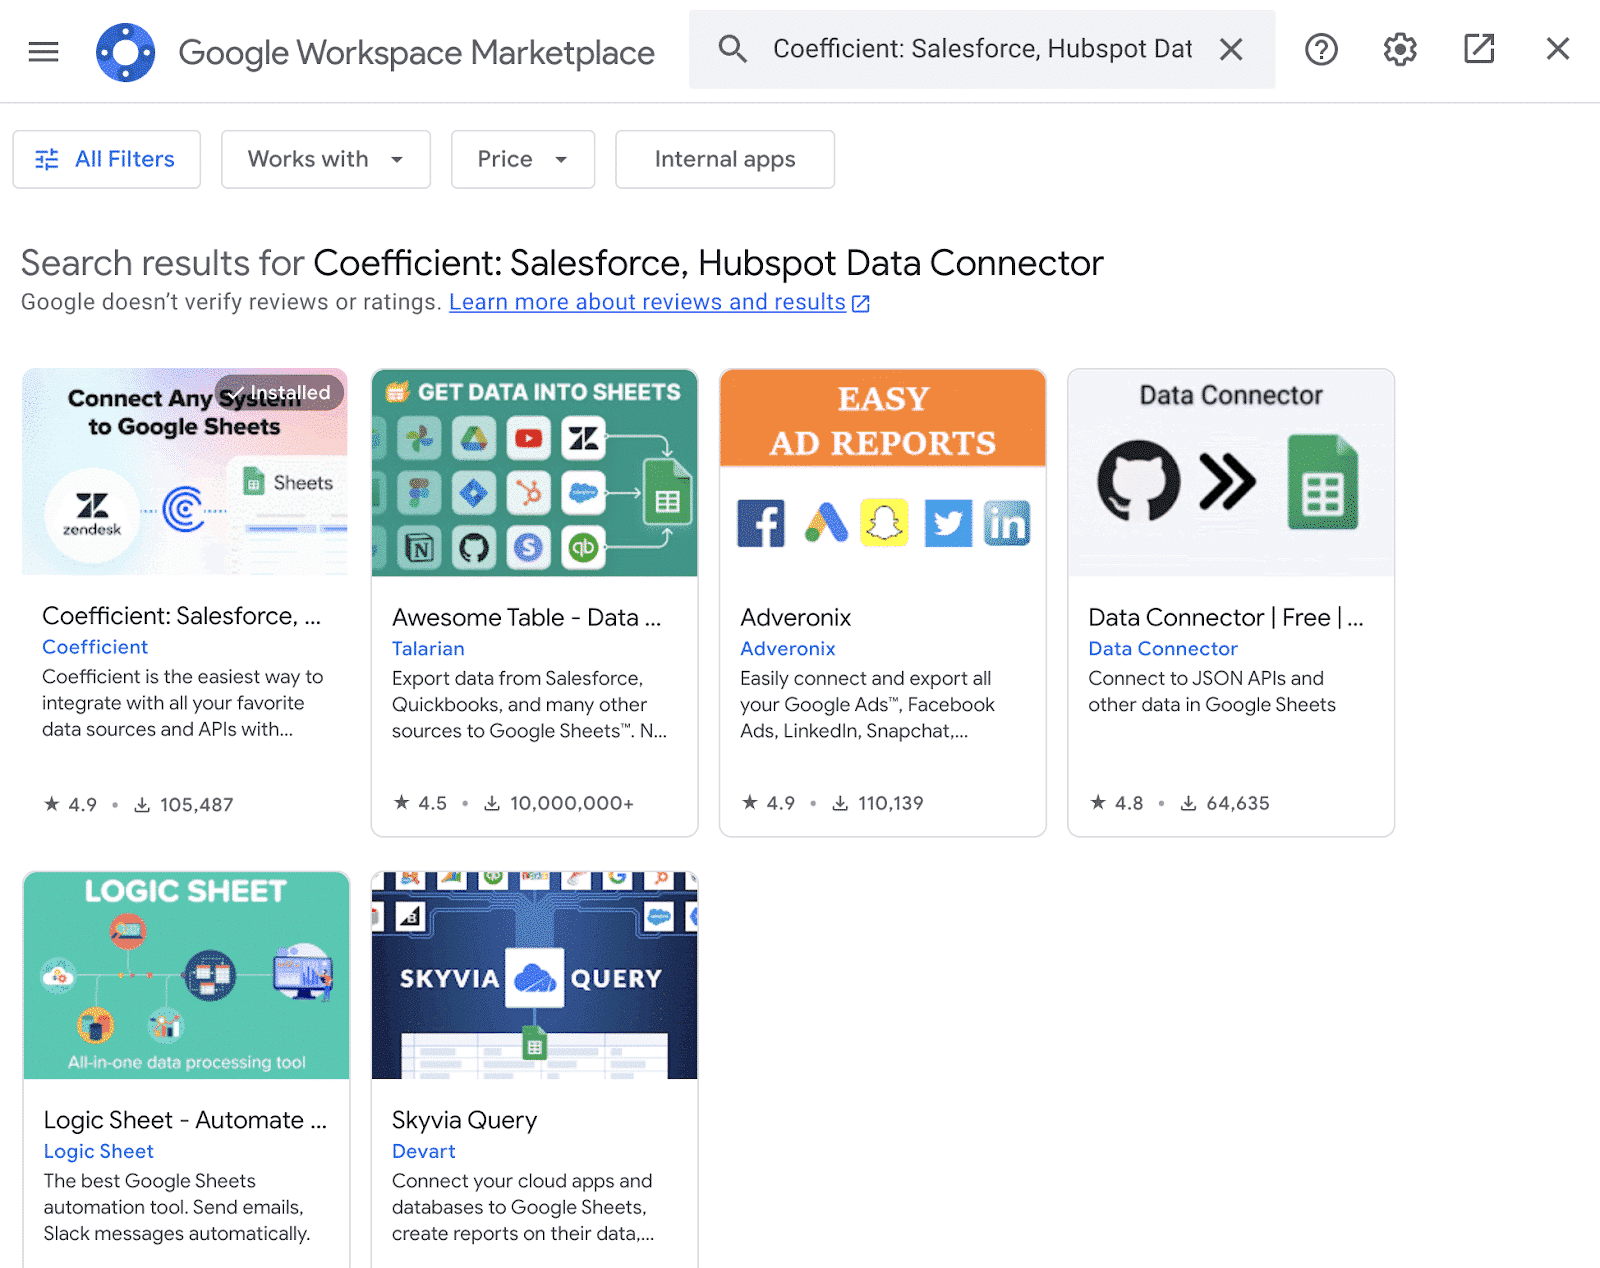
In the Google Workspace Marketplace, search for “Coefficient.”
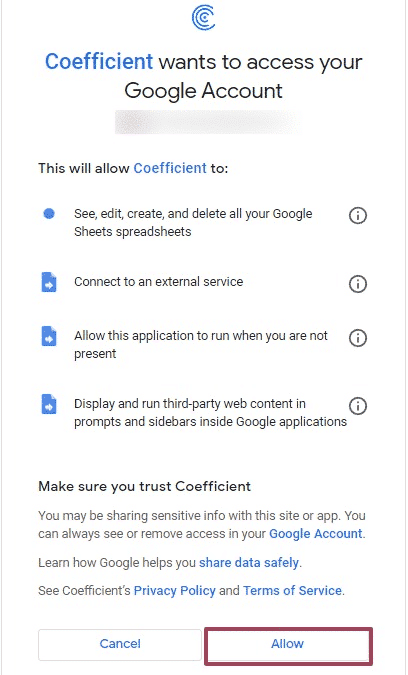
Follow the prompts to grant necessary permissions.
Launch Coefficient from Extensions > Coefficient > Launch.
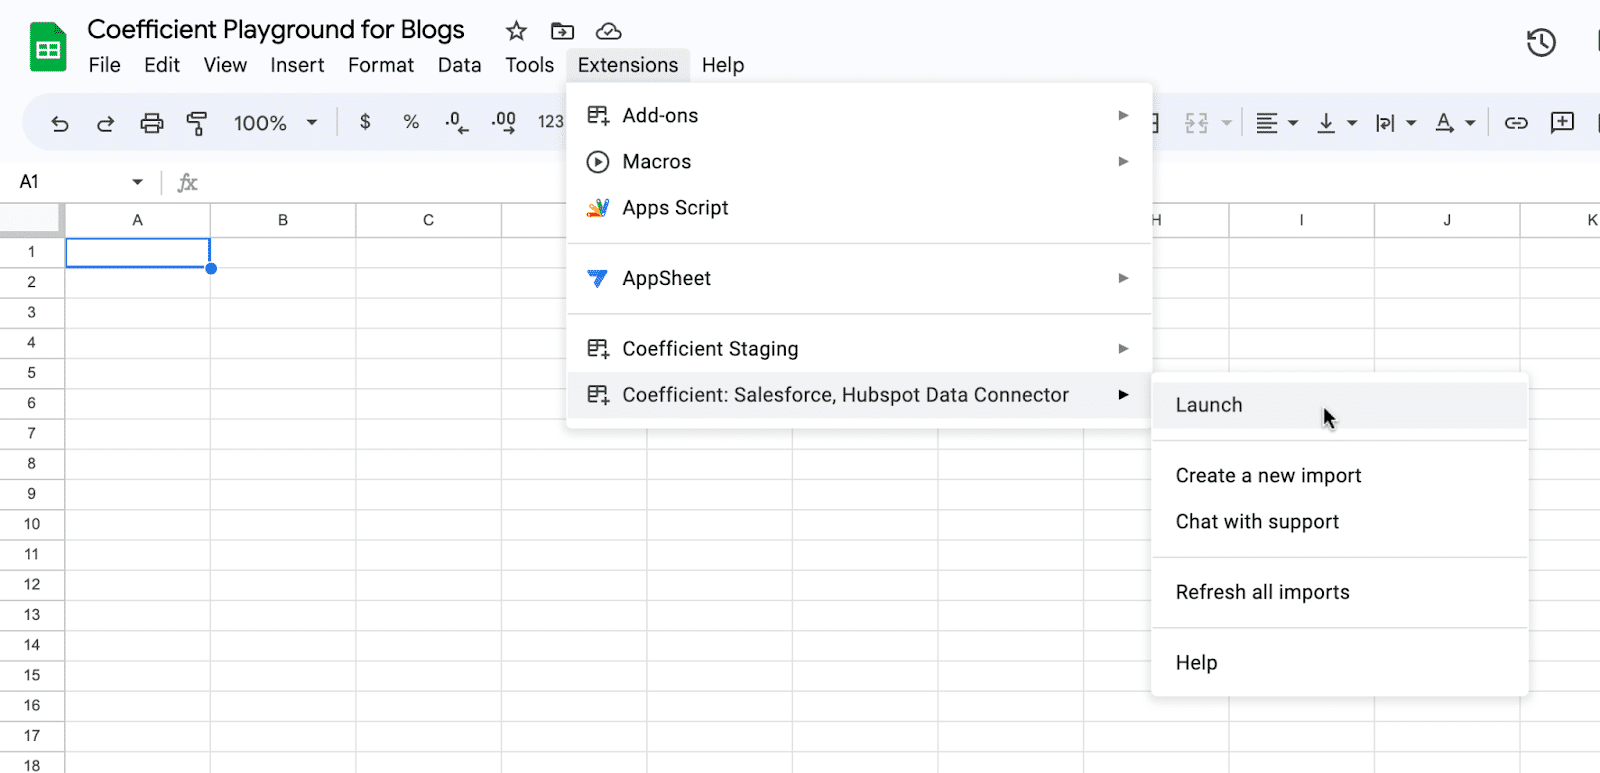
Coefficient will open on the right-hand side of your spreadsheet.
For Microsoft Excel
Open Excel from your desktop or in Office Online. Click ‘File’ > ‘Get Add-ins’ > ‘More Add-Ins.’
Type “Coefficient” in the search bar and click ‘Add.’

Follow the prompts in the pop-up to complete the installation.
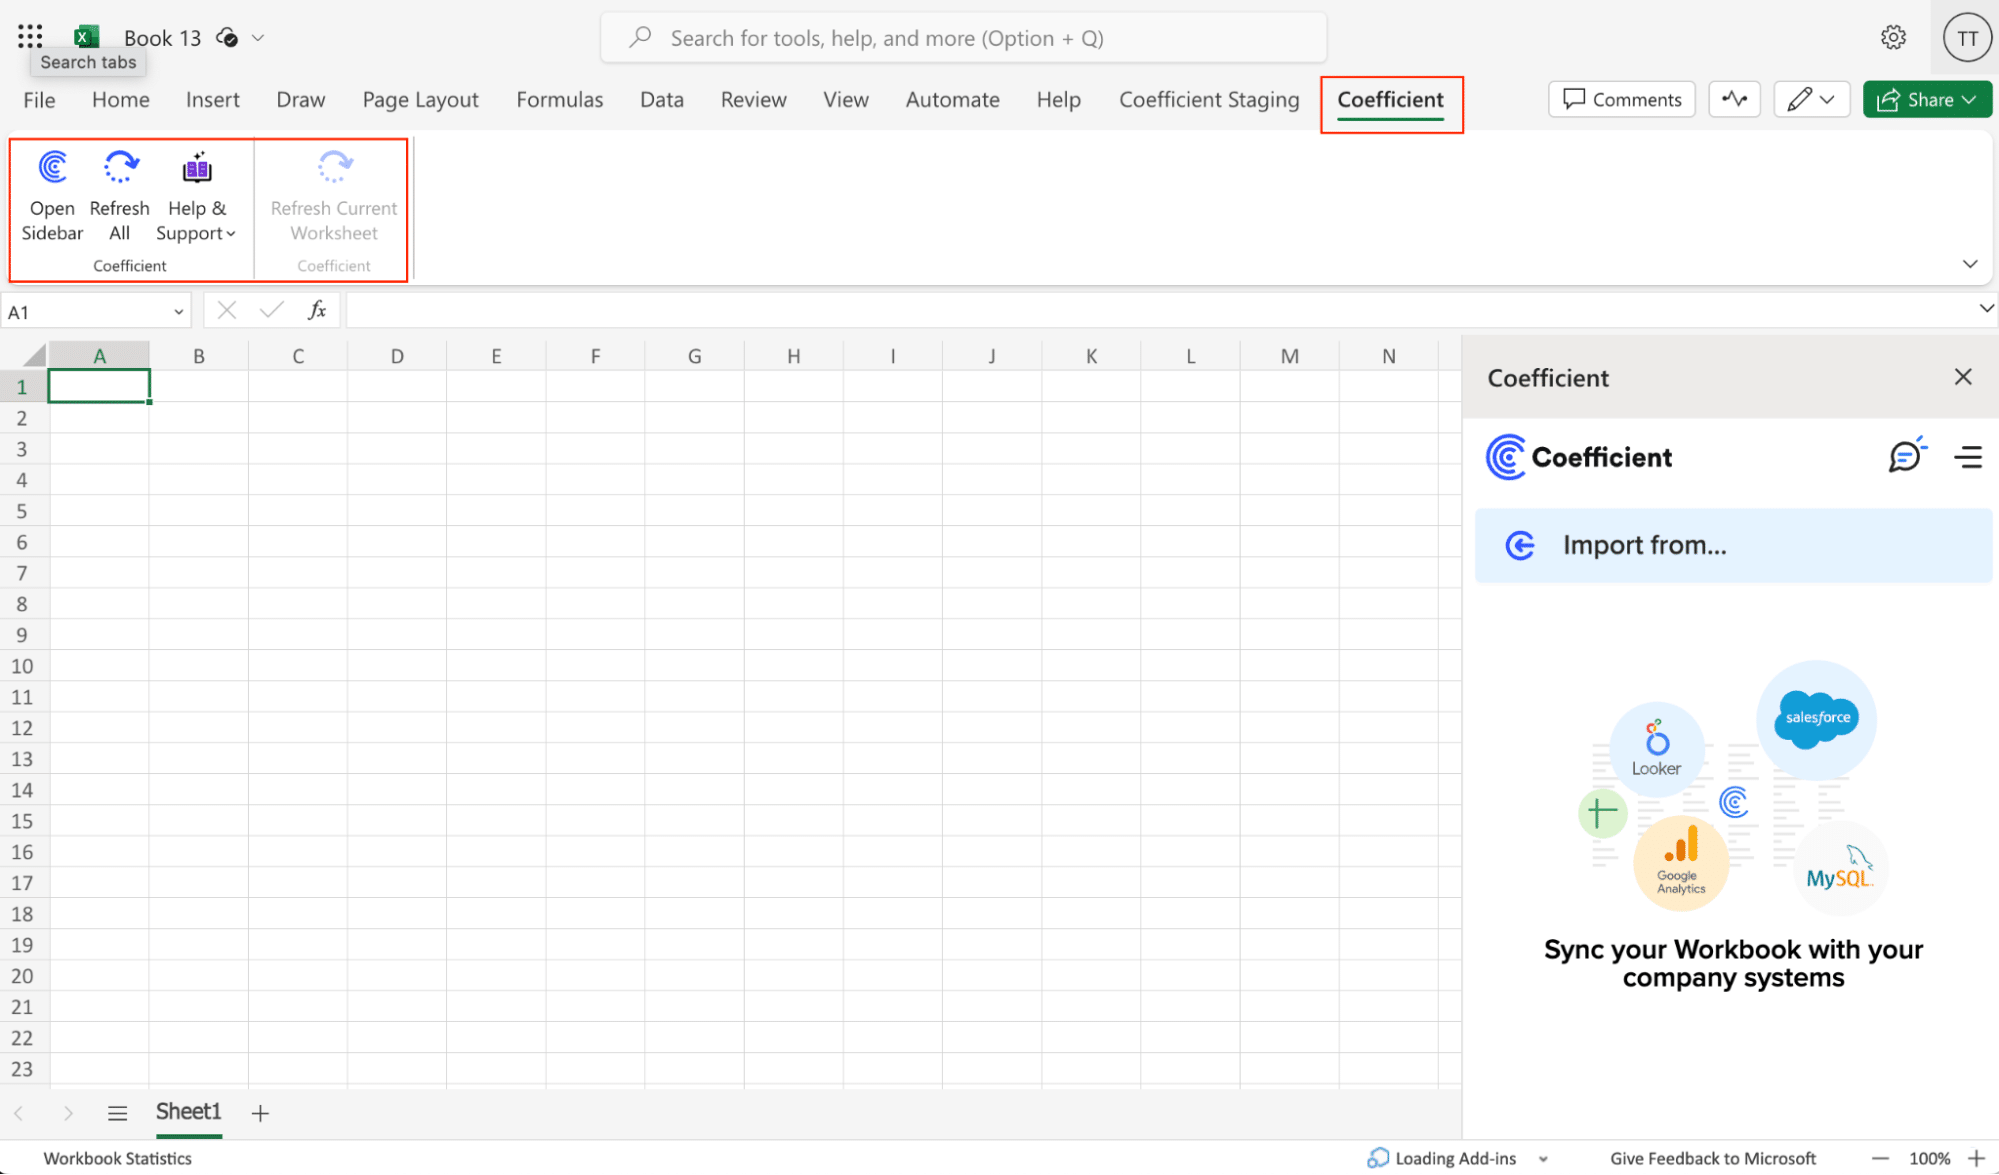
Once finished, you will see a “Coefficient” tab in the top navigation bar. Click ‘Open Sidebar’ to launch Coefficient.
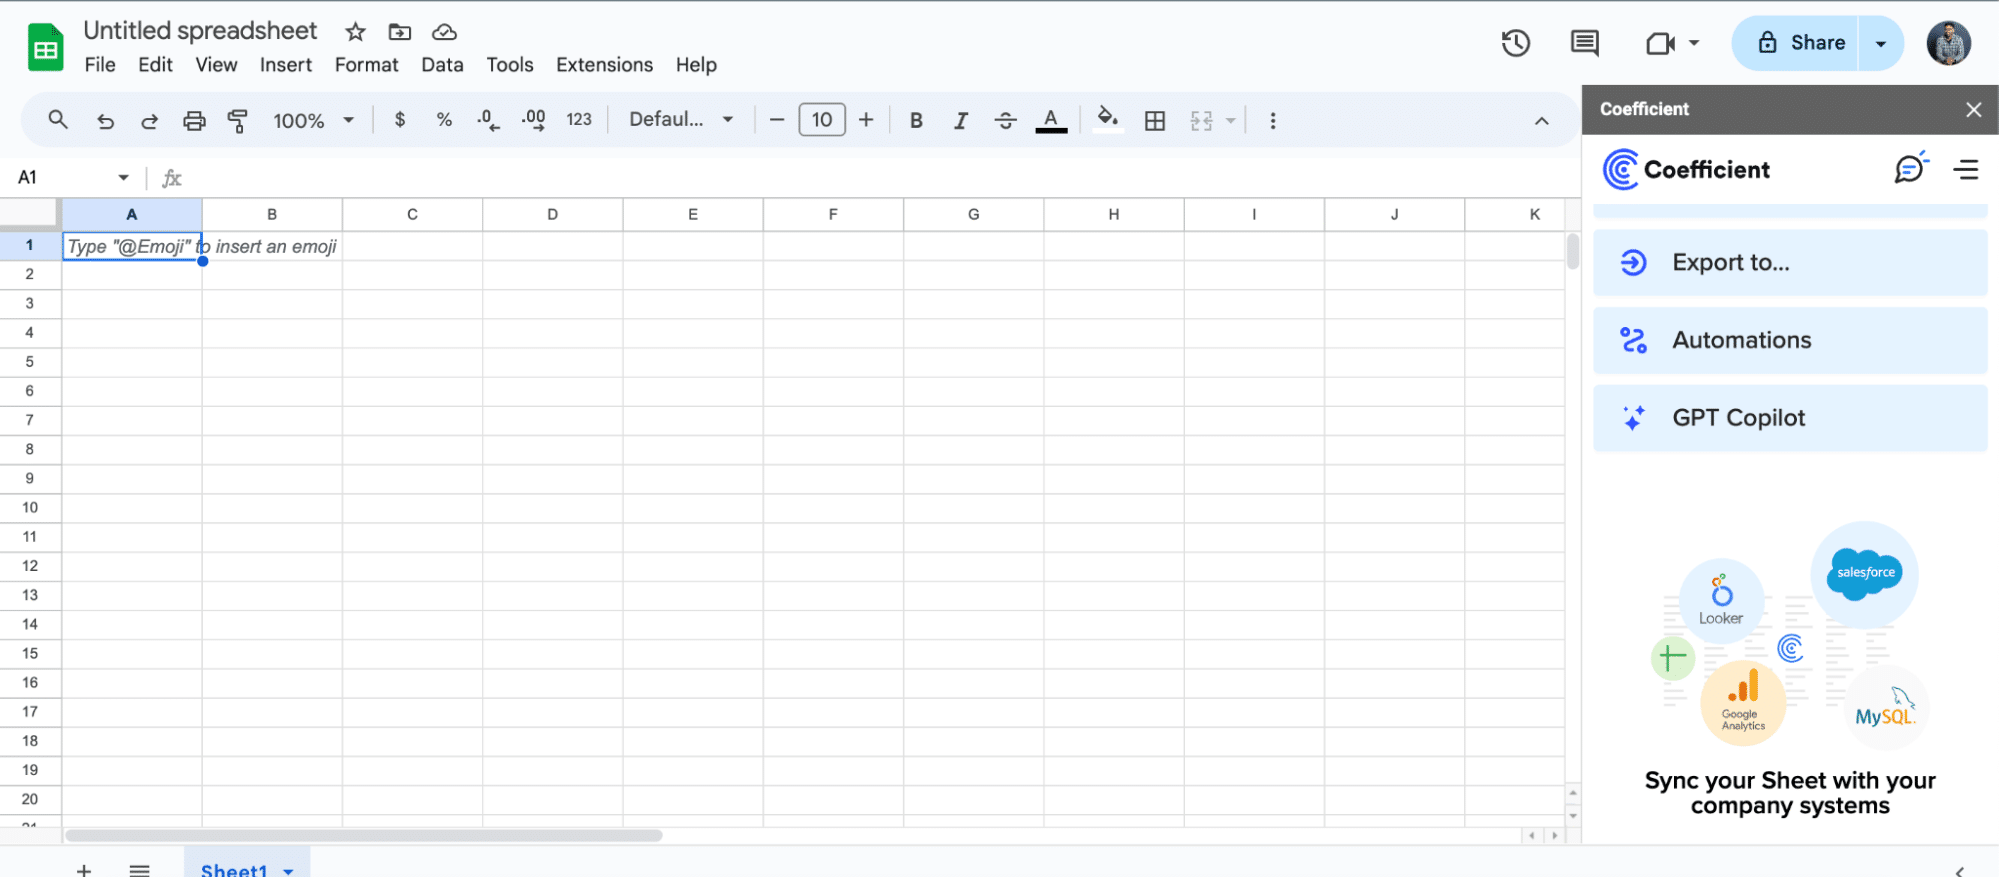
Step 2: Connect Stripe to Your Spreadsheet
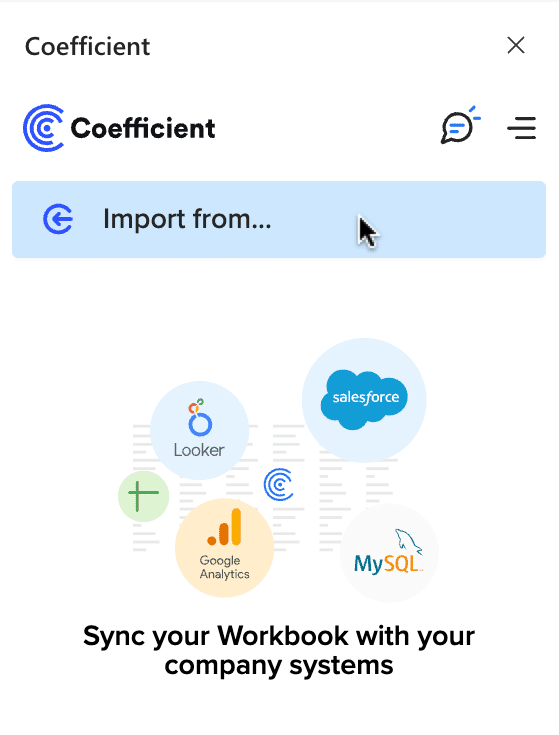
Select ‘Import from…’
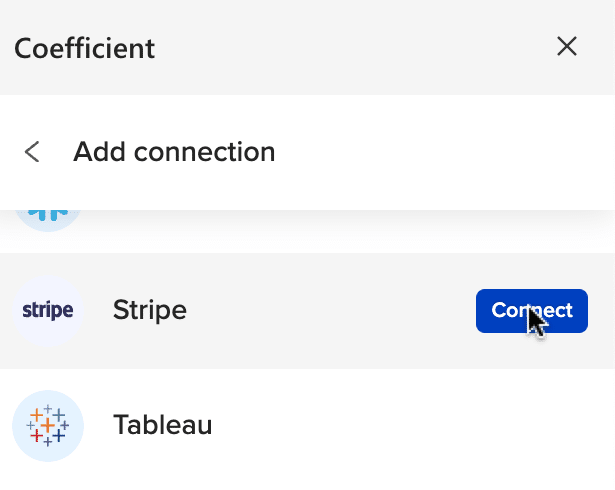
Scroll down until you see Stripe and click ‘Connect.’
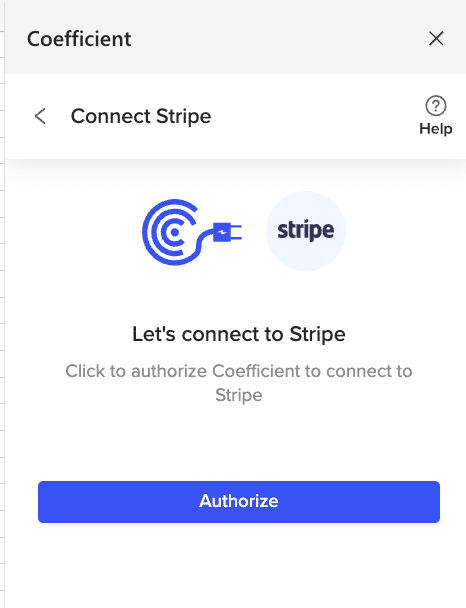
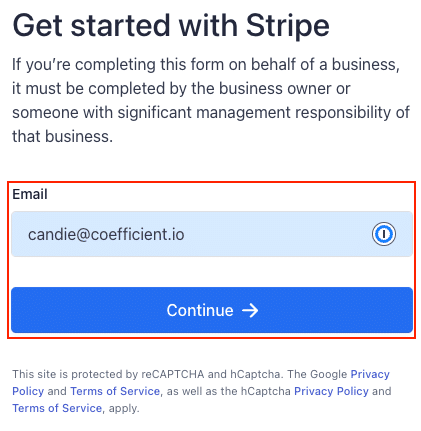
Follow the prompts to authorize Coefficient to access your Stripe account.
Select the Stripe account you would like to connect Coefficient to. Once connected you will be taken back to Coefficient to begin your import.
Navigate back to Stripe from the menu and click ‘From Objects & Fields.’
Select the Object to import (Customers,’ in this example.

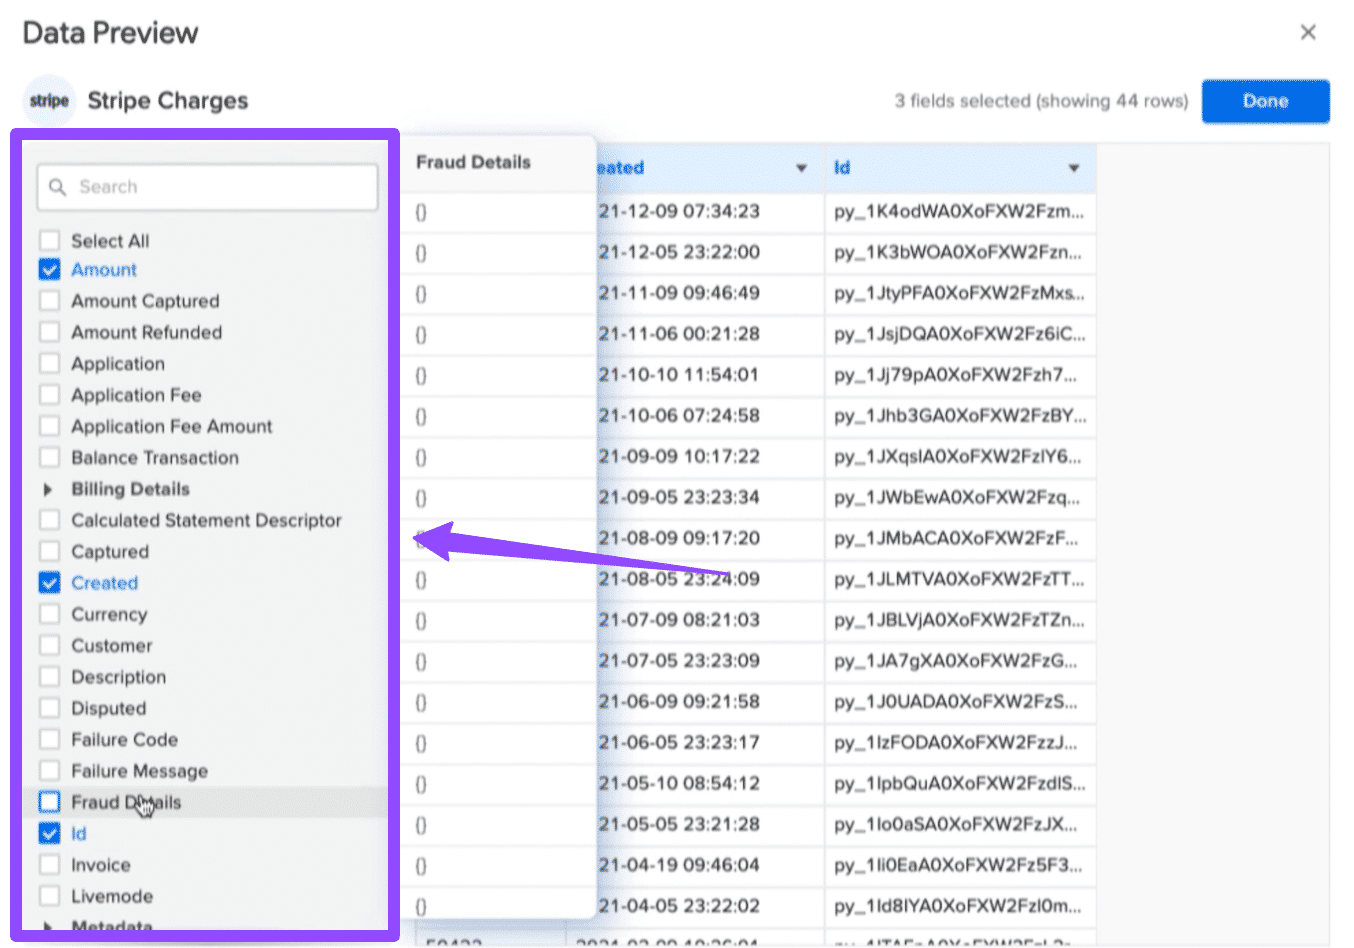
Specify your import’s Object fields by clicking Select Fields.
For this example, we’ll select the fields under Charges.
Check off the boxes on the left side of each field you want to include in the Data Preview window. Click Done.
After you’ve added all the fields, click ‘Import’ on the Coefficient sidebar.
Your import data should populate your spreadsheet within a few seconds or minutes. It should look something like this.
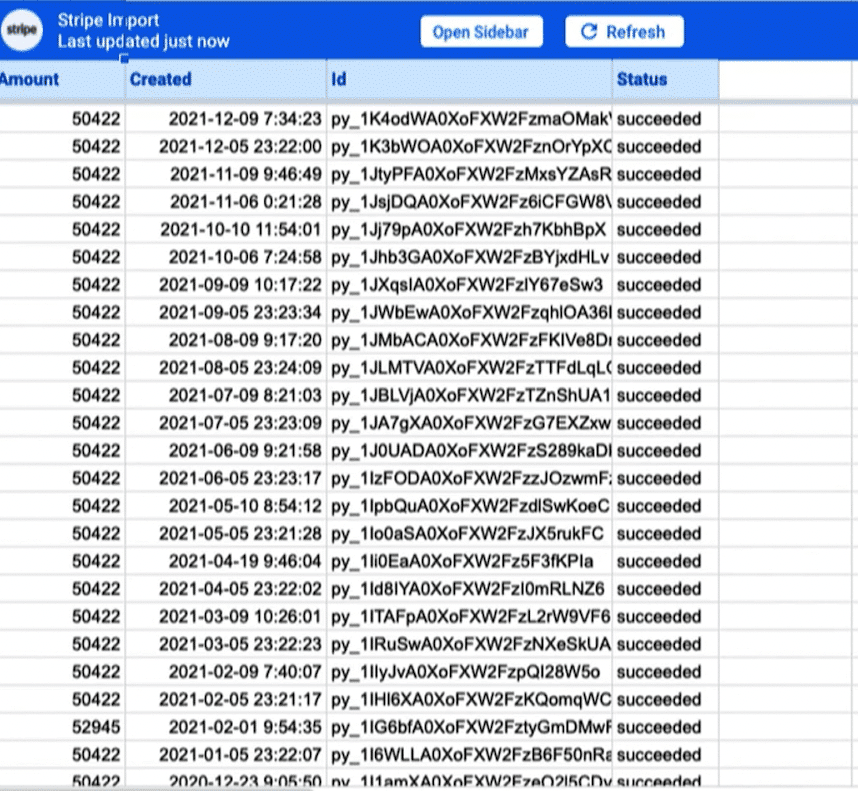
Show Image
- The Stripe data will now appear in your Google Sheet or Excel workbook. You can analyze it using spreadsheet formulas and visualize it with charts.
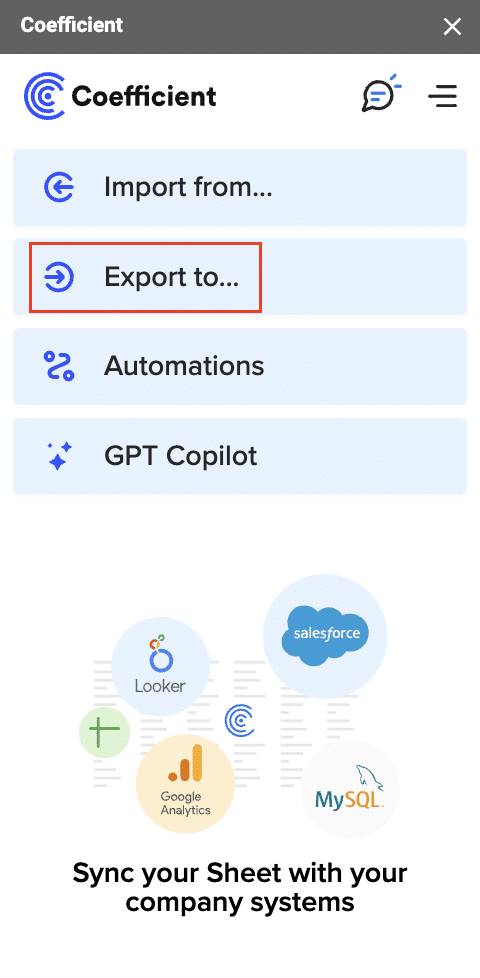
Step 3. Export Data from Your Spreadsheet to PostgreSQL
Before starting, make sure you’ve connected to PostgreSQ
Then, navigate to Coefficient’s menu. Click “Export to…”
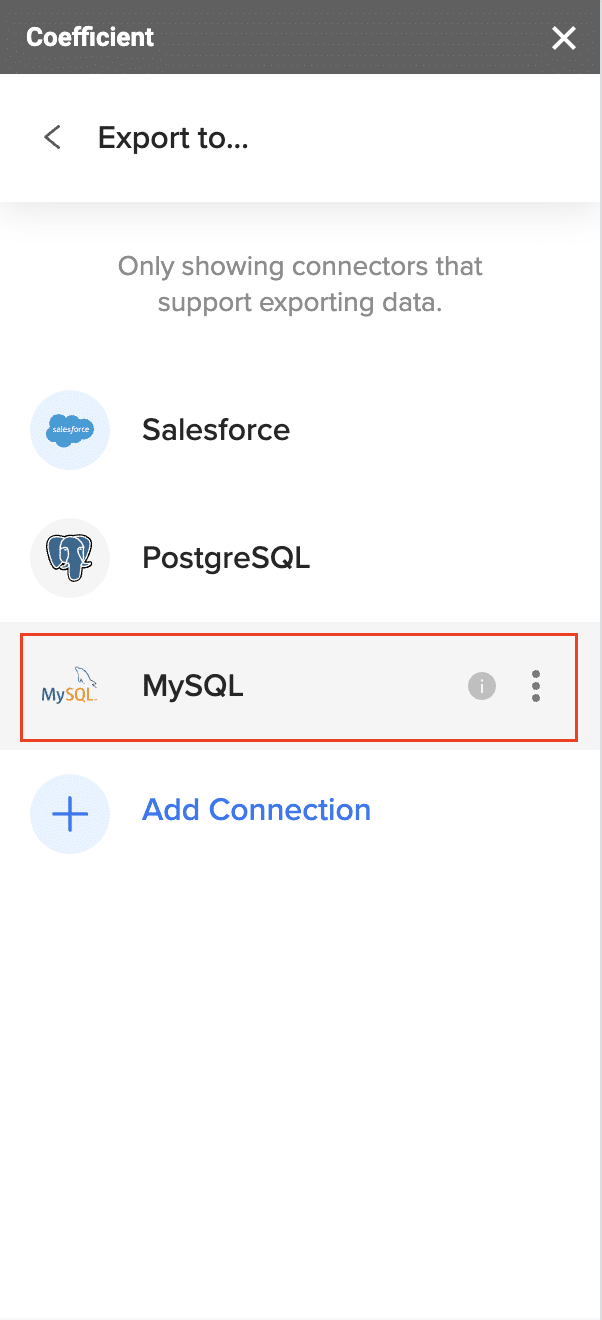
Select PostgreSQL from the menu.
Choose the tab in your workbook that contains the data you want to export and specify the header row that contains the database field headers.
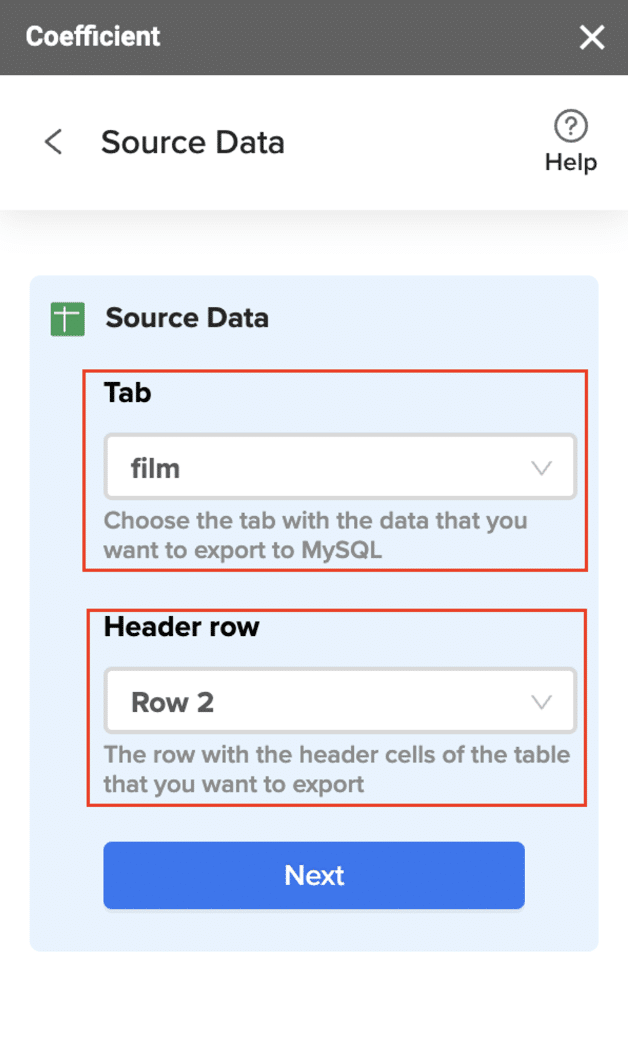
Specify the table in your database where you want to insert the data and choose the appropriate action (Insert, Update, Delete).

omplete the field mappings for the export. Ensure that primary keys or ID fields are mapped if required for the action you are performing.
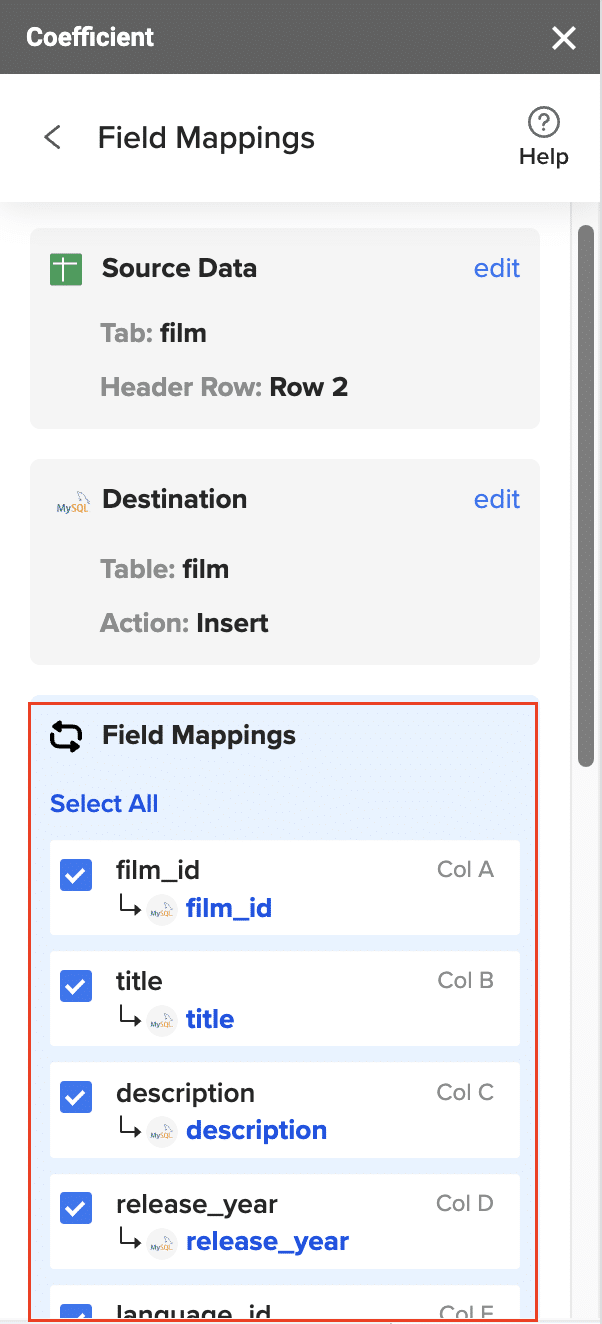
Confirm your settings and click “Export” to proceed.

Highlight the specific rows in your sheet that you want to export, or choose to export all rows.
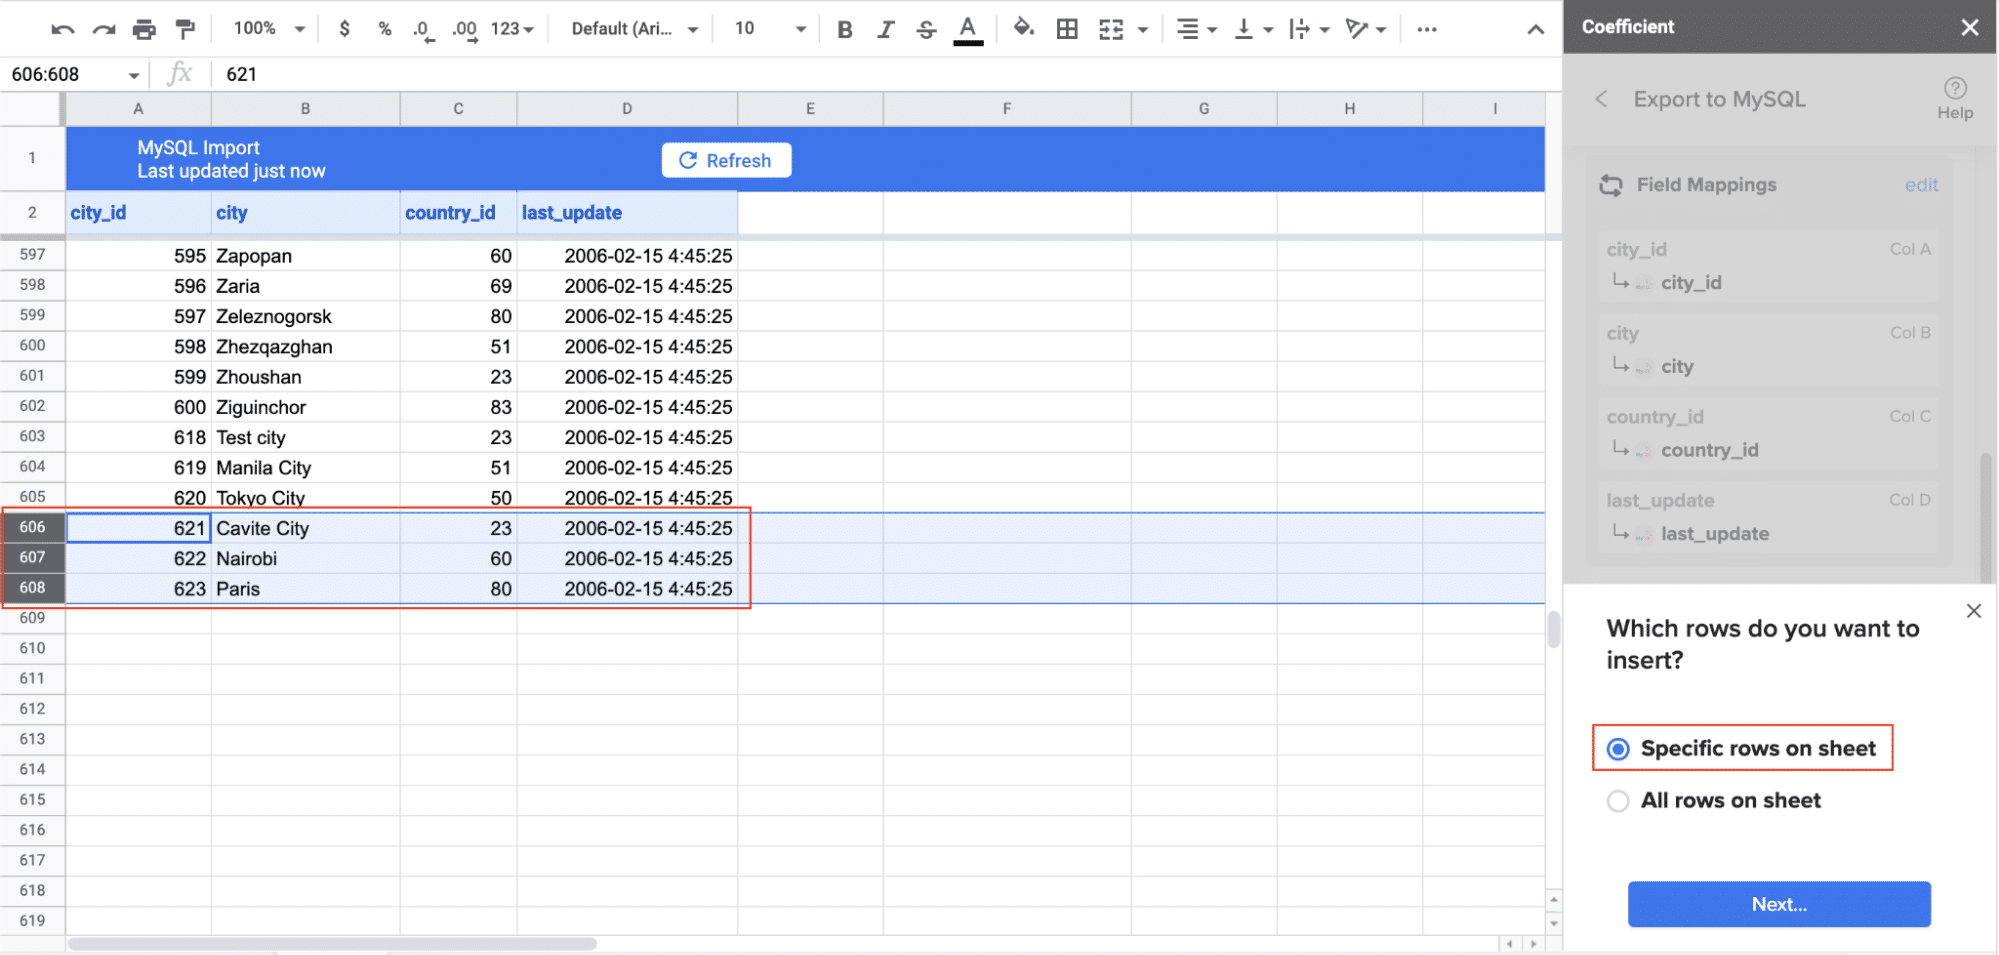
Review your settings and follow the prompts to push your data back to PostgreSQL. That’s it!
With just a few clicks, Coefficient makes it easy to connect Stripe to Google Sheets or Excel and keep that data synced to PostgreSQL. You can now leverage your Stripe data in PostgreSQL for financial reporting, analytics, and more.
Method 2: Hevo Data – Automated Data Pipeline

Hevo Data is a fully-managed data pipeline platform that helps you integrate data from 150+ sources, including Stripe, to destinations like PostgreSQL in real-time. It provides a code-free way to reliably replicate data between systems.
Key Features
- Real-Time Syncing: Hevo’s real-time data pipeline ensures your PostgreSQL database always has the latest Stripe data for up-to-the-minute reporting and analysis.
- Automated Schema Mapping: Hevo automatically detects the schema of your Stripe data and maps it to the appropriate PostgreSQL tables and columns. It handles any schema changes gracefully.
- Extensive Integrations: In addition to Stripe and PostgreSQL, Hevo supports a wide variety of data sources and destinations, making it a versatile tool for data integration needs.
Pros and Cons
Pros:
- Ease of Use: Hevo’s intuitive interface allows users to set up and manage data pipelines without needing to write any code.
- Reliability: Hevo’s robust infrastructure ensures data integrity and minimizes the risk of data loss or corruption.
- Scalability: Hevo can handle large volumes of data, making it suitable for growing businesses with increasing data needs.
Cons:
- Cost: Hevo’s pricing may be higher compared to some alternatives, which might be a consideration for smaller businesses.
- Limited Customization: Users have less control over specific data transformations, which could be a limitation for complex data manipulation requirements.
- Dependency on Hevo’s Infrastructure: As a fully-managed solution, you are dependent on Hevo’s infrastructure and support for operations.
How to Connect Stripe to PostgreSQL with Hevo
Step 1. Sign Up and Login
- Navigate to the Hevo Data website (www.hevodata.com).
- Click on the “Sign Up” button and provide your email, password, and company details.
- Verify your email address through the confirmation link sent to your inbox.
- Log in to your new account to access the Hevo dashboard.
Step 2. Add Pipeline
- In the Hevo dashboard, locate and click on the “Add Pipeline” or “Create New Pipeline” button.
- You’ll be presented with a list of source types. Use the search function or scroll to find and select “Stripe”.
Step 3. Authenticate Stripe
- You’ll be prompted to connect your Stripe account. Click on “Connect Stripe Account”.
- In the popup window, log in to your Stripe account and authorize Hevo to access your data.
- Once authorized, you’ll be redirected back to Hevo.
- Select the specific data objects you want to replicate (e.g., Charges, Customers, Invoices, etc.).
- Configure any additional settings such as historical sync options or data filtering criteria.
Step 4. Set Destination
- In the destination selection screen, choose “PostgreSQL” from the list of available destinations.
- Enter your PostgreSQL database credentials:
- Hostname (e.g., mydatabase.hosting.com)
- Port (default is usually 5432)
- Database name
- Username
- Password
- Test the connection to ensure Hevo can successfully connect to your PostgreSQL database.
- Select the target schema where the Stripe data will be replicated. You can create a new schema or use an existing one.
Step 5. Configure Settings
- Set the sync frequency. Options typically include:
- Real-time (as soon as data changes in Stripe)
- Periodic (e.g., every 5 minutes, hourly, daily)
- Configure data transformation rules if needed:
- Use Hevo’s built-in functions to clean or format data.
- Set up custom JavaScript transformations for complex logic.
- Set up data mapping to define how Stripe fields map to your PostgreSQL table columns.
- Configure error handling and notification settings.
- Review all settings and save your pipeline configuration.
Step 6. Start and Monitor the Pipeline
- Click “Start Pipeline” to begin the data replication process.
- Monitor the pipeline’s progress through the Hevo dashboard:
- View real-time logs of data movement.
- Check data sync status and volume metrics.
- Set up alerts for any issues or anomalies.
- Use Hevo’s data preview feature to verify the data in your PostgreSQL tables.
- Optionally, set up Hevo’s built-in data quality rules to ensure ongoing data accuracy.
Method 3: Airbyte – Customizable Open-Source ELT
Airbyte is an open-source data integration platform that enables you to create ELT (Extract, Load, Transform) pipelines from APIs, databases, and files to data warehouses and databases like PostgreSQL. It provides pre-built connectors for Stripe and PostgreSQL, but requires more technical setup.
Key Features
- Open-Source: Airbyte’s codebase is fully open-source, allowing you to customize and extend it to fit your specific data integration needs.
- Connector Development Kit: Airbyte provides a framework for developing your own custom source and destination connectors in addition to their pre-built ones.
- Incremental Syncs: Airbyte’s incremental sync modes allow you to replicate new and updated records only, optimizing pipeline performance.
Pros and Cons
Pros:
- Customizability: Airbyte’s open-source nature allows for deep customization to meet specific needs.
- Community Support: Being open-source, there is a robust community providing support, updates, and enhancements.
- Flexibility: Supports both EL and ELT data integration flows, giving you the flexibility to choose how data is processed.
Cons:
- Setup Complexity: Requires more technical knowledge and resources to set up and maintain, which could be a barrier for some organizations.
- Maintenance Overhead: Lack of a fully-managed solution means ongoing maintenance and updates must be handled internally.
- Resource Intensive: Can be resource-intensive to run, depending on the volume of data and complexity of transformations.
How to Connect Strip to PostgreSQL with Airbyte
Step 1. Deploy Airbyte
- Choose your deployment method:
- Docker (recommended for most users):
- Ensure Docker and Docker Compose are installed on your system.
- Download the Airbyte Docker Compose file from the official GitHub repository.
- Run docker-compose up in the directory containing the docker-compose.yml file.
- Kubernetes:
- Use Helm charts provided by Airbyte for Kubernetes deployment.
- Follow Airbyte’s Kubernetes deployment guide for detailed instructions.
- Kubernetes:
- Docker (recommended for most users):
- Verify that all Airbyte services are running correctly.
Step 2. Access Airbyte UI
- Open your web browser and navigate to the Airbyte UI (default: http://localhost:8000).
- If deployed on a remote server, ensure proper network configuration and security settings.
- Log in using the default credentials (username: airbyte, password: password) and change them immediately.
Step 3. Configure Stripe Source
- In the Airbyte UI, click on “Sources” in the left sidebar, then “New Source”.
- Select “Stripe” from the list of available connectors.
- Enter a name for your Stripe source.
- Provide your Stripe API key (available in your Stripe Dashboard under Developers > API keys).
- Configure additional settings:
- Start date for historical data sync
- Data replication method (Full Refresh or Incremental)
- Specific Stripe objects to sync (e.g., Charges, Customers, Invoices)
- Test the connection to ensure Airbyte can access your Stripe account.
Step 4. Set Up PostgreSQL Destination
- Click on “Destinations” in the left sidebar, then “New Destination”.
- Choose “PostgreSQL” from the list of destinations.
- Enter a name for your PostgreSQL destination.
- Provide your PostgreSQL connection details:
- Host
- Port (default 5432)
- Database name
- Username
- Password
- Schema (where Stripe data will be replicated)
- Configure additional settings like SSL mode if required.
- Test the connection to verify Airbyte can successfully connect to your PostgreSQL database.
Step 5. Define Connection and Sync Settings
- Go to “Connections” in the left sidebar and click “New Connection”.
- Select your Stripe source and PostgreSQL destination.
- Configure sync settings for each Stripe data stream:
- Sync mode (Full Refresh, Incremental)
- Destination Sync mode (Overwrite, Append, Append+Deduped)
- Primary key selection for deduplication (if applicable)
- Cursor field for incremental syncs (e.g., created_at, updated_at)
- Set up a sync schedule (e.g., hourly, daily, or custom cron expression).
- Configure normalization settings if needed (Basic, Custom SQL).
- Set up transformations using dbt if required for complex data processing.
Step 6. Run and Monitor Connection
- Save your connection settings and click “Run” to start the initial sync.
- Monitor the sync process in the Airbyte UI:
- View detailed logs for each step of the ELT process.
- Check sync status, duration, and volume metrics.
- Investigate and resolve any errors or warnings.
- Once the sync is complete, verify the data in your PostgreSQL database:
- Use a PostgreSQL client or management tool to inspect the replicated tables.
- Run sample queries to ensure data accuracy and completeness.
- Set up monitoring and alerting:
- Configure Airbyte’s built-in notification system for sync status updates.
- Integrate with external monitoring tools if needed (e.g., Prometheus, Grafana)
Connect Stripe to PostgreSQL Without a Line of Code
By connecting Stripe to PostgreSQL, you can unify your financial data, eliminate manual reporting work, and gain deeper insights into your business’s performance. Choose the integration method that best fits your needs and start syncing your data today.
Want to integrate Stripe and PostgreSQL the easy way?
Coefficient lets you connect Stripe to Google Sheets or Excel and sync that data to PostgreSQL in just a few clicks. It’s the simplest way to automate data flows between the systems – no coding or technical skills are required.