This represents a critical contact data protection vulnerability in HubSpot’s native Google Sheets integration, where any user with workflow creation rights can potentially send data to any connected sheet.
Here’s how to implement comprehensive security measures that prevent unauthorized data exports while maintaining the functionality your team needs.
Implement user-controlled connections with individual authentication using Coefficient
Coefficientprovides comprehensive security measures to prevent unauthorized data exports through user-controlled connections and connection-level authentication. Each user maintains their own connections to their designated Google Sheets, eliminating the possibility of unauthorized users accessing others’ sheets.
HubSpotWithand Coefficient, connections are tied to individual user authentication, meaning users can only export to sheets they have direct access to through their own Google account credentials.
How to make it work
Step 1. Set up user-controlled connections.
Each user creates their own Coefficient connection to their designated Google Sheets through their personal Google account. This eliminates shared integration dependencies that create security vulnerabilities.
Step 2. Implement connection-level authentication.
Coefficient connections are tied to individual user authentication, ensuring users can only export to sheets they have direct access to through their own Google account credentials, not shared marketplace app access.
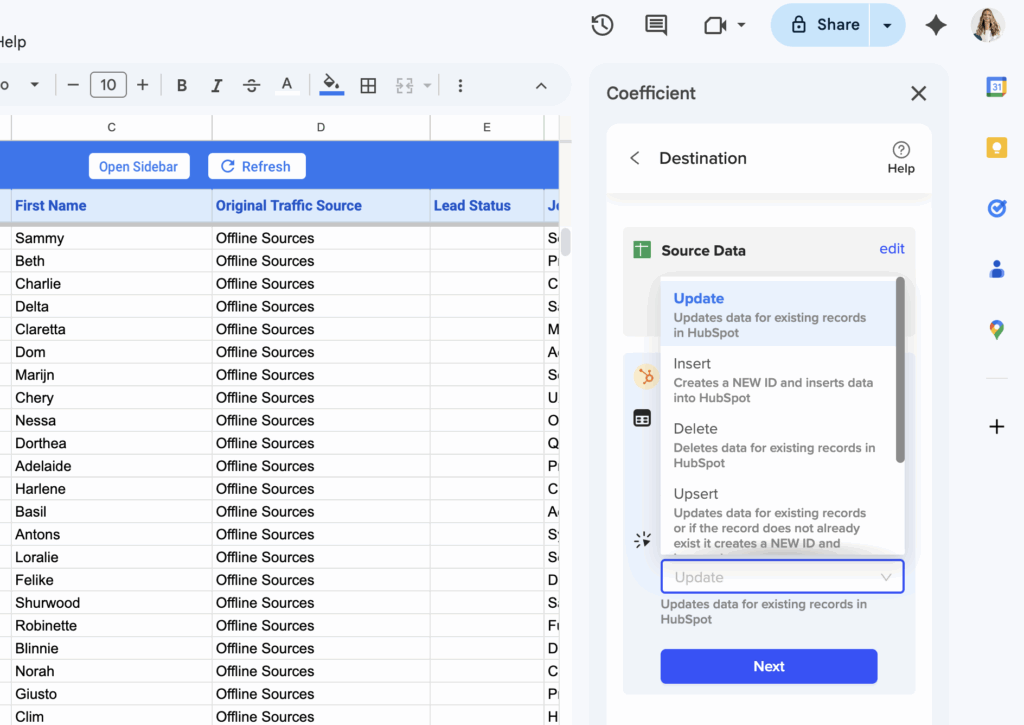
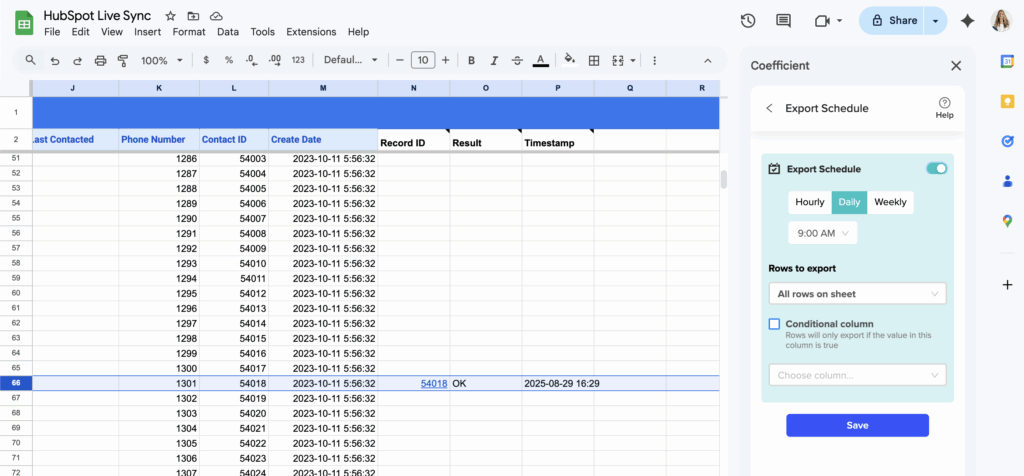
Step 3. Replace workflow exports with scheduled exports.
Use Coefficient’s scheduled exports that operate under individual user permissions rather than shared marketplace app access. These exports run with the security context of the user who created them.
Step 4. Configure conditional export logic.
Implement conditional exports that include user verification checks, ensuring data only flows to authorized destinations based on the user initiating the export and their specific permissions.
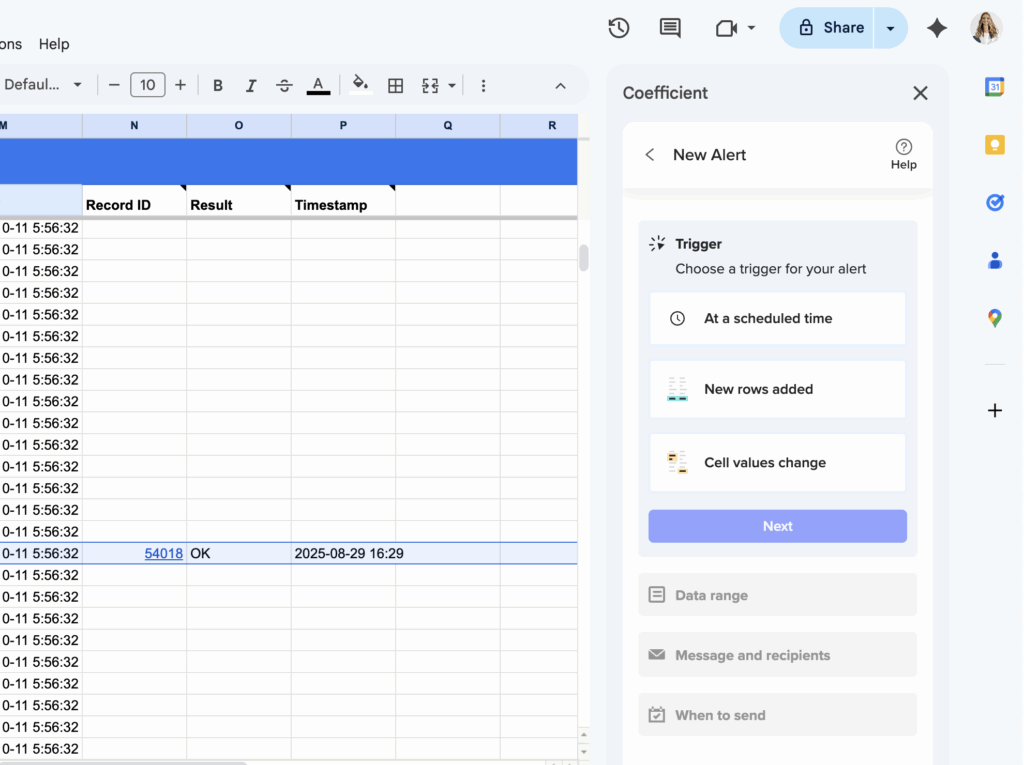
Step 5. Enable audit and monitoring.
Track all data export activities through Coefficient’s connection management system in “Connected Sources,” providing visibility into who is accessing which sheets and when.
Step 6. Use API-based security.
Coefficient’s API-based approach provides more secure authentication compared to broad marketplace app permissions, offering better integration security settings that protect individual user data.
Secure your contact data at the user level
ImplementThis approach ensures that contact data protection is maintained at the individual user level, preventing the security vulnerabilities inherent in HubSpot’s shared marketplace app integration model.secure user-controlled connections today.