How to Import Excel Data into MySQL? Top 3 Methods
Are you struggling to transfer your Excel data into MySQL? This comprehensive guide will walk you through three effective methods to import Excel data into MySQL, ensuring you can choose the best approach for your specific needs. By the end of this tutorial, you’ll be equipped with the knowledge to seamlessly integrate your spreadsheet data into your MySQL database.
Top 3 Methods to Import Excel Data into MySQL
Importing Excel data into MySQL is a common task for database administrators and data analysts. Let’s explore the top three methods to accomplish this:
- Coefficient: A streamlined spreadsheet-based import solution
- MySQL Workbench: The built-in GUI tool for data import
- Command-line: Using MySQL’s LOAD DATA INFILE command
Each method has its own strengths and use cases. We’ll dive deep into each approach, providing step-by-step instructions and highlighting when to use each method.
#1 Coefficient: Seamless Excel to MySQL Integration

Coefficient for Excel offers a powerful and user-friendly solution for importing Excel data into MySQL. This method is particularly beneficial for users who prefer a spreadsheet-based interface and want to streamline their data import process.
Let’s walk through the process of importing Excel data into MySQL using Coefficient:
Step 1. Install Coefficient
For Google Sheets
- Open a new or existing Google Sheet, navigate to the Extensions tab, and select Add-ons > Get add-ons.
- In the Google Workspace Marketplace, search for “Coefficient.”
- Follow the prompts to grant necessary permissions.
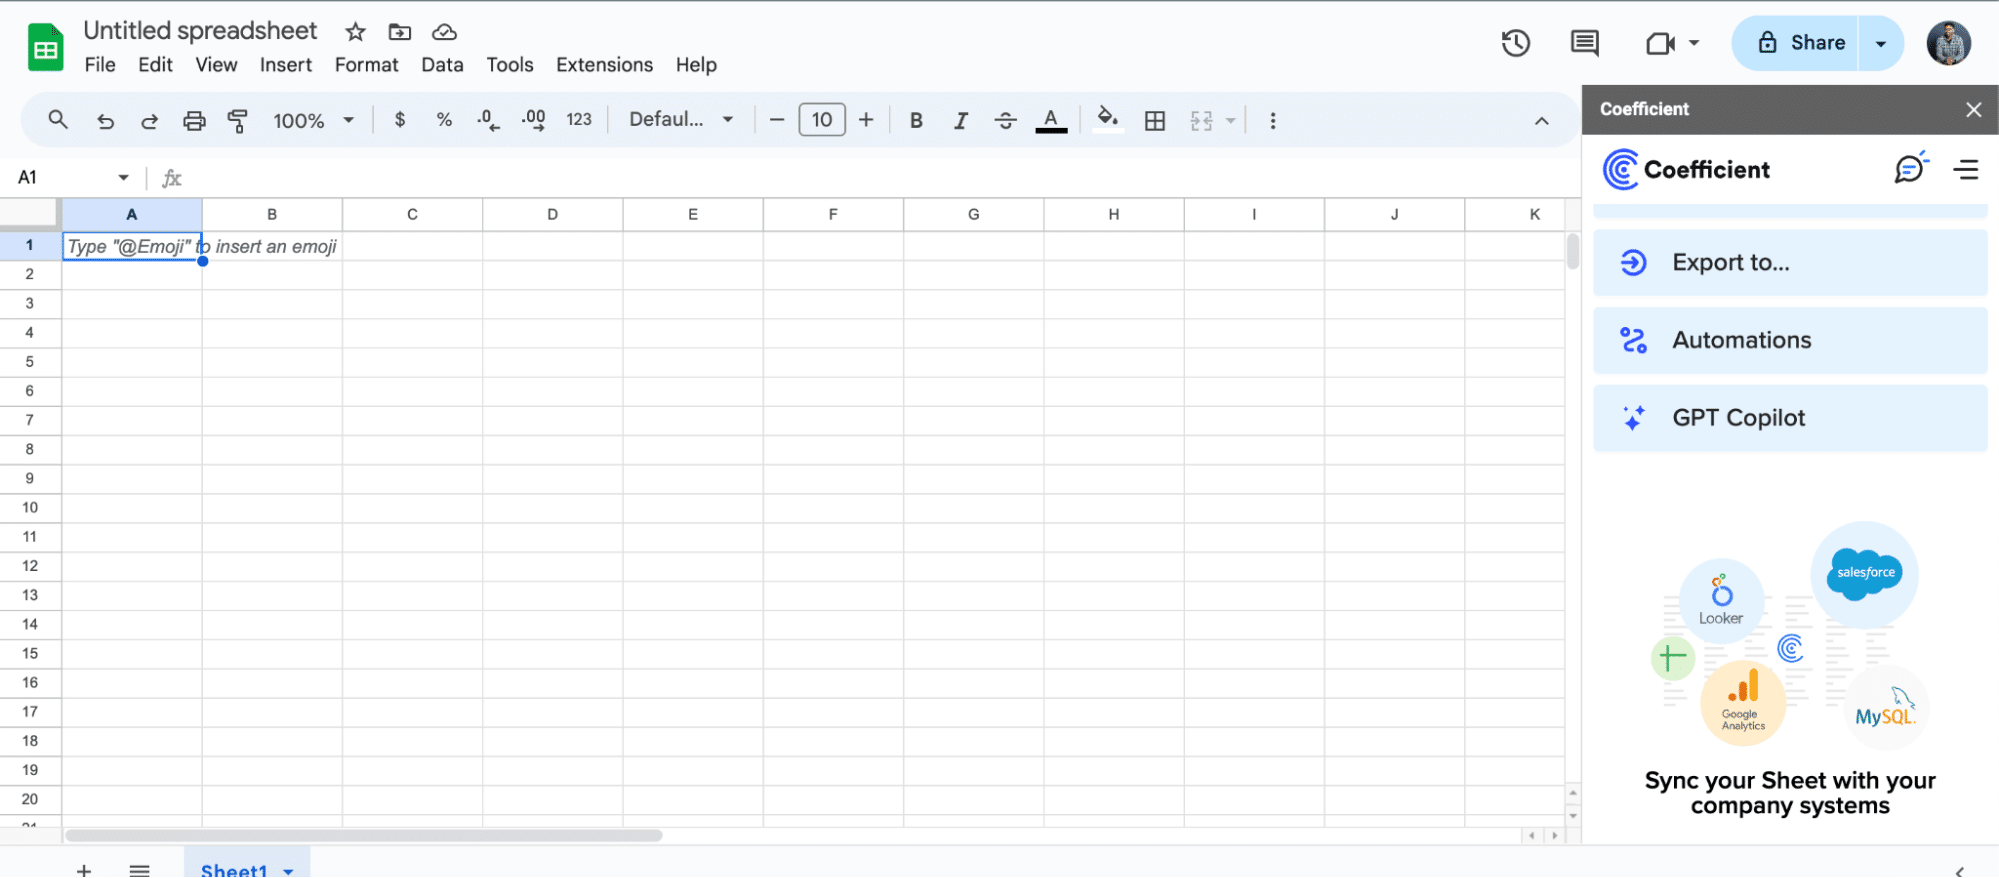
- Launch Coefficient from Extensions > Coefficient > Launch.
- Coefficient will open on the right-hand side of your spreadsheet.
For Microsoft Excel
- Open Excel from your desktop or in Office Online. Click ‘File’ > ‘Get Add-ins’ > ‘More Add-Ins.’
- Type “Coefficient” in the search bar and click ‘Add.’
- Follow the prompts in the pop-up to complete the installation.
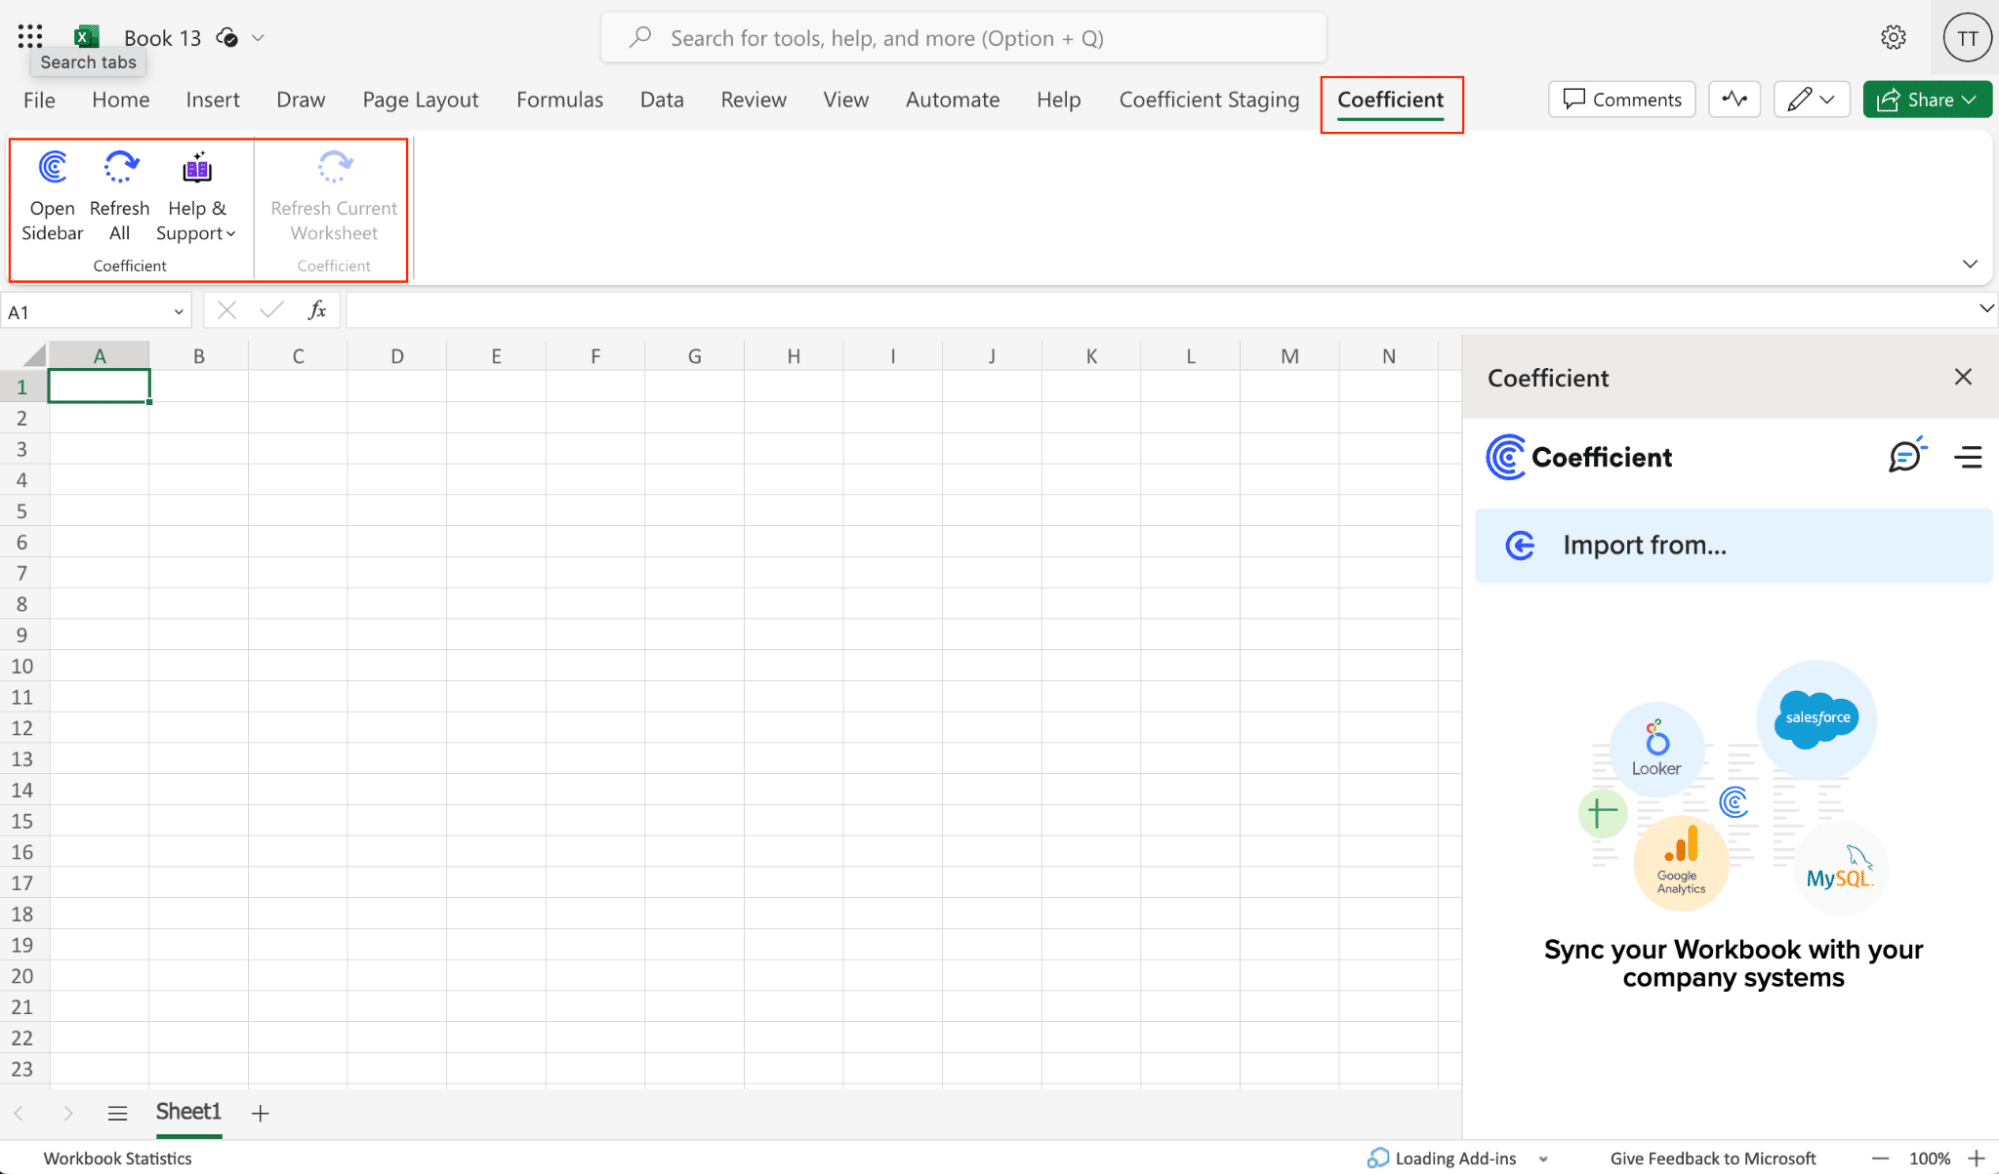
- Once finished, you will see a “Coefficient” tab in the top navigation bar. Click ‘Open Sidebar’ to launch Coefficient.
Step 2: Connect to your MySQL database
- In the Coefficient sidebar, click on “Connect a Data Source”
- Select “MySQL” from the list of available connectors
- Enter your MySQL server details, including host, port, database name, username, and password
- Click “Connect” to establish the connection

Step 3: Import Data into Coefficient
With Coefficient open in your spreadsheet, you can import data from various sources:
- In the Coefficient sidebar, click “Import from…”
- Choose from a wide range of data sources, including:
- Databases (e.g., MySQL, PostgreSQL, SQL Server)
- CRM systems (e.g., Salesforce, HubSpot)
- Marketing platforms (e.g., Google Analytics, Facebook Ads)
- Finance tools (e.g., QuickBooks, Stripe)
- Project management tools (e.g., Jira, Asana)
- Enter the necessary connection details for your chosen data source.
- Select the specific data you want to import (tables, objects, or custom queries).
- Choose the destination sheet and starting cell for your imported data.
- Click “Import” to bring the data into your spreadsheet.
Step 4. Push Excel data into MySQL
Before starting, make sure you’ve connected Coefficient to MySQL.
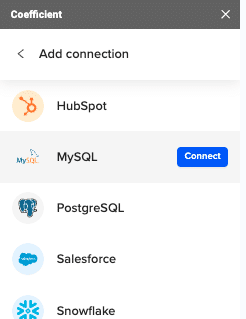
Then, navigate to Coefficient’s menu. Click “Export to…”
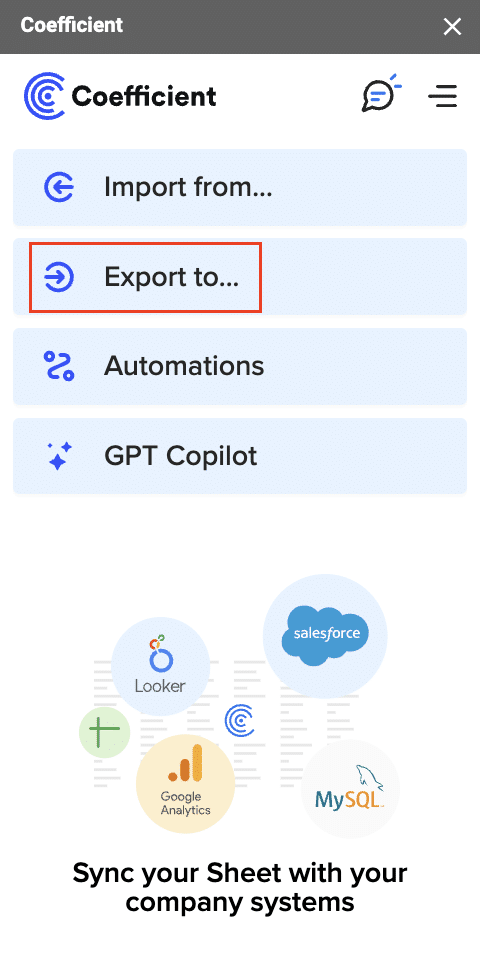
Select MySQL from the menu.
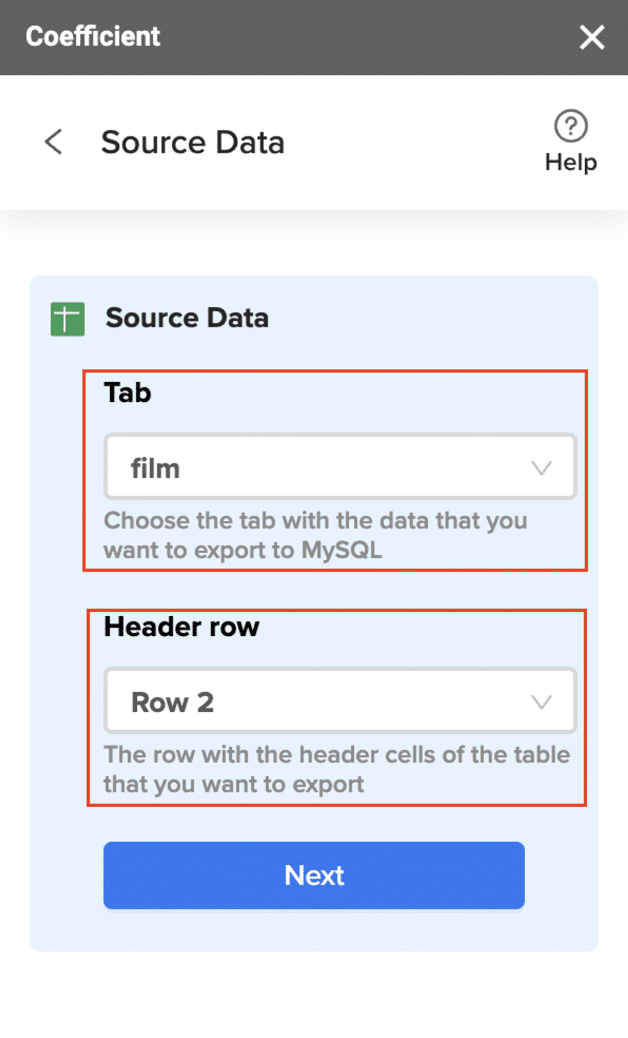
Choose the tab in your workbook that contains the data you want to export and specify the header row that contains the database field headers.
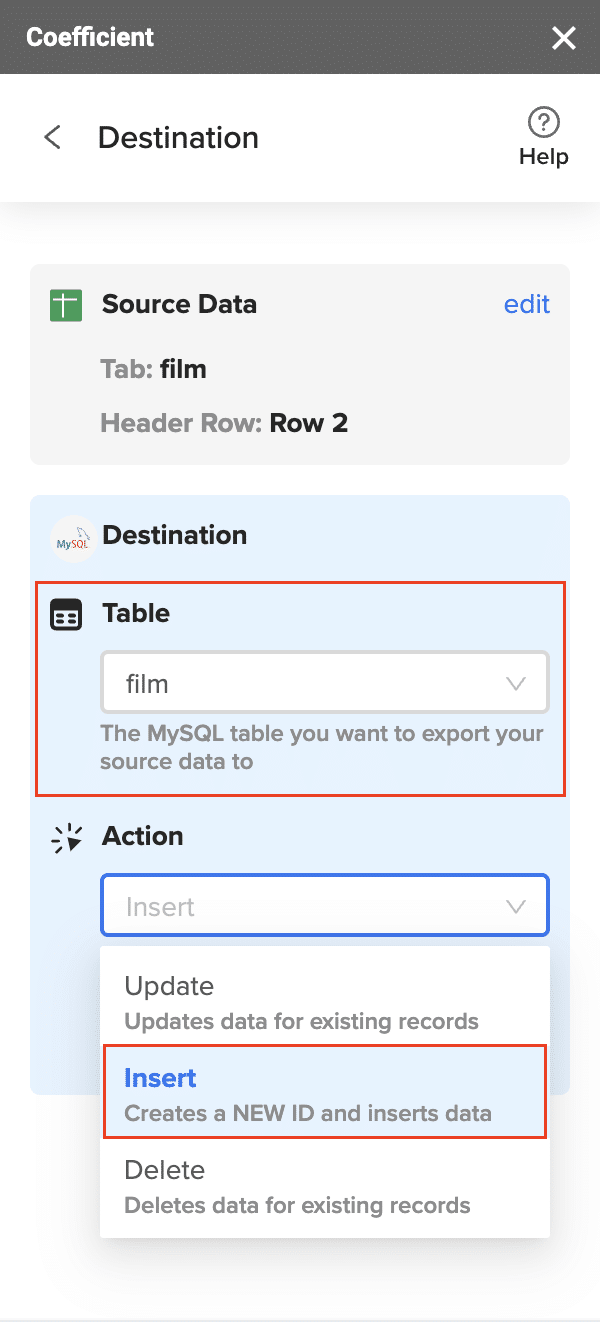
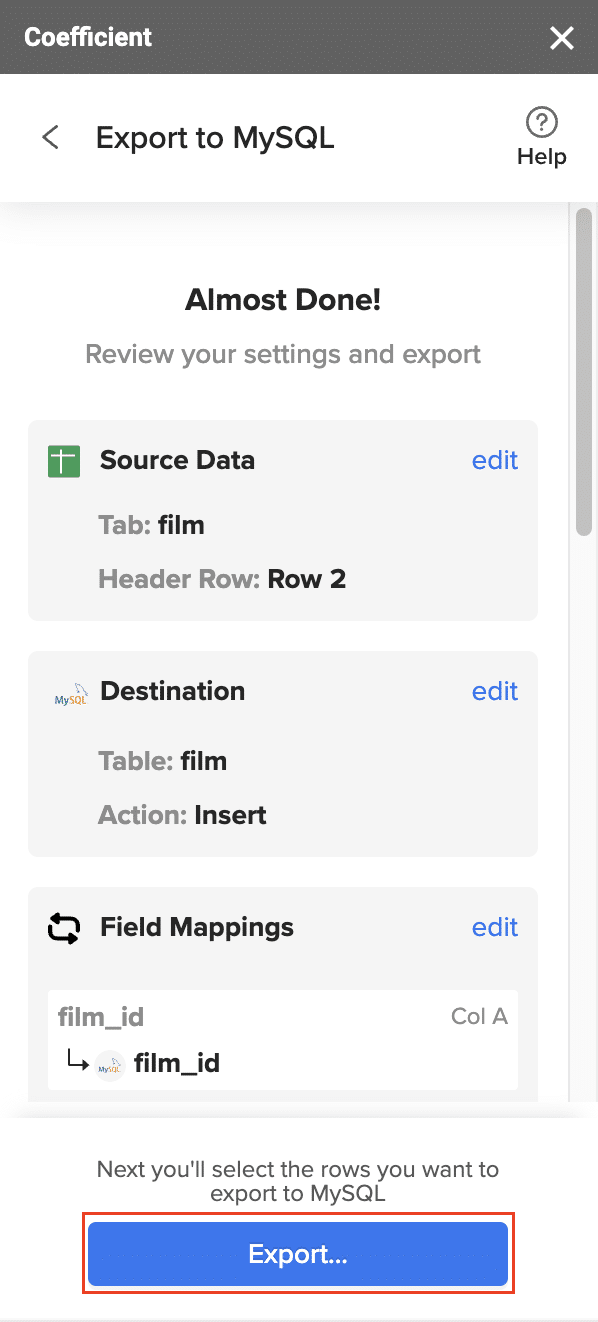
Specify the table in your database where you want to insert the data and choose the appropriate action (Insert, Update, Delete).
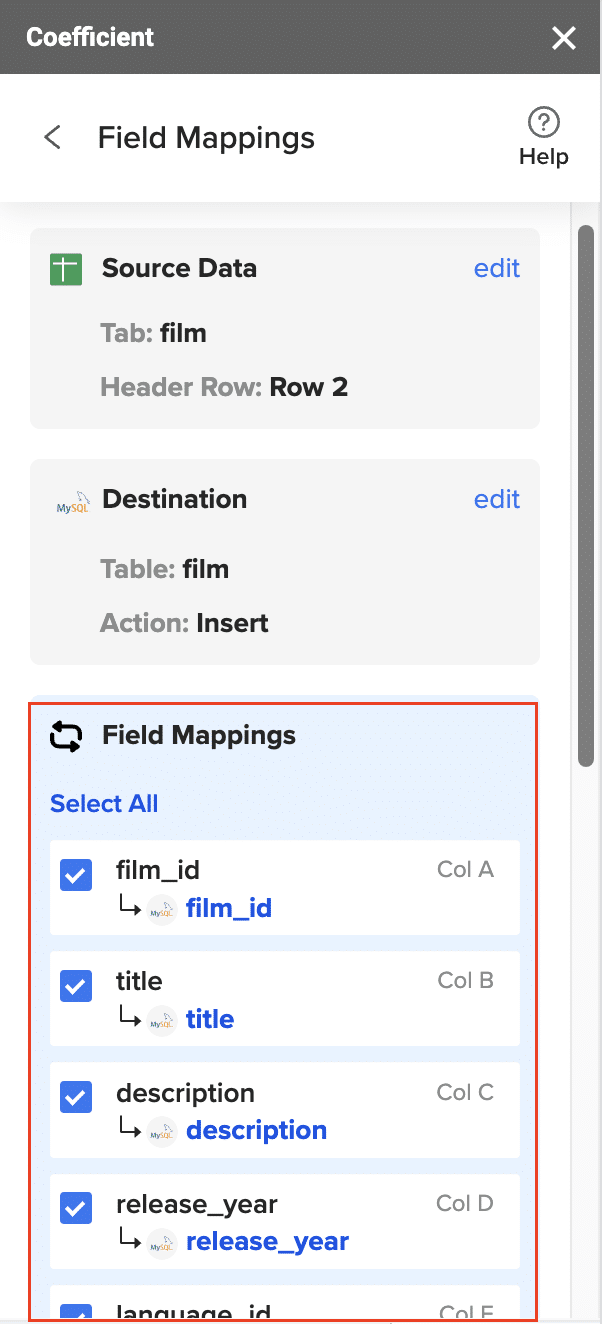
Complete the field mappings for the export. Ensure that primary keys or ID fields are mapped if required for the action you are performing.
Confirm your settings and click “Export” to proceed.
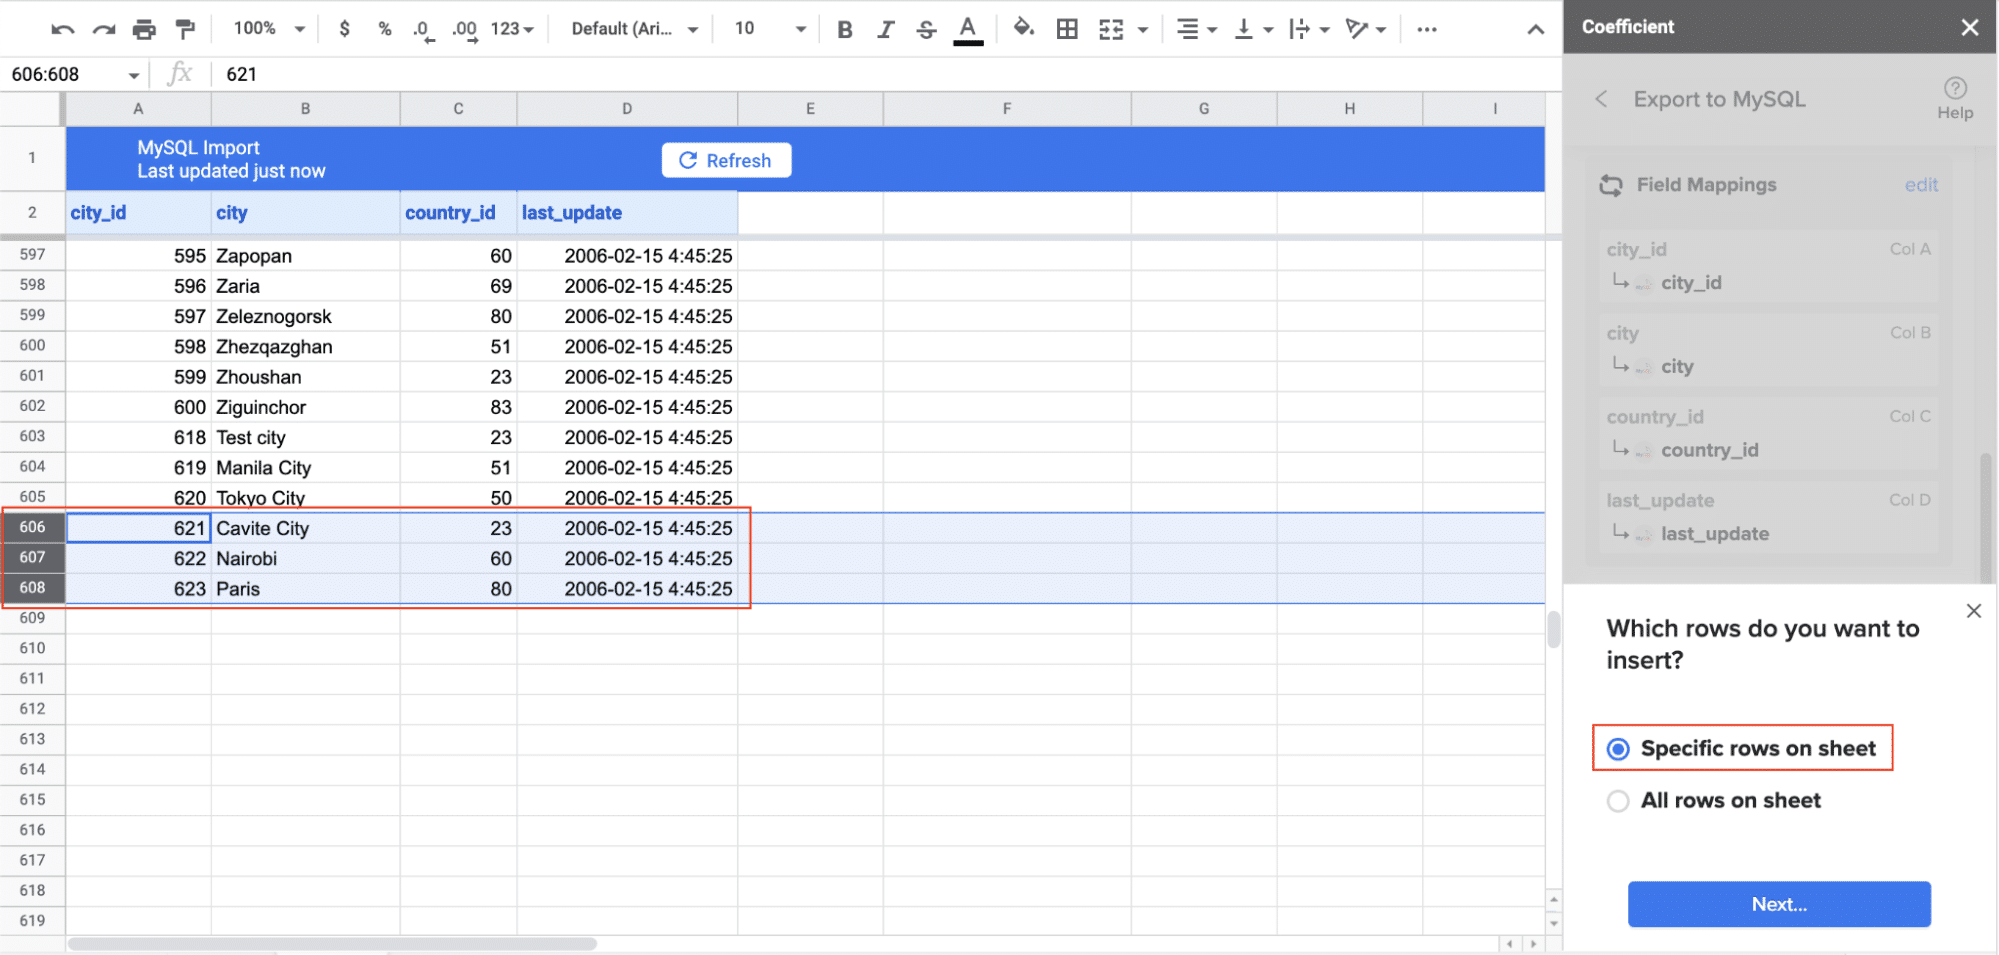
Highlight the specific rows in your sheet that you want to export, or choose to export all rows.
Pros and Cons of Using Coefficient
Pros:
- Eliminates manual data entry and reduces errors
- Creates live, auto-updating reports and dashboards
- Provides version history and collaboration features
- Offers data governance and access controls
- Includes alerting and notification capabilities for data changes
Cons: The only downside to Coefficient is that any scheduled automations are not free forever. However, its pricing plans are affordable, and its benefits far outweigh the app’s costs.
#2 MySQL Workbench: User-Friendly GUI Import
MySQL Workbench provides a built-in graphical user interface (GUI) for importing Excel data into MySQL. This method is ideal for users who prefer a visual approach and want to leverage MySQL’s native tools.
Step 1: Prepare your Excel file
- Ensure your Excel data is clean and properly formatted
- Save your Excel file in CSV format for easier import
Step 2: Open MySQL Workbench and connect to your database
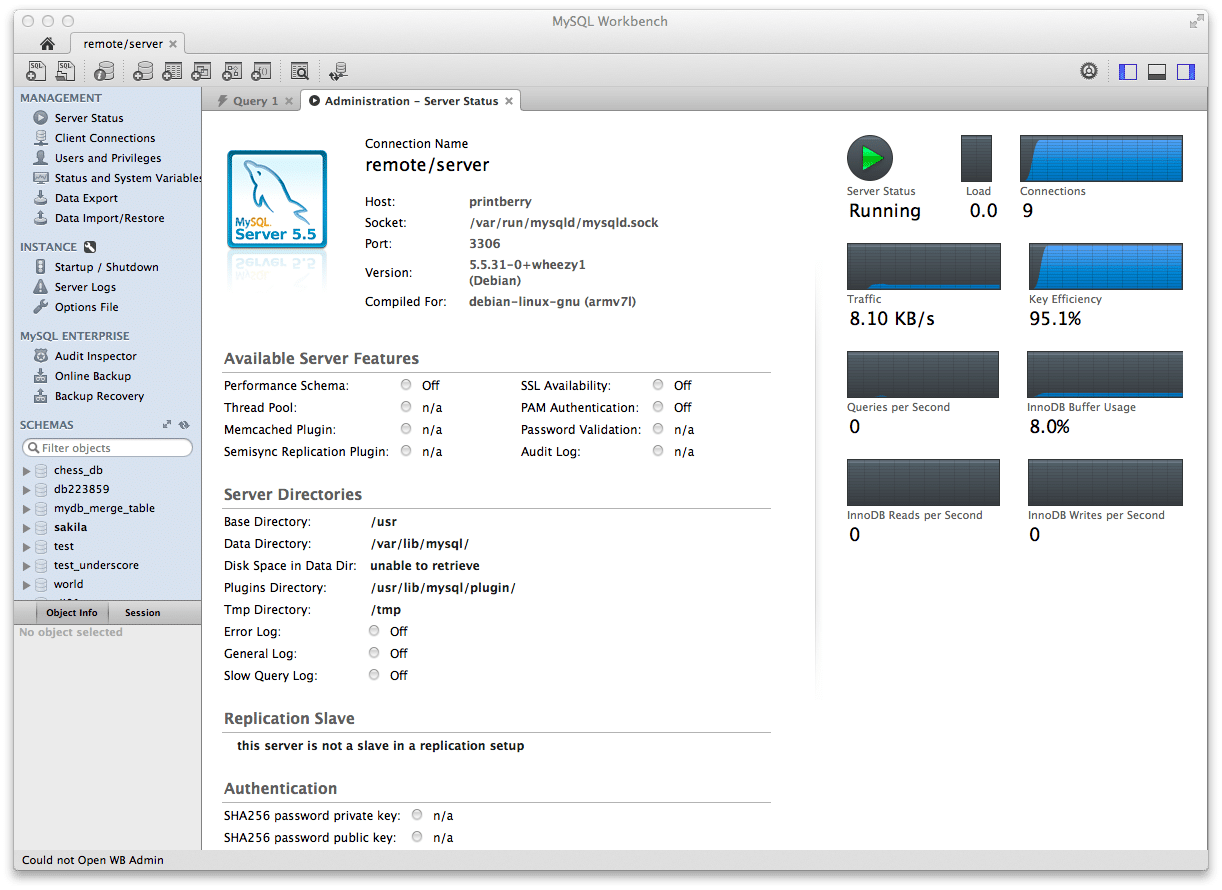
- Launch MySQL Workbench
- Connect to your MySQL server using your credentials
Step 3: Start the import wizard
- In MySQL Workbench, go to “Server” > “Data Import”
- Select “Import from Self-Contained File”
- Browse and select your CSV file
Step 4: Configure import options
- Choose the target schema (database) for import
- Select “Create new table” or choose an existing table
- Click “Next” to proceed
Step 5: Map columns and set data types
- Review the automatically detected column names and data types
- Adjust any incorrect mappings or data types
- Set primary keys or indexes if needed
- Click “Next” to continue
Step 6: Review and execute the import
- Check the import summary for any potential issues
- Click “Start Import” to begin the process
- Monitor the progress and wait for completion
Step 7: Verify the imported data
- Once the import is complete, refresh your schema
- Open the newly created or updated table
- Run a SELECT query to verify the data has been imported correctly
Pros and Cons of Using MySQL Workbench:
Pros:
- Built-in MySQL tool with no additional software required
- User-friendly graphical interface
- Supports various file formats, including CSV and Excel
- Allows for data preview and column mapping
- Offers options for handling data types and NULL values
Cons:
- May be slower for large datasets
- Limited automation capabilities
- Requires MySQL Workbench installation
#3 Command-line: LOAD DATA INFILE Method
For users comfortable with command-line operations, MySQL’s LOAD DATA INFILE command offers a powerful and flexible method to import Excel data into MySQL.
Overview of the LOAD DATA INFILE command:
- High-performance data import for large datasets
- Supports various file formats, including CSV
- Offers fine-grained control over the import process
- Requires direct access to the MySQL server
Let’s walk through the process of importing Excel data using the command-line method:
Step 1: Prepare your Excel file
- Save your Excel data as a CSV file
- Ensure the CSV file is accessible from the MySQL server
Step 2: Connect to MySQL via command-line

Stop exporting data manually. Sync data from your business systems into Google Sheets or Excel with Coefficient and set it on a refresh schedule.

- Open your terminal or command prompt
- Use the following command to connect to your MySQL server:
mysql -u username -p - Enter your password when prompted
Step 3: Select the target database
- Once connected, switch to the desired database:
USE your_database_name;
Step 4: Create the target table (if it doesn’t exist)
If you need to create a new table, use the CREATE TABLE command:
CREATE TABLE your_table_name (
column1 datatype,
column2 datatype,
…
);
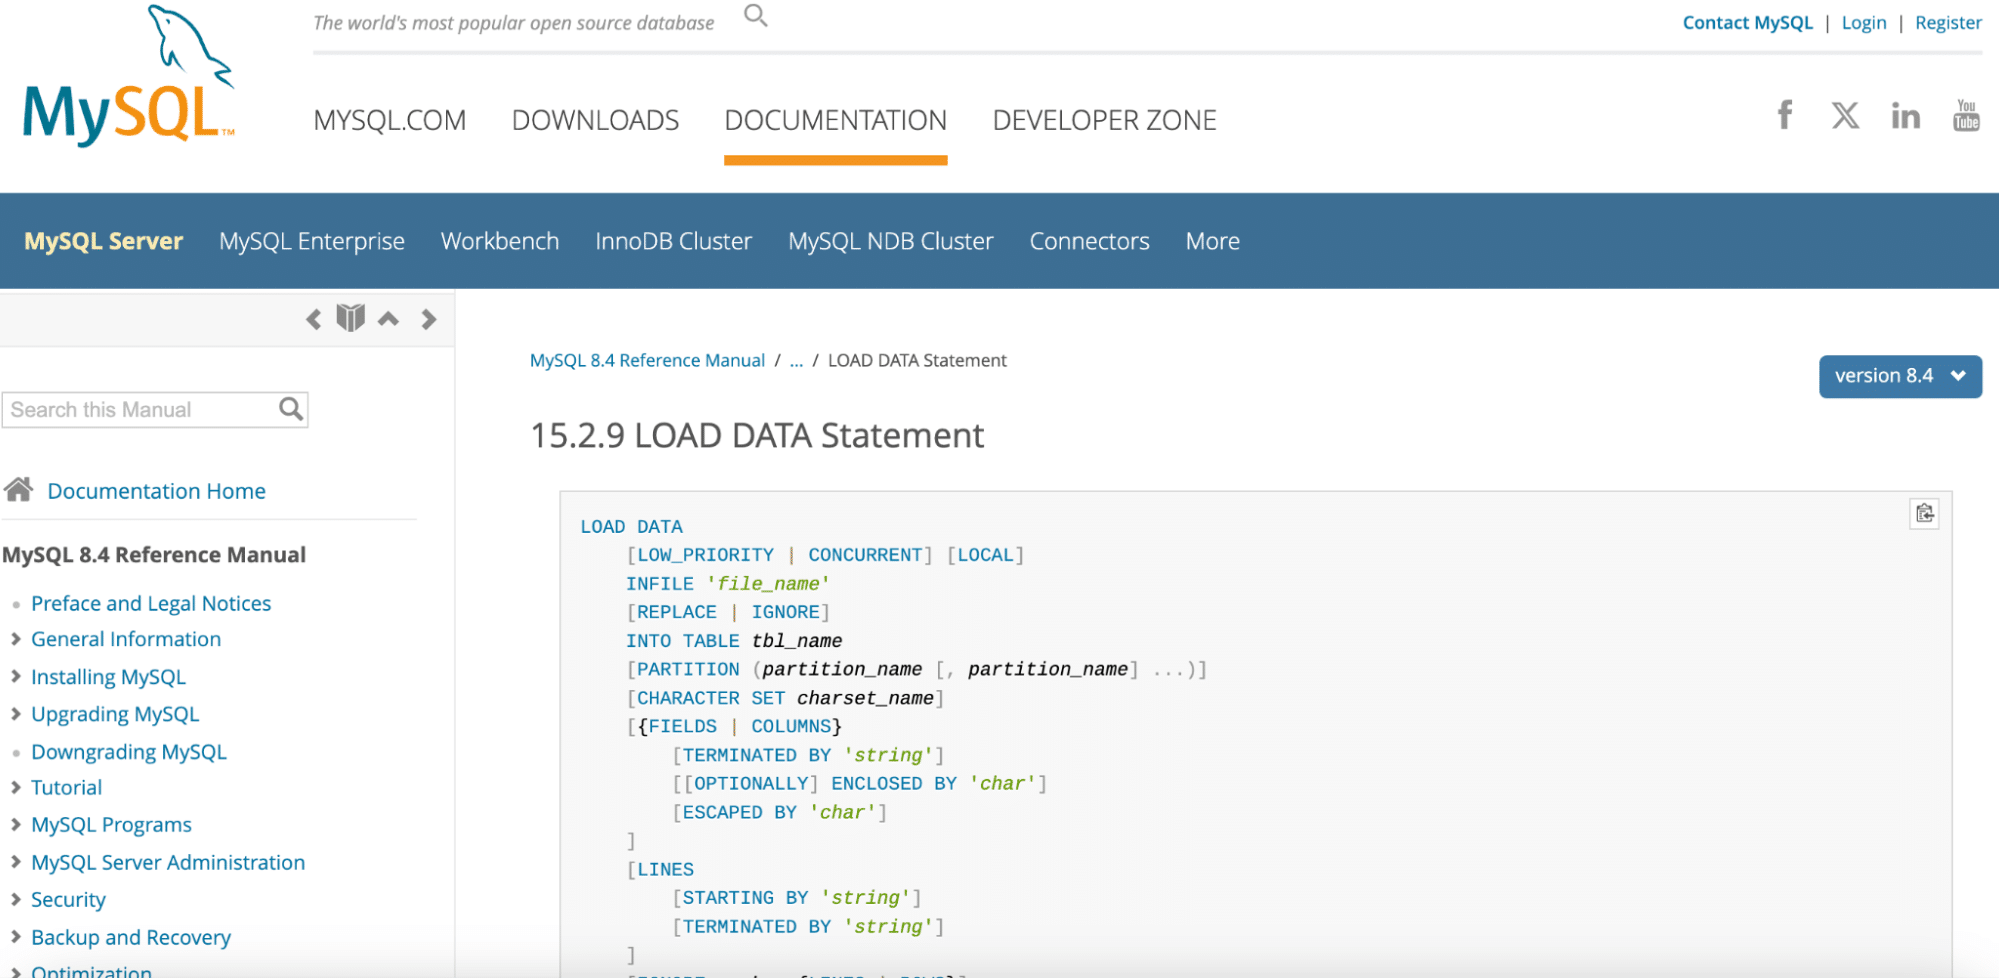
Step 5: Execute the LOAD DATA INFILE command
Use the following command structure to import your data:
LOAD DATA INFILE ‘/path/to/your/file.csv’
INTO TABLE your_table_name
FIELDS TERMINATED BY ‘,’
ENCLOSED BY ‘”‘
LINES TERMINATED BY ‘n’
IGNORE 1 ROWS;
Adjust the file path, table name, and field terminators as needed
Step 6: Verify the imported data
After the import is complete, run a SELECT query to check the data:
SELECT * FROM your_table_name LIMIT 10;
Step 7: Handle any errors or data inconsistencies
- If you encounter any errors, review the MySQL error log
- Adjust your LOAD DATA INFILE command or preprocess your CSV file as needed
Pros and Cons of Using LOAD DATA INFILE:
Pros:
- High-performance import for large datasets
- Fine-grained control over the import process
- Ability to handle complex data transformations during import
- Can be easily scripted for automated imports
- No additional software required
Cons:
- Requires command-line access and MySQL privileges
- Less user-friendly for non-technical users
- May require additional data preprocessing
- Limited visual feedback during the import process
Streamline Your MySQL Data Imports Today
Importing Excel data into MySQL is simpler than you might think. Your options include Coefficient’s user-friendly interface, MySQL Workbench’s visual approach, or command-line tools for more flexibility.
Choose based on your needs and skills, but always prepare your data carefully before importing.
Get started with Coefficient today to experience the most streamlined Excel to MySQL integration and take your data management to the next level.
Further Reading:


