Analytics Studio requires authentication for all viewers, making true public embedding impossible without login. But there’s a workaround that gives you the same data with zero authentication barriers.
Here’s how to create publicly embeddable dashboards using your Salesforce data without the Analytics Studio login headache.
Bypass Analytics Studio authentication using Coefficient
Instead of fighting Analytics Studio’s authentication requirements, Coefficient syncs your underlying Salesforce data directly to Google Sheets. This creates the same dashboard functionality with public embedding capabilities that actually work.
How to make it work
Step 1. Connect Coefficient to your Salesforce instance.
Install Coefficient from the Google Workspace Marketplace and authorize your Salesforce connection. You can import from existing reports, build custom queries from objects and fields, or write custom SOQL queries for complex data needs.
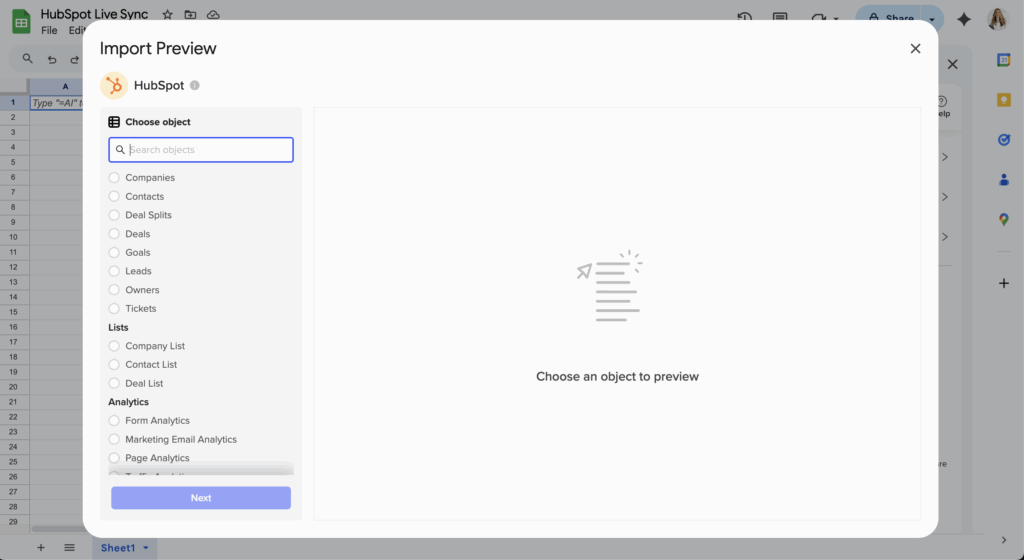
Step 2. Import your Analytics Studio data to Google Sheets.
Select the same reports or data sources you were using in Analytics Studio. Coefficient pulls all standard objects (Accounts, Opportunities, Leads) and custom objects with all available fields – often more data than Analytics Studio reports show.
Step 3. Set up automatic data refreshes.
Configure scheduled refreshes to run hourly, daily, or weekly. This keeps your embedded dashboard current without any manual work. The automation runs in the background using your timezone settings.
Step 4. Publish your Google Sheet for public embedding.
Go to File > Share > Publish to web in Google Sheets. Select your entire spreadsheet or specific ranges, then copy the embed code. This creates a publicly accessible dashboard that requires zero authentication from viewers.
Step 5. Embed the dashboard in your website.
Use the iframe code Google provides to embed your dashboard anywhere. Viewers can access the live data without Google accounts, login prompts, or authentication barriers of any kind.
Start building public dashboards today
This approach eliminates Analytics Studio’s authentication barrier while maintaining automatic data updates. Your embedded dashboards stay current and accessible to anyone with the link. Try Coefficient to start creating truly public Salesforce dashboards.