Static NetSuite financial reports become outdated the moment you export them to Excel. Real-time financial reporting requires live data connections that update automatically as transactions post in your system.
You’ll learn how to create dynamic NetSuite-Excel connections that keep your financial reports current without manual intervention or constant data exports.
Build live connections that sync financial data automatically
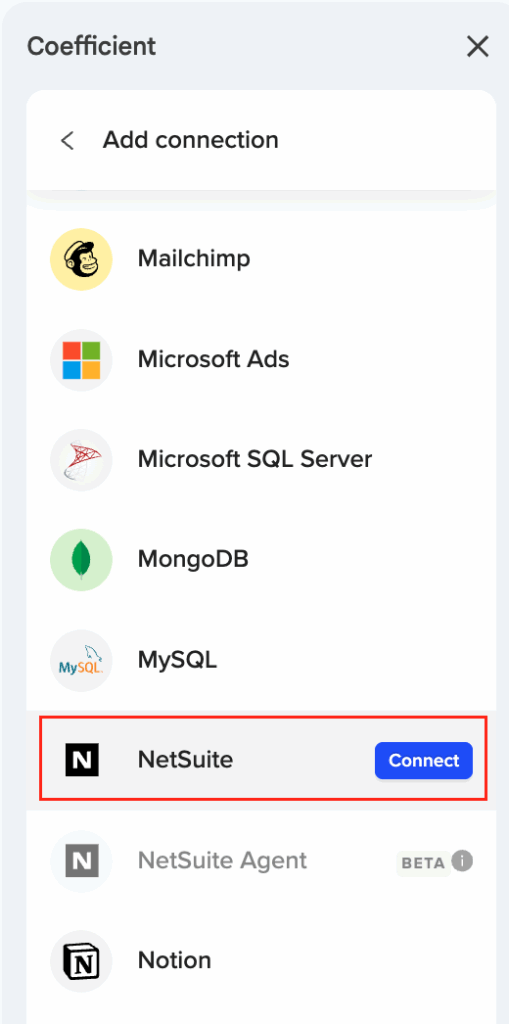
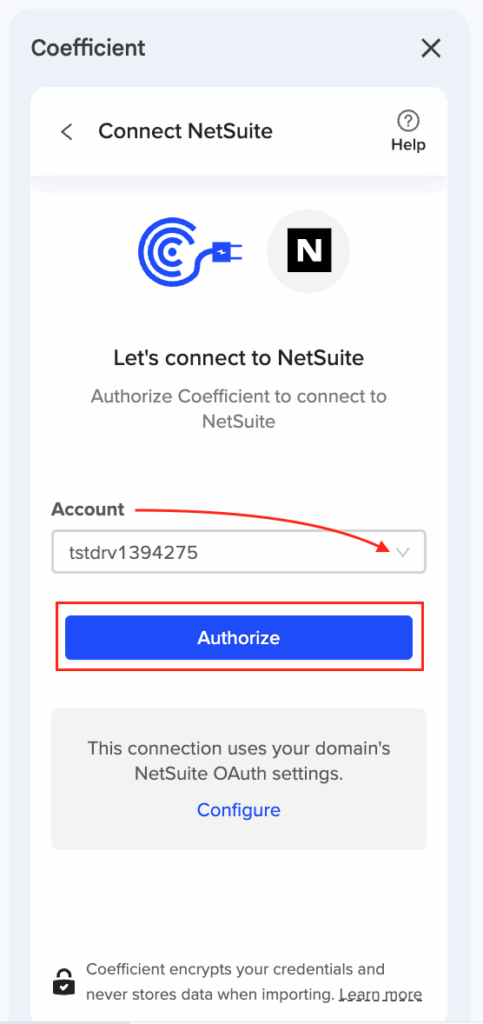
Coefficient creates live NetSuite to Excel connections that address the platform’s native limitations in dynamic reporting. The solution supports multiple connection methods tailored to different financial reporting needs.
How to make it work
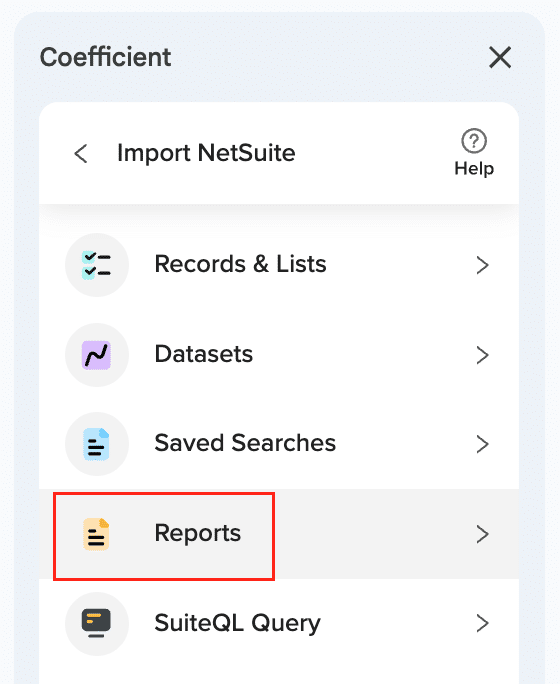
Step 1. Choose your connection method based on reporting requirements.
Use Reports Import for standard financial statements like Income Statement and Trial Balance. Select Saved Searches for existing NetSuite reports with custom logic. Choose SuiteQL Query for complex financial data manipulation with up to 100K rows per query.
Step 2. Configure automated refresh schedules for real-time updates.
Set refresh frequencies that match your reporting cadence – hourly for critical KPIs, daily at 8 AM for morning dashboards, or weekly for periodic reviews. The preview functionality shows the first 50 rows instantly for validation before full import.
Step 3. Build financial reports using Excel formulas with live data references.
Import your Trial Balance via the Reports method and create financial statements using Excel formulas that reference the live data. As transactions post in NetSuite, your Excel reports update automatically during the next scheduled refresh.
Step 4. Set up multi-subsidiary support for consolidated reporting.
Configure department and class filtering for segmented P&L analysis. Use the multi-subsidiary feature to pull consolidated data or separate subsidiary reports depending on your organizational structure.
Keep your financial reports current with live data
Live NetSuite-Excel connections eliminate the manual export cycle and ensure your financial reports reflect the latest business performance. Create your real-time reporting system today.