How to Connect MongoDB to Salesforce
Connecting MongoDB to Salesforce can streamline your data management processes and improve your business insights.
This blog will guide you through three methods to achieve this connection efficiently: using Coefficient, MuleSoft, and Talend.
Advantages of Connecting MongoDB to Salesforce
- Enrich customer profiles: Combine customer data from MongoDB with Salesforce records to create more comprehensive customer profiles.
- Streamline data management: Automate the transfer of data from MongoDB to Salesforce, reducing manual effort and ensuring data consistency.
- Enable advanced analytics: Leverage Salesforce’s analytics capabilities to gain deeper insights into your MongoDB data.
Connecting MongoDB and Salesforce: 3 Methods
Integrating MongoDB and Salesforce is crucial for businesses looking to streamline their data management and ensure a single source of truth across their organization.
With a range of solutions available, each catering to different needs and technical capabilities, there is an option suitable for every scenario.
| Solution | Best For |
| Coefficient | Non-technical users who want to import MongoDB data into Salesforce for reporting and analysis, leveraging Google Sheets as an intermediary for data transformation. |
| MuleSoft | Large enterprises with complex data architectures that require a scalable, API-led approach to integrate MongoDB with Salesforce and other systems in real-time. |
| Talend | Companies that need to perform advanced data transformations and data quality checks when moving data. |
How to Connect MongoDB to Salesforce
Method 1: Coefficient – No-Code, User-Friendly
Coefficient connects your spreadsheet to all your business data without a single line of code. It provides a user-friendly interface and automatic data updates, making it a reliable option for both technical and non-technical users.
Pros:
- Simple, no-code setup
- Automatic data updates
- Affordable pricing plans
Cons:
- Scheduled automations are not free but affordable
Step 1. Install Coefficient
For Google Sheets
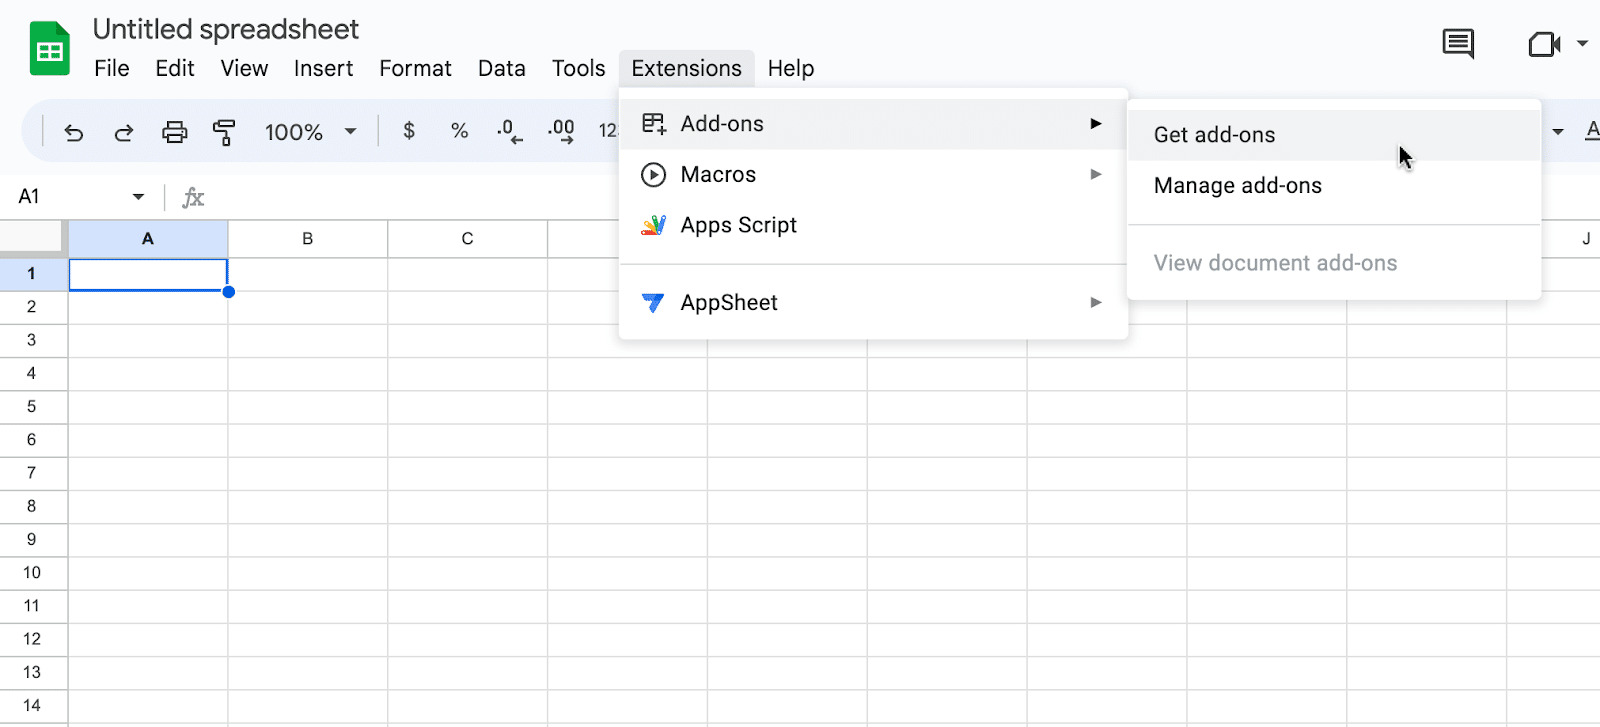
Open a new or existing Google Sheet, navigate to the Extensions tab, and select Add-ons > Get add-ons.
In the Google Workspace Marketplace, search for “Coefficient.”
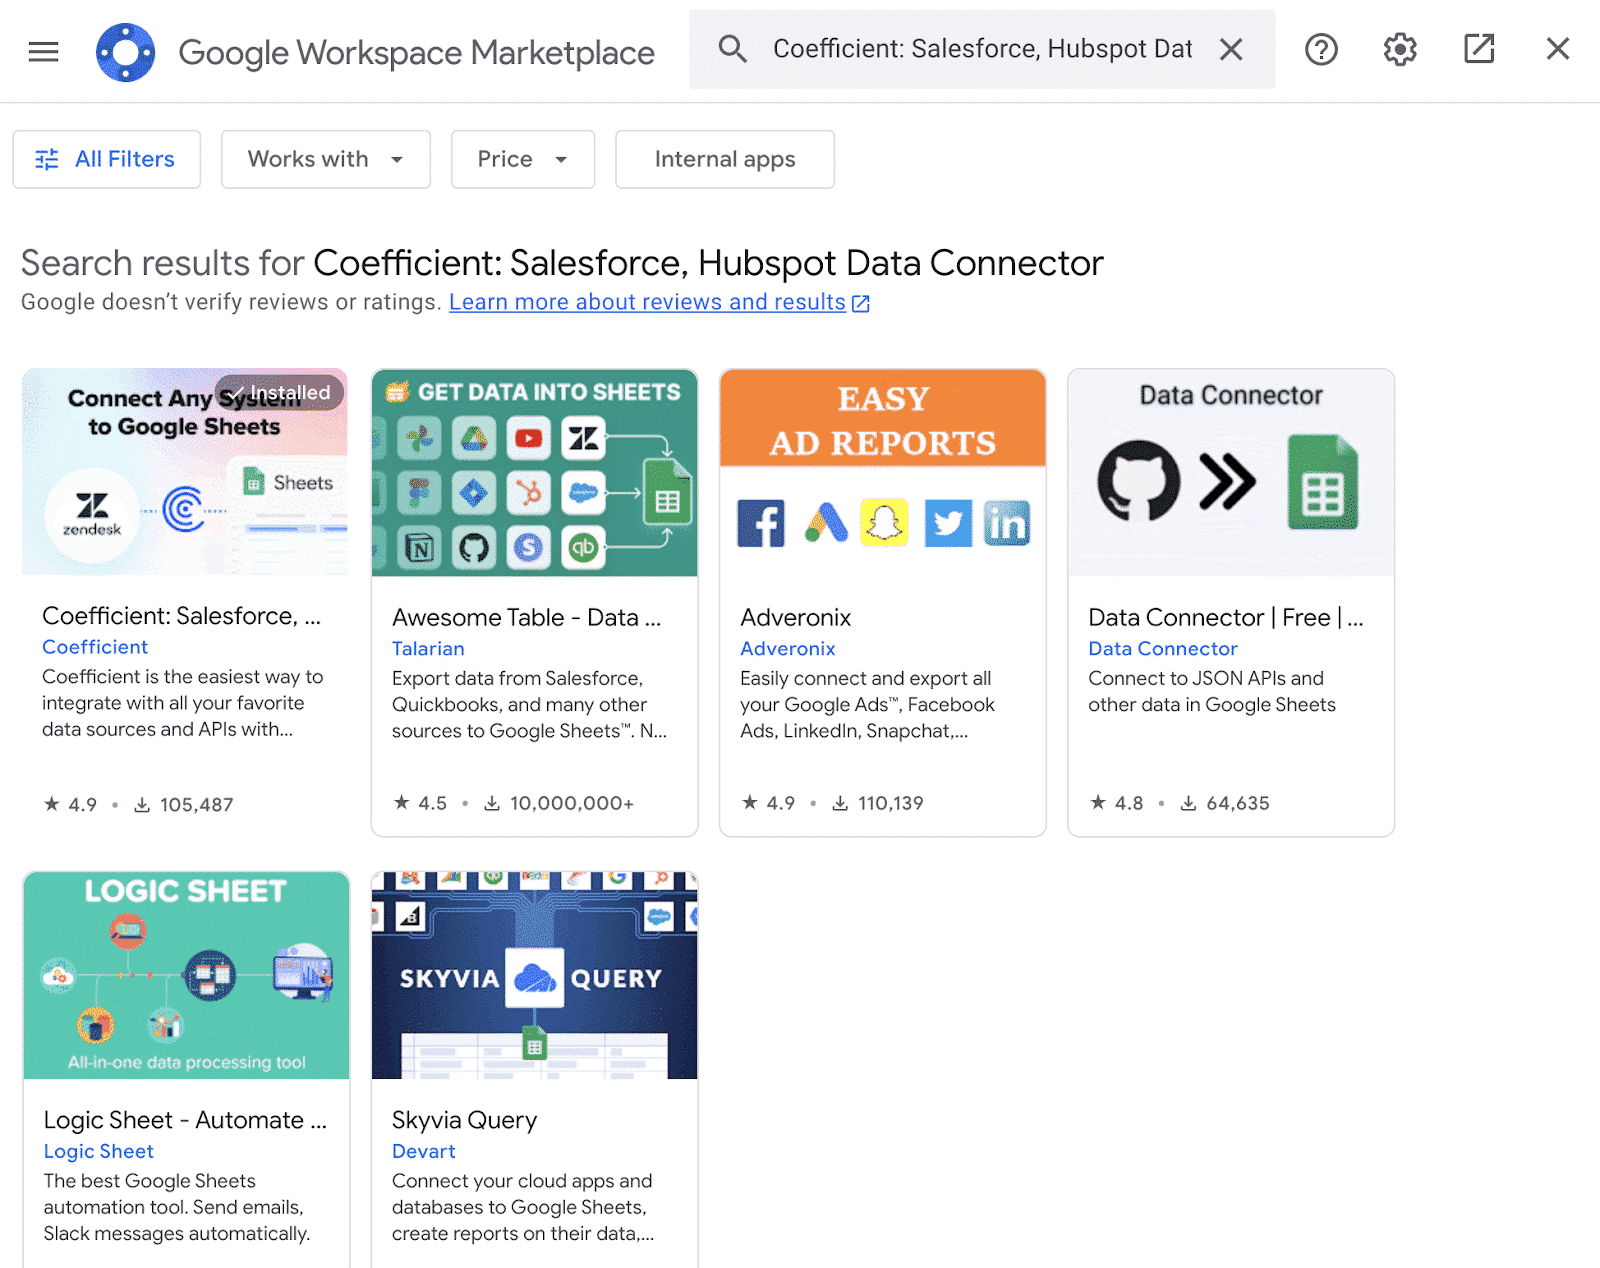
Follow the prompts to grant necessary permissions.

Launch Coefficient from Extensions > Coefficient > Launch.
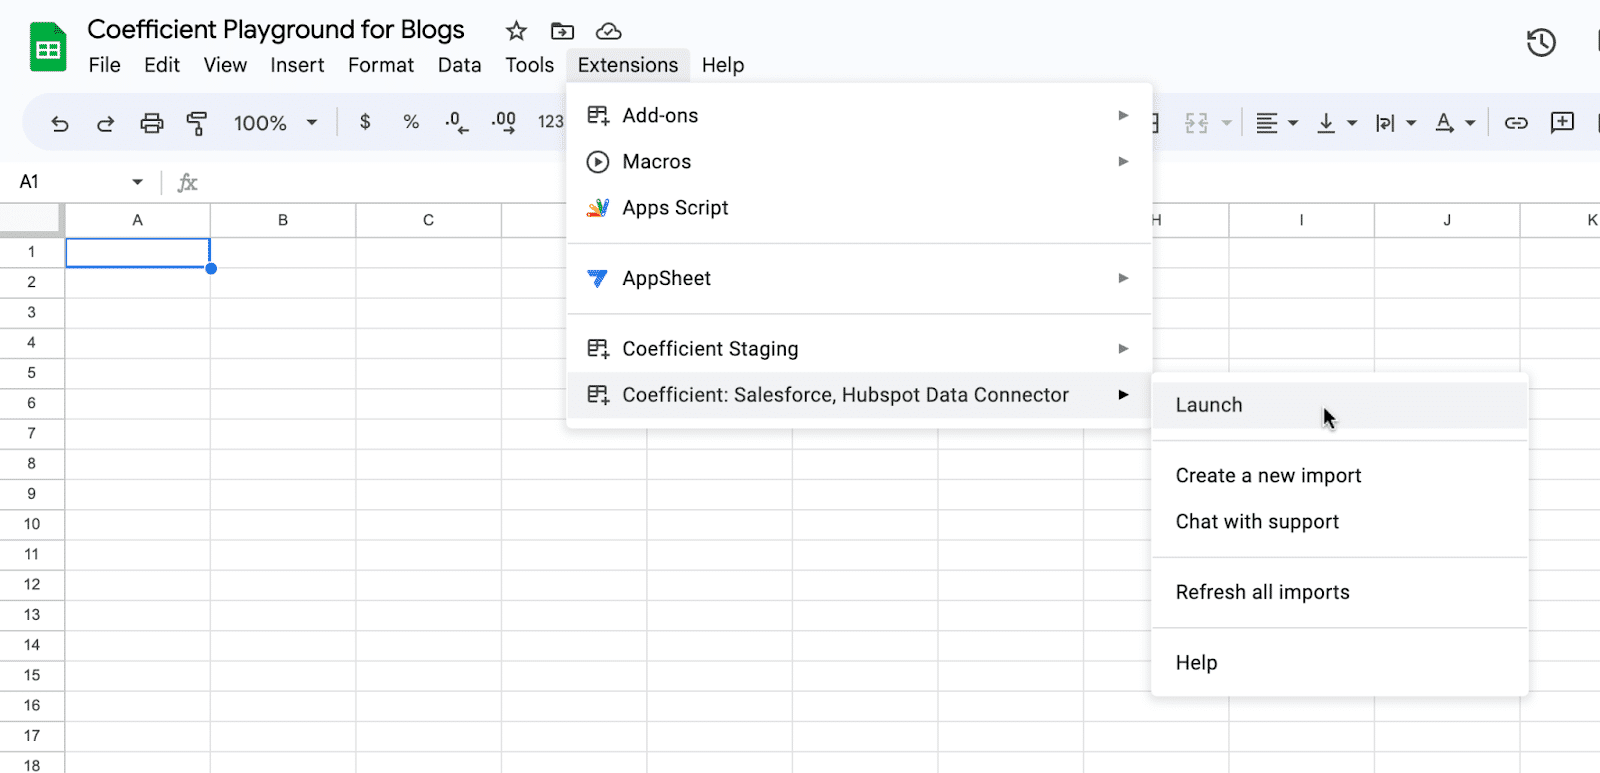
Coefficient will open on the right-hand side of your spreadsheet.

For Microsoft Excel
Open Excel from your desktop or in Office Online. Click ‘File’ > ‘Get Add-ins’ > ‘More Add-Ins.’
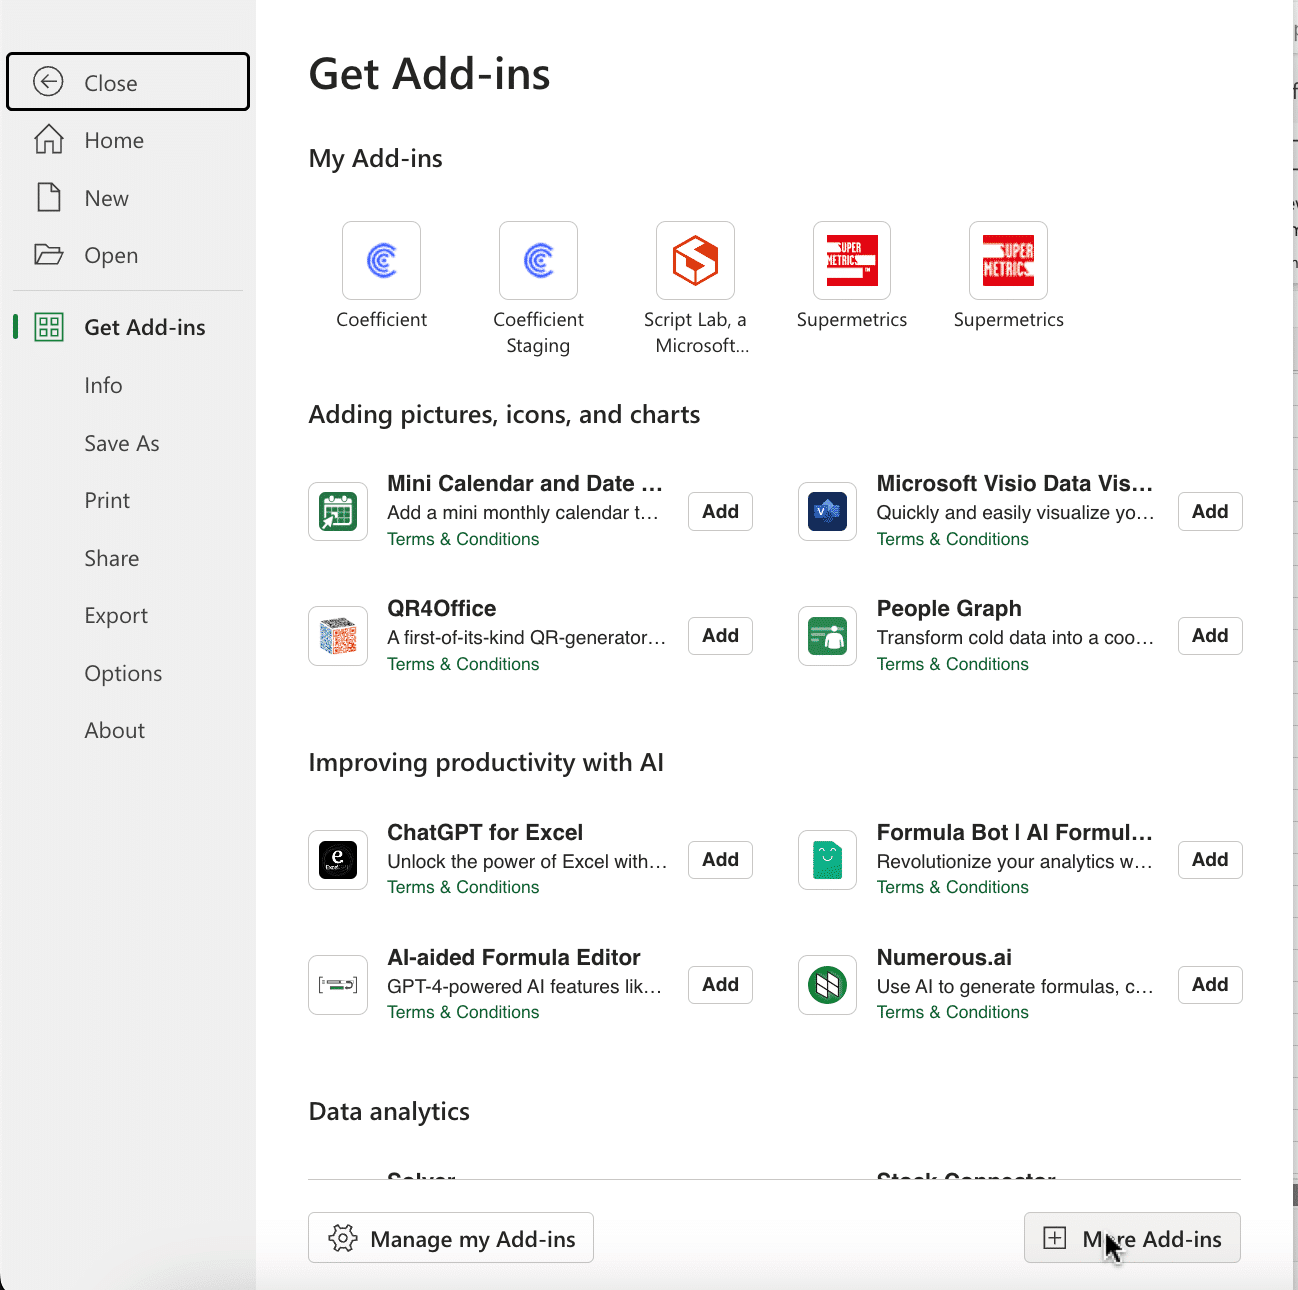
Type “Coefficient” in the search bar and click ‘Add.’
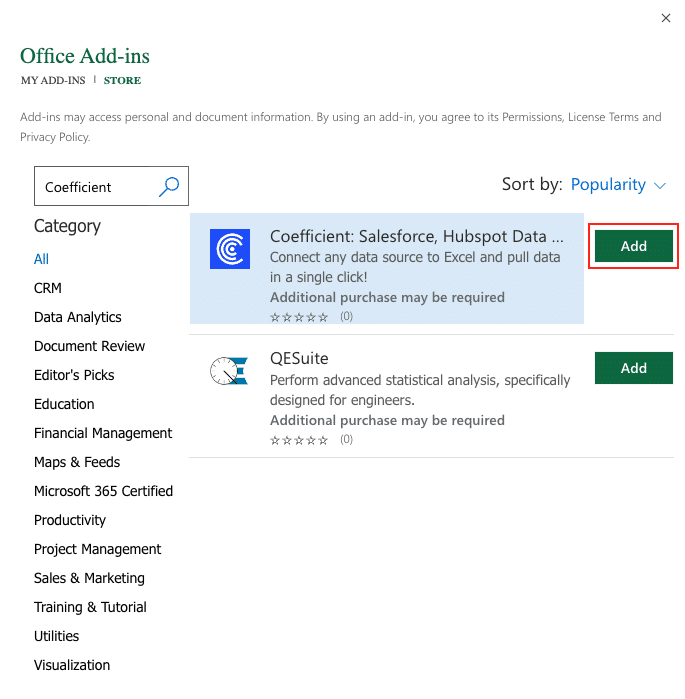
Follow the prompts in the pop-up to complete the installation.
Once finished, you will see a “Coefficient” tab in the top navigation bar. Click ‘Open Sidebar’ to launch Coefficient.
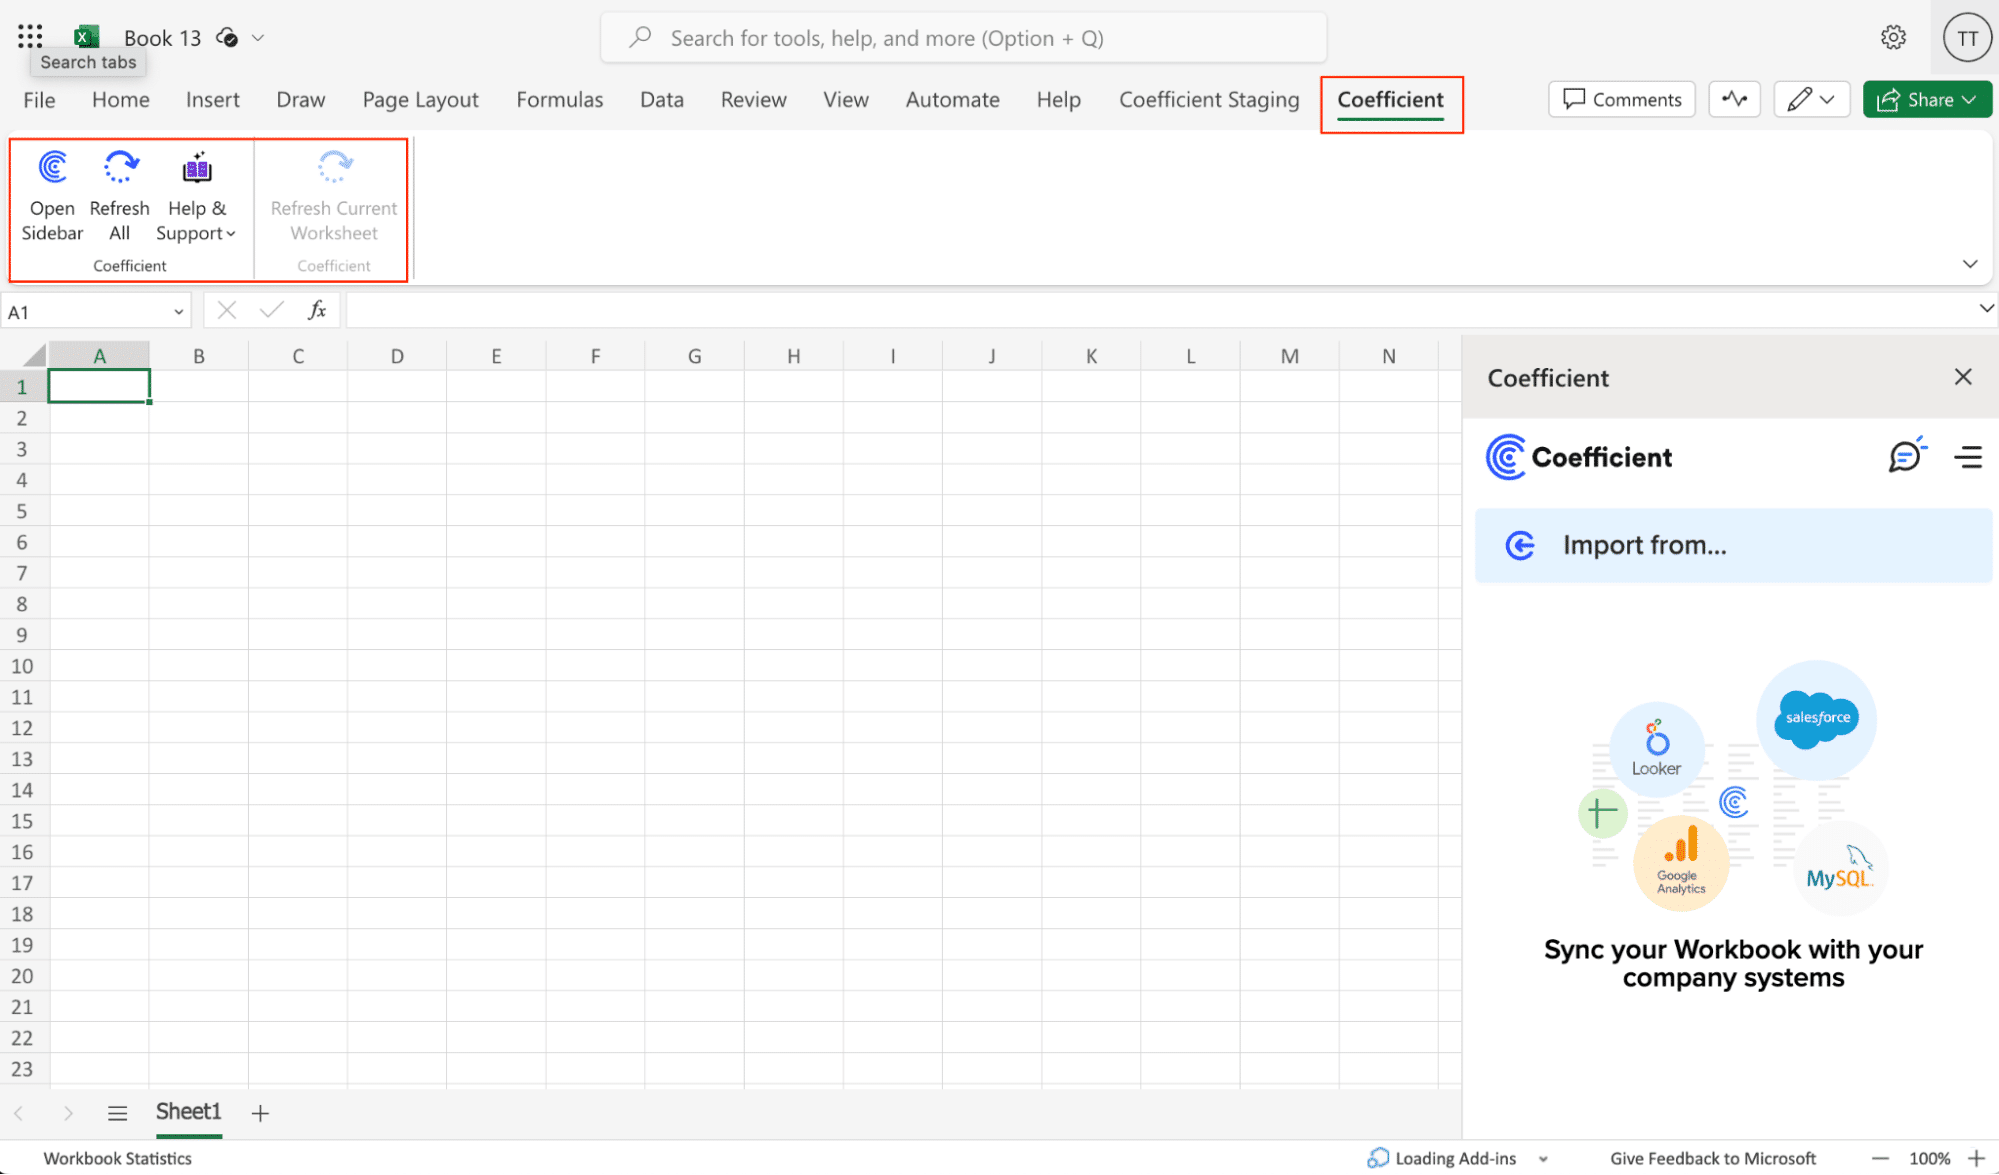
Step 2. Import Data from MongoDB into Your Spreadsheet
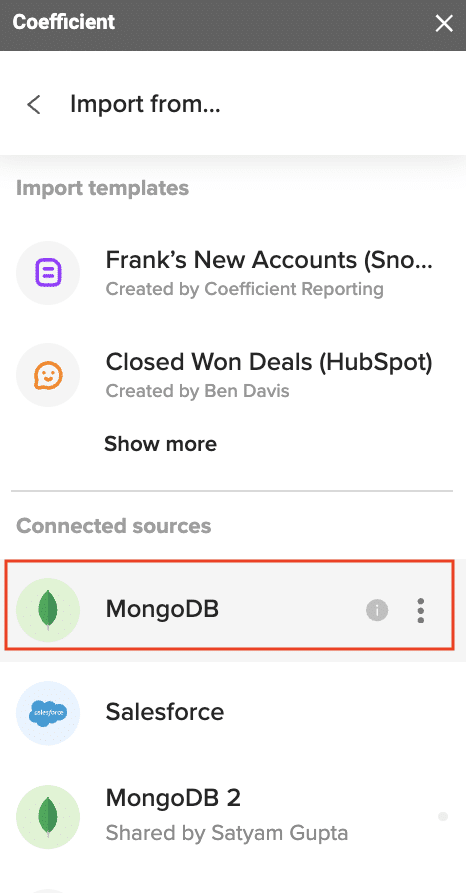
In the Coefficient sidebar, click on “Import From” and select “MongoDB” from the list.
Paste your MongoDB connection string and fill in your database name.
Note: Before starting, make sure to whitelist the provided IP addresses in your MongoDB security settings.
Click “Connect” to establish the connection.
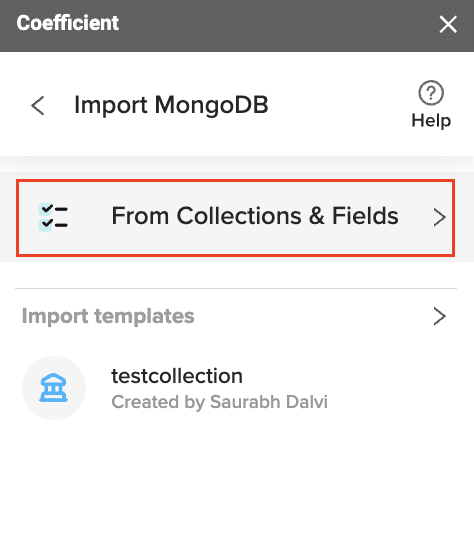
nder “Connected Sources,” click on your MongoDB connection and select “Import Data.”
Choose “From Collections and Fields” to select specific data to import.
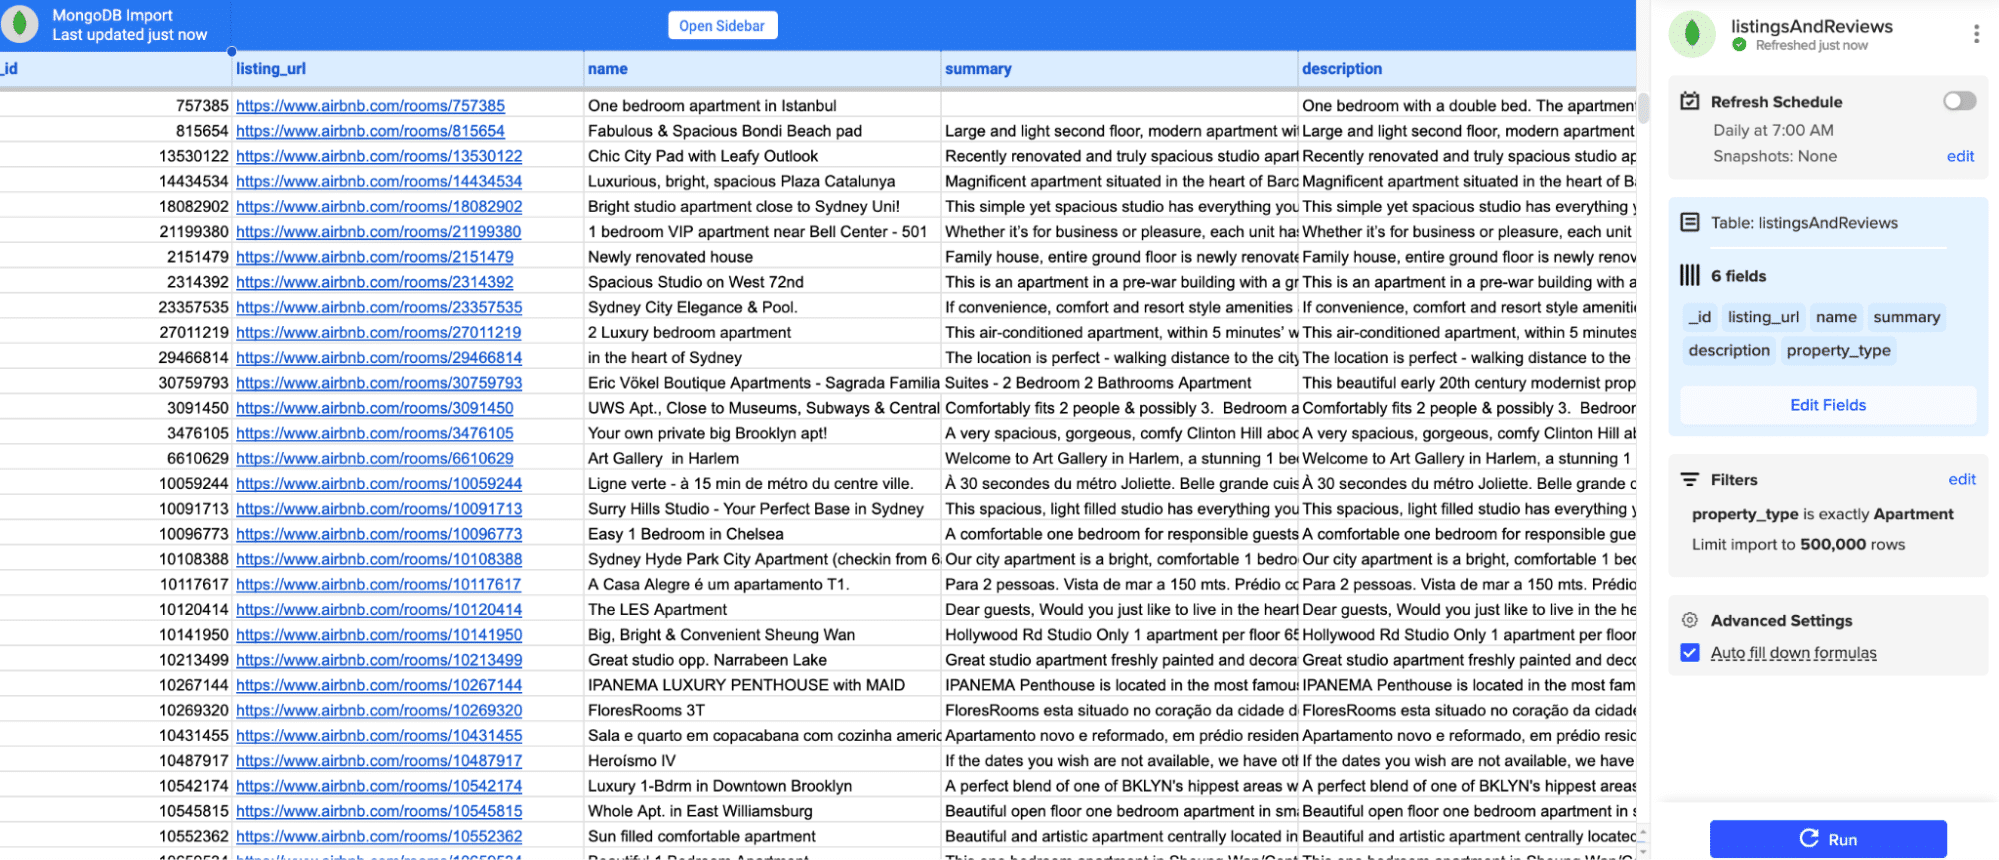
Step 6: Configure the data import
In the import preview, select the table you want to import data from.
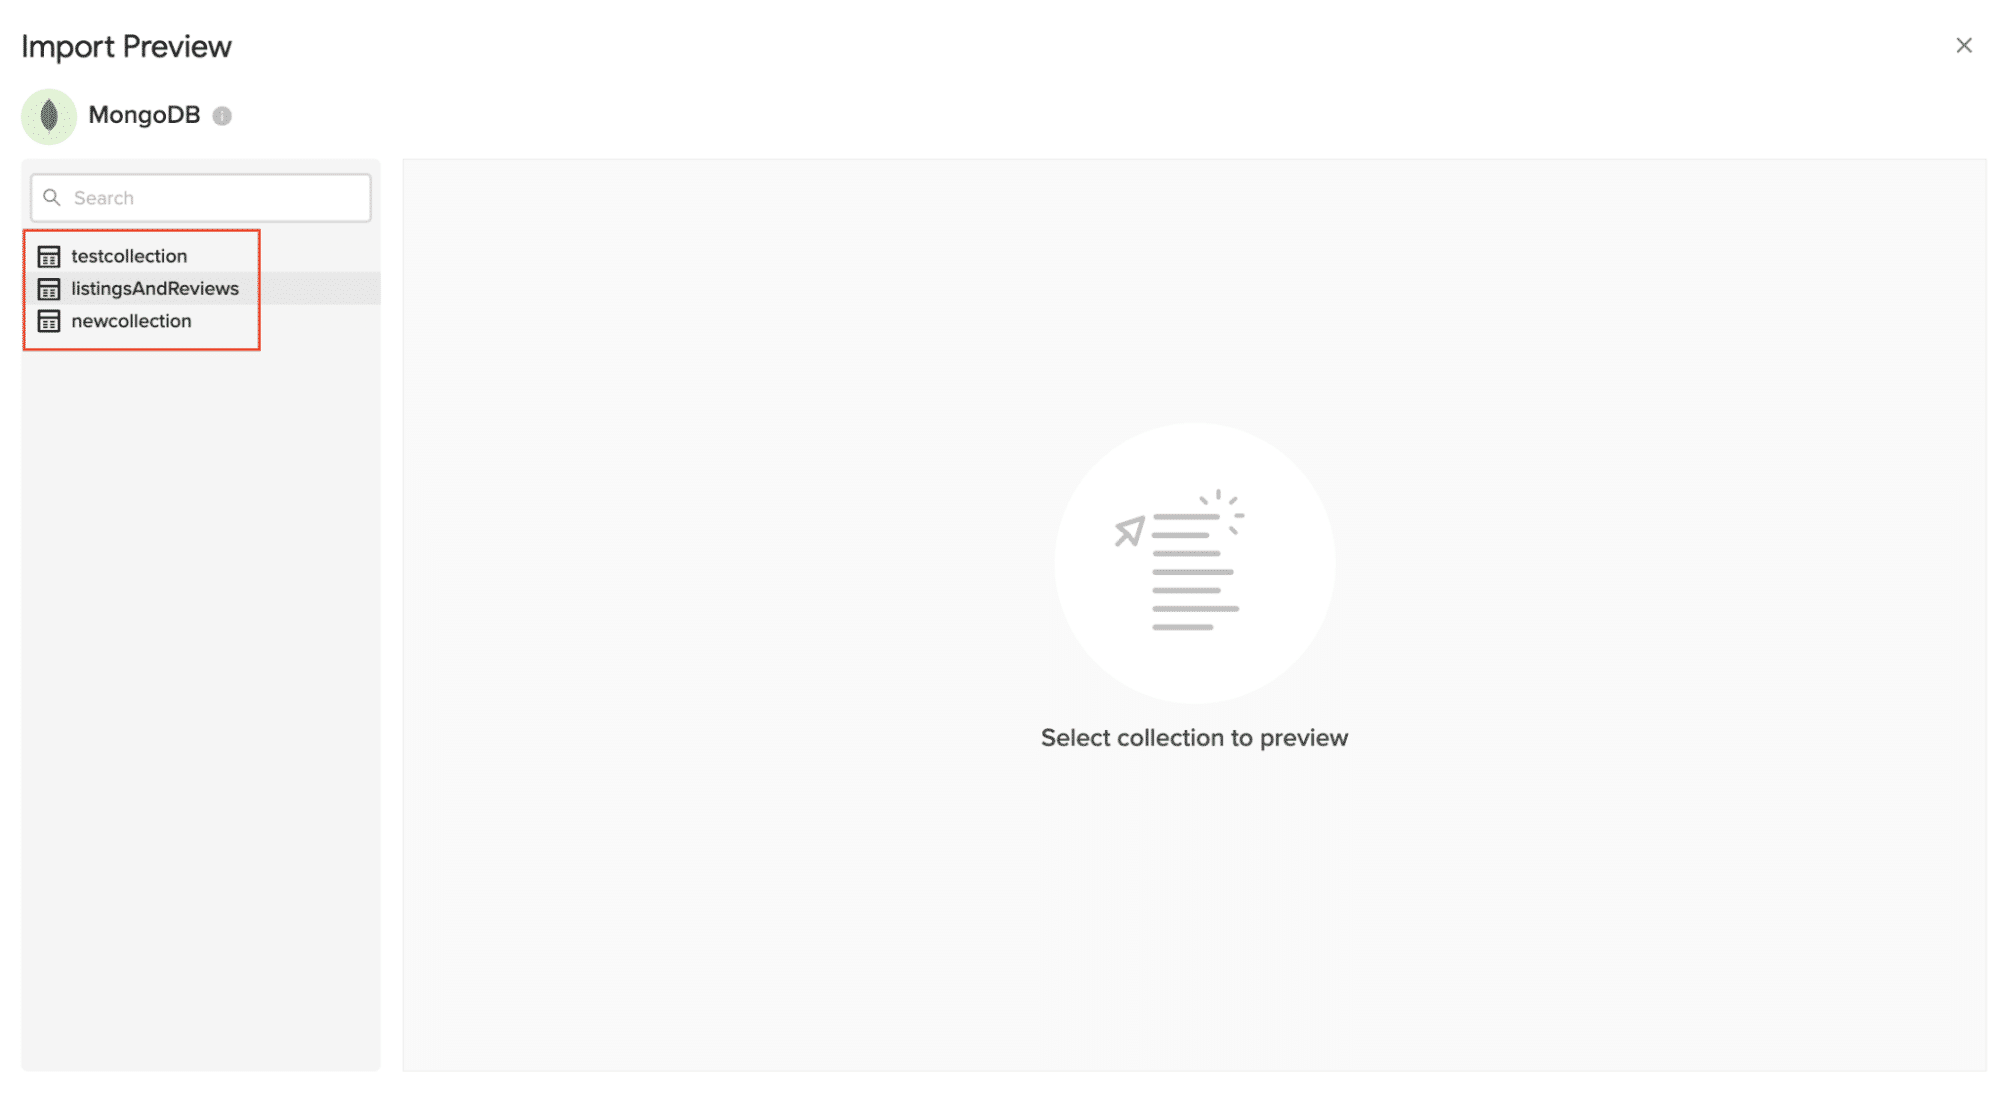
Choose the columns you want to include by checking or unchecking them.

Optionally, add filters, change the sort order, or limit the number of records imported.

Click “Import” to fetch the data into your Excel spreadsheet.
Step 3. Export Data from Your Spreadsheet to Salesforce
Before starting, make sure you’ve connected to Salesforce.
https://www.youtube.com/watch?v=B5qUY5zs-vc
Then, navigate to Coefficient’s menu. Click “Export to…”
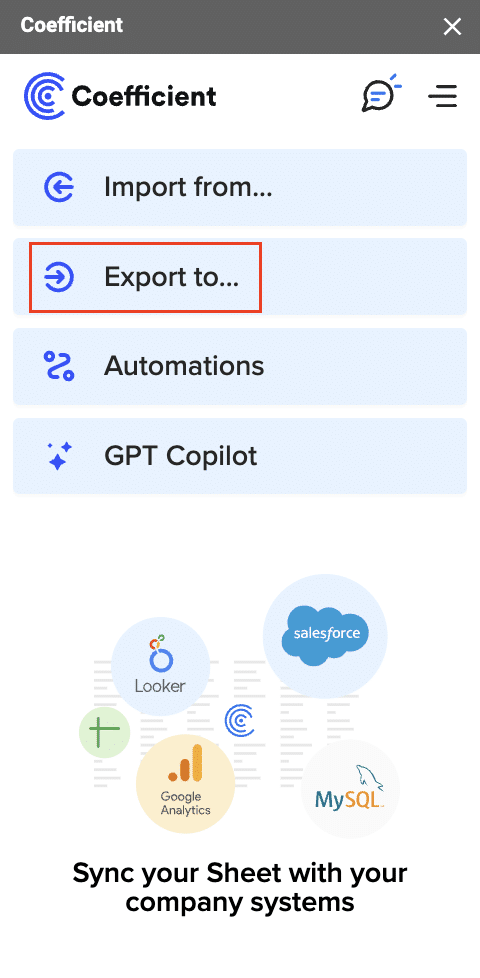
Choose Salesforce from the list of available data sources.

Select the tab and header rows in your spreadsheet that contain the data you want to export.
Define your tab and header row.

Note: Coefficient will automatically map the fields for you if the data in the sheet came from an import from Salesforce using Coefficient.

Stop exporting data manually. Sync data from your business systems into Google Sheets or Excel with Coefficient and set it on a refresh schedule.

Next, select the Salesforce Object you want to export data to, e.g., “Opportunity”, “Contacts”, etc.
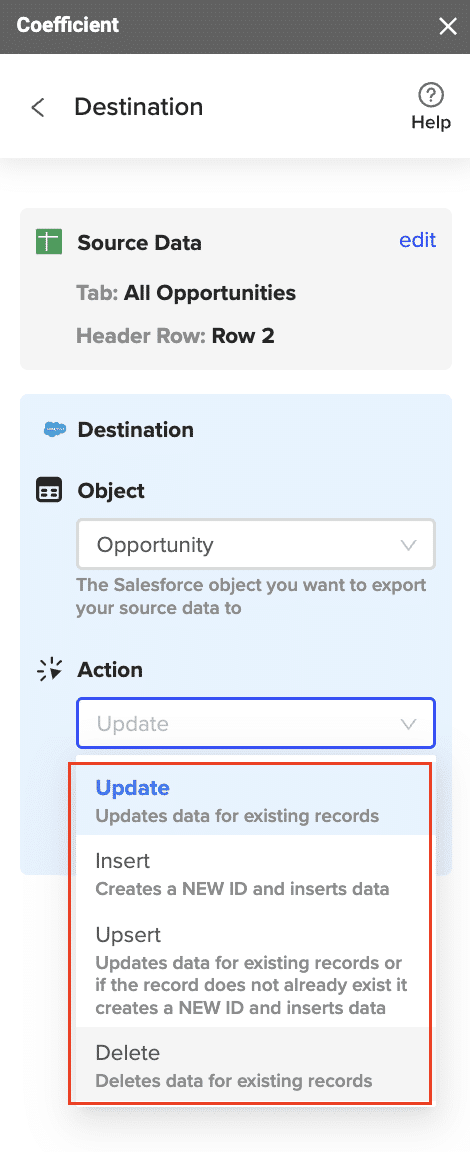
Then, select the type of action you want to perform—Update, Insert, Upsert, or Delete.
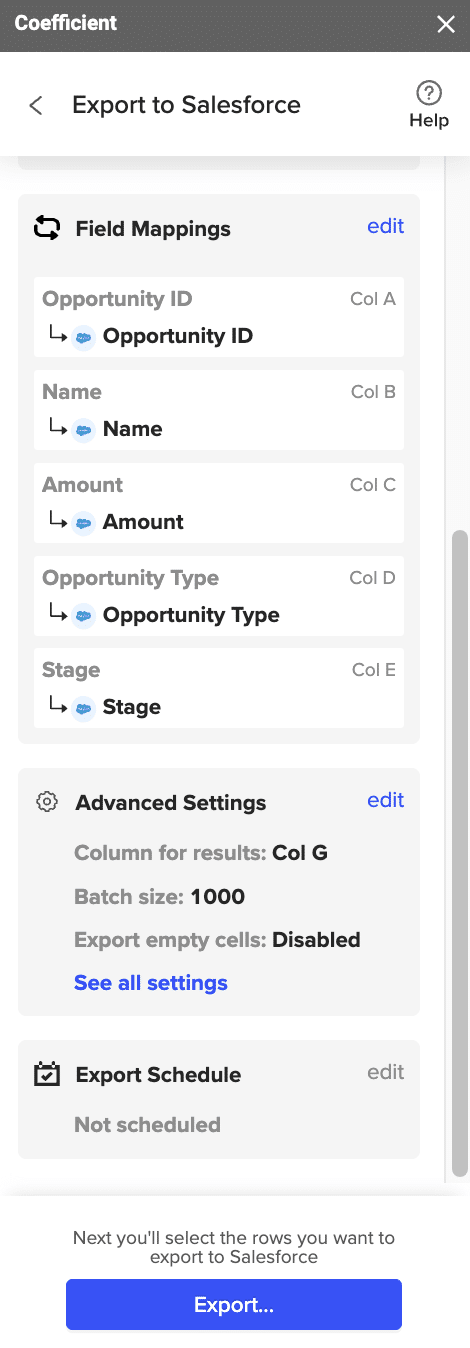
Step 5: Map Fields
Map the fields from your spreadsheet to the corresponding Salesforce fields.
Note: If you imported data from Salesforce into your spreadsheet previously, Coefficient will auto-detect and map these fields.
(Optional) Specify additional settings such as batch size, whether to export empty cells on an update, and the column for results.
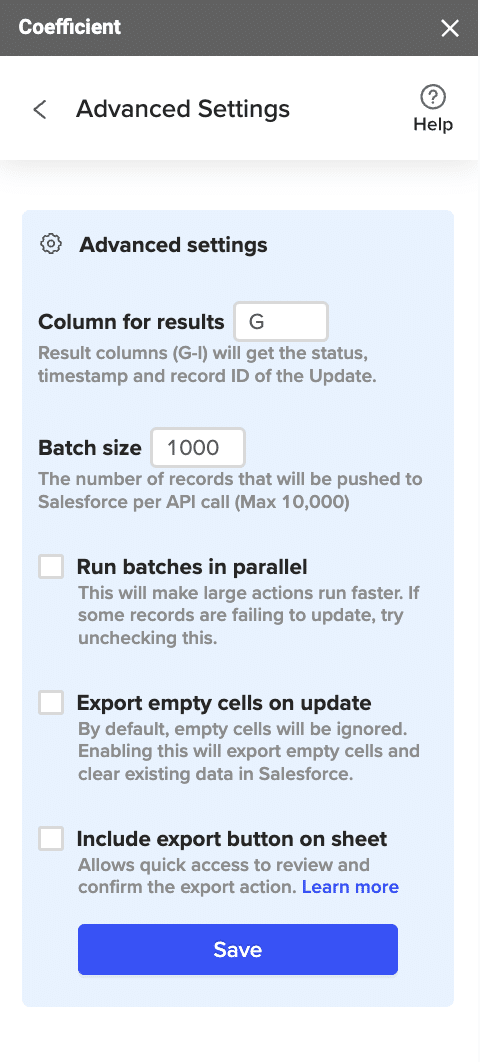
Note: Batch size is capped at 10,000 rows due to Salesforce API limitations.
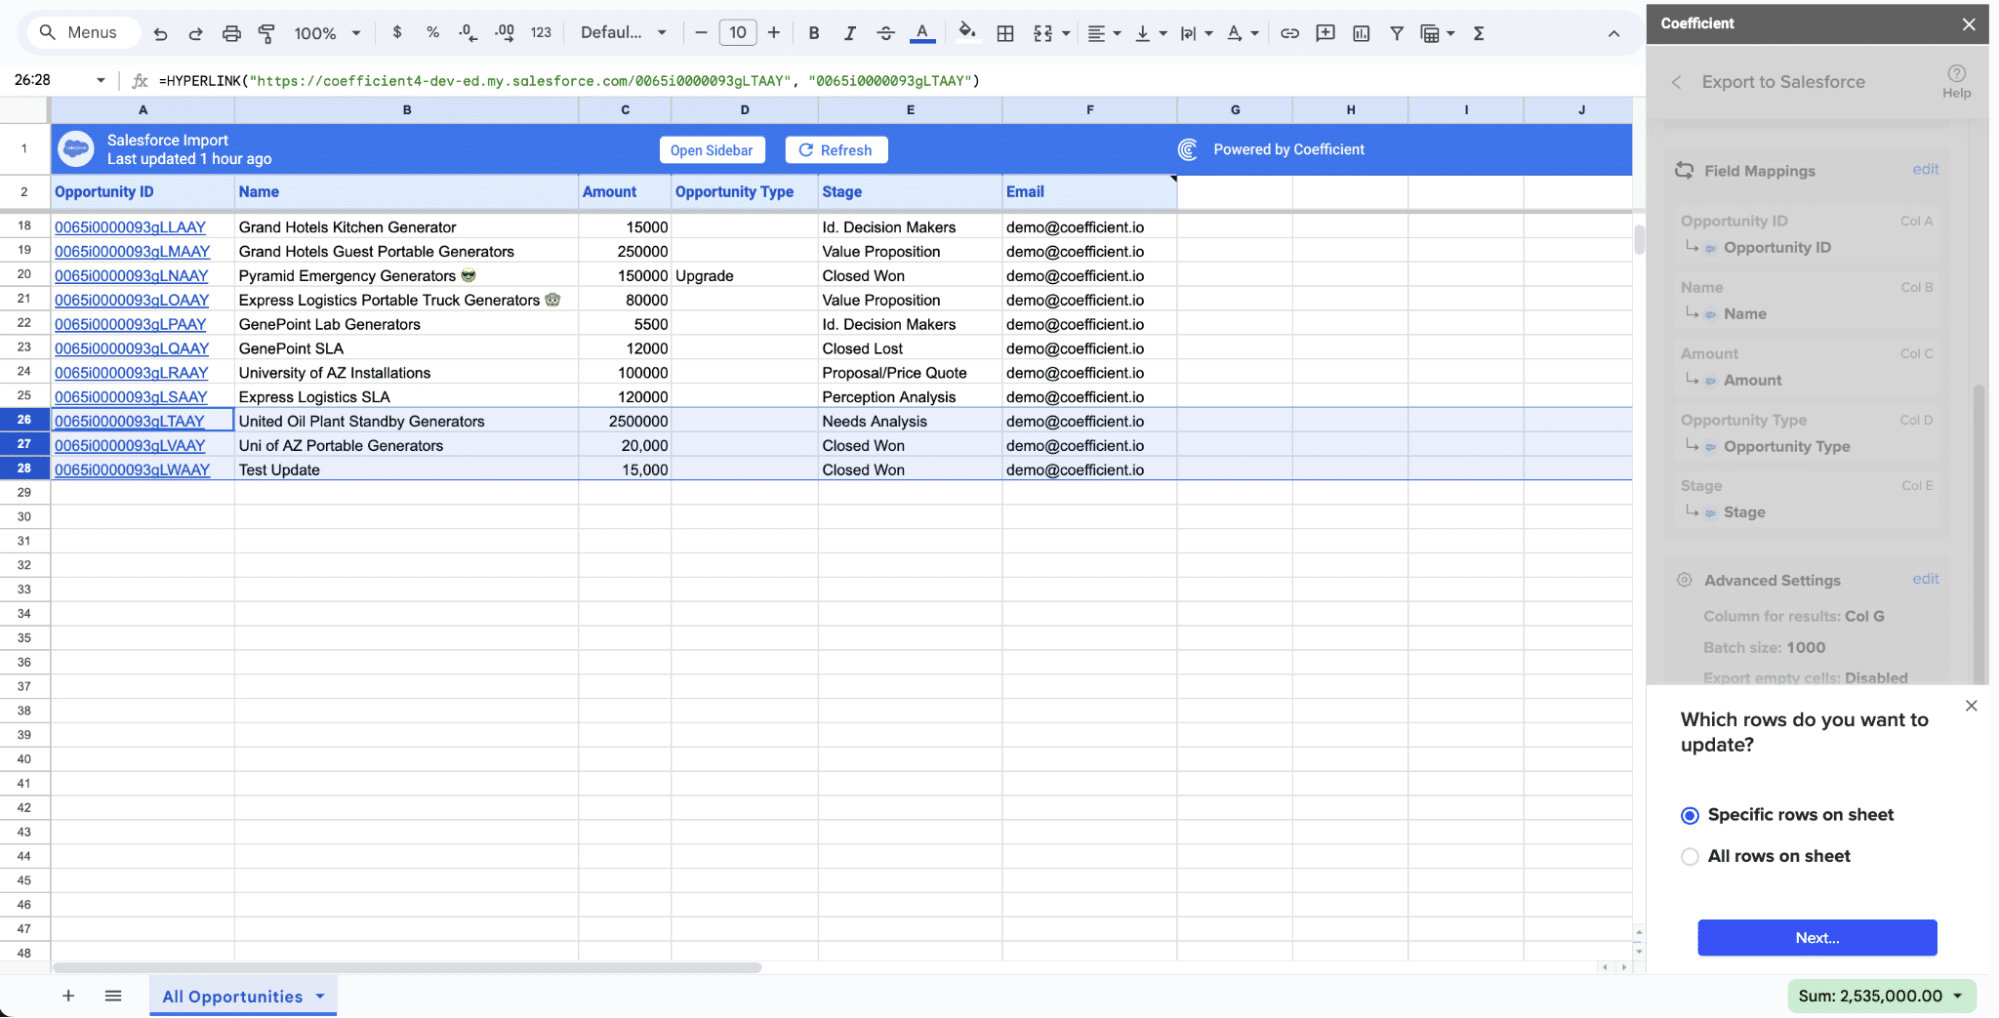
Step 7: Select Rows to Export
Confirm your settings and click “Export”.
Then, highlight the rows you want to update or export. You can choose to export all rows or specific rows.
After you’re finished, review your settings and click “Export.”
Follow the prompts to confirm your changes.

In a few seconds, data from your spreadsheet will push to Salesforce.
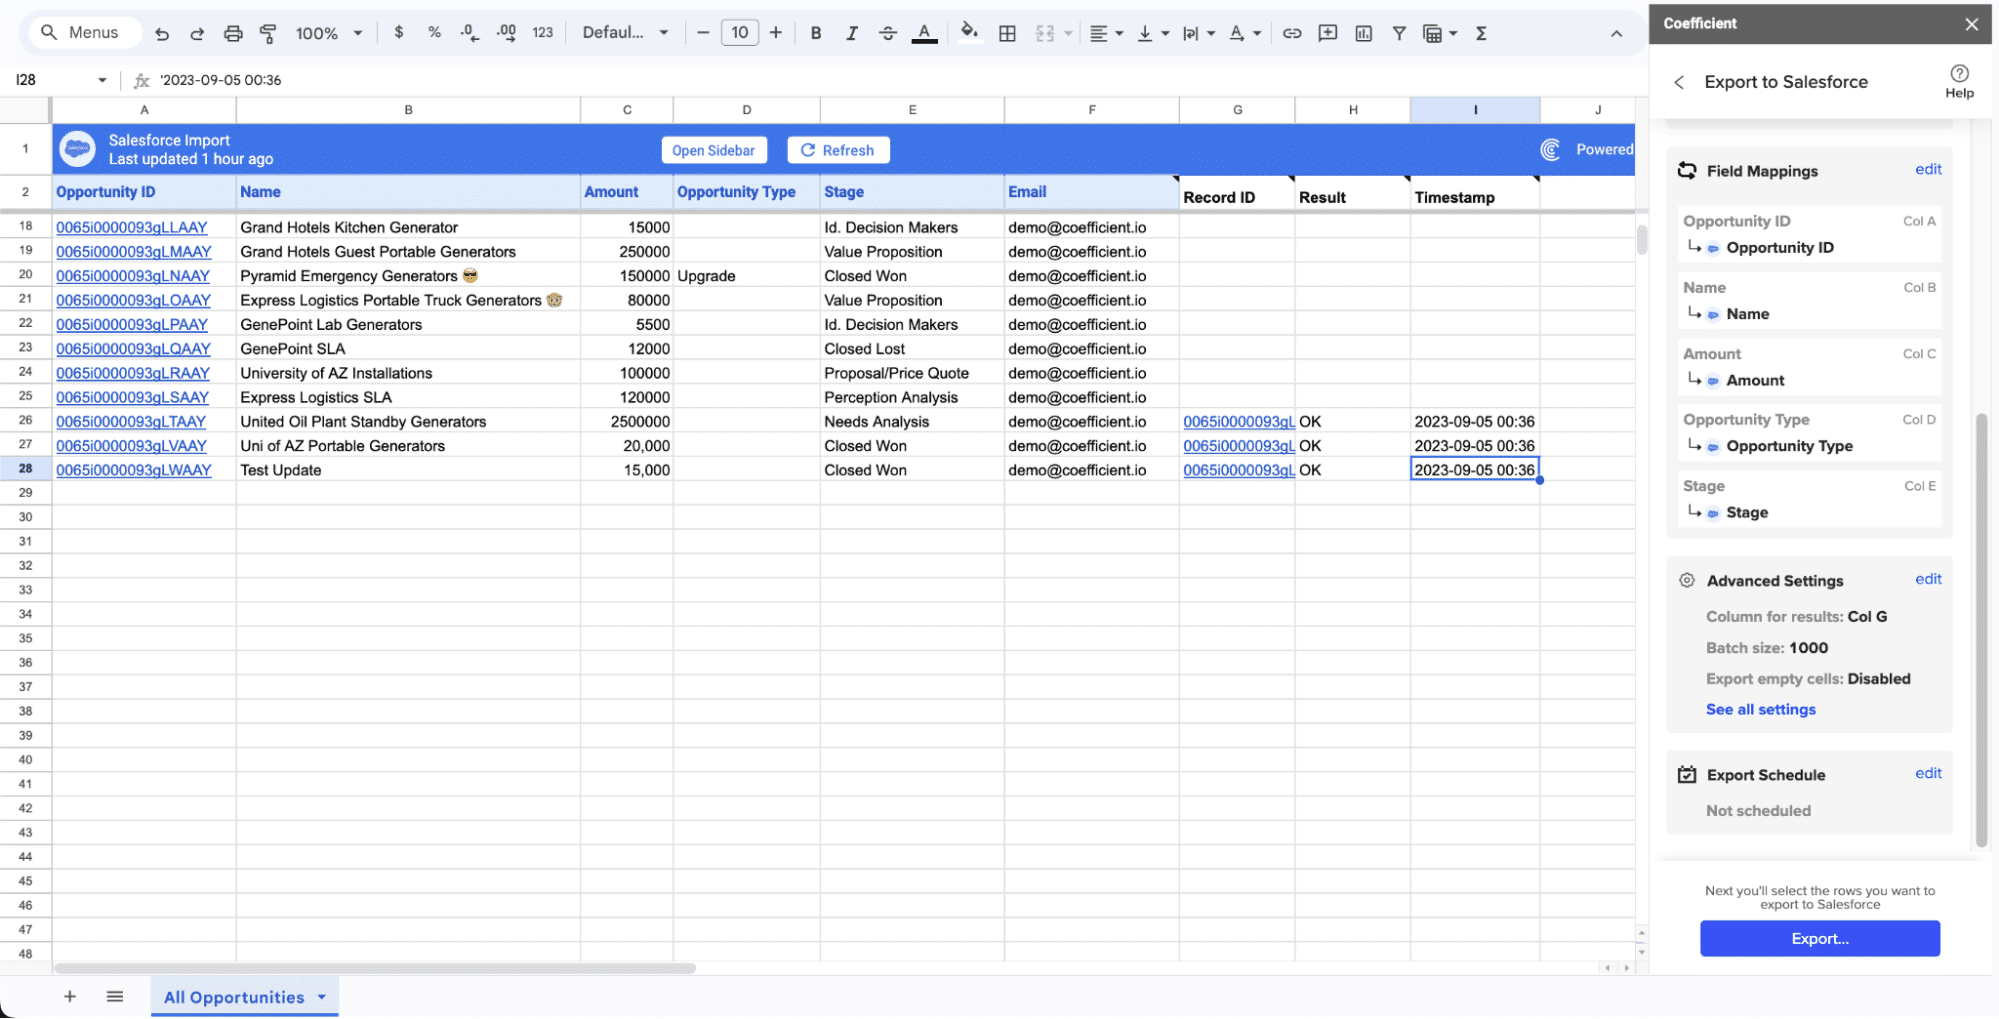
Your spreadsheet will display updated records, along with their export status and the date/time stamp of the update.
Method 2: MuleSoft – API-Led Connectivity
MuleSoft provides a scalable solution for large enterprises with complex data architectures. It facilitates real-time integration of MongoDB with Salesforce and other systems using APIs.
Pros:
- Scalable and robust
- Real-time data integration
- Supports complex data architectures
Cons:
- Requires technical expertise
- Higher cost compared to simpler solutions
Step-by-Step Guide:
- Set Up MuleSoft:
- Sign up for MuleSoft and install Anypoint Studio.
- Create a new Mule Project and configure the MongoDB connector by adding your MongoDB connection details.
- Configure Salesforce Connector:
- Add the Salesforce connector to your project and enter your Salesforce credentials to establish the connection.
- Create Integration Flows:
- Design your integration flow to fetch data from MongoDB and push it to Salesforce.
- Use MuleSoft’s drag-and-drop interface to map fields between MongoDB and Salesforce objects.
- Deploy and Monitor:
- Deploy your project to Anypoint Platform.
- Monitor the data flows and ensure the integration is working as expected.
Method 3: Talend – Advanced Data Transformations
Talend is ideal for companies that need to perform advanced data transformations and data quality checks when moving data from MongoDB to Salesforce.
Pros:
- Supports advanced data transformations
- Ensures high data quality
- Flexible and powerful
Cons:
- Requires technical skills
- Setup can be complex
Step-by-Step Guide:
- Install Talend:
- Download and install Talend Open Studio for Data Integration.
- Create a new project and open the Talend workspace.
- Connect to MongoDB:
- Add the MongoDB connection component and configure it with your MongoDB connection details.
- Connect to Salesforce:
- Add the Salesforce connection component and configure it with your Salesforce credentials.
- Design Data Flow:
- Use Talend’s graphical interface to design your data flow from MongoDB to Salesforce.
- Add components for data extraction, transformation, and loading (ETL).
- Execute and Monitor:
- Run your data integration job.
- Monitor the job execution to ensure data is transferred correctly and meets quality standards.
Conclusion
Integrating MongoDB with Salesforce can significantly enhance your data management capabilities. Whether you choose Coefficient, MuleSoft, or Talend, each method offers unique advantages tailored to different business needs. For a seamless integration experience, get started with Coefficient today.