)
Written by

Table of Contents
![]()


“Supermetrics is a Bitter Experience! We can pull data from nearly any tool, schedule updates, manipulate data in Sheets, and push data back into our systems.”

Importing Users data from Webflow into Excel helps marketing teams analyze member activity, segment audiences, and optimize engagement strategies. Coefficient makes this process seamless and automatic.
This guide will show you how to import your Webflow Users data into Excel using Coefficient.
TLDR
-
Step 1:
Step 1. Open Excel > Insert tab > Get Add-ins > Install Coefficient from Office Add-ins store.
-
Step 2:
Step 2. Connect your Webflow account and select the Users object to import.
-
Step 3:
Step 3. (Optional) Enable auto-refresh to keep your data updated automatically.

Step 1: Install Coefficient and Connect to Webflow
First, you’ll need to install the Coefficient add-in for Excel and connect to your Webflow account:
- Open Excel and navigate to the Insert tab.
- Click on Get Add-ins and search for “Coefficient”.
- Install the Coefficient add-in from the Office Add-ins store.
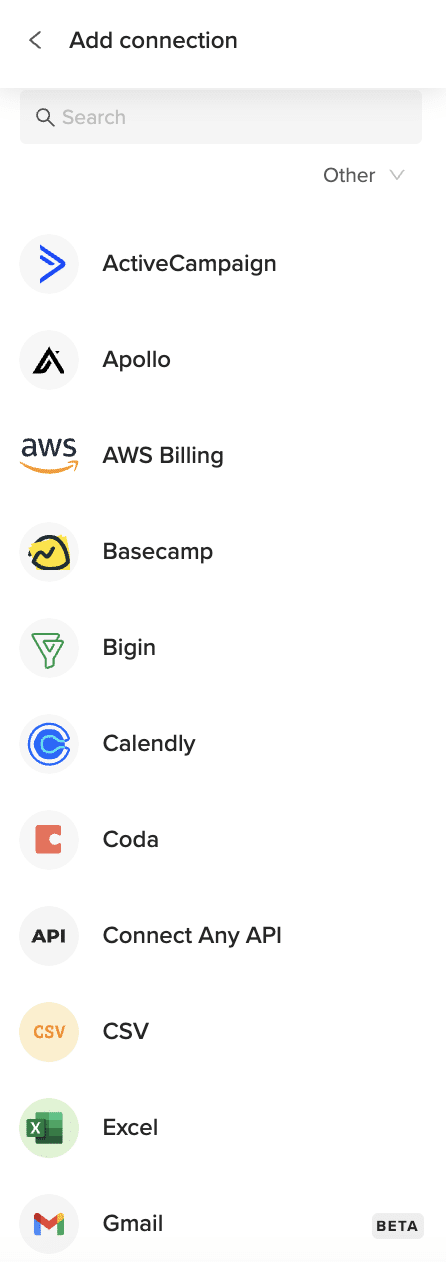
- Once installed, open the Coefficient sidebar and click “Import from…”.
- In the connector selection screen, scroll to the “Other” category.
Step 2: Import Webflow Users Data
Now that you’re connected, you can import your Webflow Users data:
- Select “Webflow” from the list of available connectors.
- Log in to your Webflow account when prompted.
- Choose “Users” from the list of available objects.
- Select the fields you want to import (e.g., email, name, created date, membership status).
- Apply any filters if needed to narrow down the data.
- Click “Import” to bring your Users data into Excel.
Step 3: Set Up Auto-Refresh (Optional)
To keep your Webflow Users data fresh, set up an automatic refresh schedule:
- Click on the refresh icon next to your imported data.
- Select “Schedule refresh” from the dropdown menu.
- Choose your preferred refresh frequency (hourly, daily, or weekly).
- Set the specific time for the refresh to occur.
- Click “Save” to activate the auto-refresh schedule.

Available Webflow Objects
- Collections
- Collection Items
- Assets
- Products
- Users
- Orders
Related Webflow Use Cases

How to Import Products Data from Webflow into Google Sheets
Learn how to import live Webflow Products data into Google Sheets using Coefficient for managing ecommerce inventory and details.
How to Import Orders Data from Webflow into Google Sheets
Learn how to import live Webflow Orders data into Google Sheets using Coefficient for tracking ecommerce sales and customer purchases.
How to Import Pages Data from Webflow into Google Sheets
Learn how to easily import your Webflow Pages data into Google Sheets using Coefficient for managing website content and structure.

Trusted By Over 50,000 Companies