Importing Orders data from Webflow into Excel helps teams track sales, analyze revenue, and create comprehensive e-commerce reports. Coefficient makes this process seamless and automatic.
This guide will show you how to import your Webflow Orders data into Excel using Coefficient.
TLDR
-
Step 1:
Step 1. Open Excel > Insert tab > Get Add-ins > Install Coefficient from Office Add-ins store.
-
Step 2:
Step 2. Connect your Webflow account and select the Orders object to import.
-
Step 3:
Step 3. (Optional) Enable auto-refresh to keep your data updated automatically.

Step 1: Install Coefficient and Connect to Webflow
First, you’ll need to install the Coefficient add-in for Excel and connect to your Webflow account:
- Open Excel and navigate to the Insert tab.
- Click on Get Add-ins and search for “Coefficient”.
- Install the Coefficient add-in from the Office Add-ins store.
- Once installed, open the Coefficient sidebar and click “Import from…”.
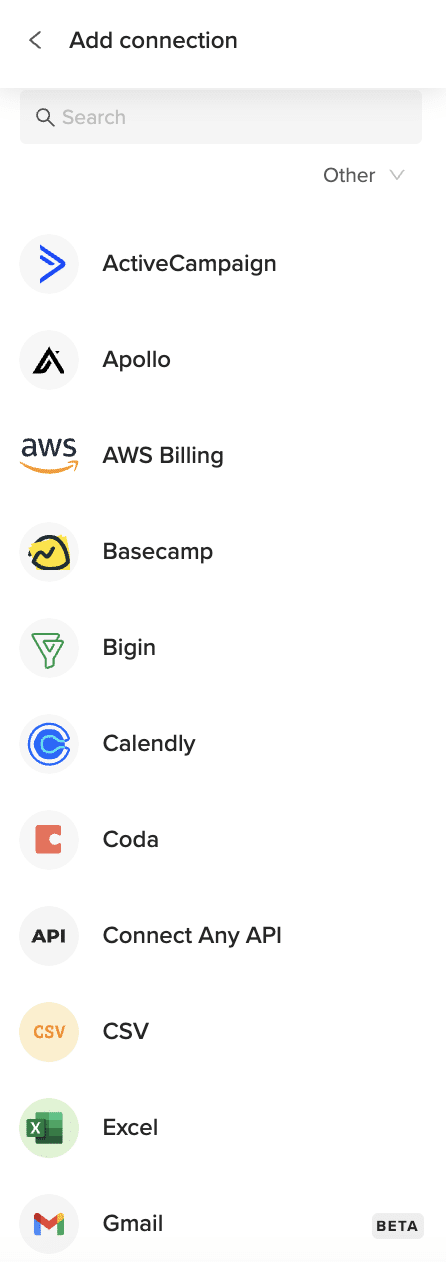
- In the connector selection screen, scroll to the “Other” category.

Step 2: Import Webflow Orders Data
Now that you’re connected, you can import your Webflow Orders data:
- Select “Webflow” from the list of available connectors.
- Log in to your Webflow account when prompted.
- Choose “Orders” from the list of available objects.
- Select the fields you want to import (e.g., order ID, customer, products, amount, status).
- Apply any filters if needed to narrow down the data.
- Click “Import” to bring your Orders data into Excel.
Step 3: Set Up Auto-Refresh (Optional)
To keep your Webflow Orders data fresh, set up an automatic refresh schedule:
- Click on the refresh icon next to your imported data.
- Select “Schedule refresh” from the dropdown menu.
- Choose your preferred refresh frequency (hourly, daily, or weekly).
- Set the specific time for the refresh to occur.
- Click “Save” to activate the auto-refresh schedule.

Available Webflow Objects
- Collections
- Collection Items
- Assets
- Products
- Users
- Orders
Trusted By Over 50,000 Companies
)


