Accurate sales forecasting is vital for planning and making informed business decisions. While Salesforce offers robust tools for managing sales data, the integration with Excel enhances forecasting capabilities, providing deeper insights and flexible analyses.
This guide demonstrates how to set up forecasting in Salesforce using Excel, ensuring users of all levels can leverage these two powerful tools together effectively.
Importance of Forecasting in Salesforce
Forecasting plays a crucial role in sales and operations planning, allowing businesses to predict future sales and make strategic decisions accordingly.
However, Salesforce’s native forecasting features might need some customization for specific business needs. Integrating Excel with Salesforce overcomes these limitations, offering advanced analytical tools and flexibility in handling large datasets.
Preparing Your Salesforce Environment
Before integrating Excel, ensure your Salesforce data is clean and reliable. Data accuracy is paramount, as incorrect data can lead to faulty forecasts.
Regularly audit your data for duplicates, inconsistencies, and incomplete records to maintain data integrity.
Step-by-Step Guide to Exporting Data from Salesforce to Excel
Preparing Your Data in Excel
- Organization: Arrange your data in Excel with clear column labels corresponding to Salesforce fields.
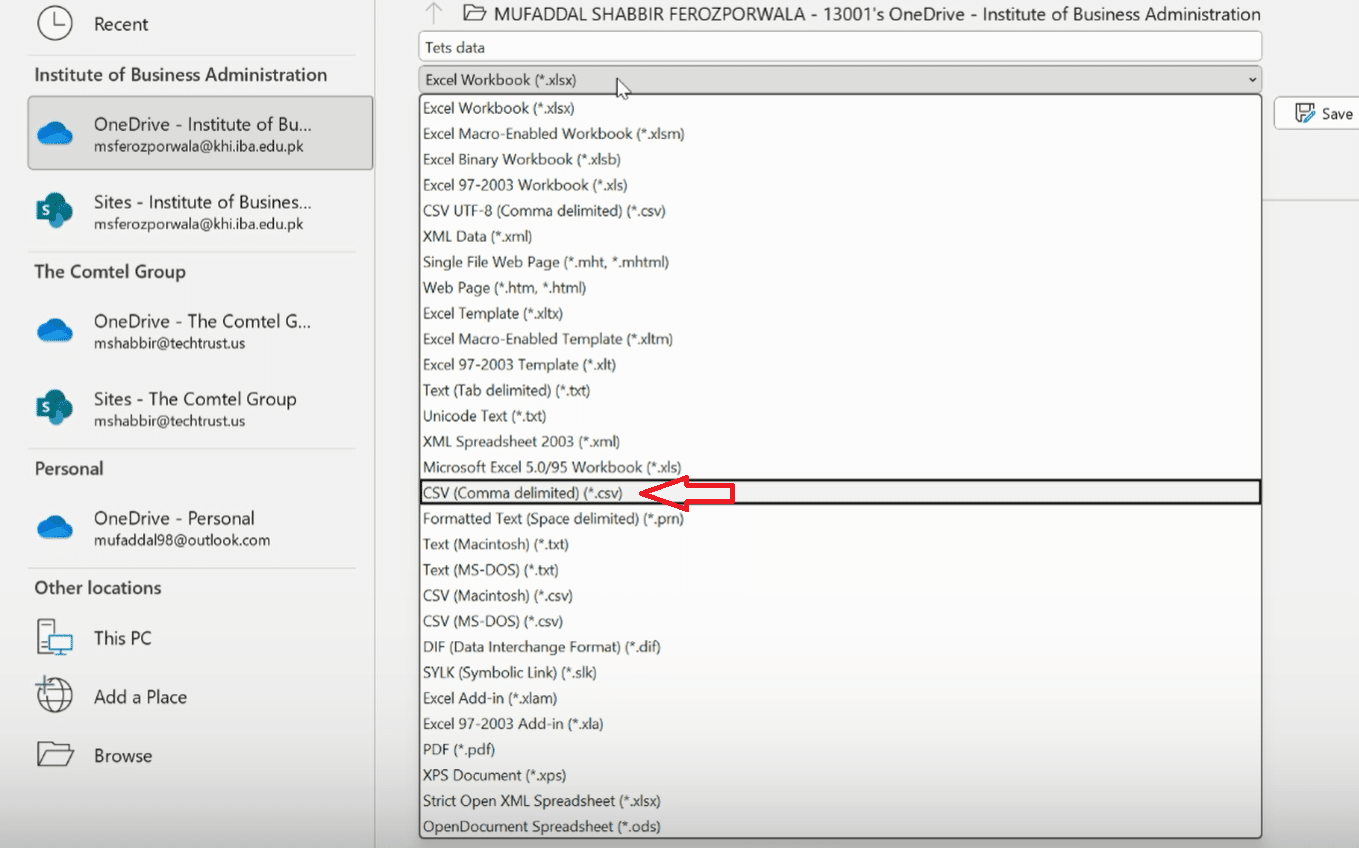
- Saving: Save the document as a CSV file, the format compatible with Salesforce’s Data Loader and Import Wizard. Select “CSV” under “Save as type” in Excel’s “Save As” dialog.
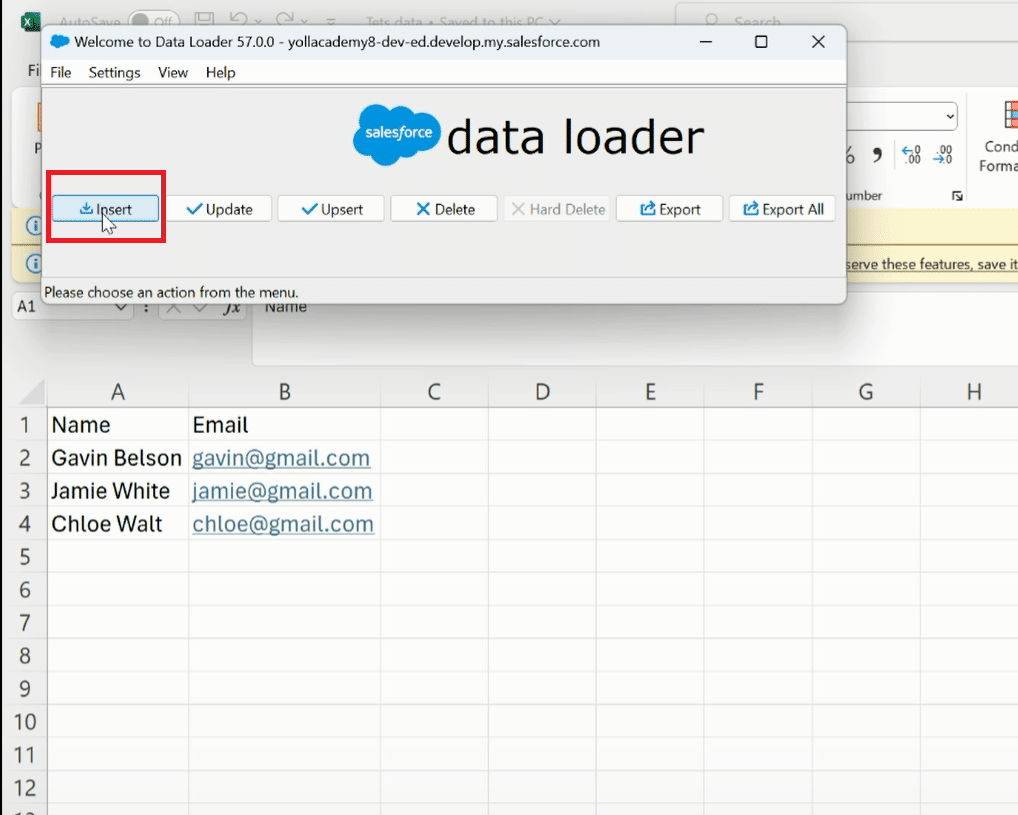
Opening Data Loader
Start by launching the Salesforce Data Loader application.
After opening Data Loader, navigate and click on the “Insert” option to initiate the process of inserting new records into Salesforce from Excel.
In the Data Loader interface, look for and select your custom object. If “Property Sellers” or your respective custom object doesn’t immediately appear, ensure “Show all Salesforce objects” is checked to reveal all available objects.
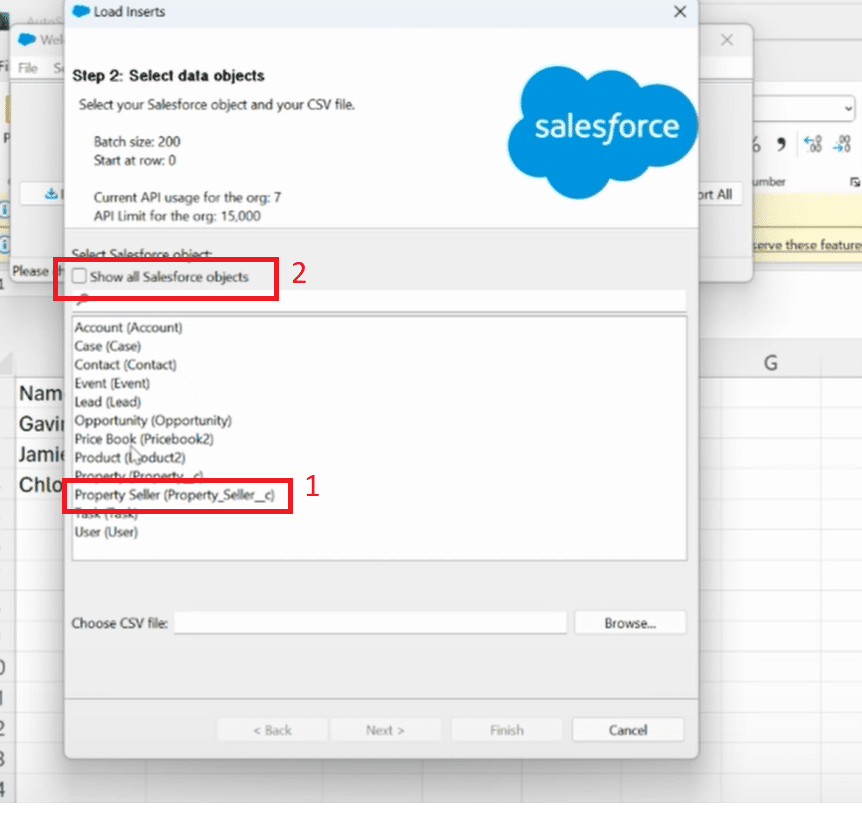
With your custom object selected, the next step involves choosing your CSV file. This file should be prepared ahead of time, containing all the data you intend to import into Salesforce.

Explore 8 cutting-edge techniques that are revolutionizing how Salesforce admins manage their daily tasks. Contribute more significantly to business outcomes and become a key driver of efficiency and innovation.
See the Techniques
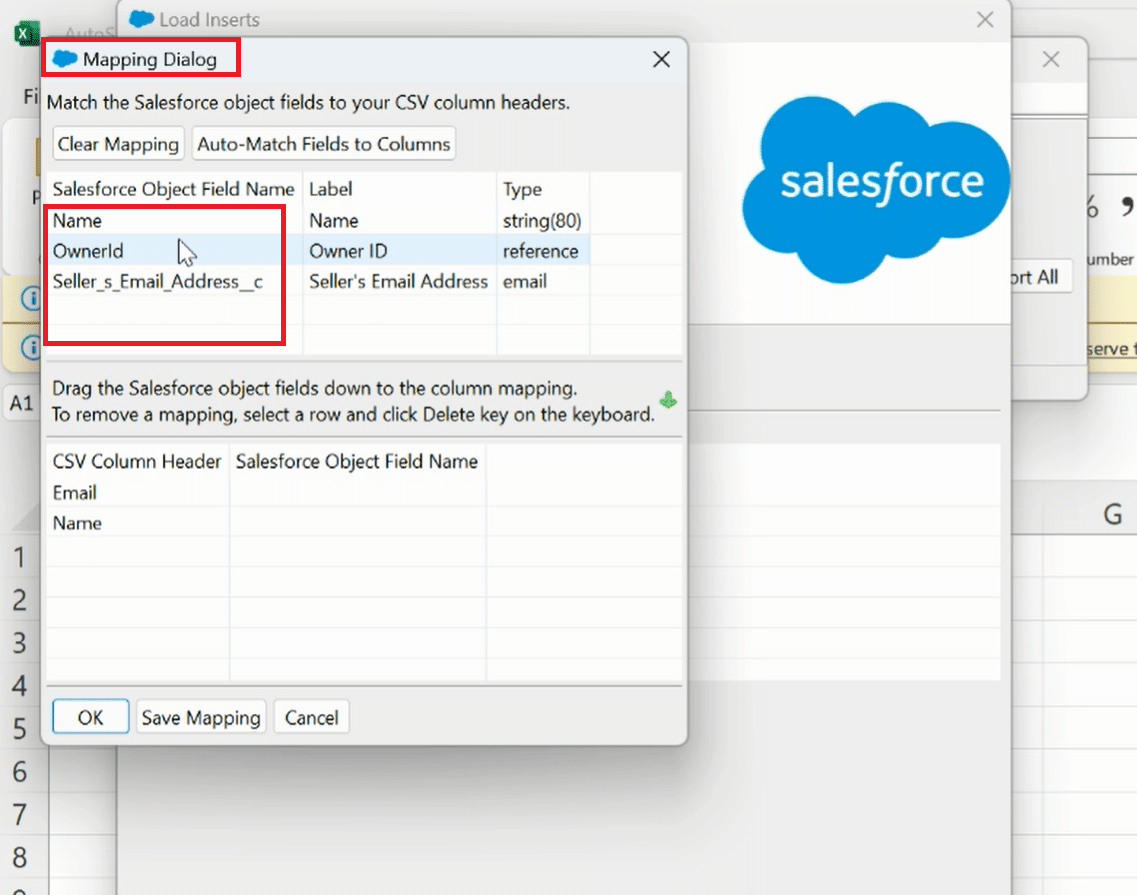
Selecting and Mapping CSV File
After selecting your CSV file, Data Loader will require you to map the columns from your file to their corresponding fields in Salesforce.
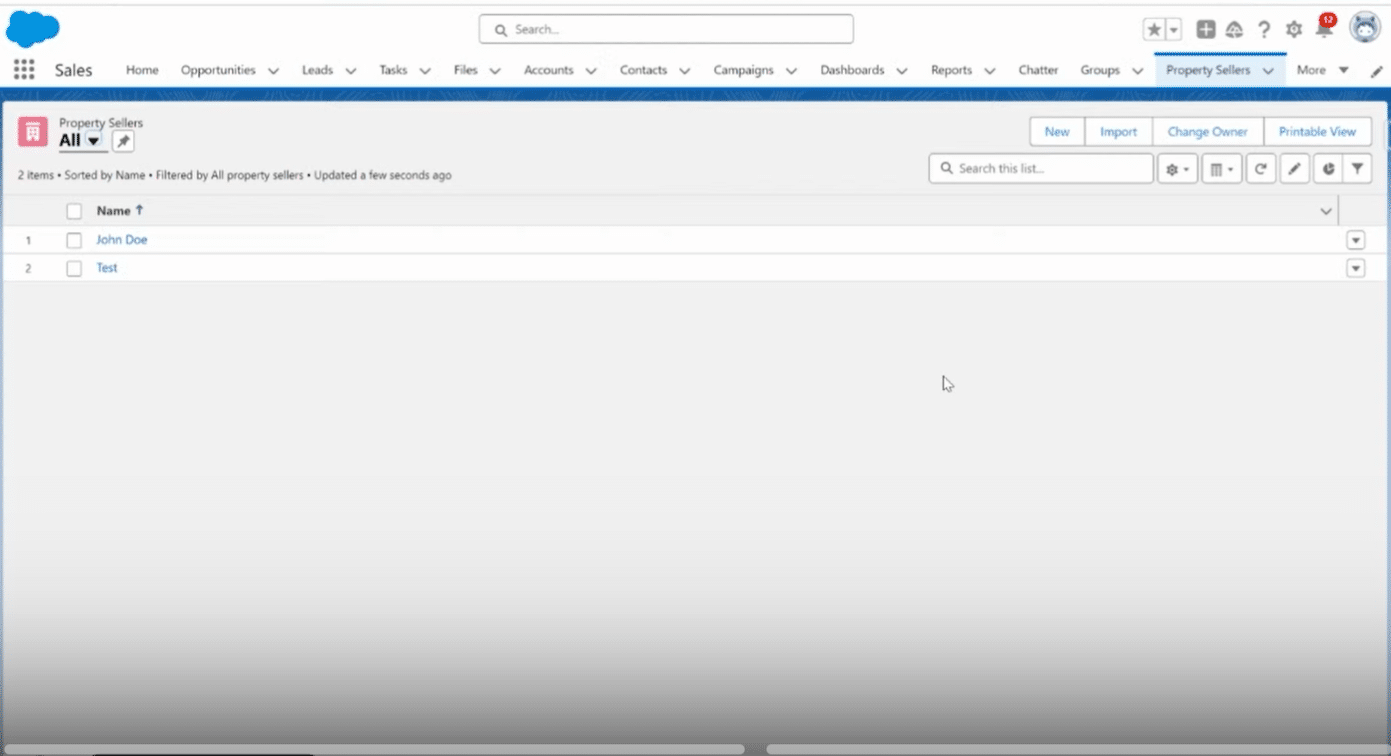
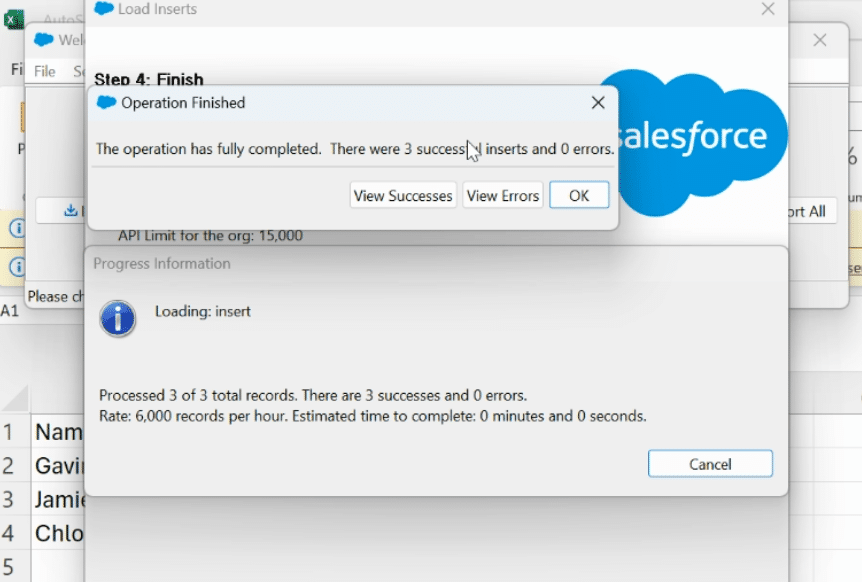
Verifying Data Upload in Salesforce
The final step involves returning to Salesforce and refreshing the page where your custom object records are displayed. This refresh should reveal the newly added records, confirming a successful data import.
Utilizing Excel for Enhanced Forecasting
Excel’s PivotTables and Forecast Sheet features enable sophisticated analysis of Salesforce data. For example, PivotTables can summarize large datasets, providing a clear view of sales trends, while the Forecast Sheet creates predictive models based on historical data.
Re-importing Forecast Data into Salesforce
While exporting data from Salesforce to Excel is straightforward, re-importing manipulated data requires more care. Evaluate Salesforce AppExchange solutions for tools that can streamline this process, maintaining data integrity and automating workflows.
Conclusion
Mastering the export of campaign members from Salesforce heralds a new epoch of strategic data analysis and management.
Take a decisive step towards augmenting your Salesforce journey by incorporating Coefficient into your toolkit. Begin your transformative journey with Coefficient today.


