Read the following guide to learn how to insert multiple rows in Google Sheets quickly and easily.
Inserting one or more rows in Google Sheets is fairly straightforward. However, adding many rows to various parts of your spreadsheet is often tedious and time-consuming, especially when you have a large dataset.
That’s why you need to learn the basic and advanced methods for inserting rows into Google Sheets side-by-side.
This guide will show you how to streamline the process of inserting multiple rows in Google Sheets, based on examples, walkthroughs, and tips
Video Walkthrough: How to Insert Multiple Rows into Google Sheets
How to Insert Multiple Rows in Google Sheets: All the Top Methods
Before showing how to insert multiple rows in Google Sheets, let’s learn how to insert a single row above or below existing rows in your spreadsheet.
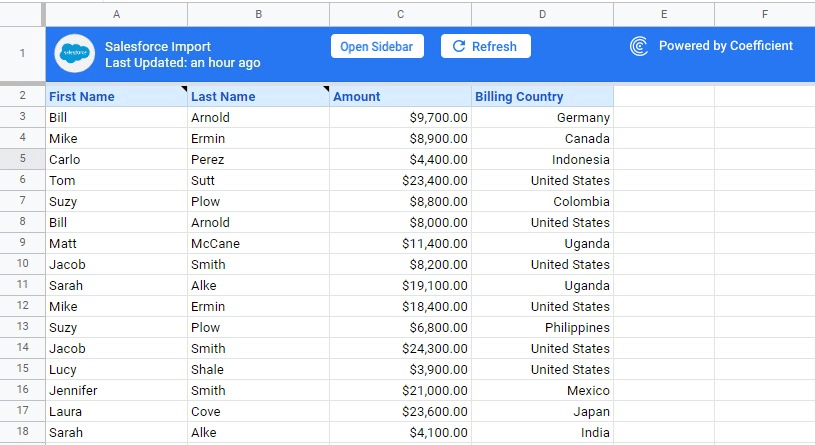
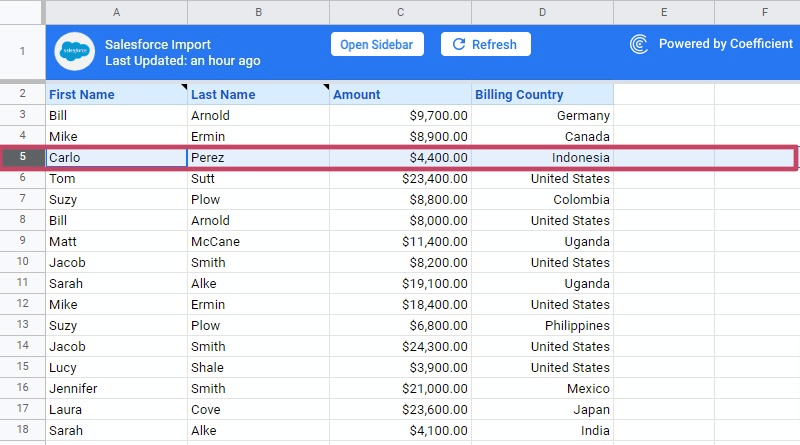
First, let’s acquire a sample dataset. For this example, let’s import real-time Salesforce data into Google Sheets using Coefficient.
Read our How to Connect Salesforce to Google Sheets blog for a full walkthrough of the process.
Now we have a dataset to work with, so back to our main topic. There are two ways to insert a single row in Google Sheets.
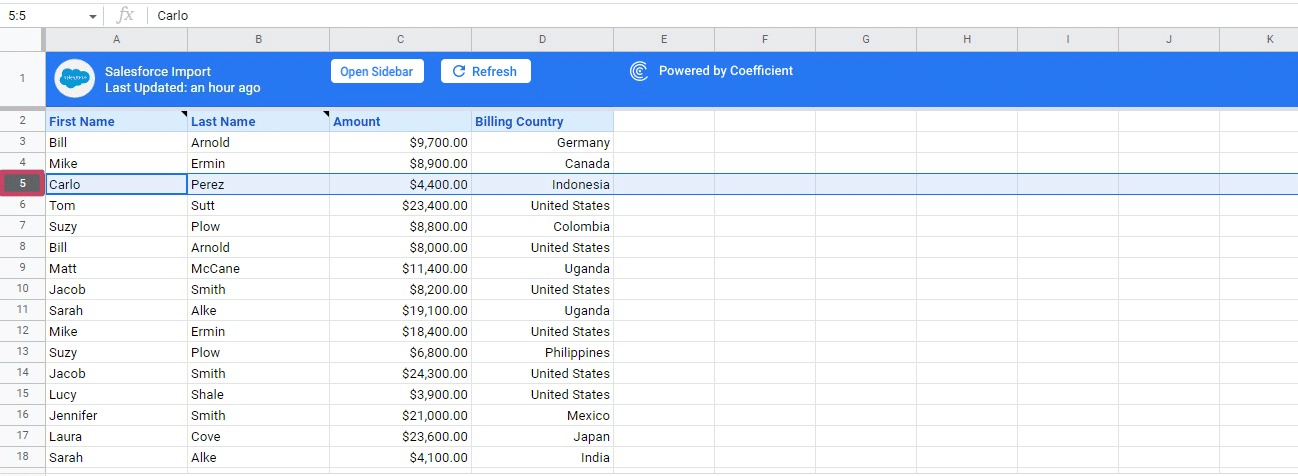
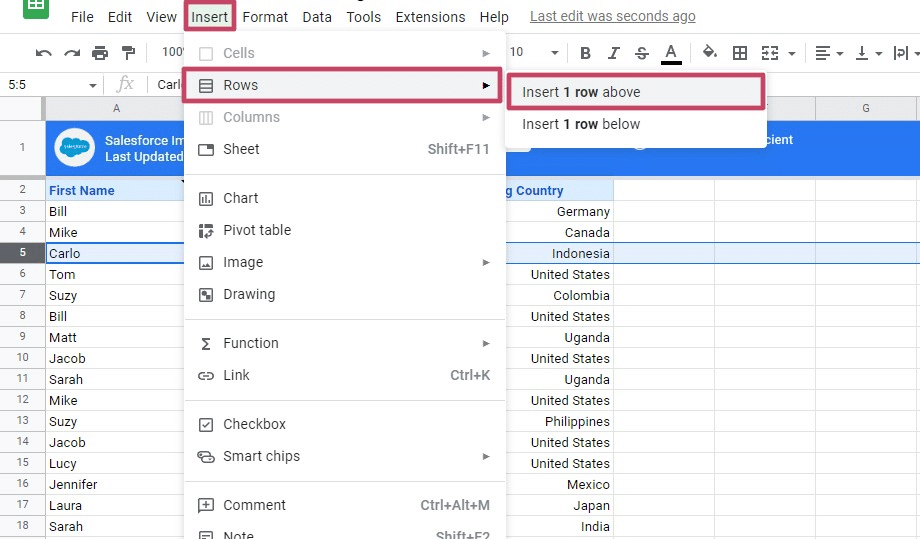
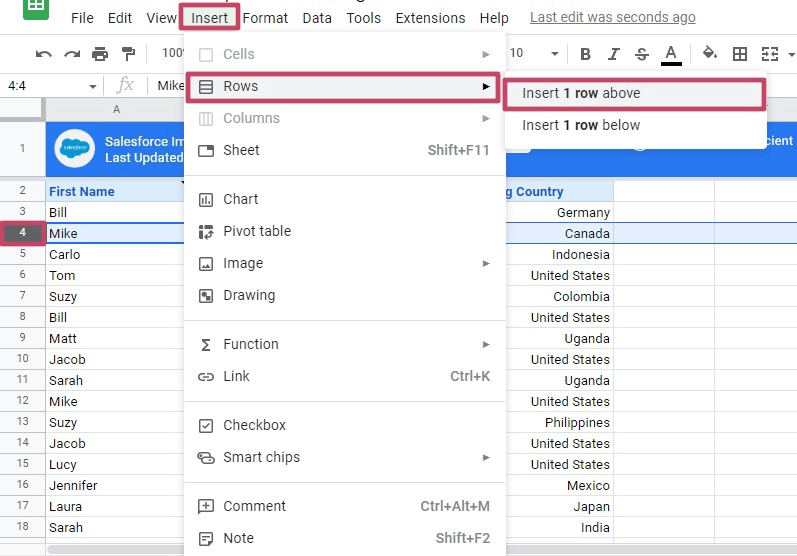
The first method is to use the Insert tab. To start, click the row header to select the entire 5th row.
Now click the Insert tab on the top menu of Google Sheets. Select Rows from the drop-down menu and Insert 1 row above.
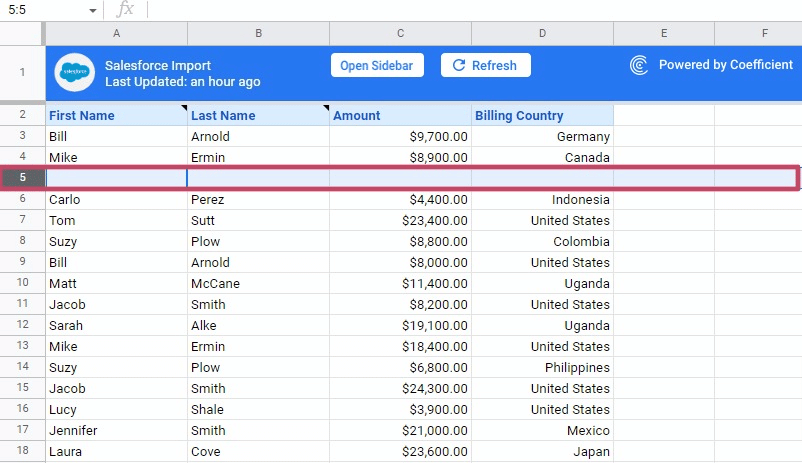
This inserts one blank row above the 5th row. Your selected row is now the 6th row, as shown below.
You can follow the same steps to insert one row below your selected row. Simply choose Insert 1 row below.
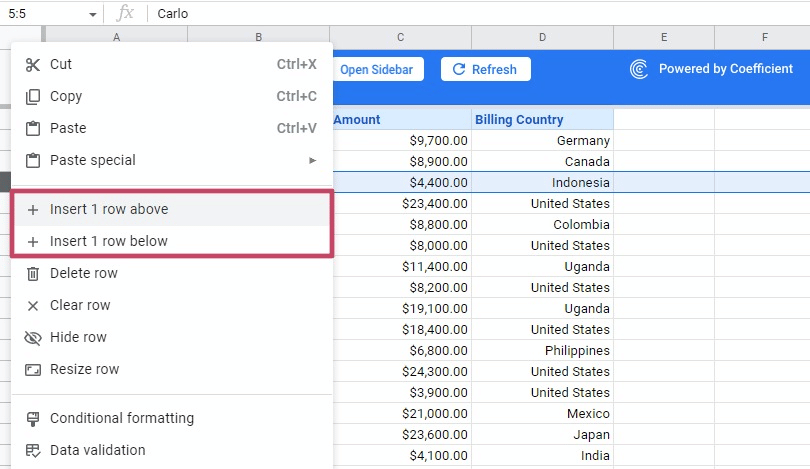
The second method to insert a row is the right-click menu option.
Right-click on a row. Click Insert 1 row above or Insert 1 row below to add a row.
Now that you know the basics of inserting a single row, let’s learn how to insert multiple rows into Google Sheets.
1. The Insert Menu
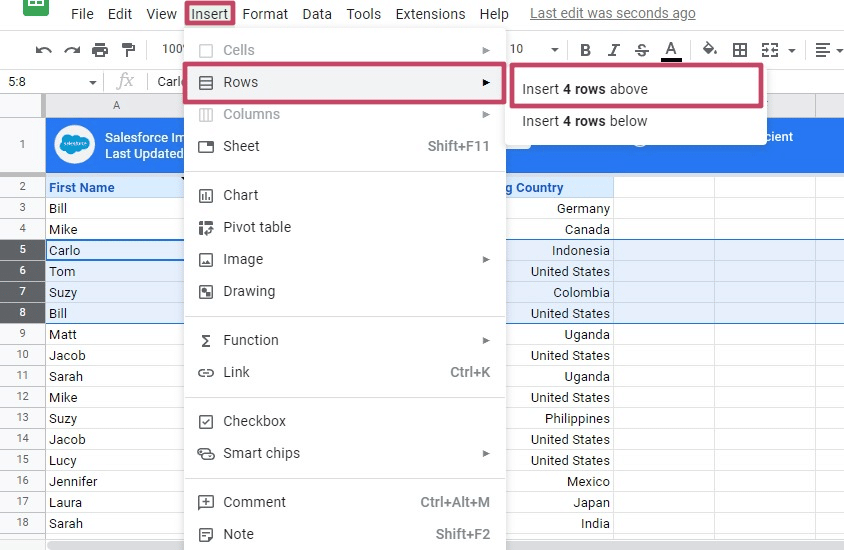
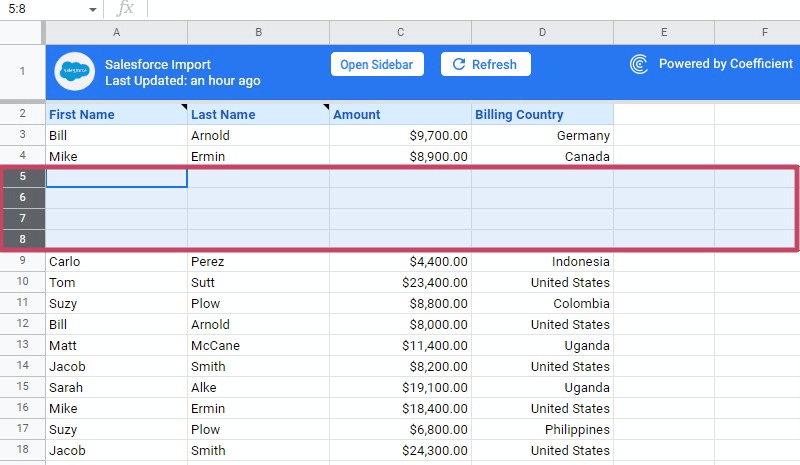
In this example, let’s add four rows above the 5th row. We’ll use the dataset from the previous example.
To do this, select four row headers, starting from the 5th row (rows five to eight).
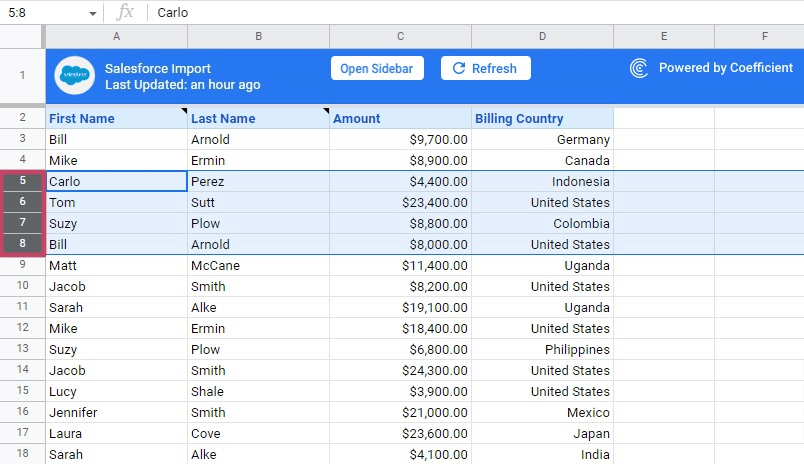
Click the Insert menu tab, then Rows. Google Sheets automatically detects that you want to add the same number of rows.
Click Insert 4 rows above.
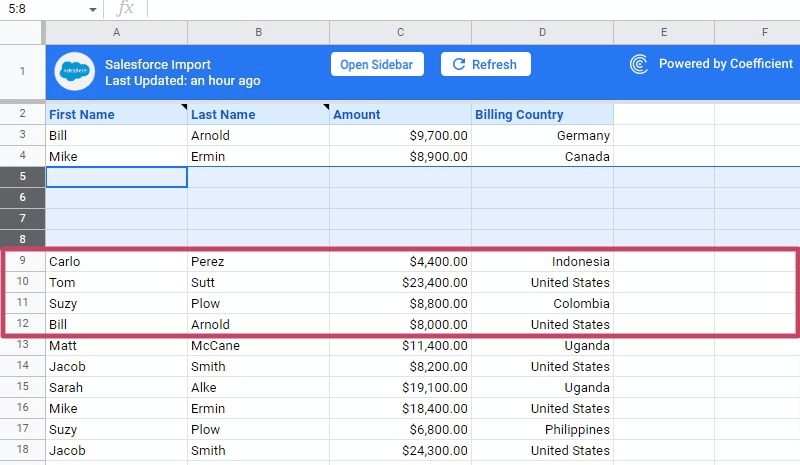
Inserting more than one row this way adds the same number of blank rows as the number of rows you’ve selected.
The original rows five to eight now appear in rows nine to twelve.
Follow the same steps but choose Insert four rows below to add multiple blank rows below your selected rows.
As another option, you can also copy four blank rows and paste them between your desired rows.
2. The Right Click Menu
Another way to insert multiple rows in Google Sheets is to use the right-click menu.
Let’s leverage the same dataset from the previous example to insert four rows below row five.
Select header rows five to eight. Hold down the Shift key to select each row.
Right-click the highlighted rows to display the menu below:
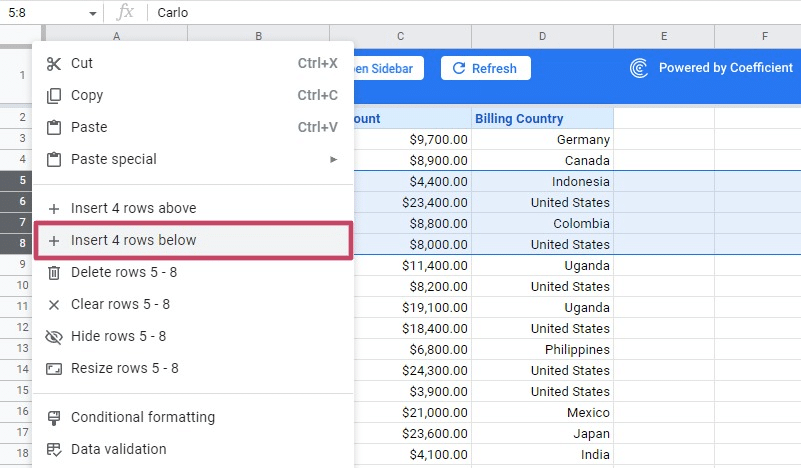
Select Insert 4 rows below. Google Sheets will add four blank rows below your selection.

The right-click menu offers a faster way to insert multiple rows in Google Sheets than the Insert menu tab.
3. The Keyboard Shortcut
The F4 key makes it easier to insert multiple rows into non-contiguous rows.
For instance, instead of selecting rows four, seven, and nine and individually adding rows above each one, you can simply use the F4 keyboard shortcut.
While using the F4 key won’t insert the new rows simultaneously, it can speed up the process with these steps:
- Click row header four and insert a row above using the Insert menu tab.
- Click row seven and hit the F4 key to instantly insert a new row above. Do the same with row nine.
You can use the same shortcut key (F4) on Mac to insert new rows. The F4 key repeats your last action (in this case, inserting a new row above your selected row), creating a shortcut to add a new row.
That’s how you can insert multiple rows into non-contiguous rows quickly with a keyboard shortcut. This method is much faster than manually selecting each row and adding new ones above.
4. The Macros Feature
The Google Sheets macros feature can function like the F4 key. However, while F4 only saves your last action in Google Sheets, macros allow you to record and repeat a broader set of actions.
Here’s how to leverage macros to insert multiple rows in Google Sheets:
- Go to Extensions on the Google Sheets menu and click Macros > Record Macro.
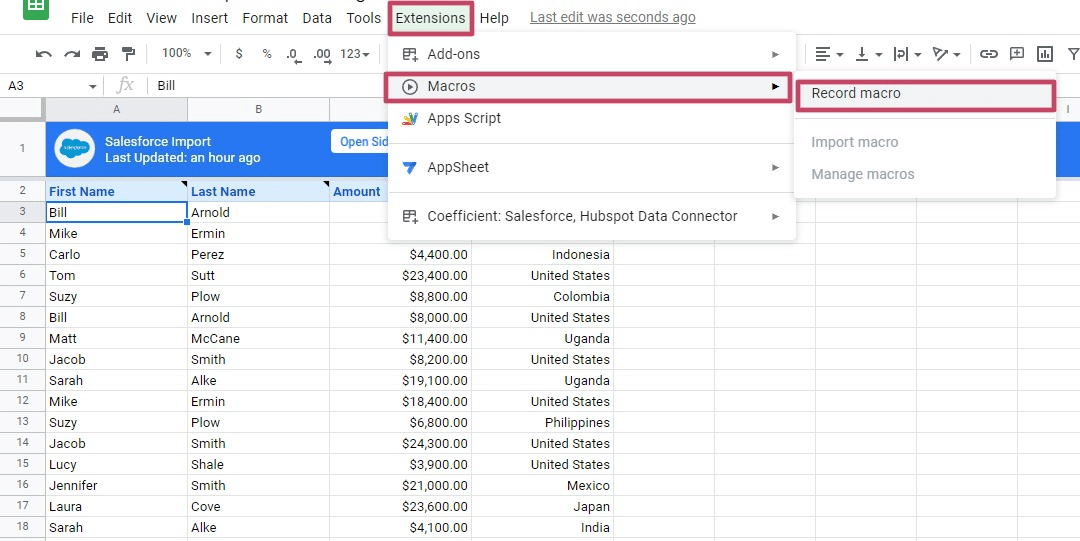
A dialog box will appear on your screen to show that you’re recording a new macro.
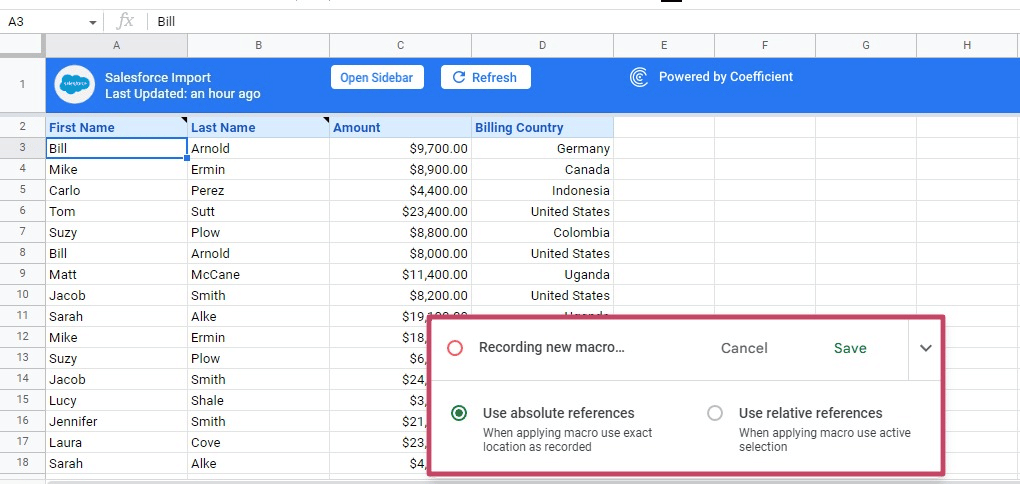
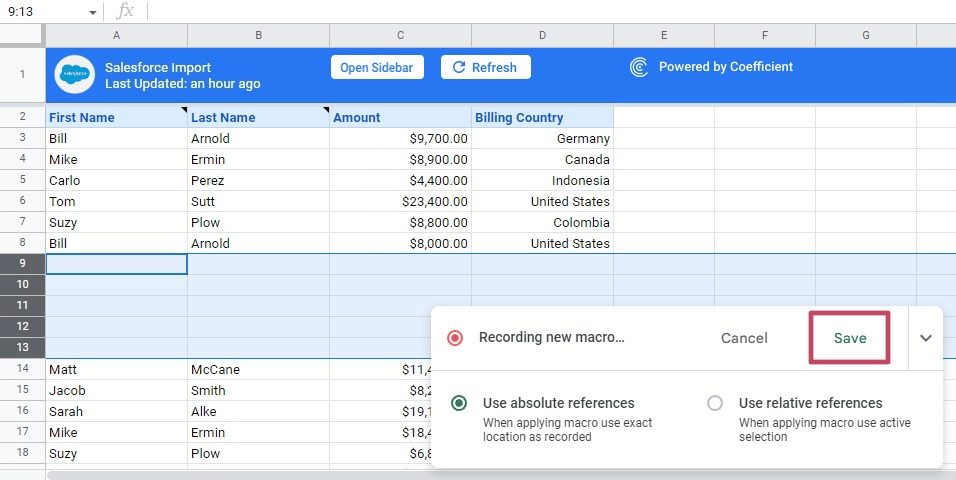
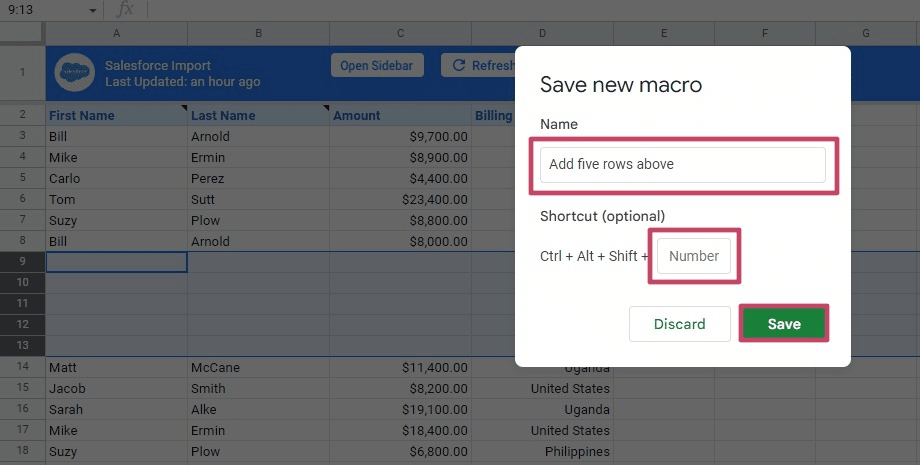
If you add rows, macros will record the action. For instance, let’s add five rows above the ninth row and click Save on the dialog box.

Supercharge your spreadsheets with GPT-powered AI tools for building formulas, charts, pivots, SQL and more. Simple prompts for automatic generation.

Now name your recording. You can also create a shortcut for your recorded action by assigning a number. Click the Save button when you’re done.
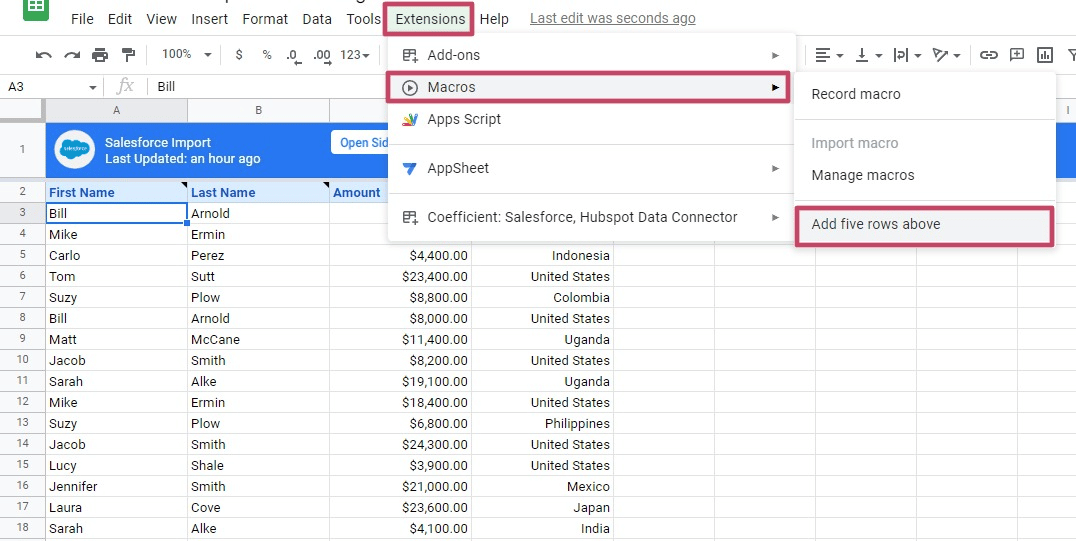
You can launch your macro from the Extensions top menu. Hover your mouse over Macros on the drop-down list and select your recorded action.
Click Continue and follow the prompts to authorize the macro script.
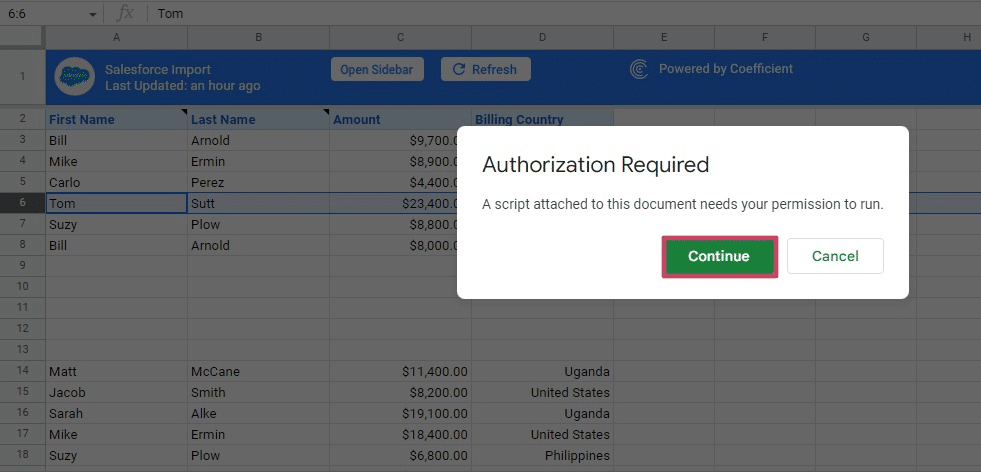
After authorizing the script, return to the Extensions menu tab and click the macro to execute it. When the script is complete, you will see a “Finished script” notification, meaning the macro has executed the recorded actions.
In this example, five more rows were added to the spreadsheet. Using macros can make it easier to add multiple rows in bulk.
5. Additional Method: Insert Multiple Rows at the Bottom of Google Sheets
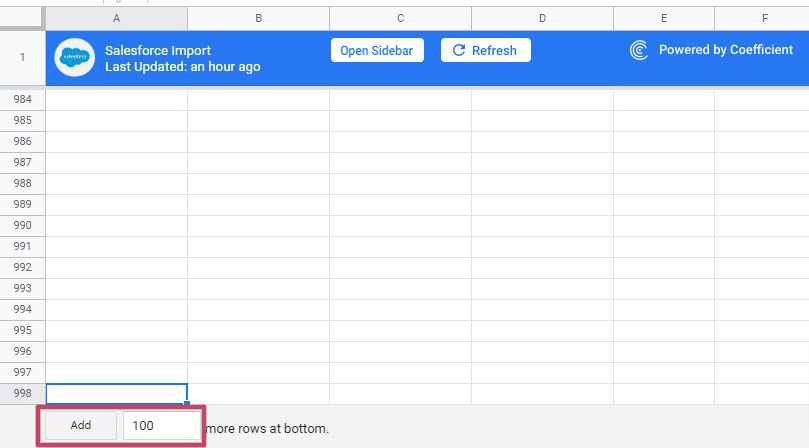
Google Sheets provides 1,000 rows by default. You can easily add more rows to the bottom of your spreadsheet by doing the following:
- Press ctrl+down arrow on Windows (cmd+down arrow on Mac) to navigate to the bottom row of your spreadsheet.
- Press the down arrow again to display the option to add more rows.
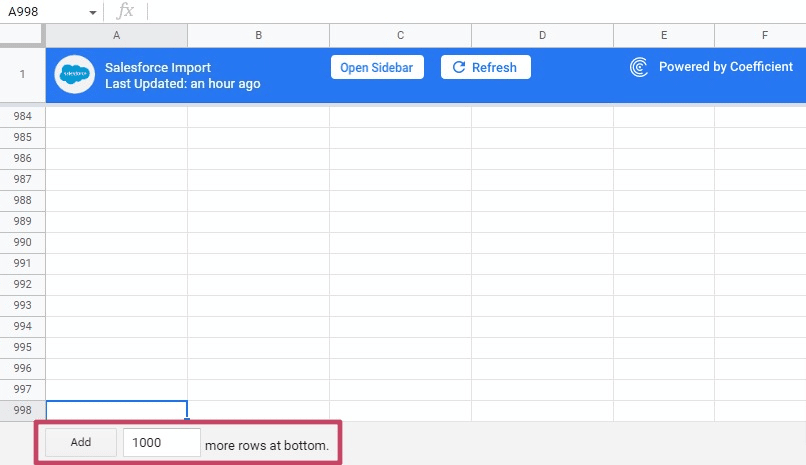
Add as many rows as you want (up to five million rows). Let’s add 100 more rows and click Add.
The additional rows are added to the bottom of your spreadsheet instantly. It’s one of the simplest ways to expand the number of rows in your spreadsheet, especially for large datasets.
How to Delete and Clear Rows in Google Sheets
The spreadsheet giveth, and the spreadsheet taketh away. Inserting rows in Google Sheets is easy, and so is deleting them. Here’s how to remove rows efficiently.
Select the rows you want to remove. Then right-click on your mouse and select the delete option.
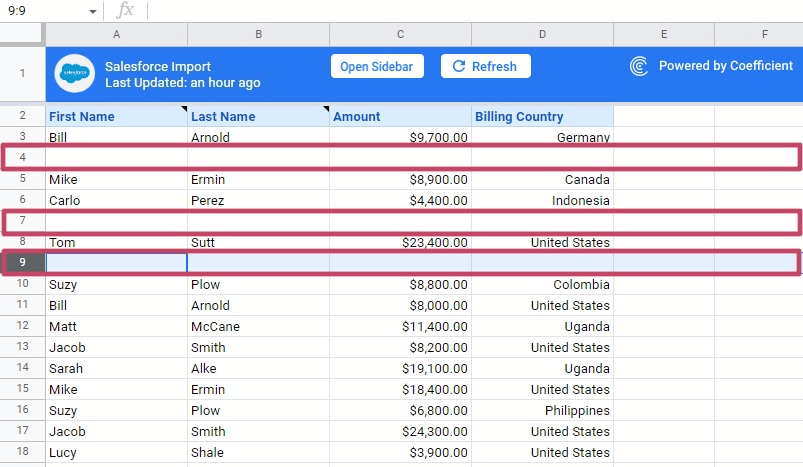
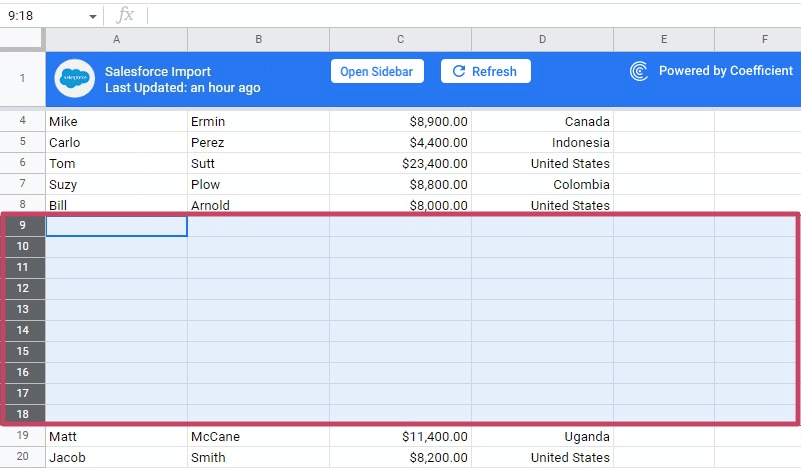
For example, let’s say you want to remove the ten blank rows (nine to eighteen) in the table below.
Select the rows and right-click. Click Delete rows 9 – 18 to remove the select rows.
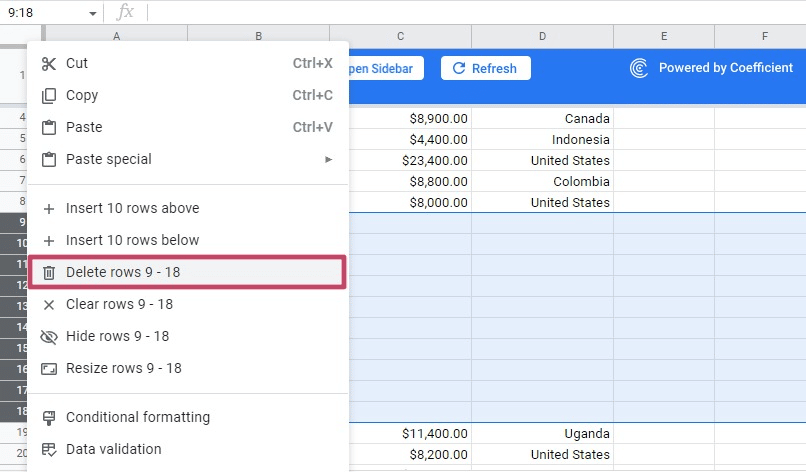
If you only want to remove the values or content within your rows without deleting them, select Clear rows 9 – 18.
Leverage AI to Build Faster in Google Sheets
As you can see, even with a process as relatively simple as adding rows, there are more than just a few ways to make this happen in Google Sheets. A crazier fact? There are over 500 Google Sheets functions that exist today, which make almost anything you can dream up possible in Google Sheets. And, spreadsheet skills are useful for almost any profession.
However, it takes time to master formulas, functions, pivots, and charts. A simple way to get ahead? You can use Coefficient’s free GPT Copilot to generate most of what you can think up in Google Sheets with simple prompts.
First, you’ll need to install the free Google Sheets Extension. You can get started with Coefficient here.
After you submit your email, follow along, and accept the prompts to install. Once the installation is finished, navigate to Extensions on the Google Sheets menu. Coefficient will be available as an add-on.
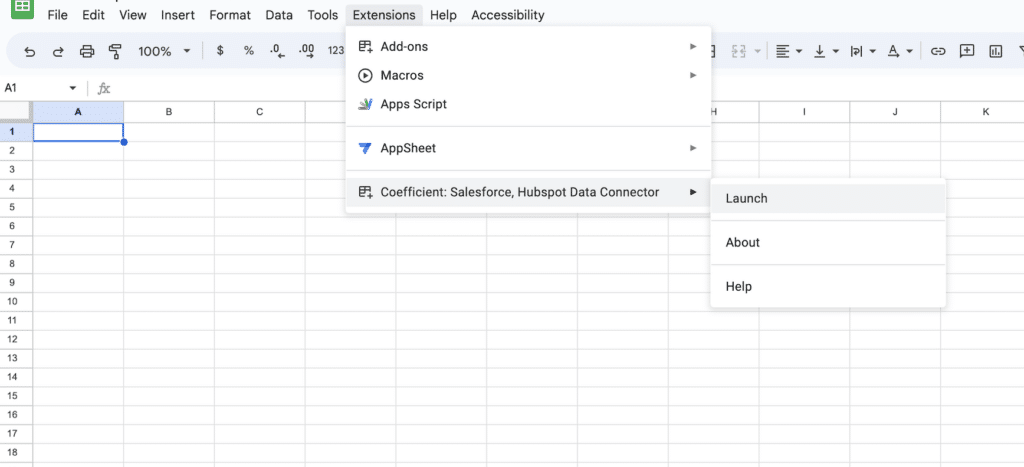
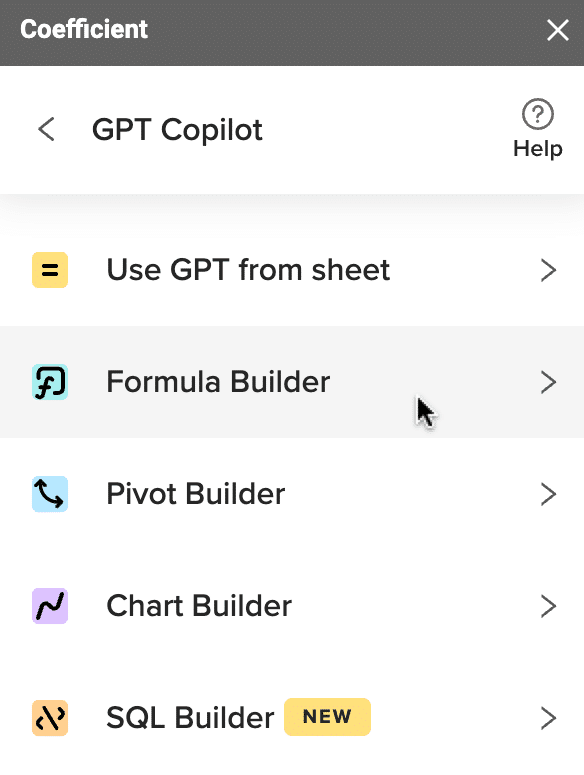
Now launch the app. Coefficient will run on the sidebar of your Google Sheet. Select GPT Copilot on the Coefficient sidebar.

In this example, let’s use Formula Builder.
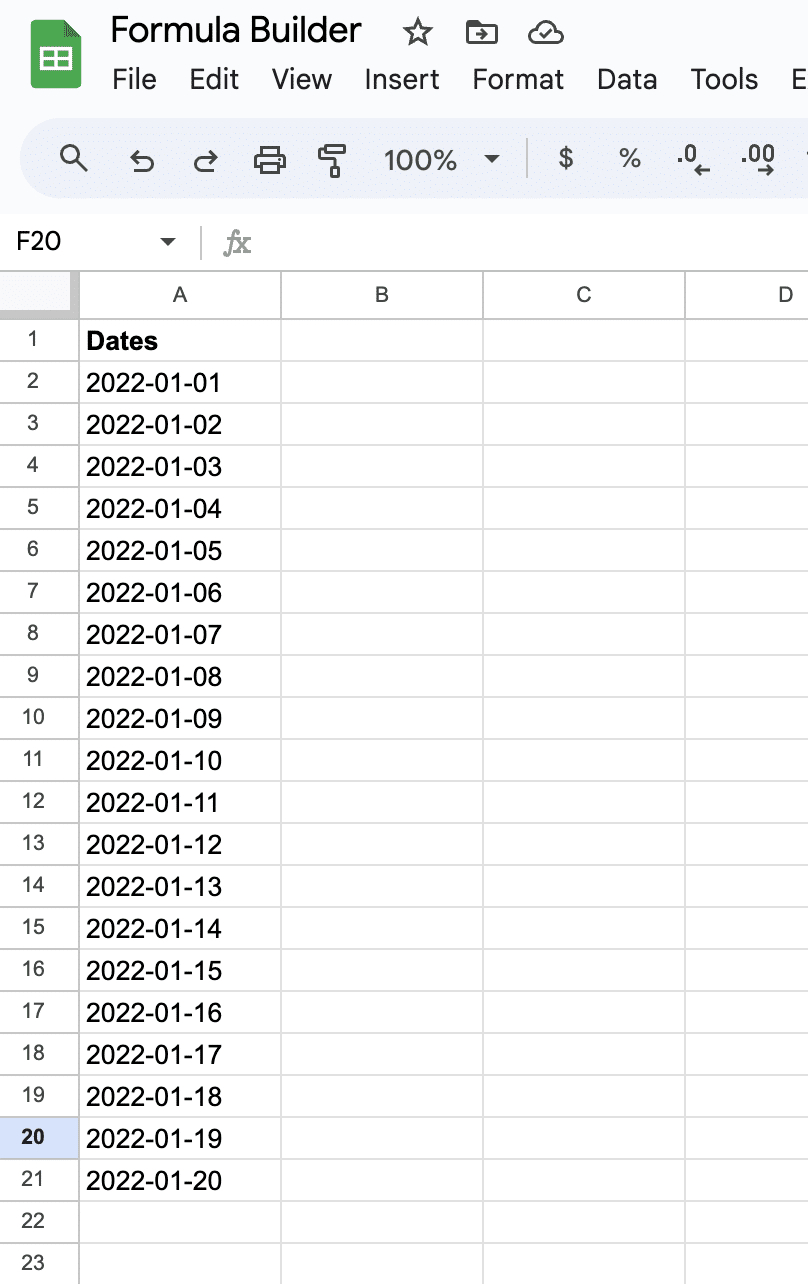
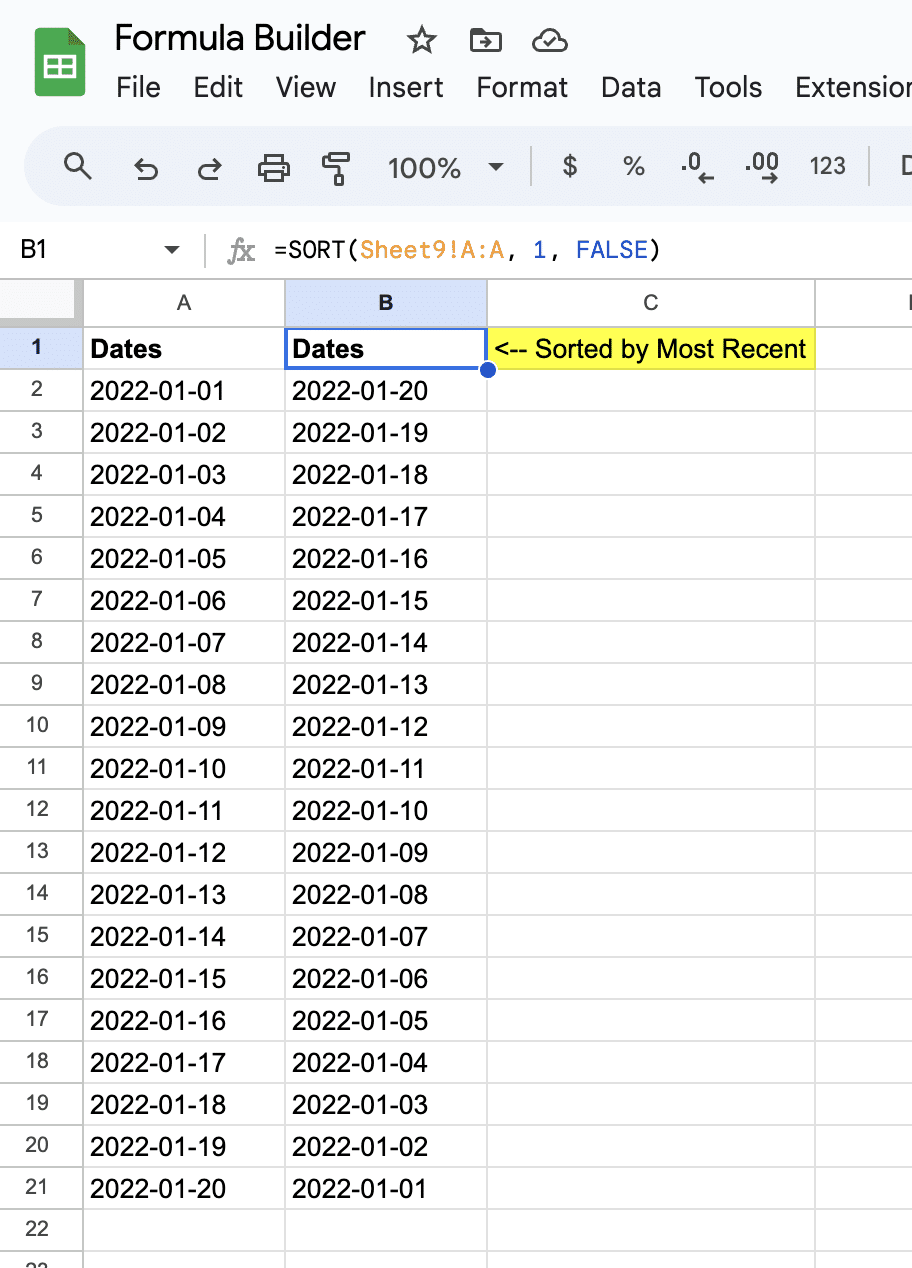
Type a description of a formula into the text box. For a simple example, let’s sort 20 dates starting with the most recent date.
Simply type: Sort dates in column A in sheet9 by most recent date.
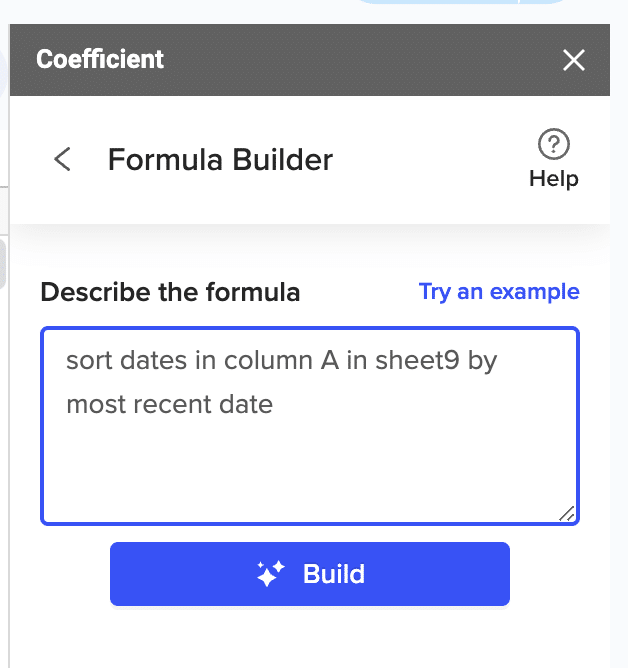
Then press ‘Build’. Formula Builder will automatically generate your sort formula.
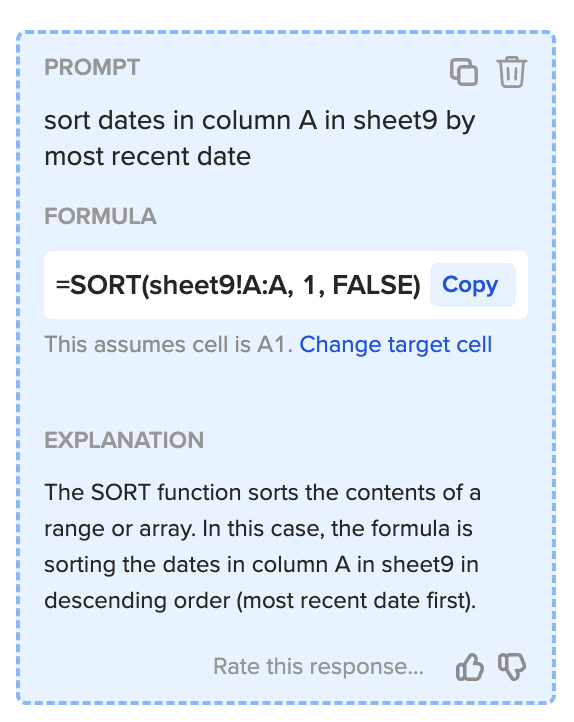
GPT Copilot really is that easy! Simply, place the formula in the desired cell.
Inserting Multiple Rows in Google Sheets: Choose a Method, and Learn Shortcuts
Inserting multiple rows into Google Sheets isn’t difficult. But you need to know the best methods and shortcuts to streamline your spreadsheet workflows. That’s why the methods outlined in this guide come in handy. They work as one off solutions, but they can also help eliminate manual spreadsheet tasks.
And now you can make your work even more efficient by automatically importing real-time data into Google Sheets with Coefficient. Try Coefficient for free now to build live dashboards and reports in Google Sheets based on your business data.