Connecting Tableau to Salesforce can significantly improve your data analytics and decision-making processes.
This blog will discuss three methods for integrating Tableau with Salesforce: using Coefficient, Tableau Connector for Salesforce, and CRM Analytics. Each method caters to different use cases, ensuring you find the perfect solution for your needs.
Advantages of Connecting Tableau to Salesforce
- Enhance data visualization: Use Tableau to create interactive dashboards and reports based on Salesforce data for better insights and decision-making.
- Streamline reporting processes: Automate the transfer of Salesforce data to Tableau, reducing manual effort and ensuring data accuracy.
- Democratize data access: Enable business users to explore and analyze Salesforce data in Tableau without relying on IT or data teams.
Connect Tableau to Salesforce: 3 Methods
Connecting Tableau to Salesforce allows organizations to use data visualization and analytics within their CRM. Choose from no-code connectors, direct data connectors, or native analytics platforms to get the insights you need.
| Solution | Best For |
| Coefficient | Business users who want to combine Tableau visualizations with Salesforce data without relying on IT support, enabling enhanced reporting, tracking, and bulk updates. |
| Tableau Connector for Salesforce | Organizations using Tableau as their primary analytics platform, seeking to create interactive, real-time dashboards and reports based on live Salesforce data. |
| CRM Analytics | Salesforce-centric organizations looking to perform advanced analytics and data visualization within the Salesforce ecosystem, embedding Tableau insights directly into Salesforce. |
How to Connect Tableau to Salesforce
Method 1: Coefficient – No-Code, User-Friendly
Coefficient is a powerful tool that offers a no-code solution for integrating Salesforce with various applications, including Tableau.
Pros:
- Simple, no-code setup
- Automatic data updates
- Affordable pricing plans
Cons:
- Scheduled automations are not free forever, but pricing plans are affordable
Step-by-Step Walkthrough:
Step 1. Install Coefficient
For Google Sheets
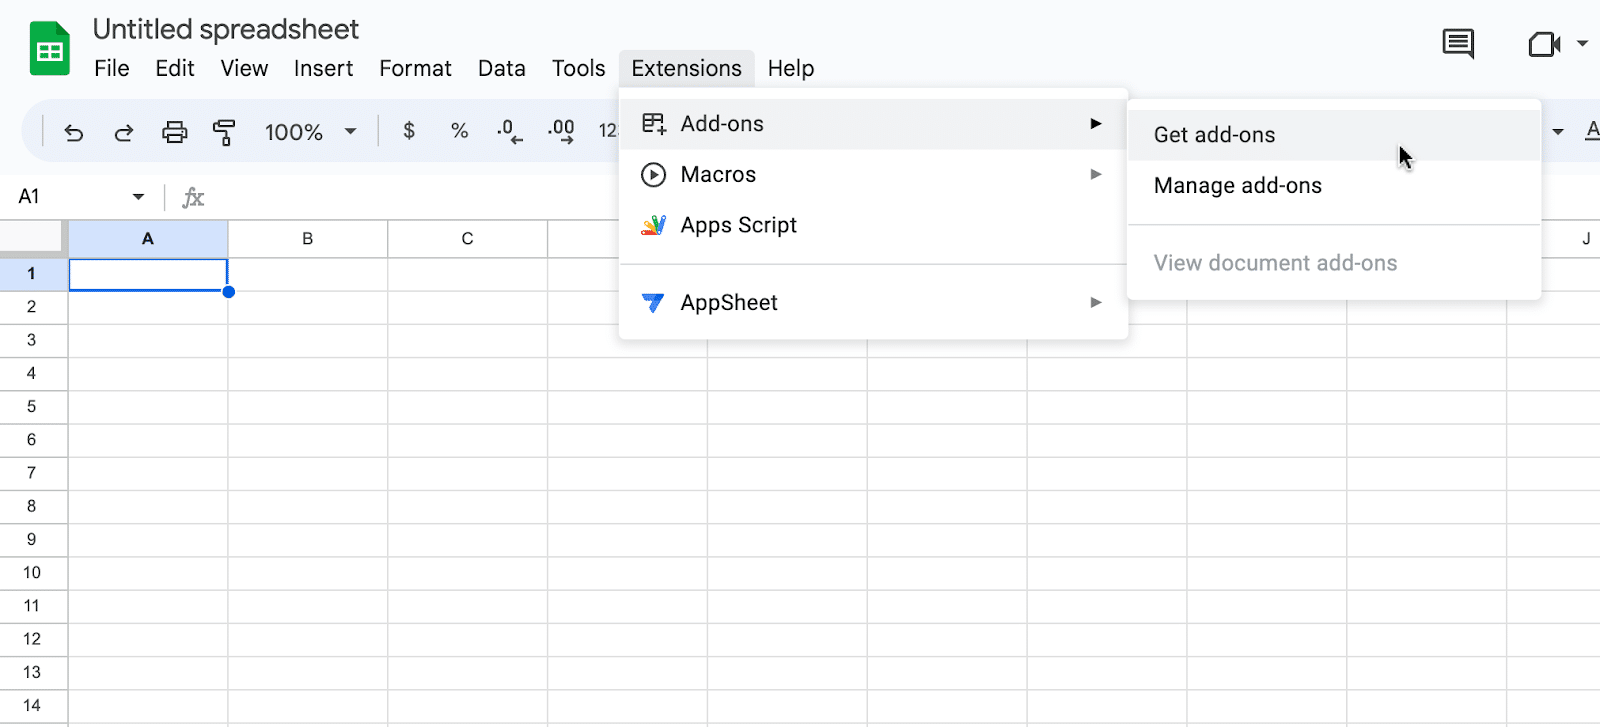
Open a new or existing Google Sheet, navigate to the Extensions tab, and select Add-ons > Get add-ons.
In the Google Workspace Marketplace, search for “Coefficient.”
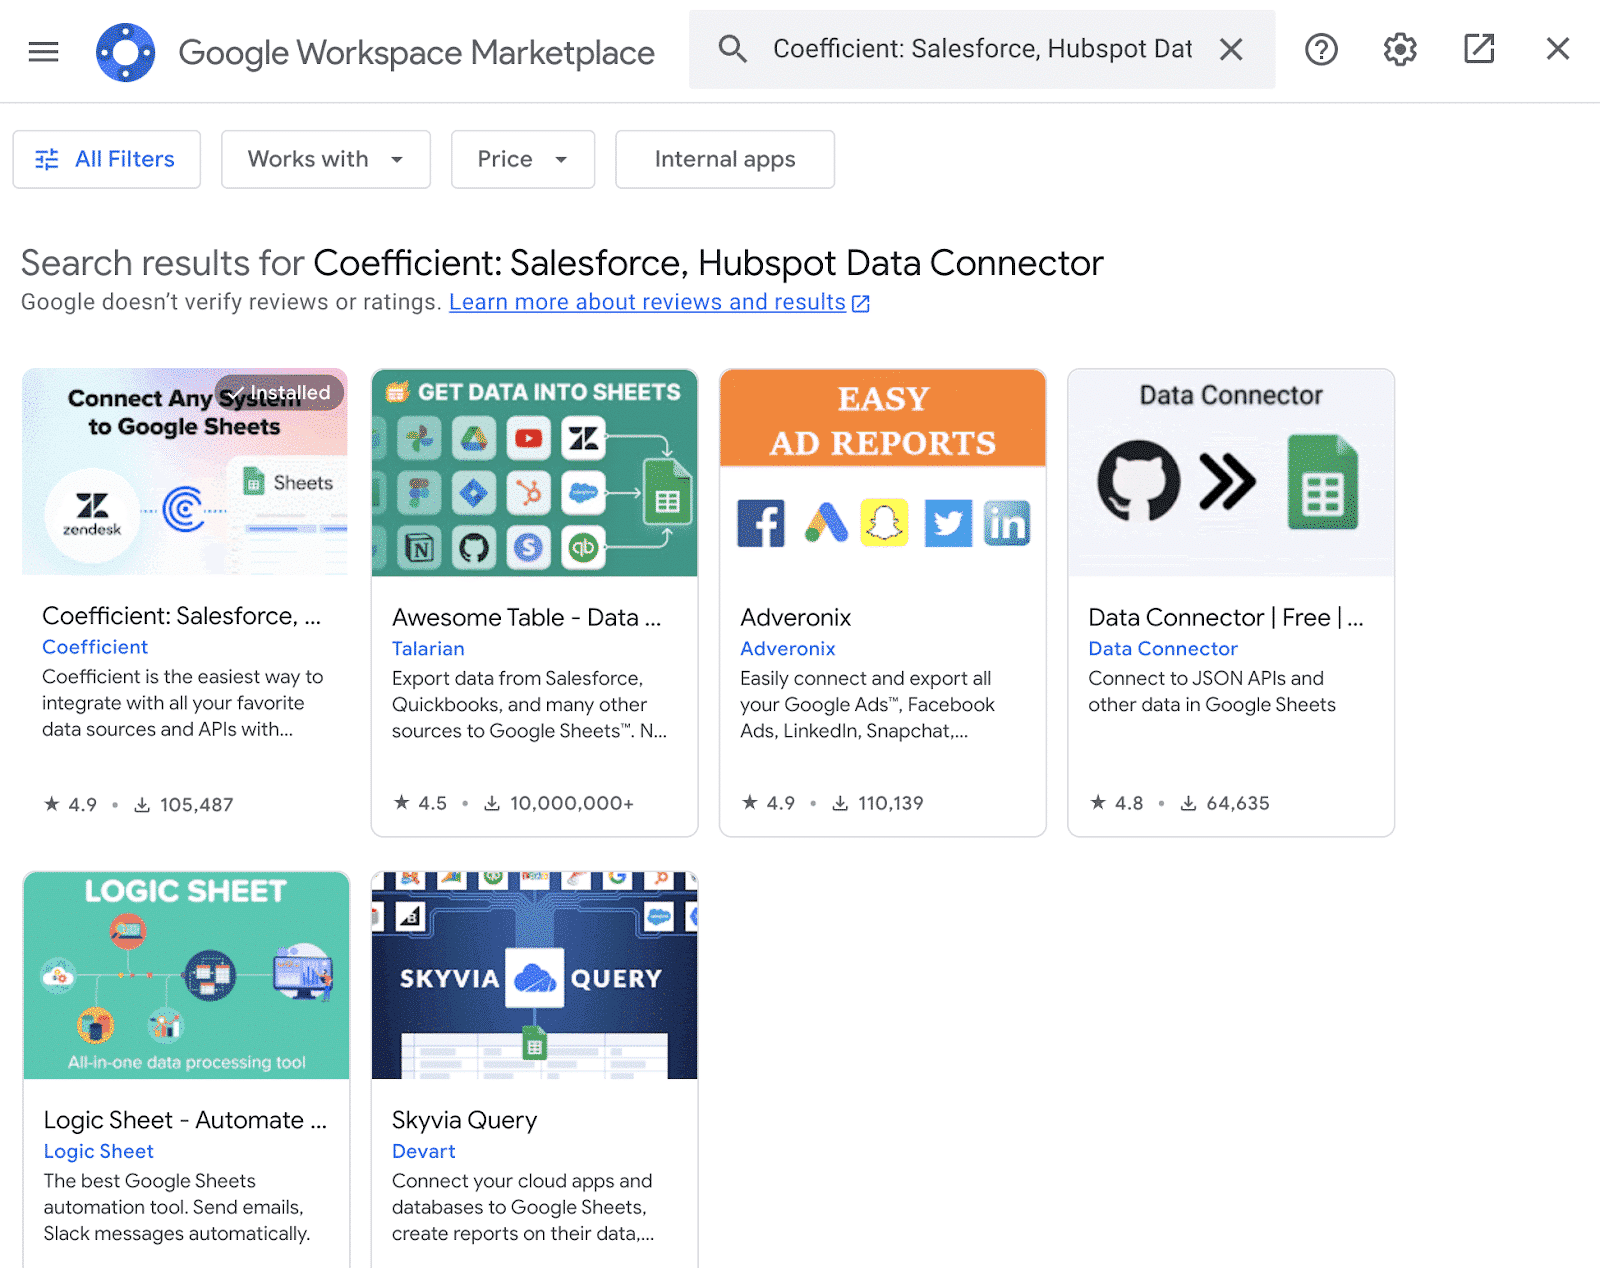
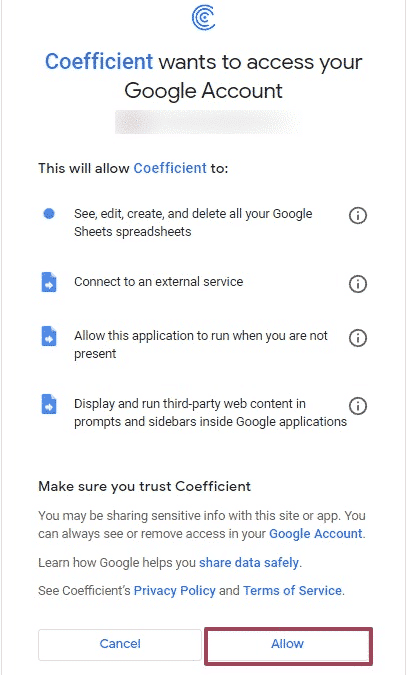
Follow the prompts to grant necessary permissions.
Launch Coefficient from Extensions > Coefficient > Launch.
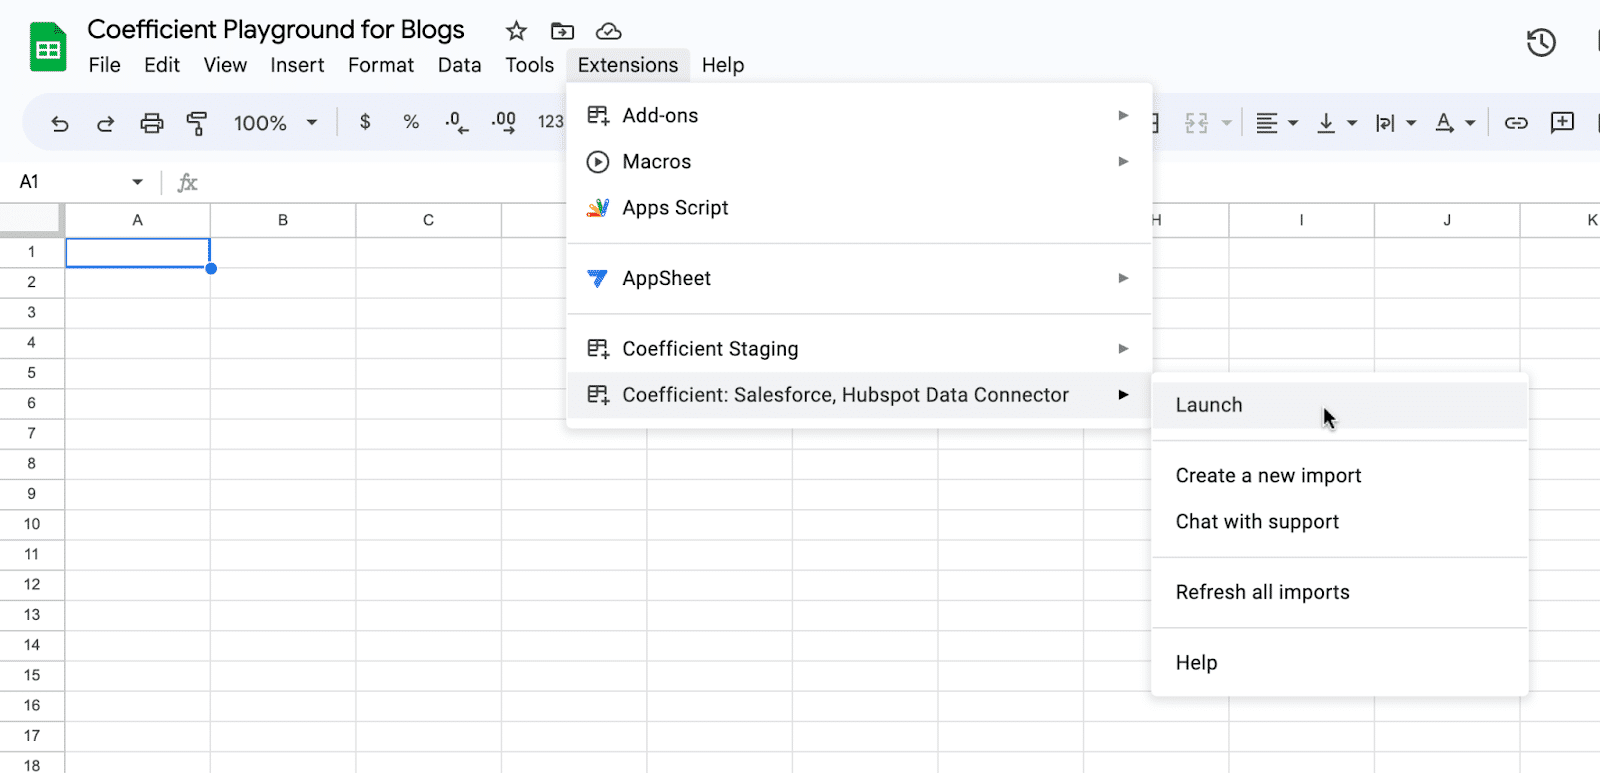
Coefficient will open on the right-hand side of your spreadsheet.

For Microsoft Excel
Open Excel from your desktop or in Office Online. Click ‘File’ > ‘Get Add-ins’ > ‘More Add-Ins.’
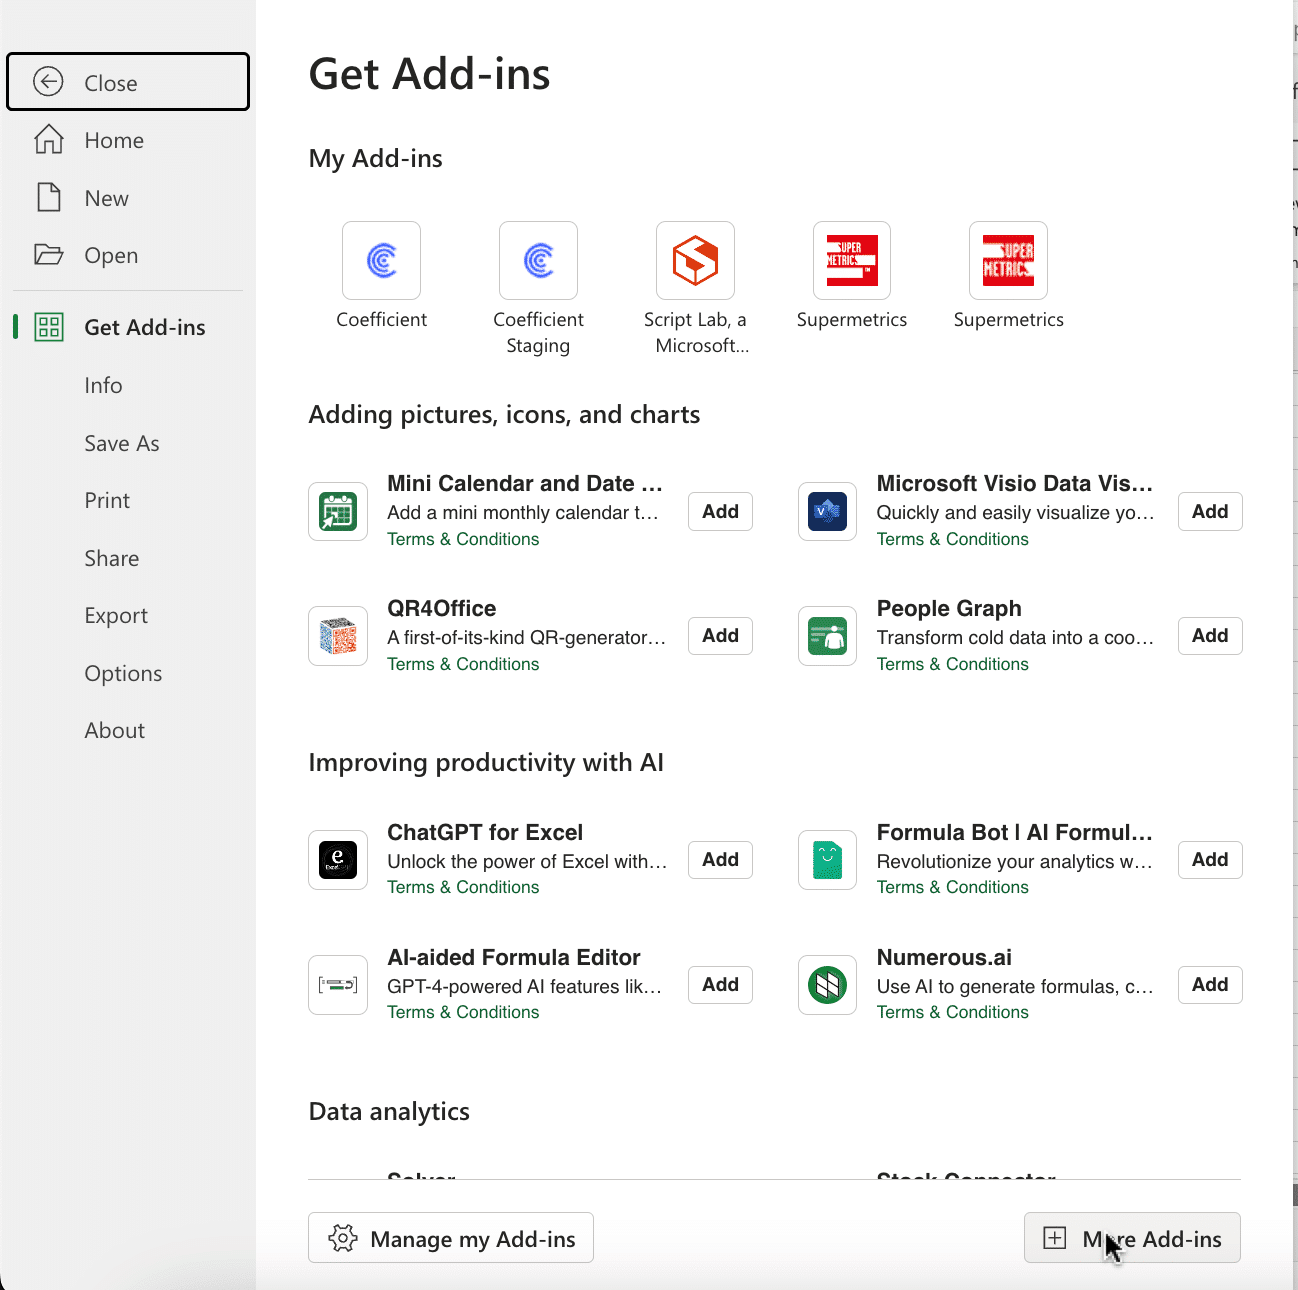
Type “Coefficient” in the search bar and click ‘Add.’
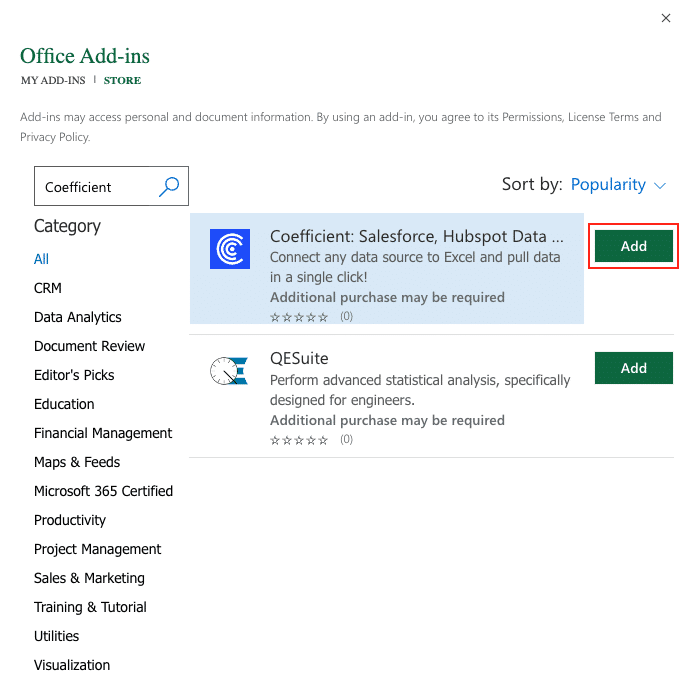
Follow the prompts in the pop-up to complete the installation.
Once finished, you will see a “Coefficient” tab in the top navigation bar. Click ‘Open Sidebar’ to launch Coefficient.
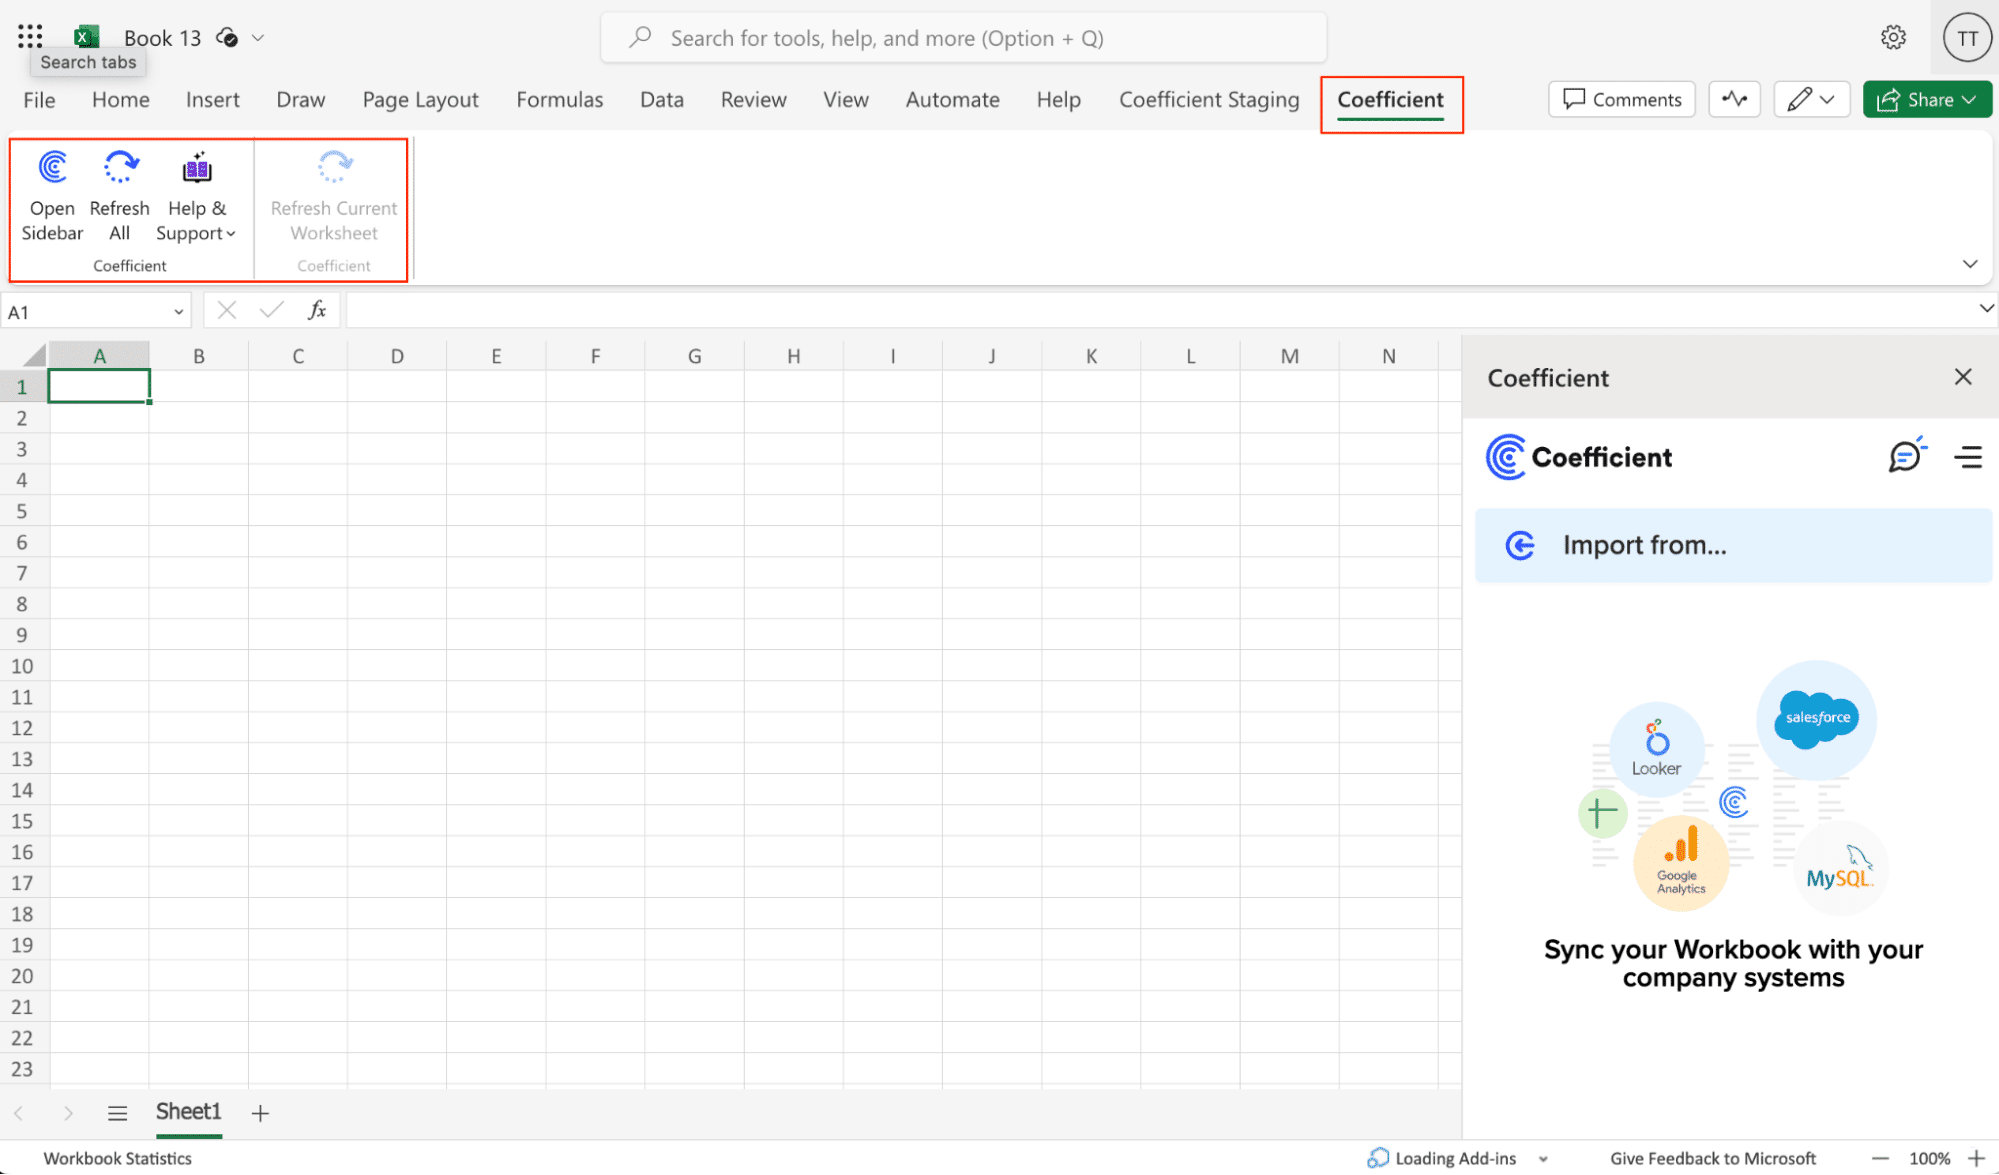
Step 2. Import Tableau Data into Your Spreadsheet
Select ‘Import from…’
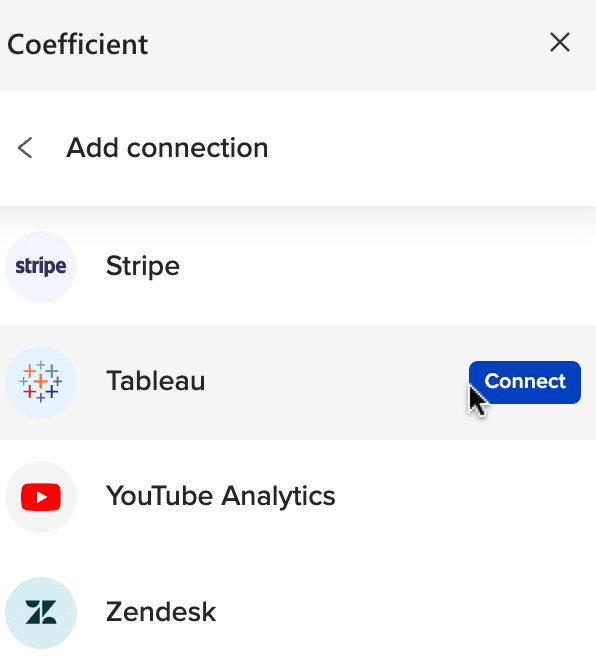
Scroll down until you see Tableau and click ‘Connect.’
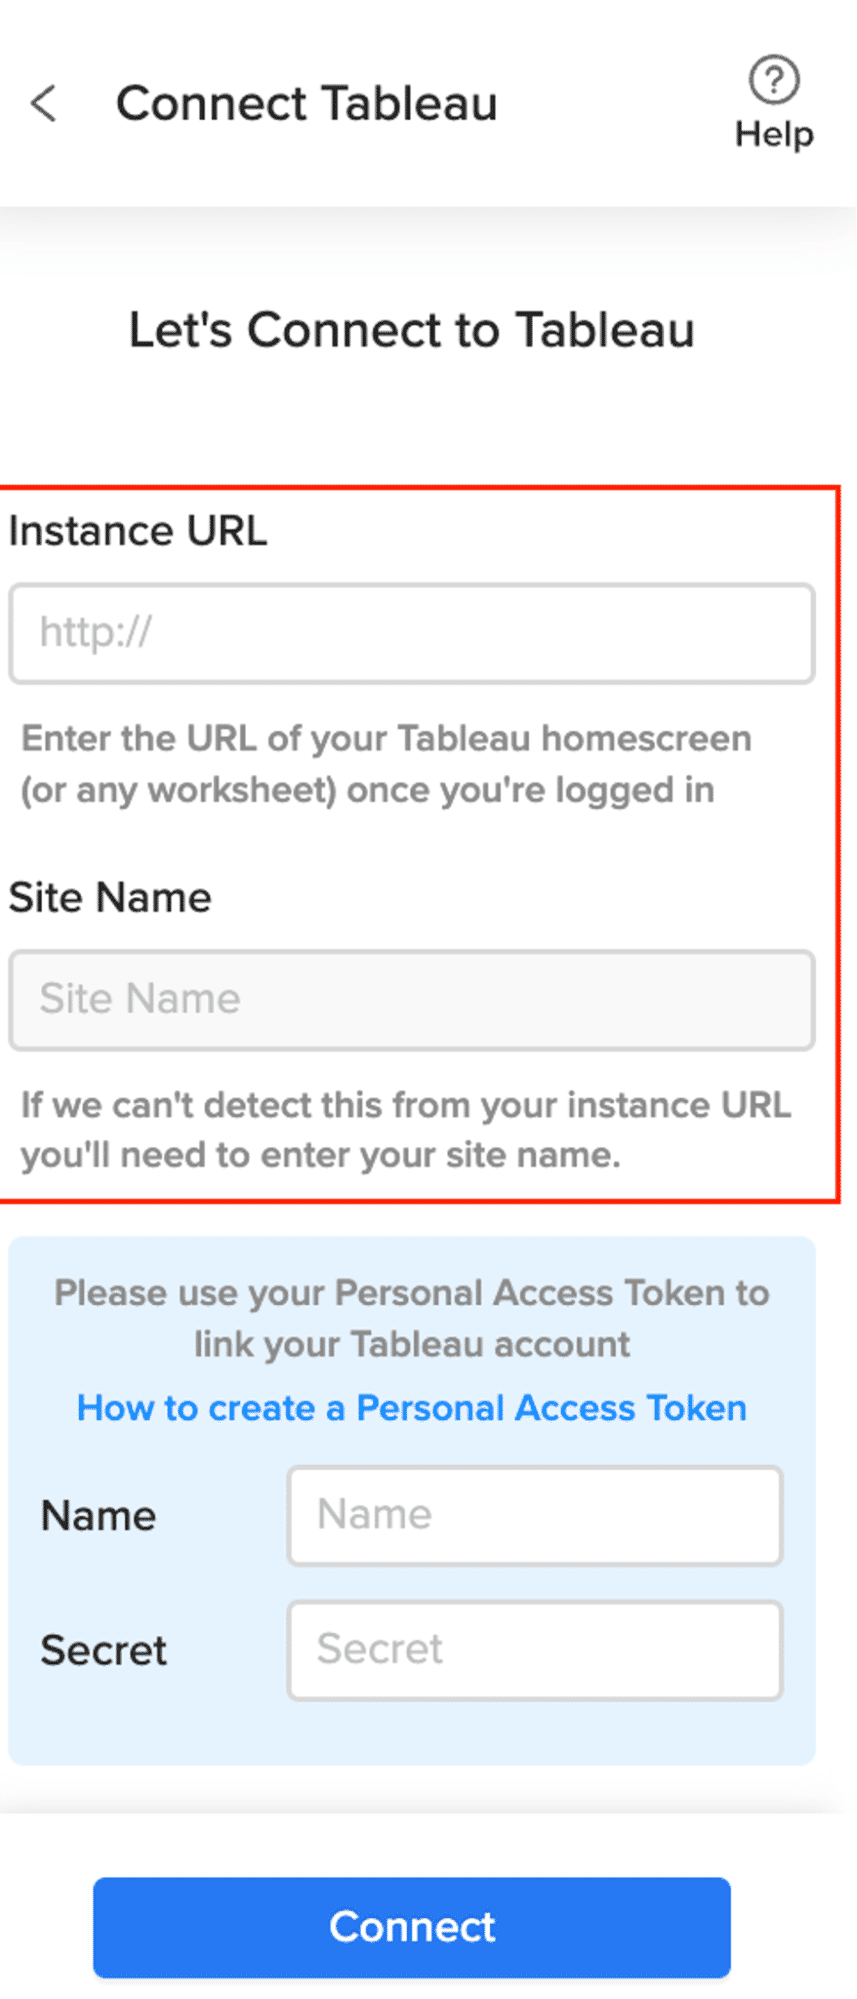
Enter the Instance URL and the Site Name.
NOTE: You may leave the Site Name blank if it isn’t available on your Tableau homepage or worksheet URL.
Notes:
- The Instance URL follows this basic pattern:
https://<servername>/#/views/<workbook>/<sheet> - If you have a multi-site Tableau environment, your URL will look something like this: https://<servername>/#/site/<sitename> /<views>/<workbook>/<sheet>
Coefficient will give you the option to share your connection with your team members.
Sharing allows team members to import data from the shared connection without having to enter the login credentials themselves.
Select ‘From Worksheet URL.’

Enter your Dashboard/Worksheet URL then hit ‘Next.’
A new window will open that resembles your Dashboard/Worksheet in Tableau. From here you can adjust the filters, then select “Import”.
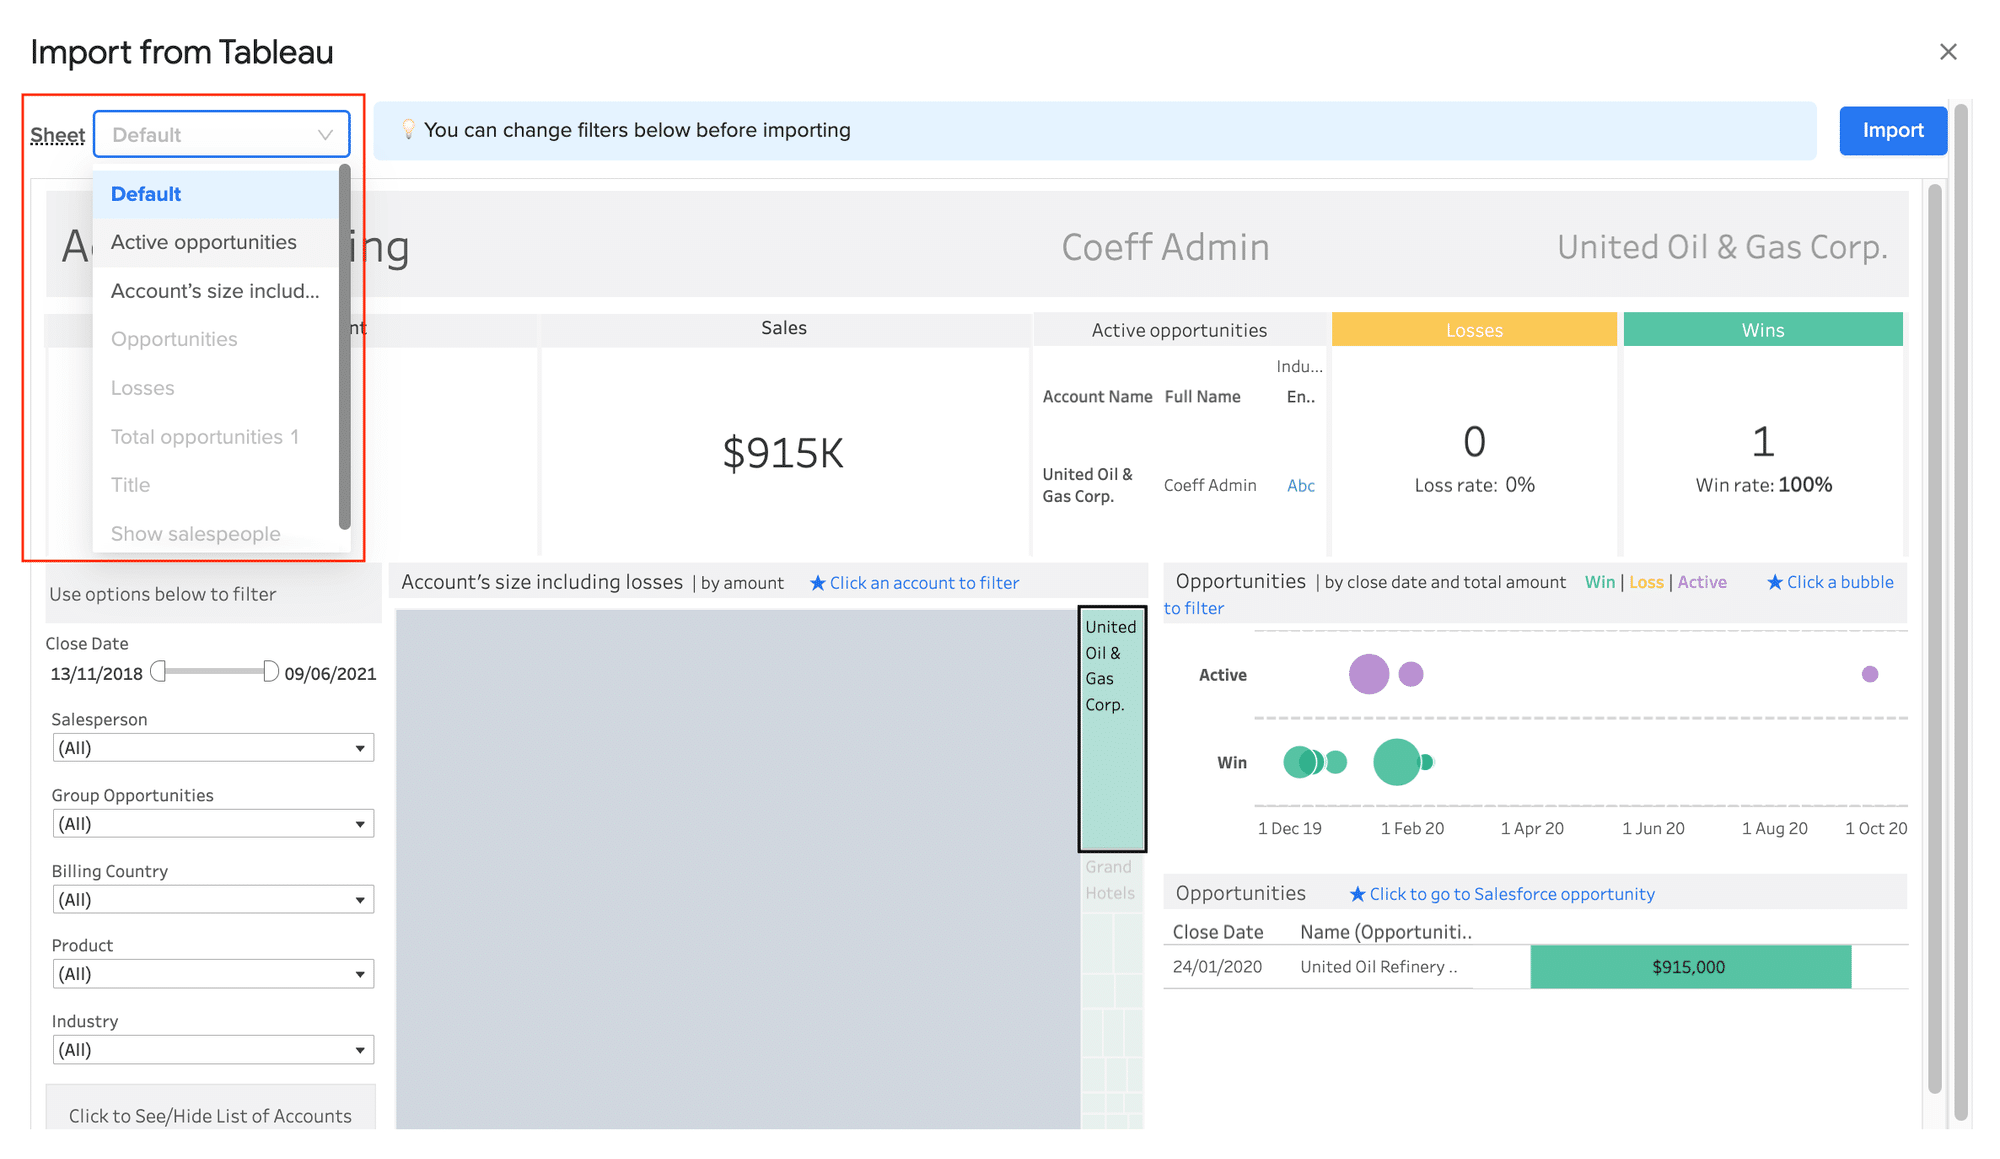
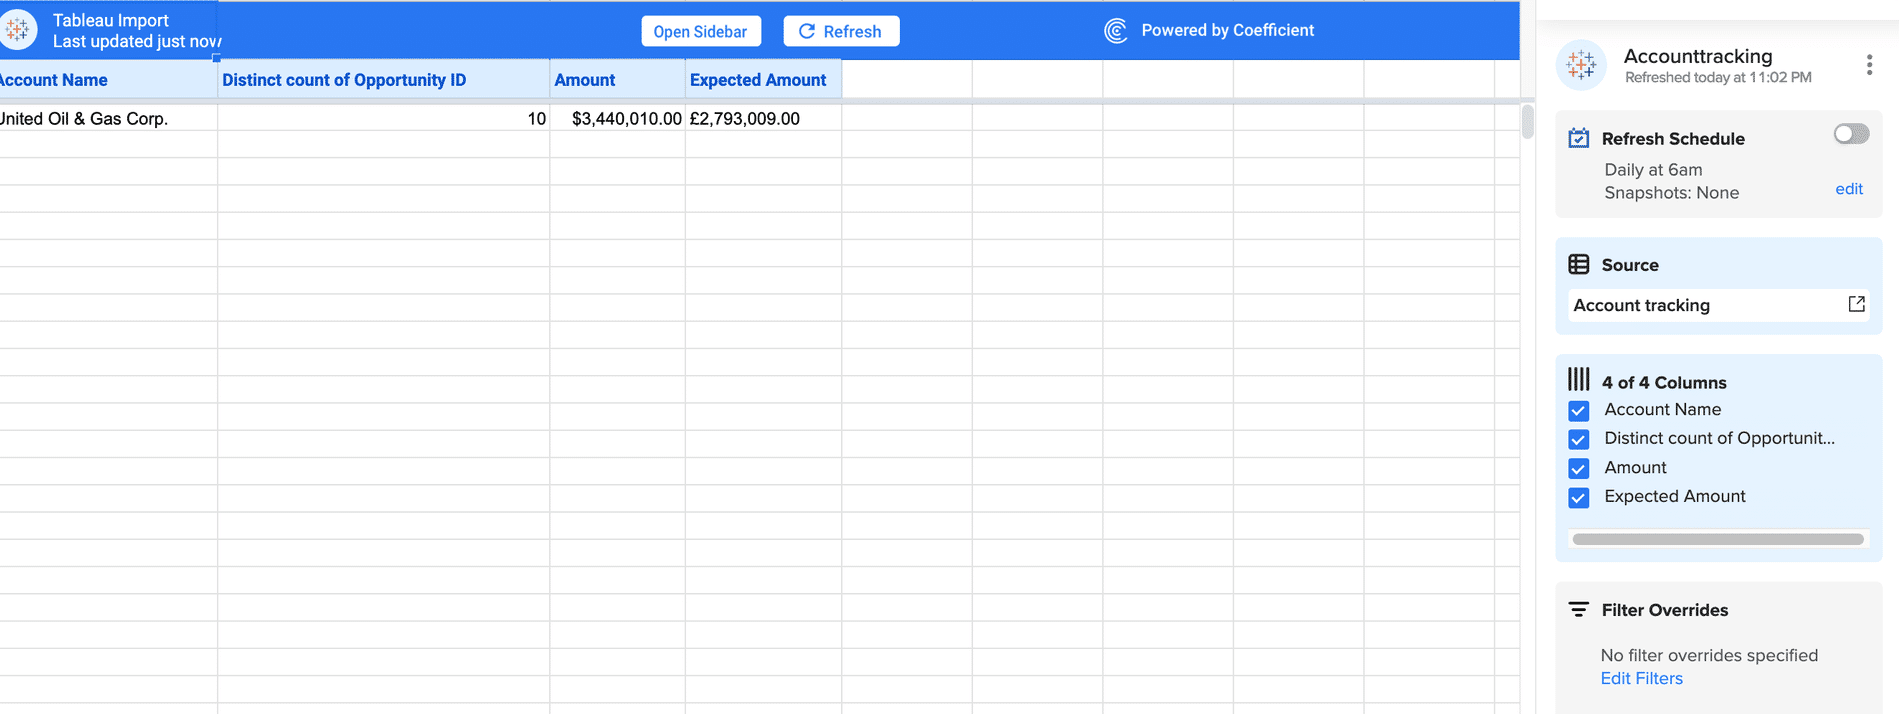
In just a few seconds, your data will automatically populate your spreadsheet.
Step 3. Export Data from Your Spreadsheet to Salesforce
Before starting, make sure you’ve connected to Salesforce.
https://www.youtube.com/watch?v=B5qUY5zs-vc
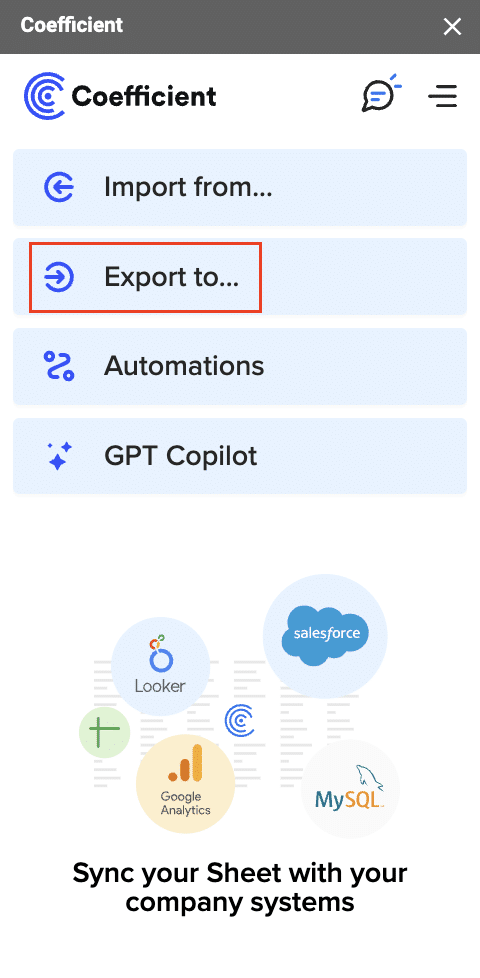
Then, navigate to Coefficient’s menu. Click “Export to…”
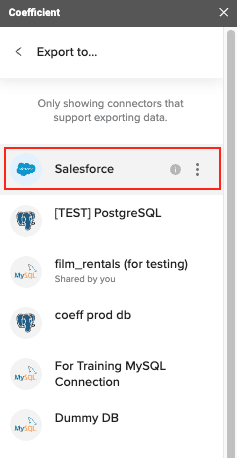
Choose Salesforce from the list of available data sources.
Select the tab and header rows in your spreadsheet that contain the data you want to export.
Define your tab and header row.
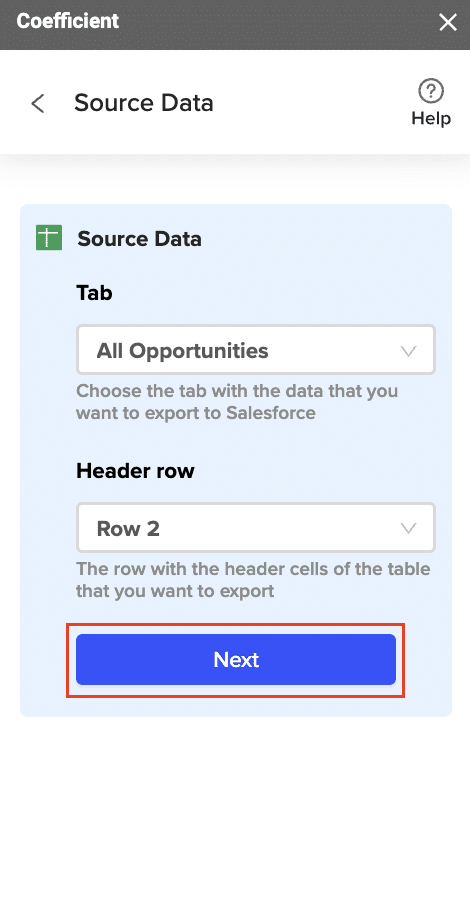
Note: Coefficient will automatically map the fields for you if the data in the sheet came from an import from Salesforce using Coefficient.
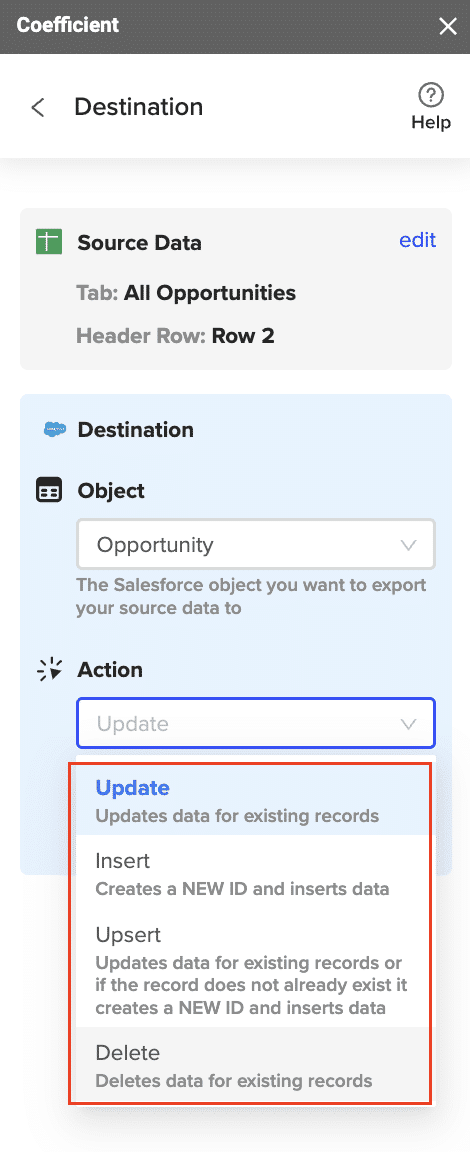
Next, select the Salesforce Object you want to export data to, e.g., “Opportunity”, “Contacts”, etc.

Stop exporting data manually. Sync data from your business systems into Google Sheets or Excel with Coefficient and set it on a refresh schedule.

Then, select the type of action you want to perform—Update, Insert, Upsert, or Delete.
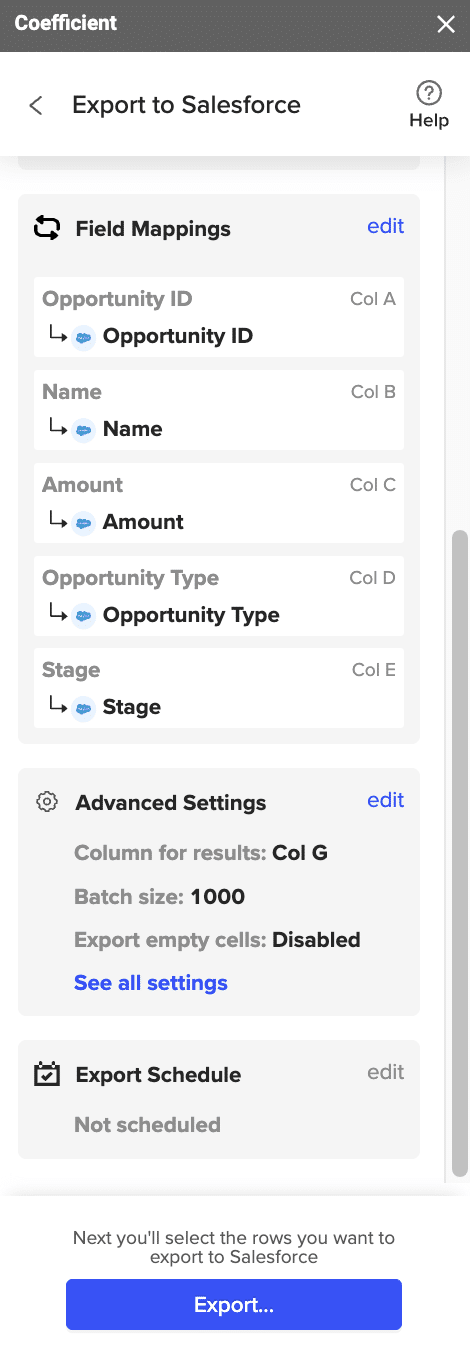
Step 5: Map Fields
Map the fields from your spreadsheet to the corresponding Salesforce fields.
Note: If you imported data from Salesforce into your spreadsheet previously, Coefficient will auto-detect and map these fields.
(Optional) Specify additional settings such as batch size, whether to export empty cells on an update, and the column for results.
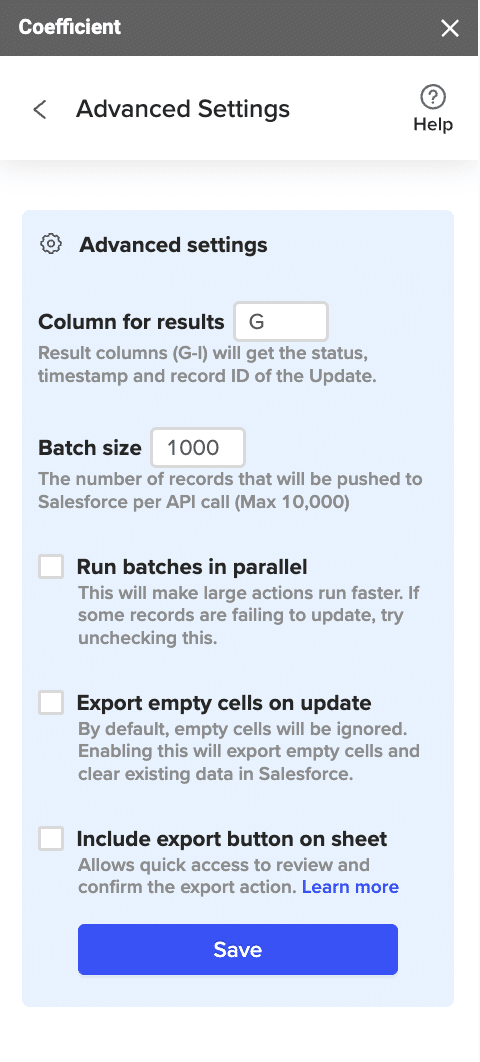
Note: Batch size is capped at 10,000 rows due to Salesforce API limitations.
Step 7: Select Rows to Export
Confirm your settings and click “Export”.
Then, highlight the rows you want to update or export. You can choose to export all rows or specific rows.

After you’re finished, review your settings and click “Export.”
Follow the prompts to confirm your changes.
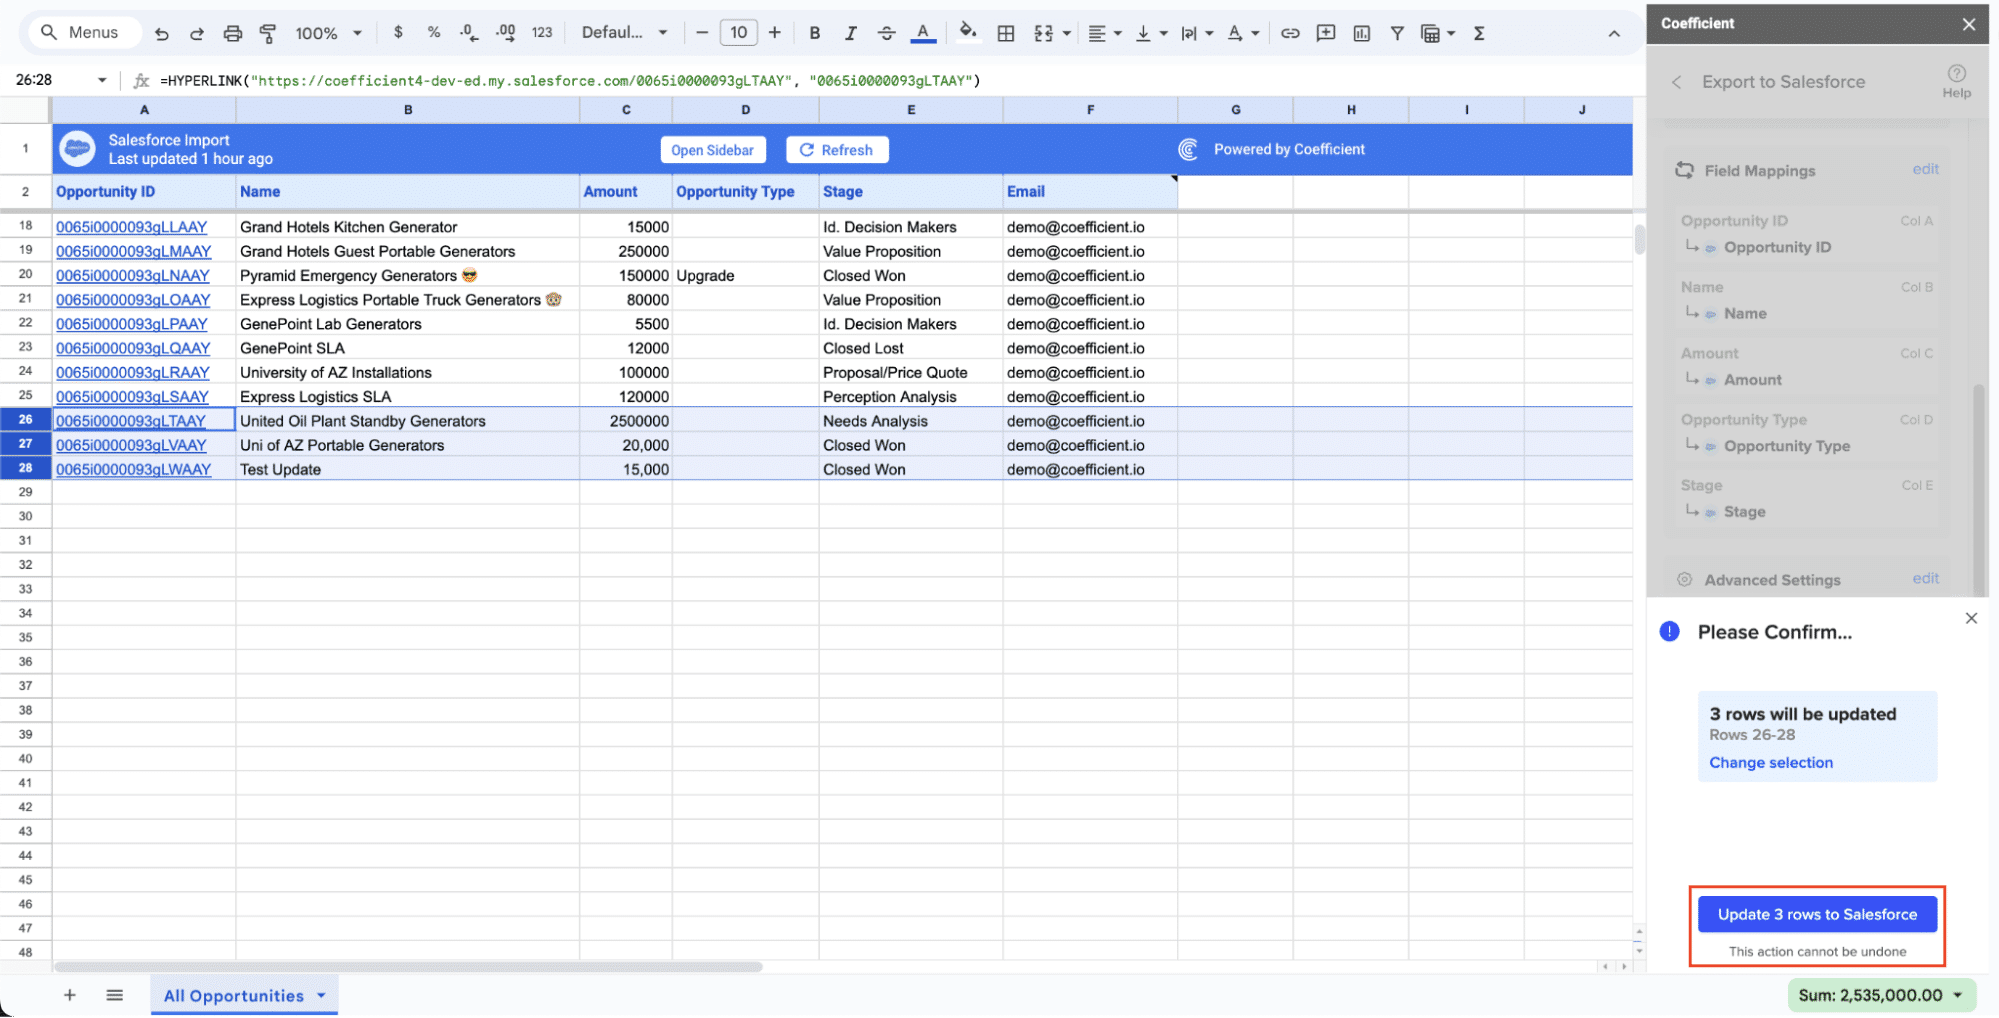
In a few seconds, data from your spreadsheet will push to Salesforce.
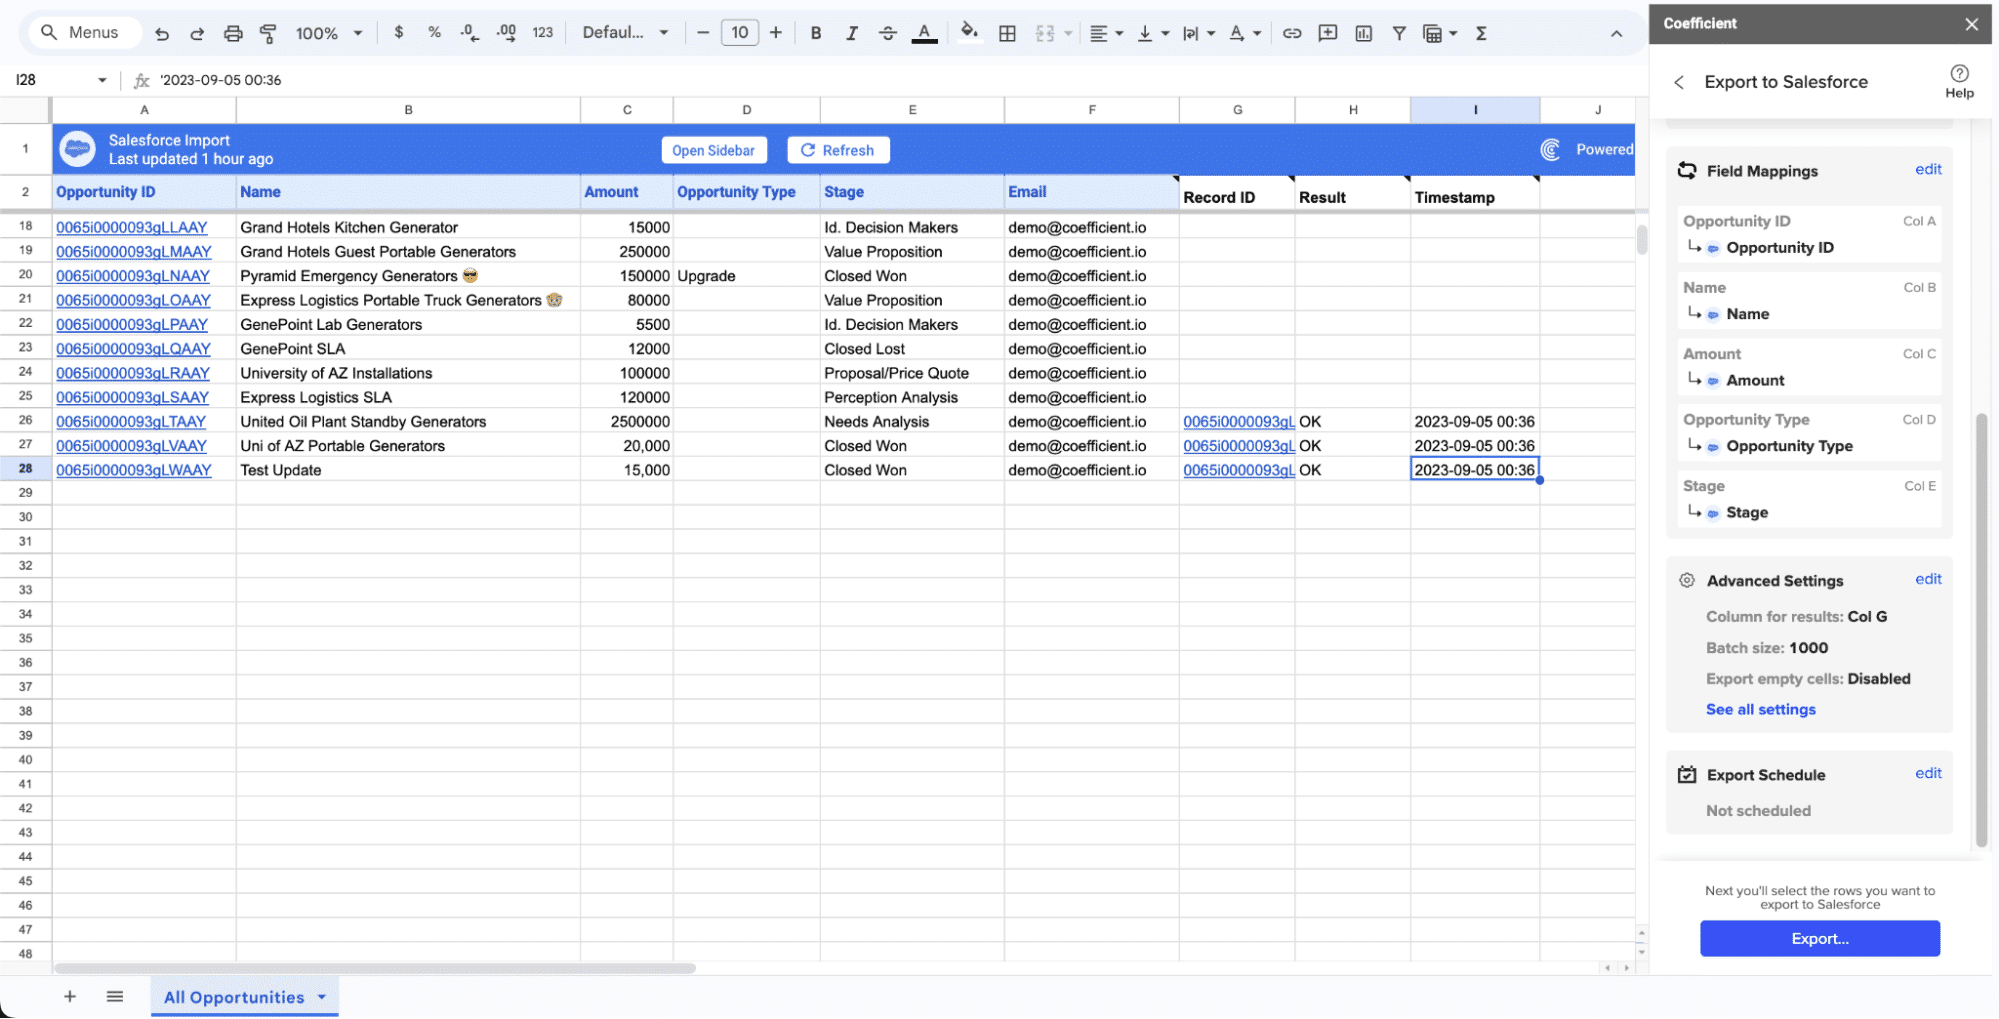
Your spreadsheet will display updated records, along with their export status and the date/time stamp of the update.
Method 2: Tableau Connector for Salesforce
The Tableau Connector for Salesforce is designed for organizations that rely on Tableau as their primary analytics platform.
Pros:
- Real-time data access
- Seamless integration with existing Tableau dashboards
- Supports advanced data visualization tools
Cons:
- Requires Tableau expertise for setup
- Additional licensing costs
Step-by-Step Walkthrough:
- Install the Connector:
- Visit the Tableau website and download the Tableau Connector for Salesforce.
- Follow the installation instructions provided by Tableau.
- Connect to Salesforce:
- Open Tableau and navigate to the “Connect” pane.
- Select Salesforce from the list of data connectors.
- Enter your Salesforce login credentials and authorize the connection.
- Select Salesforce Objects:
- Once connected, you’ll be able to see a list of all available Salesforce objects.
- Choose the objects (e.g., opportunities, contacts) that you wish to import into Tableau.
- Create Dashboards and Reports:
- Use the imported data to create interactive dashboards and reports in Tableau.
- Leverage Tableau’s advanced visualization tools to gain deeper insights from your Salesforce data.
- Schedule Data Refreshes:
- To ensure your dashboards display the most current data, set up a schedule for data refreshes in Tableau.
- This ensures that your reports and dashboards always reflect the latest Salesforce data.
Method 3: CRM Analytics (FKA Einstein Analytics)
CRM Analytics is perfect for Salesforce-centric organizations looking to perform advanced analytics and data visualization within the Salesforce ecosystem. This method allows you to embed Tableau insights directly into Salesforce.
Pros:
- Integrated with Salesforce ecosystem
- Advanced analytics capabilities
- Embeds Tableau insights directly into Salesforce
Cons:
- Requires familiarity with Salesforce and CRM Analytics
- Potentially higher costs for advanced features
Step-by-Step Walkthrough:
- Enable CRM Analytics:
- Go to Salesforce Setup, and under “Analytics,” select “Getting Started.”
- Follow the prompts to enable CRM Analytics.
- Connect Tableau:
- Within Tableau, navigate to the “Connect” pane and select Salesforce CRM Analytics.
- Enter your Salesforce credentials to establish the connection.
- Create Dataflows:
- In Salesforce, create dataflows to extract and process the data you need for analysis.
- Use the Dataflow Editor to map out your data journey from source to destination.
- Build Datasets:
- Once your dataflows are set, create datasets in CRM Analytics.
- Use these datasets to populate your Tableau dashboards and visualizations.
- Embed Tableau Dashboards:
- In Salesforce, embed Tableau dashboards into the relevant Salesforce pages.
- Allow users to access detailed Tableau insights directly within the Salesforce interface.
Conclusion
Connecting Tableau to Salesforce provides numerous benefits, such as centralized data management, improved efficiency, enhanced reporting, and better decision-making.
With Coefficient, can easily connect Tableau and Salesforce to any of your other data sources.
Try it for free today!