Are you looking to sync your Shopify store data with PostgreSQL? Whether you need to perform advanced analytics, create custom reports, or set up a data warehouse, connecting Shopify to PostgreSQL can help you achieve your goals. In this comprehensive guide, we’ll walk you through three proven methods to link your Shopify data with PostgreSQL databases effectively.
Why Connect Shopify to PostgreSQL?
Before we dive into the methods, let’s explore the benefits of connecting Shopify to PostgreSQL:
- Advanced Analytics and Reporting: By storing historical Shopify data in PostgreSQL, you can track inventory trends, analyze customer behavior patterns, and measure sales performance over time.
- Custom Data Transformations: PostgreSQL’s powerful querying capabilities allow you to transform raw Shopify data into actionable business information.
- Automated Data Backup: Create reliable backups of critical Shopify store data, including products, customers, and orders, in a structured database format.
Top 3 Methods to Connect Shopify to PostgreSQL
Here’s a quick comparison of the three methods we’ll cover:
| Solution | Best For |
| Coefficient | Non-technical users who want to sync Shopify data to PostgreSQL through Google Sheets, with built-in scheduling and automation features |
| RudderStack | Technical teams requiring real-time event streaming and custom data transformations between Shopify and PostgreSQL |
| Airbyte | Development teams looking for an open-source solution with extensive customization options for Shopify to PostgreSQL integration |
Let’s explore each method in detail.
#1 Coefficient
Coefficient offers a no-code solution to connect Shopify data to PostgreSQL using Google Sheets as an intermediate layer. This method allows for easy data transformation and scheduling while maintaining data accuracy.
Steps:
Step 1. Install Coefficient
For Google Sheets
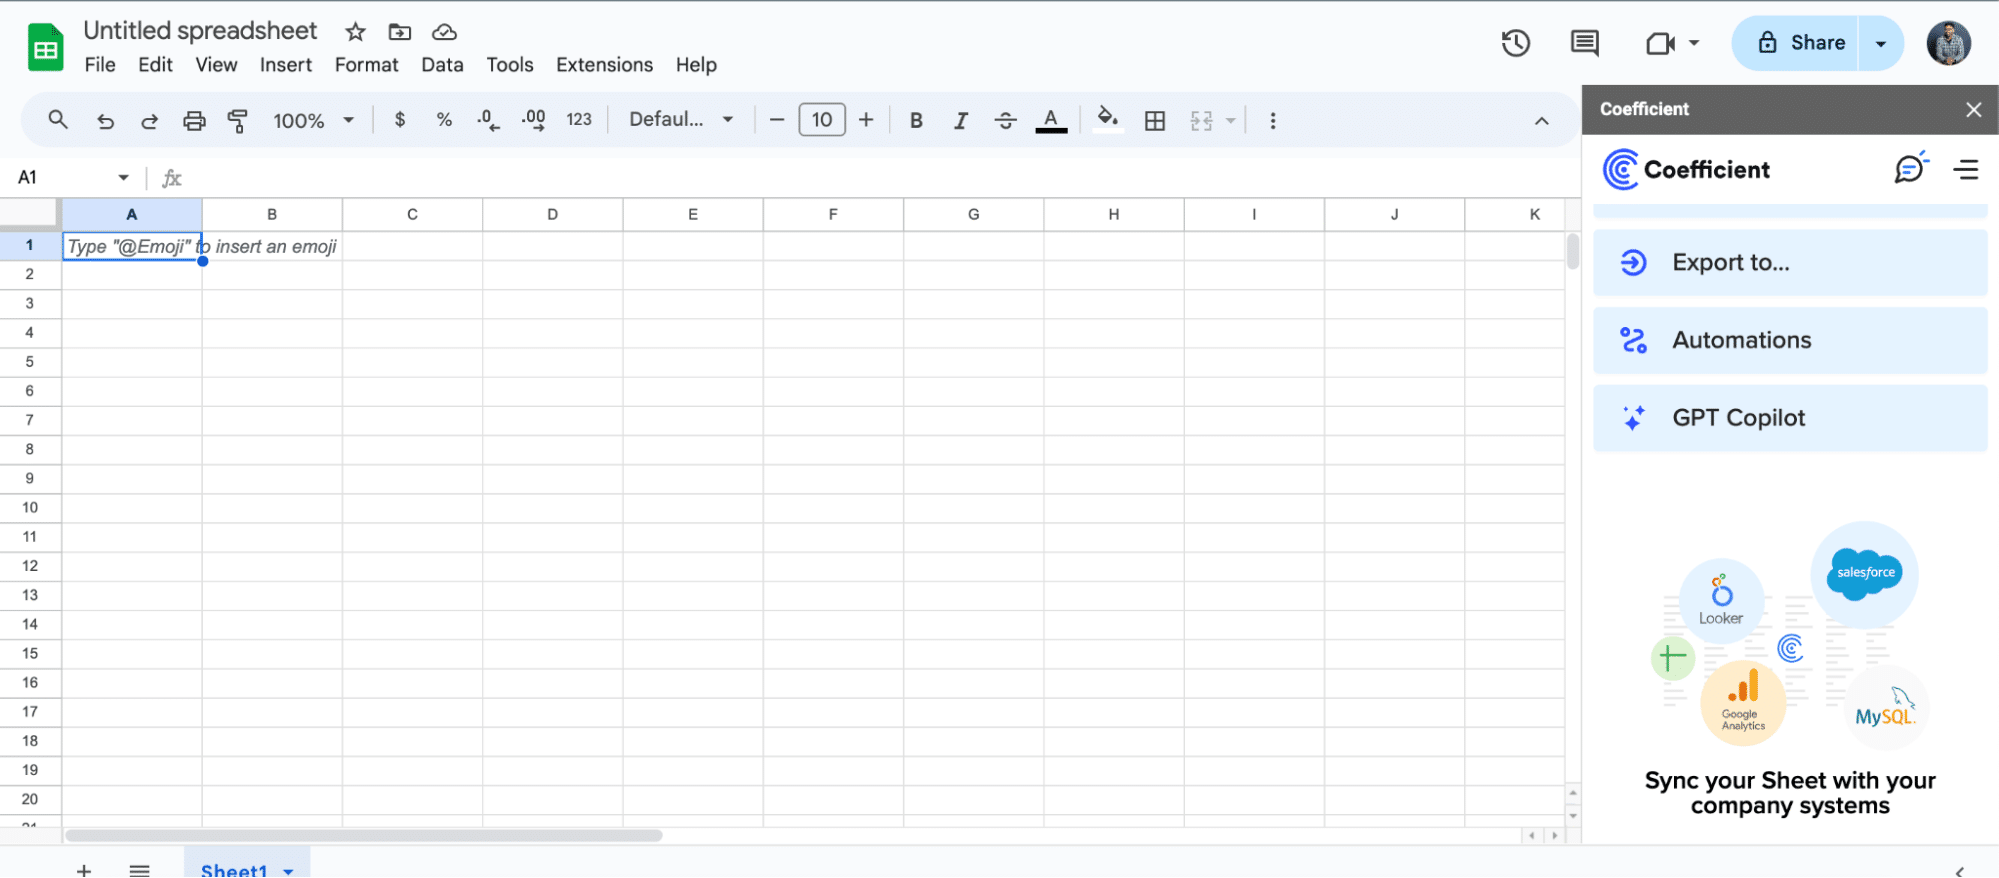
- Open a new or existing Google Sheet, navigate to the Extensions tab, and select Add-ons > Get add-ons.
- In the Google Workspace Marketplace, search for “Coefficient.”
- Follow the prompts to grant necessary permissions.
- Launch Coefficient from Extensions > Coefficient > Launch.
- Coefficient will open on the right-hand side of your spreadsheet.
For Microsoft Excel
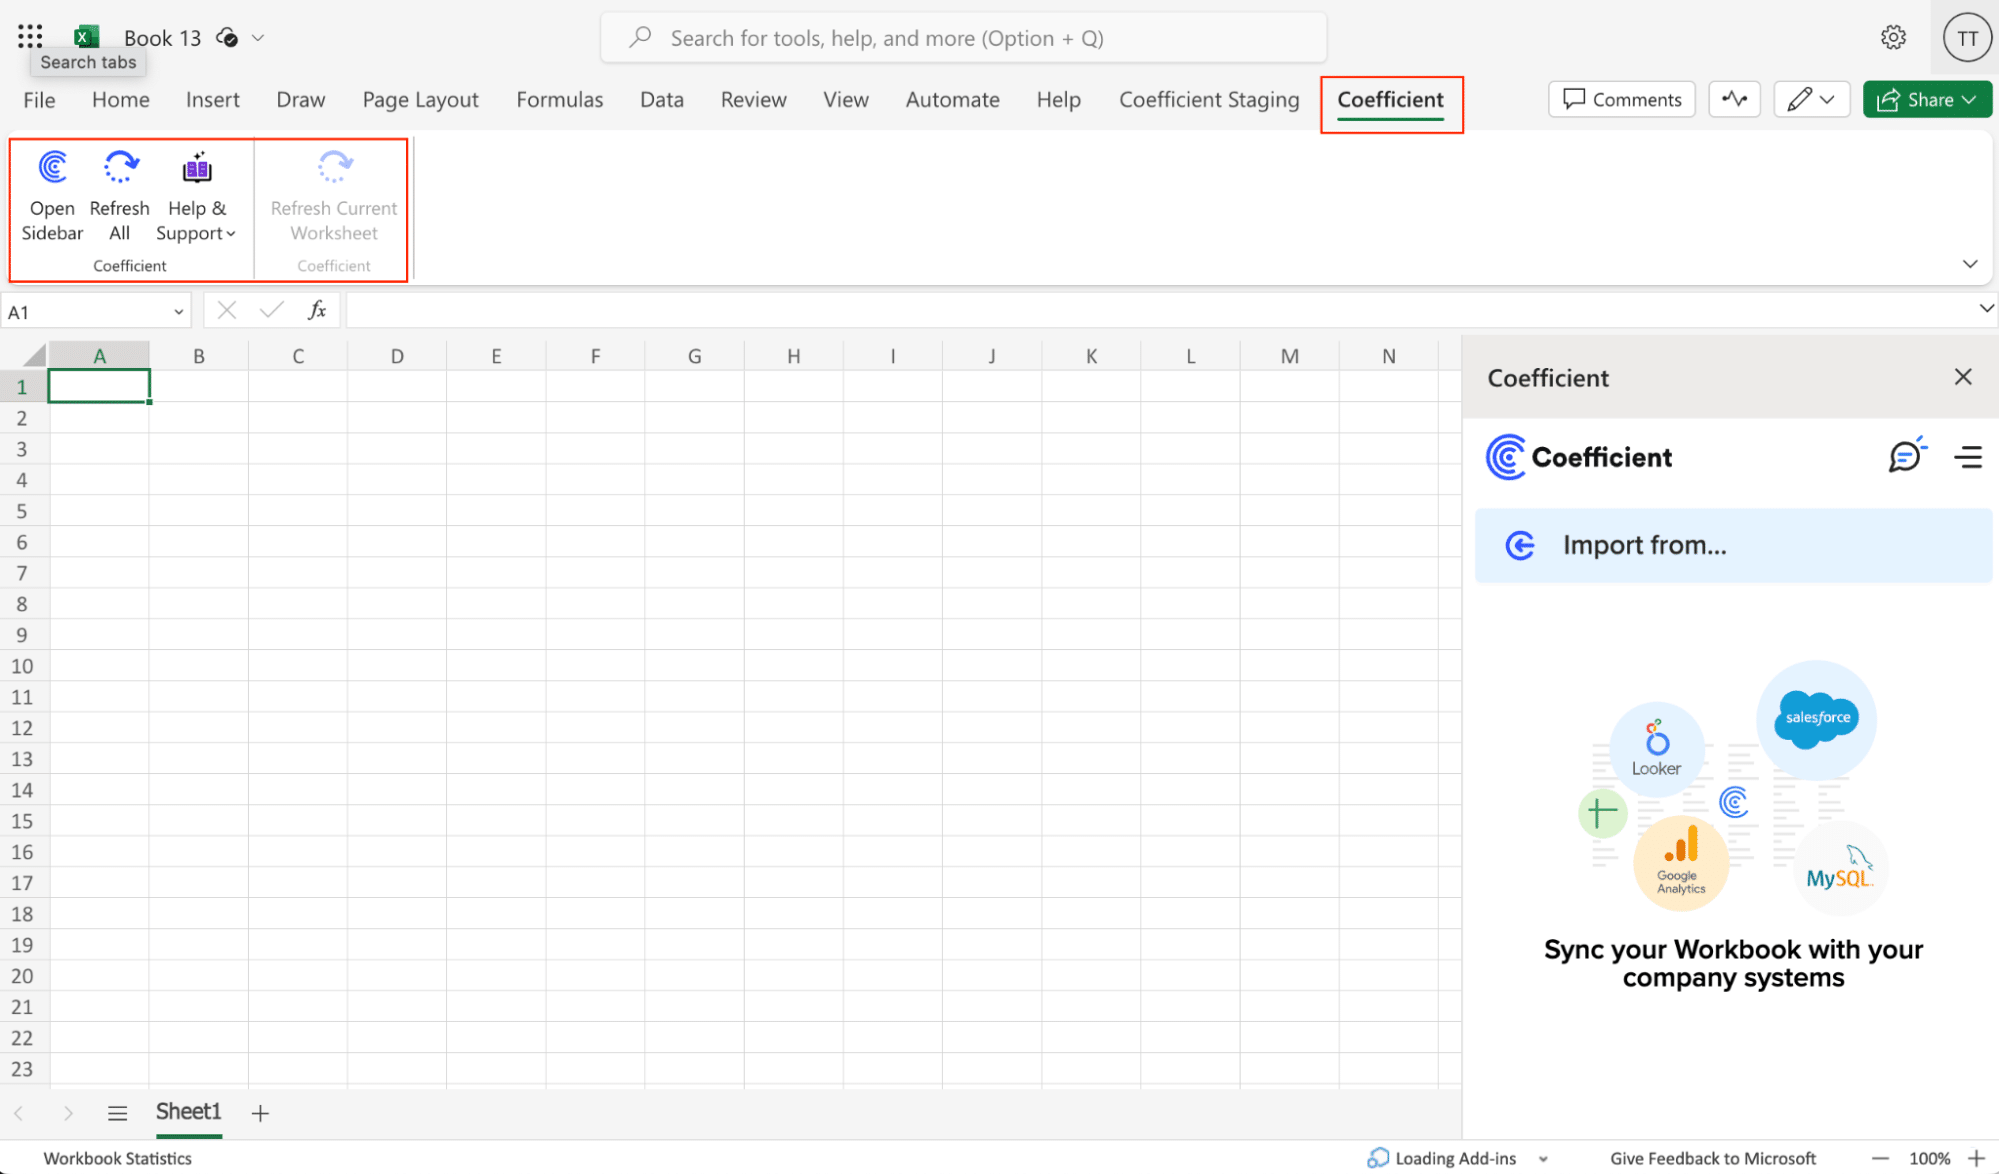
- Open Excel from your desktop or in Office Online. Click ‘File’ > ‘Get Add-ins’ > ‘More Add-Ins.’
- Type “Coefficient” in the search bar and click ‘Add.’
- Follow the prompts in the pop-up to complete the installation.
- Once finished, you will see a “Coefficient” tab in the top navigation bar. Click ‘Open Sidebar’ to launch Coefficient.
Step 2. Connect and Import Data from Shopify
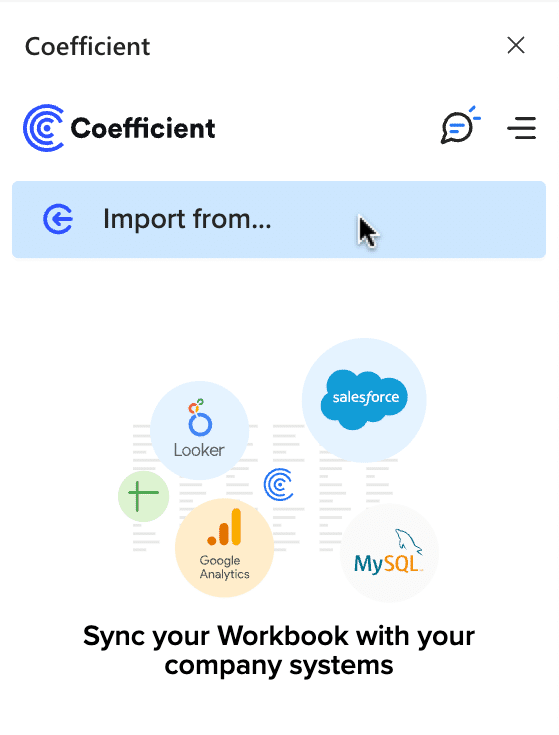
Select ‘Import from…’
Scroll down until you see Shopify and click ‘Connect.’
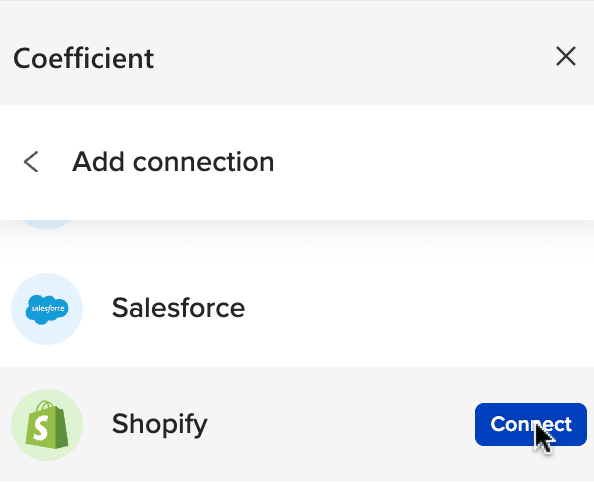
Follow the prompts to authorize Coefficient to access your Shopify account.
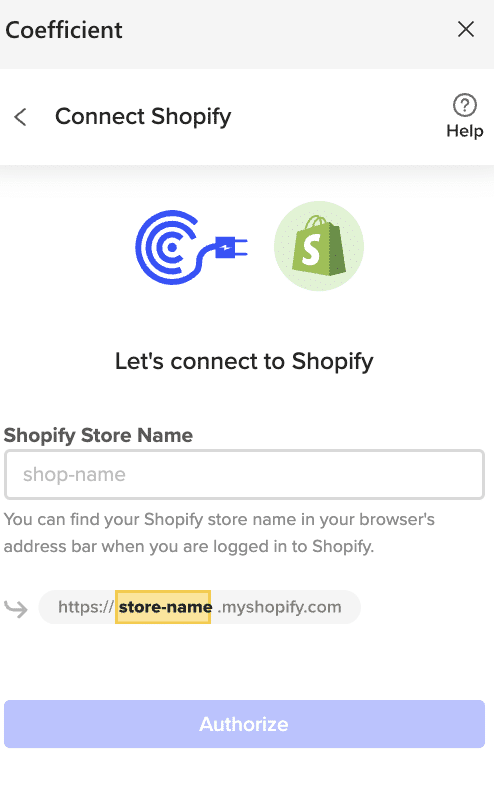
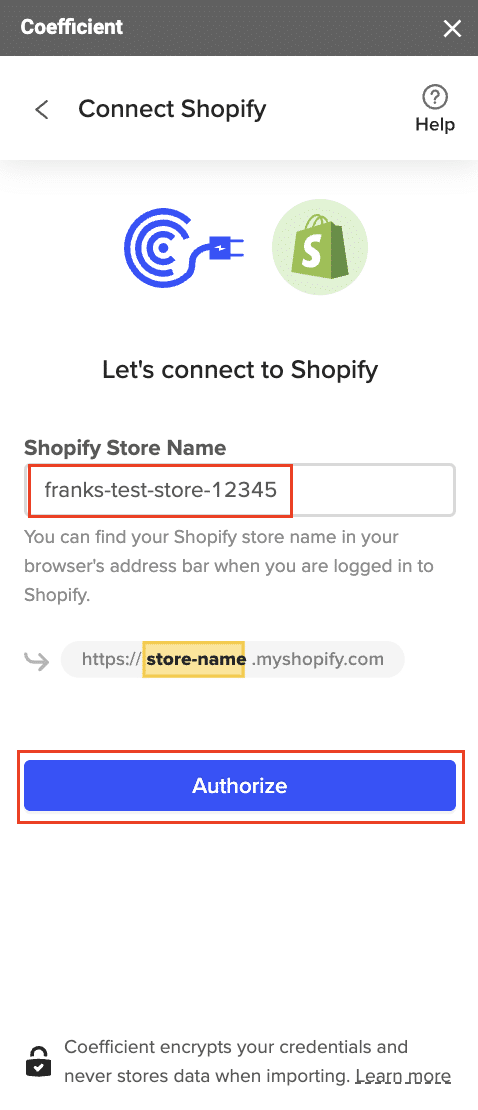
Enter your “Shopify Store Name” and click ‘Authorize.’
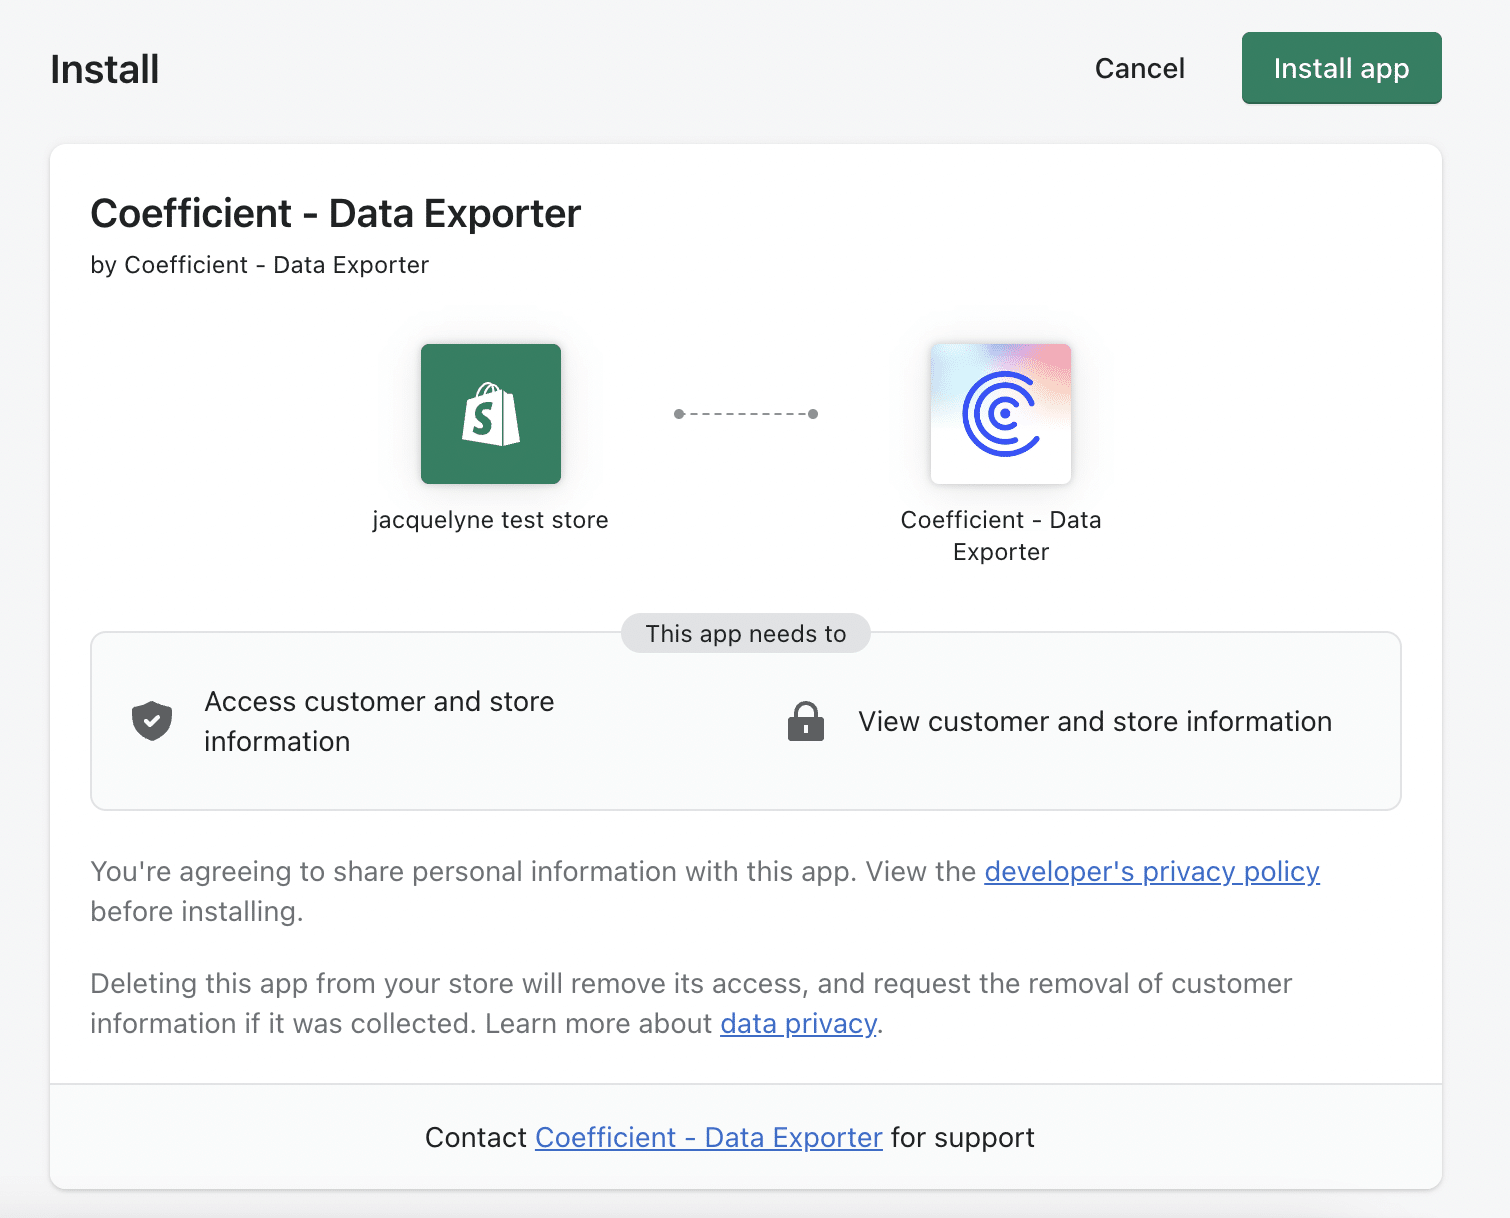
You will be taken to this screen in your Shopify instance. Click the ‘Install app’ button to proceed.
After connecting, return to Shopify from the Coefficient menu ‘Import From…’ > ‘Shopify’ > ‘From Objects & Fields.’
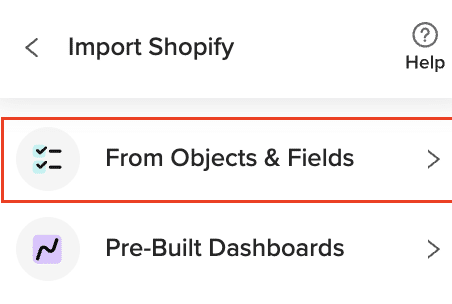
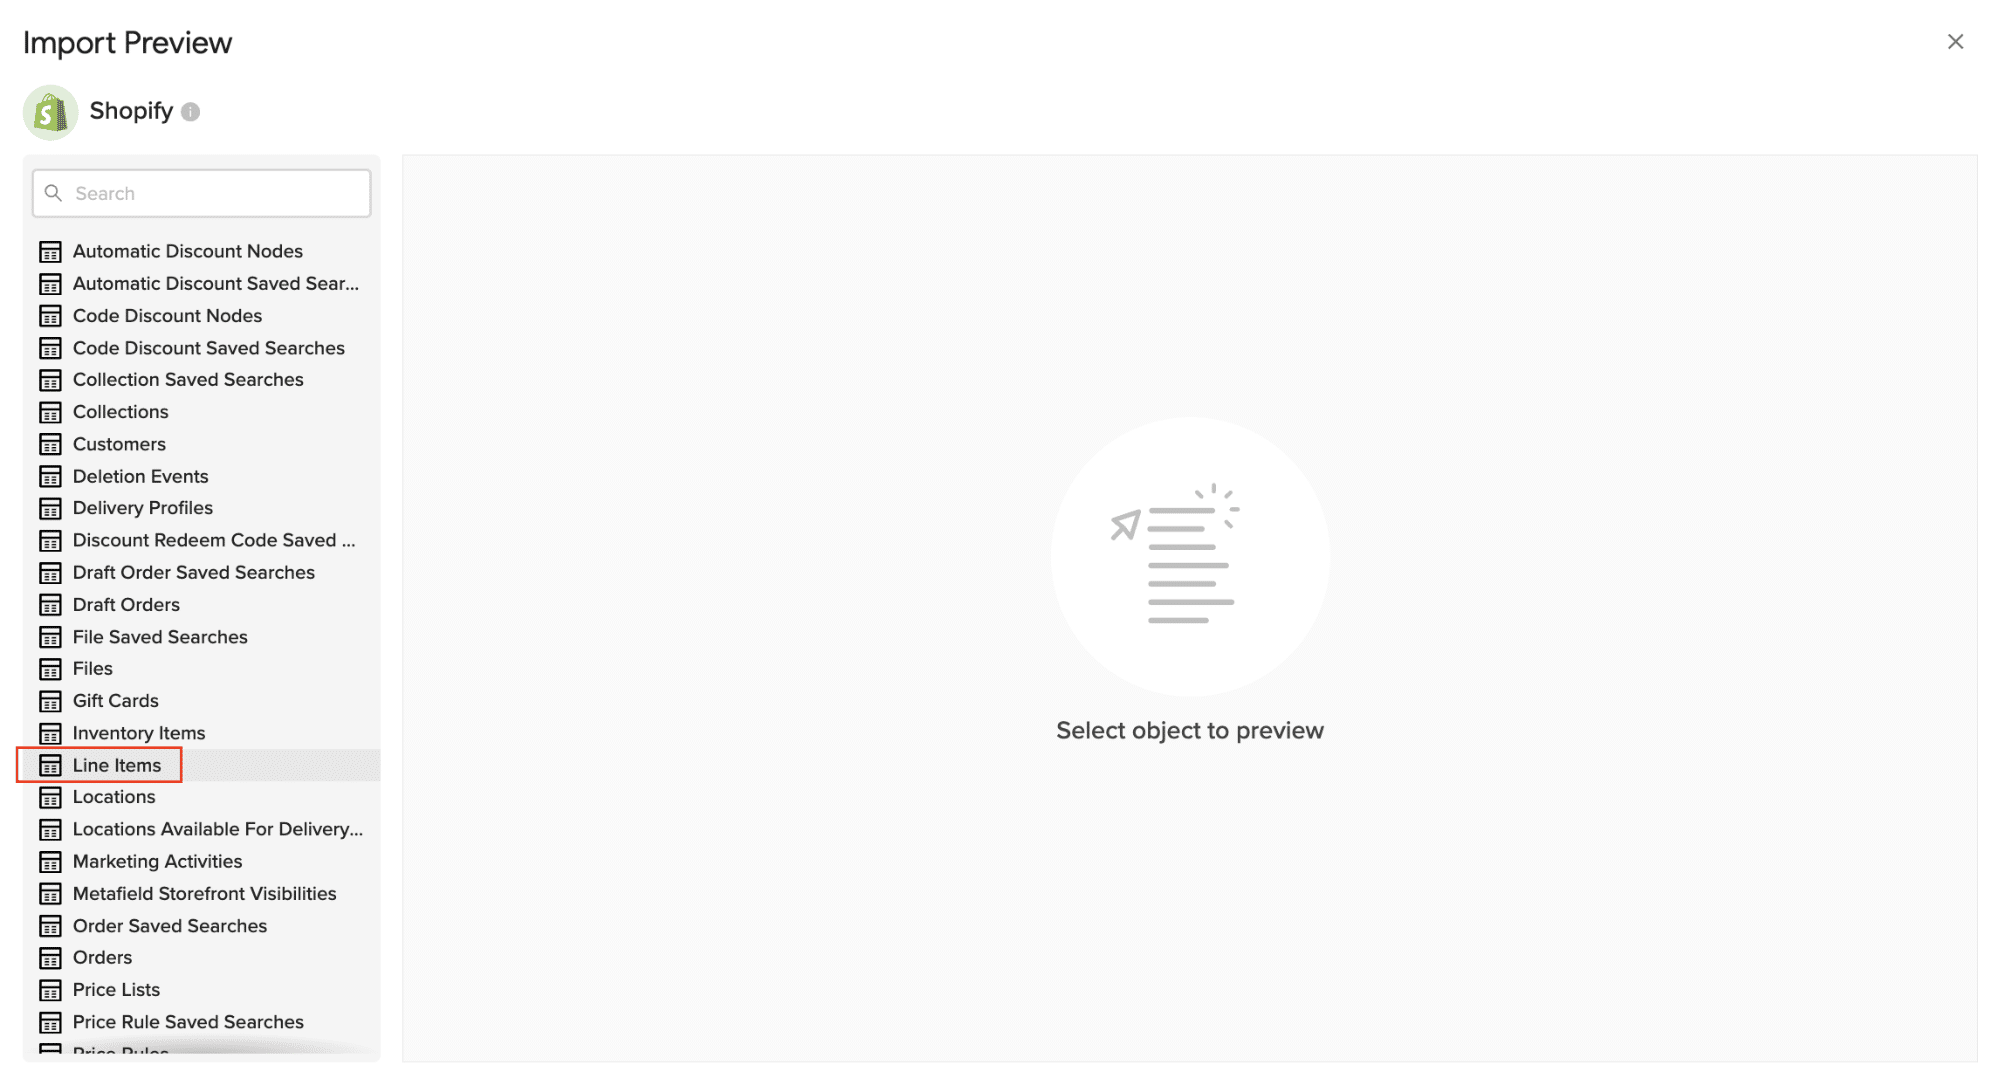
Select the Shopify object you would like to import your data from (eg. Line Items).
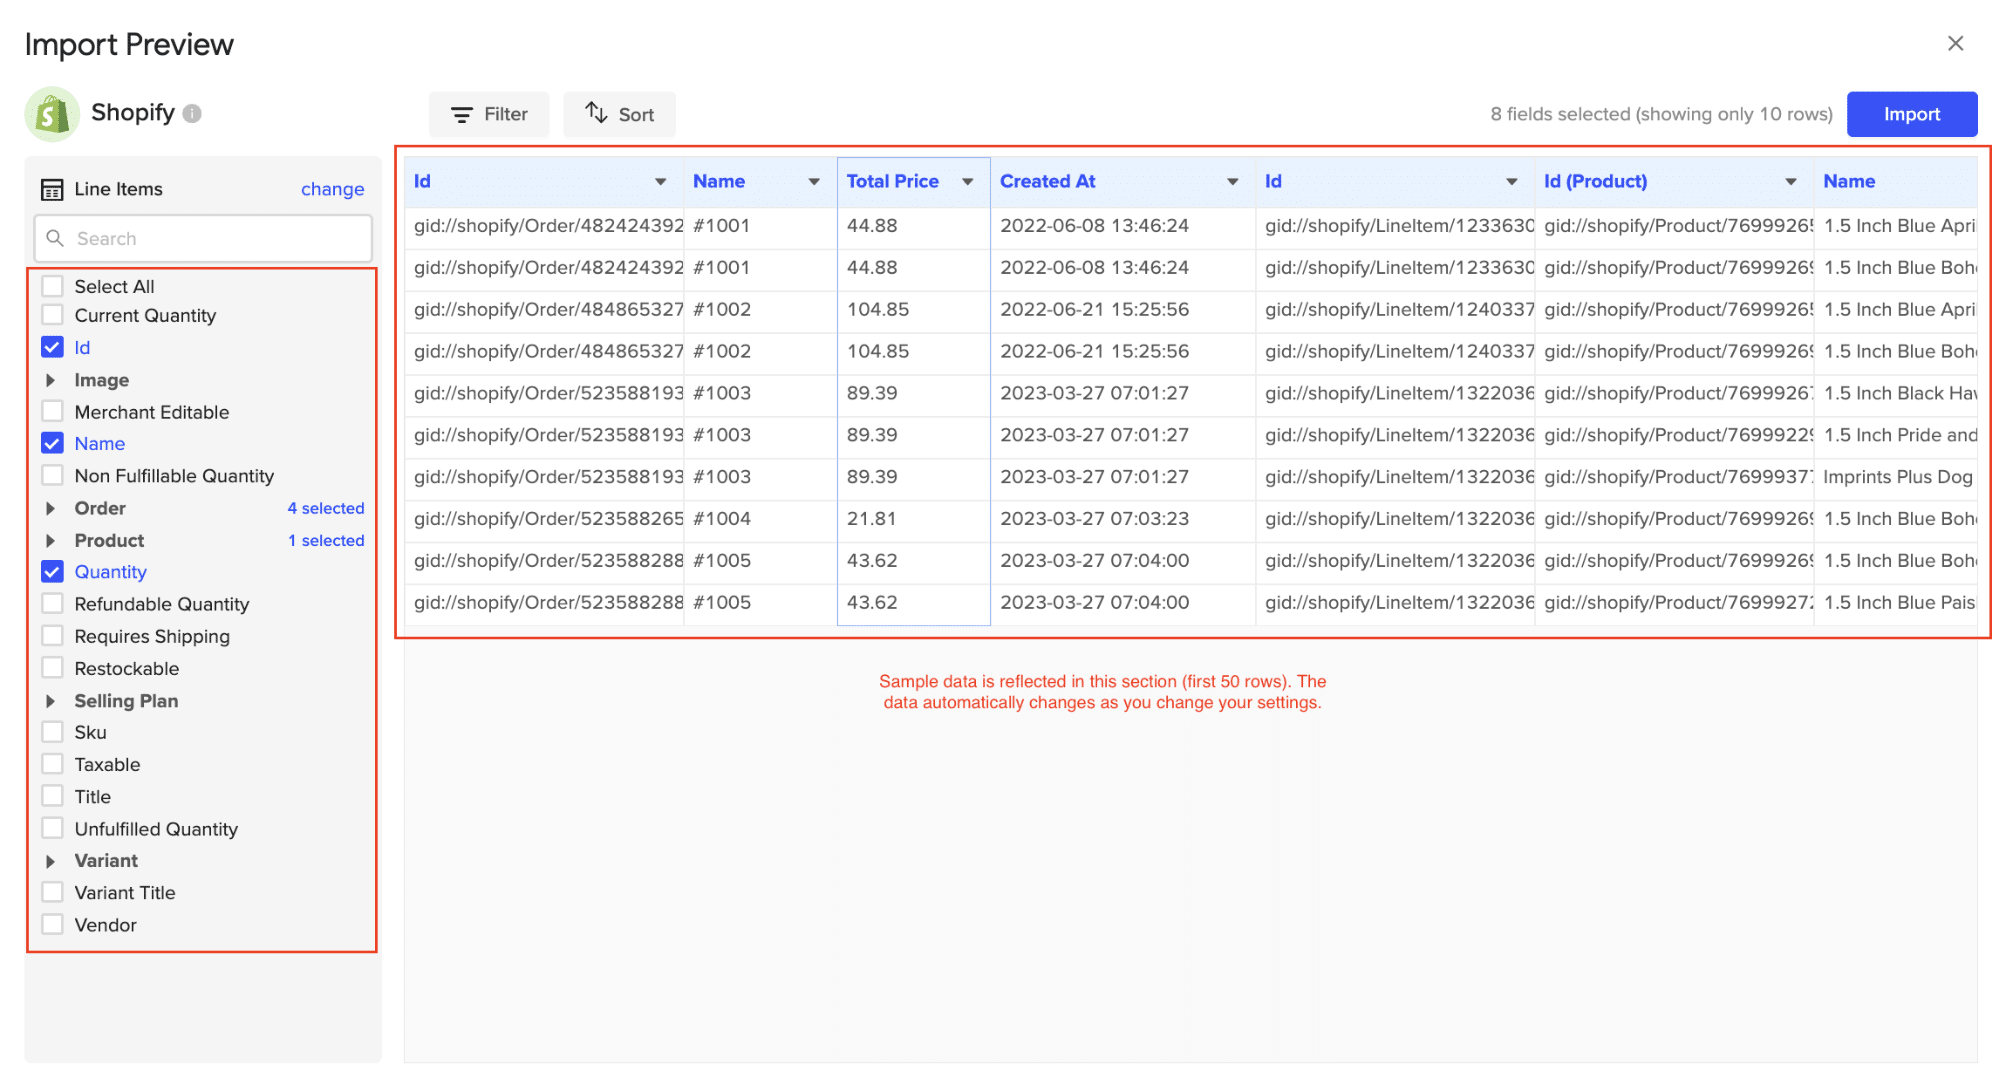
Select the desired fields for your import.
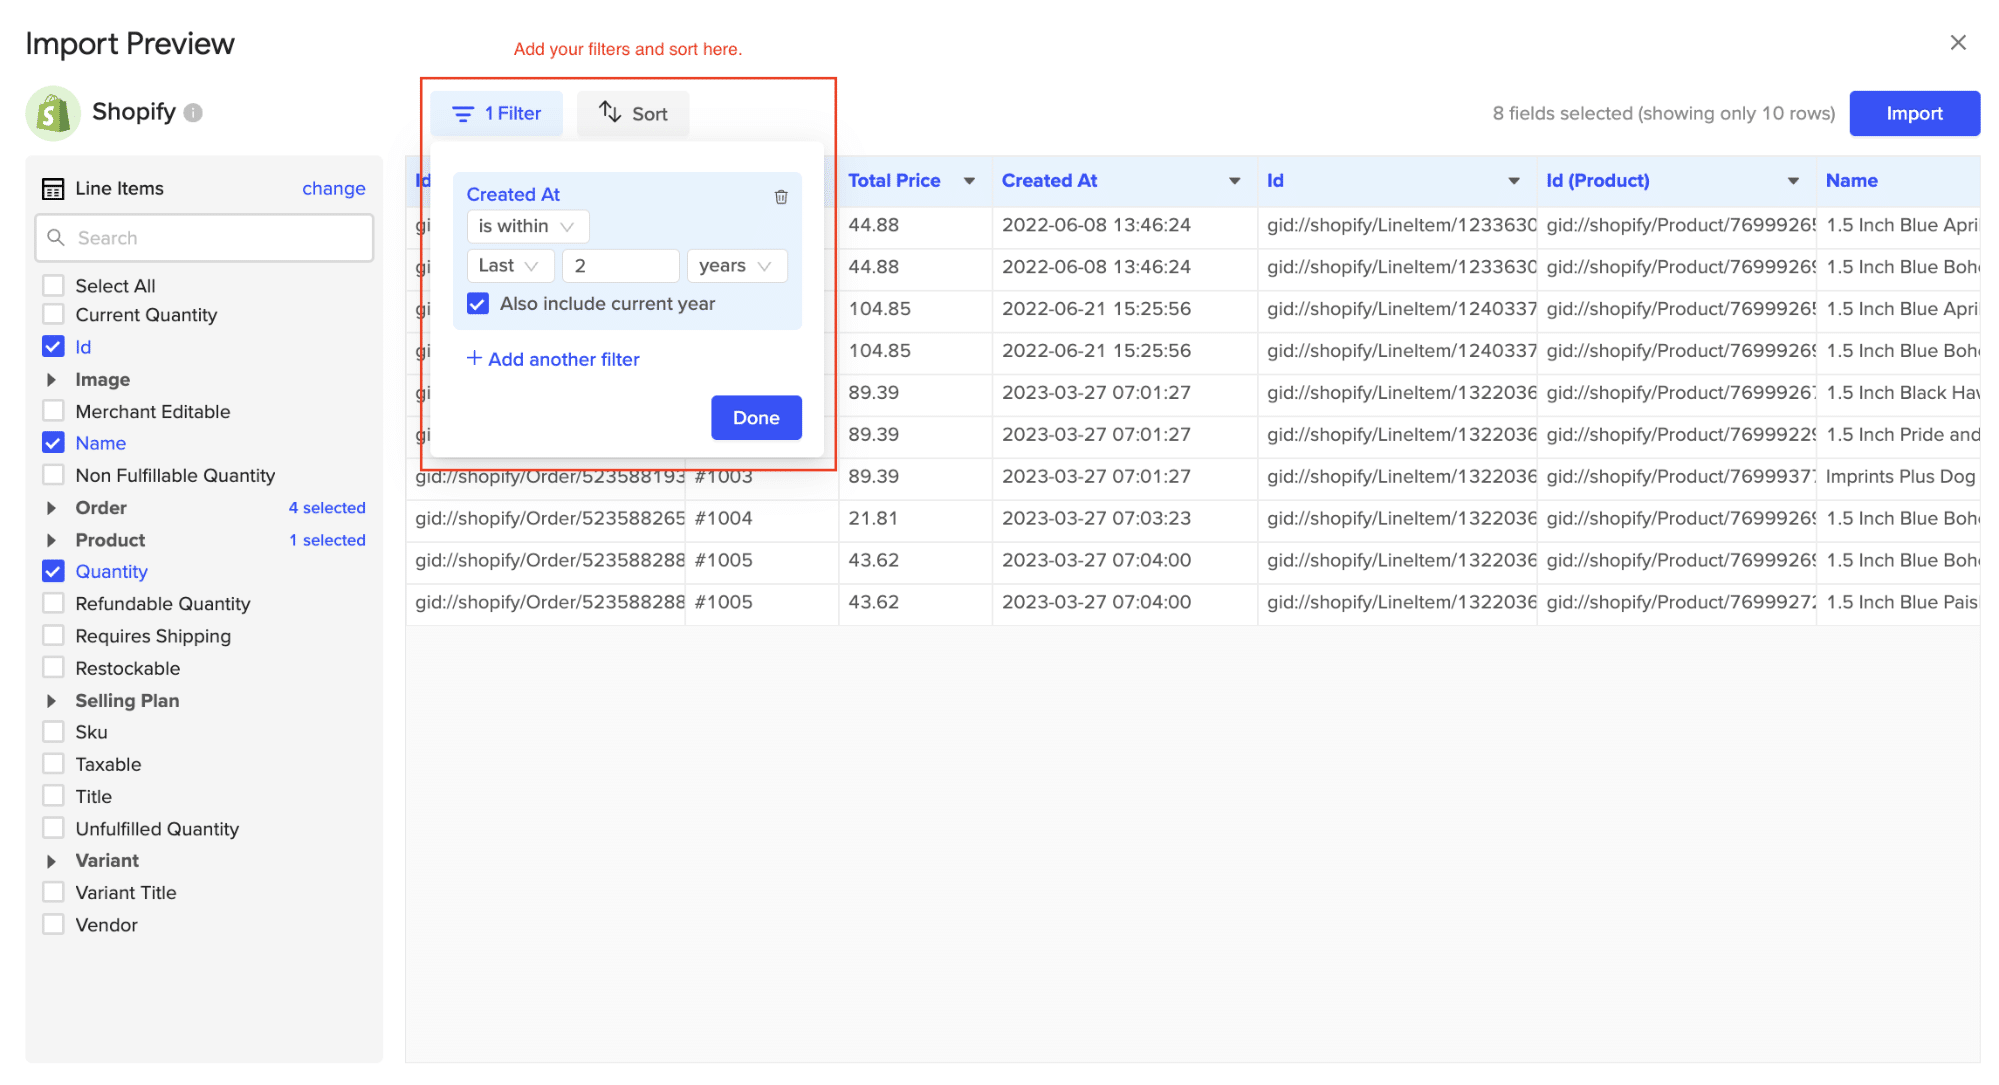
Customize your import by adding filter(s). Click ‘Import’ when you’re finished.
Your Shopify data will automatically populate your Excel spreadsheet in a few seconds!

Step 3. Export Data to PostgreSQL
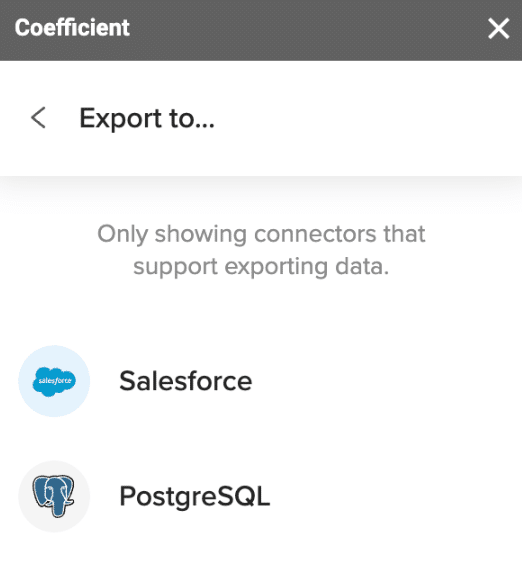
- Navigate to Export: In Coefficient’s sidebar, click Export to…, then select PostgreSQL.
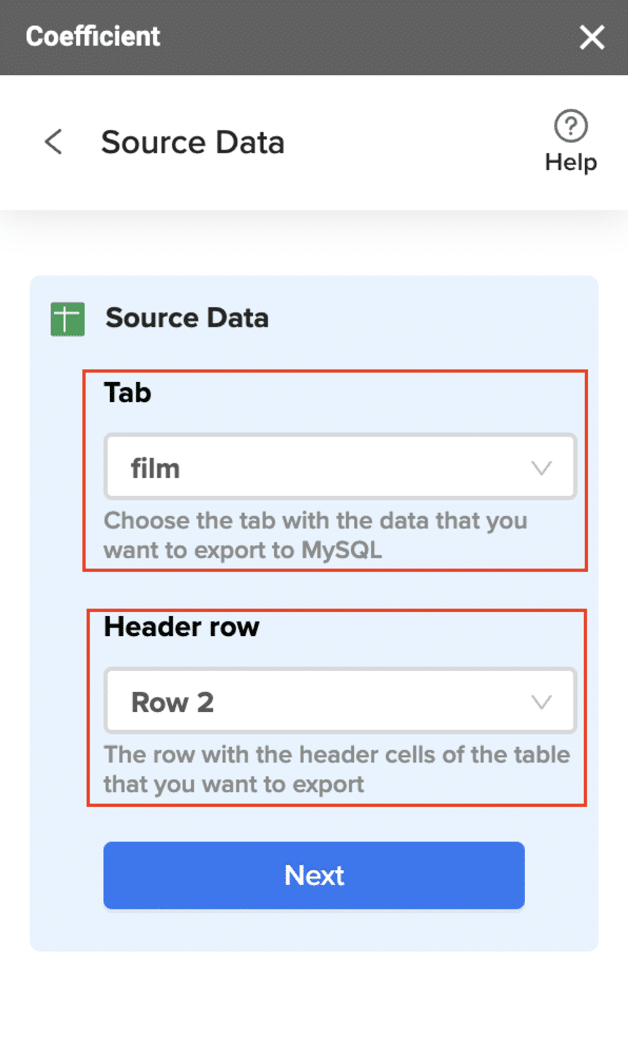
- Select Data and Action: Choose the tab and header row in your sheet that contains the data you want to export. Define your tab and header row. Specify the table in your database where you want to insert the data and choose the action type: Update, Insert, Upsert, or Delete.
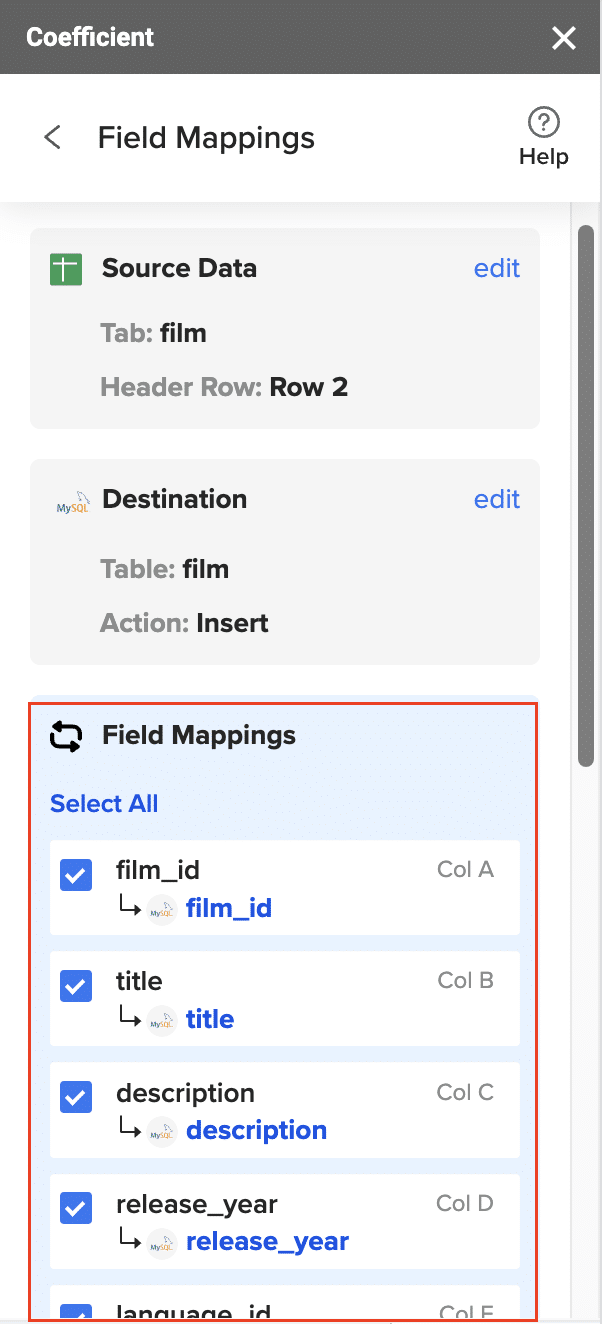
- Map Fields: Map the fields from your Google Sheets data to the corresponding fields in PostgreSQL. Manual mapping is required for first-time setups.
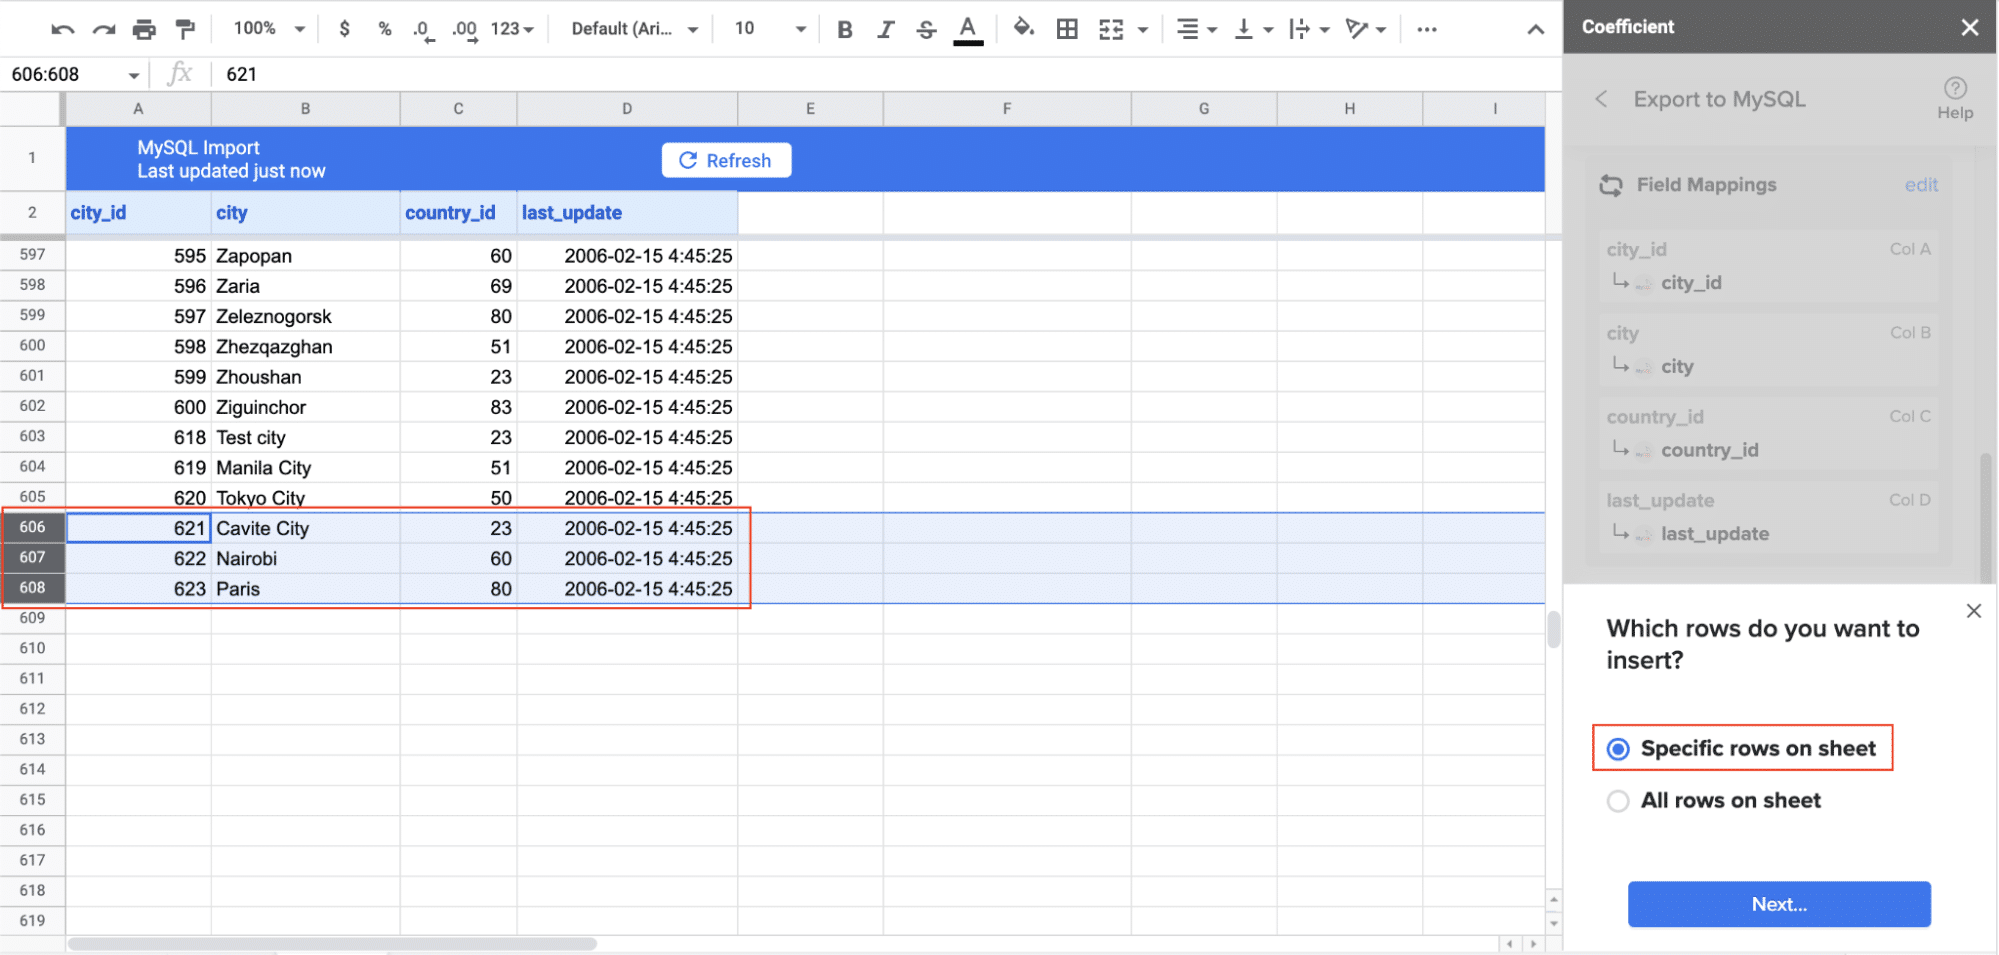
- Customize and Export: Specify batch size and any additional settings. Confirm your settings and click Export.
Pros:
- No coding required
- User-friendly interface
- Flexible data transformation options
- Automated scheduling
- Real-time data updates
Cons:
- Requires Google Sheets
- May not be suitable for very large data volumes
Learn more about connecting Microsoft SQL Server to Google Sheets
Discover how to connect Excel to SQL Server
#2 RudderStack
RudderStack provides a robust event streaming platform for connecting Shopify to PostgreSQL, ideal for organizations requiring real-time data synchronization.
Steps:
Step 1: RudderStack Account Setup
Create and configure your RudderStack workspace with proper access controls and security settings.
# Install RudderStack using Docker
docker pull rudderlabs/rudder-server:latest
docker run -d –name rudderstack-server -p 8080:8080 rudderlabs/rudder-server:latest
Configuration requirements:
- Set up workspace environment
- Configure network security
- Establish access controls
- Enable monitoring tools
Step 2: Shopify Source Configuration
Connect your Shopify store using RudderStack’s dedicated connector with event tracking capabilities.
{
“store_name”: “your-store-name”,
“access_token”: “${SHOPIFY_ACCESS_TOKEN}”,
“api_version”: “2024-01”,
“event_tracking”: {
“orders”: true,
“products”: true,
“customers”: true,
“cart_updates”: true
},
“sync_frequency”: “real-time”
}
Step 3: PostgreSQL Destination Configuration
Set up a secure and optimized PostgreSQL connection for reliable data storage.
destination:
type: “postgres”
config:
host: “your-postgres-host”
port: 5432
database: “shopify_data”
username: “${POSTGRES_USER}”
password: “${POSTGRES_PASSWORD}”
sslmode: “require”
schema: “shopify”
Step 4: Data Transformation Setup
Configure data transformations to normalize and enrich Shopify data before loading into PostgreSQL.
{
“transformations”: [
{
“name”: “order_enrichment”,
“sql”: `
WITH customer_metrics AS (
SELECT
customer_id,
COUNT(*) as total_orders,
SUM(total_price) as lifetime_value
FROM orders
GROUP BY customer_id
)
UPDATE orders o
SET customer_metrics = cm.*
FROM customer_metrics cm
WHERE o.customer_id = cm.customer_id;
`
}
]
}
Step 5: Real-time Sync Implementation
Establish and monitor real-time data synchronization between Shopify and PostgreSQL.
from rudderstack import EventBridge
def configure_sync():
bridge = EventBridge(
batch_size=100,
flush_interval_seconds=30,
retry_attempts=3,
error_threshold=0.01
)
bridge.configure_monitoring(
latency_threshold_ms=1000,
error_notification=”slack”
)
Pros:
- Real-time event streaming
- Advanced data transformations
- Enterprise-grade security
- Extensive API support
Cons:
- Technical setup required
- Higher learning curve
- Premium pricing for advanced features
#3 Airbyte
Airbyte offers an open-source alternative for connecting Shopify to PostgreSQL, providing full customization capabilities and community support.
Steps:
Step 1: Airbyte Installation
Deploy Airbyte in your preferred environment and configure initial system settings.
# Latest recommended installation method
git clone https://github.com/airbytehq/airbyte.git
cd airbyte
./run-ab-platform.sh
Step 2: Shopify Connector Setup
Configure the Shopify source connector with appropriate authentication and data selection.
{
“source_config”: {
“shop_name”: “your-store.myshopify.com”,
“access_token”: “${SHOPIFY_ACCESS_TOKEN}”,
“start_date”: “2024-01-01T00:00:00Z”,
“selected_streams”: [
“orders”,
“products”,
“customers”,
“inventory_items”
]
}
}
Step 3: PostgreSQL Destination Configuration
Establish a robust PostgreSQL connection with proper optimization settings.
destination:
type: postgres
host: your-postgres-host
port: 5432
database: shopify_analytics
username: ${POSTGRES_USER}
password: ${POSTGRES_PASSWORD}
schema: shopify_raw
ssl_mode: require
connection_options:
sslmode: require
application_name: airbyte_sync
Step 4: Sync Schedule Definition
Create an efficient synchronization schedule that balances data freshness with system resources.
{
“sync_config”: {
“schedule_type”: “incremental”,
“schedule_interval”: “1 hour”,
“sync_mode”: {
“orders”: “incremental”,
“products”: “full_refresh”,
“customers”: “incremental”
},
“cursor_field”: “updated_at”
}
}
Step 5: Data Flow Monitoring
Implement comprehensive monitoring for data synchronization health and performance.
from airbyte_client import AirbyteClient
def monitor_sync():
client = AirbyteClient()
metrics = {
“sync_status”: client.get_sync_status(),
“records_synced”: client.get_sync_metrics(),
“error_rate”: client.get_error_rate(),
“latency”: client.get_sync_latency()
}
if metrics[“error_rate”] > 0.05:
send_alert(“High error rate detected”)
Pros:
- Open-source flexibility
- Community support
- Custom connector development
- Self-hosted option
Cons:
- Technical expertise required
- Self-maintenance needed
- Limited support options
Start Syncing Your Shopify Data Today
Connecting your Shopify store to PostgreSQL opens up a world of possibilities for data analysis and business intelligence. Whether you choose the user-friendly Coefficient method, the real-time capabilities of RudderStack, or the open-source flexibility of Airbyte, you’re now equipped with the knowledge to get started.
For those looking for a straightforward, no-code solution that maintains data accuracy and provides automated updates, Coefficient is an excellent choice. Start your free trial today and begin syncing your Shopify data to PostgreSQL with ease.
Remember, the key to success is choosing the method that best fits your technical expertise and business needs. By connecting Shopify to PostgreSQL, you’re taking a significant step towards making data-informed decisions and driving your business forward.
Learn more about connecting Microsoft SQL Server to Google Sheets


