Tired of juggling multiple tools to analyze your Zendesk customer support data? Integrating Zendesk API with Excel can help you save time and gain deeper insights.
This guide explores the benefits of connecting Zendesk API to Excel and provides step-by-step solutions for users of all skill levels.
How to Connect Zendesk API to Excel: 3 Methods
Method 1| Coefficient: No-Code, Fully Automated
Coefficient is the fastest, easiest way to export Zendesk data to Excel for technical and non-technical users alike.
Coefficient’s no-code interface makes it easy for anyone to safely get the data they need into their Connected Spreadsheet in a few clicks. This is particularly useful for Excel for Web users who do not have access to Power Query.
To install Coefficient, open Excel from your desktop or in Office Online.
Click ‘File’ > ‘Get Add-ins’ > ‘More Add-Ins.’
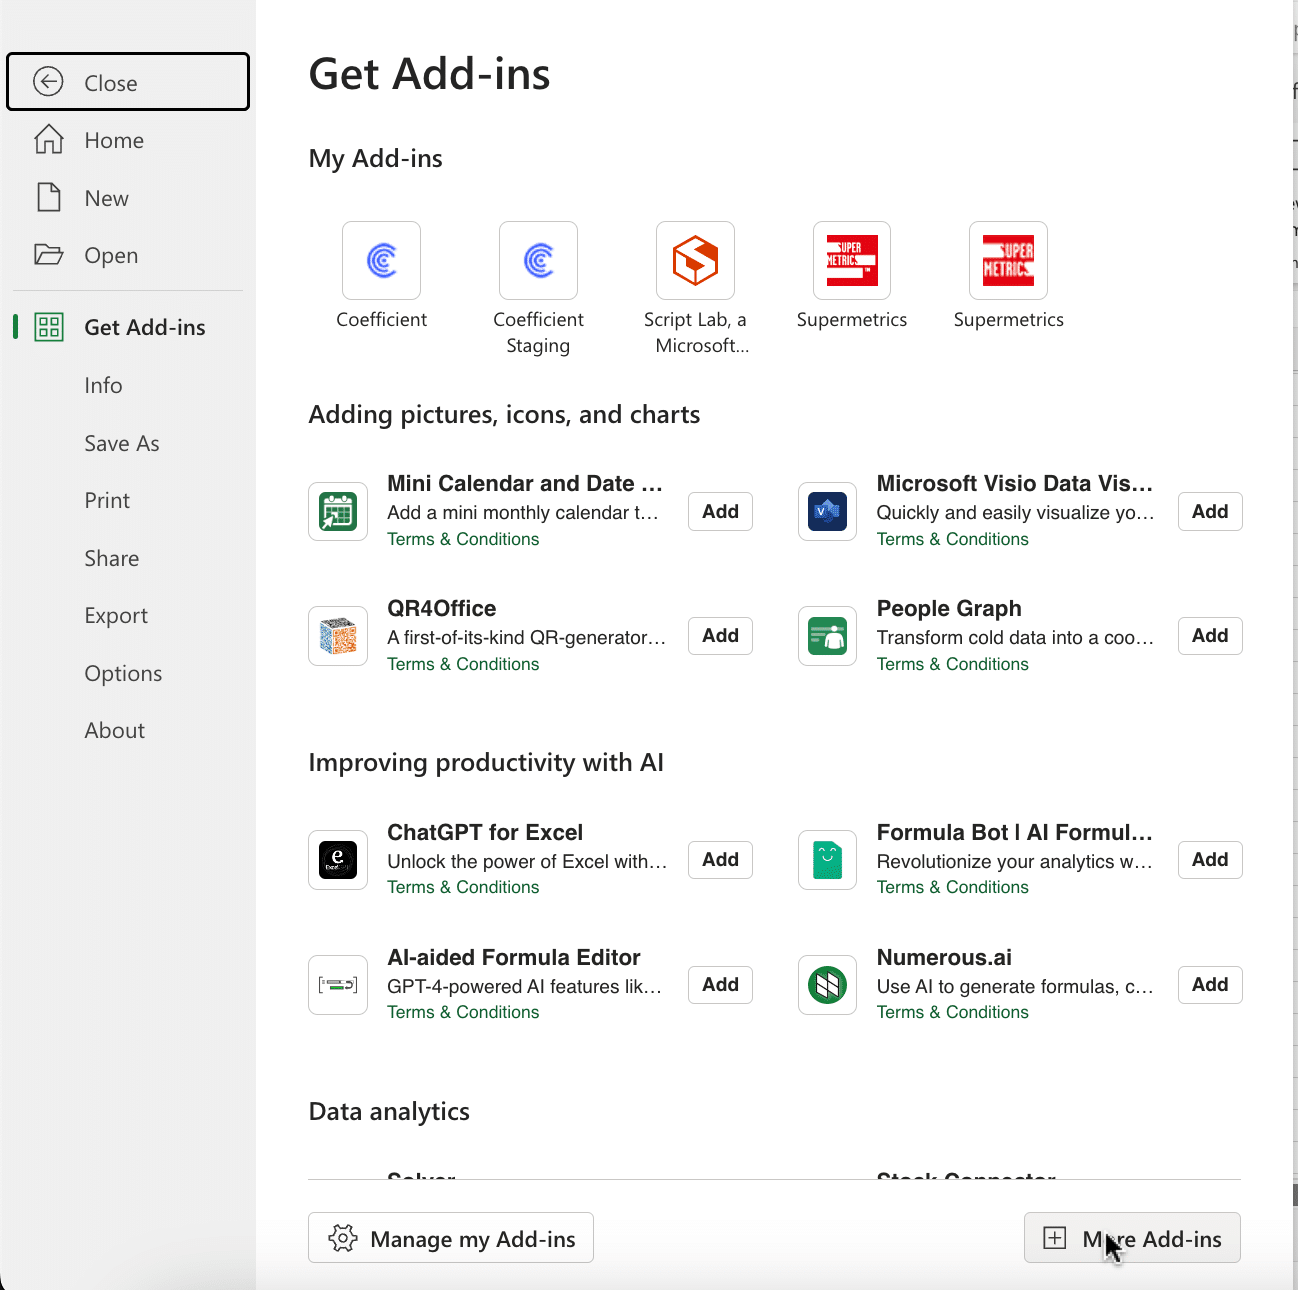
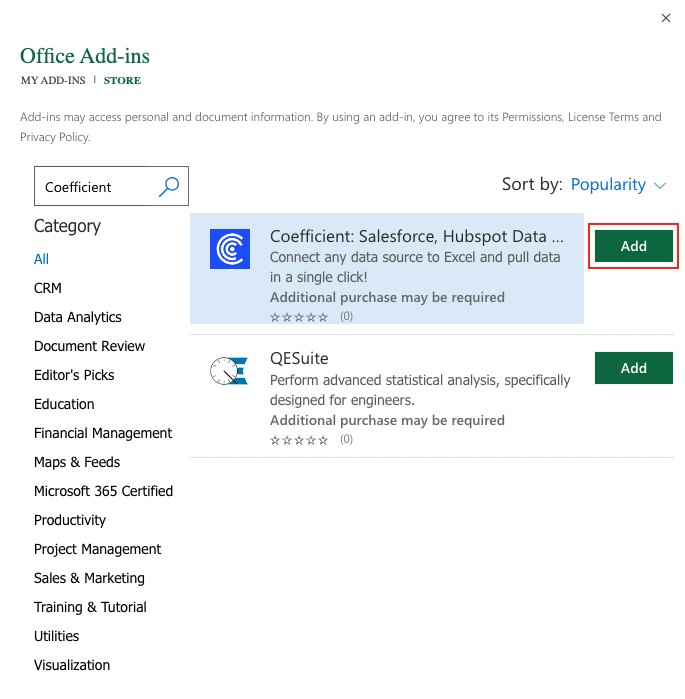
Type “Coefficient” in the search bar and click ‘Add.’
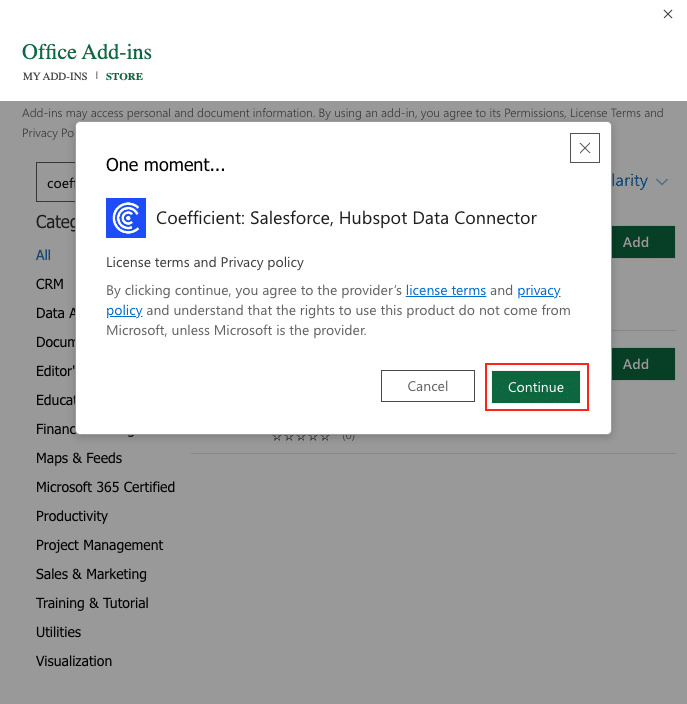
A pop-up will open up. Follow the prompts to complete the installation.
Once finished, you will see a “Coefficient” tab at the top navigation bar.
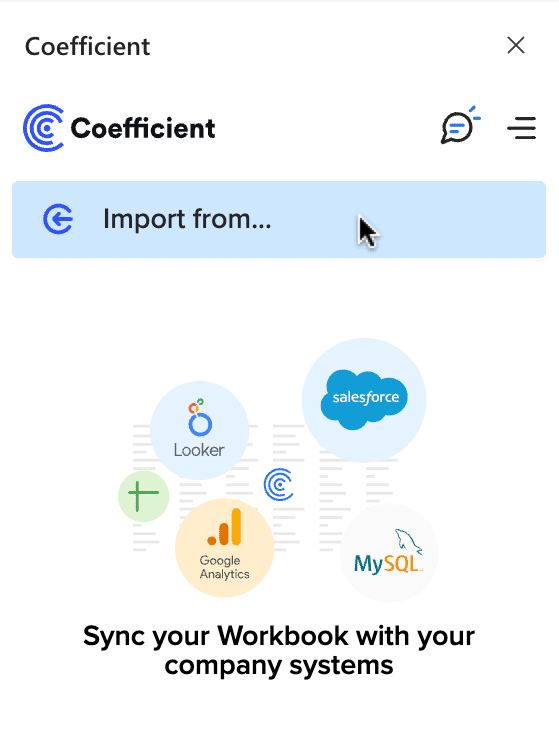
Click ‘Open Sidebar’ to launch Coefficient.
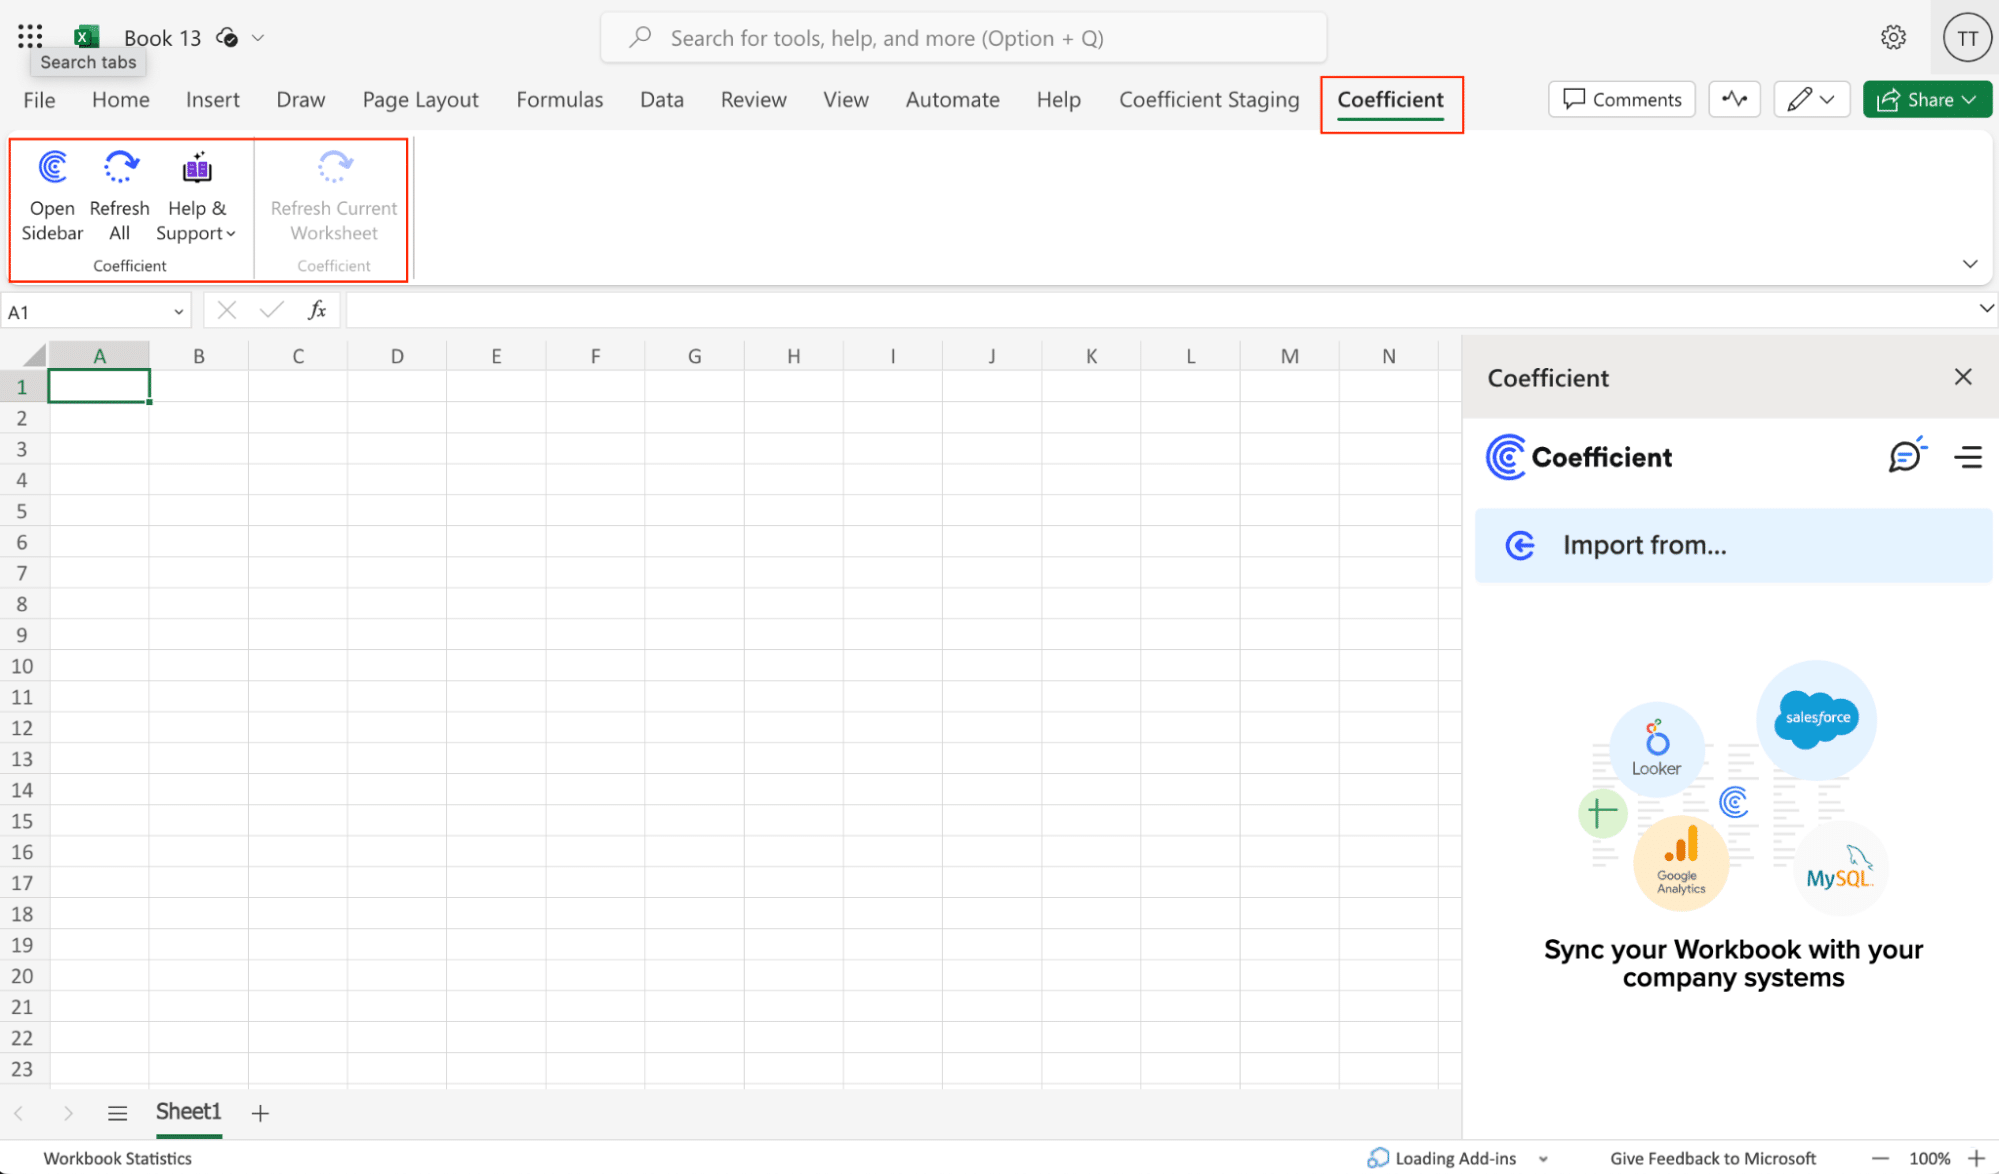
Select ‘Import from…’
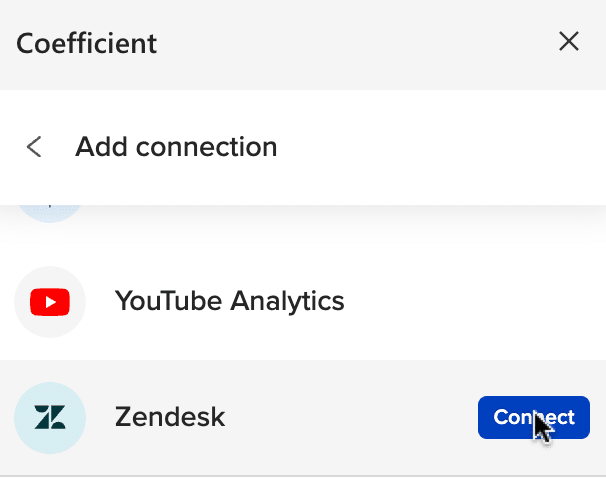
Scroll down until you see Zendesk and click ‘Connect.’
Input your Zendesk Account URL in the box provided and click Authorize.
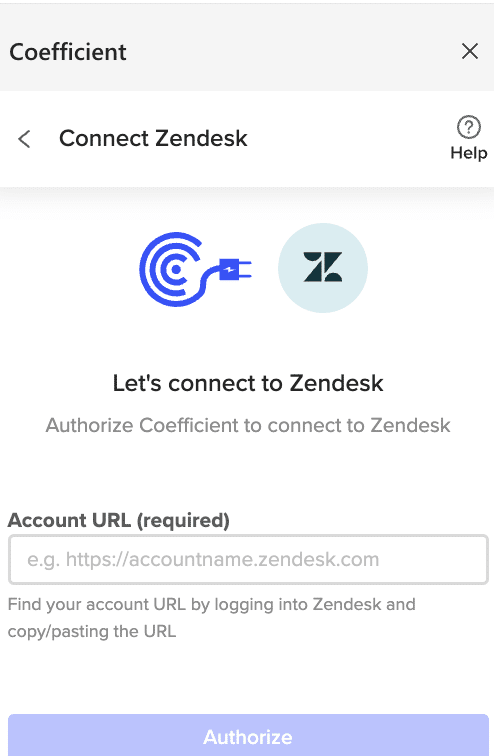
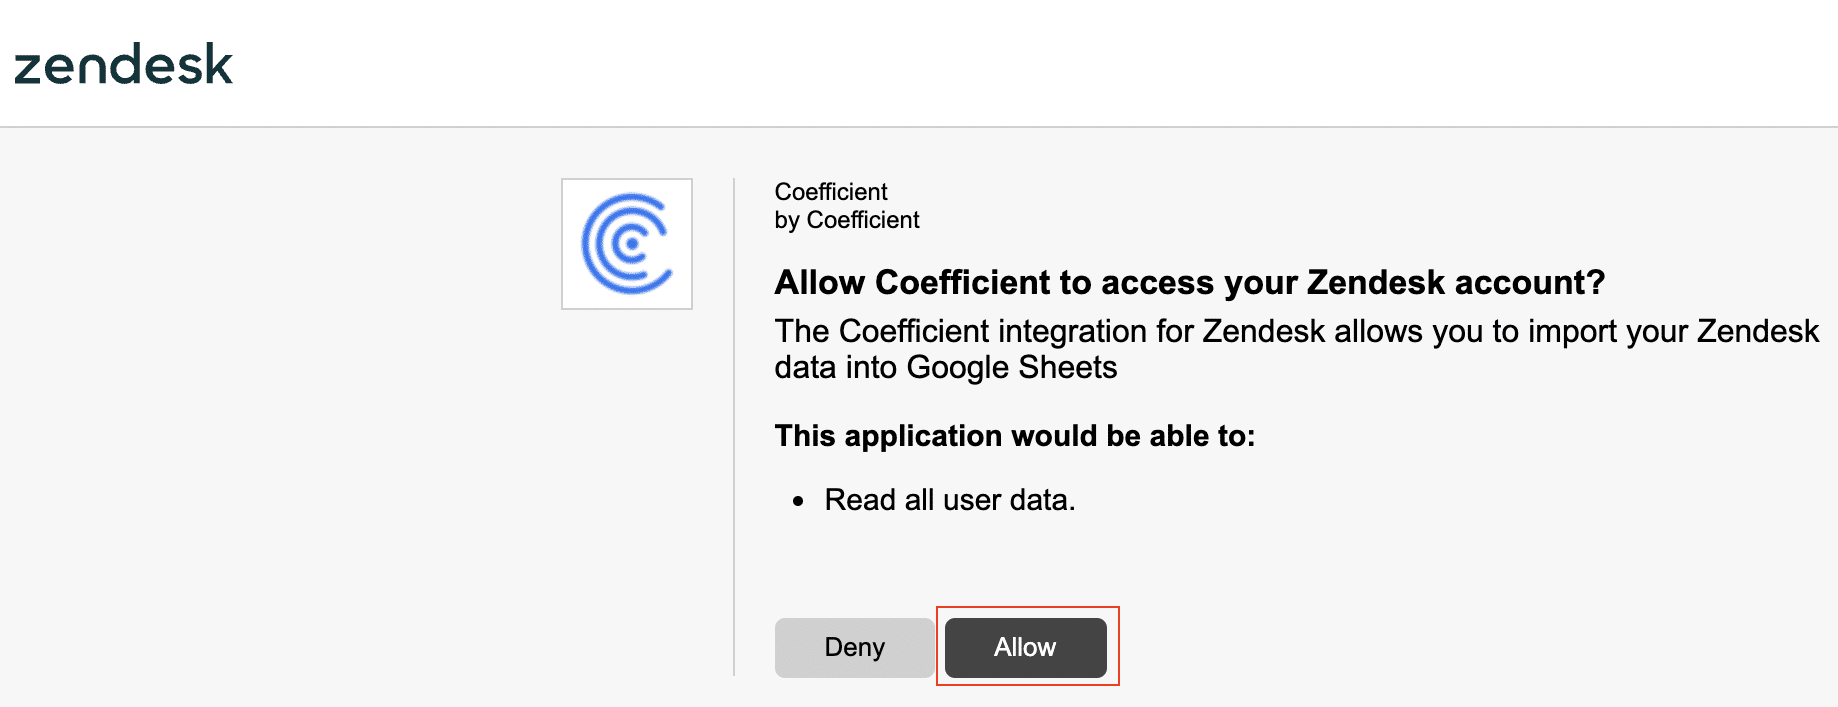
Allow Coefficient to access your Zendesk account.
After authorizing your account, return to Zendesk from Coefficient’s menu.
Click ‘Start from Scratch.’
Customize by adding filters as needed.
ℹ️ NOTE: The filters use standard Zendesk fields, not custom fields (so if you have a custom priority field it will not be shown here).
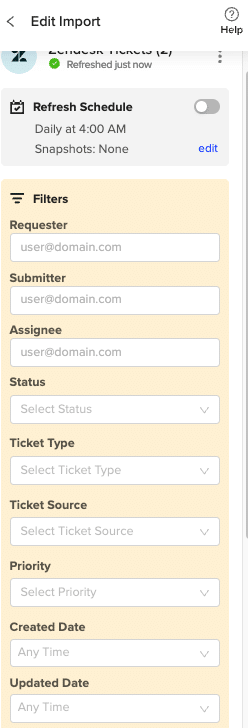
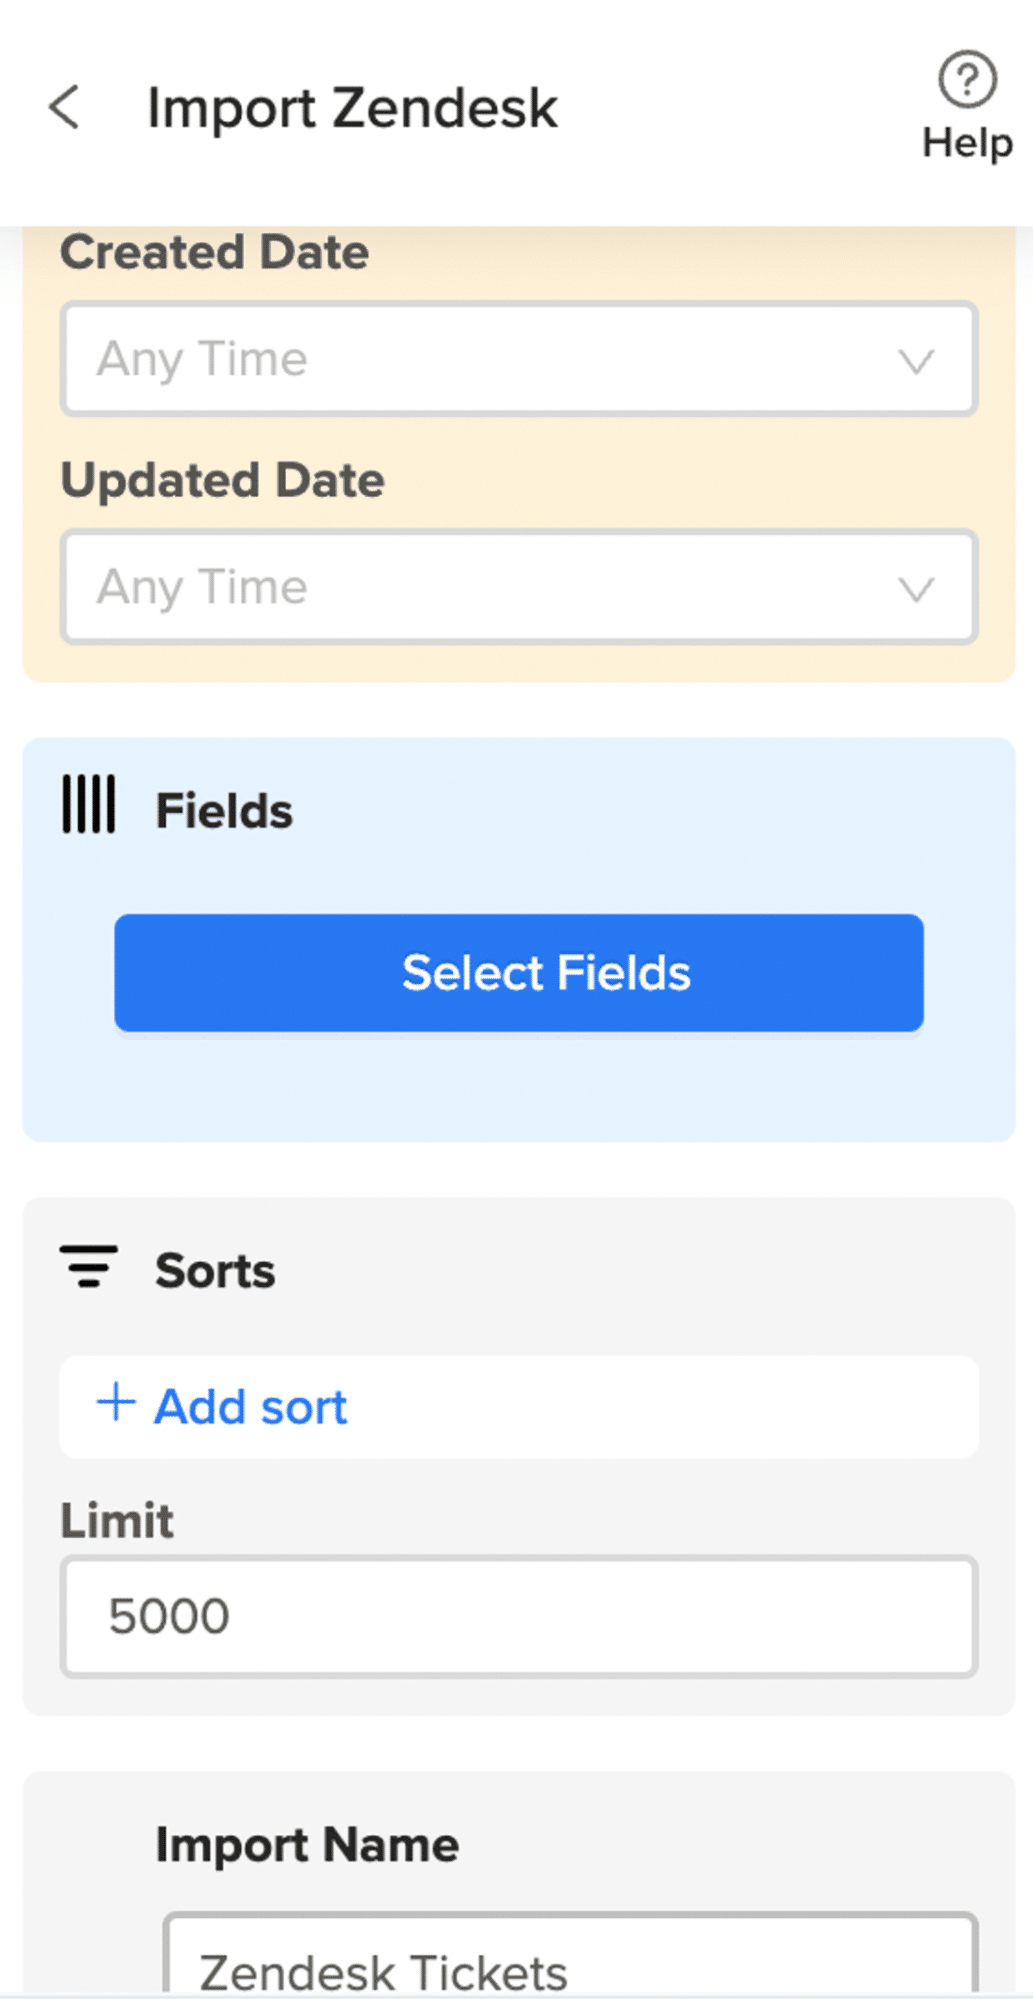
Add/Select your dates. You can also specify a specific date range. (Example: Tickets from January 1, 2022, to March 31, 2022, or Q1-2022). Then click “Select Fields”.
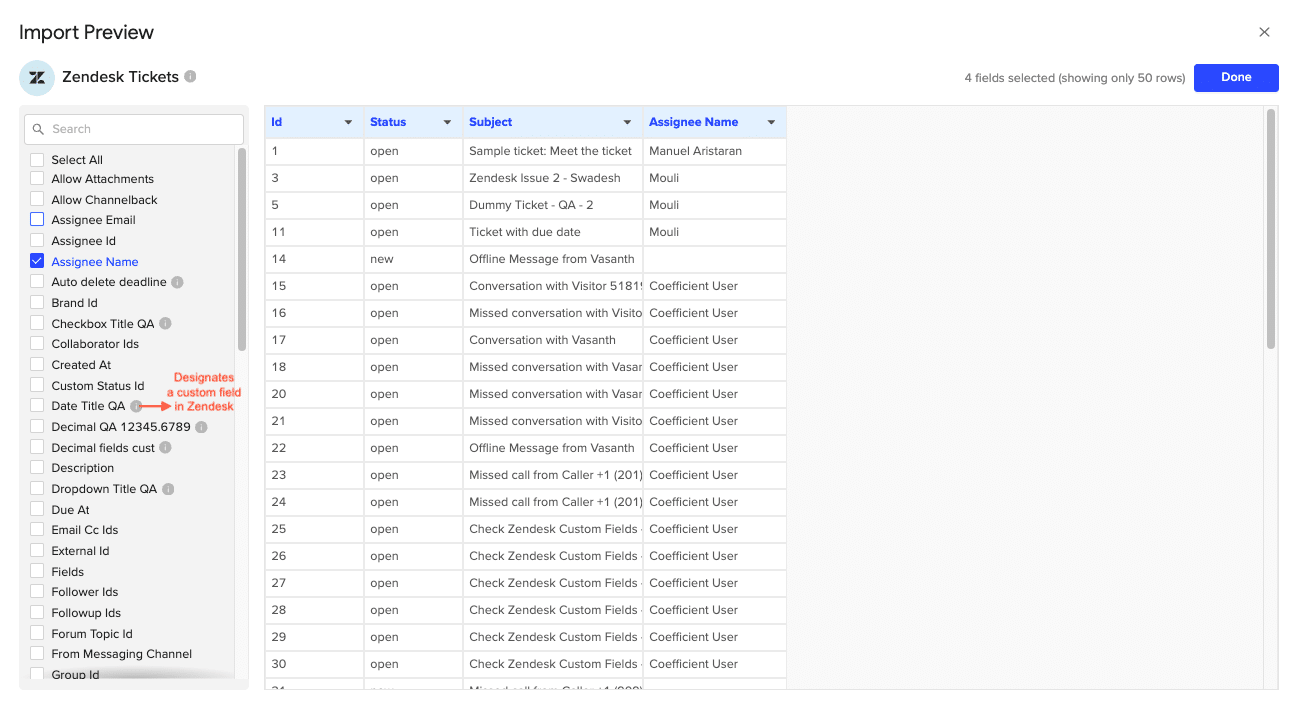
Select the fields for your import (check/uncheck the boxes).
Custom fields will have an “i-icon” next to them in the list. This is meant to help you distinguish between Standard and Custom Fields that may share the same name.
Fields/column header order can be adjusted by dragging and dropping the column to reflect the desired order. Then select “Done”.
From this screen you can sort the import results, limit the results, and name your import (unique names are recommended). Then click “Import”.
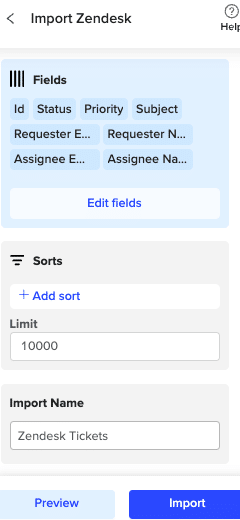
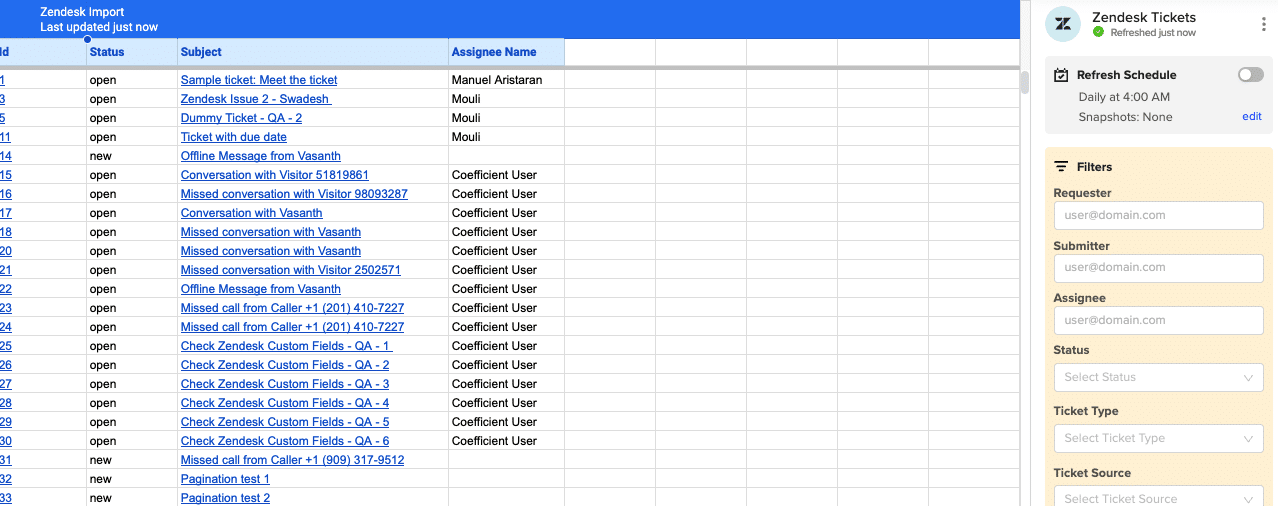
Congratulations on your Zendesk import with Coefficient.
You can also set up automatic data updates to schedule data syncs between Zendesk and Excel. Choose whether to run daily, hourly, or weekly automatic data updates.
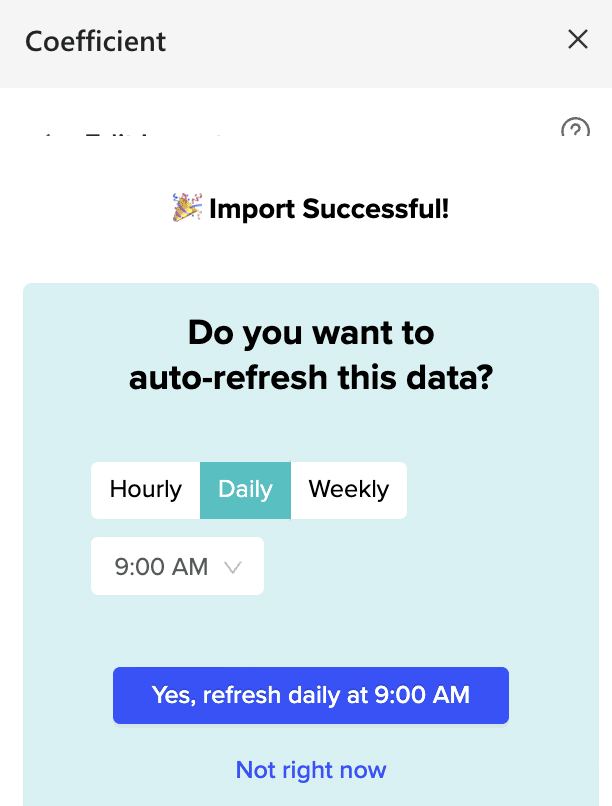
With automatic data updates, your Zendesk data is always up-to-date in your spreadsheet. That means you can build live dashboards and reports on top of the data without performing cumbersome manual updates.
Pros:
- User-friendly with no coding
- Live data updates
- Quick setup
Cons:
- Advanced features come with a cost, but they’re worth the investment for the value they provide
Method 2 | Power Query Method: Manual Integration Using Excel
For those preferring manual control, Zendesk supports data export in various formats.
Before starting, be aware of the following:
- You must be an admin to export tickets, including ticket data
- JSON and CSV exports are unavailable in sandbox accounts
- You can’t run multiple exports for the same data type simultaneously, such as users, organizations, and tickets
- The export process can take several minutes to hours, depending on your account’s ticket activity and the requested date range
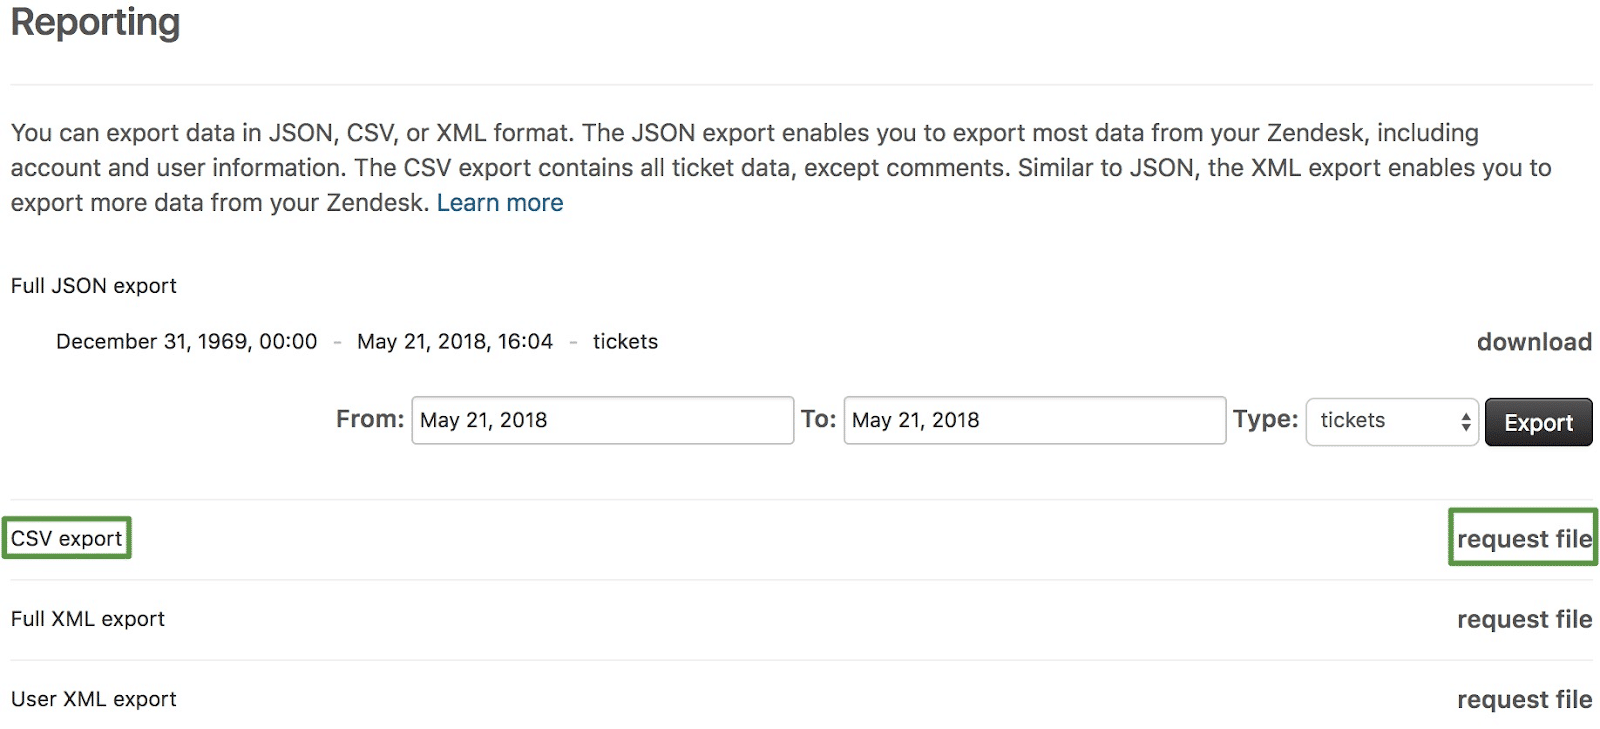
To start your Zendesk export, go to the Admin Center and click Account on the sidebar. Select Tools and then Reports.
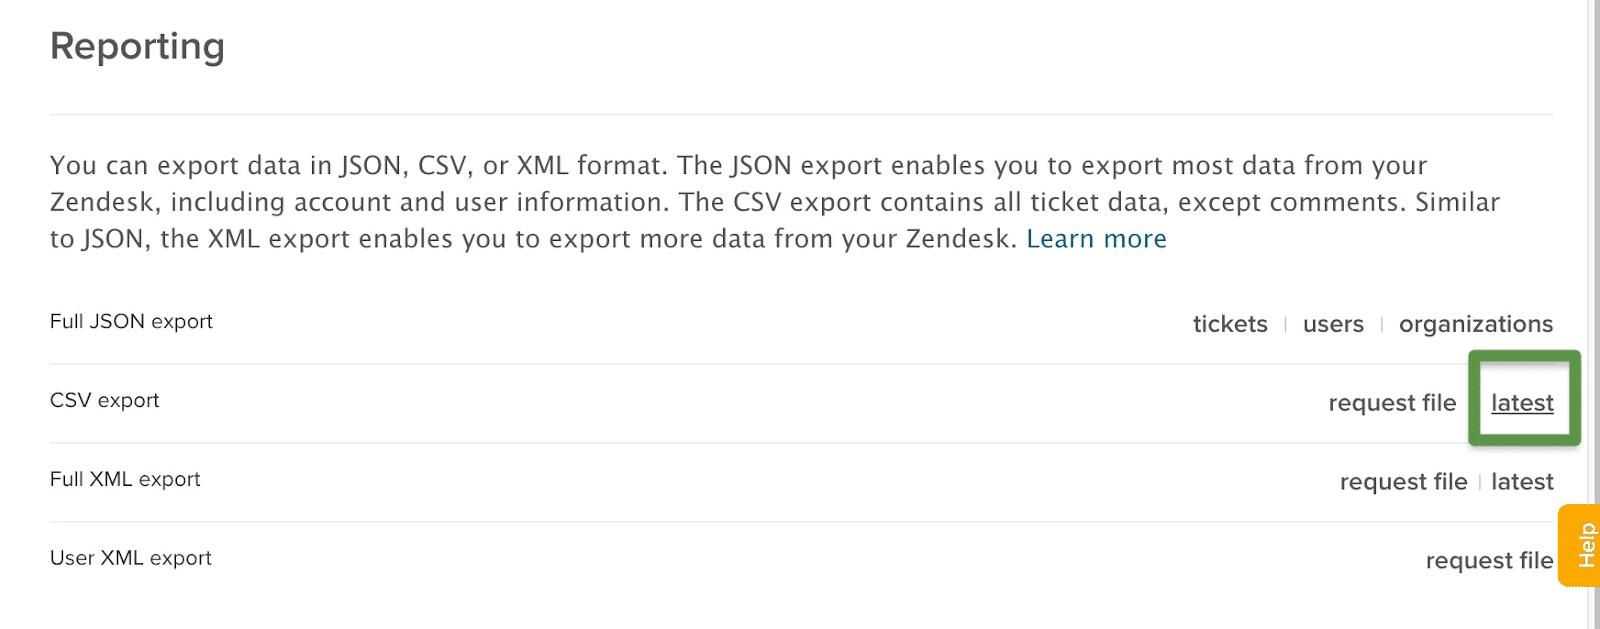
Click on the Export tab to show the data export options. Next, choose CSV as your export option by clicking Request file.

Stop exporting data manually. Sync data from your business systems into Google Sheets or Excel with Coefficient and set it on a refresh schedule.

A background job will start running, and you’ll receive a notification through email when your export is complete.
Click the link within the notification email from Zendesk to download the zip file containing your export data. Download links are valid for at least three days.
If you didn’t receive the email notification, click on latest on the far right side of CSV export to download the newest export.
Key Points for CSV Exports:
- CSV files exclude ticket comments, deleted tickets, and descriptions.
- All timestamps in CSV exports adjust to your account’s default timezone.
- Dates in the CSV might not align with those in Explore or JSON exports.
- CSV files have a 1 MB limit per ticket; larger tickets won’t be fully included.
Pros:
- The ability to export data in multiple formats such as CSV, JSON, and XML, Zendesk offers flexibility depending on your analysis needs and preferences in Excel.
Cons:
- Data export is restricted to enterprise agents and administrators.
- Enabling exports may require Zendesk support assistance.
- This feature is available only on select plans like Enterprise or Professional
Method 3| Zapier
Zapier Integration Zapier is a web-based service that allows you to create automated workflows between different apps, including Zendesk and Excel.
Here’s a step-by-step guide on how to set it up:
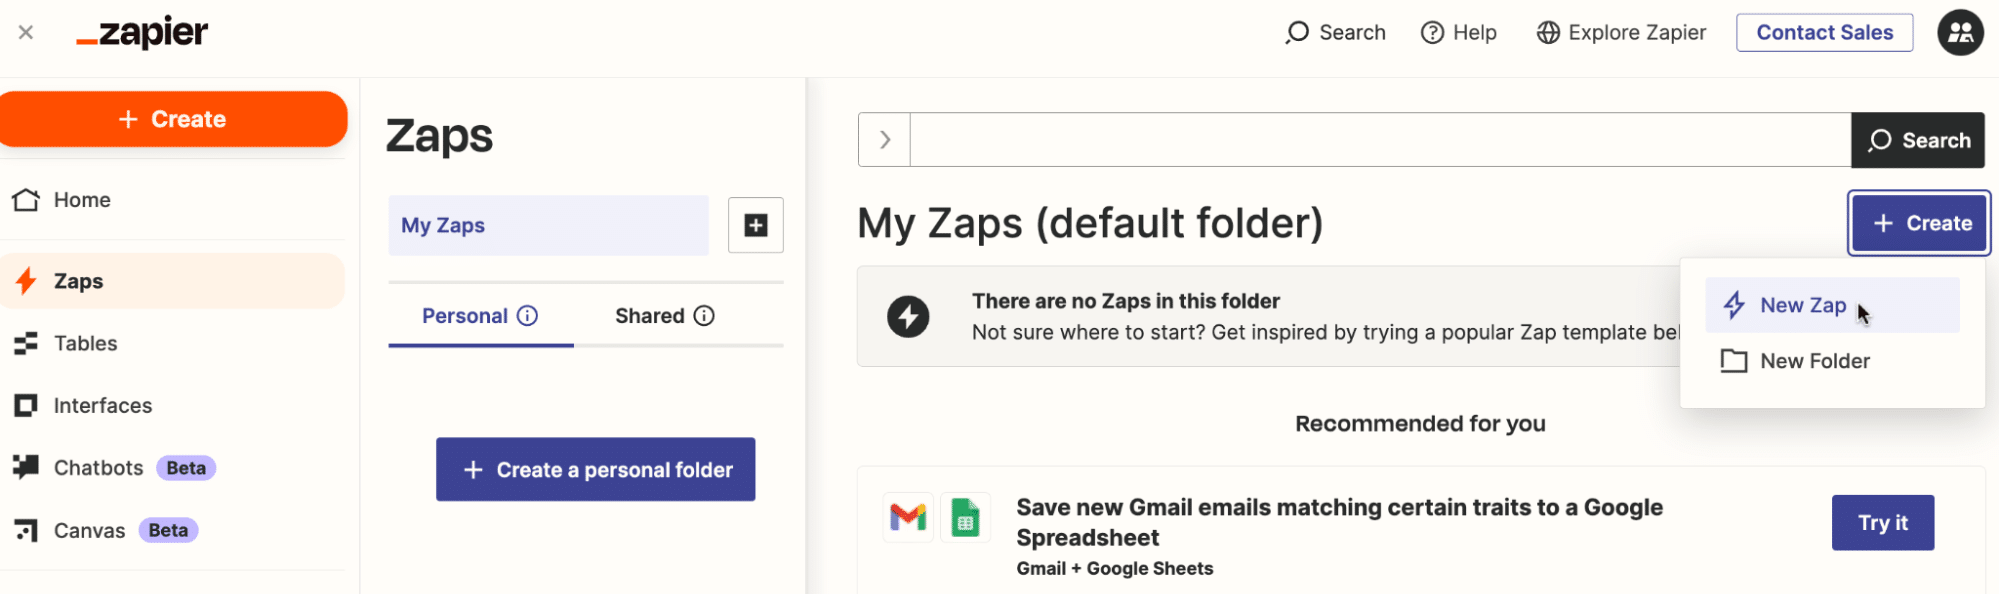
Log into your Zapier account. Click ‘+ Create’ > ‘New Zap.’
Choose Zendesk as your trigger app and select the event that will trigger the workflow (e.g., New Report)

Choose Zendesk as your trigger app and select the event that will trigger the workflow (e.g., New Report). Follow the prompts to connect your Zendesk account to Zapier.
Connect your Zendesk account to Zapier by providing your API key, following the steps above.
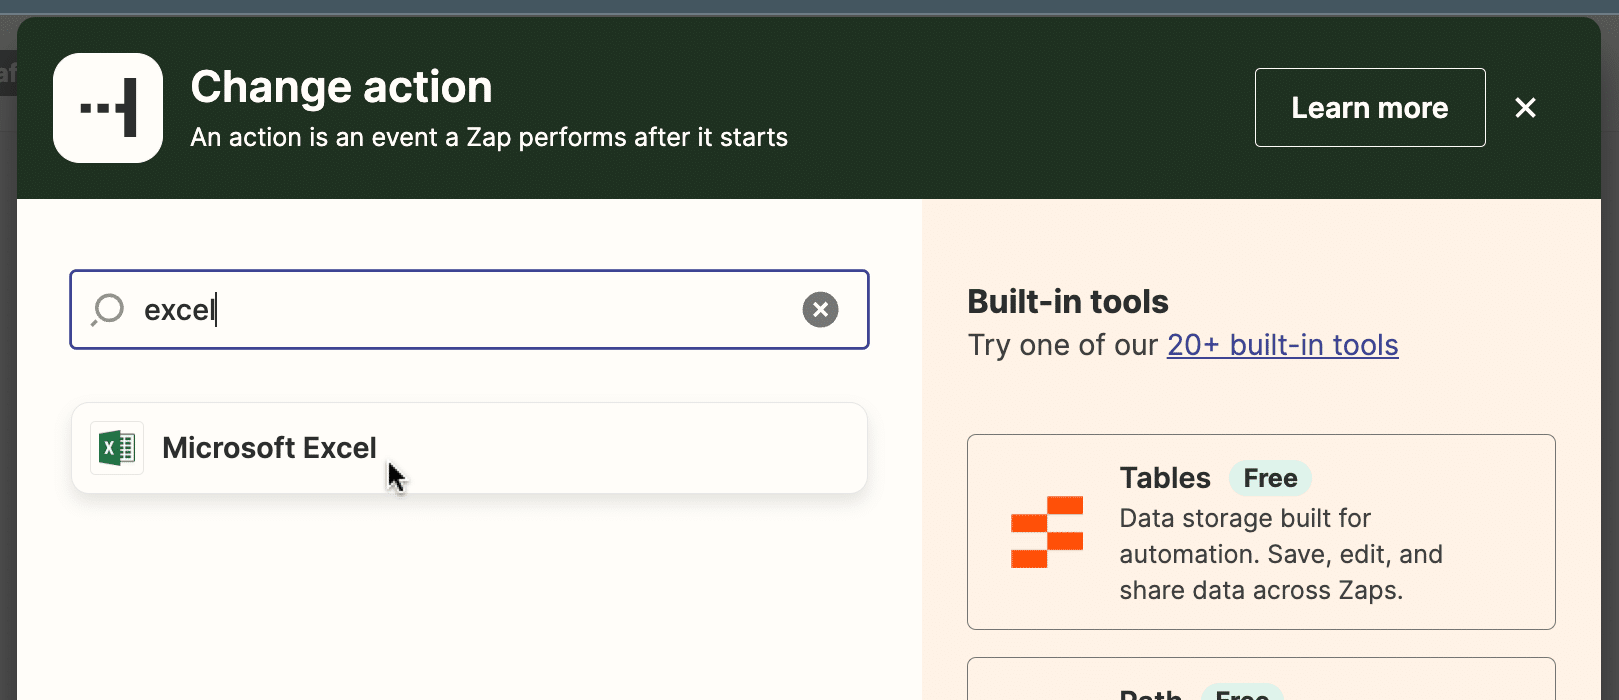
Choose Microsoft Excel Online as your action app.
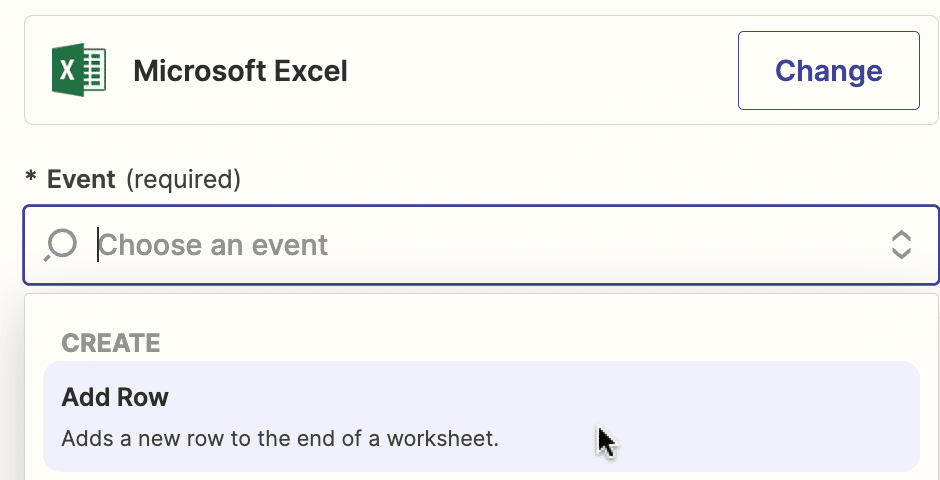
Select “Create Spreadsheet Row” as the action event.
Follow the prompts to connect your Microsoft account.
From here:
- Map the data fields from Zendesk to the corresponding columns in your Excel spreadsheet.
- Test your Zap to ensure it’s working correctly.
- Turn on your Zap, and it will automatically add new Microsoft Ads data to your Excel spreadsheet as it comes in.
Pros:
- Automates data transfer between Zendesk and Excel
- No coding required
- Flexible trigger options (daily, weekly, monthly)
Cons:
- Requires a Zapier subscription for more advanced features and higher volume of tasks
- May have some limitations in terms of customization compared to the API method
- Dependent on Zapier’s platform stability and performance
Taking the Next Steps with Zendesk API to Excel Integration
Integrating Zendesk API with Excel enriches your data analysis capabilities, enabling more informed decision-making. Whether you prefer the simplicity of Coefficient, the customizability of Power Query, or the advanced automation of VBA, there’s a solution that fits your skill level and needs.
Embrace the power of live data analysis by exploring Coefficient’s seamless integration solutions today. Start your journey towards more efficient and insightful data handling by visiting Coefficient.


