Are you looking to streamline your data collection and management processes? Connecting Typeform, a powerful online form and survey tool, to Salesforce, the world’s leading CRM platform, can help you do just that. In this blog post, we’ll explore the benefits of integrating these two platforms and provide step-by-step guides for three methods: Coefficient, Zapier, and MuleSoft.
Advantages of Connecting Typeform to Salesforce
Integrating Typeform with Salesforce offers several key advantages that can greatly improve your business operations:
- Dynamic Lead Scoring: Utilize Typeform responses to automatically adjust lead scores in Salesforce. For instance, if a prospect shows high interest in a specific product feature through a Typeform survey, their lead score can be instantly updated, allowing sales teams to prioritize high-potential leads more effectively.
- Personalized Customer Journeys: Leverage Typeform data to trigger tailored marketing automation workflows in Salesforce. For example, based on a customer’s preferences captured in a Typeform survey, you can automatically enroll them in relevant nurture campaigns, ensuring more targeted and effective communication.
- Real-time Customer Feedback Loop: Create a continuous improvement cycle by syncing customer feedback from Typeform directly into Salesforce. This allows you to track product satisfaction trends, identify at-risk accounts, and empower your customer success team with up-to-date insights for more proactive engagement.
Connecting Typeform to Salesforce (3 Methods)
| Solution Name | Best For |
| Coefficient | Marketing teams in small to medium-sized businesses who frequently work with spreadsheets. Ideal for organizations that need to combine Typeform data with other metrics in Google Sheets before pushing to Salesforce. |
| Zapier | Growing businesses with diverse software ecosystems beyond just Typeform and Salesforce. Best for companies that need to create multi-step workflows involving additional apps (e.g., sending Slack notifications for high-priority submissions or updating project management tools). |
| MuleSoft | Large enterprises or organizations with complex, multi-system architectures. Optimal for IT teams that need to build scalable, bi-directional integrations between Typeform, Salesforce, and other enterprise systems. |
How to Connect Typeform to Salesforce: Step-by-Step Tutorial
Method 1: Coefficient – No-Code, User-Friendly

Coefficient is a no-code tool that connects Google Sheets to various business systems, including Salesforce, making data transfer a breeze. With Coefficient, you can easily import Typeform responses into Google Sheets and then export that data to Salesforce, all without writing a single line of code.
Features
- No-code setup: Easily connect Typeform and Salesforce without any programming knowledge.
- Real-time data updates: Keep your Salesforce records in sync with the latest Typeform responses.
- Automated synchronization: Schedule automatic data transfers to keep your systems up-to-date.
Pros and Cons
Pros:
- Simple setup process: Easy to set up and use, even for non-technical users.
- Automatic data updates: Keeps data synchronized in real-time without manual intervention.
- Affordable pricing plans: Suitable for businesses of all sizes with budget-friendly options.
Cons:
- Scheduled automations are not available in the free version: Advanced scheduling features require a paid plan.
How to Connect Typeform to Salesforce with Coefficient
Step 1: Install the Coefficient
For Google Sheets
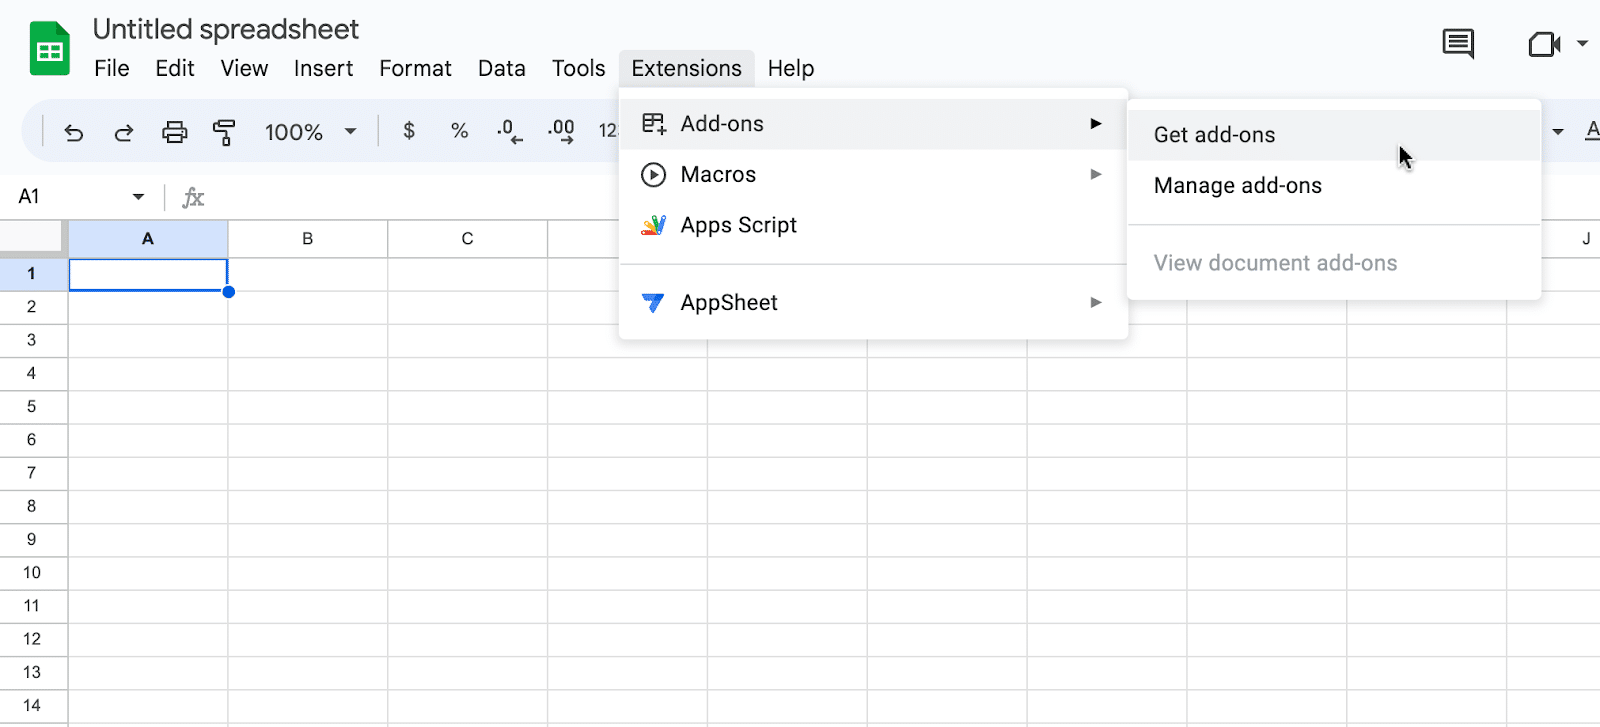
Open a new or existing Google Sheet, navigate to the Extensions tab, and select Add-ons > Get add-ons.
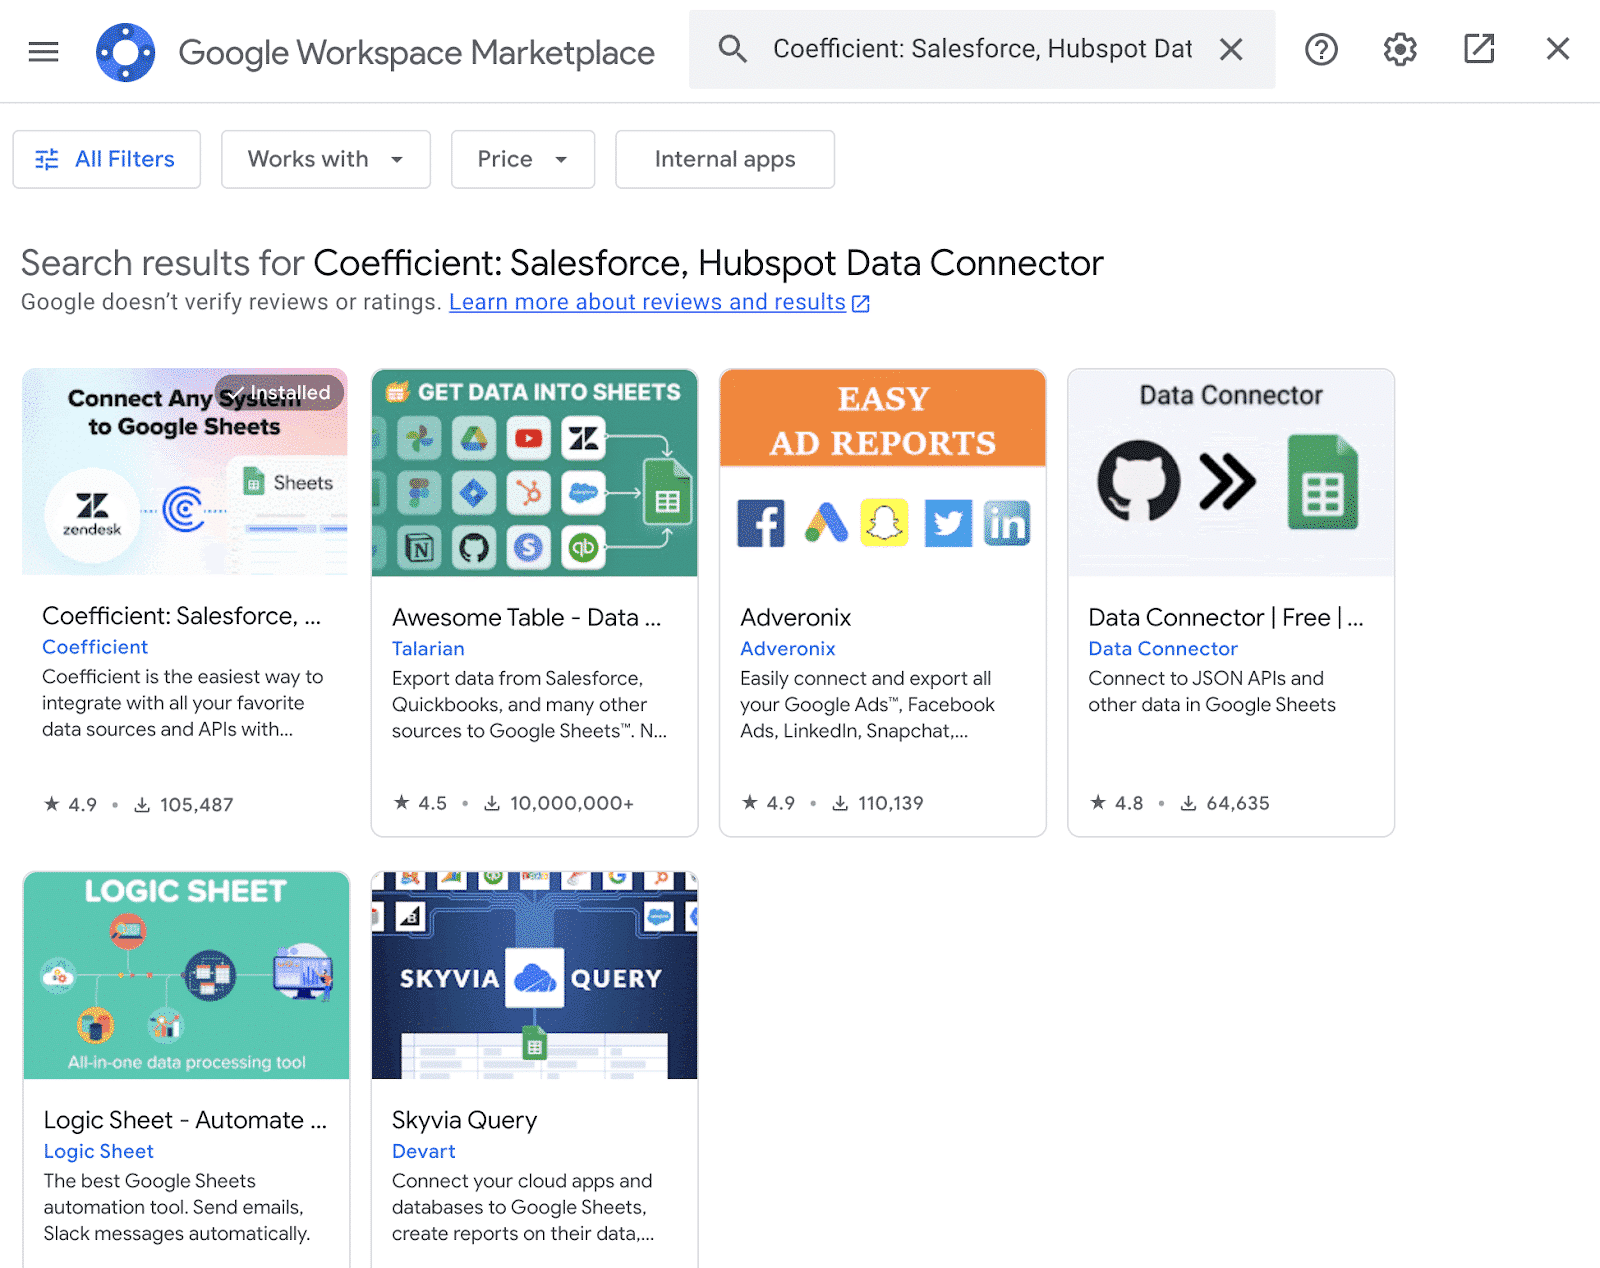
In the Google Workspace Marketplace, search for “Coefficient.”
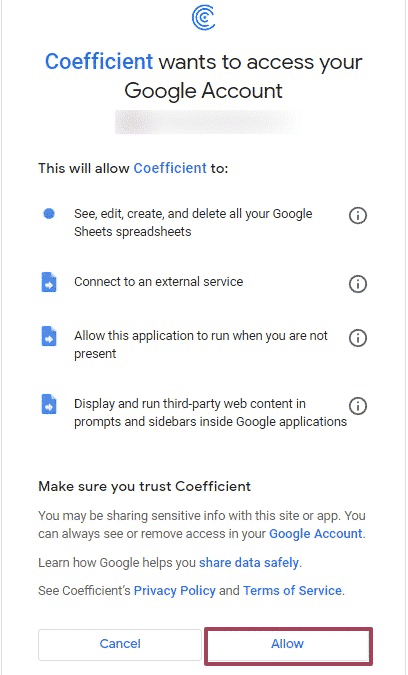
Follow the prompts to grant necessary permissions.
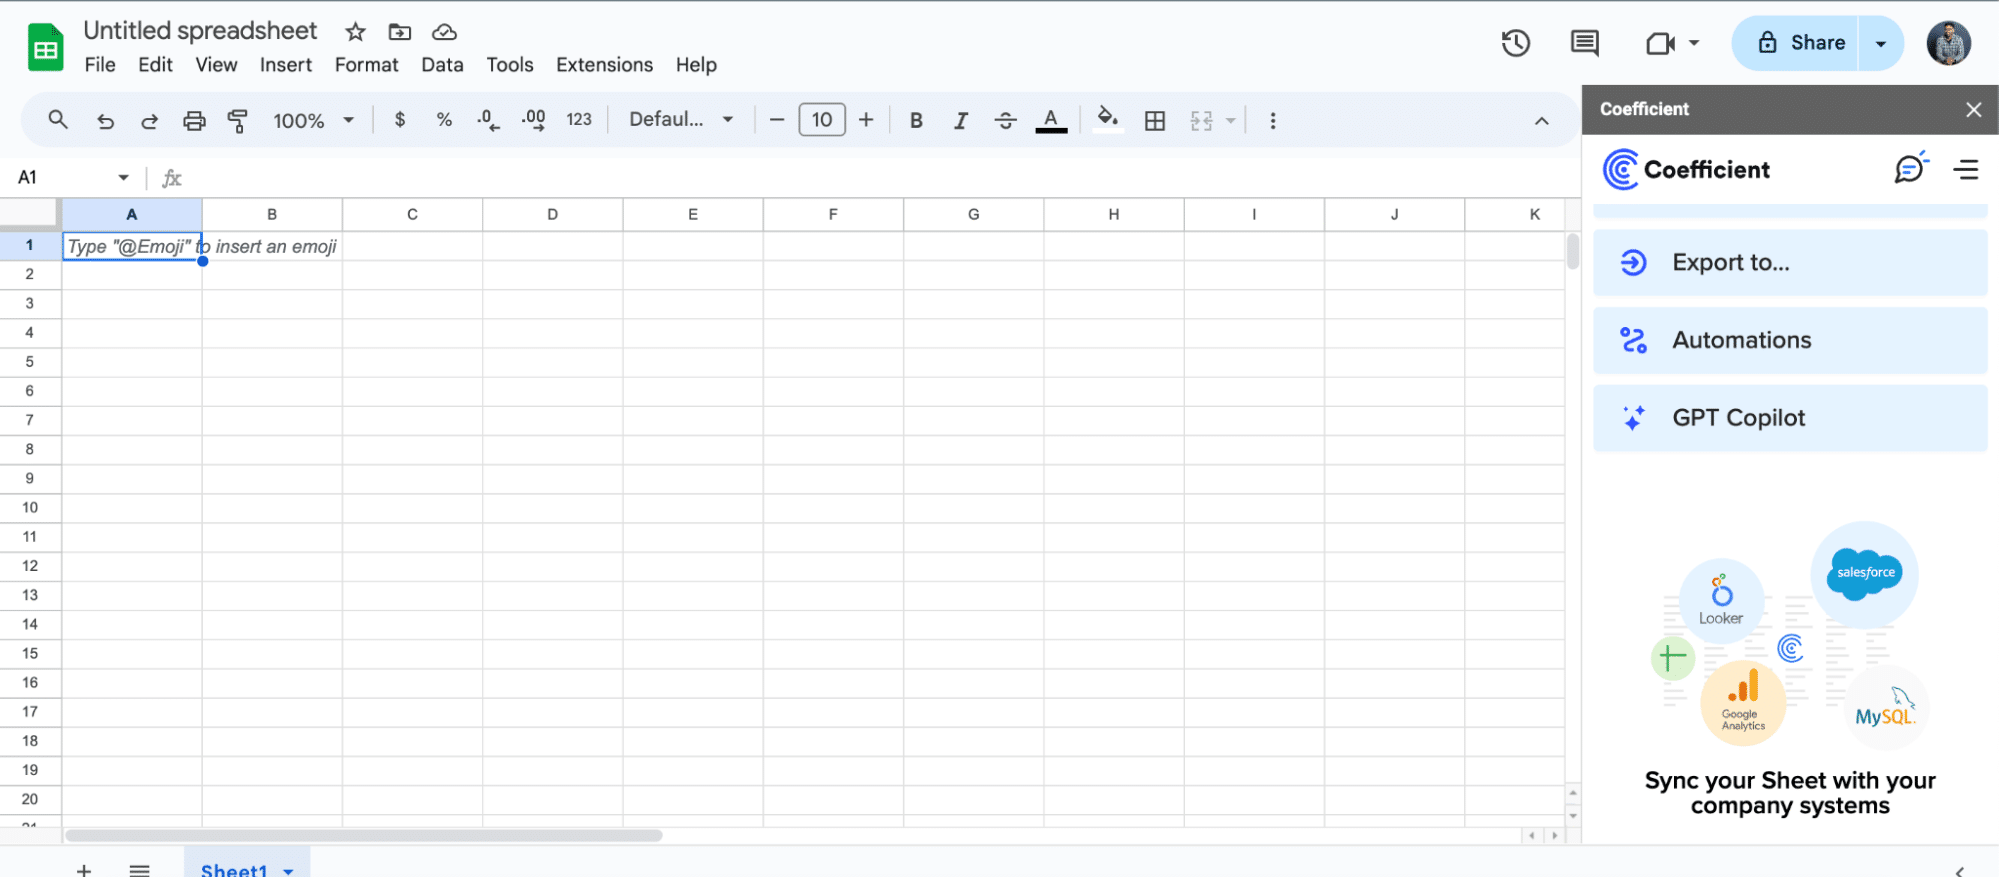
Launch Coefficient from Extensions > Coefficient > Launch.

Coefficient will open on the right-hand side of your spreadsheet.
For Microsoft Excel
Open Excel from your desktop or in Office Online. Click ‘File’ > ‘Get Add-ins’ > ‘More Add-Ins.’

Type “Coefficient” in the search bar and click ‘Add.’

Follow the prompts in the pop-up to complete the installation.
Once finished, you will see a “Coefficient” tab in the top navigation bar. Click ‘Open Sidebar’ to launch Coefficient.

Step 2. Import Typeform Data into your Spreadsheet
With Coefficient installed, you’re now ready to import your Typeform data into Excel. Let’s walk through the process step by step:
In the Coefficient sidebar, click on “Add a Data Source.” Select “Typeform” from the list of available data sources.


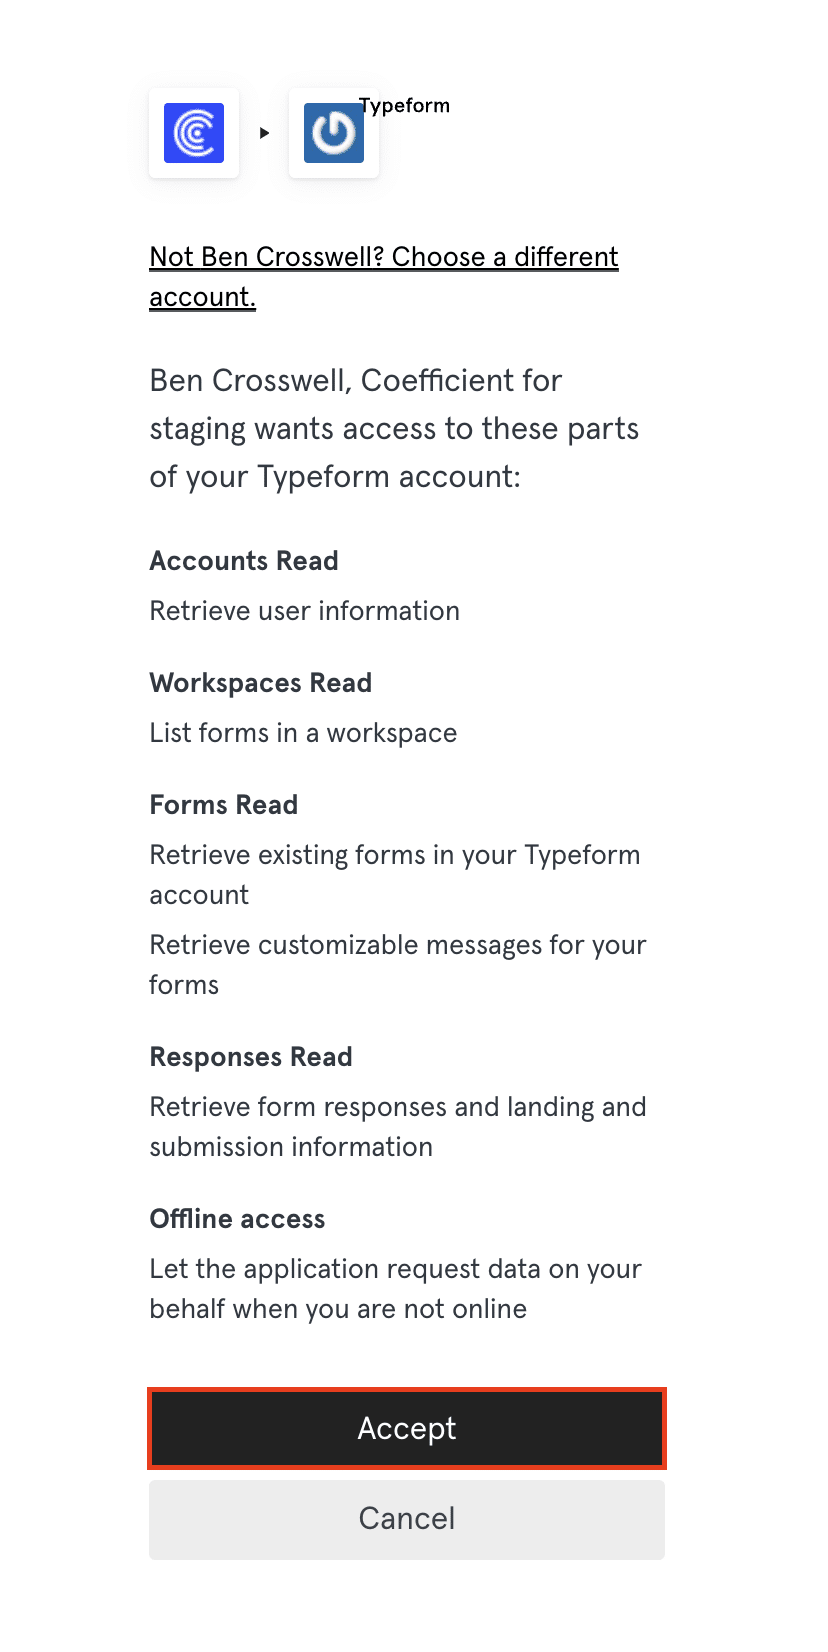
Select an object from the available options, such as “Get Forms”, “Get Form Responses”, or “Get Workspaces.”

For this example, select “Get Forms” to retrieve a list of your Typeform forms.
Choose the fields you want to include in the data import, such as form name, form ID, and last updated date.

Click “Import” to fetch the form data into your Excel spreadsheet.
Copy the form ID of the form you want to analyze from the imported form data.
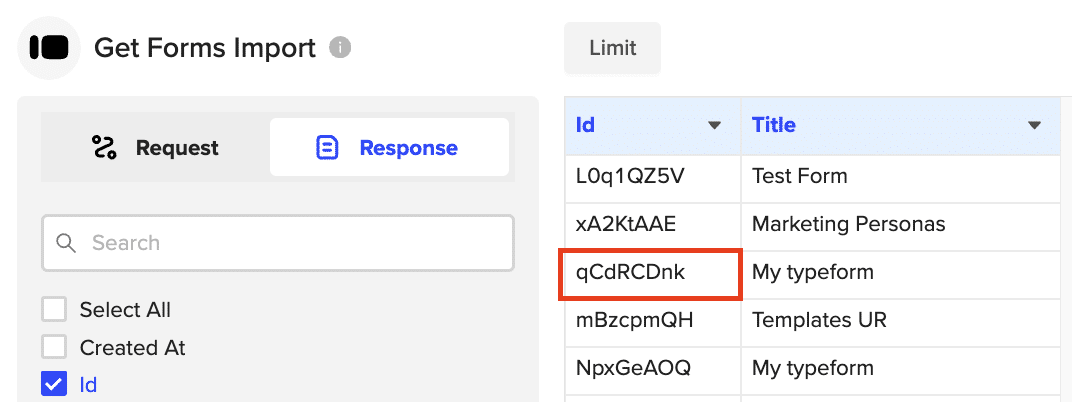
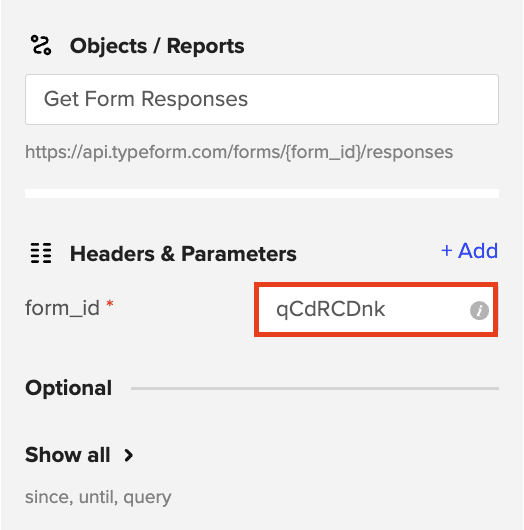
In the Coefficient sidebar, select “Get Form Responses.
Paste the form ID into the “Form ID” field.
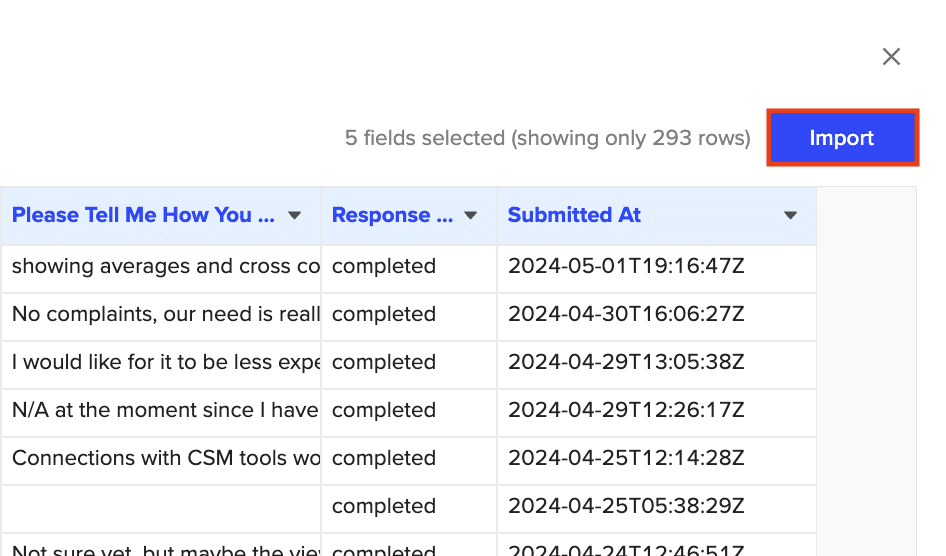
Step 3. Export Data from Your Spreadsheet to Salesforce
Before starting, make sure you’ve connected to Salesforce.
https://www.youtube.com/watch?v=B5qUY5zs-vc
Then, navigate to Coefficient’s menu. Click “Export to…”

Choose Salesforce from the list of available data sources.

Select the tab and header rows in your spreadsheet that contain the data you want to export.
Define your tab and header row.

Note: Coefficient will automatically map the fields for you if the data in the sheet came from an import from Salesforce using Coefficient.
Next, select the Salesforce Object you want to export data to, e.g., “Opportunity”, “Contacts”, etc.

Then, select the type of action you want to perform—Update, Insert, Upsert, or Delete.
Map the fields from your spreadsheet to the corresponding Salesforce fields.

Note: If you imported data from Salesforce into your spreadsheet previously, Coefficient will auto-detect and map these fields.
(Optional) Specify additional settings such as batch size, whether to export empty cells on an update, and the column for results.

Note: Batch size is capped at 10,000 rows due to Salesforce API limitations.
Confirm your settings and click “Export”.

Then, highlight the rows you want to update or export. You can choose to export all rows or specific rows.

Stop exporting data manually. Sync data from your business systems into Google Sheets or Excel with Coefficient and set it on a refresh schedule.
Get Started

After you’re finished, review your settings and click “Export.”
Follow the prompts to confirm your changes.

In a few seconds, data from your spreadsheet will push to Salesforce.

Your spreadsheet will display updated records, along with their export status and the date/time stamp of the update.
Method 2: Zapier

Zapier is a powerful automation tool that allows you to connect Typeform and Salesforce without any coding skills. With Zapier, you can create custom workflows (called “Zaps”) that automatically transfer data between the two platforms based on your specified triggers and actions.
Features
- Wide range of customizable triggers and actions: Zapier supports numerous triggers and actions to create detailed workflows tailored to your needs.
- Intuitive, user-friendly interface: The platform is designed for ease of use, making it simple to build and manage workflows.
- Support for multiple Typeform and Salesforce actions: Allows for complex, multi-step automations involving various actions and conditions.
Pros and Cons
Pros:
- No-code setup: Easily create integrations and automations without writing any code.
- Highly flexible and customizable: Build workflows that fit your specific business processes and requirements.
- Supports various workflow automations: Connects with over 2,000 apps, providing extensive integration options.
Cons:
- Can become expensive with extensive use: Costs can add up if you require multiple or complex Zaps.
- Some advanced features require a premium plan: Certain functionalities are only available in higher-tier plans.
How to Connect Typeform to Salesforce with Zapier
Step 1. Create a Zapier Account and Login:
- Go to Zapier and sign up for an account. Log in once your account is created.
Step 2. Start a New Zap:
- Click “+ Create” > “New Zap” to begin creating a new automation.

Step 3. Choose Typeform as the Trigger App:
- Search for and select Typeform as the trigger app.
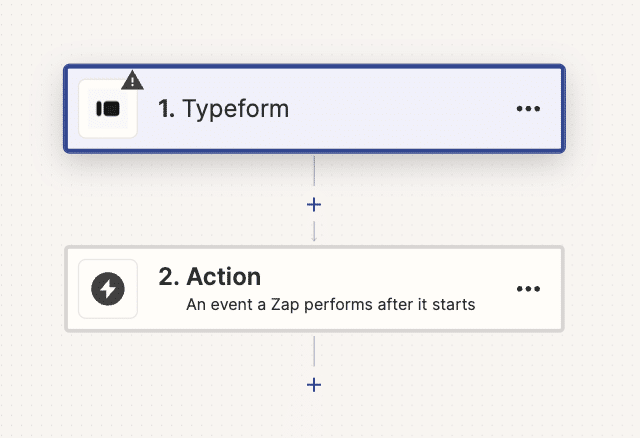
- Choose the trigger event, such as “New Entry”.

Step 4. Connect to Typeform:
- Follow the prompts to connect your Typeform account to Zapier.
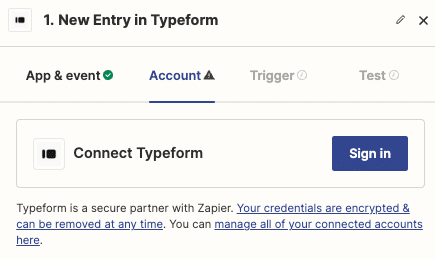
- Test the connection to ensure it works correctly.
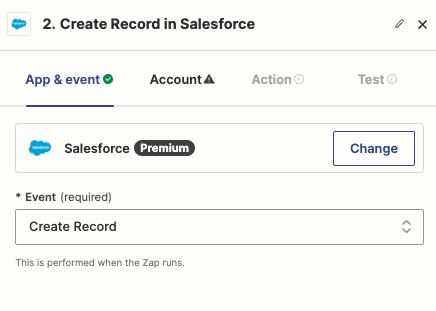
Step 5. Set Salesforce as the Action App:
- Search for and select Salesforce as the action app.

- Choose the action event, such as “Create Record”.
Step 6. Connect to Salesforce:
- Follow the prompts to connect your Salesforce account to Zapier.
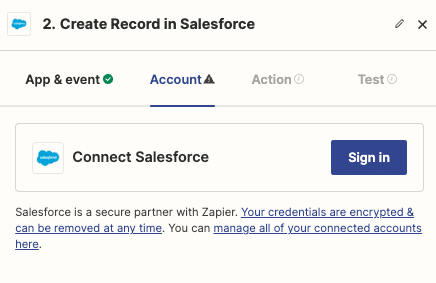
- Test the connection to ensure it works correctly.
Step 7. Map Fields:
- Map the data fields from Typeform to the corresponding fields in Salesforce (e.g., map Typeform email field to Salesforce Email field).
Step 8. Test and Activate:
- Test your Zap to make sure it works as expected.
- Once satisfied, turn on your Zap to start automating data transfers.
Method 3: MuleSoft

MuleSoft is a robust integration platform designed for complex data architectures and enterprise-level operations. It offers powerful tools for connecting various systems, including Typeform and Salesforce, enabling real-time data synchronization and API-led connectivity.
Features
- API-led connectivity: Easily connect multiple systems using reusable APIs, enabling seamless data integration.
- Real-time data integration: Synchronize data in real-time to keep Salesforce records up-to-date with the latest Typeform responses.
- Scalable architecture: Supports complex integrations and high-volume data transfers, making it suitable for large enterprises.
Pros and Cons
Pros:
- Robust, enterprise-grade solution: Provides a reliable and scalable platform for large-scale integrations.
- Real-time data synchronization: Ensures that data is consistently up-to-date across systems.
- Scalable for complex data architectures: Handles complex data workflows and large volumes of data efficiently.
Cons:
- Requires technical expertise to implement: Setting up and managing integrations with MuleSoft may require advanced technical knowledge.
- Higher costs compared to other methods: The comprehensive features and capabilities come with a higher price tag.
How to Connect Typeform to Salesforce with MuleSoft
Step 1. Sign Up and Install MuleSoft:
- Go to MuleSoft and sign up for an account. Download and install Anypoint Studio, MuleSoft’s integrated development environment (IDE).
Step 2. Configure Connectors:
- Open Anypoint Studio and add the Typeform and Salesforce connectors.
- Configure the connectors by entering the necessary API credentials for Typeform and Salesforce.
Step 3. Design Integration Flows:
- Use MuleSoft’s drag-and-drop interface to design the data flow between Typeform and Salesforce.
- Map the data fields from Typeform to the corresponding fields in Salesforce.
Step 4. Deploy and Monitor:
- Deploy your integration to the Anypoint Platform.
- Monitor the data flows to ensure that data is being transferred correctly and address any errors or issues that arise.
Connect Typeform to Salesforce: No Code Required
Connecting Typeform to Salesforce can revolutionize your data management and business processes by automating data transfers, improving accuracy, and providing valuable insights. Whether you choose the user-friendly Coefficient, the flexible Zapier, or the robust MuleSoft, integrating these two powerful platforms will help you streamline operations and drive growth.
Ready to get started? Sign up for Coefficient today and experience the benefits of seamless data integration: Get Started with Coefficient

