


Table of Contents
![]()
- 1. Top 8 Shopify Analytics Tools for 2026
- 2. 5 Best Shopify Accounting Reporting Tools in 2025 [w/ Feature Comparison Table]
- 3. Connecting Shopify to MySQL: A Step-by-Step Guide
- 4. How to Connect Shopify to PostgreSQL: A Step-by-Step Guide
- 5. How to Connect Shopify to Salesforce? Top 3 Methods
- 6. Connecting Shopify to HubSpot: Top 3 Methods for 2025


Learn how to seamlessly transfer data from Shopify to Salesforce using various methods. This guide will cover three efficient ways to Connect these platforms, including Coefficient, Skyvia, and Folio3. Discover how these integrations can streamline your workflow and enhance your data management.
Advantages of Connecting Shopify to Salesforce
- Personalize customer interactions: Use Shopify purchase data to tailor sales and marketing efforts in Salesforce for better customer experiences.
- Optimize sales processes: Automatically create or update Salesforce records based on Shopify activity, streamlining sales workflows.
- Measure marketing ROI: Combine Shopify sales data with Salesforce campaign data to accurately track the impact of marketing efforts on revenue.
Connect Shopify to Salesforce: 3 Methods
Connecting Shopify to Salesforce helps e-commerce businesses streamline operations and improve customer experiences. Whether you prefer a no-code tool or a customizable integration platform, there’s a solution to fit your needs and goals.
|
Solution |
Best For |
|
Coefficient |
E-commerce businesses that want to enrich Salesforce customer records with Shopify data for personalized marketing and sales efforts, using a no-code spreadsheet connector. |
|
Zapier |
Companies that want to automate specific data synchronization tasks between Shopify and Salesforce, such as creating new Salesforce contacts or updating opportunities based on Shopify orders, using a no-code automation platform. |
|
Celigo |
Mid-market and enterprise e-commerce companies that require a scalable, customizable integration platform (iPaaS) for connecting Shopify with Salesforce, with pre-built templates and the ability to tailor the integration to unique business needs. |
Methods to Connect Shopify to Salesforce
Method 1: Coefficient – No-Code, User-Friendly
Coefficient connects your spreadsheet to all your business data without a single line of code. It provides a user-friendly interface and automatic data updates, making it a reliable option for
Pros:
- Simple, no-code setup
- Automatic data updates
- Affordable pricing plans
Cons:
- Scheduled automations are not free forever, though affordable pricing plans are available
Step-by-Step Walkthrough:
Step 1. Install Coefficient
For Google Sheets
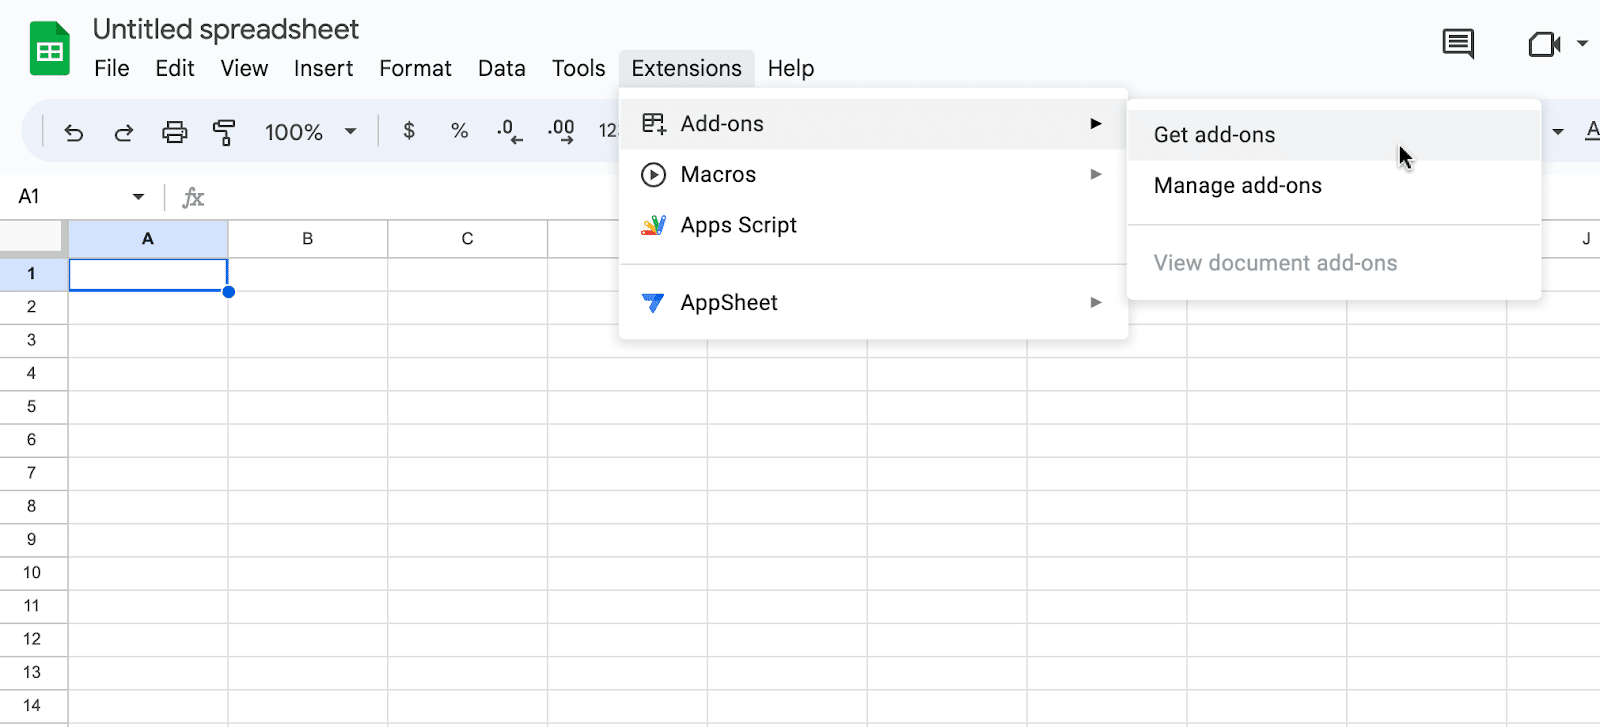
Open a new or existing Google Sheet, navigate to the Extensions tab, and select Add-ons > Get add-ons.
In the Google Workspace Marketplace, search for “Coefficient.”
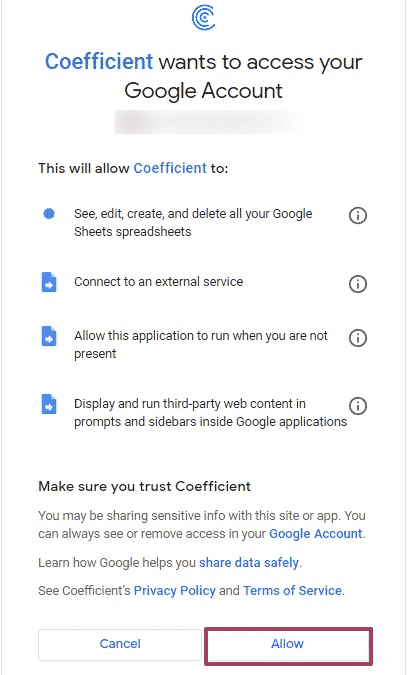
Follow the prompts to grant necessary permissions.
Launch Coefficient from Extensions > Coefficient > Launch.

Coefficient will open on the right-hand side of your spreadsheet.
For Microsoft Excel
Open Excel from your desktop or in Office Online. Click ‘File’ > ‘Get Add-ins’ > ‘More Add-Ins.’
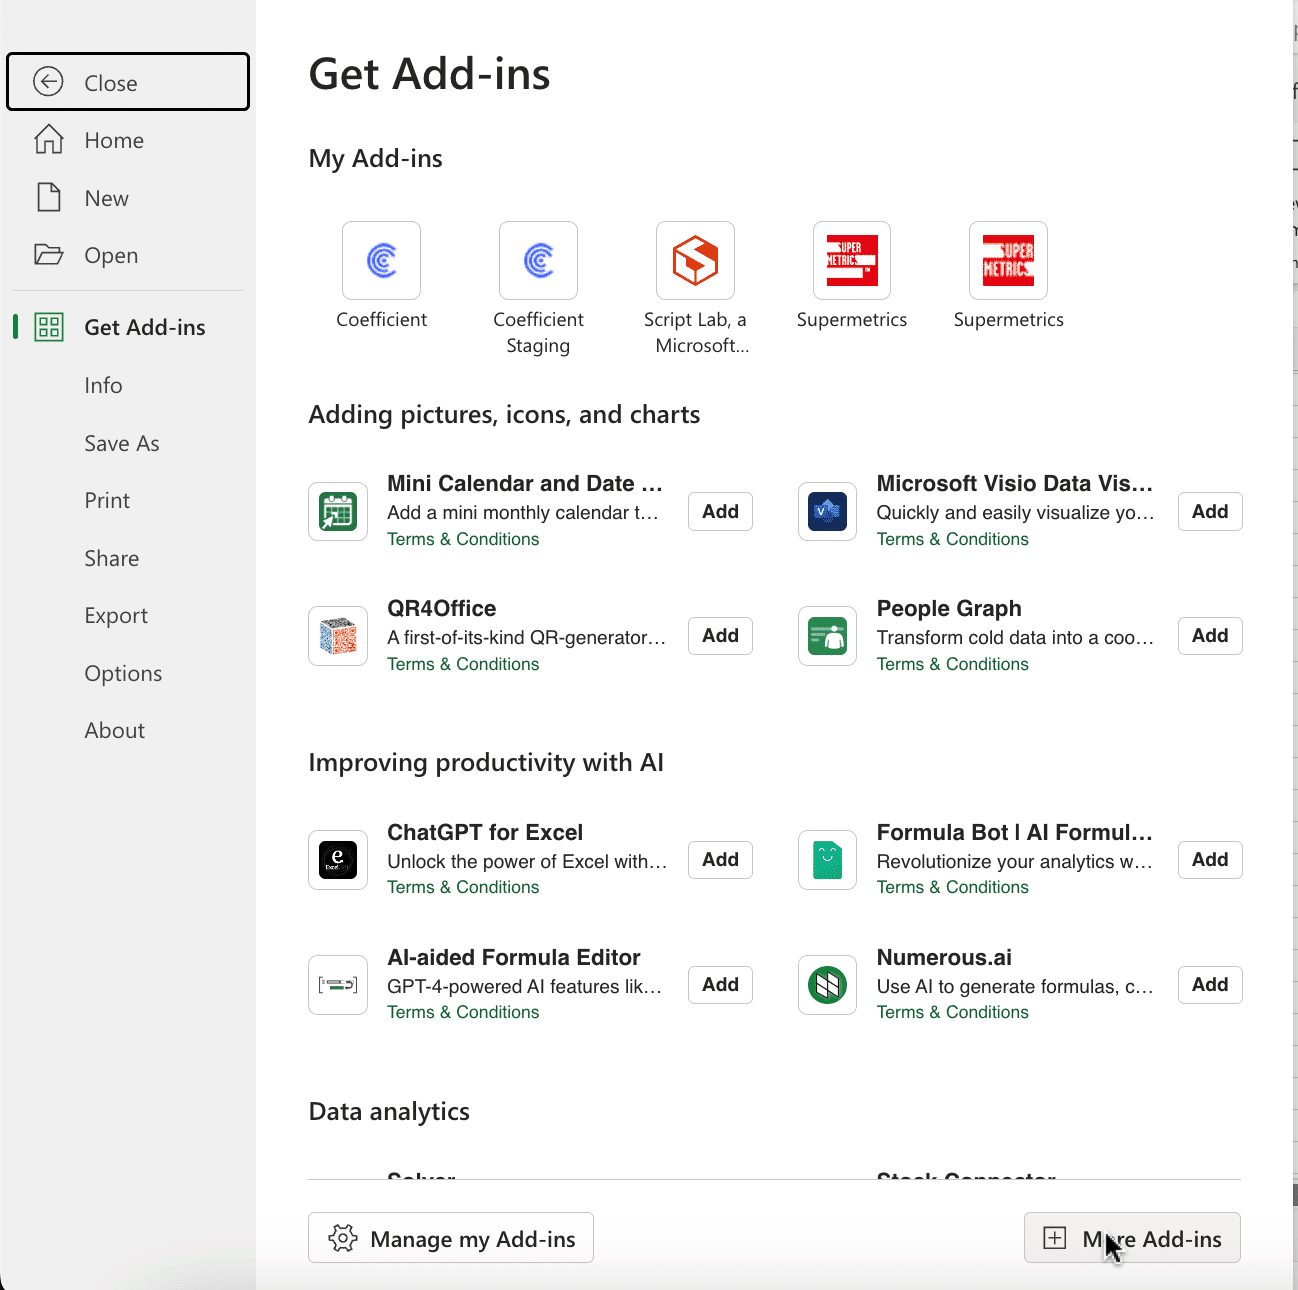
Type “Coefficient” in the search bar and click ‘Add.’
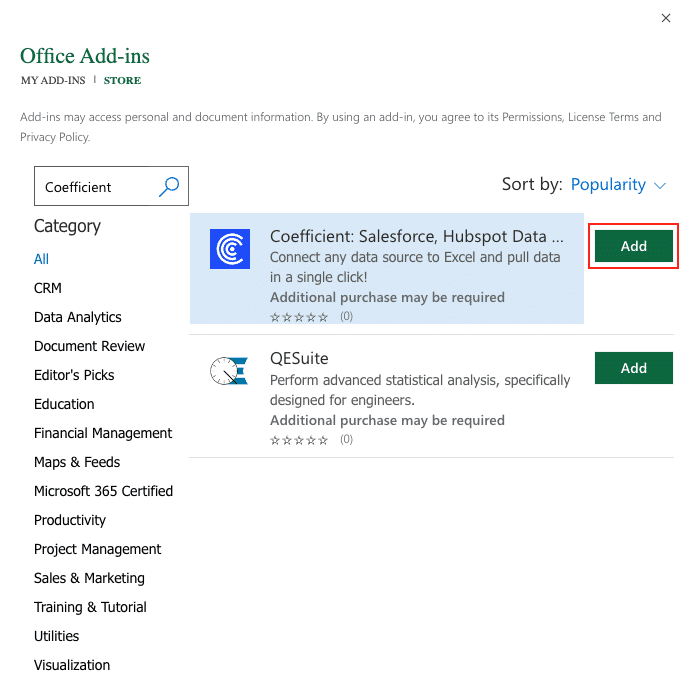
Follow the prompts in the pop-up to complete the installation.
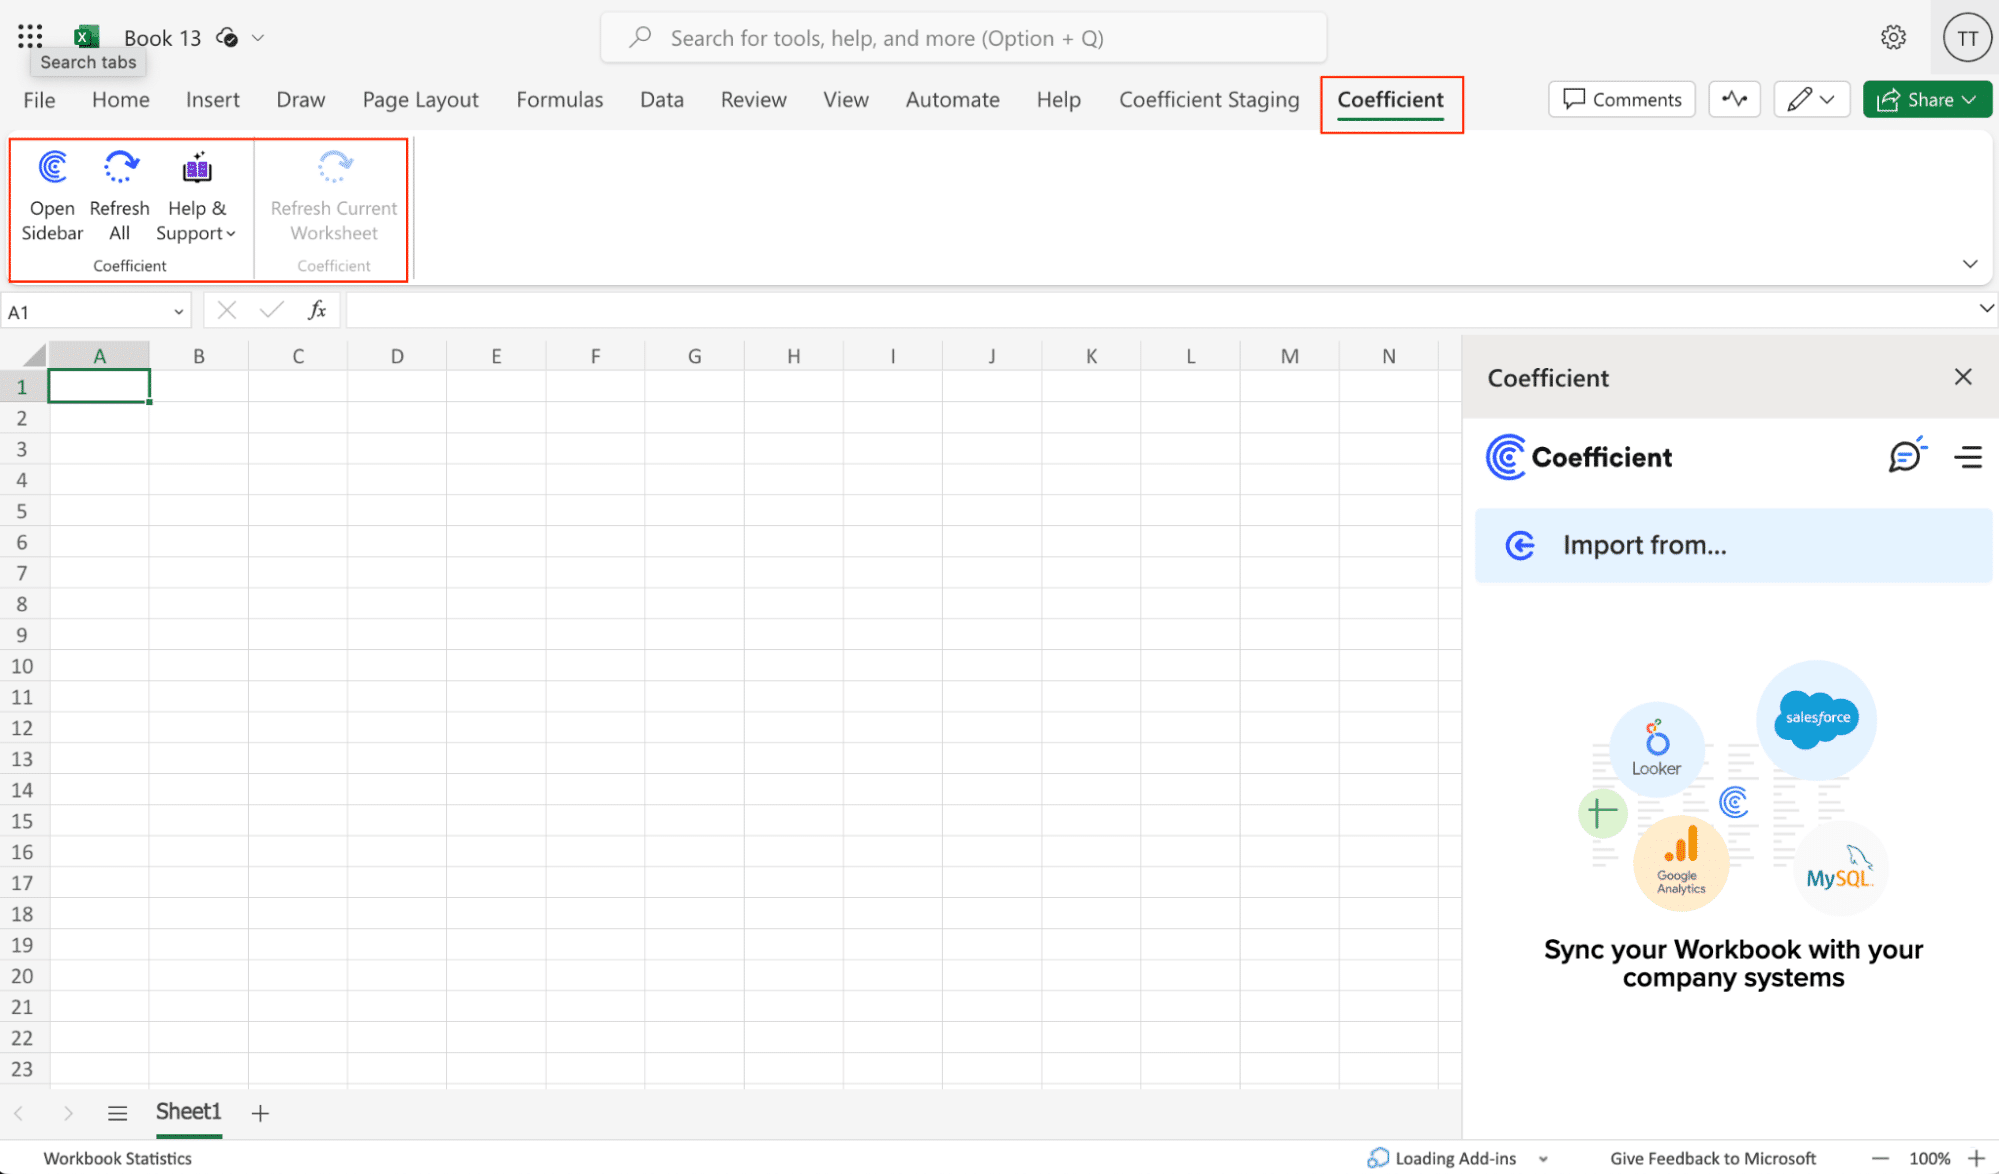
Once finished, you will see a “Coefficient” tab in the top navigation bar. Click ‘Open Sidebar’ to launch Coefficient.
Step 2. Import Data from Shopify into Your Spreadsheet
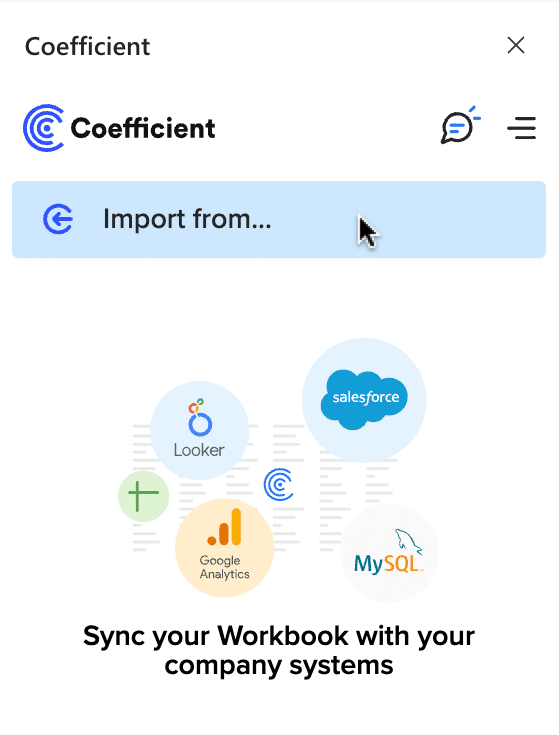
Select ‘Import from…’
Scroll down until you see Shopify and click ‘Connect.’
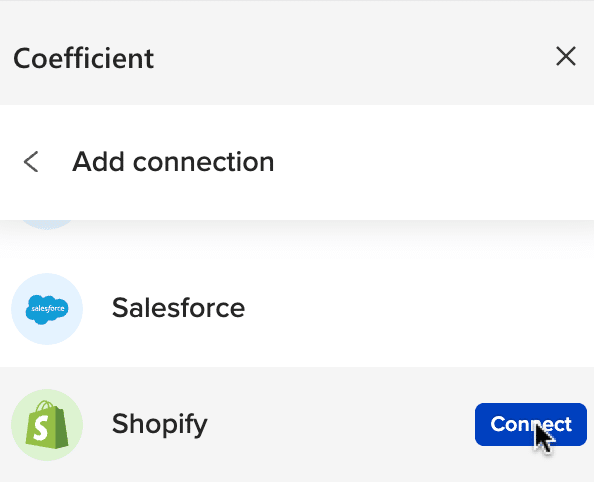
Follow the prompts to authorize Coefficient to access your Shopify account.
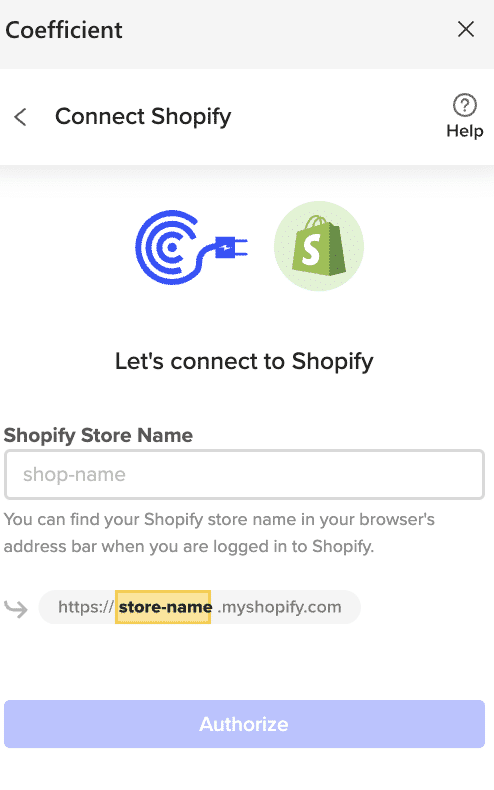
Enter your “Shopify Store Name” and click ‘Authorize.’

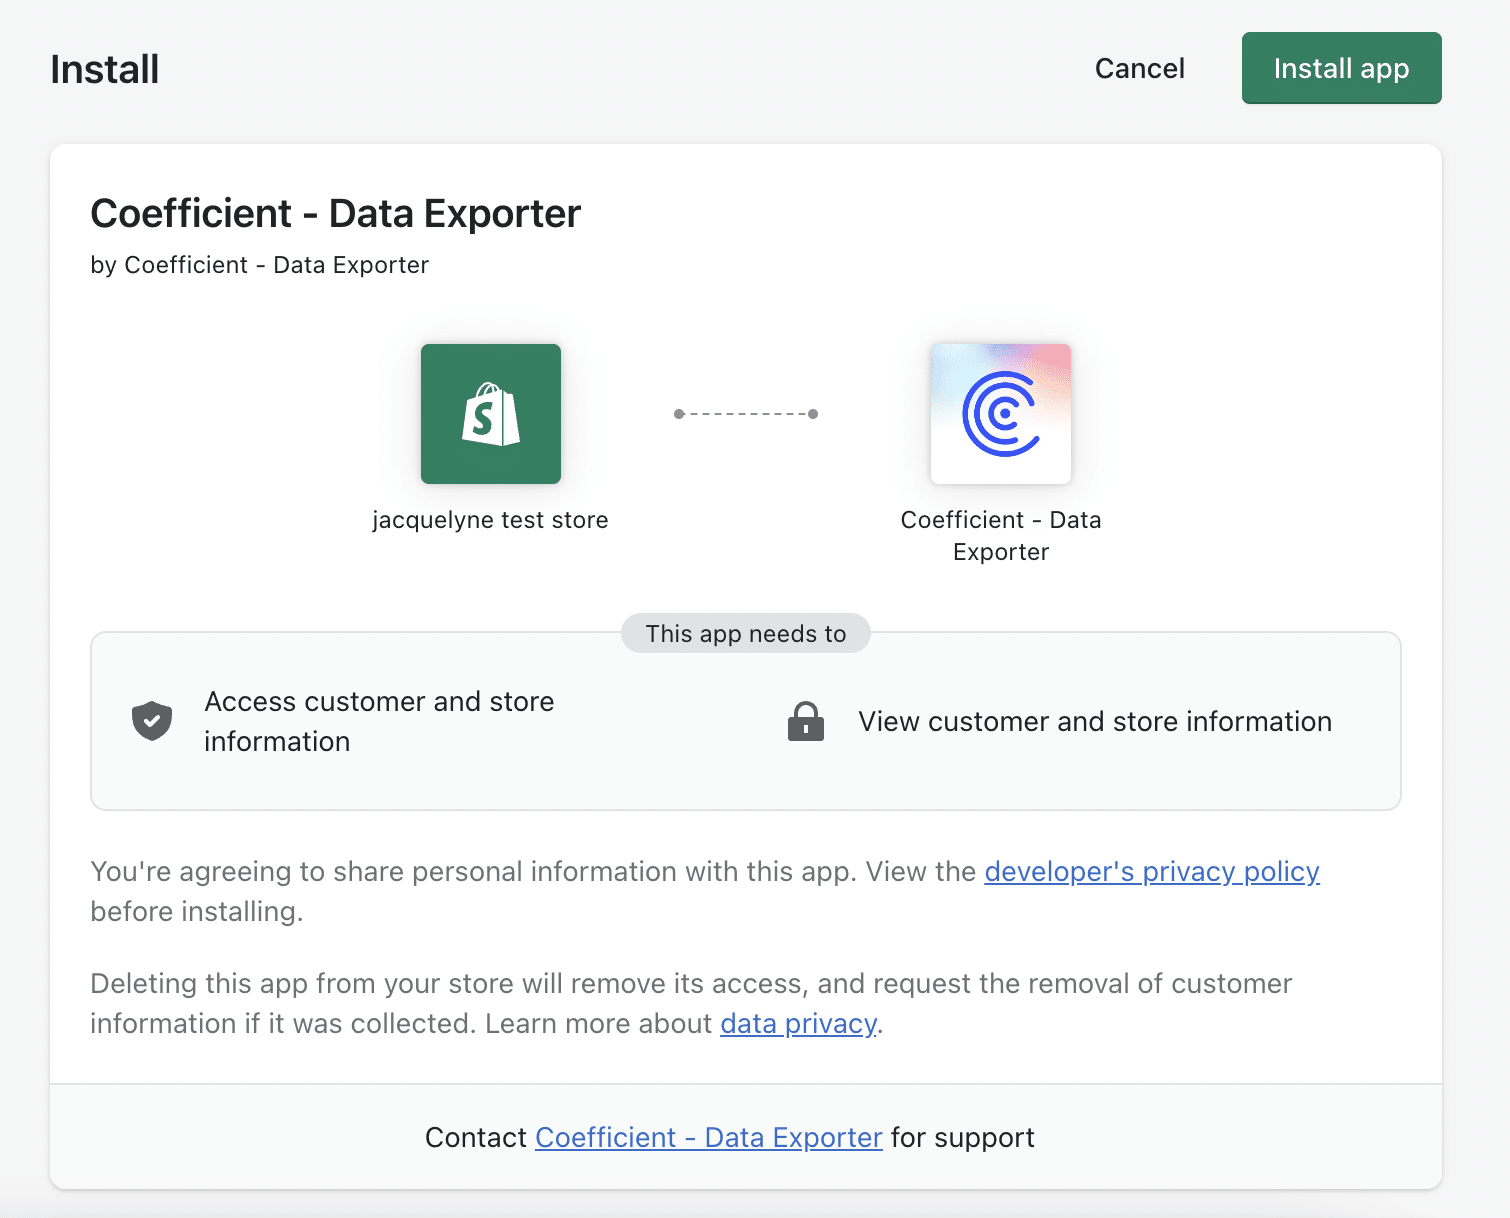
You will be taken to this screen in your Shopify instance. Click the ‘Install app’ button to proceed.
After connecting, return to Shopify from the Coefficient menu ‘Import From…’ > ‘Shopify’ > ‘From Objects & Fields.’
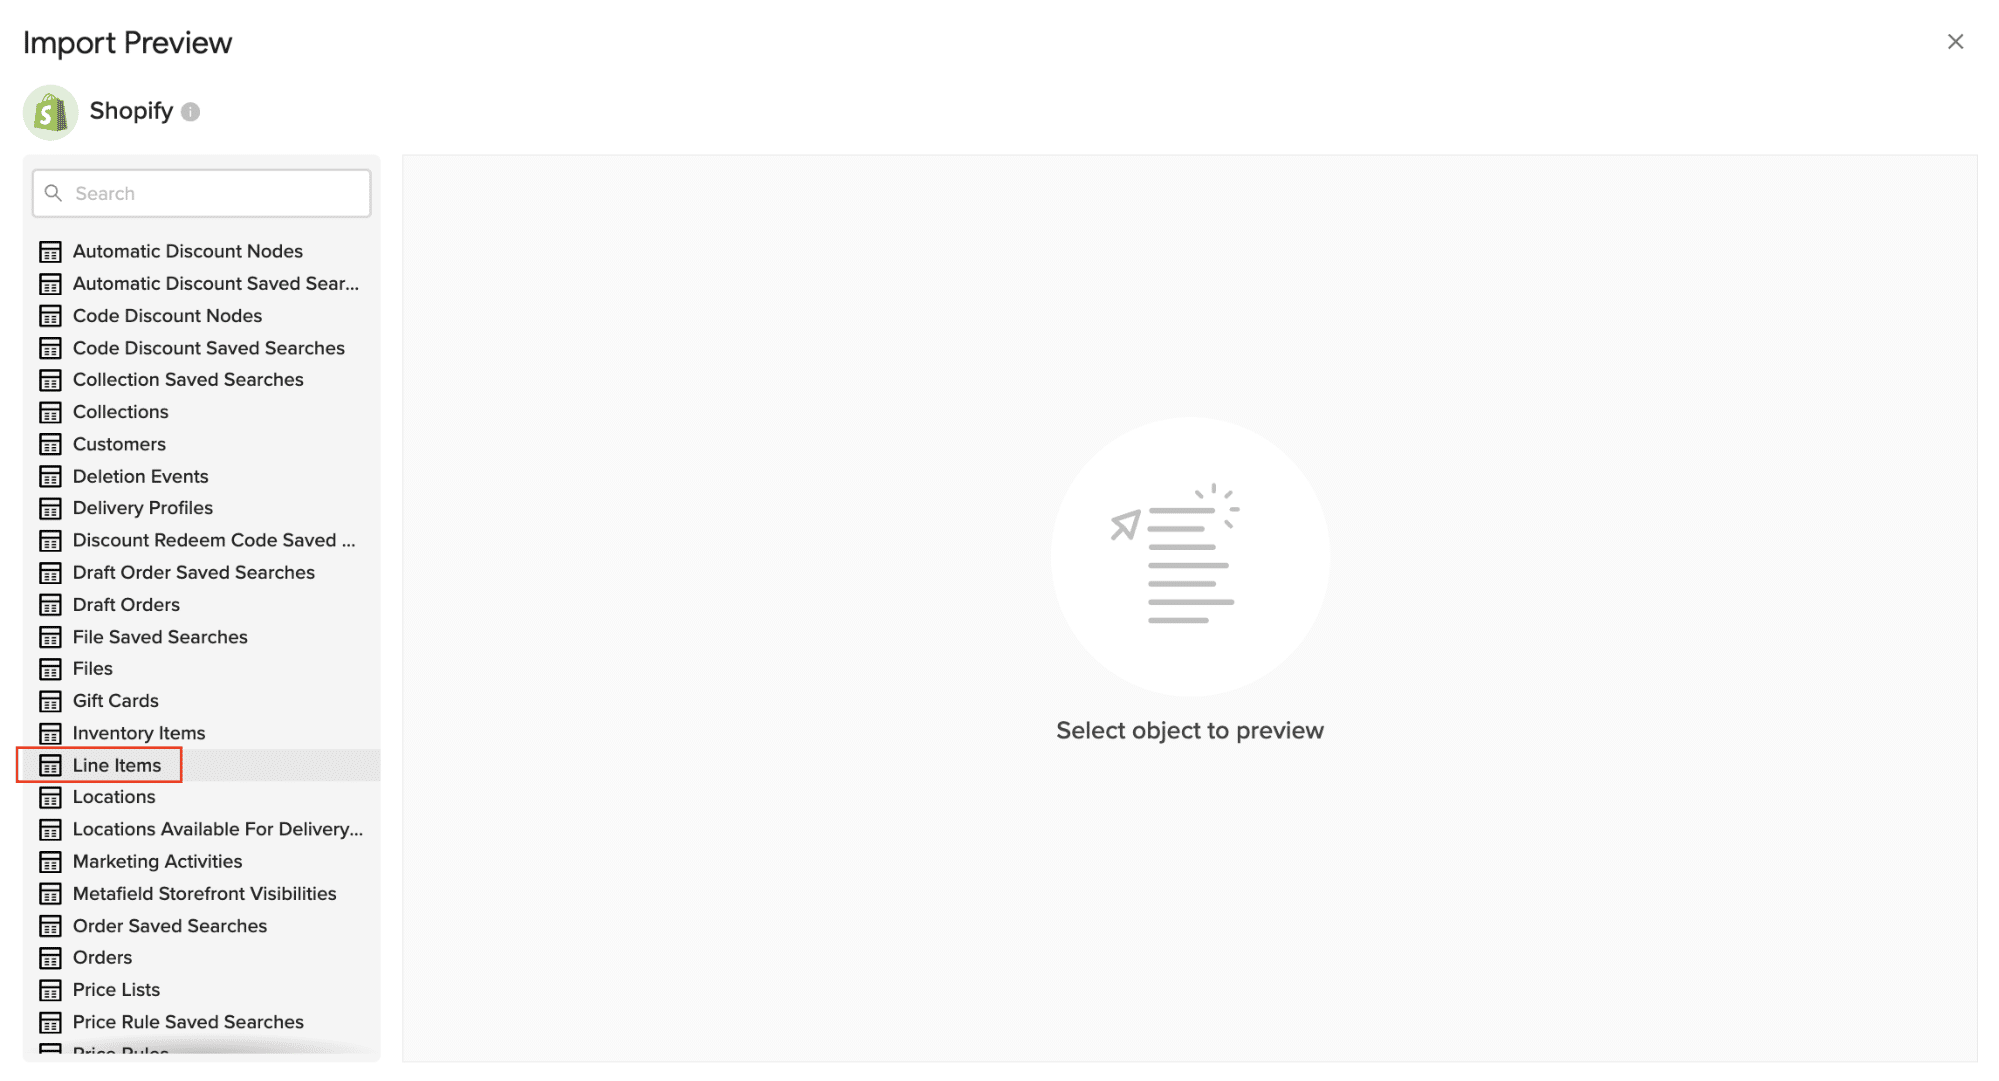
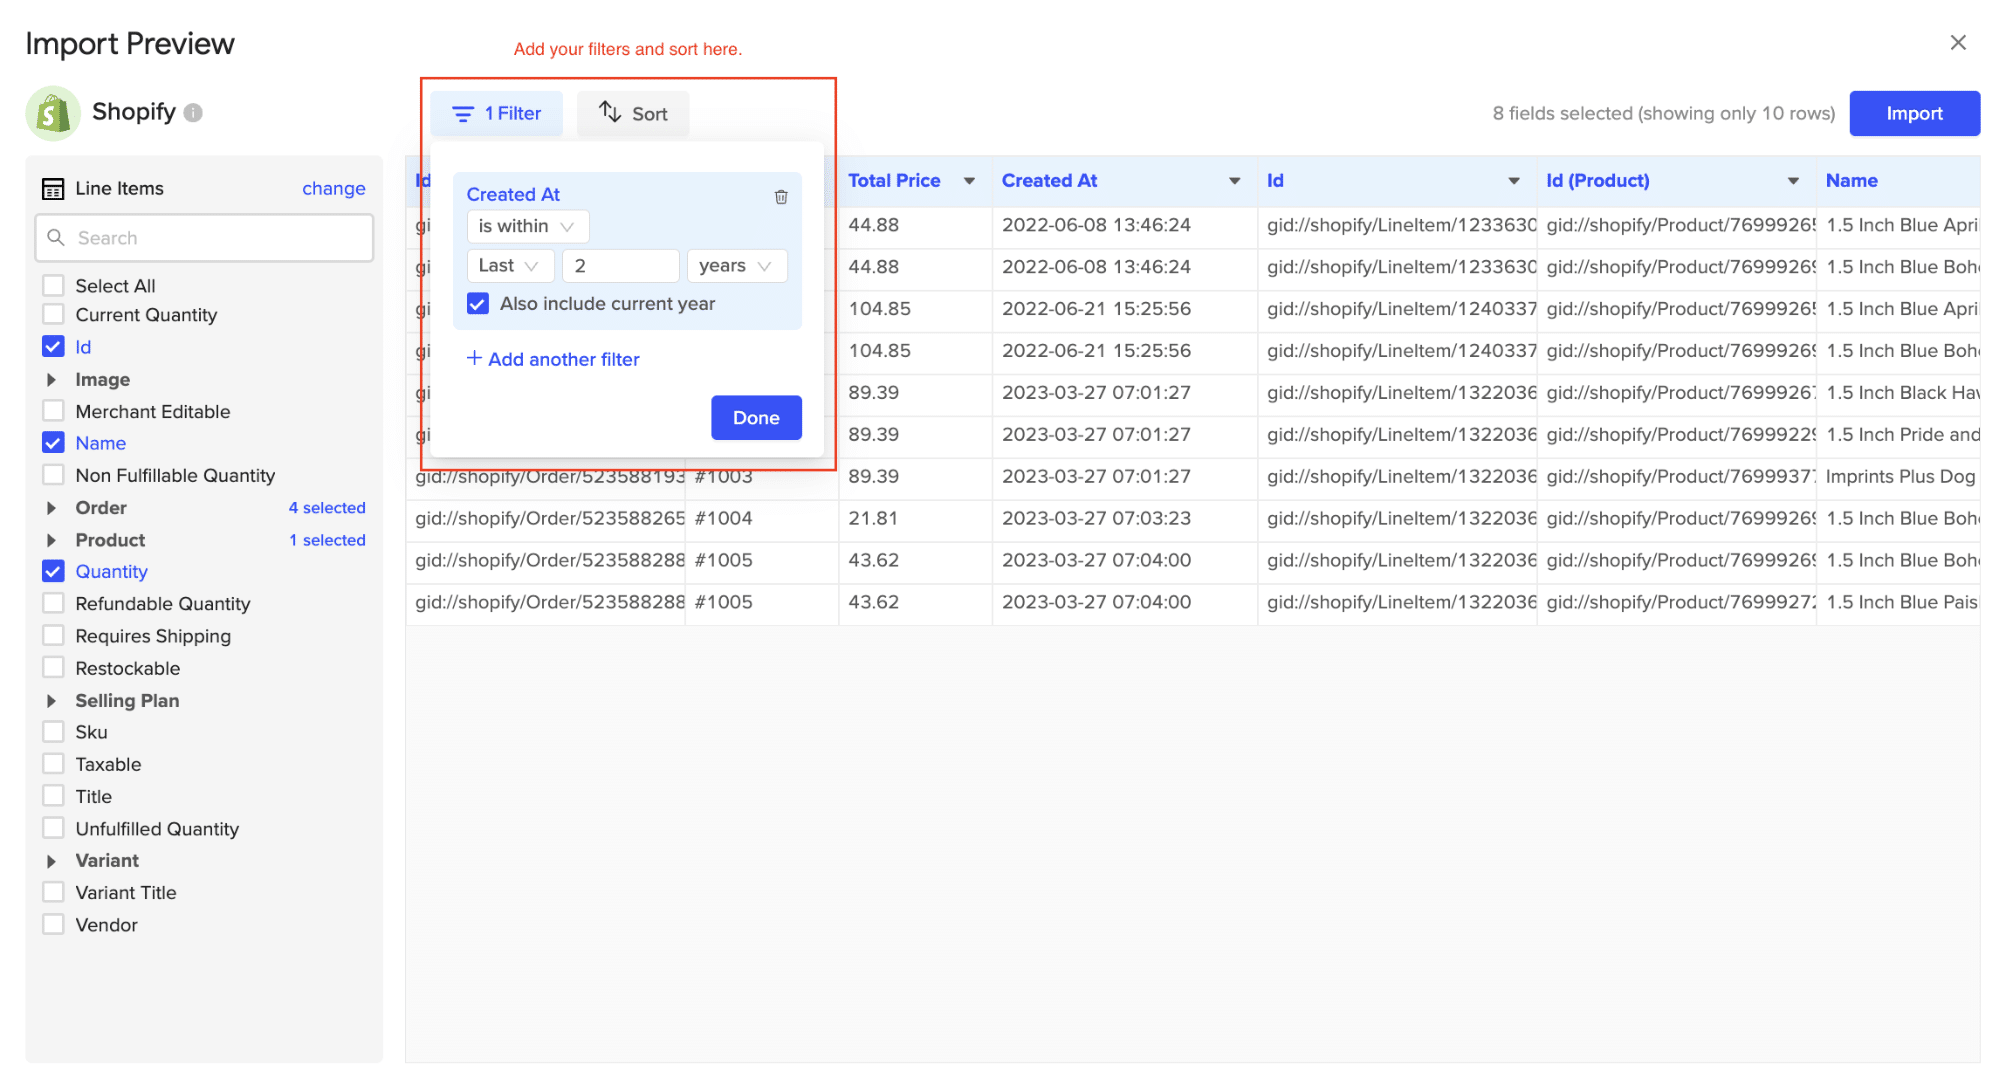
Select the Shopify object you would like to import your data from (eg. Line Items).
Select the desired fields for your import.

Customize your import by adding filter(s). Click ‘Import’ when you’re finished.
Your Shopify data will automatically populate your Excel spreadsheet in a few seconds!

Step 3. Export Data from Your Spreadsheet to Salesforce
Before starting, make sure you’ve connected to Salesforce.
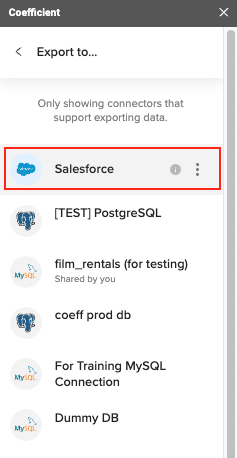
Then, navigate to Coefficient’s menu. Click “Export to…”
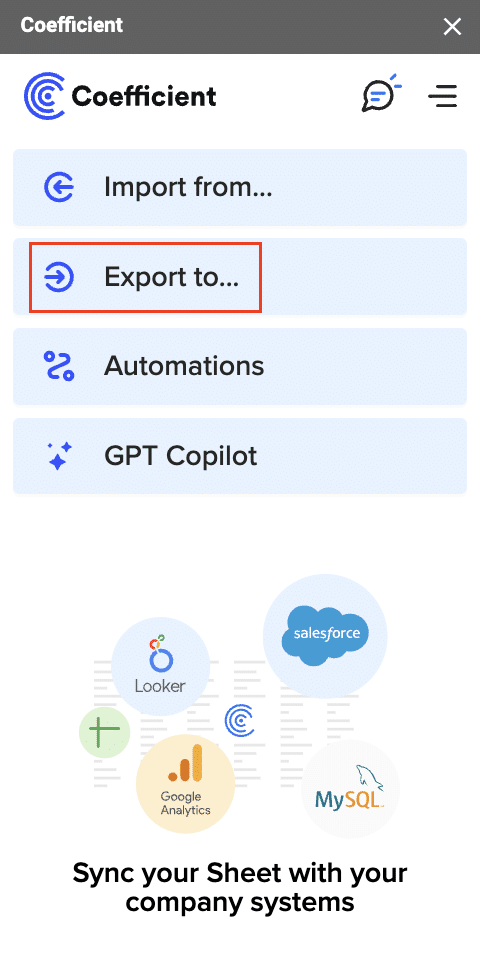
Choose Salesforce from the list of available data sources.
Select the tab and header rows in your spreadsheet that contain the data you want to export.
Define your tab and header row.

Note: Coefficient will automatically map the fields for you if the data in the sheet came from an import from Salesforce using Coefficient.
Next, select the Salesforce Object you want to export data to, e.g., “Opportunity”, “Contacts”, etc.
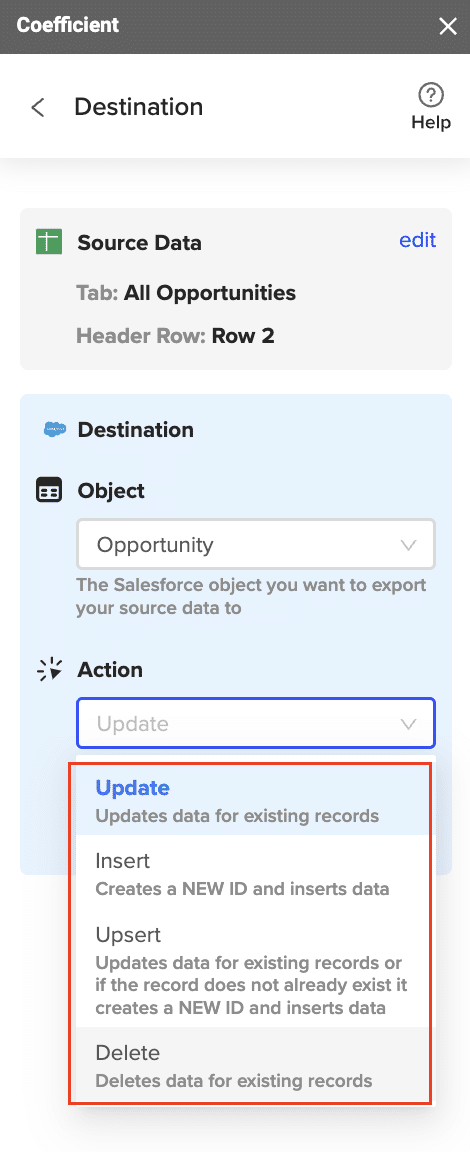
Then, select the type of action you want to perform—Update, Insert, Upsert, or Delete.
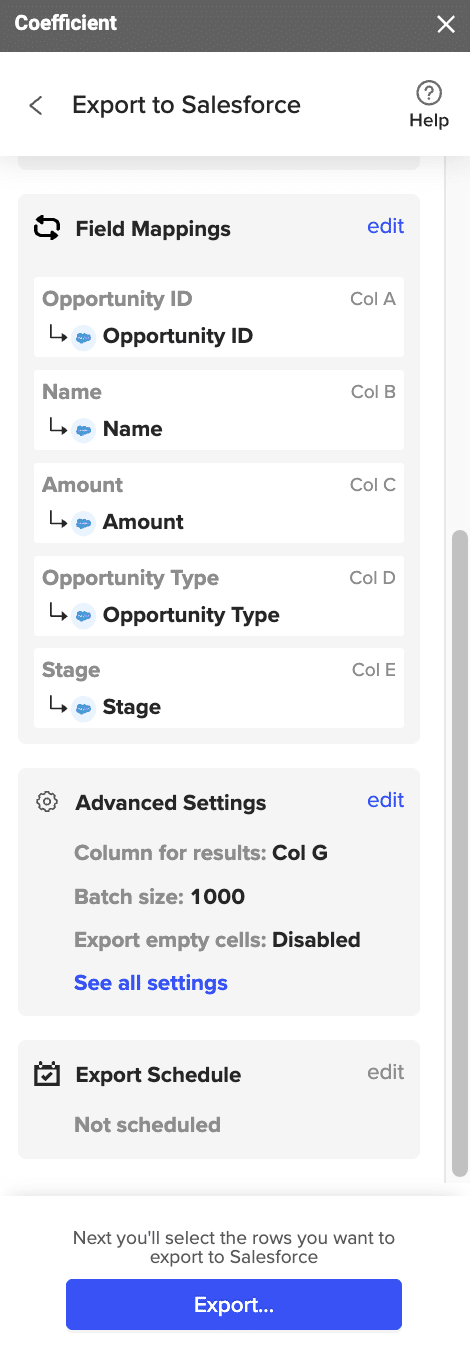
Step 5: Map Fields
Map the fields from your spreadsheet to the corresponding Salesforce fields.
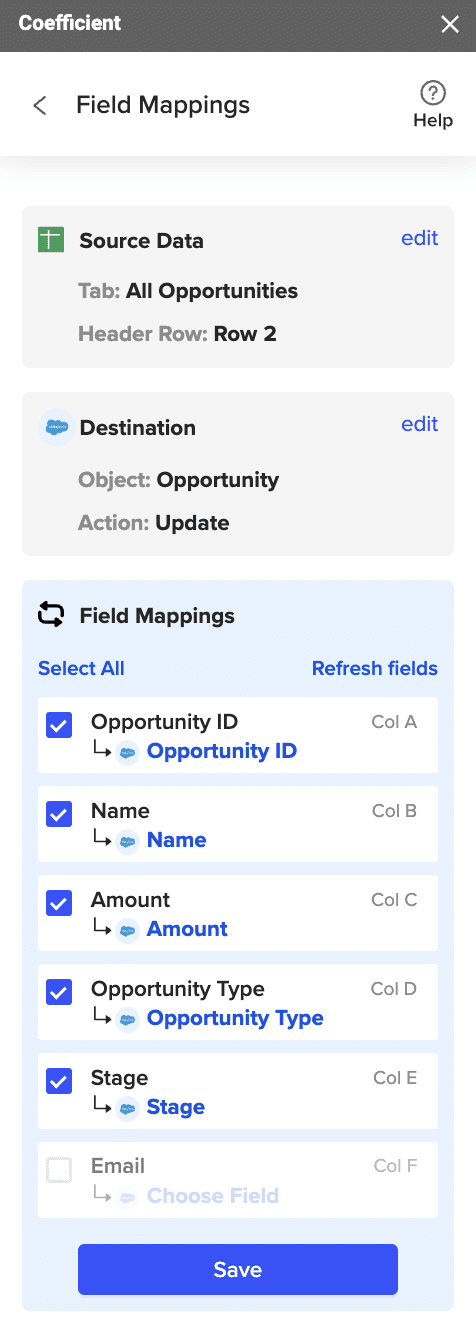
Note: If you imported data from Salesforce into your spreadsheet previously, Coefficient will auto-detect and map these fields.
(Optional) Specify additional settings such as batch size, whether to export empty cells on an update, and the column for results.
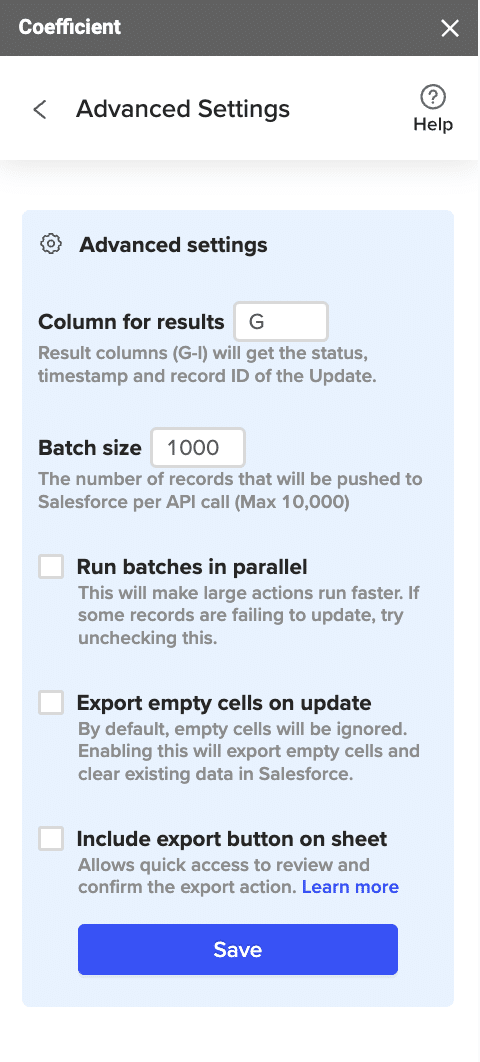
Note: Batch size is capped at 10,000 rows due to Salesforce API limitations.
Step 7: Select Rows to Export
Confirm your settings and click “Export”.
Then, highlight the rows you want to update or export. You can choose to export all rows or specific rows.

After you’re finished, review your settings and click “Export.”
Follow the prompts to confirm your changes.
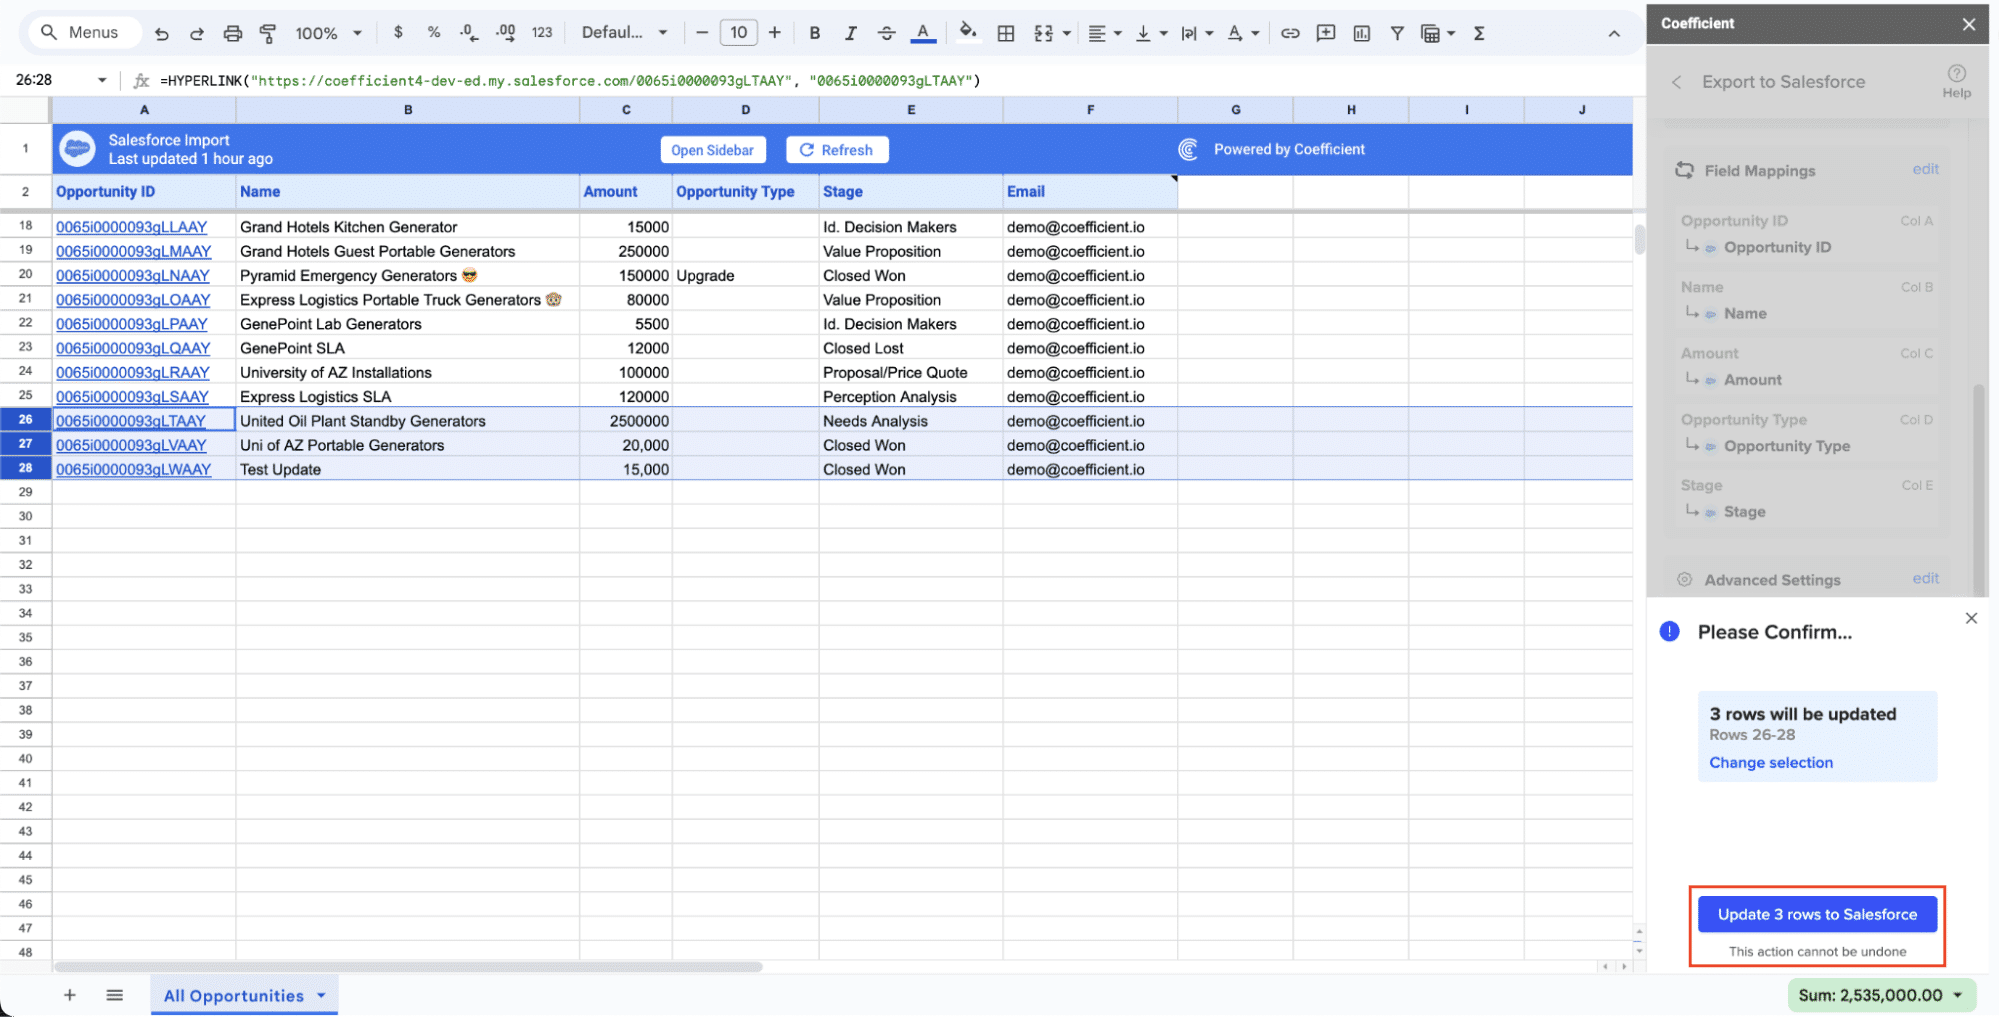
In a few seconds, data from your spreadsheet will push to Salesforce.
Your spreadsheet will display updated records, along with their export status and the date/time stamp of the update.
Method 2: Skyvia – Simple and Flexible Integration

Skyvia provides a straightforward, no-code solution for connecting Shopify and Salesforce with flexible scheduling options.
Features of Skyvia:
- No-code setup
- Flexible scheduling
- Comprehensive documentation
Pros:
- No-code setup
- Flexible scheduling
- Comprehensive documentation
Cons:
- May require some initial setup time
- Limited real-time synchronization
Step-by-Step Walkthrough:
1. Setting Up Skyvia:
- Sign Up for an Account:
- Go to the Skyvia website and sign up for an account if you don’t have one already.
- Fill in the required information and verify your email address to complete the registration process.
- Connect Shopify:
- After logging in, navigate to the “Connections” section from the dashboard.
- Click on “New Connection” and select “Shopify” from the list of available connectors.
- Follow the prompts to authenticate and authorize Skyvia to access your Shopify data.
- Connect Salesforce:
- Similarly, go to the “Connections” section and create a new connection for Salesforce.
- Authenticate and authorize Skyvia to access your Salesforce account.
2. Configuring Data Integration:
- Create a New Integration:
- From the Skyvia dashboard, go to the “Integrations” tab and click on “New Integration”.
- Choose “Data Sync” as the integration type.
- Specify Data to Sync:
- Select Shopify as the Source and Salesforce as the Target.
- Define which specific data entities (e.g., customers, orders, products) you want to sync between Shopify and Salesforce.
- Set Up Synchronization Schedule:
- In the scheduling section, choose how frequently you want the synchronization to occur (e.g., daily, weekly).
- Configure advanced scheduling options as needed to suit your business requirements.
- Save the integration configuration and activate it.
- Monitor and Manage:
- Use Skyvia’s dashboard to monitor the status of your integration.
- Check logs and reports for any errors or issues, and adjust the configuration if necessary.
Method 3: Folio3 – Custom-Made Integration Solutions

Folio3 offers customized integration solutions tailored to your specific business needs, supported by ongoing assistance.
Features of Folio3:
- Customized solutions
- Comprehensive support
- Secure data transfer
Pros:
- Customized solutions
- Comprehensive support
- Secure data transfer
Cons:
- Potentially higher cost due to custom solutions
- Requires initial consultation
Step-by-Step Walkthrough:
1. Initial Consultation:
- Contact Folio3:
- Visit the Folio3 website and navigate to the “Contact Us” section.
- Fill out the consultation request form, providing details about your business and integration needs.
- Schedule a time for an initial consultation with a Folio3 representative.
- Discuss Your Needs:
- During the consultation, explain your specific requirements for integrating Shopify and Salesforce.
- Provide information on the data entities you need to sync and any custom workflows or business processes.
2. Custom Integration Setup:
- Develop a Custom Integration Plan:
- Folio3’s team will work with you to design a tailored integration plan that meets your business needs.
- This may involve mapping out data flows, defining synchronization schedules, and specifying custom features.
- Implementation:
- Once the plan is finalized, Folio3 will begin developing the custom integration.
- They will configure and set up the integration environment, ensuring secure data transfer between Shopify and Salesforce.
- Testing and Deployment:
- Before going live, Folio3 will conduct thorough testing to ensure the integration works as expected.
- They will address any issues or adjustments needed based on test results.
- Ongoing Support:
- After deployment, Folio3 provides ongoing support to ensure the integration continues to operate smoothly.
- You can contact their support team for any maintenance, troubleshooting, or further customization needs
Common Problems and Troubleshooting
Potential Problems:
- Data Mismatch Issues: Improper mapping between Shopify and Salesforce fields can lead to data mismatches.
- Sync Failures: Network issues or API limits can result in synchronization failures.
- Authentication Errors: Incorrect credentials or expired tokens can prevent successful integrations.
Troubleshooting Steps:
- Verify Data Mapping: Double-check field mappings between systems.
- Check API Limits: Ensure you haven’t exceeded API call limits.
- Re-authenticate Services: Re-enter authentication credentials if facing repeated authentication failures.
Conclusion
Connecting Shopify to Salesforce can transform your business operations by centralizing data, streamlining processes, and enhancing analytics and CRM capabilities. Choose the integration method that best suits your business needs. Ready to streamline your workflow? Get started with Coefficient today.