Integrating Mailchimp with Microsoft Excel combines the best of both worlds: Mailchimp’s robust email marketing capabilities and Excel’s unparalleled data analysis tools.
This guide dives into the world of Mailchimp Microsoft Excel Integration, providing you with step-by-step methods to streamline your workflow, enhance your marketing strategies, and ultimately unlock deeper insights into your data.
Why Mailchimp Microsoft Excel Integration
Integrating Mailchimp with Microsoft Excel isn’t just about simplifying data transfer; it’s about empowering your marketing and analytics endeavors. Let’s explore a few benefits:
- Real-time Access to Subscriber Data: Bid farewell to delayed decisions. With live data sync, you’ll swiftly pivot strategies to match your audience’s evolving needs.
- Detailed Analysis Opportunities: Sky’s the limit when Mailchimp data meets Excel’s analytical prowess. Blend data sources, dissect trends, and drive impactful marketing campaigns.
- Automated Reporting: Free yourself from the manual hustle. Embrace automated data flow for reports that are always ready, giving you more time for strategy and less for spreadsheet wrangling.
Mailchimp Microsoft Excel Integration: 3 Methods
Method 1| Coefficient: No-Code, Fully Automated
Coefficient is the fastest, easiest way to export Mailchimp data to Excel for technical and non-technical users alike.
Coefficient’s no-code interface makes it easy for anyone to safely get the data they need into their Connected Spreadsheet in a few clicks.
To install Coefficient, open Excel from your desktop or in Office Online.
Click ‘File’ > ‘Get Add-ins’ > ‘More Add-Ins.’
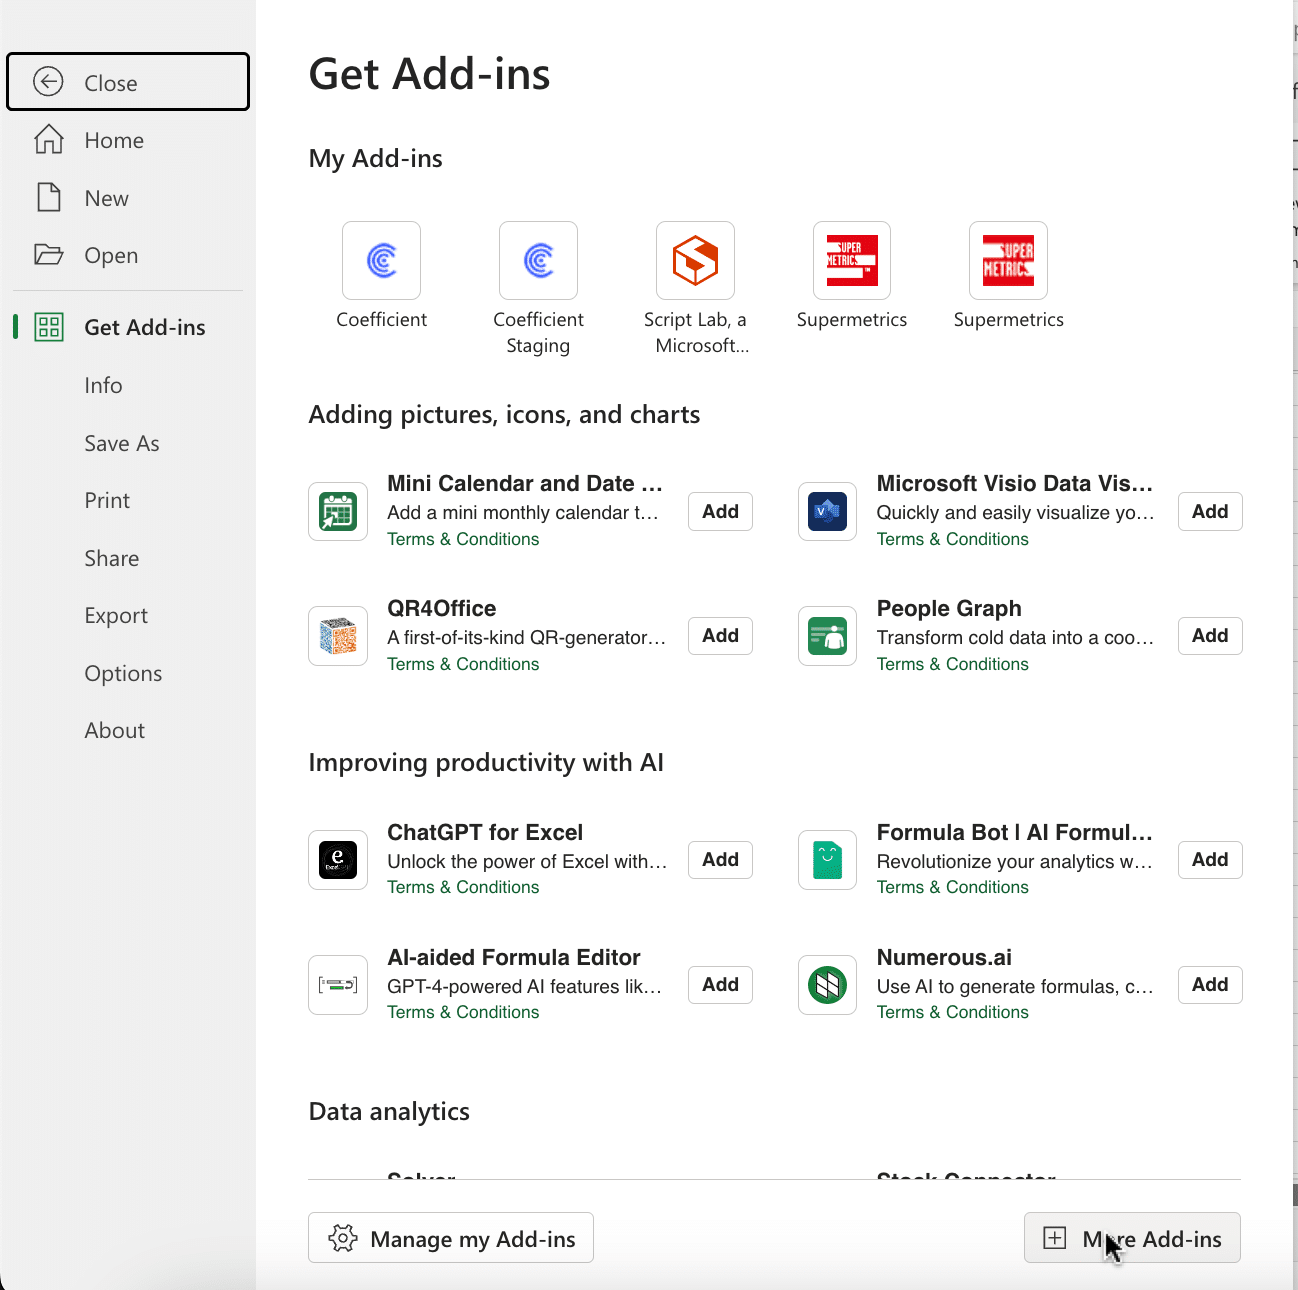
Type “Coefficient” in the search bar and click ‘Add.’
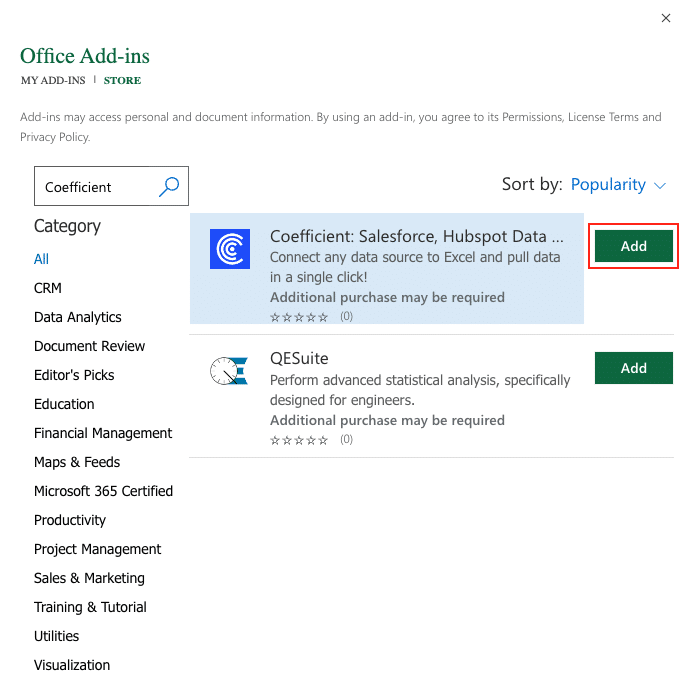
A pop-up will open up. Follow the prompts to complete the installation.

Once finished, you will see a “Coefficient” tab at the top navigation bar.
Click ‘Open Sidebar’ to launch Coefficient.
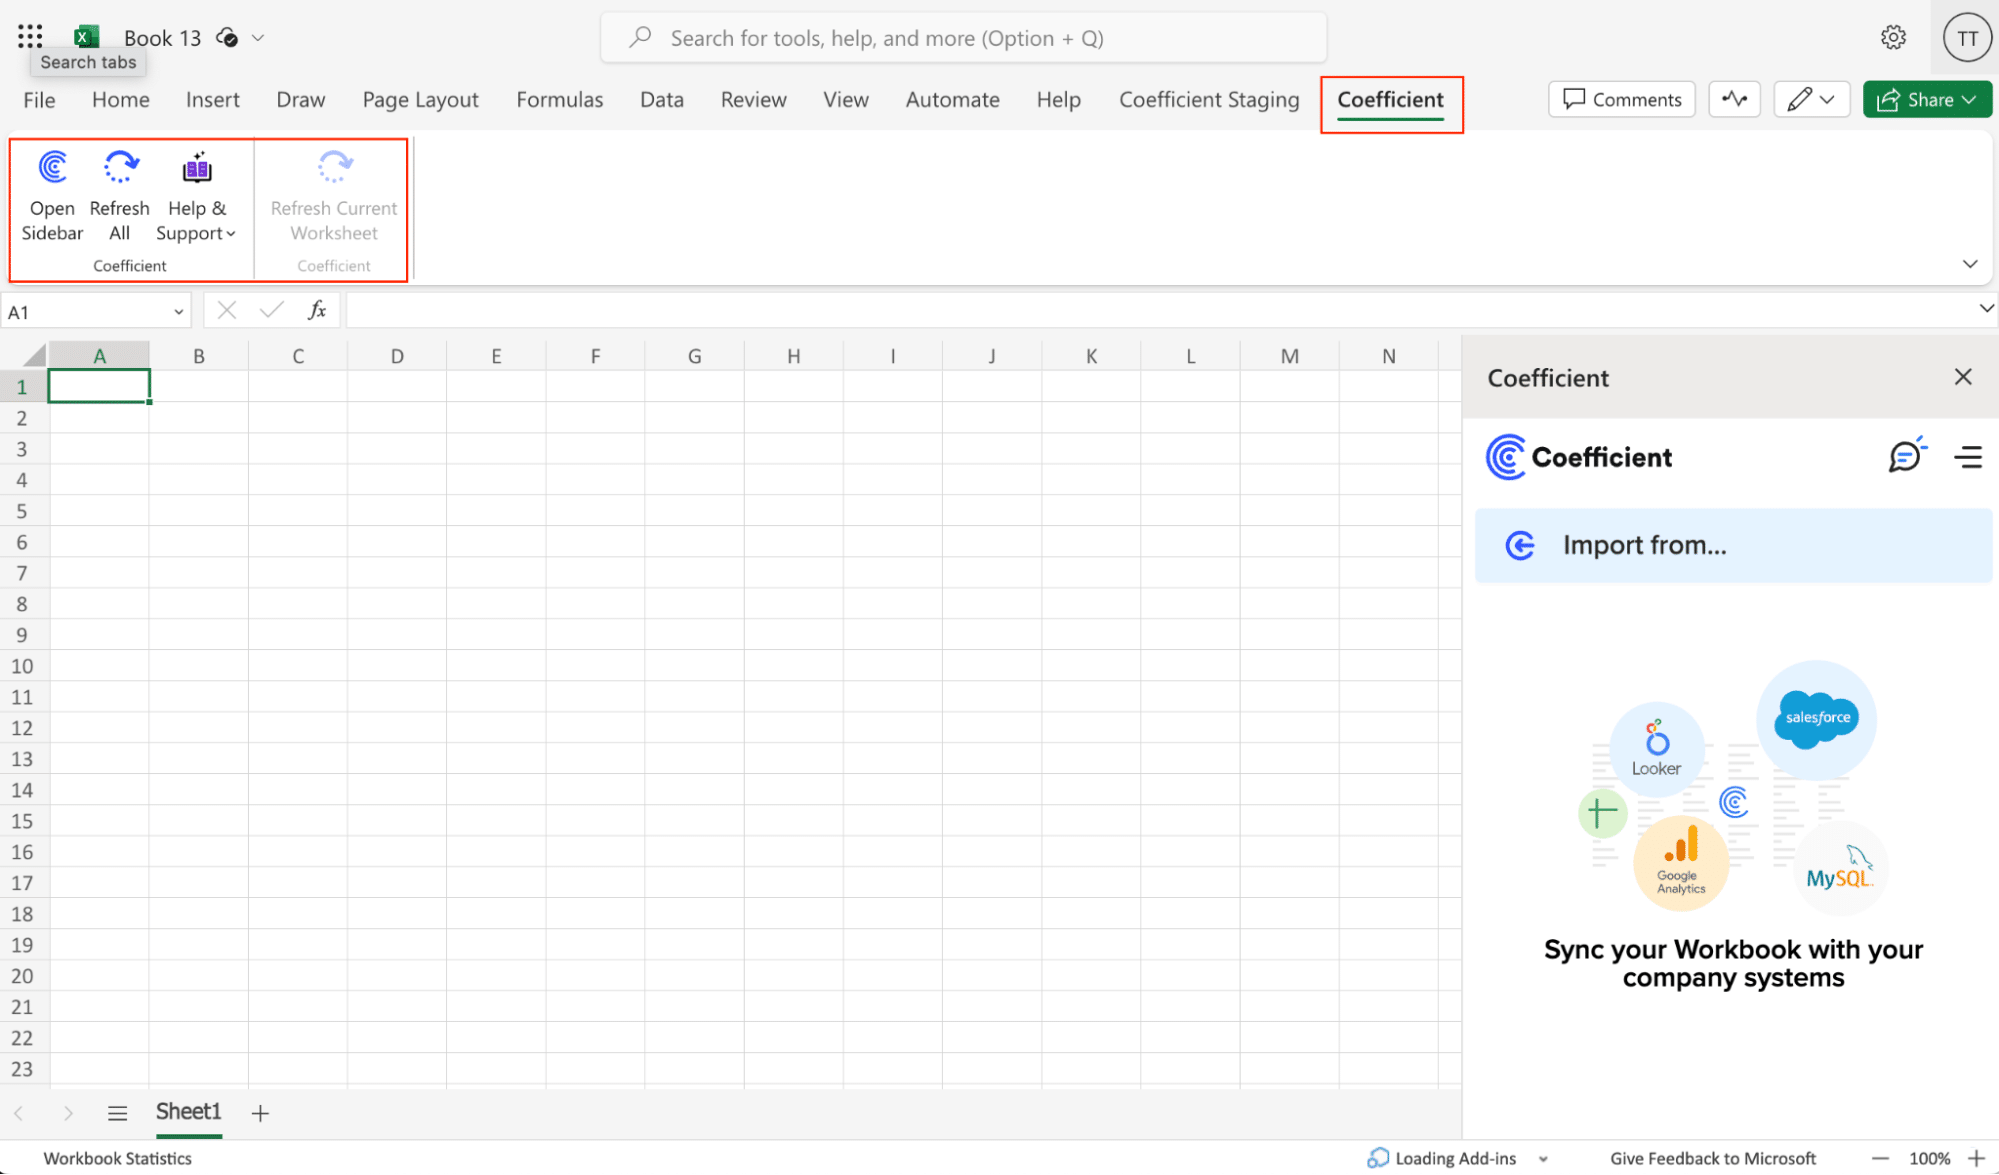
Select ‘Import from…’
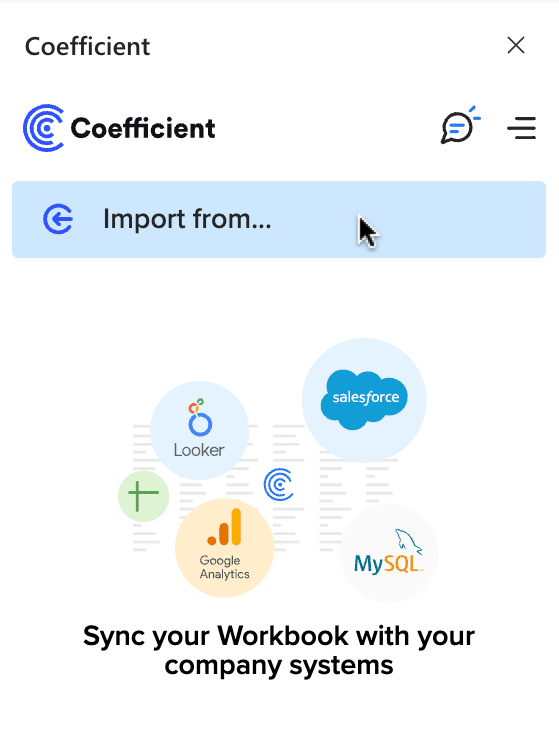
Scroll down until you see Mailchimp and click ‘Connect.’

Follow the prompts to authorize Coefficient to access your Mailchimp account.

You will be redirected to the following page (below). Enter your username and password to “Log In”.
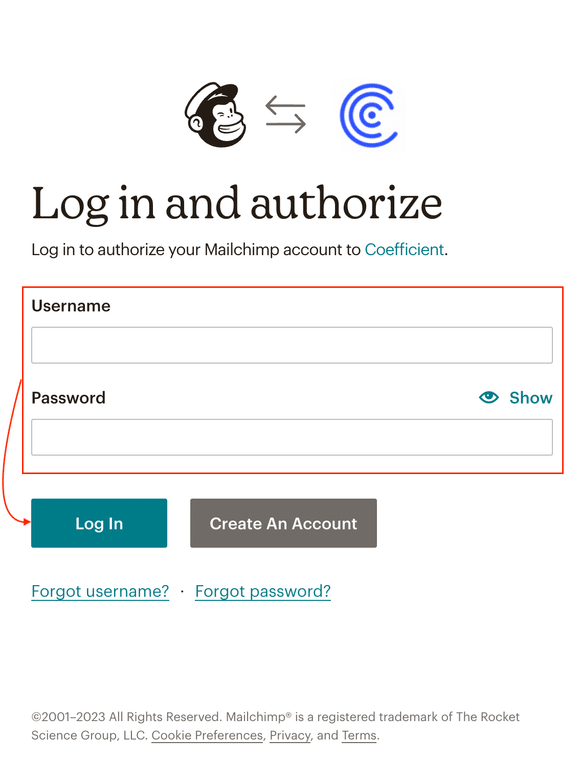
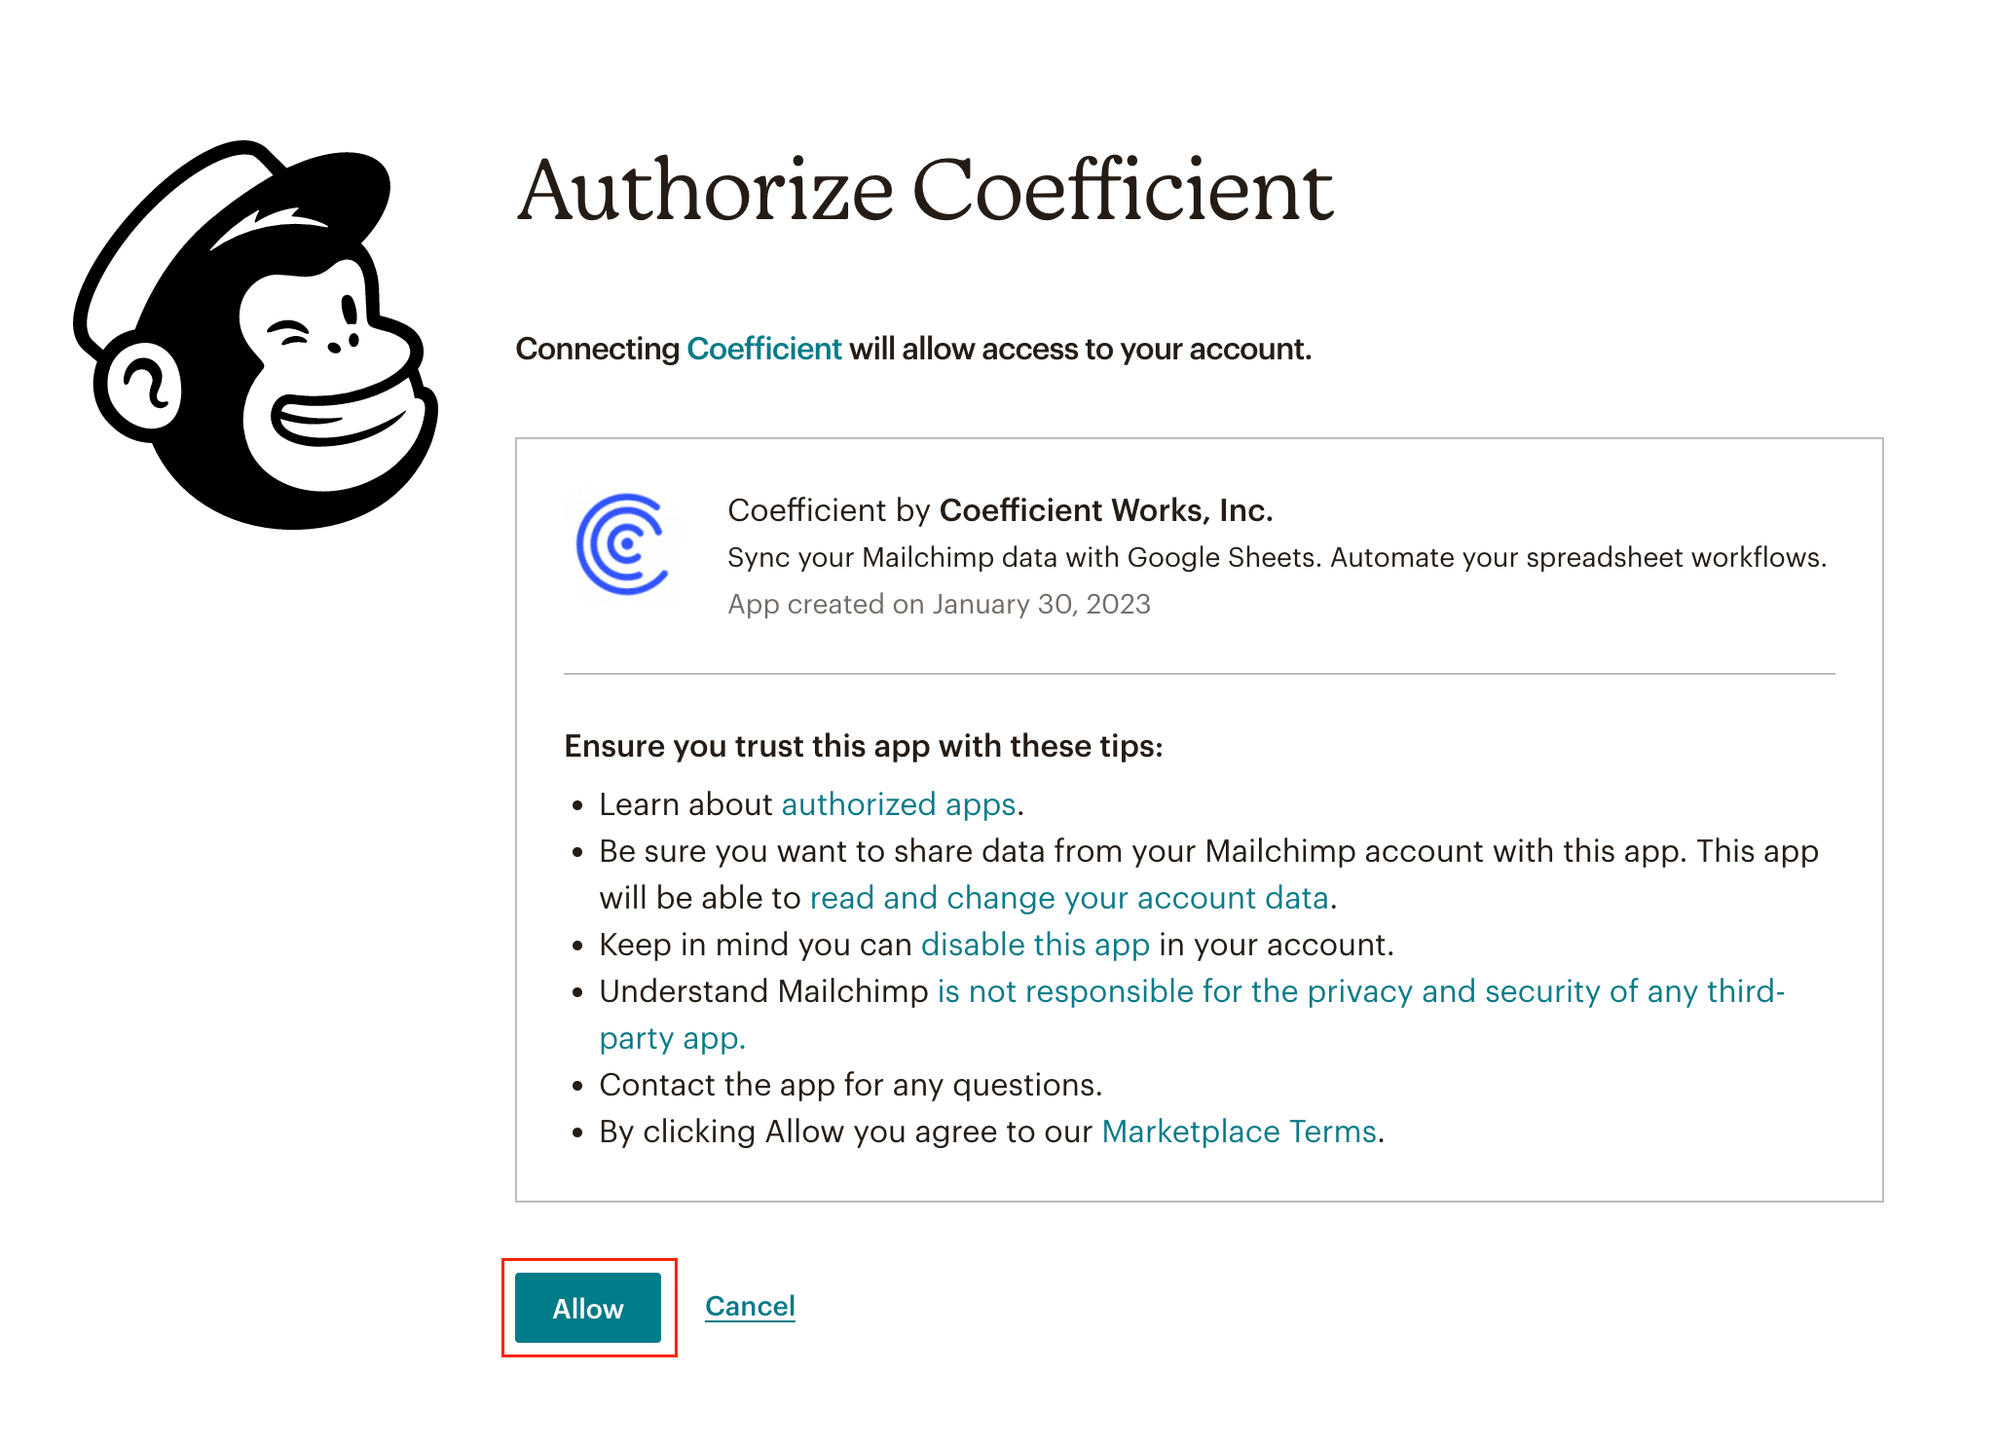
Click ‘Allow’ to Authorize Coefficient then you will be redirected back to your Sheet.
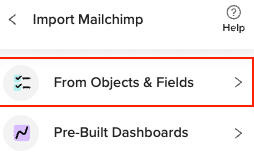
After connecting, return to Mailchimp from the Coefficient menu ‘Import From…’ > ‘Mailchimp >‘From Objects & Fields.’
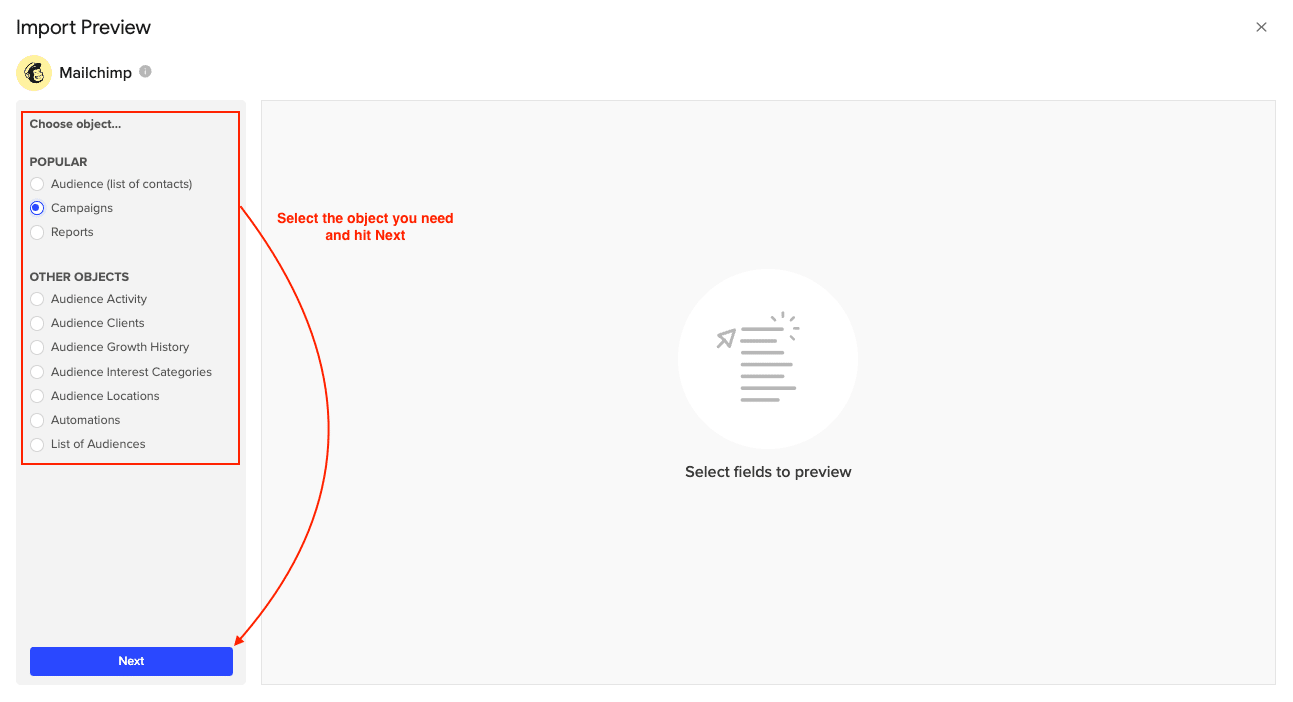
Select an object from those listed. (example: ”Campaigns”)
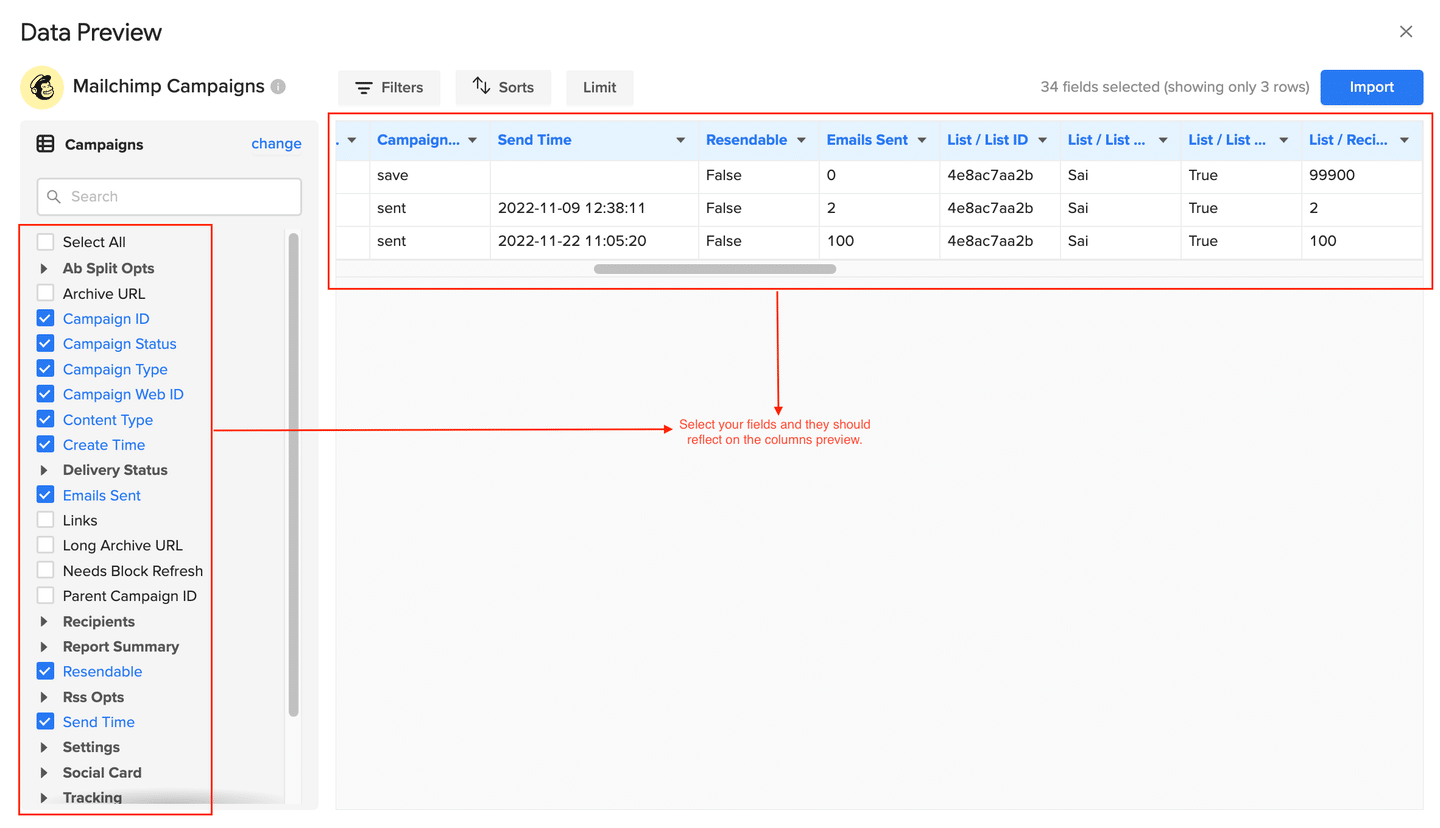
Check the box(es) corresponding to the fields you would like to include in this import. The fields selected will appear in the data previewer on the right of the screen.
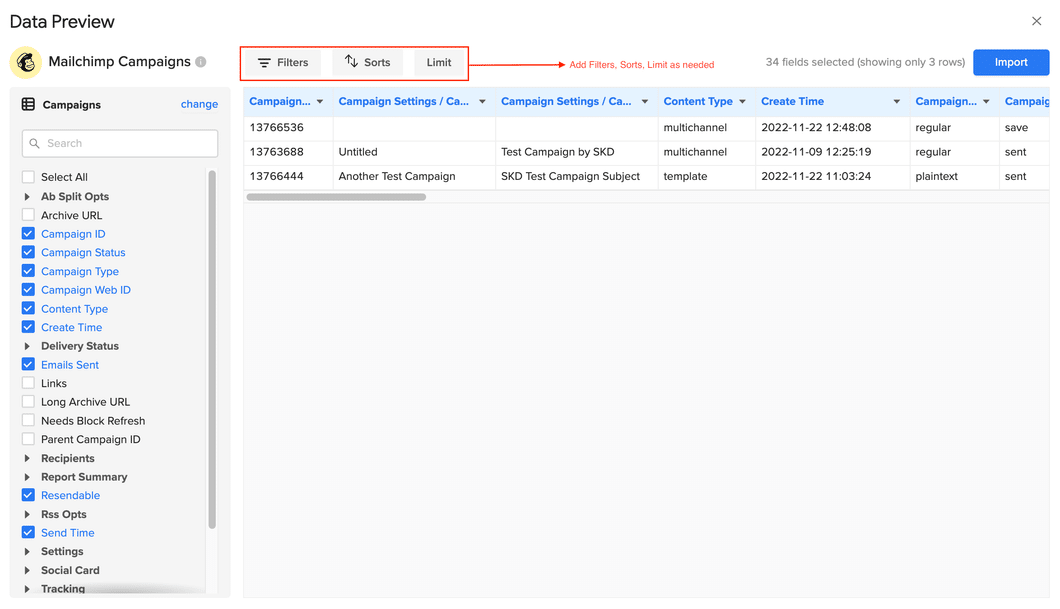
Customize your import by adding filters, sorts, or limits as needed. Then, click ‘Import’ on the top right of your screen.
Your Mailchimp data will automatically populate your Excel spreadsheet in a few seconds.
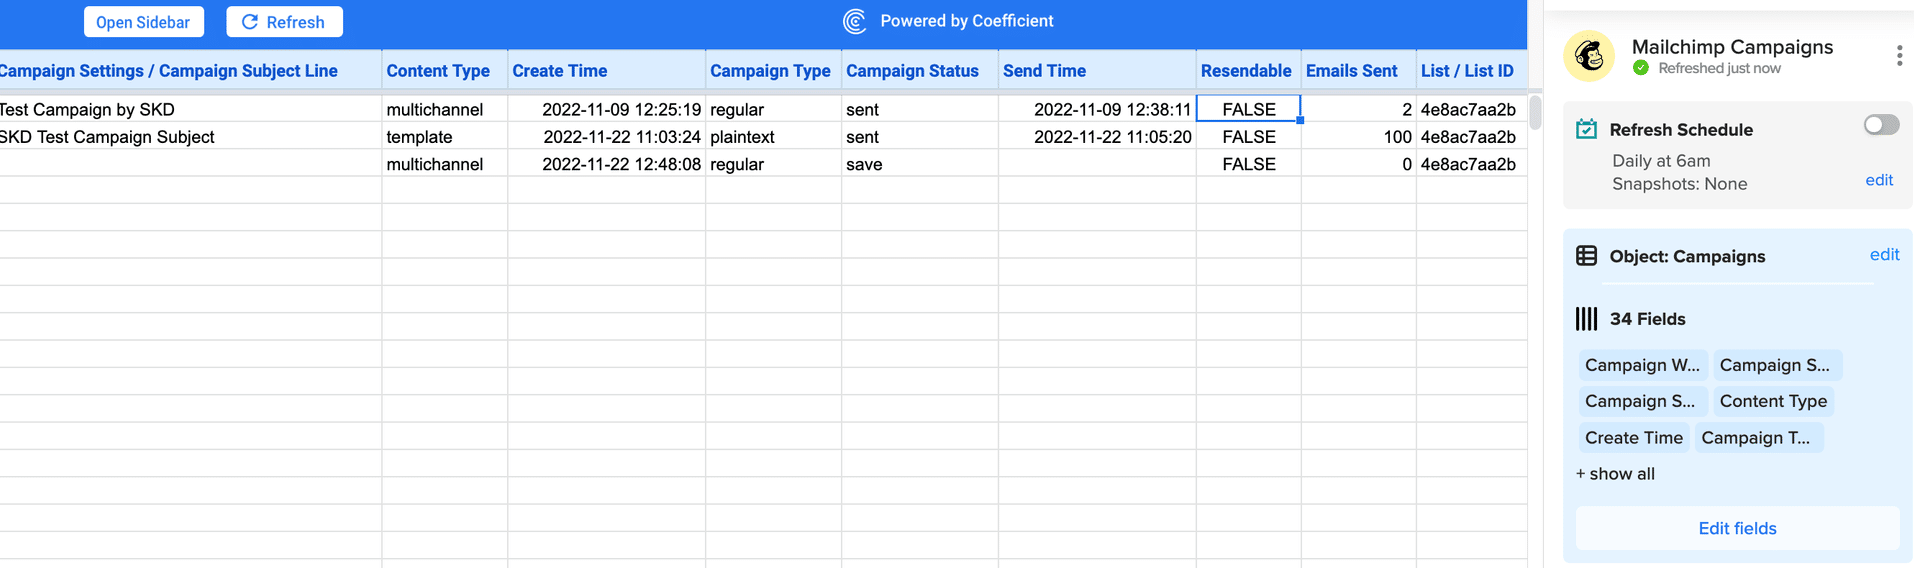
You can also set up automatic data updates to schedule data syncs between Mailchimp and Excel. Choose whether to run daily, hourly, or weekly automatic data updates.
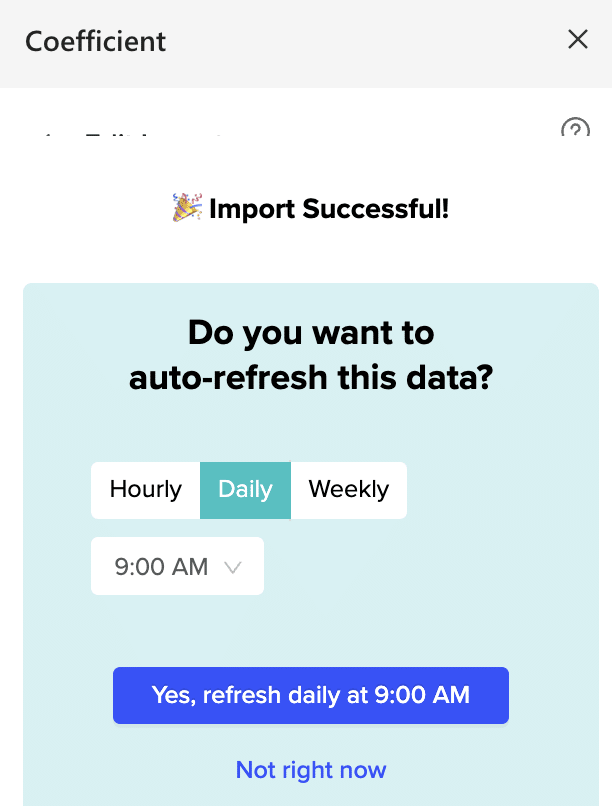
With automatic data updates, your Mailchimp data is always up-to-date in your spreadsheet. That means you can build live dashboards and reports on top of the data without performing cumbersome manual updates.
Method 2| Manual Export and Import
Marketers and data analysts can manually move data between Mailchimp and Excel when needed. Here’s how to do it:
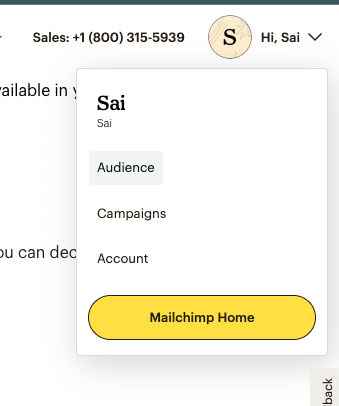
Step 1: Sign into Mailchimp and click ‘Audience’ at the top. If you have more than one audience, pick the one you want to export.
Step 2: In the ‘Audience’ area, find ‘Manage Audience’, click it, and choose ‘Exports’.
Step 3: Find the audience you want and select ‘Export Audience’. Mailchimp will make a CSV file. This might take a bit if your audience is large.
Step 4: When your file is ready, hit ‘Export as CSV’ to download it. You might get an email with a link to download it, too.

Stop exporting data manually. Sync data from your business systems into Google Sheets or Excel with Coefficient and set it on a refresh schedule.

Step 5: Open Excel, go to the ‘Data’ tab, and click ‘From Text/CSV’. Find and pick your CSV file.
Step 6: Excel will show a preview of your data. Here, you can pick how you want to bring it into Excel, like choosing columns or setting text formats. Click ‘Load’ to finish importing your Mailchimp data.
Pros and Cons:
- Pros:
- Ideal for single or infrequent data analysis.
- Direct control over what data to export and analyze.
- Cons:
- Time-consuming, especially with large datasets.
- Requires repetition of steps for updated data.
- Possibility of human error in handling and importing data.
Method 3| Zapier
Zapier is a web-based service that allows non-technical users to connect different applications and automate workflows. You can use Zapier to connect Mailchimp with Excel.
Step 1: Create a Zapier account if you don’t have one, or log in if you do.
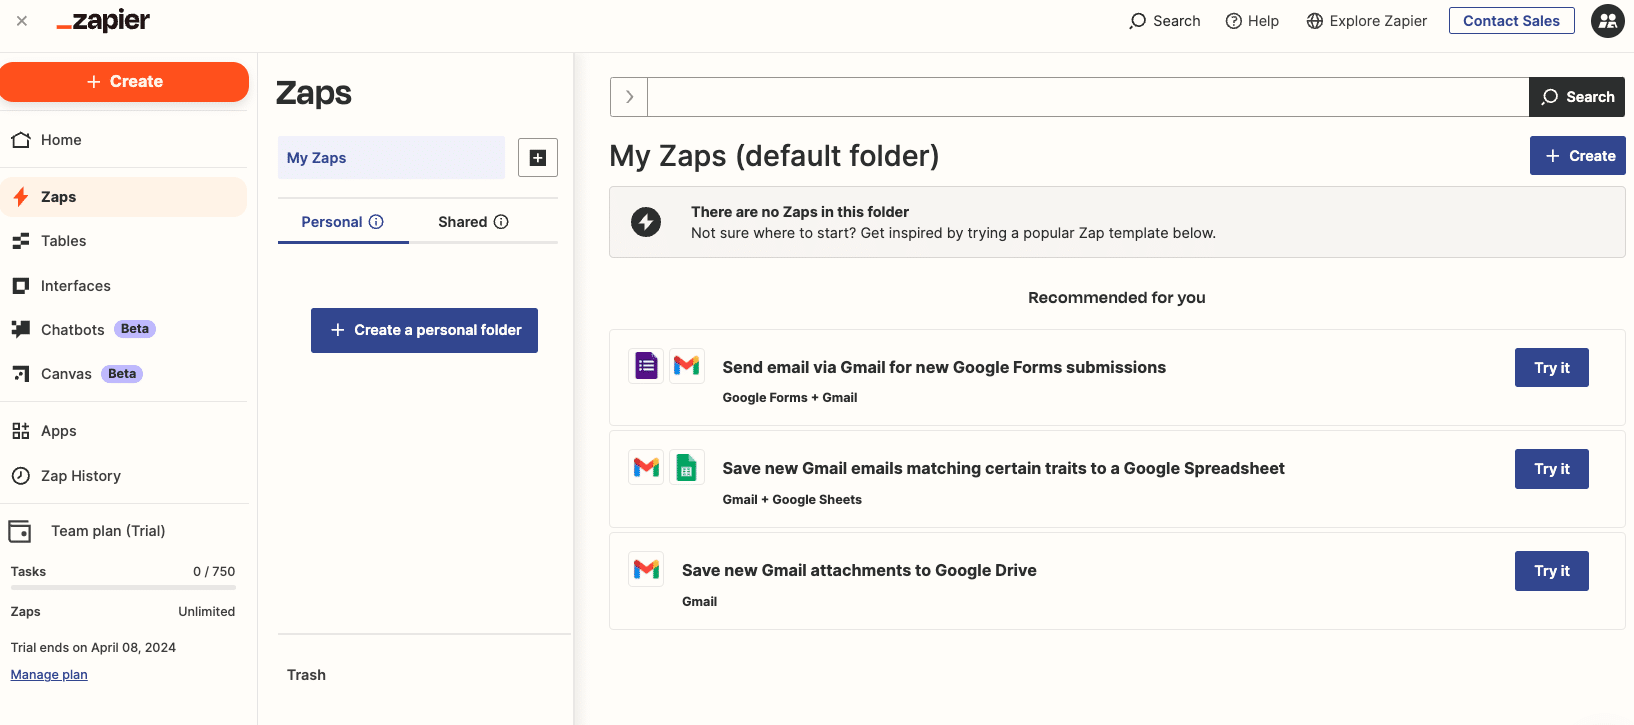
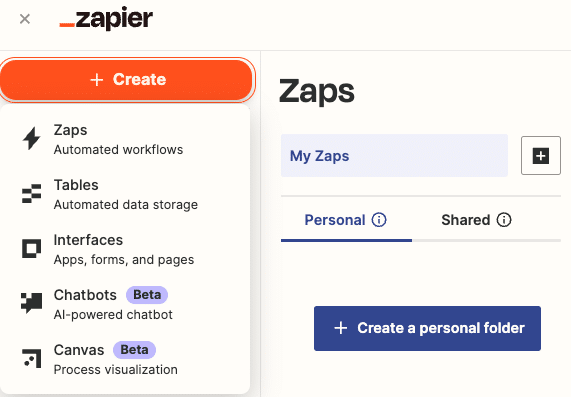
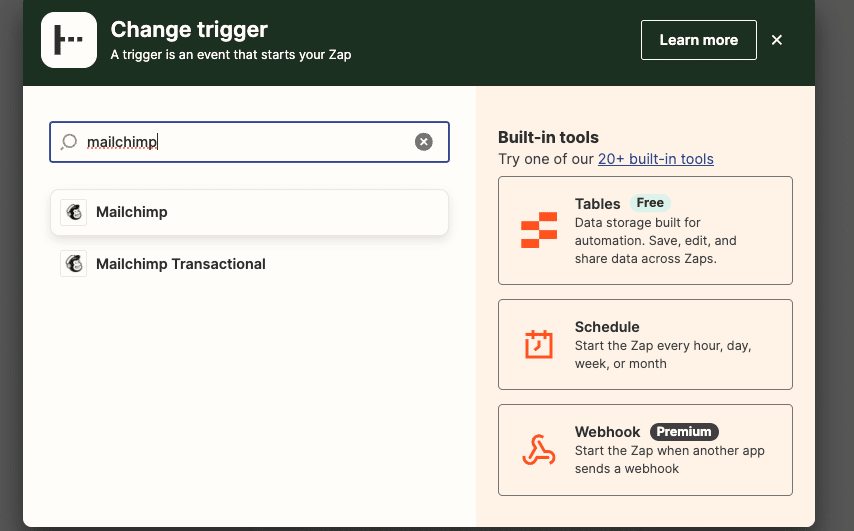
Step 2: Click on ‘+ Create’ > ‘Zap’ to start creating your workflow.
Step 3: Select Mailchimp from the list of apps and pick an event, like “New Subscriber,” to trigger the workflow.
Step 4: Follow the instructions to link your Mailchimp account with Zapier.
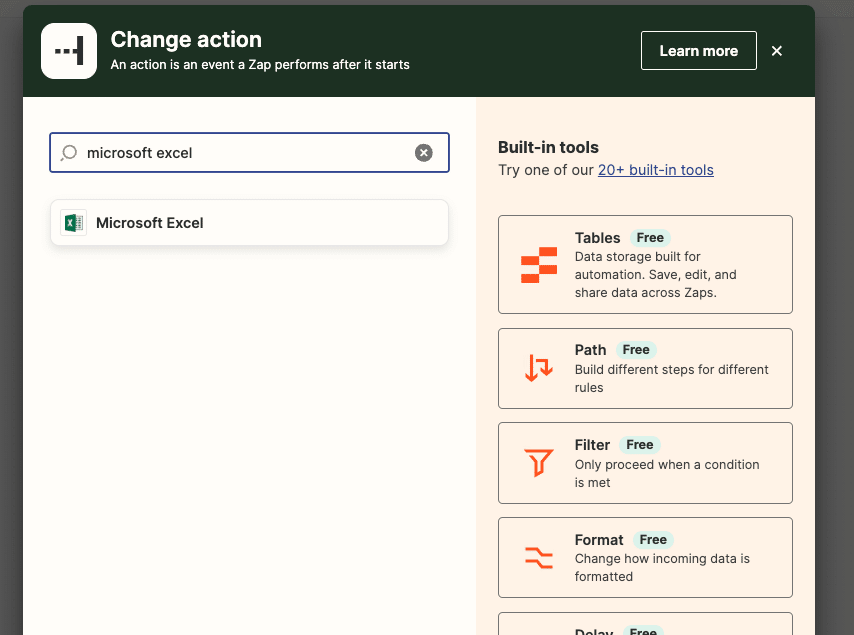
Step 5: Choose Excel as the app where the action will occur, such as adding a new row.
Step 6: Sign in to your Excel account when prompted to allow Zapier access.
Step 7: Assign which pieces of data from Mailchimp should go into specific columns in your Excel sheet.
Step 8: Run a test to ensure everything works as expected, then activate your Zap to automate the workflow.
Pros and Cons:
Pros:
- Fully automated data transfer from Mailchimp to Excel, eliminating manual entry.
- Customizable triggers and actions to fit specific needs.
- Immediate update of Excel spreadsheets with new Mailchimp data.
Cons:
- Requires a Zapier account, which may incur costs depending on usage levels.
- May need periodic re-configuration if Mailchimp or Excel structures change.
- Dependent on third-party service uptime and reliability.
Mailchimp Microsoft Excel Integration: Make Your Work Easier with Coefficient
Coefficient makes it super easy to bring your Mailchimp data into Excel, making your email marketing analysis quick and straightforward.
Begin making your work easier today. Start now to make it all happen without any fuss.


