Are you a B2B marketer looking to improve your lead generation process and campaign tracking? Connecting LinkedIn Ads to Salesforce can help you achieve these goals. In this comprehensive guide, we’ll explore three proven methods to integrate these platforms, helping you choose the right solution for your specific needs.
Why Connect LinkedIn Ads to Salesforce?
Before we dive into the methods, let’s quickly review the advantages of connecting LinkedIn Ads to Salesforce:
- Enhanced Lead Management: Automatically capture and route LinkedIn Ad leads directly to Salesforce, ensuring immediate follow-up and reducing manual data entry errors.
- Improved Campaign ROI Tracking: Monitor ad performance and lead conversion rates in real-time by connecting campaign data directly to Salesforce opportunities and deals.
- Streamlined Reporting: Create unified reports combining LinkedIn Ad metrics with Salesforce pipeline data for comprehensive campaign analysis and optimization.
Top 3 Methods to Connect LinkedIn Ads to Salesforce
Here’s a quick overview of the three methods we’ll cover:
| Solution | Best For |
| Coefficient | Marketing teams needing flexible data sync between LinkedIn Ads and Salesforce with the ability to transform data using spreadsheets |
| Native LinkedIn Integration | Organizations primarily using LinkedIn Lead Gen Forms who need basic lead syncing capabilities |
| Zapier | Small teams requiring simple automation without technical expertise |
Let’s explore each method in detail.
1. Coefficient: Flexible Data Sync and Transformation in Spreadsheets
Coefficient provides a no-code solution for syncing LinkedIn Ads data to Salesforce through Google Sheets or Excel, offering powerful data transformation capabilities and automated refresh schedules.
Step-by-Step Guide:
Step 1. Install Coefficient
For Google Sheets
- Open a new or existing Google Sheet, navigate to the Extensions tab, and select Add-ons > Get add-ons.
- In the Google Workspace Marketplace, search for “Coefficient.”
- Follow the prompts to grant necessary permissions.
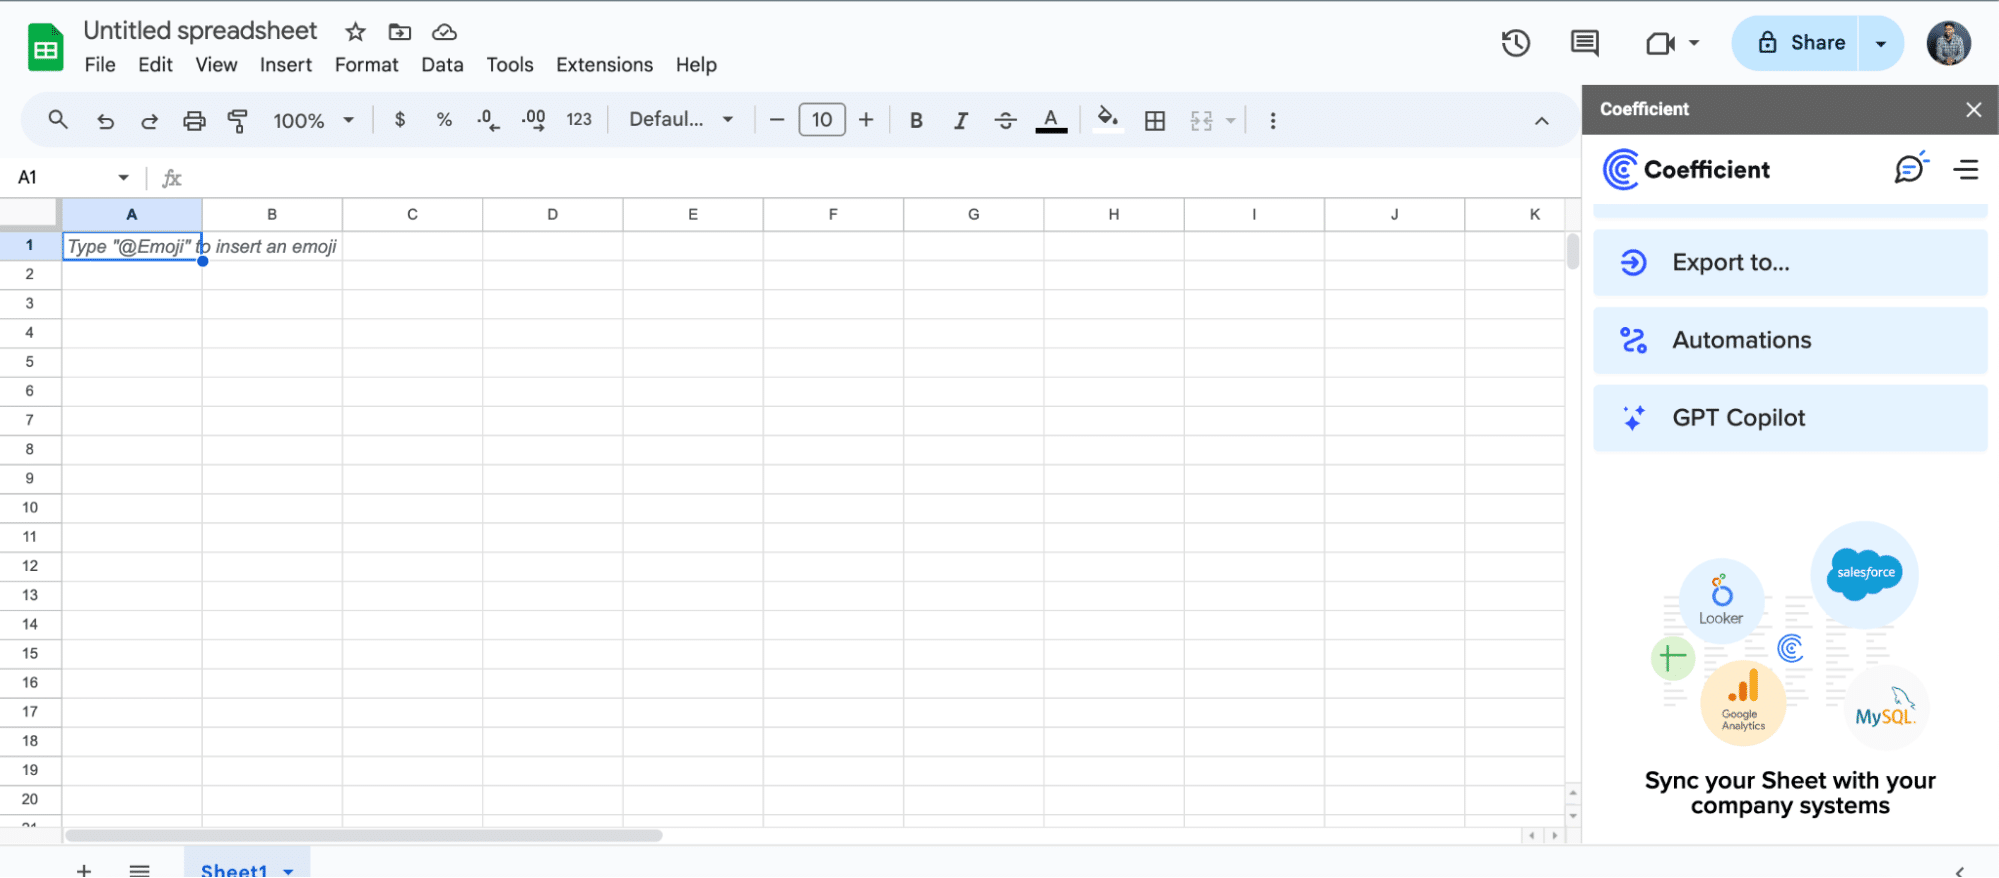
- Launch Coefficient from Extensions > Coefficient > Launch.
- Coefficient will open on the right-hand side of your spreadsheet.
For Microsoft Excel
- Open Excel from your desktop or in Office Online. Click ‘File’ > ‘Get Add-ins’ > ‘More Add-Ins.’
- Type “Coefficient” in the search bar and click ‘Add.’
- Follow the prompts in the pop-up to complete the installation.
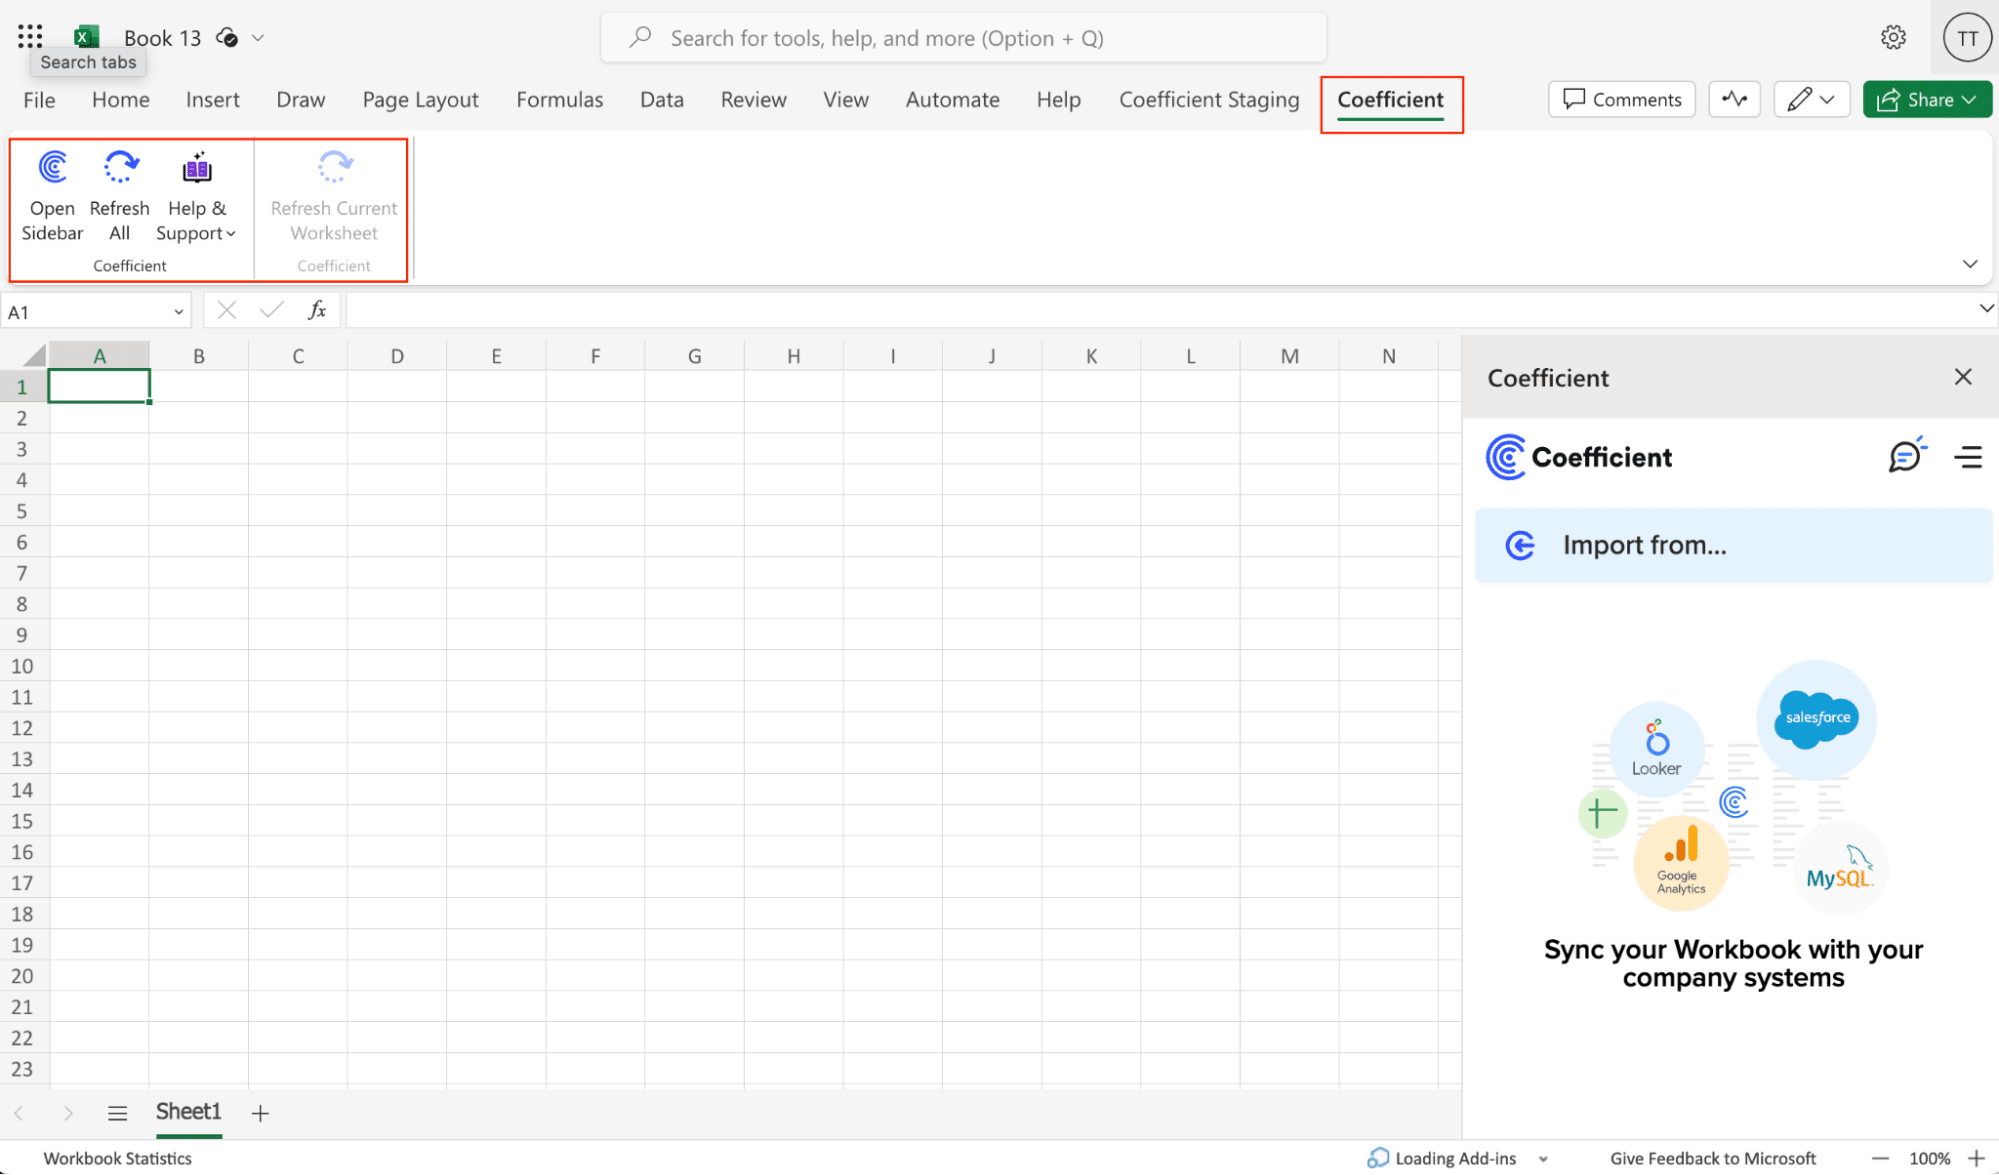
- Once finished, you will see a “Coefficient” tab in the top navigation bar. Click ‘Open Sidebar’ to launch Coefficient.
Step 2. Connect and Import Data from LinkedIn Ads
Click ‘Import from…’ from the Coefficient menu.

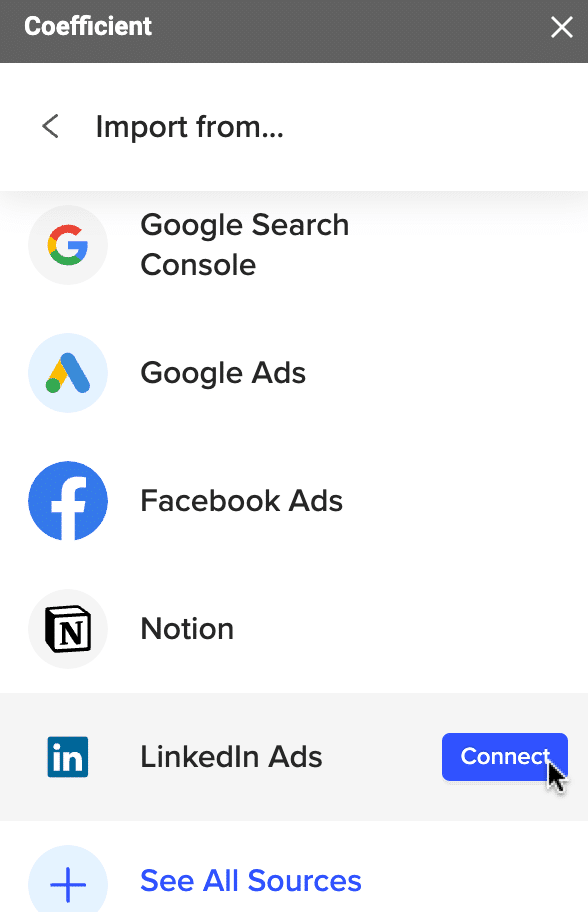
Navigate down the menu to find the LinkedIn Ads. Click ‘Connect.’
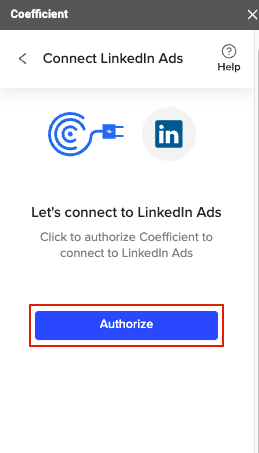
Coefficient will prompt you to grant it access to your LinkedIn Ads account.
Click ‘Authorize’ to proceed.
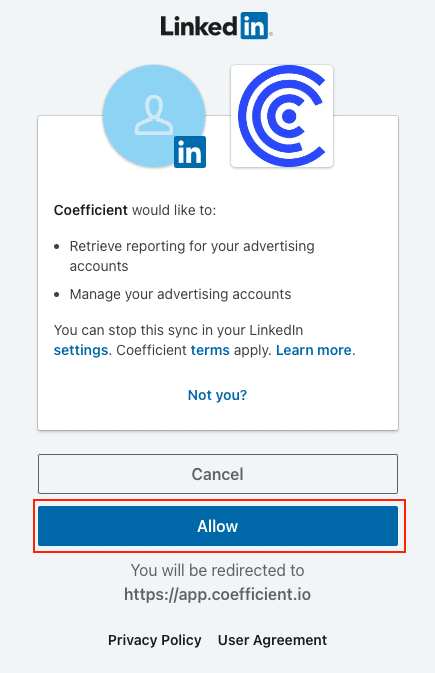
Enter your LinkedIn Ads credentials and click ‘Sign In.’

Click ‘Allow’ to grant access to Coefficient to your LinkedIn Ads account.
Once connected, navigate back to the Coefficient menu > ‘Import from…’ > ‘LinkedIn Ads.’
Select ‘Start from Scratch.’

Coefficient’s Import Preview menu allows you to select the metrics you want to import to your sheet.
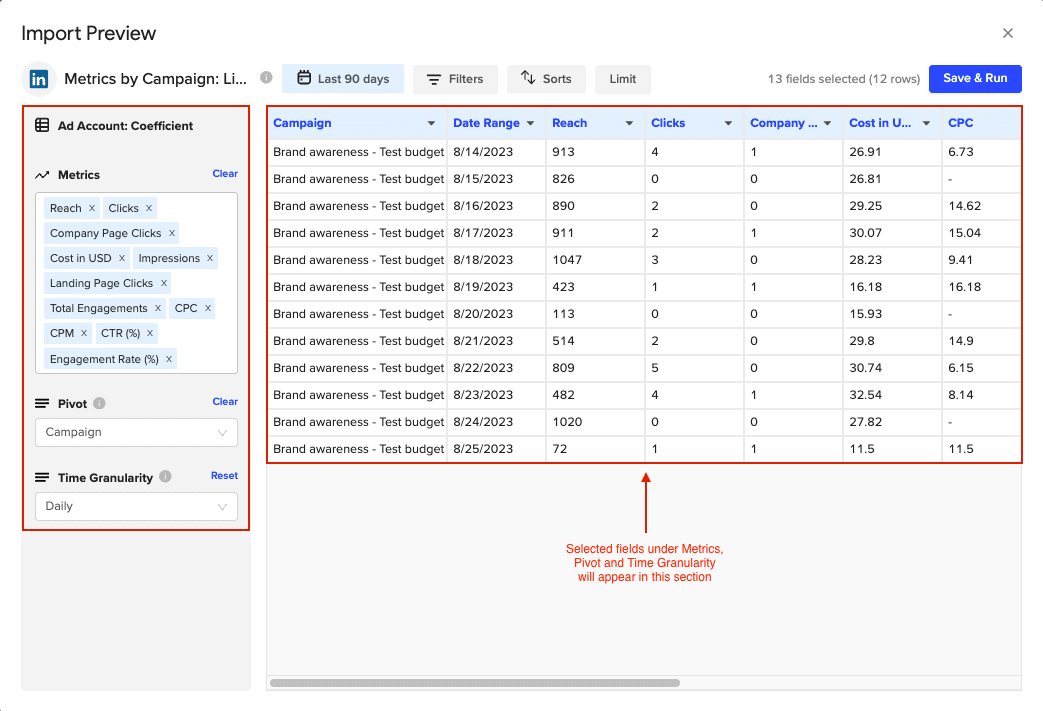
Customize your import by adding filters, setting row limits, or pivoting your data for varied perspectives.

The Time Granularity dropdown allows you to easily view ad performance over time: daily, monthly, or yearly.

After customizing your fields, click ‘Refresh Preview’ to see the changes in the preview window.
Click ‘Import’ to continue.

Your data will automatically populate your spreadsheet.

Step 3. Push Your Data to Salesforce
- Navigate to Export: In Coefficient’s menu, click Export to…, then select Salesforce from the list of available data sources .
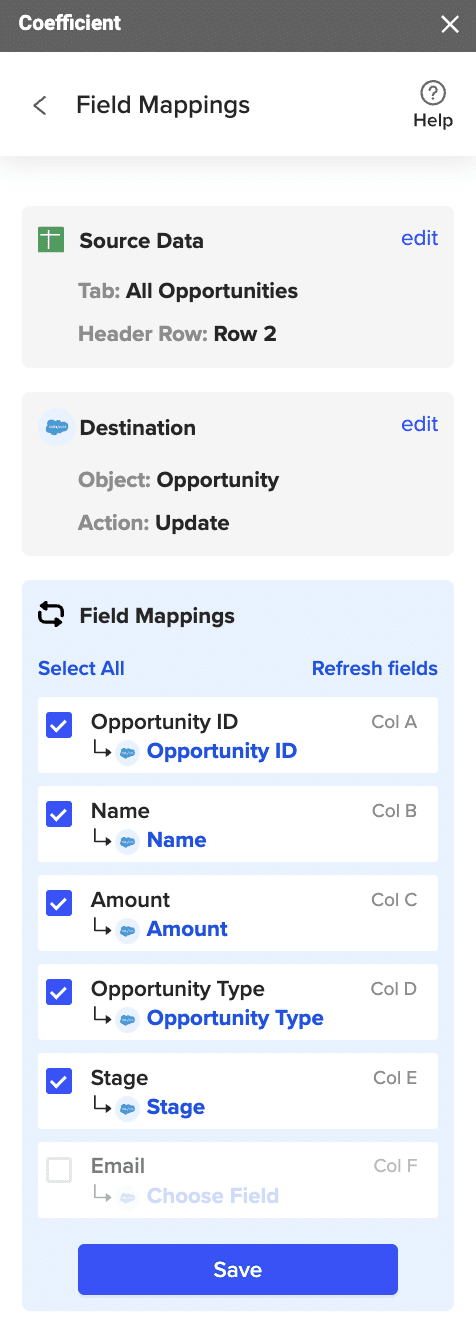
- Select Data and Action: Choose the tab and header rows in your spreadsheet that contain the data you want to export. Define your tab and header row. Select the Salesforce Object (e.g., “Opportunity”, “Contacts”), and choose the type of action—Update, Insert, Upsert, or Delete .
- Map Fields: Map the fields from your spreadsheet to the corresponding Salesforce fields. Coefficient will automatically map these fields if the data originated from Salesforce .
- Customize and Export: Specify additional settings like batch size, whether to export empty cells on an update, and the column for results. Confirm your settings, highlight the rows to export, and click Export .

Your spreadsheet will display updated records, along with their export status and the date/time stamp of the update.
Pros:
- No coding required
- Flexible data transformation options
- Automated data refresh
- Two-way sync capabilities
- Custom field mapping
Cons:
- Requires spreadsheet as intermediary
- Additional tool in tech stack
2. Native LinkedIn Integration: Direct Lead Capture
LinkedIn’s native integration with Salesforce allows direct lead capture from Lead Gen Forms into your CRM.
Step-by-Step Guide:
Step 1: Lead Gen Forms Setup
Create and configure LinkedIn Lead Gen Forms that will capture prospect information and send it directly to Salesforce.
Required platform access:
- LinkedIn Campaign Manager admin access
- Salesforce System Administrator profile
- API access enabled in both platforms
- Lead Gen Forms creation permissions
Step 2: Salesforce Connection Configuration
Establish the secure connection between LinkedIn Campaign Manager and your Salesforce instance.
Access path in LinkedIn: Campaign Manager → Admin Settings → Partners and Data Sources → Find Salesforce Integration
Connection requirements:
- Salesforce production environment URL
- API user credentials
- OAuth 2.0 authentication
- IP range whitelisting if needed
Step 3: Field Mapping Configuration
Create detailed mappings between LinkedIn form fields and corresponding Salesforce lead fields.

Stop exporting data manually. Sync data from your business systems into Google Sheets or Excel with Coefficient and set it on a refresh schedule.
Get Started
Essential field mappings:
- First Name and Last Name
- Email Address
- Company Name
- Job Title
- Phone Number
- Custom form fields to Salesforce custom fields
Step 4: Lead Sync Settings
Configure how leads flow from LinkedIn into your Salesforce instance.
Key sync parameters:
- Lead assignment rules
- Lead source tracking
- Campaign association
- Duplicate handling rules
- Real-time sync versus batch processing
Step 5: Testing and Verification
Conduct thorough testing of the lead capture and sync process.
Testing process:
- Submit test lead through form
- Verify lead creation in Salesforce
- Check field mapping accuracy
- Confirm lead assignment
- Monitor sync speed
Pros:
- Direct integration
- No additional costs
- Simple setup
Cons:
- Limited to Lead Gen Forms
- Basic field mapping
- Limited customization options
3. Zapier: No-Code Automation
Zapier provides a no-code automation platform for connecting LinkedIn Ads with Salesforce through pre-built workflows.
Step-by-Step Guide:
Step 1. Sign up for a Zapier account
Visit Zapier’s website and create an account if you don’t already have one.
Step 2. Create a new Zap (automated workflow)
In your Zapier dashboard, click on ” + Create” > “New Zap” to start setting up your automation workflow.

Step 3. Choose LinkedIn Ads as the trigger app
Search for “LinkedIn Ads ” in the app selection and choose it as your trigger app.
Step 4. Select the specific LinkedIn Ads trigger event
Choose the event that will initiate your workflow
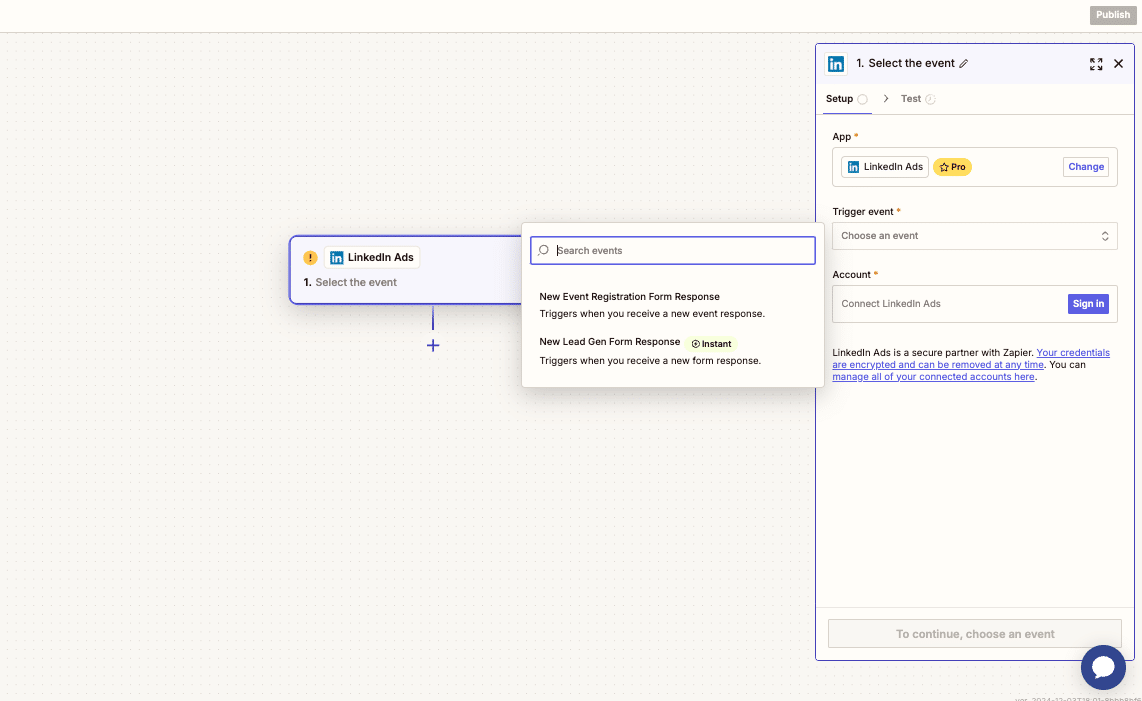
Step 5. Connect your LinkedIn Ads account to Zapier
Follow the prompts to authenticate your LinkedIn Ads account with Zapier.
Step 6. Choose Salesforce as the action app
In the action step, search for and select “Salesforce” as your action app.
Step 7. Select the action to perform in Salesforce
Choose the specific action you want to perform, such as “Add Contact to Campaign” or “Add File to Record.”

Step 8. Map the LinkedIn Ads data fields to the corresponding Salesforce table columns
Use Zapier’s field mapping interface to match the LinkedIn Ads data with the appropriate columns in your Salesforce table.
Step 9. Test and activate your Zap
Run a test to ensure your Zap is working correctly, then activate it to start the automated workflow.
Pros:
- No coding required
- Multiple trigger options
- Quick setup
Cons:
- Limited complex transformations
- Usage-based pricing
- Potential sync delays
Connect LinkedIn Ads to Salesforce with Coefficient
Connecting LinkedIn Ads to Salesforce is a powerful way to enhance your B2B marketing efforts. While each method has its merits, Coefficient offers the most flexible solution with powerful data transformation capabilities and automated syncing. By choosing the right integration method and following best practices, you can significantly improve your lead management, campaign tracking, and overall marketing ROI.
Ready to streamline your LinkedIn Ads and Salesforce integration? Get started with Coefficient today: https://coefficient.io/get-started


