If you’re using Jotform for online forms and Salesforce as your CRM, you’re already on your way to streamlining your lead generation and customer management processes. But did you know that by connecting these two powerful platforms, you can take your sales and marketing efforts to the next level?
In this post, we’ll explore the key advantages of integrating Jotform with Salesforce and provide detailed, step-by-step tutorials for setting up the connection using three popular tools:
- Coefficient – For seamless, no-code integration
- Zapier – For flexible automation with wide app support
- Formstack – For advanced data management and routing
By the end of this guide, you’ll have all the information you need to choose the best integration method for your needs and start supercharging your sales and marketing workflows.
3 Benefits of Connecting Jotform to Salesforce
- Intelligent Lead Qualification By integrating Jotform with Salesforce, you can implement an automated lead scoring system based on form responses. For example, if a prospect indicates a high budget or immediate need in a Jotform survey, their lead score in Salesforce can be automatically adjusted, allowing sales teams to prioritize high-potential leads and optimize their outreach efforts.
- Personalized Product Recommendations Leverage Jotform data to power a recommendation engine in Salesforce. By analyzing responses to product preference questions in Jotform, you can automatically trigger personalized product suggestions within Salesforce. This enables sales reps to offer tailored solutions during their first interaction, increasing the likelihood of closing deals.
- Automated Customer Segmentation Use Jotform responses to dynamically segment customers in Salesforce. For instance, based on industry-specific questions in a Jotform survey, you can automatically assign accounts to relevant market segments in Salesforce. This allows for more targeted marketing campaigns and personalized communication strategies, improving overall customer engagement and retention.
Connect Jotform to Salesforce: 3 Methods
| Tool | Best For |
| Coefficient | Data analysts in small to medium-sized businesses who need to combine Jotform data with other metrics before pushing to Salesforce. Ideal for organizations that heavily rely on spreadsheets for data analysis and reporting. |
| Zapier | Marketing and sales teams in growing businesses with diverse software ecosystems. Best for companies that need to create multi-step workflows involving Jotform, Salesforce, and additional apps (e.g., triggering email campaigns based on form submissions or updating project management tools). |
| Formstack | Large organizations or businesses with complex data management needs. Optimal for IT teams or system administrators who require granular control over data flow and transformation between Jotform and Salesforce. |
This revision provides more specific advantages of connecting Jotform to Salesforce, focusing on actionable insights and tangible benefits. The “Best For” section now offers
Method 1: Coefficient
Coefficient is a no-code integration platform that enables seamless data sync between Jotform, Google Sheets, and Salesforce. With its intuitive interface and powerful features, Coefficient is an excellent choice for users of all skill levels.
Step 1: Install the Coefficient
For Google Sheets
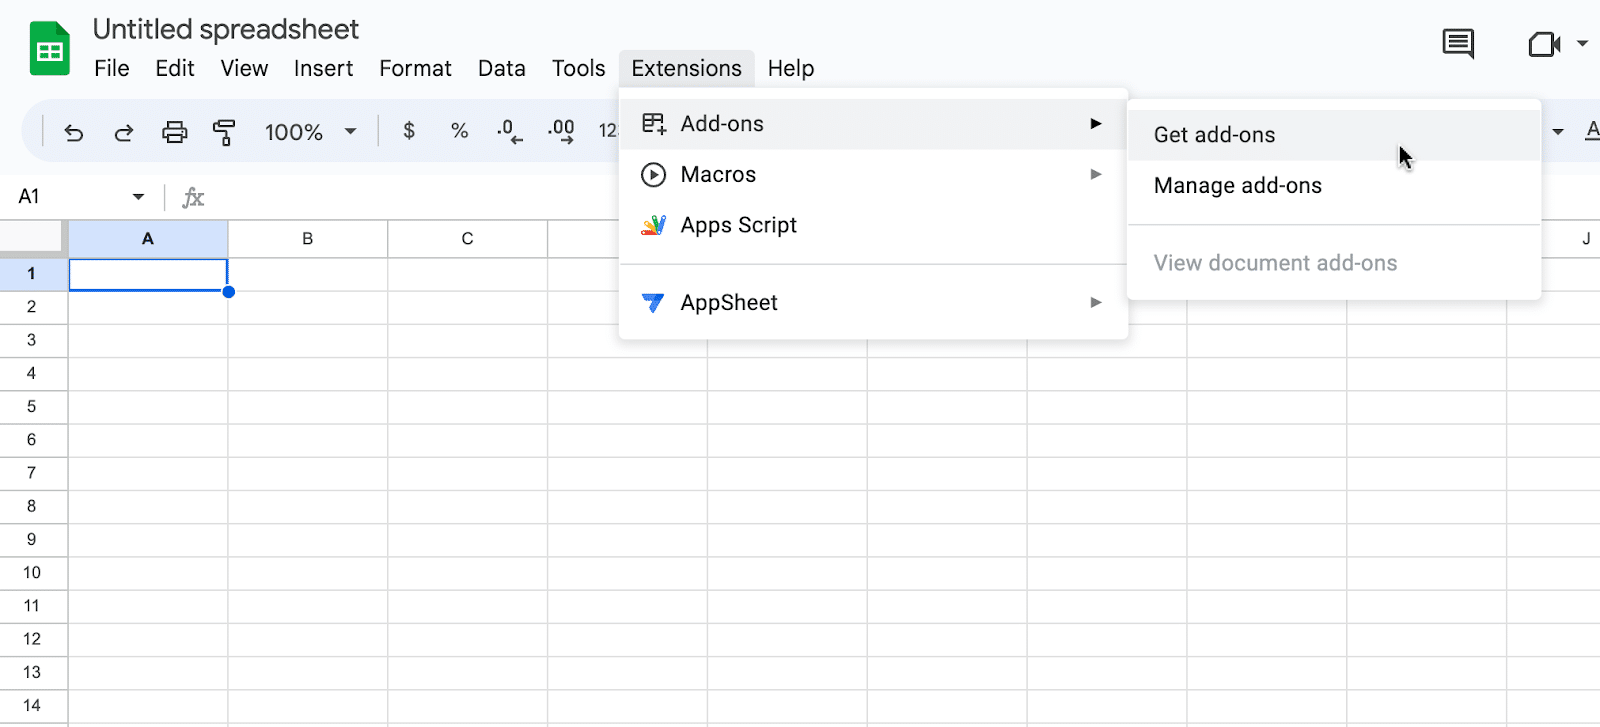
Open a new or existing Google Sheet, navigate to the Extensions tab, and select Add-ons > Get add-ons.
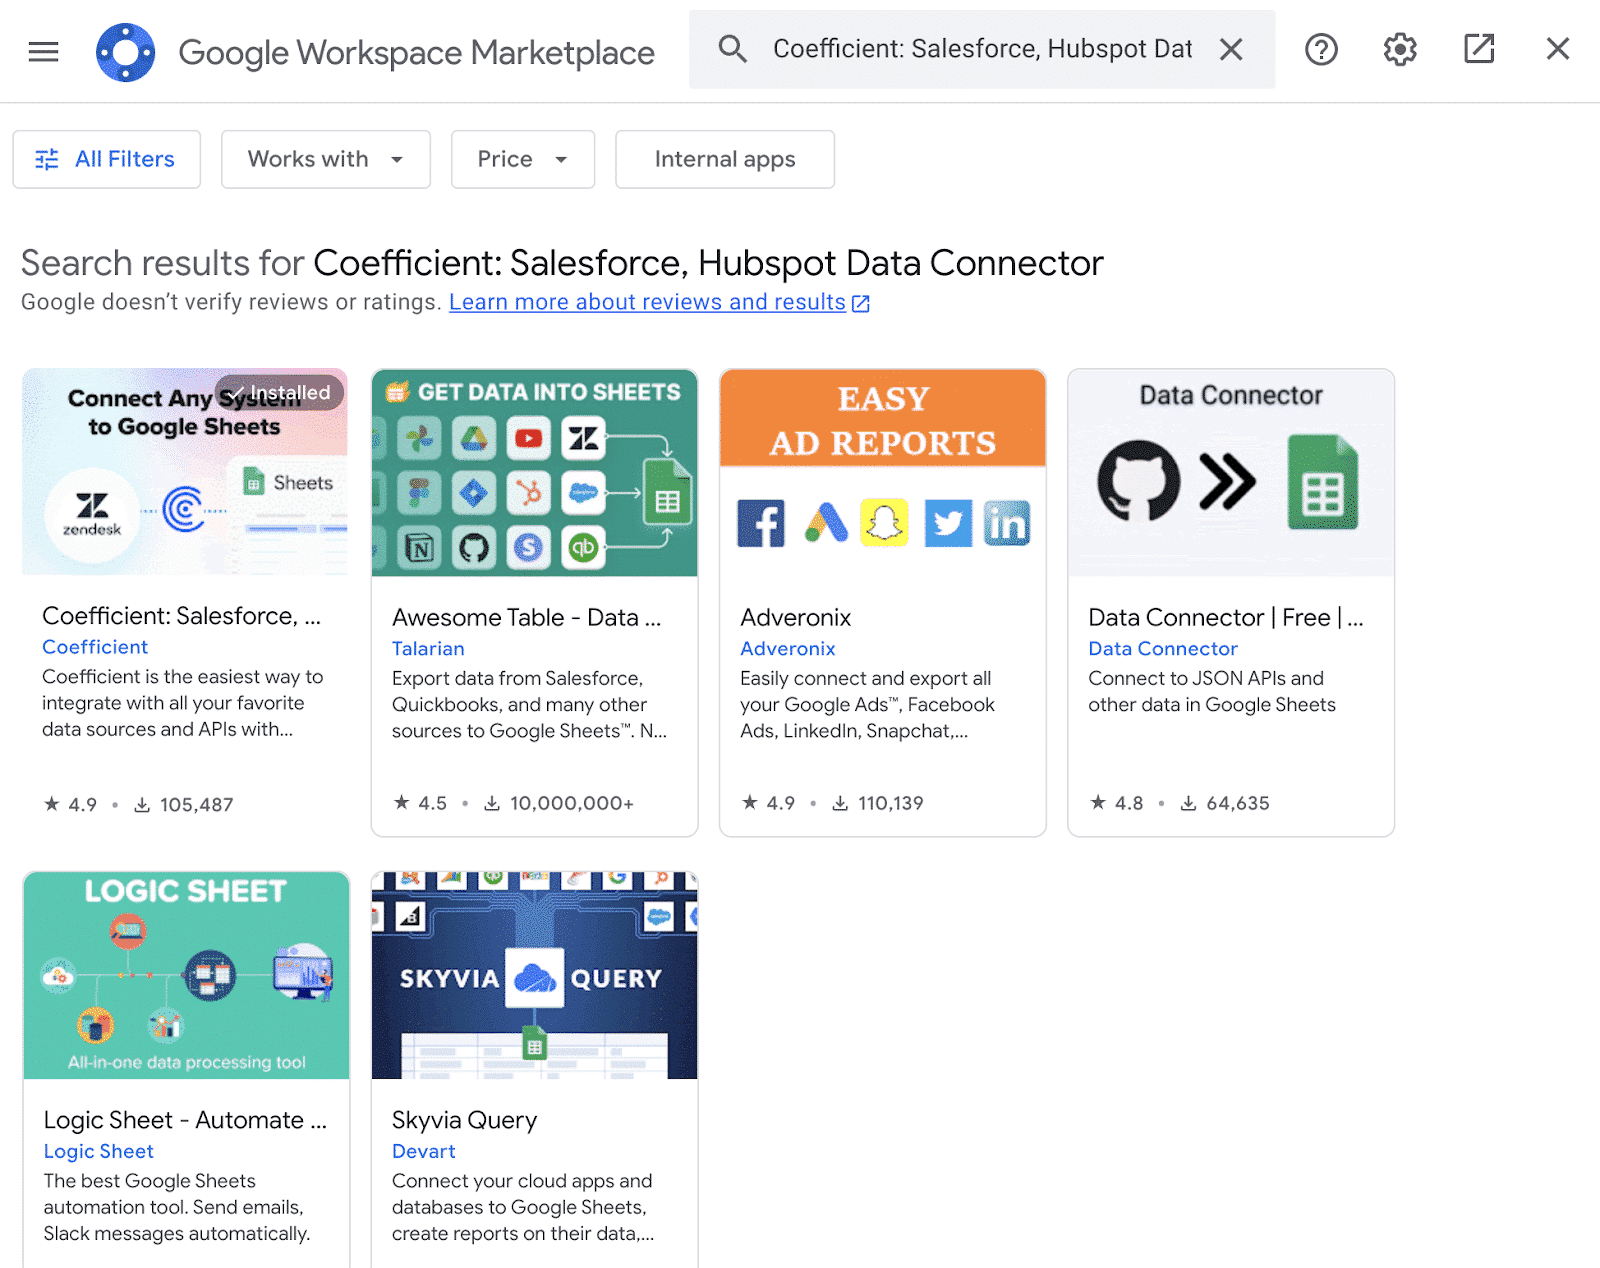
In the Google Workspace Marketplace, search for “Coefficient.”
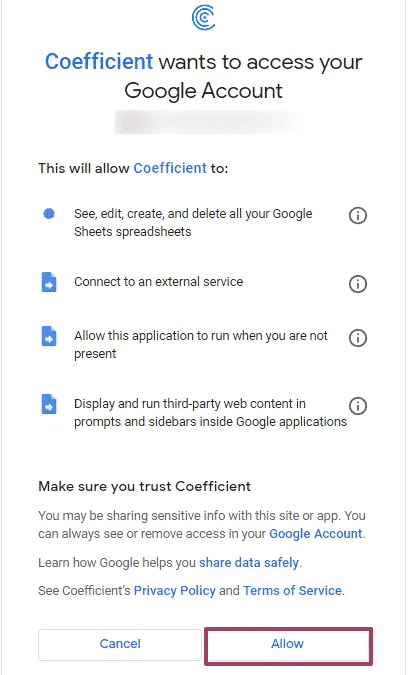
Follow the prompts to grant necessary permissions.
Launch Coefficient from Extensions > Coefficient > Launch.

Coefficient will open on the right-hand side of your spreadsheet.
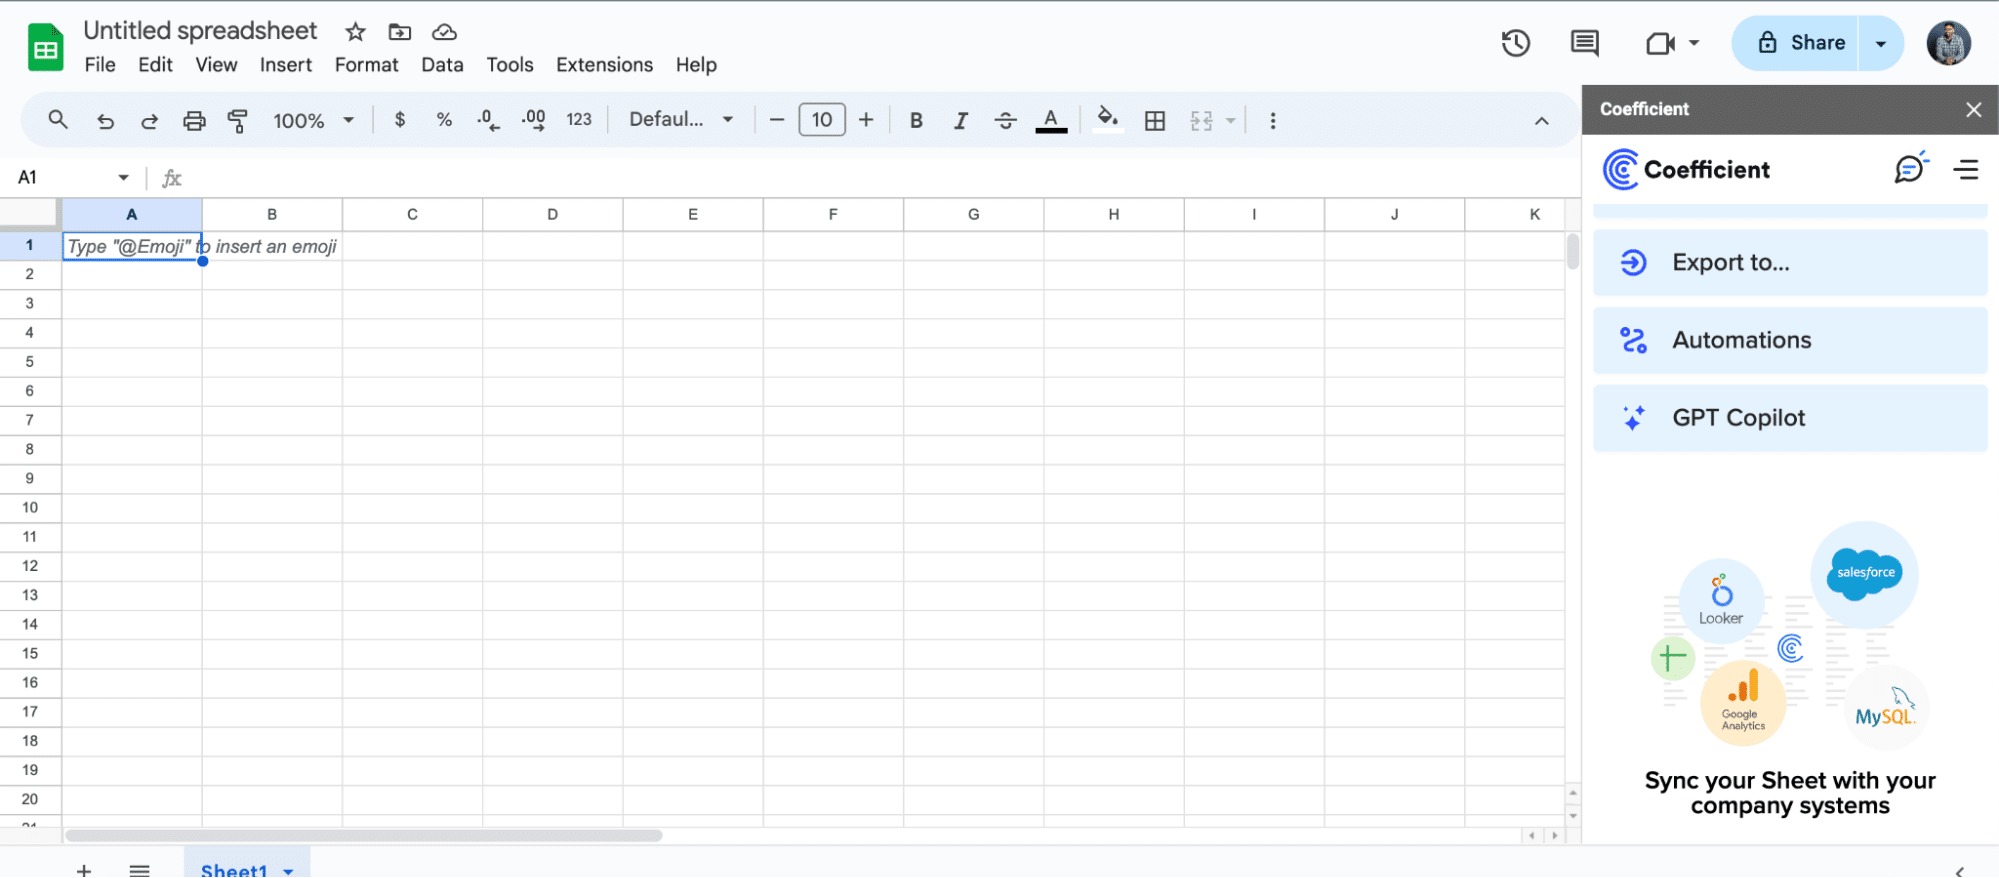
For Microsoft Excel
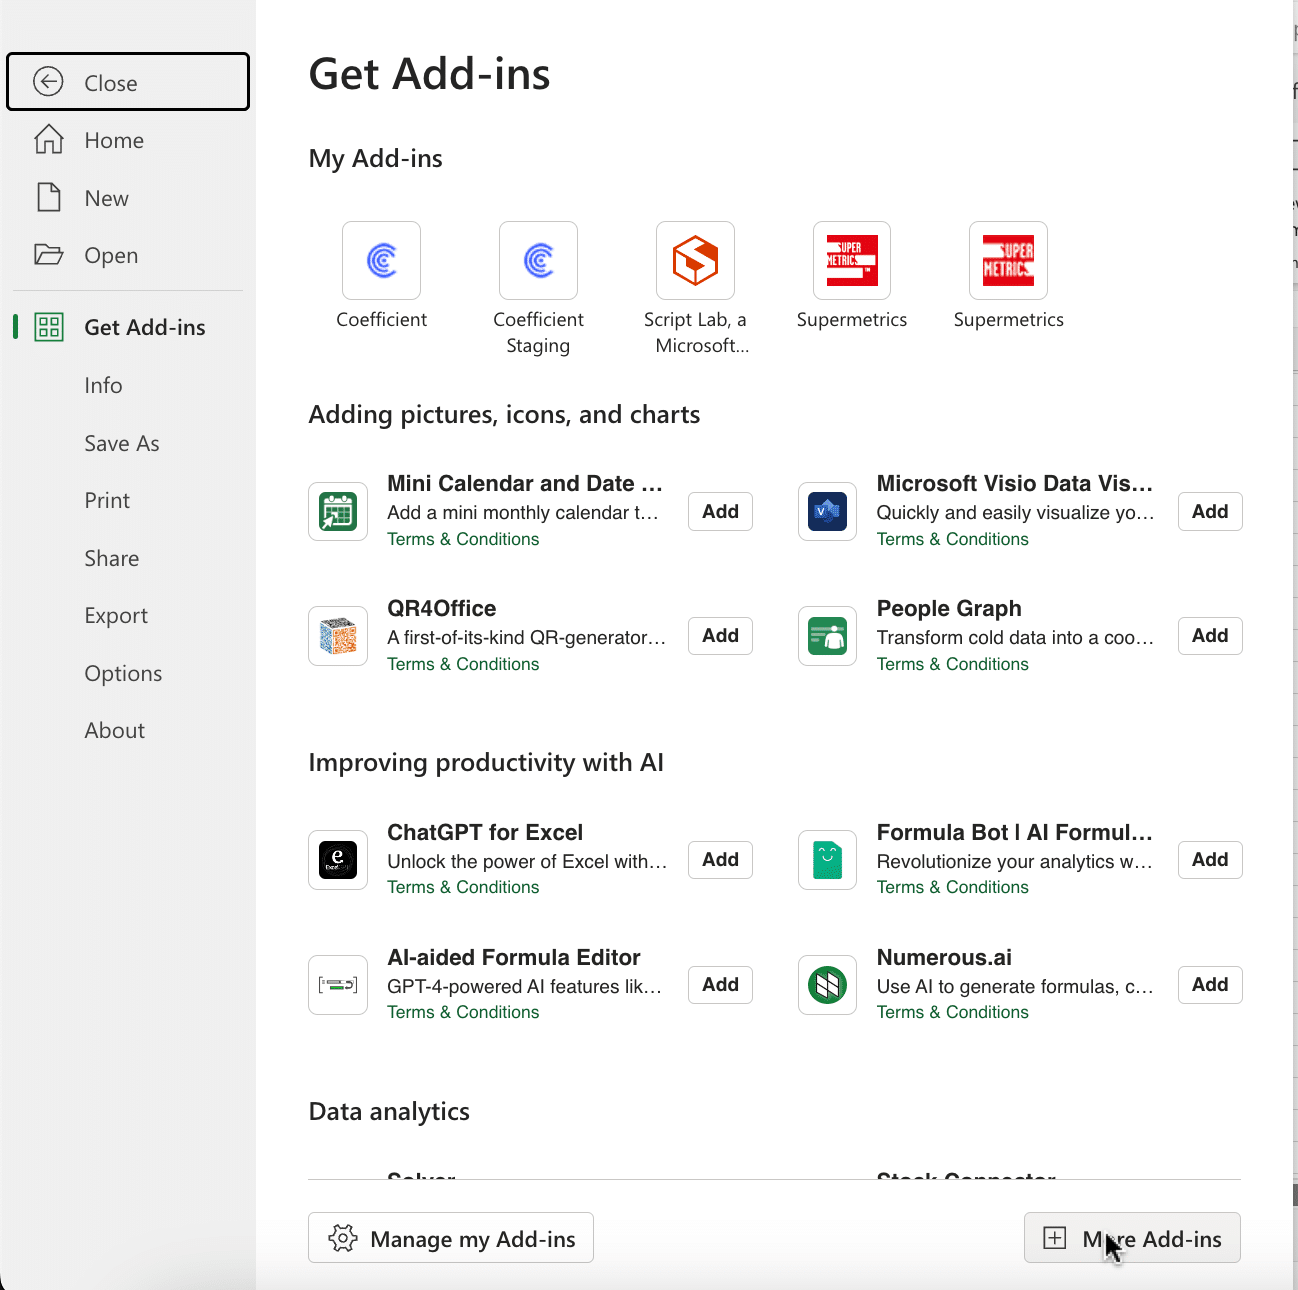
Open Excel from your desktop or in Office Online. Click ‘File’ > ‘Get Add-ins’ > ‘More Add-Ins.’
Type “Coefficient” in the search bar and click ‘Add.’
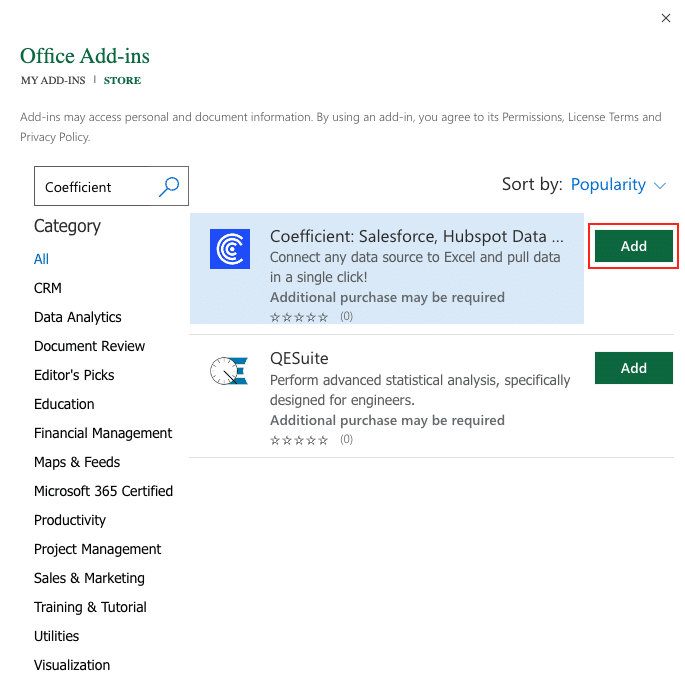
Follow the prompts in the pop-up to complete the installation.
Once finished, you will see a “Coefficient” tab in the top navigation bar. Click ‘Open Sidebar’ to launch Coefficient.

Step 2: Connect Coefficient to Jotform
Click “Import From…” in the side panel and select JotForm from the list.
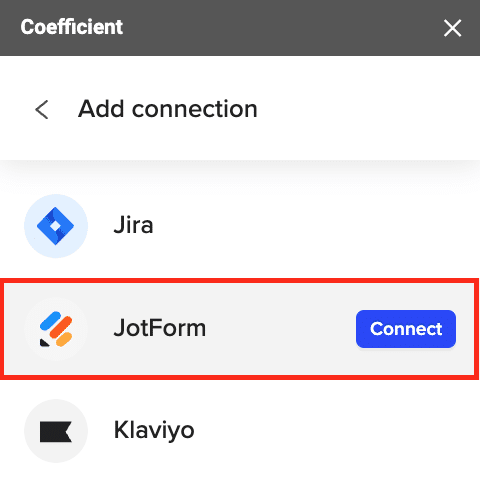
Enter your JotForm API key to connect your account. Click ‘Connect’.
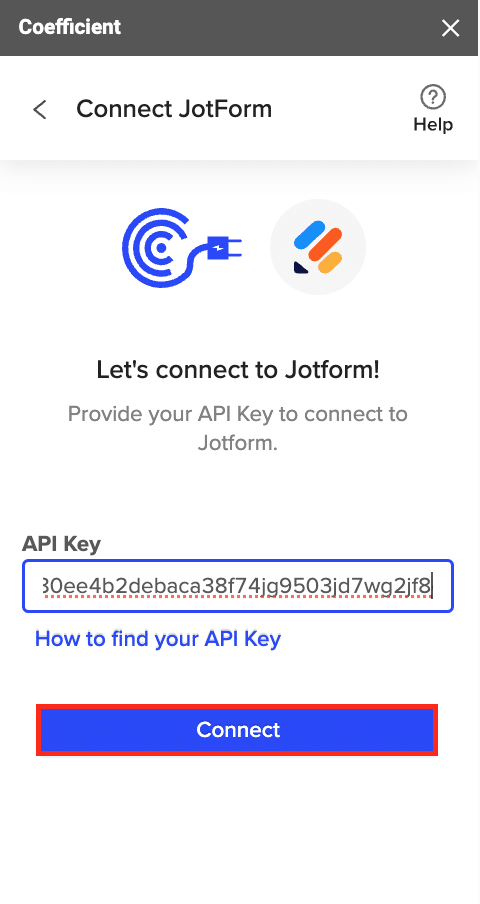
After you complete authentication, select “Start from Scratch” from the next menu.

In the import preview, select ‘Get Forms’ from the dropdown. Click ‘Preview’.
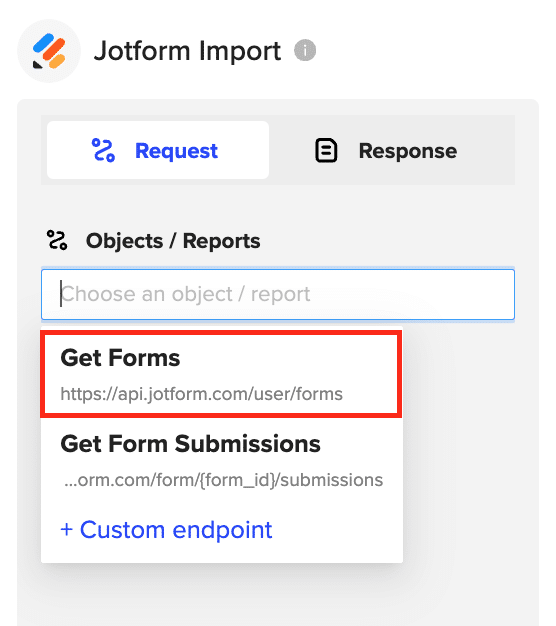
Review the list of your JotForm forms.
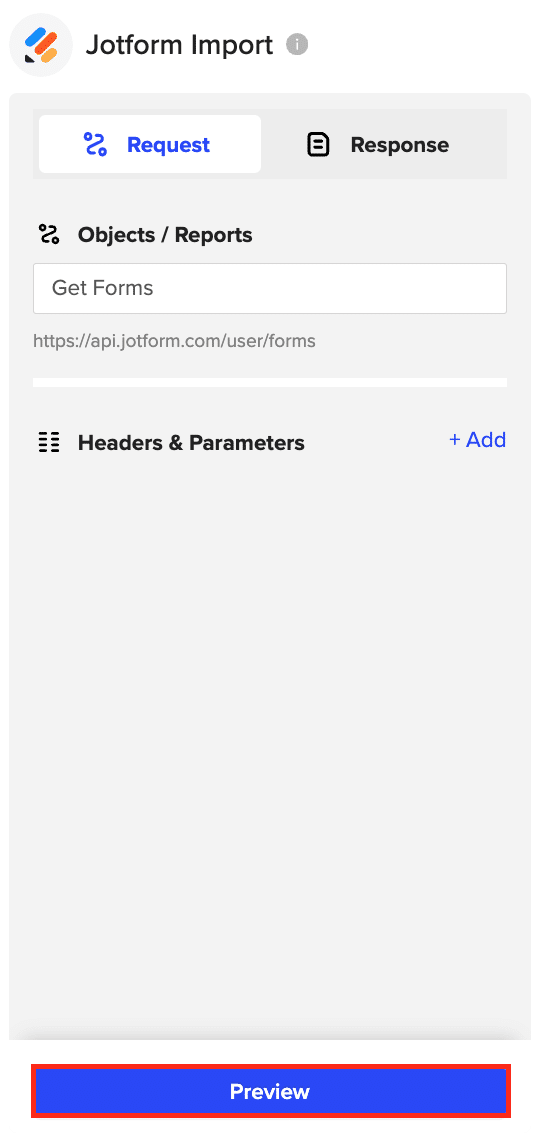
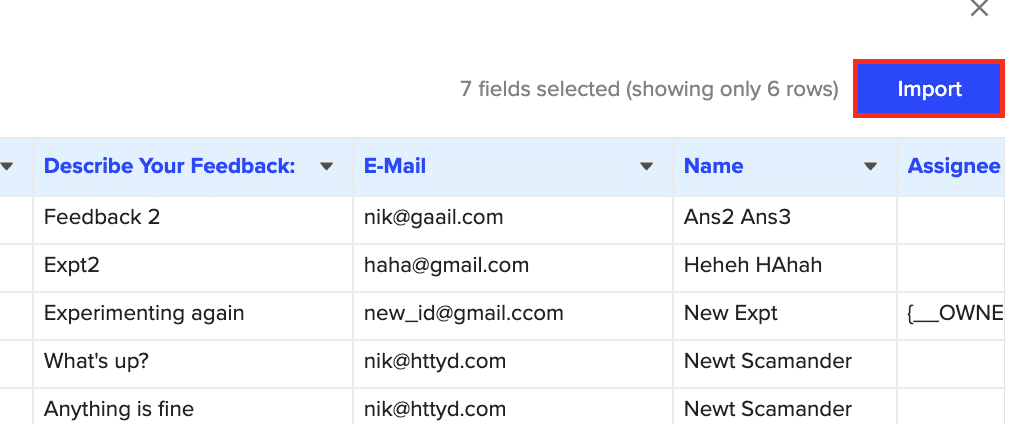
Click ‘Import’ to fetch the data into Excel.
Copy the ID of the form you want to import submissions for from the imported forms list.
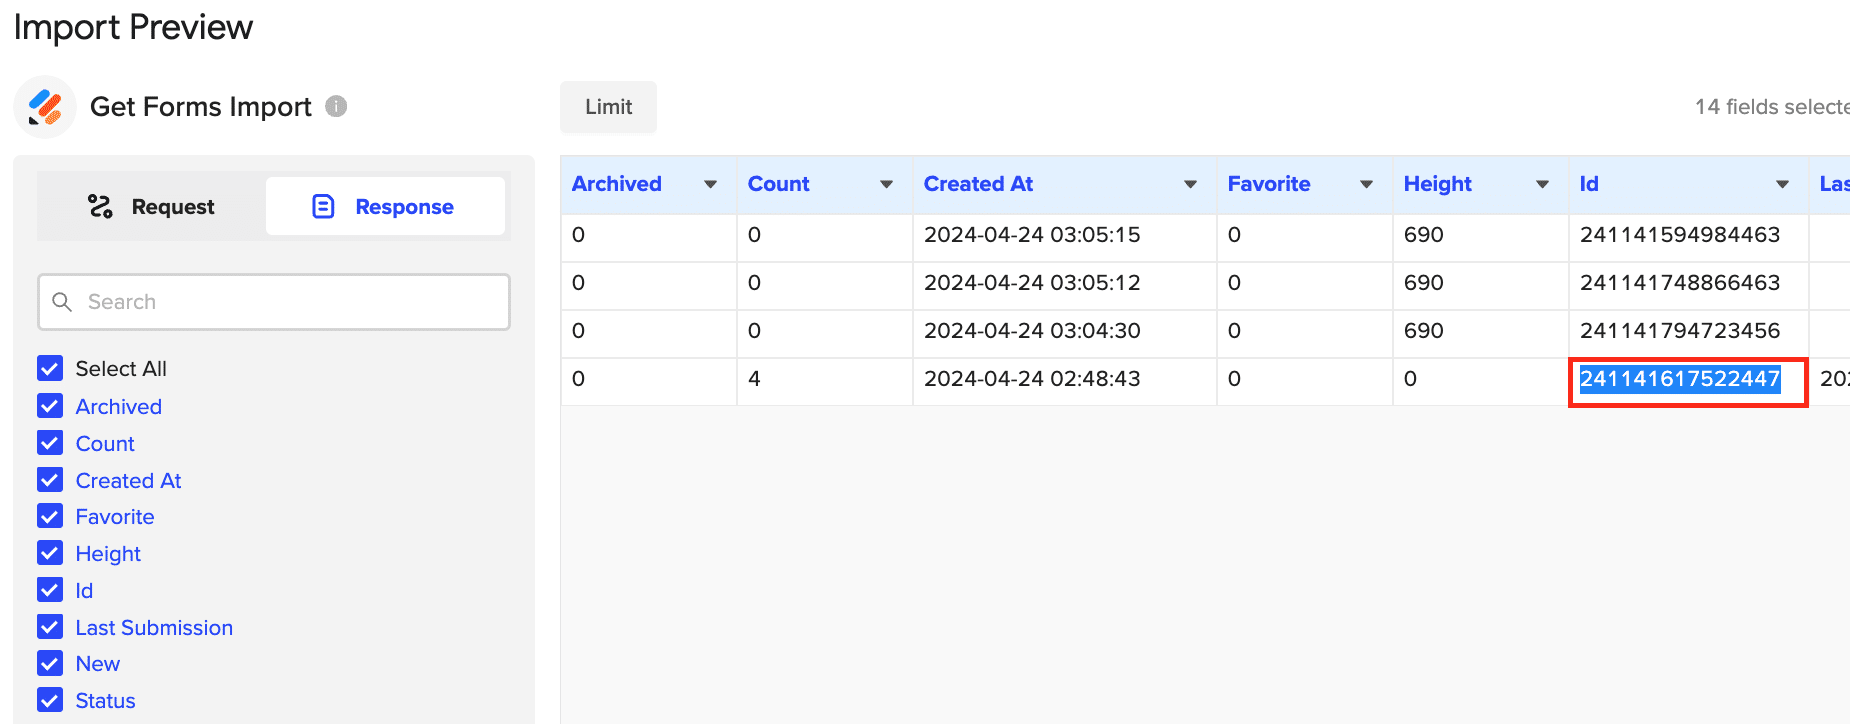
Click “Request” from the left-hand side of your screen.
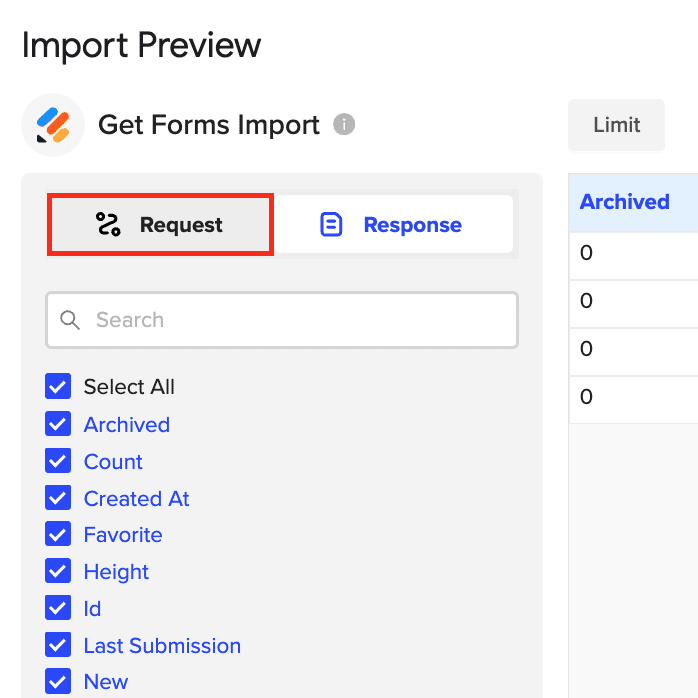
Back in the import preview, select “Get Form Submissions.”

Paste the form ID from step 4 into the field and click ‘Preview.’

Select the fields you want to include, arrange them in your desired order and click ‘Import’ to fetch the form submissions into your Excel spreadsheet.
Step 3. Export Data from Your Spreadsheet to Salesforce
Before starting, make sure you’ve connected to Salesforce.
https://www.youtube.com/watch?v=B5qUY5zs-vc
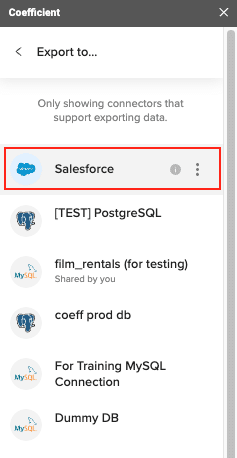
Then, navigate to Coefficient’s menu. Click “Export to…”

Choose Salesforce from the list of available data sources.
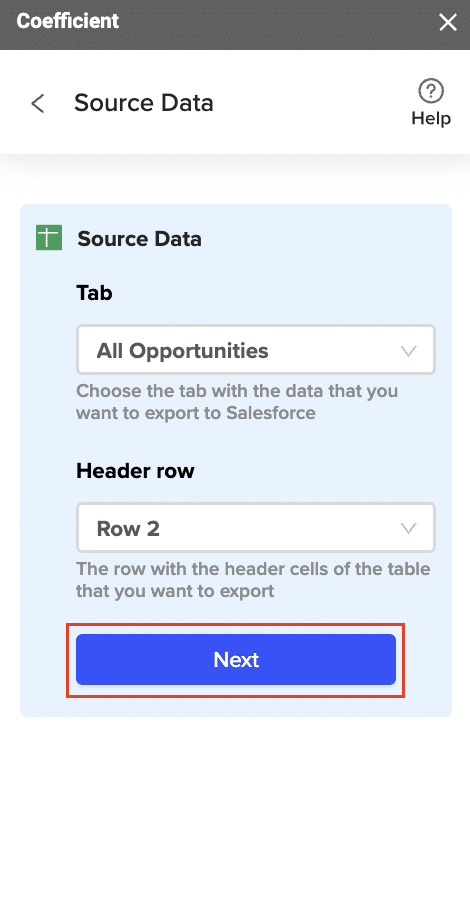
Select the tab and header rows in your spreadsheet that contain the data you want to export.
Define your tab and header row.
Note: Coefficient will automatically map the fields for you if the data in the sheet came from an import from Salesforce using Coefficient.
Next, select the Salesforce Object you want to export data to, e.g., “Opportunity”, “Contacts”, etc.

Stop exporting data manually. Sync data from your business systems into Google Sheets or Excel with Coefficient and set it on a refresh schedule.
Get Started

Then, select the type of action you want to perform—Update, Insert, Upsert, or Delete.
Map the fields from your spreadsheet to the corresponding Salesforce fields.

Note: If you imported data from Salesforce into your spreadsheet previously, Coefficient will auto-detect and map these fields.
(Optional) Specify additional settings such as batch size, whether to export empty cells on an update, and the column for results.
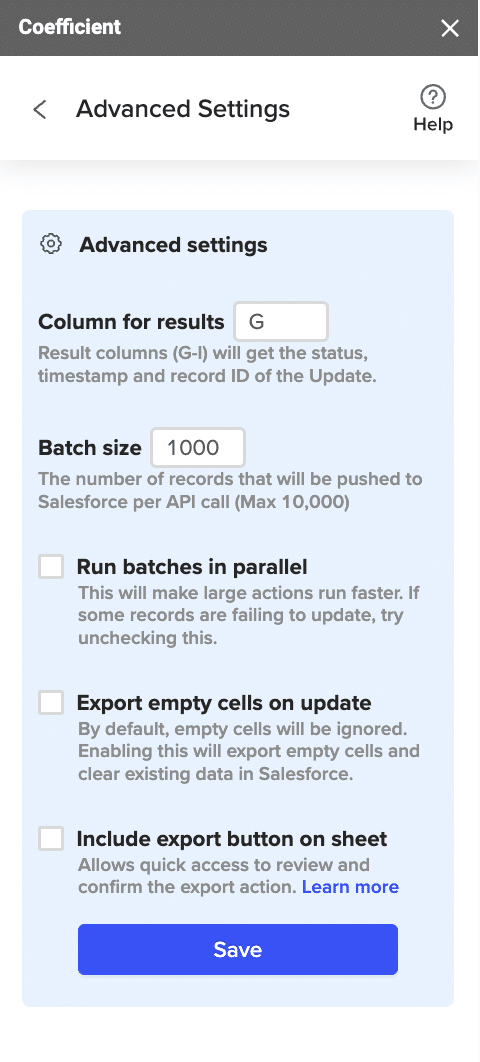
Note: Batch size is capped at 10,000 rows due to Salesforce API limitations.
Confirm your settings and click “Export”.

Then, highlight the rows you want to update or export. You can choose to export all rows or specific rows.
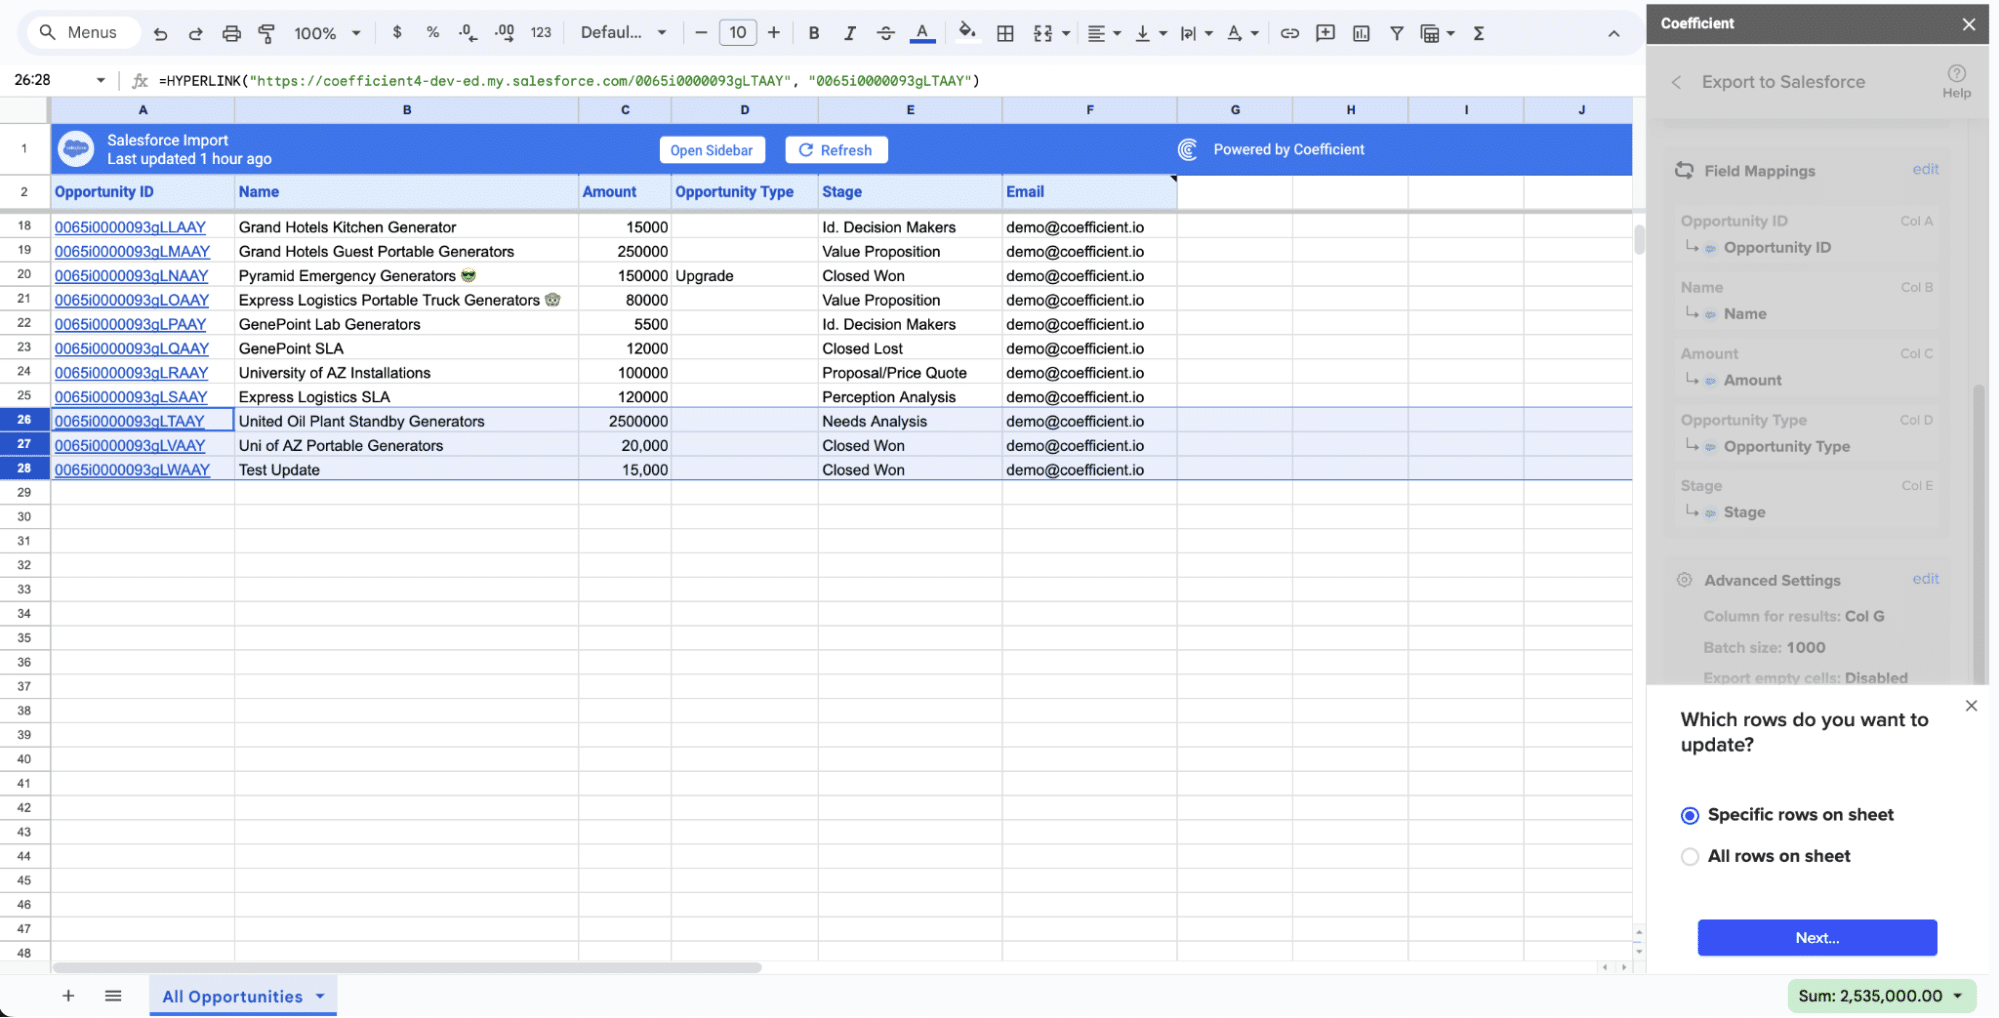
After you’re finished, review your settings and click “Export.”
Follow the prompts to confirm your changes.

In a few seconds, data from your spreadsheet will push to Salesforce.

Your spreadsheet will display updated records, along with their export status and the date/time stamp of the update.
Method 2: Zapier

Zapier is a popular automation platform that allows you to create custom workflows (Zaps) between Jotform, Salesforce, and over 3,000 other apps without any coding.
Step 1: Create a New Zap
- Click “+ Create” > “New Zap” to begin creating a new automation.

- Choose Jotform as your trigger app and select “New Submission” as the event.

- Connect your Jotform account and select the specific form you want to use for the integration.

Step 2: Set Up the Salesforce Action
- Choose Salesforce as your action app and select the specific action you want to perform (e.g., “Create Lead” or “Update Contact”).
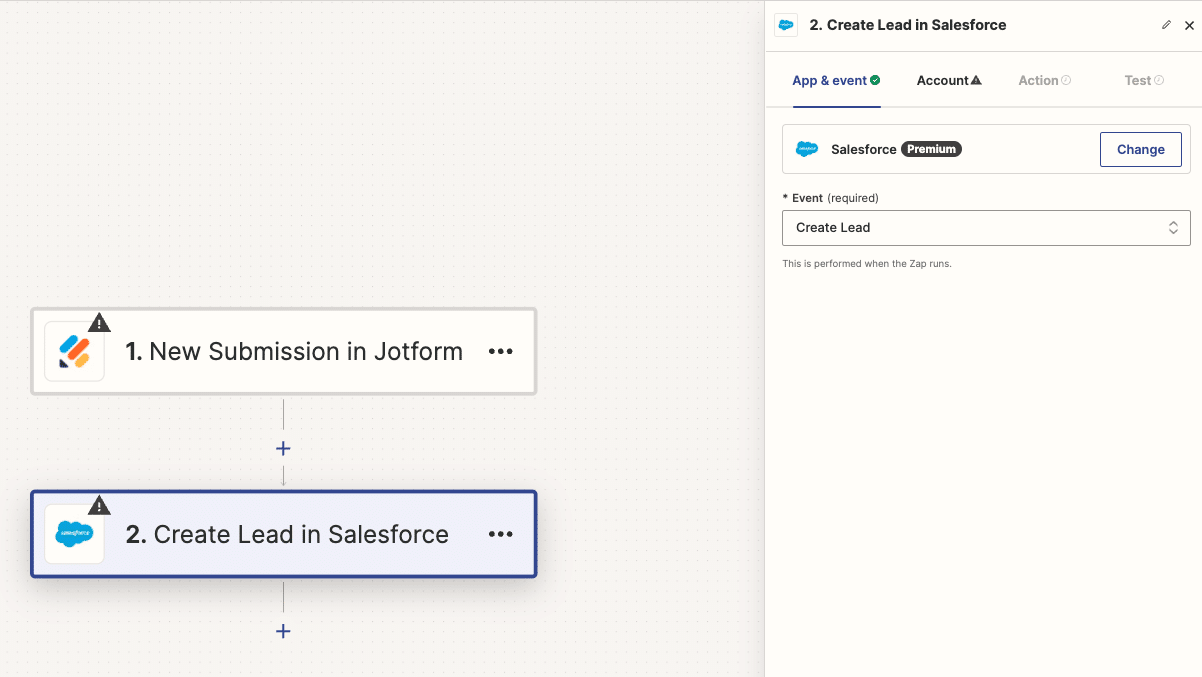
- Connect your Salesforce account and map the fields from your Jotform submission to the corresponding Salesforce fields.
- Use Zapier’s built-in filters and formatting options to customize how data is transferred between the two platforms.
Step 3: Test and Activate Your Zap
- Send a test submission through your Jotform form to ensure that the Zap is working as expected.
- Review the test result in Zapier and check your Salesforce account to confirm that the data was properly synced.
- If everything looks good, turn on your Zap to start automating your workflow.
Show Image
With Zapier, you can create multi-step Zaps that perform additional actions, such as sending notifications, updating other records, or triggering workflows in other apps, giving you the flexibility to customize your Jotform to Salesforce integration to fit your unique needs.
Method 3: Formstack
Formstack is a powerful data management platform that offers advanced features for connecting Jotform to Salesforce, including data parsing, conditional logic, and customizable workflows.
Step 1: Connect Formstack to Jotform and Salesforce
- Log in to your Formstack account and navigate to the “Salesforce” integration settings.
- Click “Add Salesforce Account” and follow the prompts to connect your Salesforce account.
- In the Formstack integration settings, locate the “Jotform” section and click “Connect” to authenticate your Jotform account.
Step 2: Create a Data Mapping
- After connecting your accounts, click “New Mapping” to create a new data mapping between Jotform and Salesforce.
- Select the Jotform form and Salesforce object you want to use for the integration.
- Map the fields from your Jotform form to the corresponding Salesforce fields, using Formstack’s data parsing and transformation tools as needed.
Step 3: Configure Advanced Settings
- Set up any conditional logic rules to route form submissions based on specific criteria (e.g., lead score, industry, or company size).
- Configure error handling settings to specify how Formstack should handle any issues that may arise during the data sync process.
- Customize the sync frequency and batch size to optimize performance and ensure smooth data transfer between Jotform and Salesforce.
Step 4: Test and Activate Your Integration
- Submit a test entry through your Jotform form to ensure that the data is being properly mapped and synced to Salesforce.
- Review the test result in Formstack and verify that the data appears correctly in your Salesforce account.
- If everything looks good, activate your integration to start syncing data between Jotform and Salesforce automatically.
Maximizing Your Sales and Marketing Potential
Connecting Jotform to Salesforce is a game-changer for businesses looking to streamline their lead generation and customer management processes. By automating data sync, gaining a 360-degree customer view, and enabling better team collaboration, you can unlock new levels of efficiency and deliver exceptional experiences to your customers.
Whether you choose Coefficient for its seamless, no-code integration, Zapier for its flexibility and wide app support, or Formstack for its advanced data management capabilities, you have the tools you need to supercharge your sales and marketing efforts.
Ready to take your business to the next level? Try Coefficient for free and start integrating Jotform with Salesforce in minutes, no coding required. Unlock the power of automated data sync and streamlined workflows today!

