Clockify separates import and export cleanly. Import handles workspace setup data (projects, clients, tasks, tags, users) and historical timesheets. Export handles time reports in CSV, Excel or PDF. Understanding which type of data falls into which flow saves significant time.
This guide covers all methods: native CSV import, report export, the Clockify API and live sync to Google Sheets or Excel via Coefficient.
| What data can you import and export from Clockify? |
| Clockify supports CSV import of projects, clients, tasks, tags, users and historical timesheets. Export covers time reports (Detailed, Summary and Weekly) in CSV, Excel or PDF. The Clockify API supports JSON export of all data types. CSV/Excel export requires a paid plan (Basic or higher). Free plan users can only export PDF and are limited to 31-day date ranges. |
How to import data into Clockify
Two import types are available. Use the right one depending on what you are setting up.
Method 1: Import projects, clients, tasks and tags (CSV)
Use this to set up your workspace structure when migrating from another tool or setting up a new workspace in bulk.
- Go to Settings > Import in your Clockify workspace.
- Select Projects, Clients, Tasks, Tags as the import type.
- Download the sample CSV template and format your data to match the column structure.
- Upload your CSV and map any fields that did not auto-match.
- Click Import. Clockify prevents duplicates by matching on exact name (case-sensitive).
Case sensitivity warning: “Marketing” and “marketing” are treated as separate items. Standardise naming in your file before importing to avoid duplicates.
Method 2: Import timesheets (CSV)
Use this when switching from another time tracking tool and needing to carry over historical time logs.
- Go to Settings > Import > Timesheets.
- Prepare a CSV with columns for project, task, description, start date, start time, end date, end time and any custom fields.
- Upload the file. Time entries import according to the timezone of the person performing the import.
- Custom time entry fields can be included if the field already exists in your workspace before import.
Format requirements:
- File type: CSV only.
- Date/time format: match your workspace locale settings.
- Custom fields: must be pre-created in the workspace before import. Custom fields appear in Time Tracker and Detailed Report after import.
- Users: user import is not supported during the free trial period.
- Cannot import: invoices, expense reports and account-level settings cannot be imported via CSV.
Method 3: Clockify API
The Clockify API supports programmatic creation of time entries, projects, clients and users. Use it for automated integrations or when volume exceeds what CSV import handles efficiently. Free plan API users are limited to 30 requests per hour.
How to export data from Clockify
Method 1: Report export (CSV, Excel, PDF)
Clockify exports time data through its Reports section, not a separate export menu.
- Go to Reports and select Detailed, Summary or Weekly view.
- Set your date range. To export all data, select the longest available range.
- Click the Export button and choose CSV, Excel or PDF.
- For large exports, Clockify shows a pop-up when the report is ready to download.
What each export contains:
- Detailed report: project, client, description, task, user, email, tags, billable status, start/end date, start/end time, duration, billable rate, billable amount, currency.
- Summary report: aggregated totals by project, user or client.
- PDF: up to 3,000 rows. Free plan only.
- CSV/Excel: requires Basic plan or higher. Free plan is limited to 31-day date ranges.
Plan note: CSV and Excel export is a paid feature. Free plan users can only export PDF.
Method 2: Coefficient for live, scheduled exports
The native export is a one-time download. For teams that need Clockify data in a spreadsheet regularly for weekly billing summaries, monthly client reports, project profitability tracking, then Coefficient removes the manual step entirely.
Coefficient connects Clockify directly to Google Sheets or Excel. Time report data refreshes automatically on the schedule you set.
What you can do with the Coefficient Clockify connector:

Stop exporting data manually. Sync data from your business systems into Google Sheets or Excel with Coefficient and set it on a refresh schedule.
Get Started
- Import time entries, project data and client records with field-level selection and filter logic.
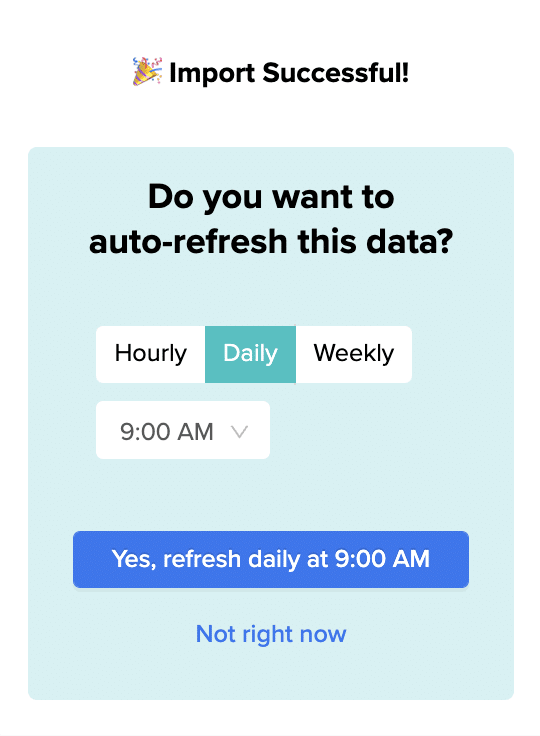
- Set auto-refresh so client reports and billing summaries are always current.
- Apply date and project filters on import to pull exactly the dataset you need.
- Turn live Clockify data into a shareable web dashboard. Coefficient AI dashboards build it from your live data in plain English.
How to connect Clockify to a spreadsheet with Coefficient:
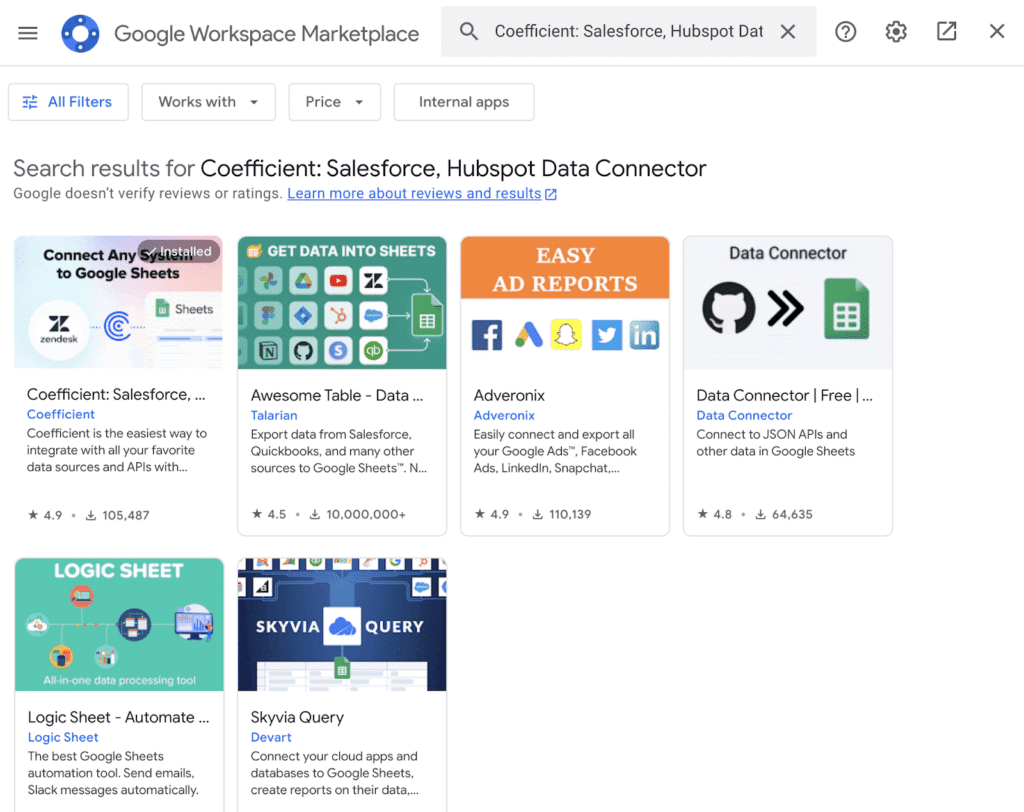
- Install Coefficient from the Google Workspace Marketplace or Microsoft AppSource.
- Open Coefficient from the Extensions menu in Google Sheets, or the add-in menu in Excel.
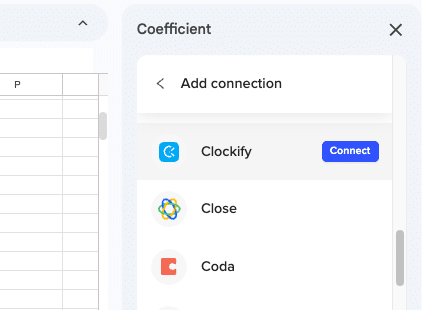
- Click Import From and select Clockify. When prompted, enter your Clockify API key to complete the connection.
- Select your report type, date range and any filters.
- Set a Scheduled Run to refresh the data automatically.
Method 3: Clockify API for programmatic export
The Clockify export API supports JSON, CSV, XLSX and PDF output via a POST request to the detailed report endpoint. Use it for automated report pipelines, scheduled exports or integrations with data warehouses. The exportType parameter controls the output format. Free plan API users have 30 requests per hour.
Import and export method comparison
| Method | Direction | Data covered | Format | Best for |
|---|---|---|---|---|
| CSV import (projects/clients/tags) | Import | Projects, clients, tasks, tags | CSV | Workspace setup, migration from another tool |
| CSV import (timesheets) | Import | Historical time entries, custom fields | CSV | Migrating time logs from another time tracker |
| Clockify API (import) | Import | All data types | JSON | Automated integrations, large-scale operations |
| Report export (CSV/Excel) | Export | Time entries, project and client totals | CSV, XLSX, PDF | One-time reports (paid plan required for CSV) |
| Coefficient | Export from Clockify | Time entries, projects, clients | Live sync to Sheets or Excel | Recurring exports, live reporting, auto-refresh |
| Clockify API (export) | Export | All report data | JSON, CSV, XLSX, PDF | Automated pipelines, warehouse ingestion |
FAQ
Can you export Clockify data to Google Sheets automatically?
Yes, with Coefficient. Connect Clockify, select your report type and set a refresh schedule. Time tracking data updates in Google Sheets or Excel automatically without manual downloads.
Is CSV export free on Clockify?
No. CSV and Excel export requires a paid plan (Basic or higher). Free plan users can only export reports as PDF, with a maximum date range of 31 days per export.
Can you import time tracking data from Harvest into Clockify?
Not directly. Clockify does not have a native Harvest importer. Export your Harvest data as CSV, reformat it to match Clockify’s timesheet import column structure and then import via the Timesheets CSV importer.
What data can be exported from Clockify?
The export covers time entry details including project, client, description, task, user, email, tags, billable status, start and end times, duration, billable rate and amount. Invoices and expense reports have separate export flows outside the Reports section.
How do you export a user list from Clockify?
Go to Settings > Team in your Clockify workspace. Admin users can view and manage the team member list from there. For a full CSV export of users and permissions, use the Clockify API to query the user endpoint and export the response.
If you need Clockify data refreshed automatically in a spreadsheet for billing or client reporting, try Coefficient free and connect Clockify in a few clicks.


