Chargebee Billing is a subscription management and recurring billing solution used by businesses to manage subscriber growth and retention. Businesses use Chargebee Billing to better understand their subscription metrics, recurring billing patterns, and potential growth areas. Consequently, many businesses import Chargebee data into spreadsheets for a more granular view of their subscription analytics.
But manually importing Chargebee data into spreadsheets is a labor-intensive, time-consuming, and error-prone task. Fortunately, there are multiple ways to import your Chargebee Billing data directly into Google Sheets, some easier than others.
Continue reading to learn how to connect Chargebee to Google Sheets.
Two Ways to Connect Chargebee to Google Sheets
- Coefficient – Simple, out-of-the-box Google Sheets Data Connector
- Zapier – Complex setup and maintenance with limited integration
Video Walkthrough: How to Connect Chargebee to Google Sheets
Method 1: Coefficient
Coefficient is a free Google Sheets add-on that allows you to connect your business systems, like Chargebee, to Google Sheets and sync real-time data into your spreadsheet.
Instead of manually exporting and importing data, use Coefficient’s addon to automatically extract data to easily build the specific reports you need, blend data from multiple systems if required, and share with others that don’t have access to the main data source.
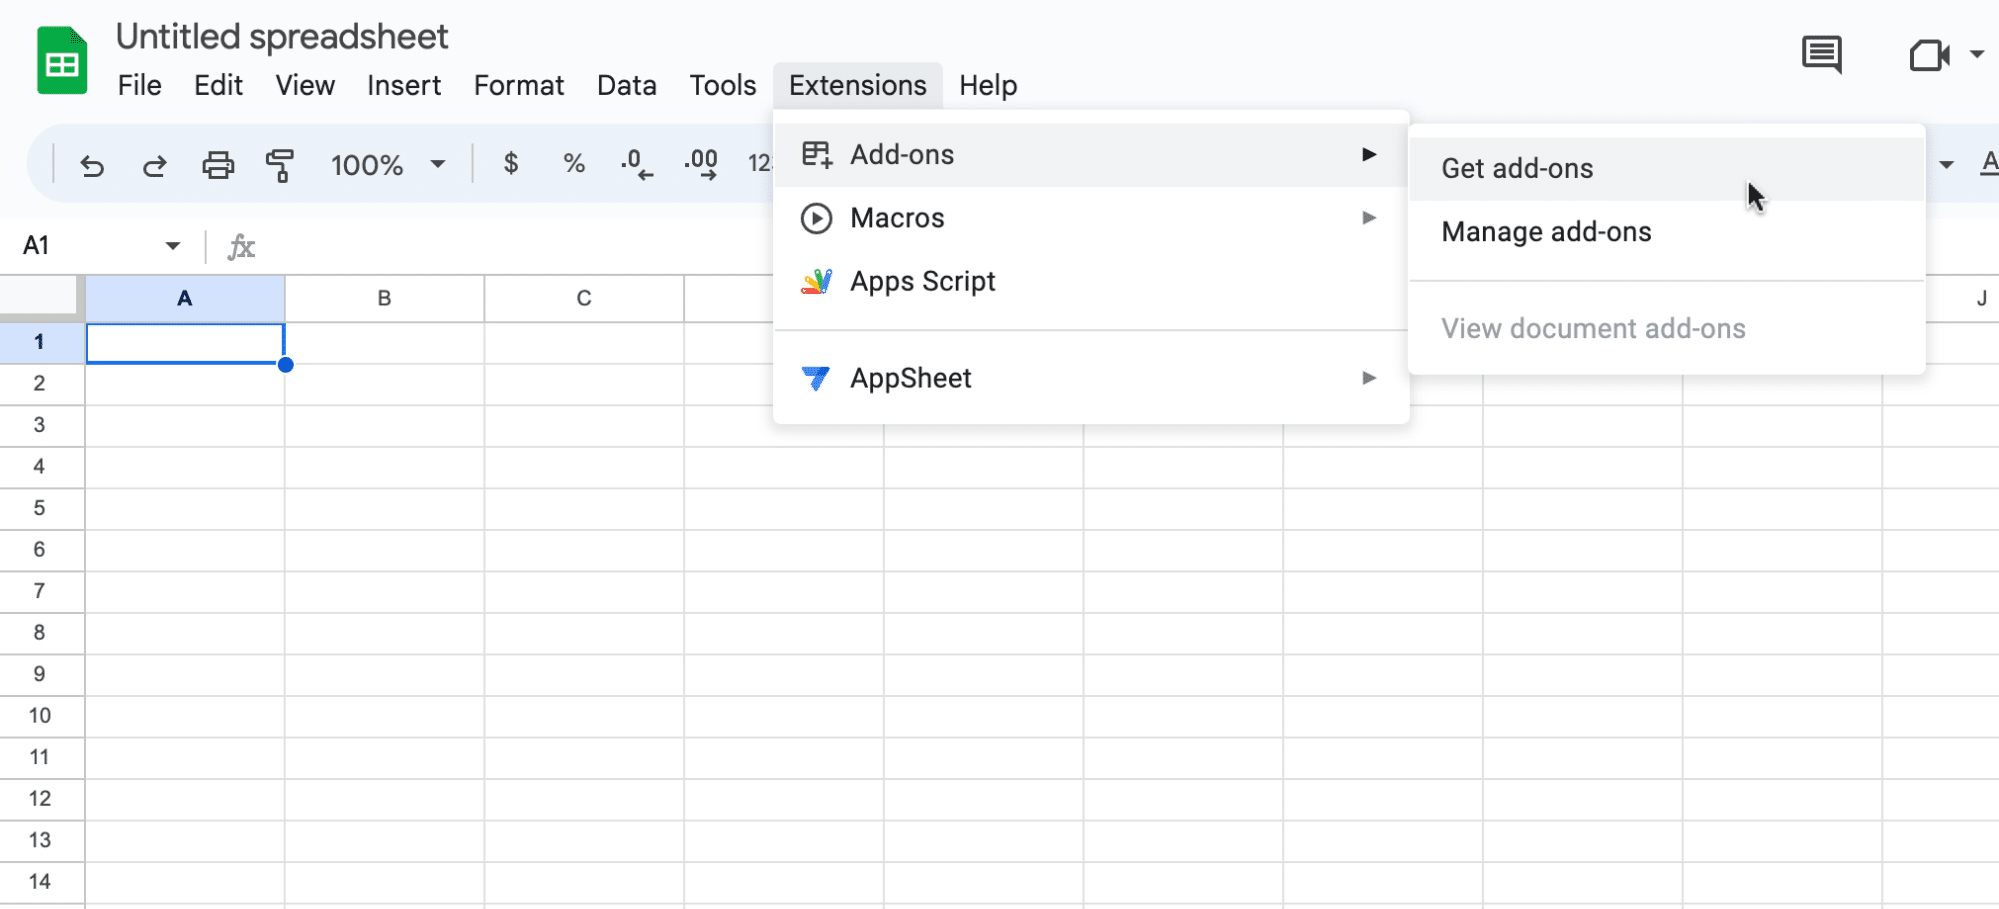
To install it, click Extensions from the Google Sheets menu. Choose Add-ons -> Get add-ons. This will open up the Google Workspace Marketplace.
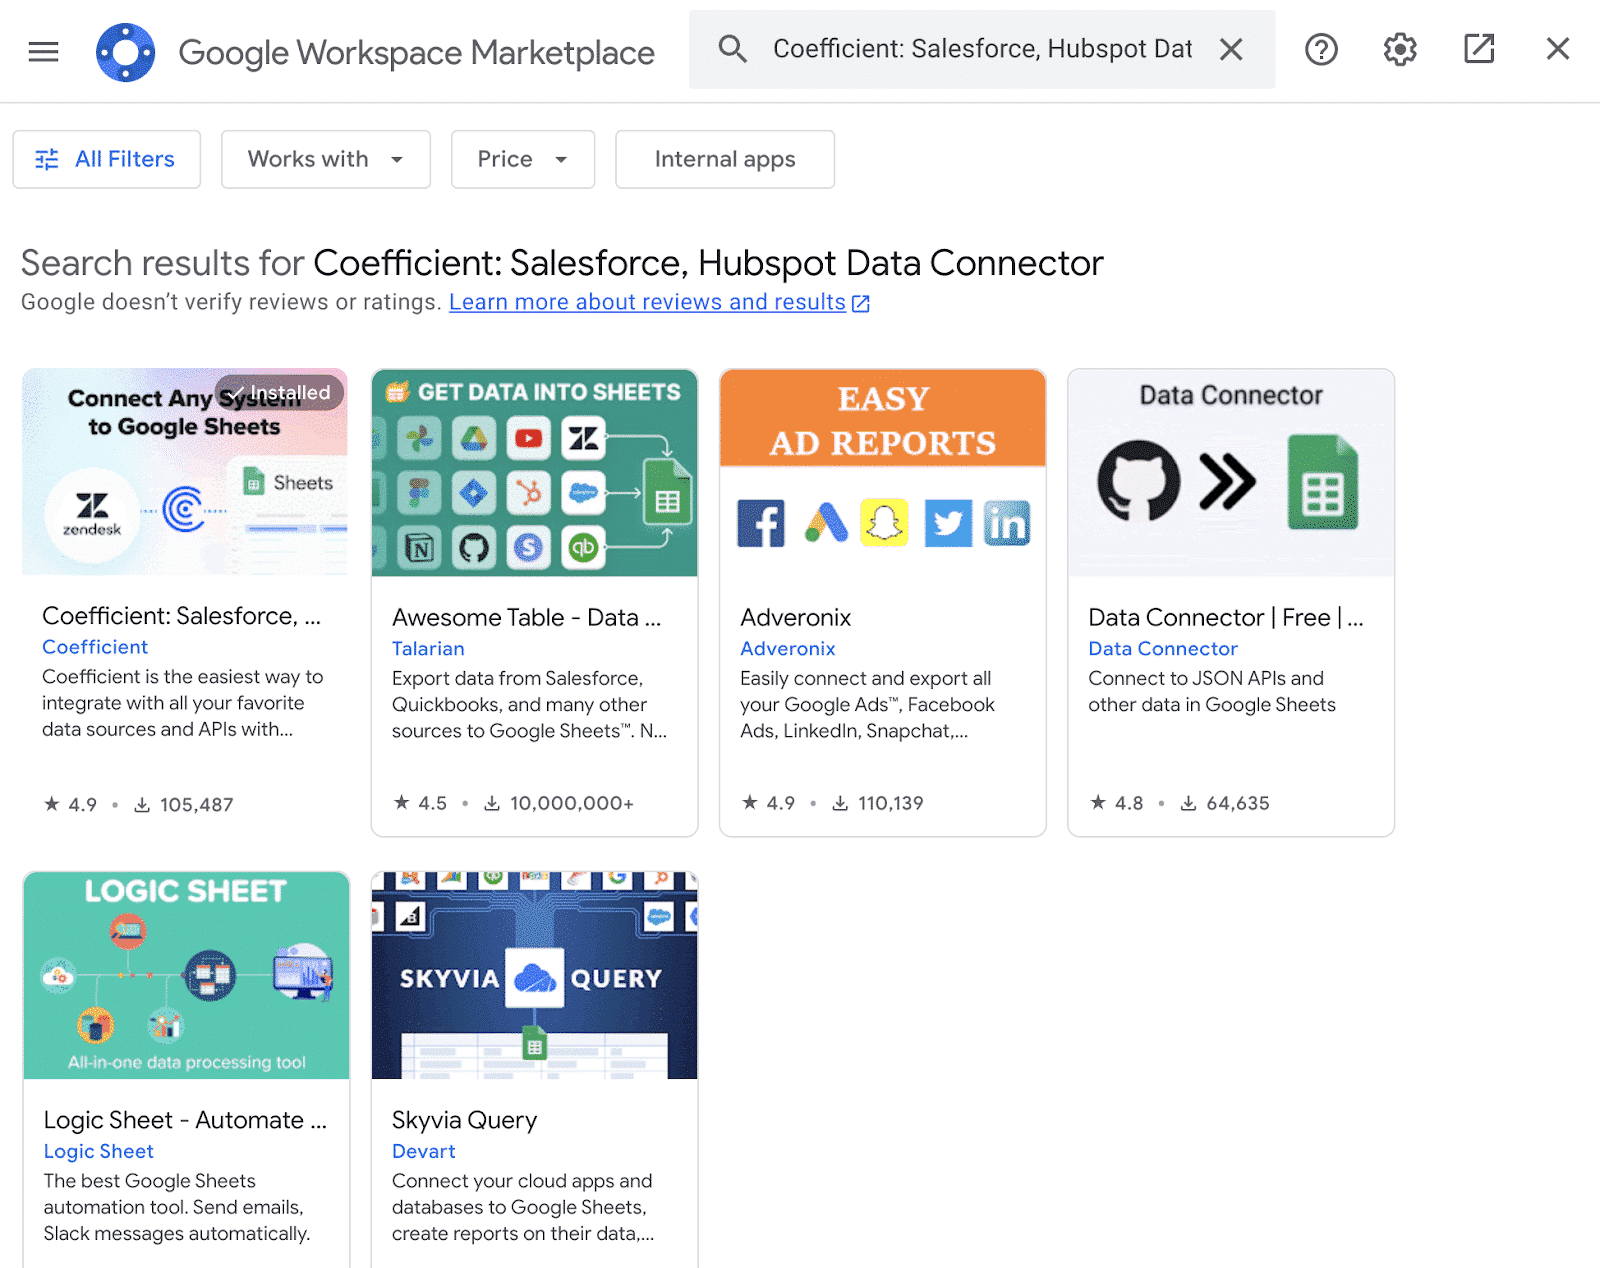
Search for “Coefficient”. Click on the Coefficient app in the search results.
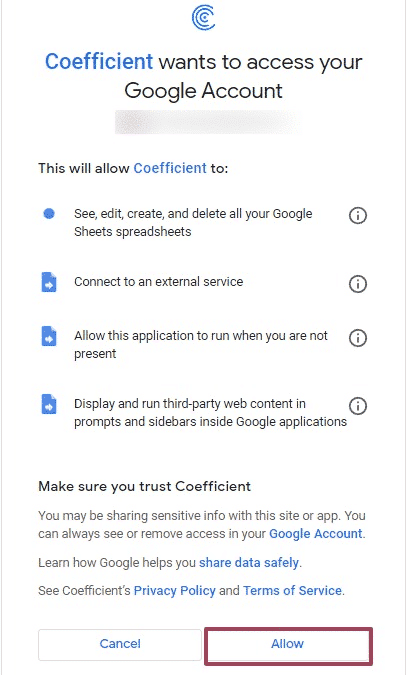
Accept the prompts to install.
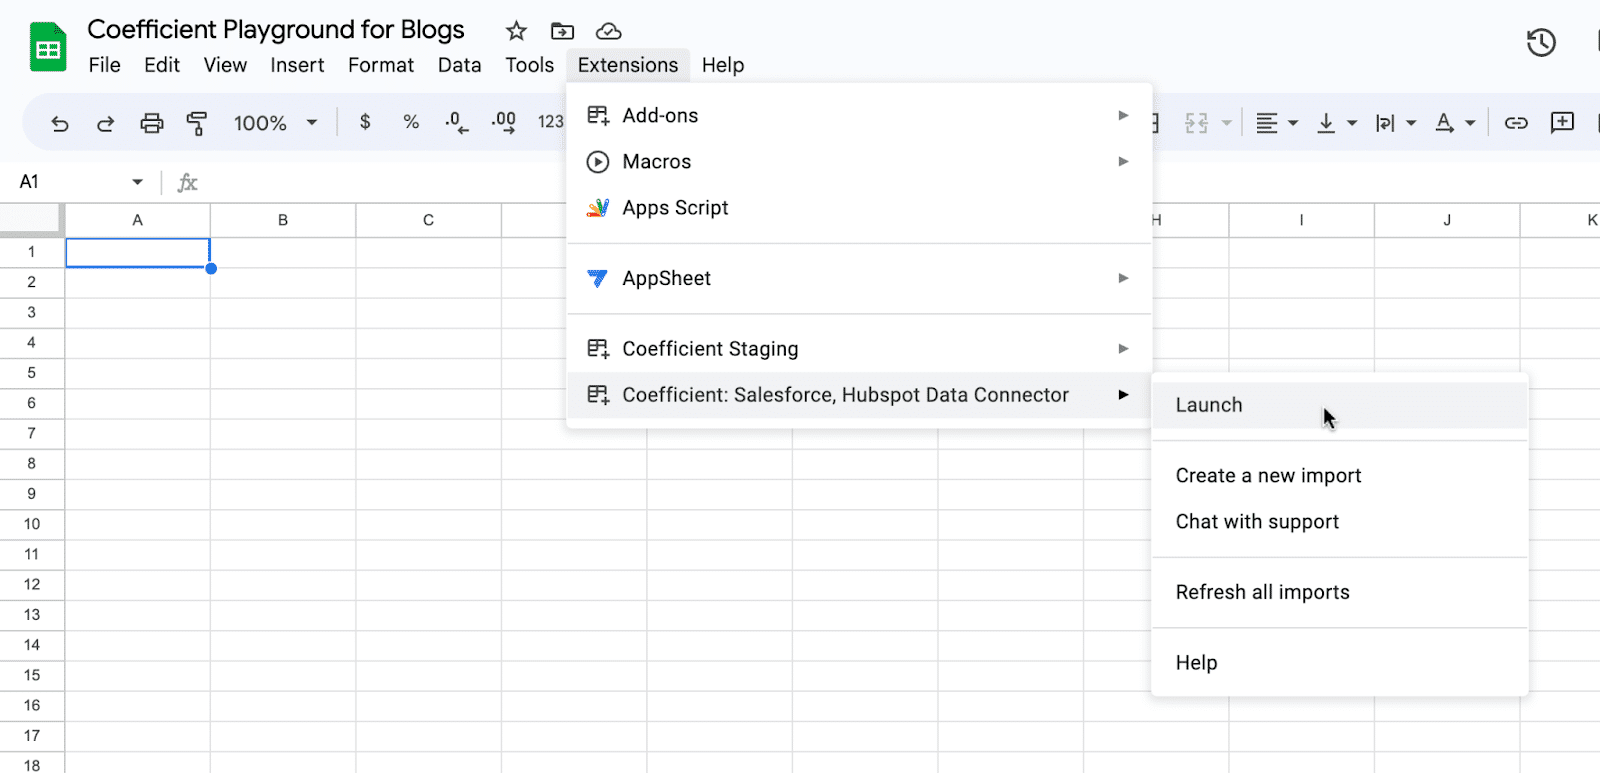
Once installation is finished, return to Extensions on the Google Sheets menu. Coefficient will be available as an add-on.
Now launch the app. Coefficient will run on the sidebar of your Google Sheet.
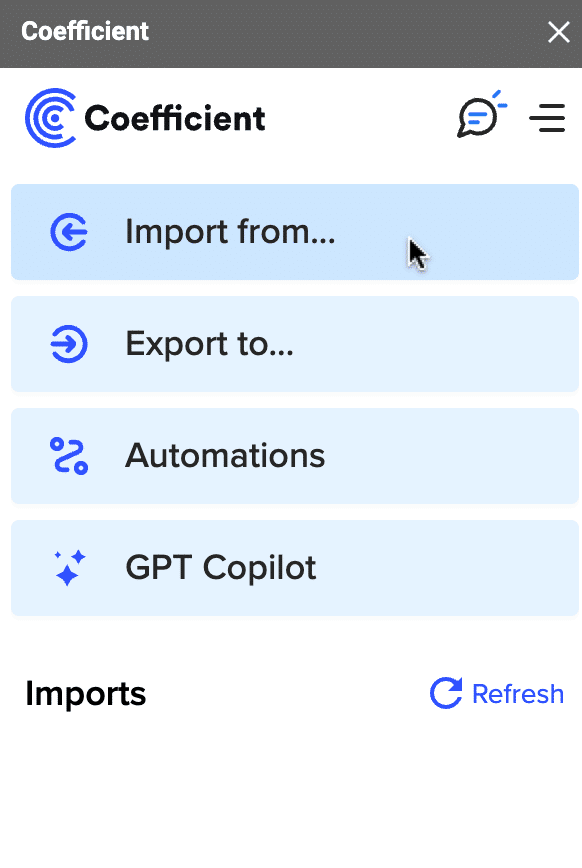
Next, select Import From… on the Coefficient sidebar.
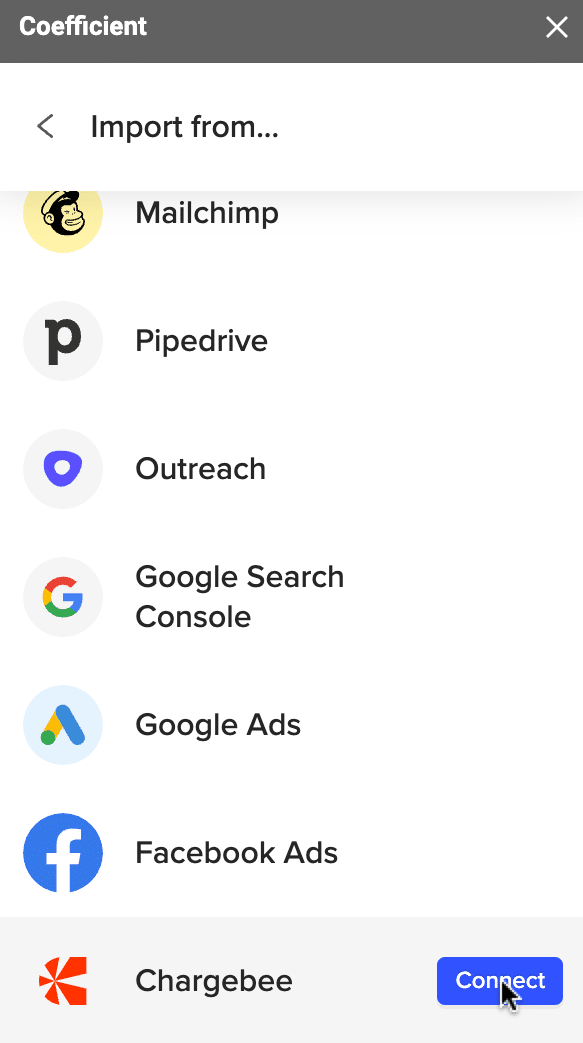
Choose Chargebee from the list of data sources.
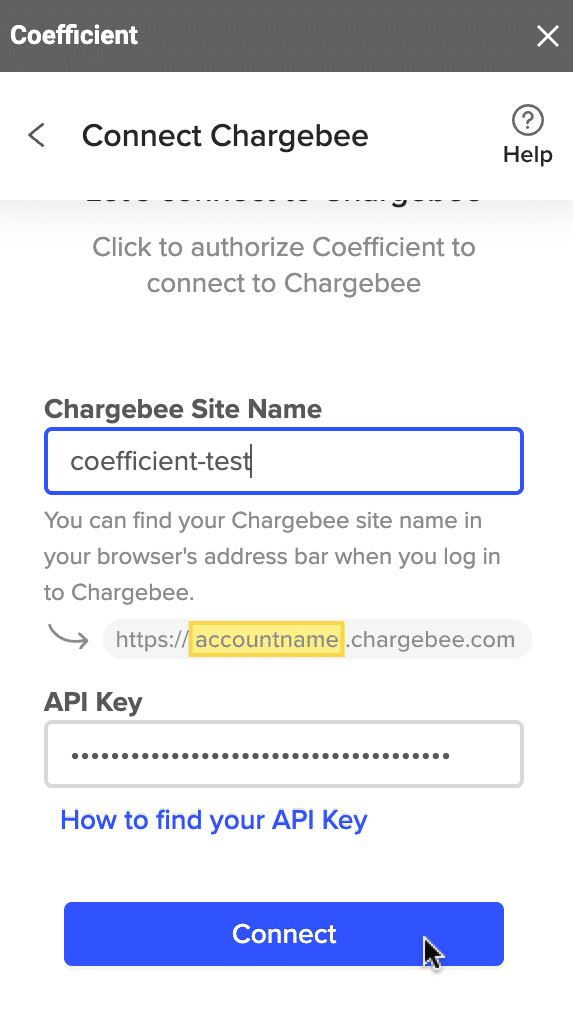
Input your Chargebee Site Name and API Key.
You can locate your site name within the URL when you’re logged in and viewing the dashboard (e.g. https://sitename.chargebee.com).
To obtain your API key:
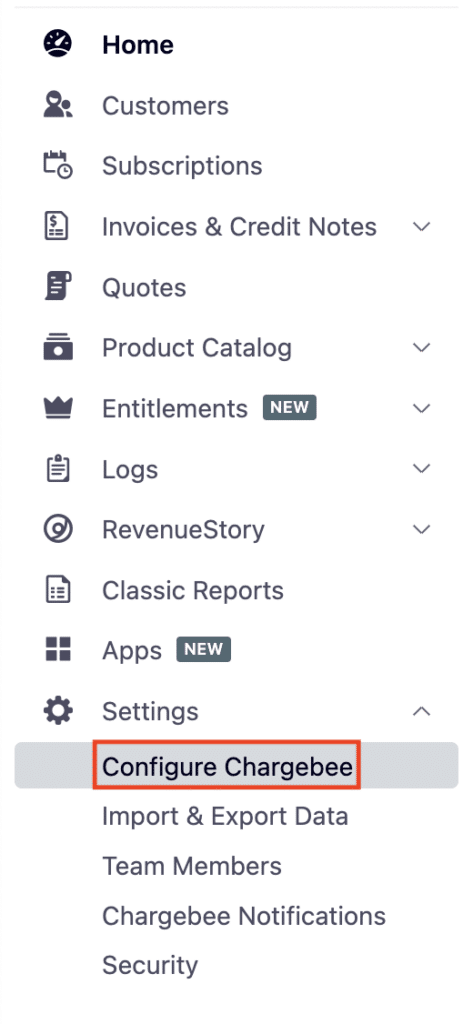
Navigate to the Chargebee menu and select ‘Settings’ → ‘Configure Chargebee.’
Scroll down to ‘API Keys and Webhooks’ and select ‘API Keys.’

Generate a new API Key.

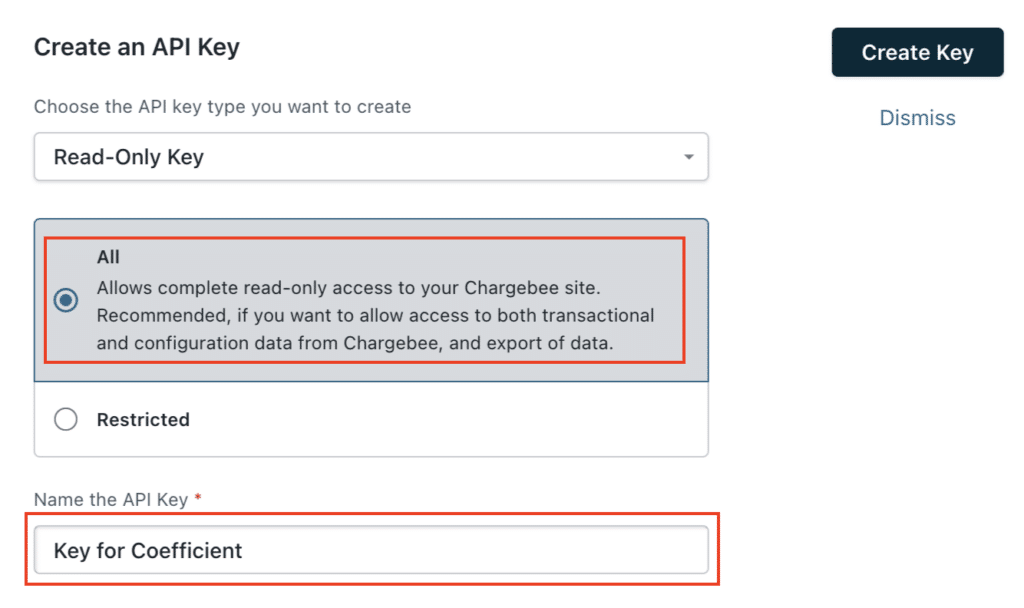
Choose the key type for this API Key – we recommend the “Read-Only Key” as we’re merely retrieving existing data from Chargebee.

After selecting the key type, specify the records the key can access/pull data from using Coefficient and name your API Key.

Stop exporting data manually. Sync data from your business systems into Google Sheets or Excel with Coefficient and set it on a refresh schedule.

Click ‘Create Key’ to proceed.
A new API key will generate. Please copy the Key and paste it into the API Key field provided in the Coefficient sidebar. Then click the “Connect” button (blue) in the Coefficient sidebar to establish your connection.

Copy and paste your site name and API key into Coefficient, and click ‘Connect’ to proceed.
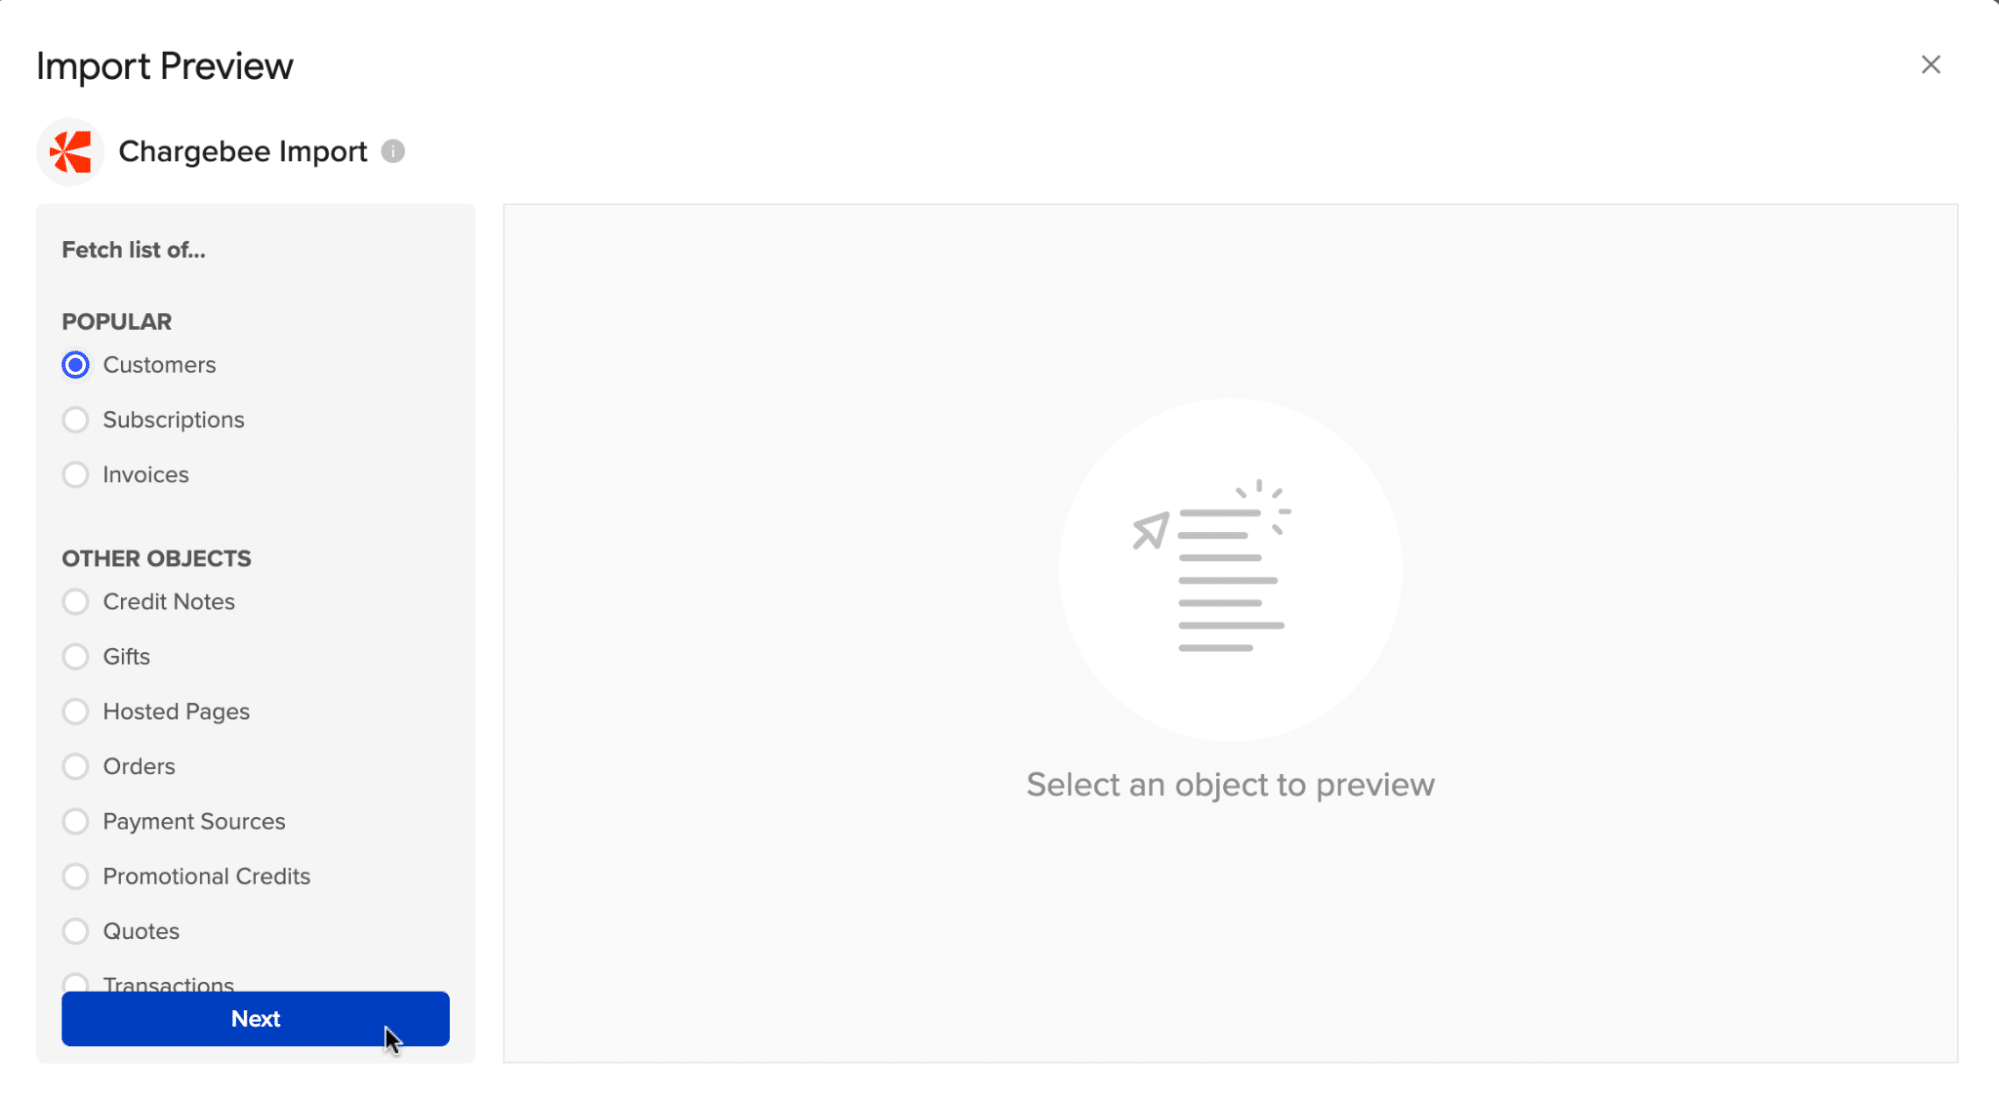
Import Chargebee data from Objects & Fields or from Library.

After the import preview window pops up, select which data you want to import to your spreadsheet.
In this example, select ‘Customers.’ Click next.
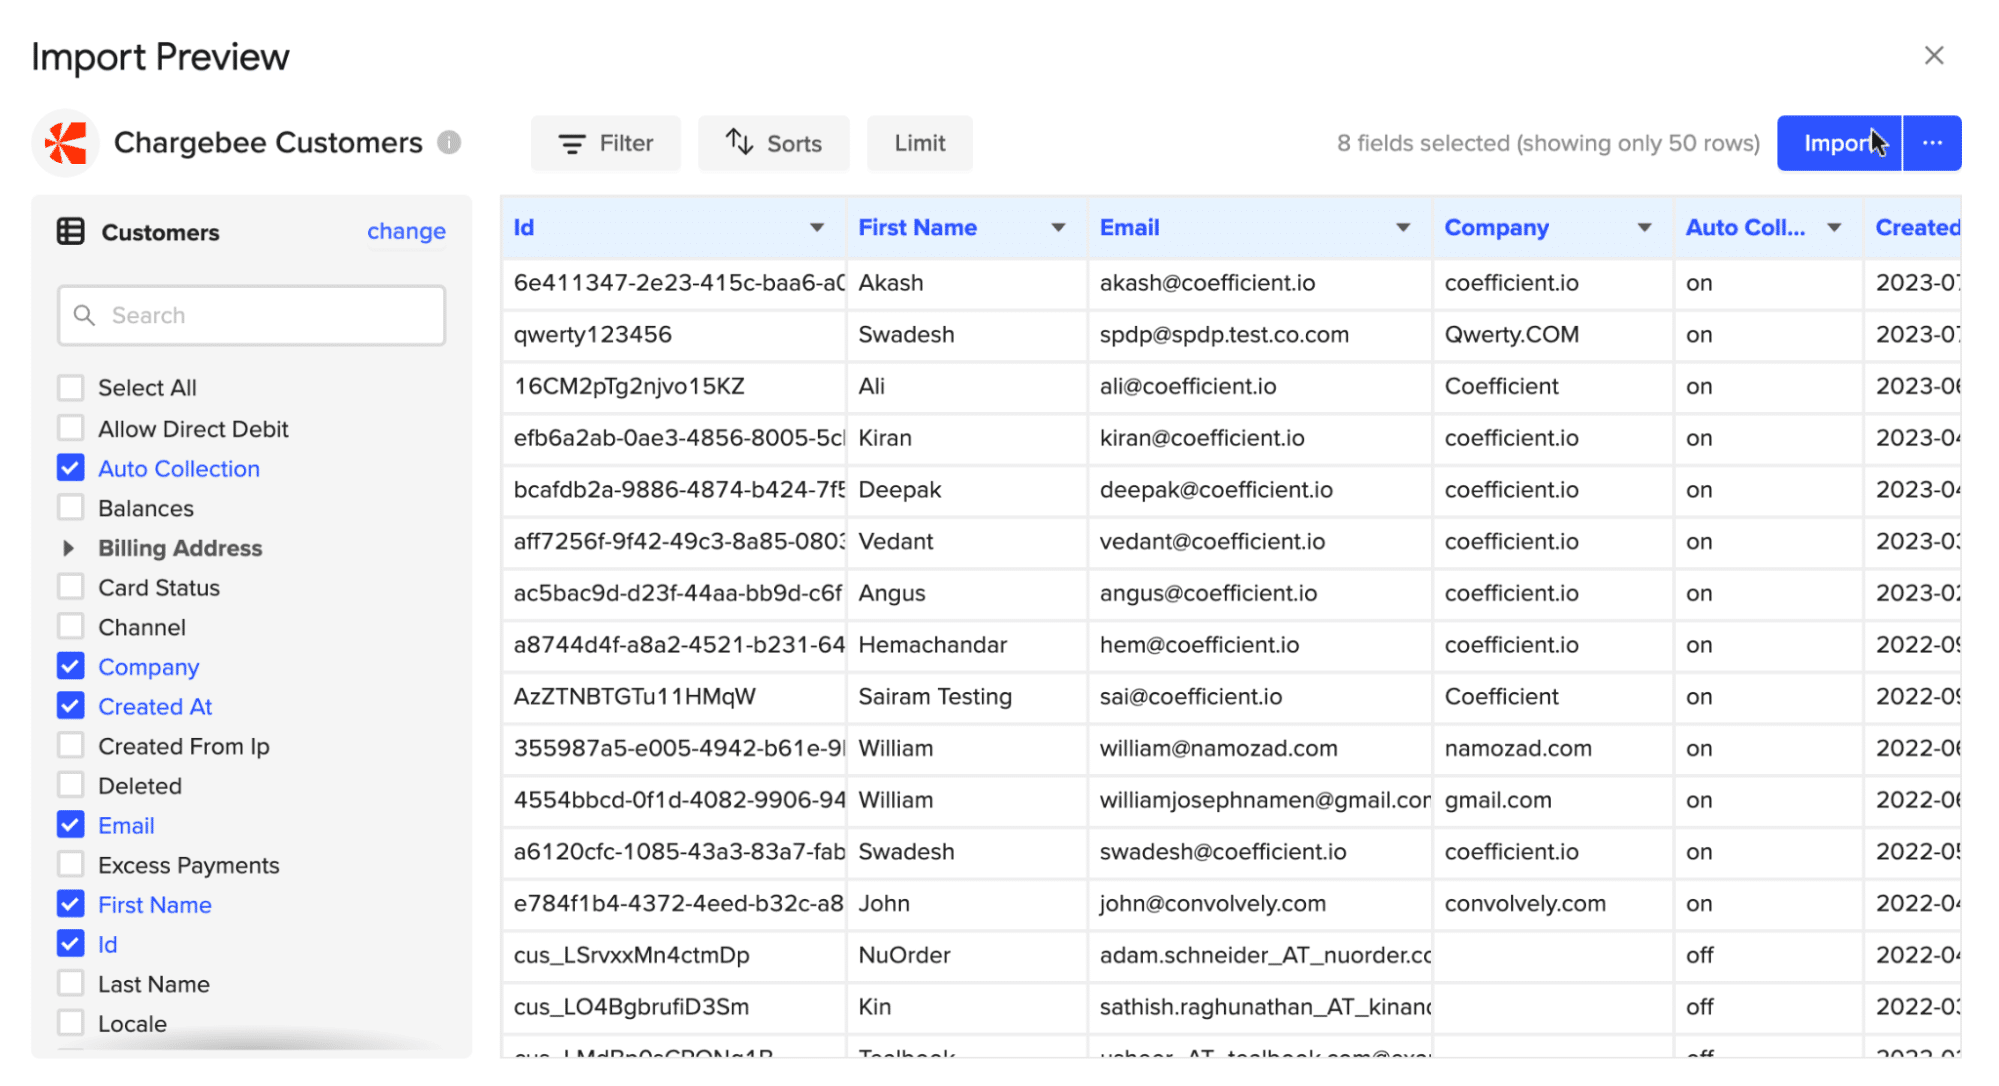
Your Chargebee data will appear in Coefficient’s data inline previewer.
Select the data you want to import. Once you select the desired data, press the ‘Import’ button.
Your data will populate your spreadsheet in a few moments.
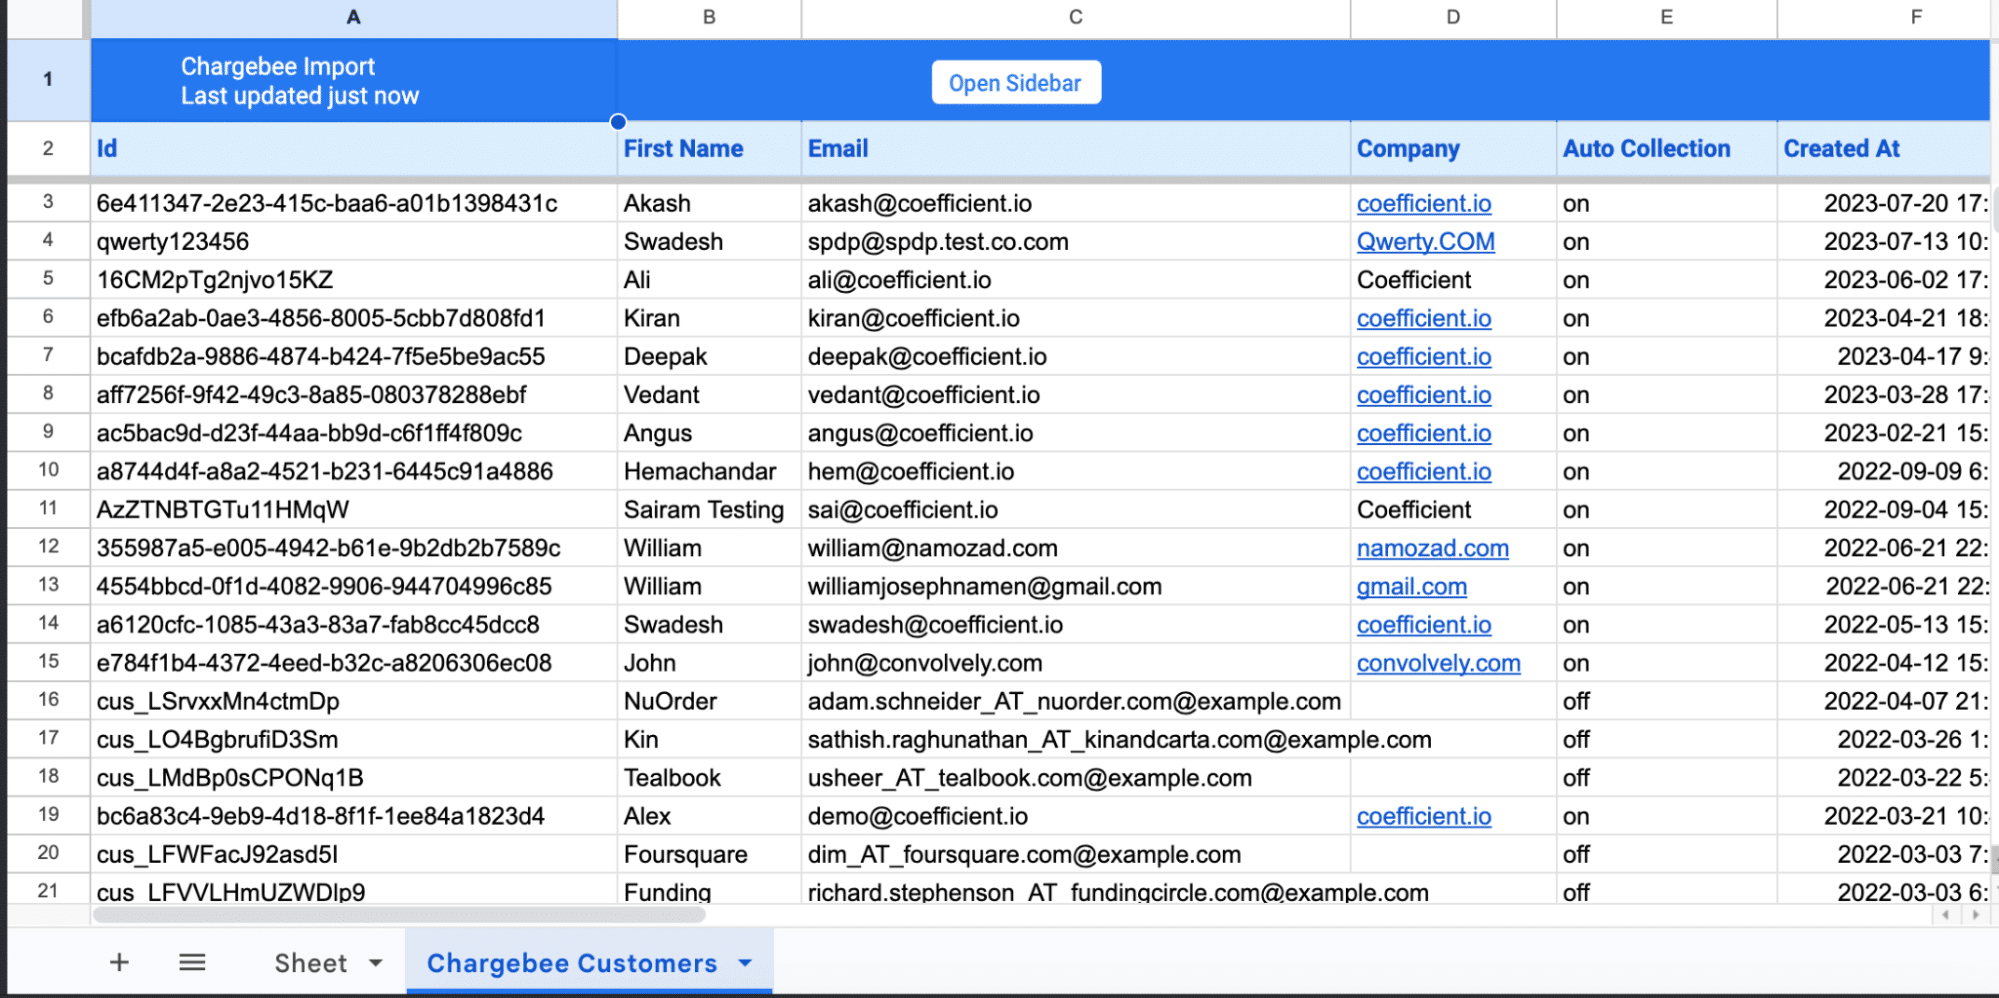
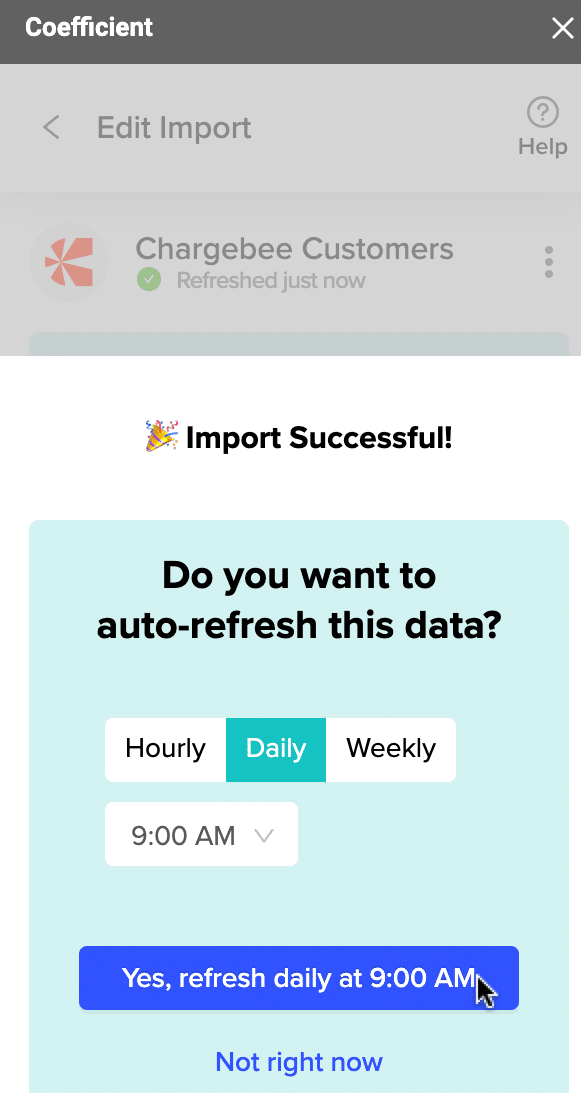
Coefficient automatically refreshes your Chargebee data to keep it up-to-date in Google Sheets. You can configure a data refresh to occur hourly, weekly, or monthly.
Method 2: Zapier
Zapier can send data from Chargebee Billing to Google Sheets. You can configure automated workflows (Zaps) by setting up triggers and actions. To create a Zap to send data from Chargebee to Google Sheets, you must:
- Authenticate your Chargebee and Google Sheets accounts
- Select one of the apps (Chargebee) as the trigger
- Choose the receiving app (Google Sheets).
- Select the data you wish to send from Chargebee to Google Sheets
- Test your Zaps to ensure your configurations are set up properly
Pros
- Setting up a Chargebee to Google Sheets integration does not require coding and is easy to set up.
- Non-technical users can follow the step-by-step process to configure and test your automated workflows, making it useful for anyone.
Cons
- Configuring automated workflows requires setting up the specific data you want to pull and track from Chargebee to Google Sheets is time-consuming.
- Zapier’s Google Sheets trigger can stop working if there are changes made to your spreadsheet while the Zap is turned on, such as deleting existing rows or columns, adding rows anywhere other than to the bottom of your sheet, resorting the sheet, renaming/adding/rearranging columns, renaming the sheet, or filtering the sheet.
- Errors such as ‘range’ errors, missing fields in the Zap editor, and unexpected Zap triggers can occur, requiring troubleshooting and potentially disrupting your workflow.
Chargebee to Google Sheets: Unleash the Power of Subscription Data in Your Spreadsheet
Coefficient’s Chargebee connector for Google Sheets eliminates these issues by allowing businesses to automatically import Chargebee data directly into Google Sheets in a few simple clicks.
Get started with Coefficient for free to connect your Chargebee data today!
