Select the desired row: Click on the row where you want the header to appear, usually the first row in the sheet
Enter header titles: Type the header information for each data column into the selected row
Format the header: Adjust the font, size, style, and color using the formatting toolbar to make it visually distinct and easy to read
Freeze the header row: Keep the header row visible while scrolling by going to View > Freeze and selecting “1 row” to freeze the first row
Use headers for sorting/filtering: Enable data organization by using the header row as the foundation for sorting and filtering your spreadsheet data
Google Sheets, a robust web-based spreadsheet tool, excels in data organization and analysis. A key feature for enhancing data clarity is the header row. It provides column labels, making your data more readable and your spreadsheets visually appealing.
This article will discuss the importance of creating a header row in Google Sheets and provide you with simple steps to achieve a more professional and organized spreadsheet. Through these instructions, even novice users will be able to create and format their Google Sheets effectively.
Understanding Google Sheets Headers
Importance of Headers
Headers play a crucial role in organizing, analyzing, and presenting data effectively in Google Sheets. They enhance the readability and clarity of spreadsheets by providing a clear label or title for each data column.
Headers also serve as a foundation for data analysis and manipulation. For example, they allow users to easily filter, sort, and group data based on specific criteria.
Freezing the header row keeps it visible when scrolling through large datasets, ensuring users always have the necessary context for their data.
Application of Headers
Creating a header in Google Sheets is a simple process. Follow these steps to set up a header row:

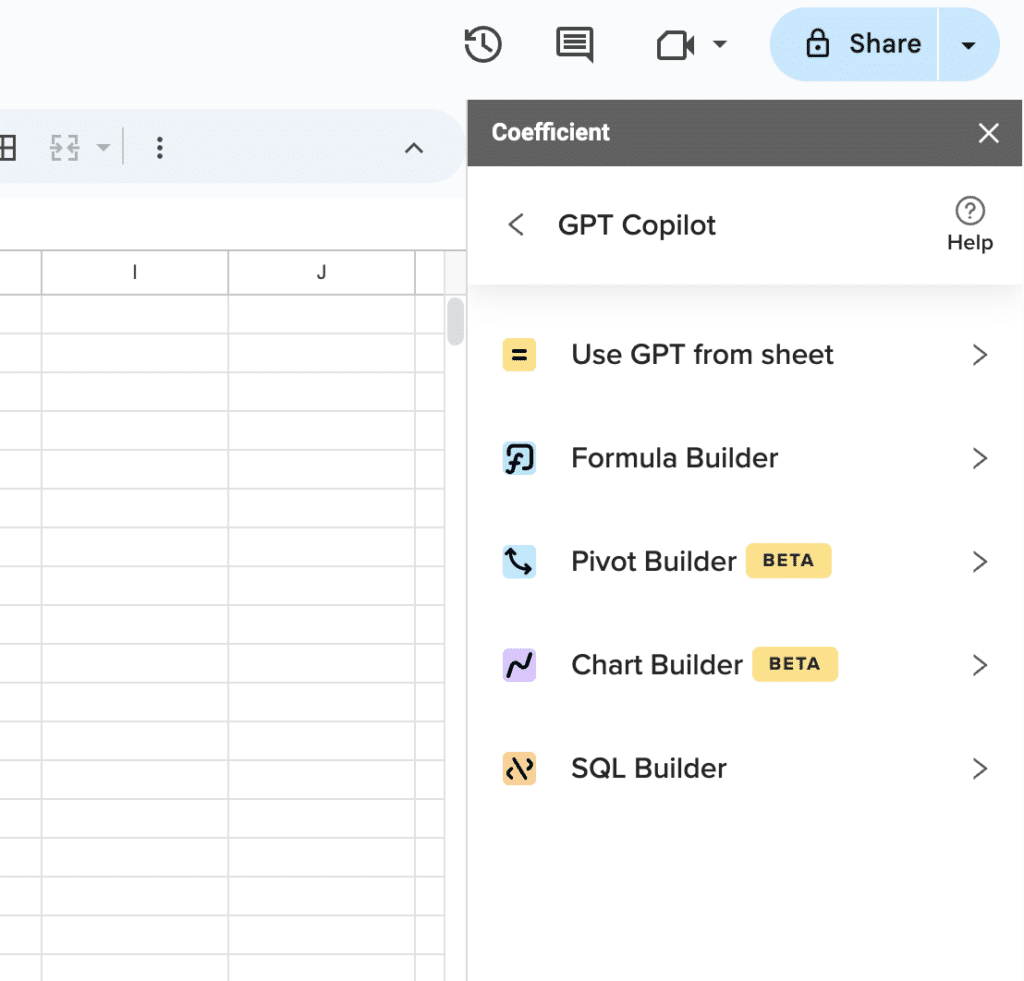
Supercharge your spreadsheets with GPT-powered AI tools for building formulas, charts, pivots, SQL and more. Simple prompts for automatic generation.

- Select the desired row: Click on the row where you want the header to appear, usually the first row in the sheet.
- Enter header titles: Type the header information for each data column into the selected row.
- Format the header: Adjust the font, size, style, and color using the formatting toolbar to make it visually distinct and easy to read.
Advanced Techniques with Header Rows
Freezing and Unfreezing Headers
Freezing a header row in Google Sheets allows you to keep the header row visible while scrolling down through the data. This is particularly useful when dealing with large datasets where it’s essential to have constant reference to the column names. To freeze a header row:
- Click on View in the menu bar
- Hover over Freeze
- Select the desired option: No rows, 1 row, 2 rows, or Up to current row
For example, if you want to freeze the first row, choose 1 row. To unfreeze any frozen rows, simply select No rows.
Pro tip: If you are handling large datasets that you’re copy-pasting or manually importing into Google Sheets, you can 10x the speed of this process by syncing data from any of your business systems with Coefficient’s one-click connectors – CRMs, databases, ads platforms, and more – and set it on a refresh schedule.

Sorting and Filtering Using Headers
Headers can also be useful for sorting and filtering data in a Google Sheets spreadsheet. By sorting the data based on a specific column, it becomes easy to organize and analyze the data in a meaningful way. To sort and filter using headers:
- Highlight the group of cells you’d like to sort
- If your sheet includes a header row, freeze the first row (as mentioned above)
- Click on Data
- Click Sort range
- Check the box for Data has header row
You can then select the column you’d like to be sorted and choose between ascending or descending order.
For filtering, follow these steps:
- Click on Data
- Choose Create a filter
- Use the filter icons in the header row to apply filters to specific columns
Use Header Rows to Manage Your Data
Implementing header rows can significantly enhance your data analysis and presentation in Google Sheets. It’s a simple yet powerful tool to keep your data organized and easily accessible.


