If you’ve ever found yourself wishing you could move your Notion tables into Excel without a hassle, you’re in the right place. Notion’s great for organizing your work, but when it comes to analyzing your data, Excel has the tools you need.
This guide will show you how to export your Notion tables to Excel in a few easy steps, so you can start working with your data where it suits you best.
Why Export Notion Table to Excel?
- Deep Dive into Data: Excel’s powerful tools like pivot tables and formulas let you explore your data in ways Notion can’t, uncovering valuable insights hidden in your numbers.
- Automate and Save Time: Set up your reports once in Excel and let its automation features do the rest, freeing up your time for other important tasks.
- Collaborate Effectively: Share your Excel sheets with teammates to work on data together, ensuring everyone’s decisions are based on the latest insights.
How to Export Notion Table to Excel: 3 Methods
Method 1. Coefficient: No-Code, Fully Automated
Coefficient is the fastest, easiest way to export Notion data to Excel for technical and non-technical users alike.
Coefficient’s no-code interface makes it easy for anyone to safely get the data they need into Excel in a few clicks. This is particularly useful for Excel for Web users who do not have access to Power Query or Excel Online users without advanced technical skills.
To install Coefficient, you can get started here or open Excel from your desktop or in Office Online.
Click ‘File’ > ‘Get Add-ins’ > ‘More Add-Ins.’
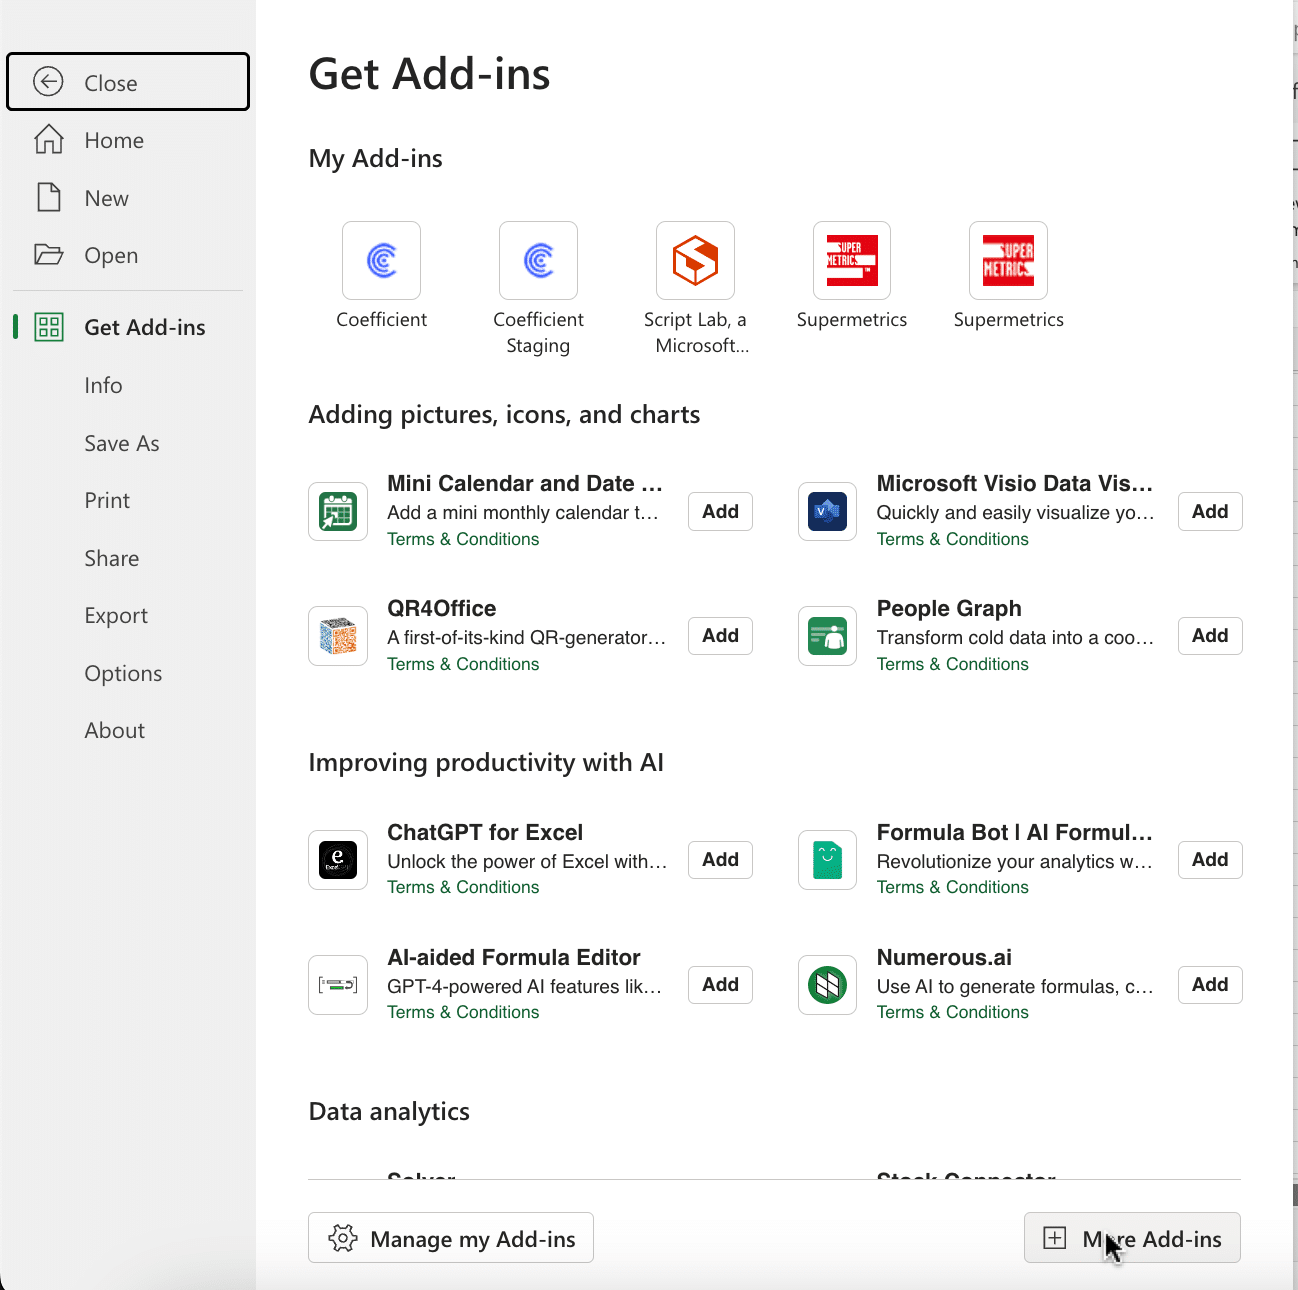
Type “Coefficient” in the search bar and click ‘Add.’
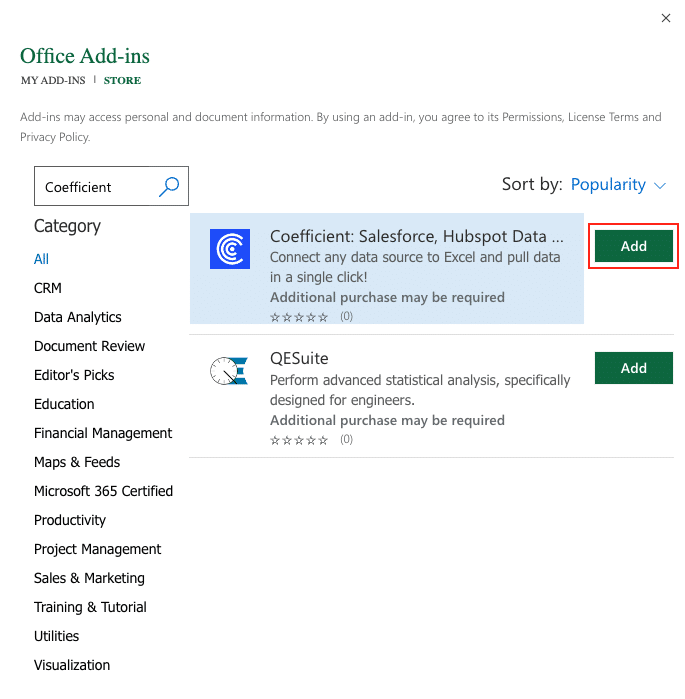
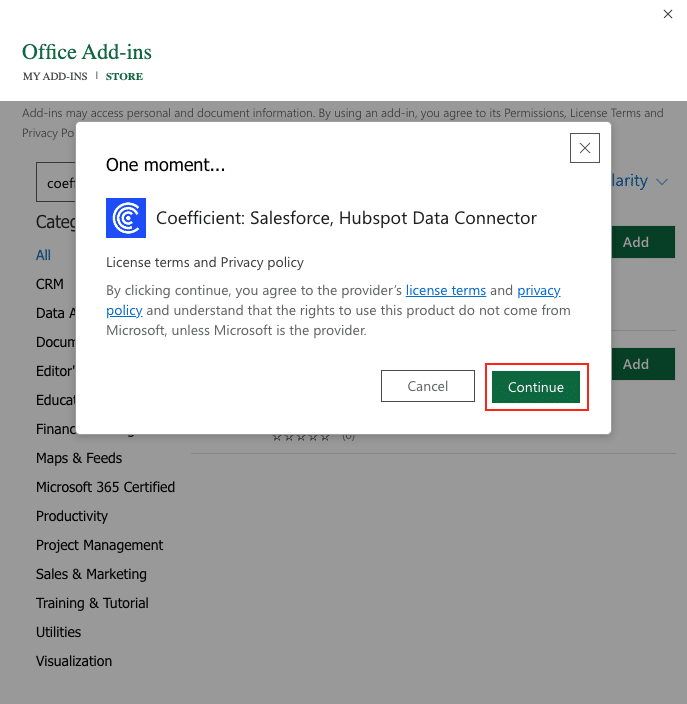
A pop-up will open up. Follow the prompts to complete the installation.
Once finished, you will see a “Coefficient” tab at the top navigation bar.
Click ‘Open Sidebar’ to launch Coefficient.
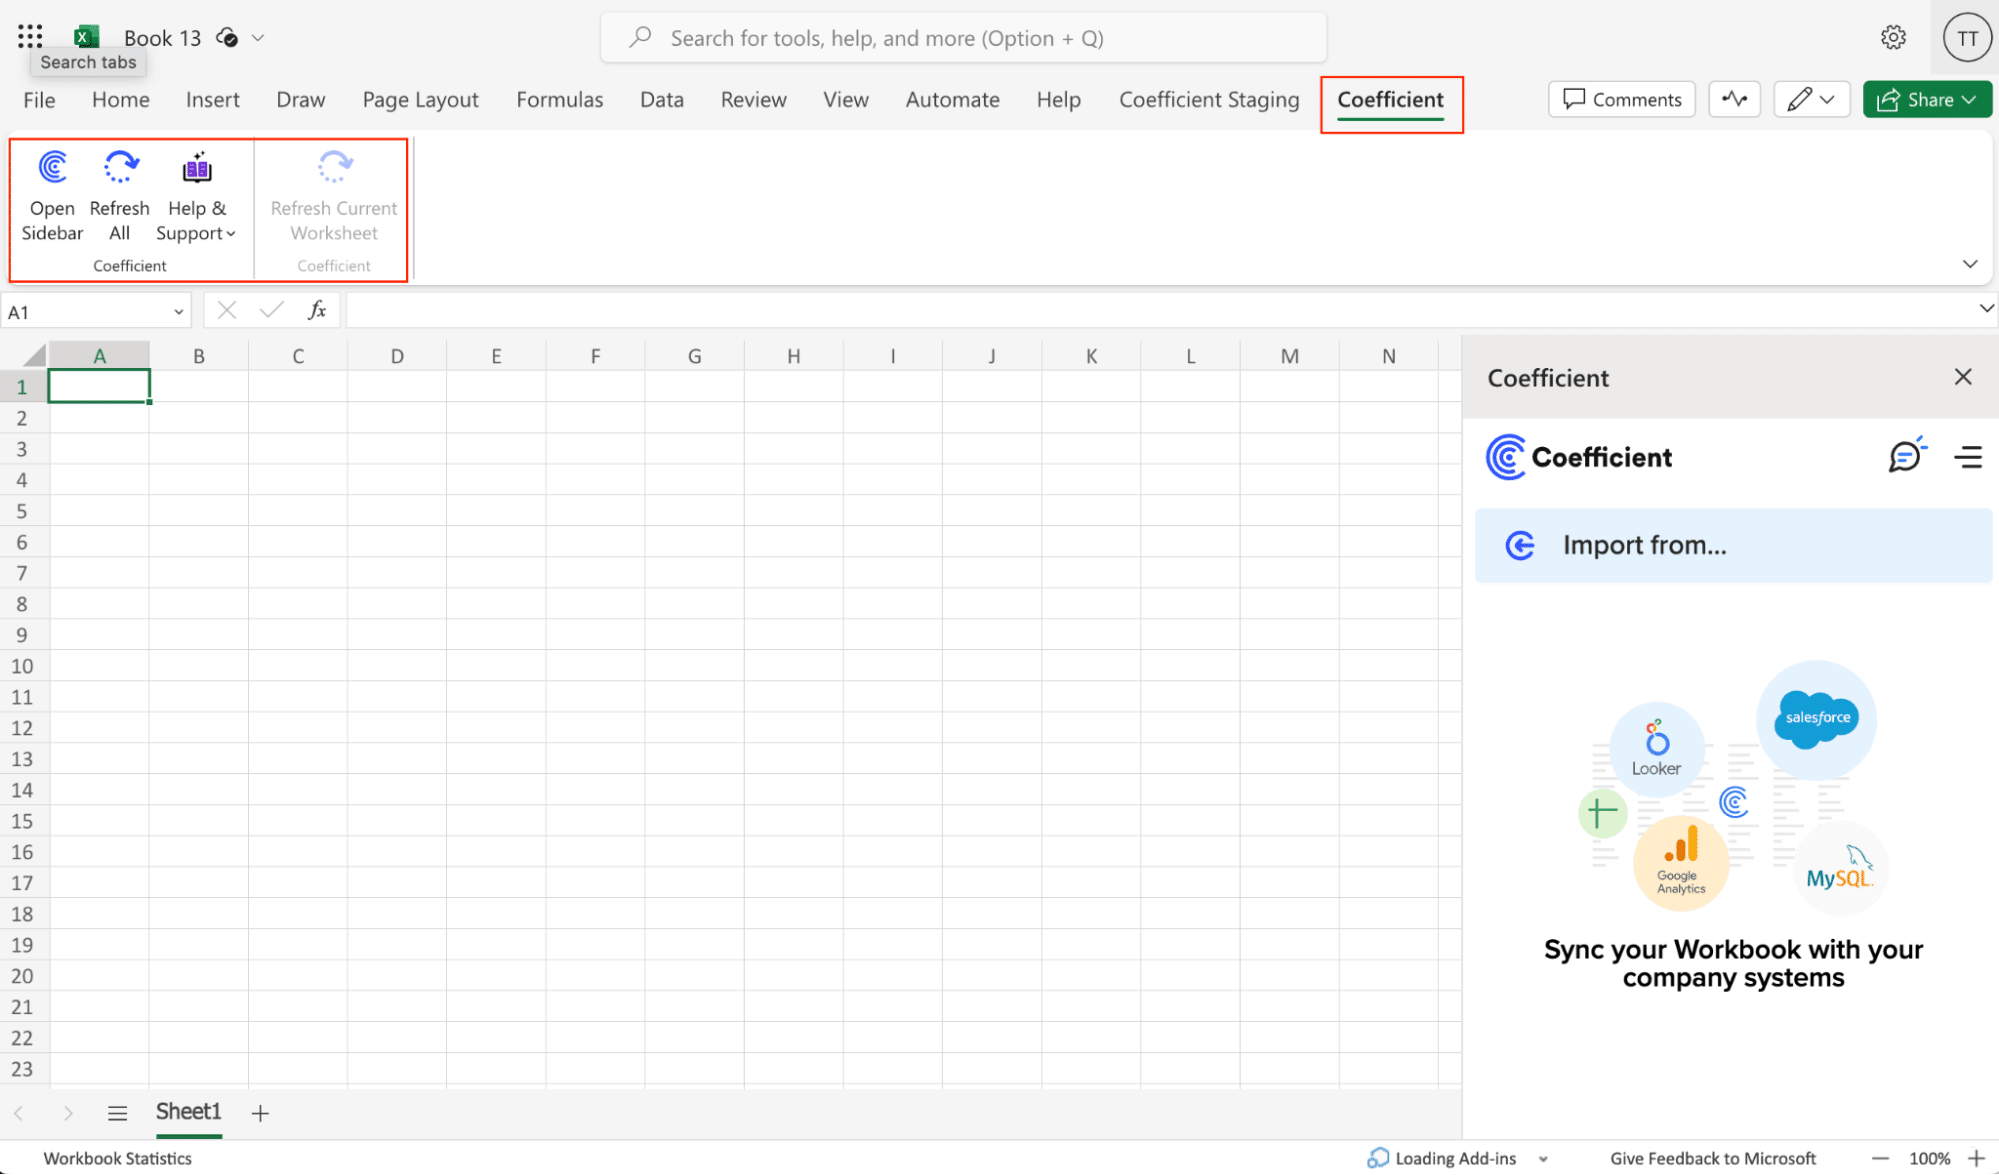
Select ‘Import from…’
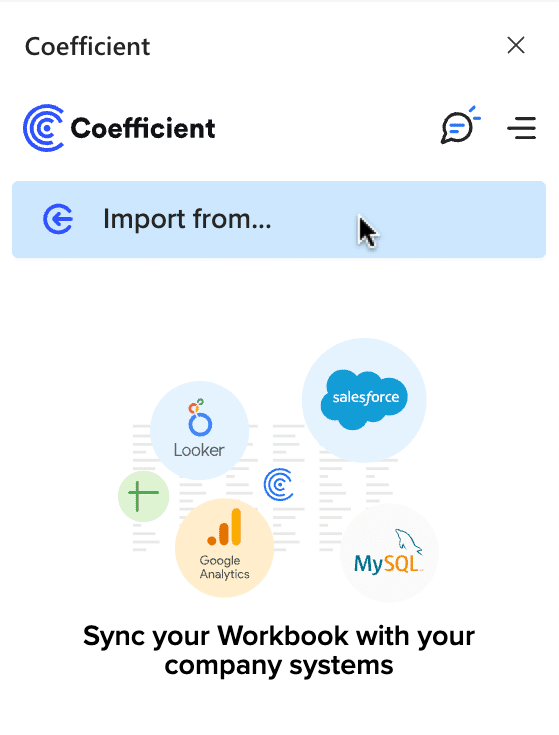
Scroll down until you find Notion and click ‘Connect.’

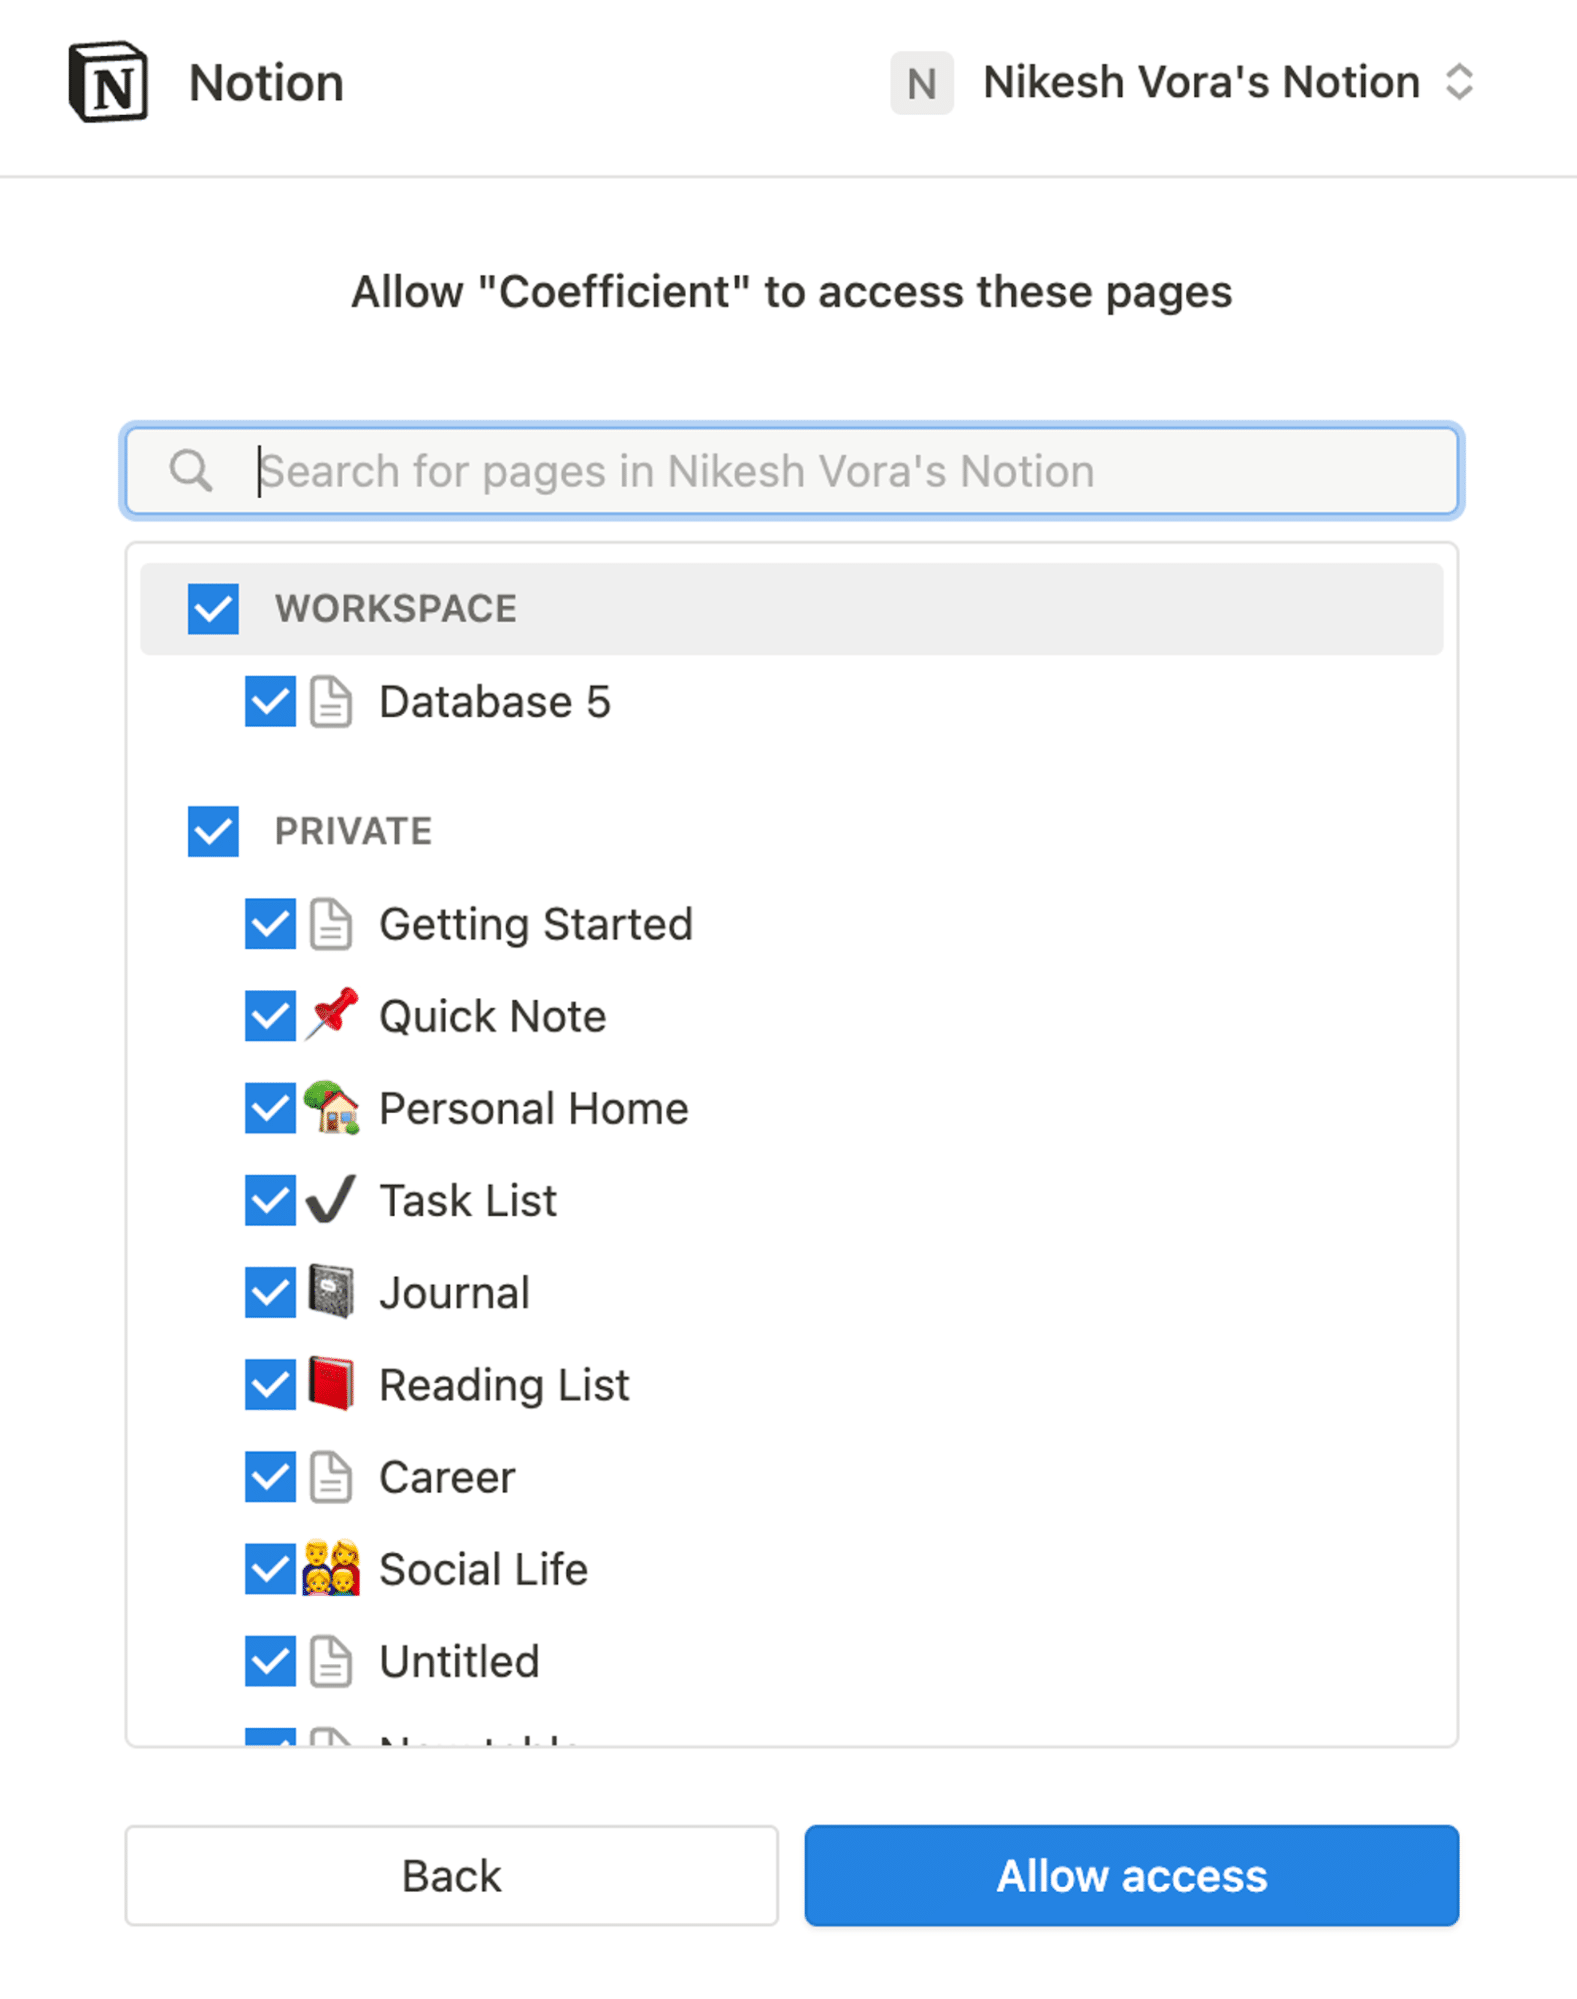
Follow the prompts to authorize Coefficient to your Notion account.

Click ‘Select pages’ on the permissions page.

Note: Only databases selected/given access will be available for Coefficient/Notion imports.
If you need to add a new database (that was not in your initial selection) you will need to reauthorize your connection.
Select the pages that contain your databases, then select ‘Allow Access.’
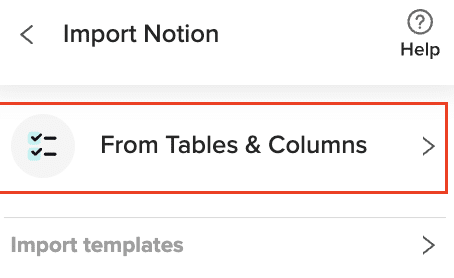
Return to Notion from the Coefficient menu ‘Import from…’ > ‘Notion’ > ‘From Tables & Columns’
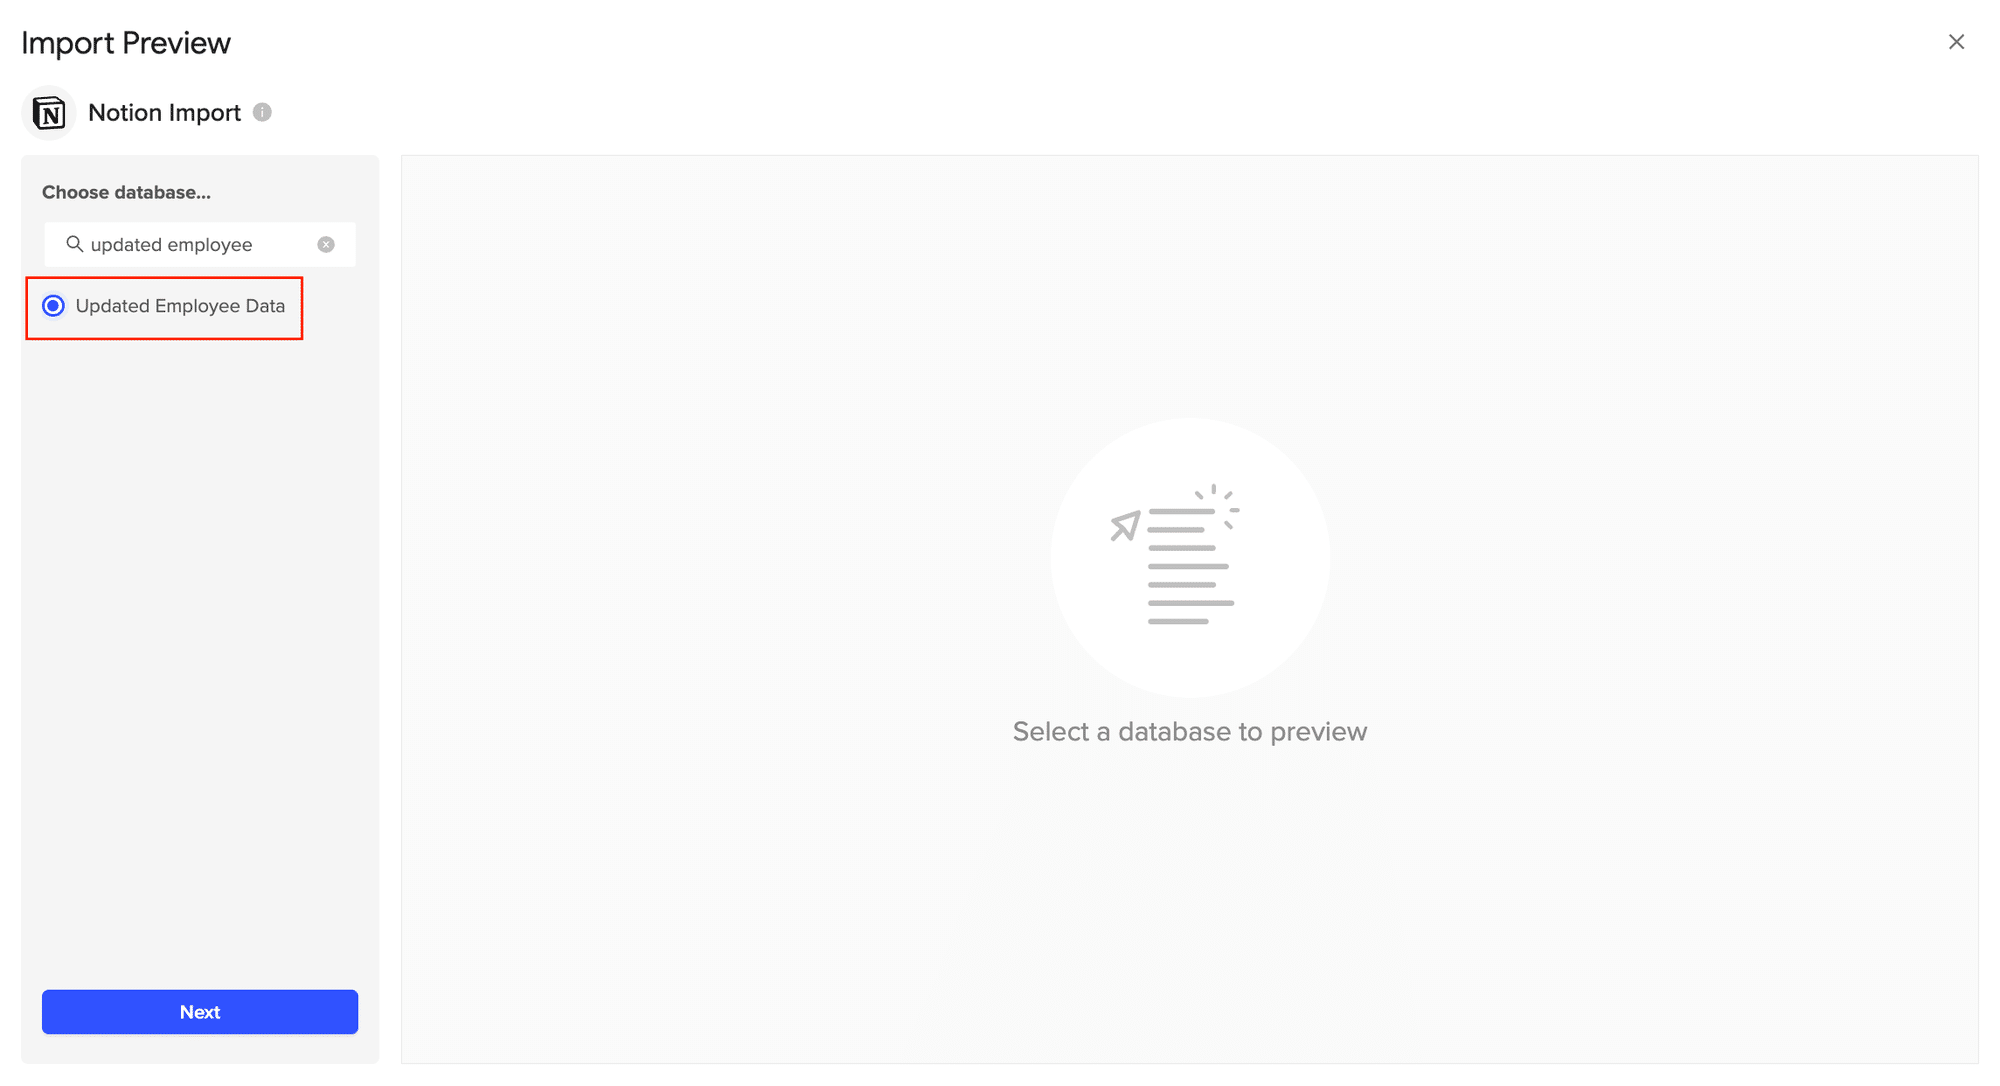
Select or search the database (eg. Updated Employee Data) from the Import Preview window then hit ‘Next.’
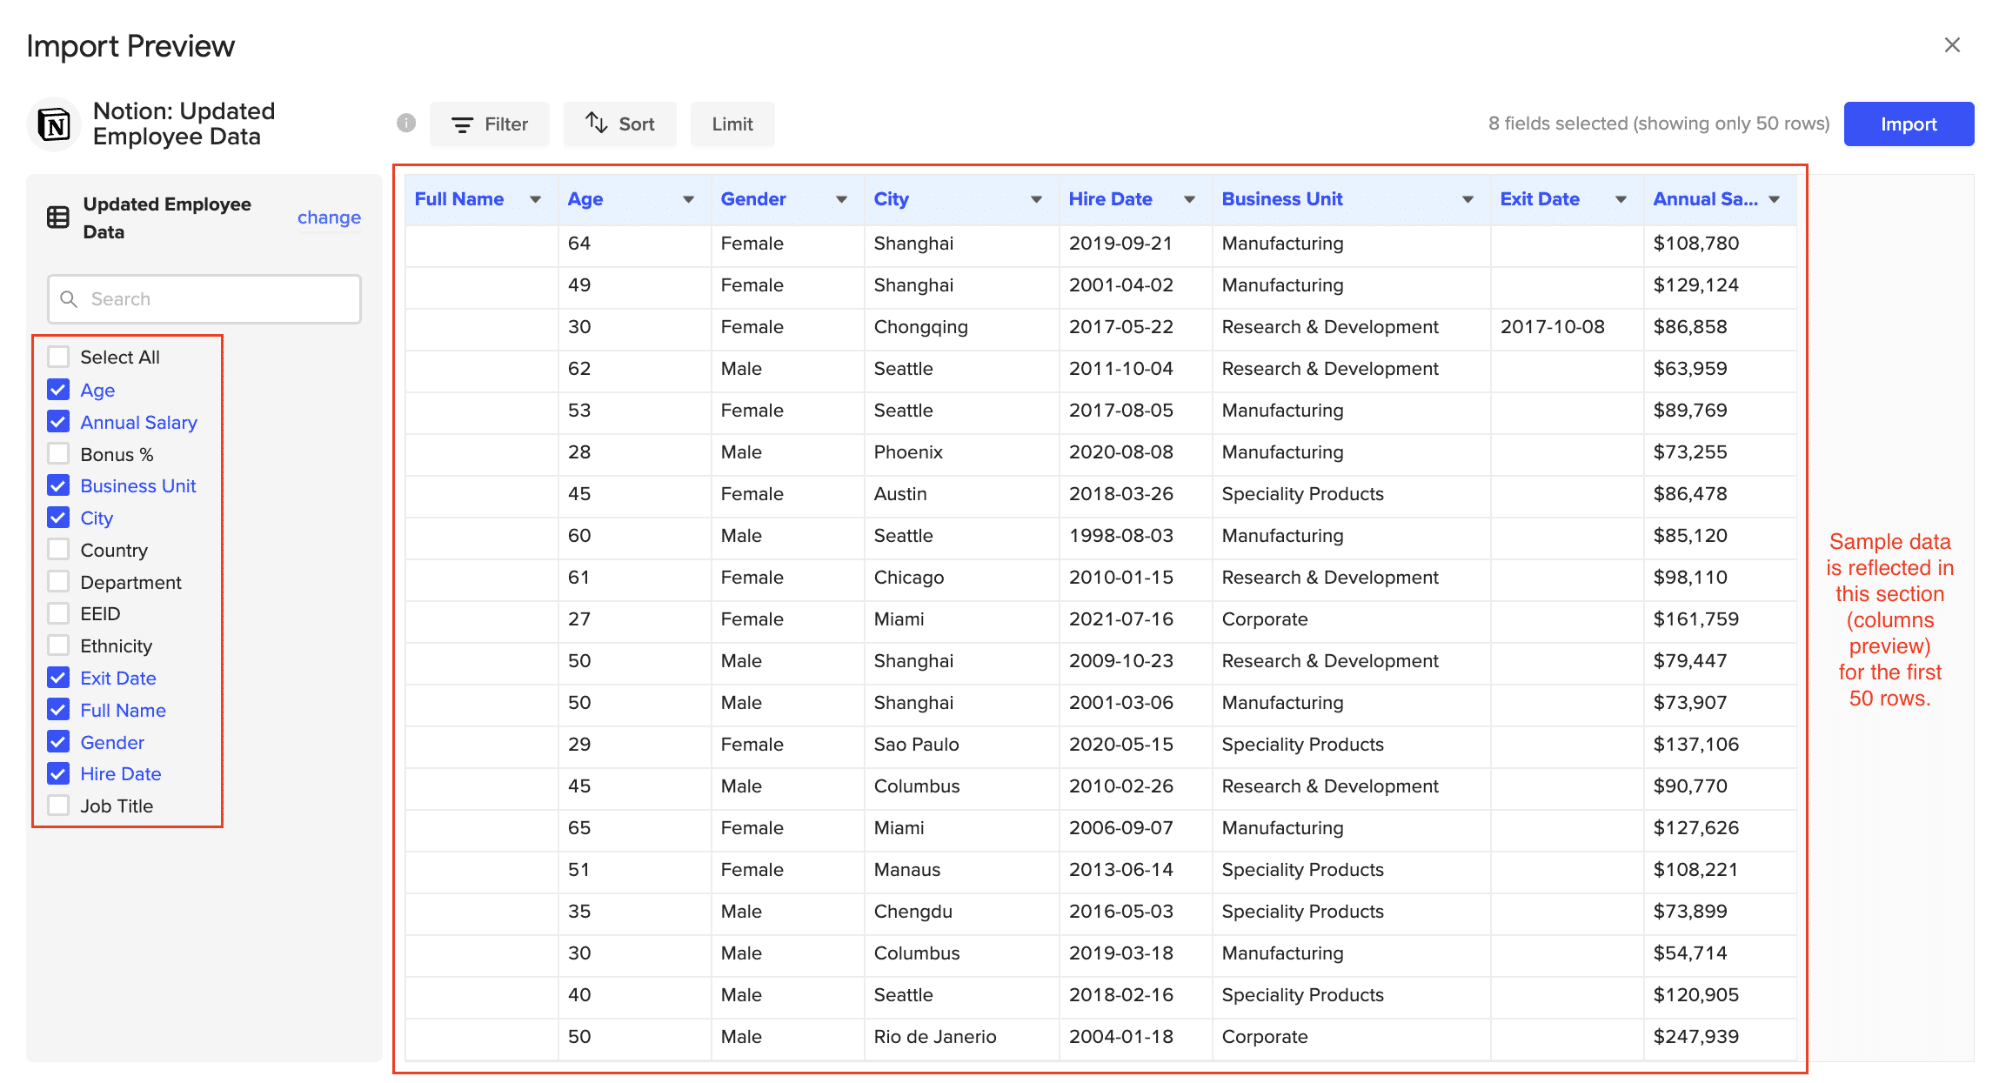
Check the box(es) corresponding to the fields you would like to include in this import. The fields selected will appear in the data preview. (The data preview shows a sample of the results and not the complete query results).
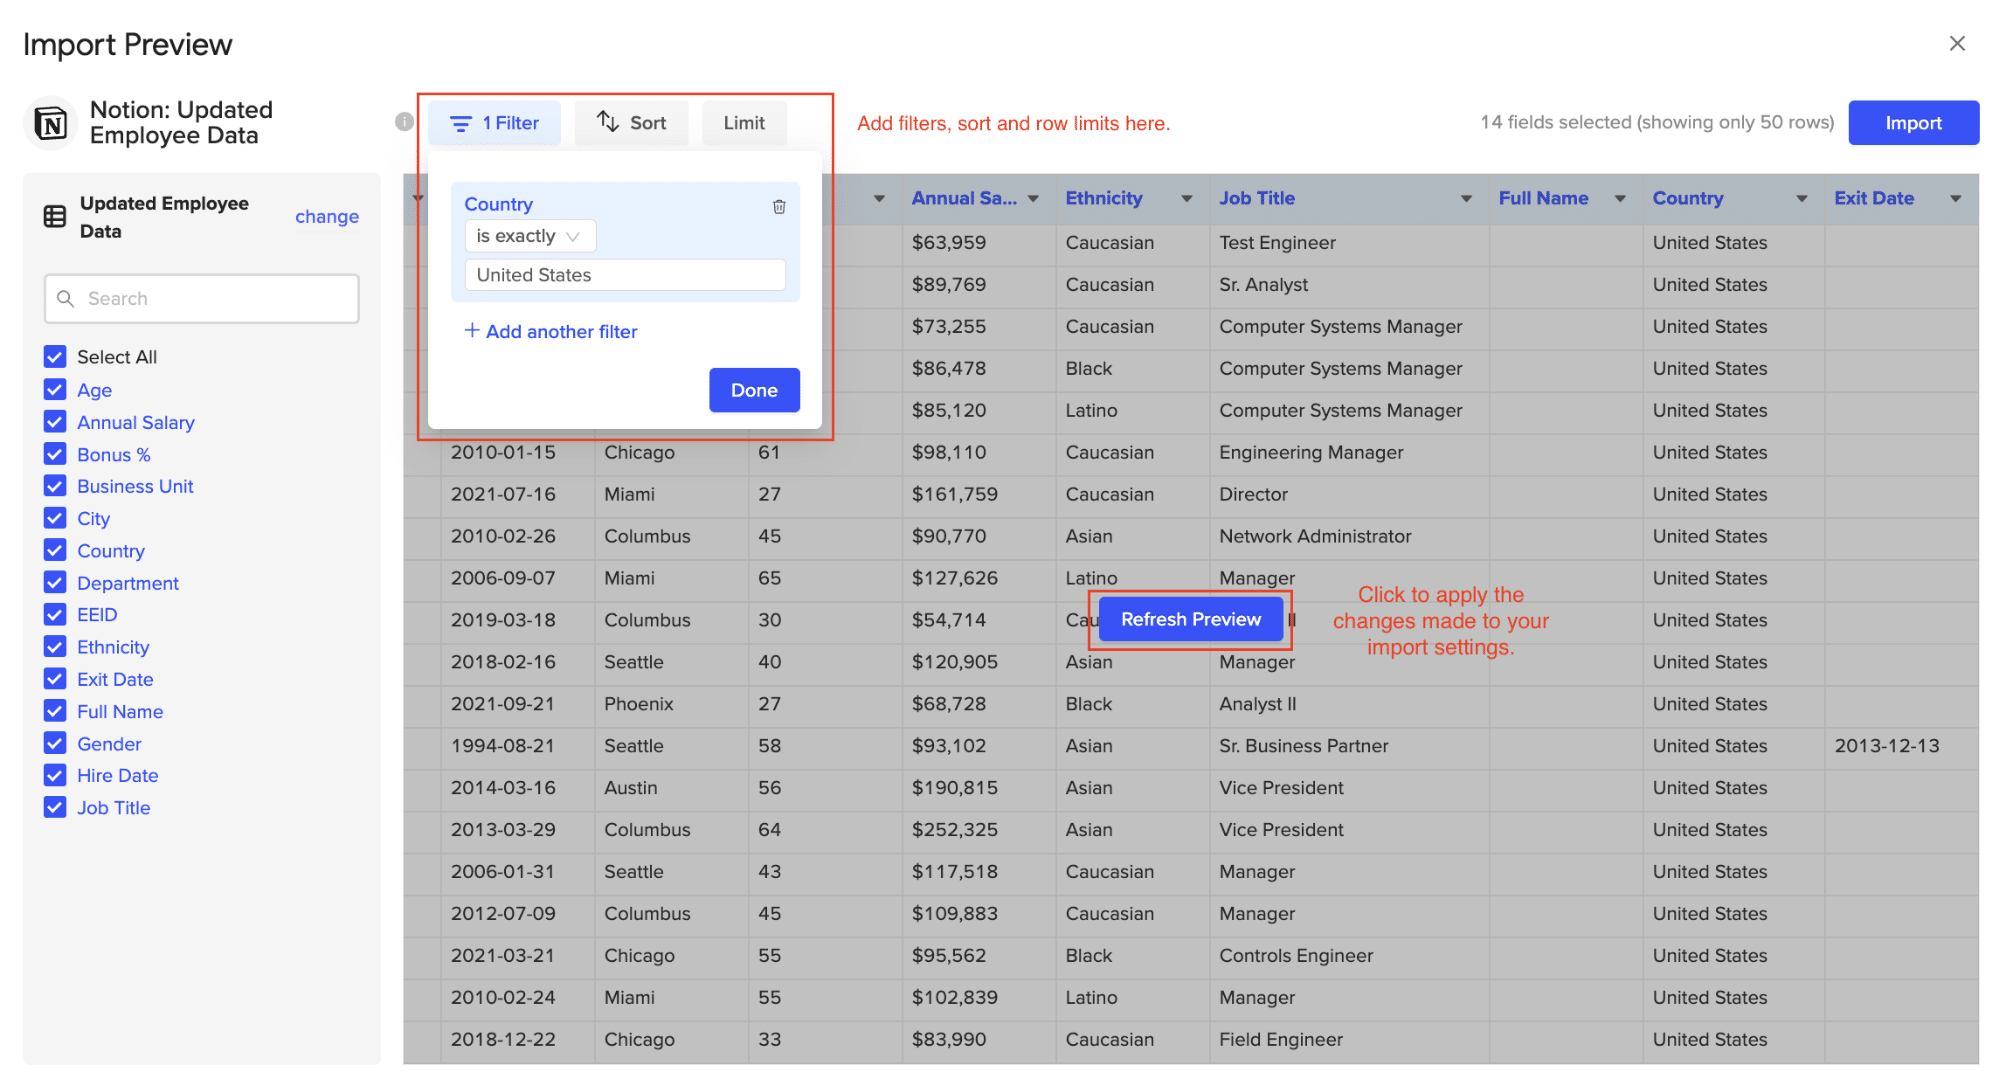
Customize your import by adding filters, and row limits as needed. Click the “Refresh Preview” option to update the sample data based on the updates.
Select ‘Import’ when you’re finished.
Your Notion export with automatically populate your Excel spreadsheet in a few seconds!

You can also set up automatic data updates to schedule data syncs between Notion and Excel. Choose whether to run daily, hourly, or weekly automatic data updates.
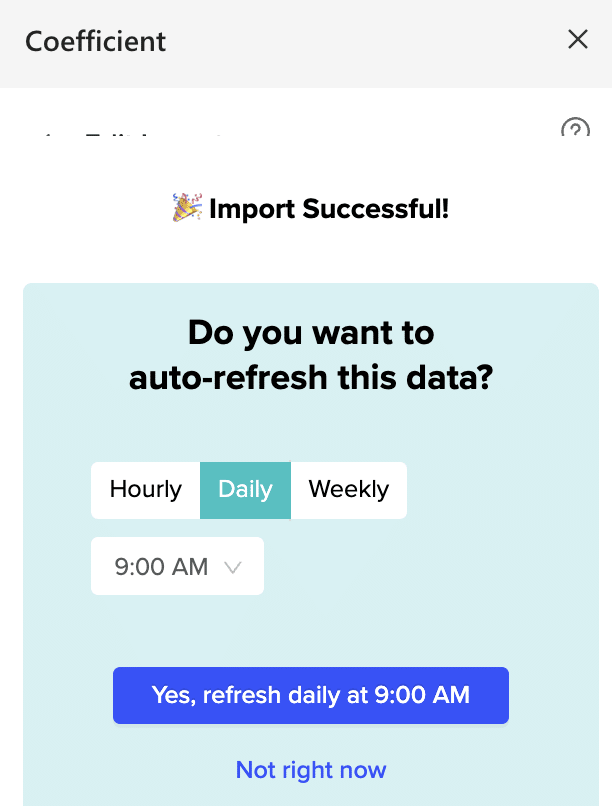
With automatic data updates, your Notion data is always up-to-date in your spreadsheet. That means you can build live dashboards and reports on top of the data without performing cumbersome manual updates.
Method 2. Manual Export and Import
Exporting data manually is a straightforward method to export Notion tables to Excel for small datasets or one-time tasks.

Stop exporting data manually. Sync data from your business systems into Google Sheets or Excel with Coefficient and set it on a refresh schedule.

Open your Notion workspace and navigate to the table you wish to export.Click on the three dots in the upper-right corner of the Notion table.

Select “Export” and choose the CSV file format option.
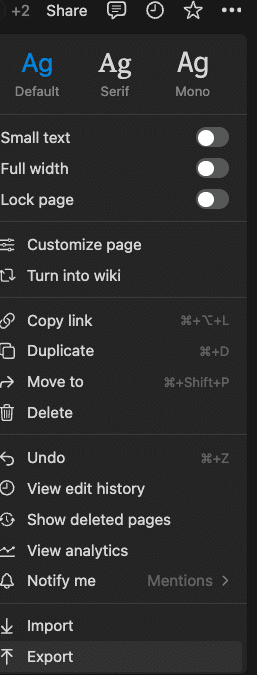
Once the export is complete, open Excel and go to “File” > “Open” > “Browse” to locate and open the exported CSV file. Excel will automatically convert the CSV into a spreadsheet format.
Pros and Cons:
Pros:
- Simple and requires no third-party tools.
- Instant control over the data export process.
- No cost involved.
Cons:
- Time-consuming for large or multiple tables.
- Does not allow for automatic updates or syncing.
- Manual process can lead to errors or data loss.
Method 3| Zapier
Zapier is a web-based service that allows non-technical users to connect different applications and automate workflows like Notion and Excel.
Create a Zapier account if you don’t have one, or log in if you do.
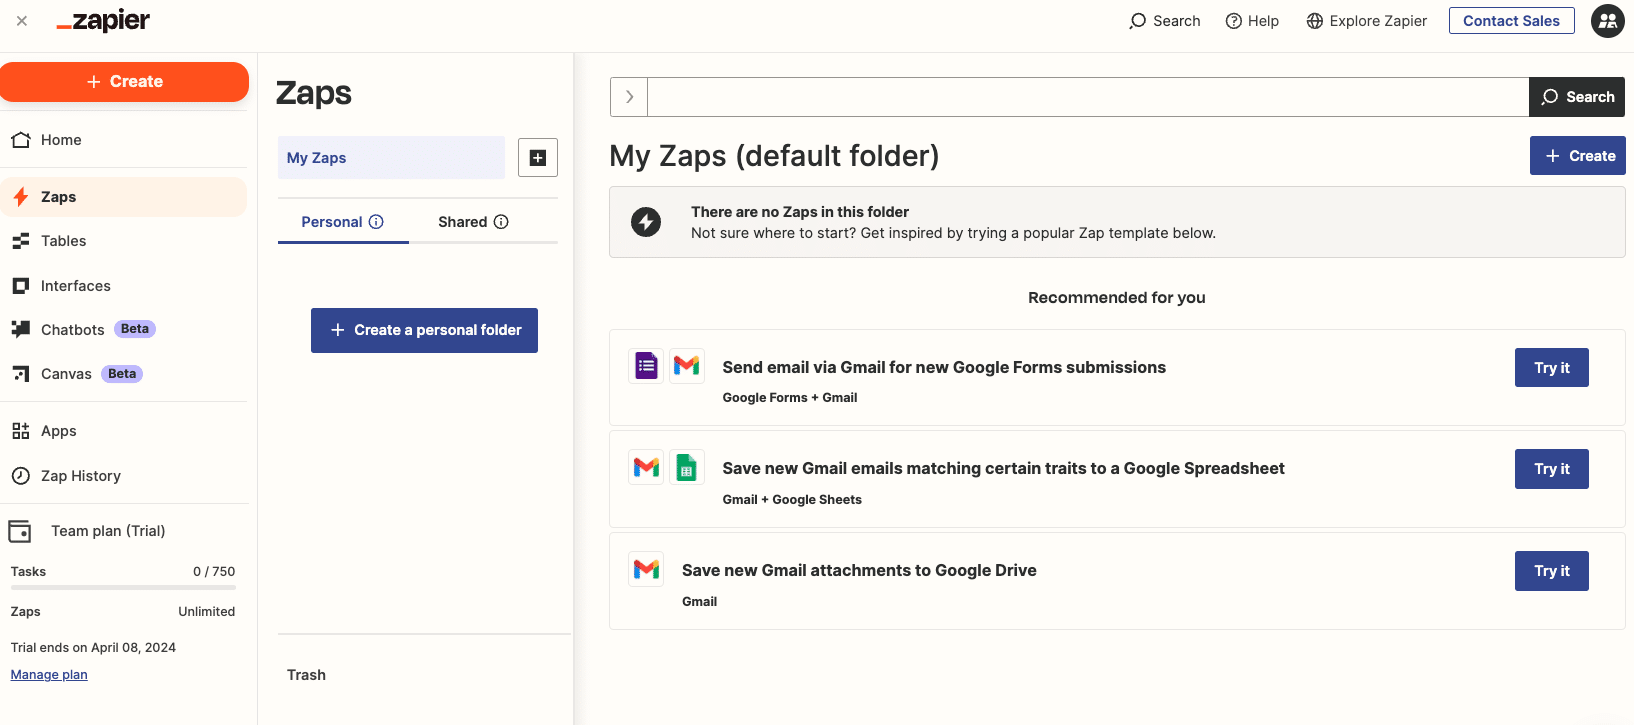
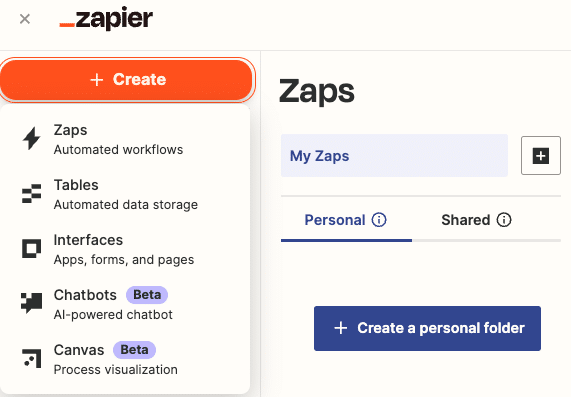
Click on ‘+ Create’ > ‘Zap’ to start creating your workflow.
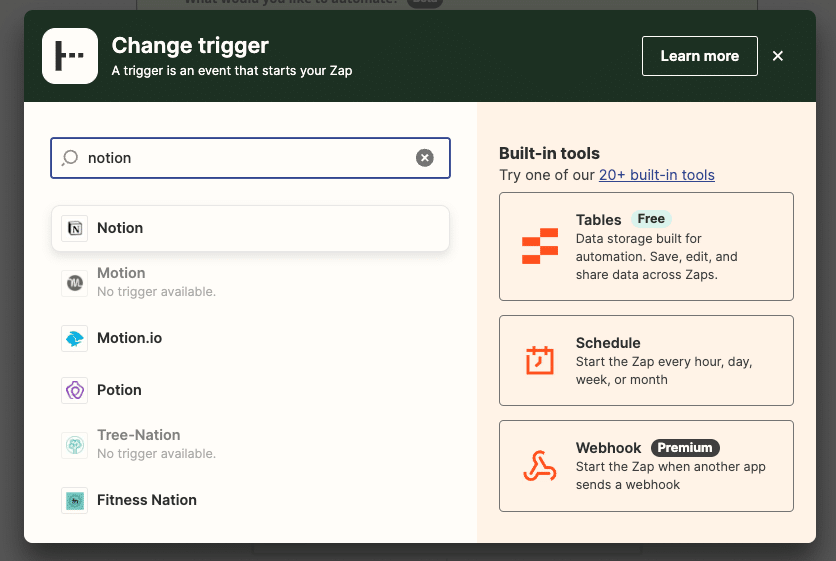
In the trigger setup, search for “Notion” and select it as the trigger app.
Follow the instructions to link your Notion account with Zapier.
Next, choose Excel as the app where the action will occur, such as adding a new row.
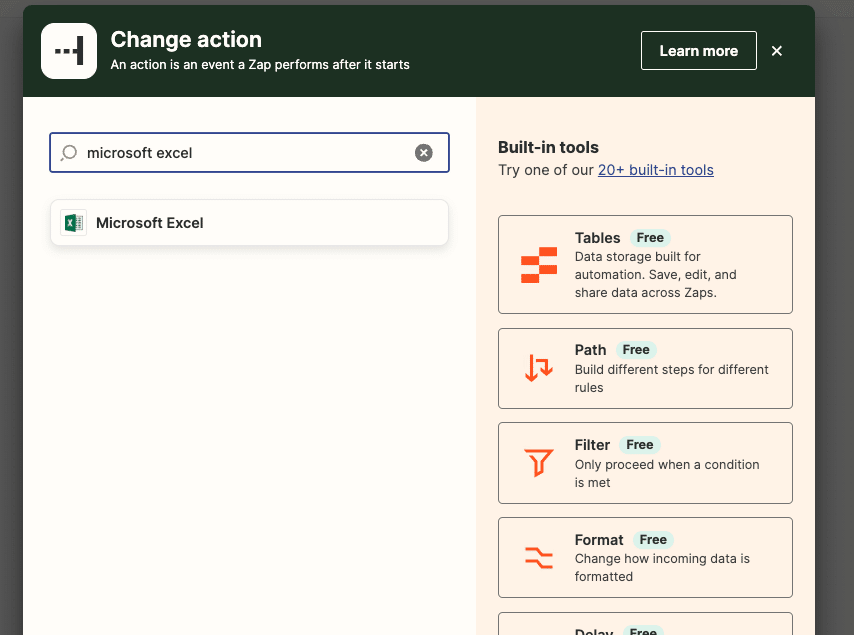
Sign in to your Excel account when prompted to allow Zapier access.
Assign which pieces of data from Notion should go into specific columns in your Excel sheet.
Run a test to ensure everything works as expected, then activate your Zap to automate the workflow.
Export Notion Tables to Excel in Seconds with Coefficient
Moving tables from Notion to Excel improves your data analysis and reporting, making things more efficient. While you can do this manually, using tools like Coefficient’s Notion Connector for Excel makes the process much easier.
Get started today for free to try it out for yourself!
