Creating Excel templates saves time and ensures consistency across your organization’s spreadsheets. Whether you need standardized reports, invoices, or project trackers, a well-designed template serves as the foundation for efficient data management. This guide walks you through the process of creating professional Excel templates that you can use repeatedly.
Creating Your First Excel Template
Let’s start with the fundamental steps to create a basic Excel template.
Step 1: Open a New Workbook
- Launch Excel
- Select ‘Blank Workbook‘

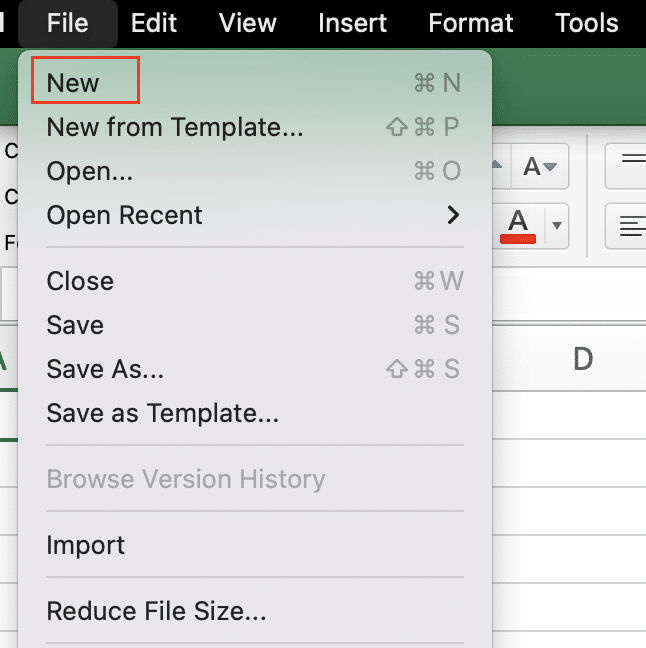
- Press Ctrl + N or click File > New
Step 2: Set Up Essential Template Elements
Begin by establishing the core components of your template:
- Create a header section:
- Insert your company logo (Insert > Pictures)

-
- Add title cells for key information
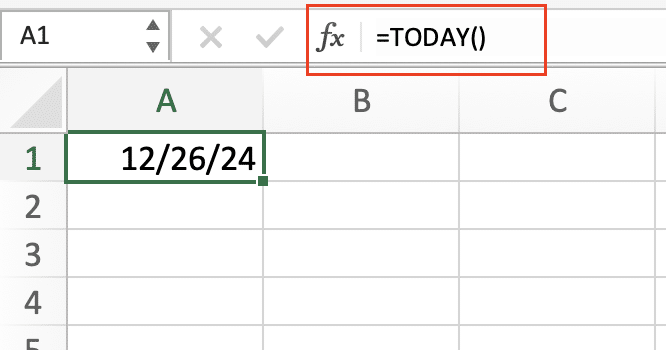
- Include date fields using the following formula:
Copy
=TODAY()
Define standard formatting:
Copy
Font: Calibri 11pt (body text)
Headers: Calibri 14pt bold
- Margins: 0.7″ all sides

Setting Up Template Components
Working with Form Controls
- Enable the Developer tab:
- File > Options > Customize Ribbon
- Check “Developer” in the right column
Add form controls:
Copy
Developer > Insert > Form Controls
Available controls:
– Check boxes
– Drop-down lists
– Spin buttons
- – Text boxes
Protected and Unprotected Areas
Select cells to protect:
Copy
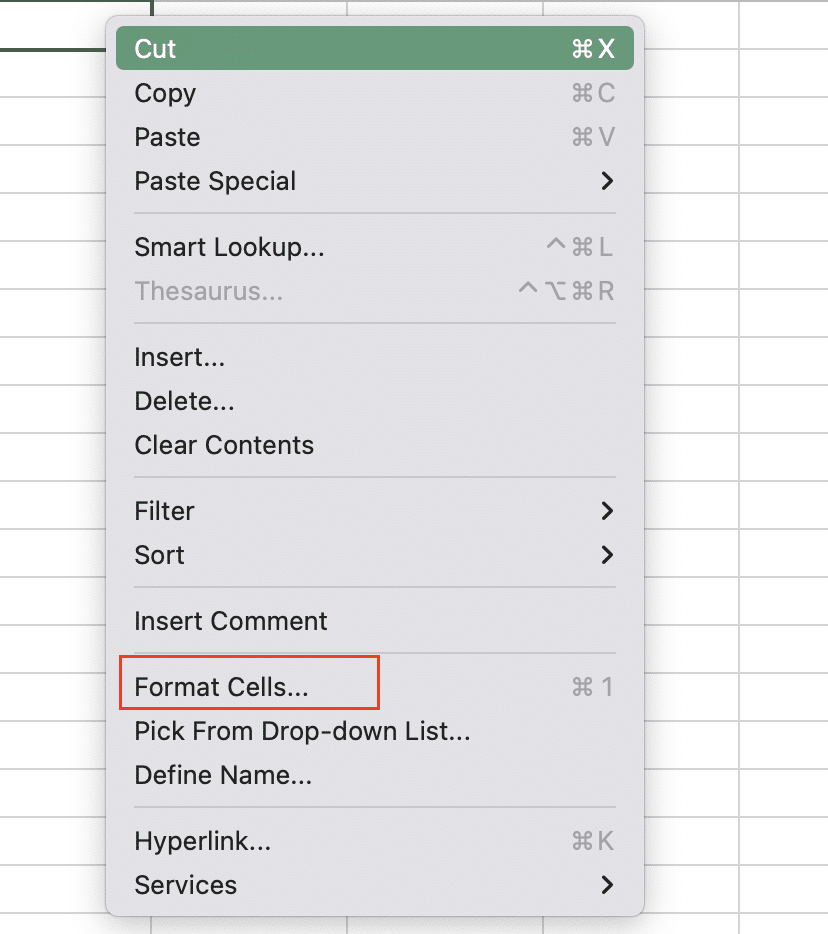
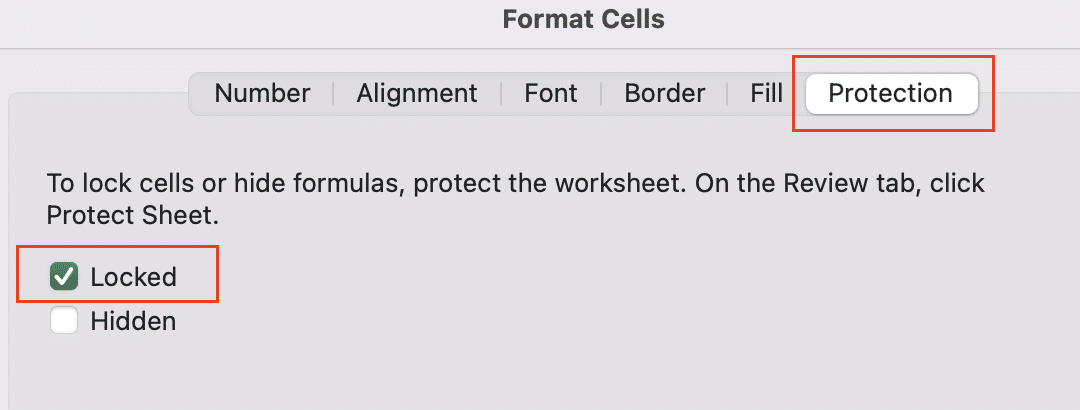
Right-click > Format Cells > Protection
- Check “Locked” box
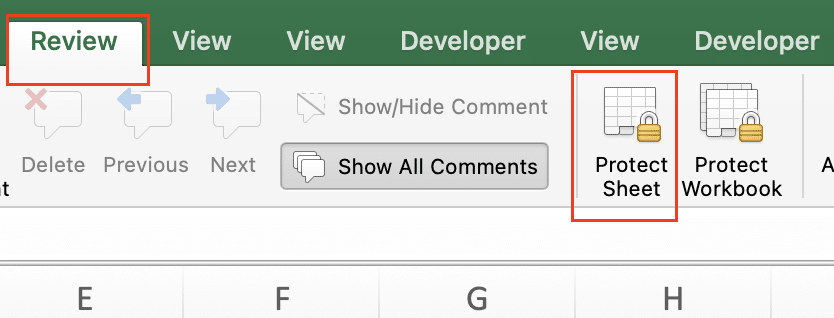
Protect the worksheet:
Copy
Review > Protect Sheet
Set password (optional)
- Select allowed actions
Formula Implementation
Common template formulas:
|
Purpose |
Formula |
Example |
|---|---|---|
|
Running totals |
=SUM(B2:B10) |
Adds values in range B2:B10 |
|
Conditional calculations |
=IF(A2>100,”High”,”Low”) |
Evaluates values against criteria |
|
Date tracking |
=NETWORKDAYS(A2,B2) |
Calculates working days between dates |
Making Templates Fillable and Reusable
Data Validation Rules
- Select target cells
- Data > Data Validation

- Set validation criteria:
|
Validation Type |
Example |
Use Case |
|---|---|---|
|
Whole Number |
Between 1 and 100 |
Quantity fields |
|
Date |
After =TODAY() |
Future dates only |
|
Custom |
=LEN(A1)<=50 |
Text length limit |
Creating Dynamic Dropdown Lists
- Create source data range
Name the range:
Copy
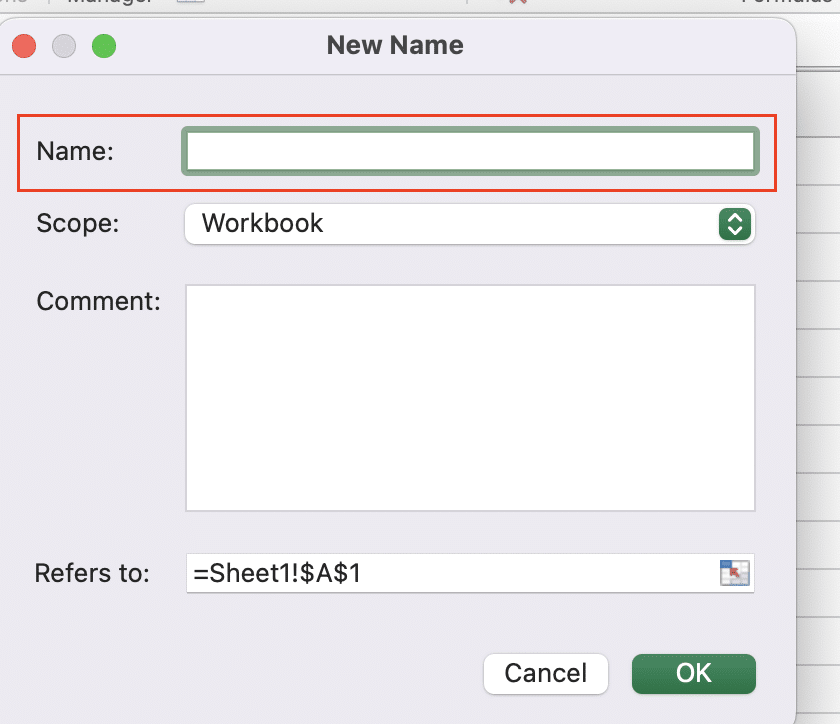
Select range > Formulas > Define Name

- Enter name: “DropdownOptions“
Set up dropdown:
Copy
Select target cell
Data > Data Validation
Allow: List
- Source: =DropdownOptions
Professional Formatting
Cell Styles
Create consistent styles:
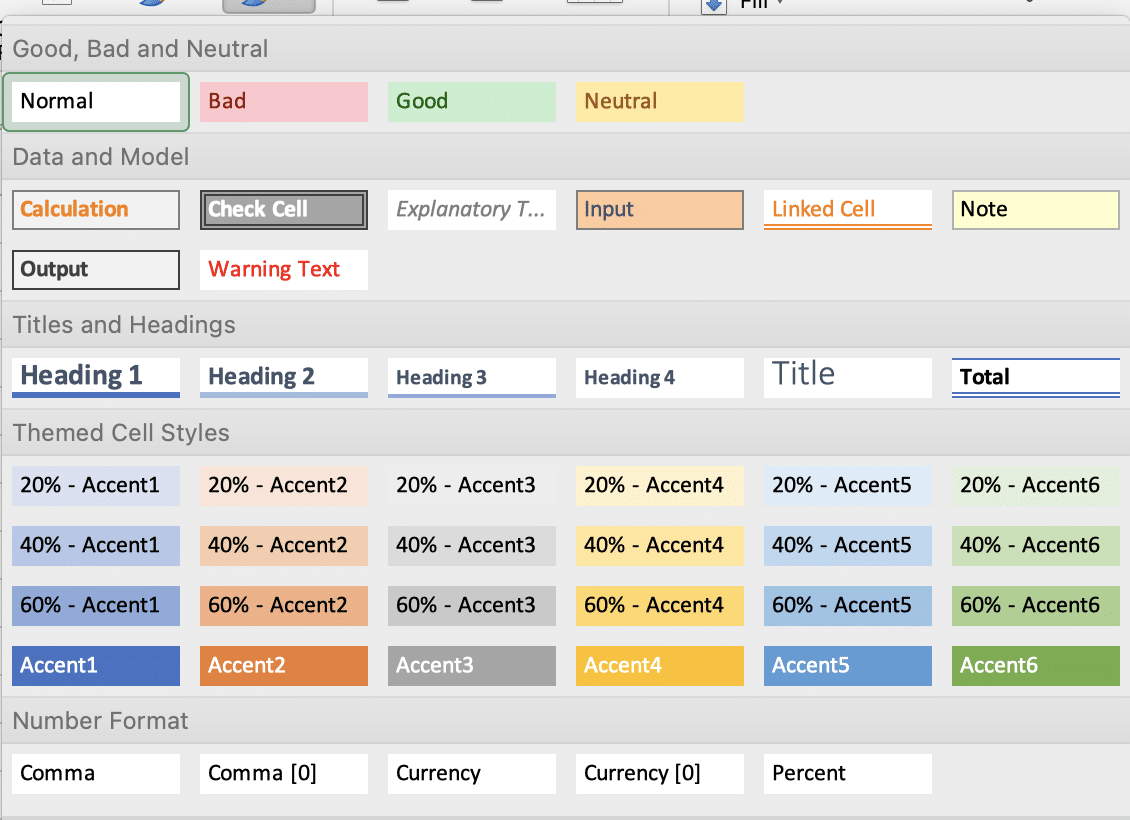
- Home > Cell Styles > New Cell Style

Define attributes:
Copy
Name: “HeaderStyle“
Format settings:
– Font: Arial 12pt Bold

Stop exporting data manually. Sync data from your business systems into Google Sheets or Excel with Coefficient and set it on a refresh schedule.
Get Started
– Fill: #E2E2E2
- – Border: Bottom double
Conditional Formatting Examples
|
Rule Type |
Formula |
Application |
|---|---|---|
|
Color Scales |
=A1<0 |
Red for negative values |
|
Icon Sets |
=A1>target_value |
Visual indicators |
|
Data Bars |
=A1/MAX($A$1:$A$10) |
Progress visualization |
Business-Specific Templates
Budget Template Example
Copy
A1: Budget Category
B1: Planned Amount
C1: Actual Amount
D1: Variance
D2: =C2-B2 (Formula for variance)
Invoice Template Components
- Customer information section
Item details with formulas:
Copy
Subtotal: =SUM(E2:E11)
Tax: =E12*0.2
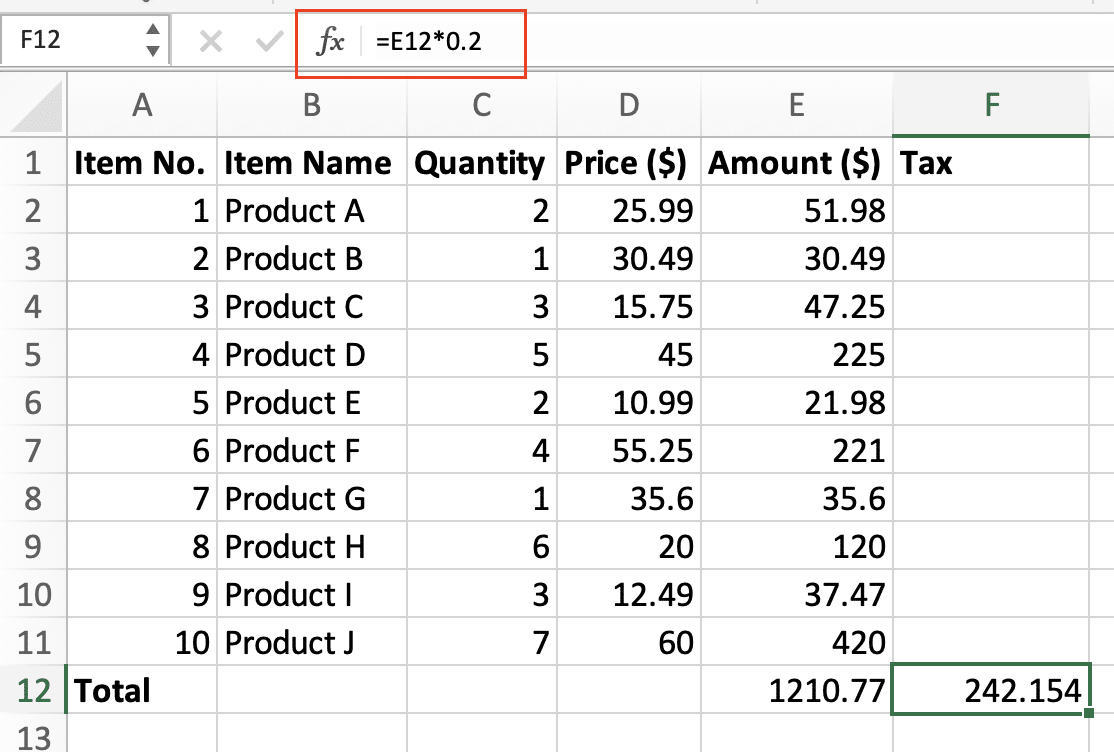
- Total: =E21+E22
Template Organization
Naming Convention Examples
|
Template Type |
Naming Format |
Example |
|---|---|---|
|
Budget |
BUD_[Department]_[Year] |
BUD_Sales_2024 |
|
Invoice |
INV_[Client]_[Date] |
INV_Acme_20240115 |
|
Report |
RPT_[Type]_[Frequency] |
RPT_Sales_Monthly |
What You’ve Learned
You now have the knowledge to create professional Excel templates with protected sections, dynamic formulas, and consistent formatting. These skills will help you standardize your spreadsheet workflows and improve data accuracy.
Ready to take your Excel templates to the next level? Connect your templates directly to live data sources with Coefficient. Get started now to automate your reporting and ensure your templates always contain the most up-to-date information.

