Managing data across multiple platforms can often be a daunting task.
If you’re dealing with volumes of data in MySQL and need it to integrate seamlessly with Salesforce, you’ve come to the right place.
This blog will guide you through three methods to achieve this. By the end, you’ll be equipped with the knowledge to choose the best method for your needs.
Advantages of Connecting MySQL to Salesforce
- Unify customer data: Combine customer data from MySQL with Salesforce records for a single, comprehensive view of your customers.
- Automate data synchronization: Keep Salesforce records up-to-date with the latest information from MySQL, reducing manual data entry.
- Enhance reporting capabilities: Use Salesforce’s reporting features to analyze and visualize your MySQL data alongside your CRM data.
Connecting MySQL and Salesforce: 3 Methods
Integrating MySQL and Salesforce is crucial for businesses looking to streamline their data management and gain valuable insights. With a range of solutions available, organizations can choose the best approach based on their specific needs and technical capabilities.
|
Solution |
Best For |
|
Coefficient |
Business users who want to analyze MySQL data alongside Salesforce records in Google Sheets without relying on IT assistance. |
|
Skyvia |
Companies seeking a simple, no-code solution for syncing MySQL data with Salesforce on a scheduled basis. |
|
DBSync |
Organizations requiring real-time, bi-directional data synchronization between MySQL and Salesforce with custom data flows and transformations. |
How to Connect MySQL to Salesforce
Method 1: Coefficient – No-Code, User-Friendly
Coefficient connects your spreadsheet to all your business data without a single line of code. It provides a user-friendly interface and automatic data updates, making it a reliable option for both technical and non-technical users.
Pros:
- Simple, no-code setup.
- Automatic data updates.
- Affordable pricing plans.
Cons:
- Scheduled automations are not free forever, but pricing plans are affordable.
Step 1. Install Coefficient
For Google Sheets
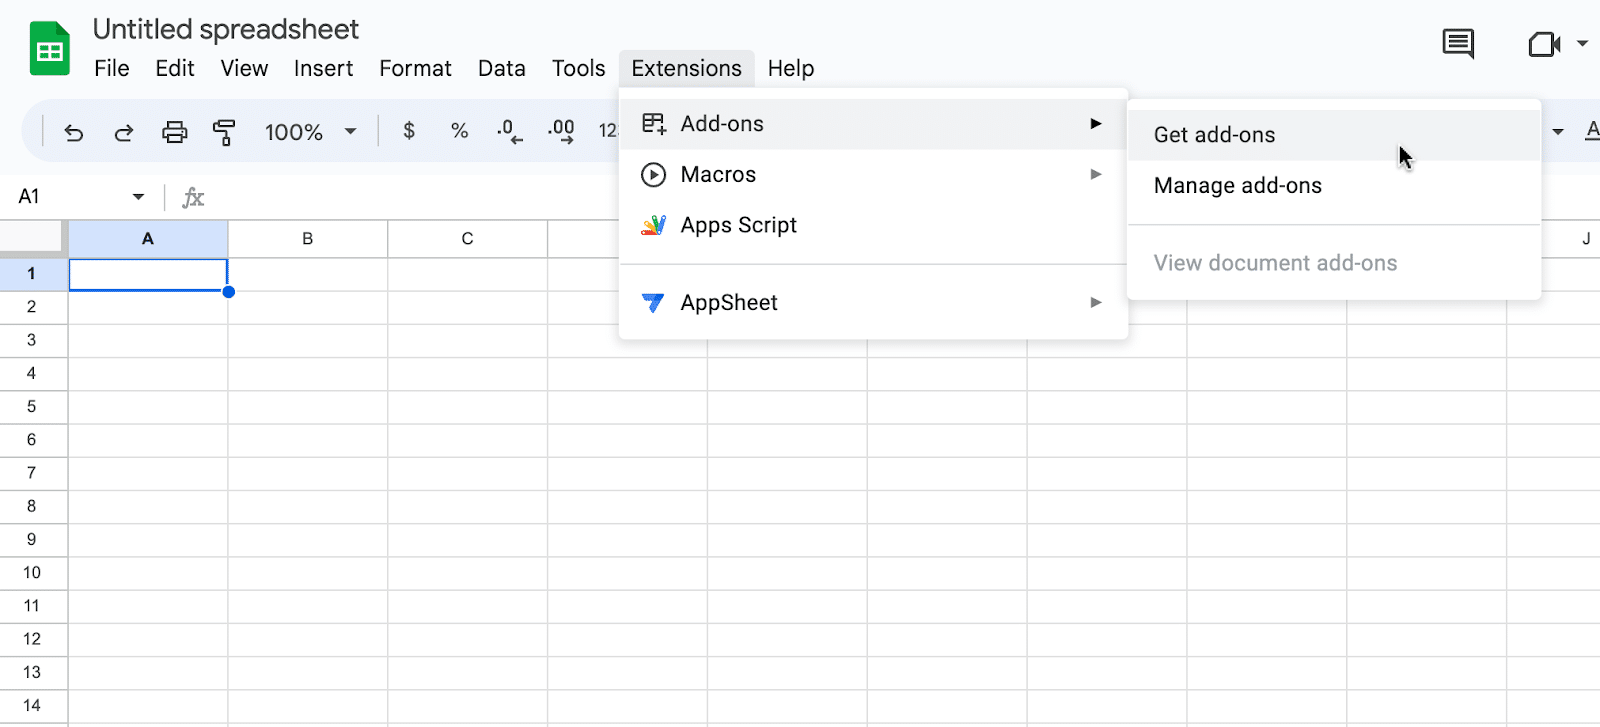
Open a new or existing Google Sheet, navigate to the Extensions tab, and select Add-ons > Get add-ons.
In the Google Workspace Marketplace, search for “Coefficient.”
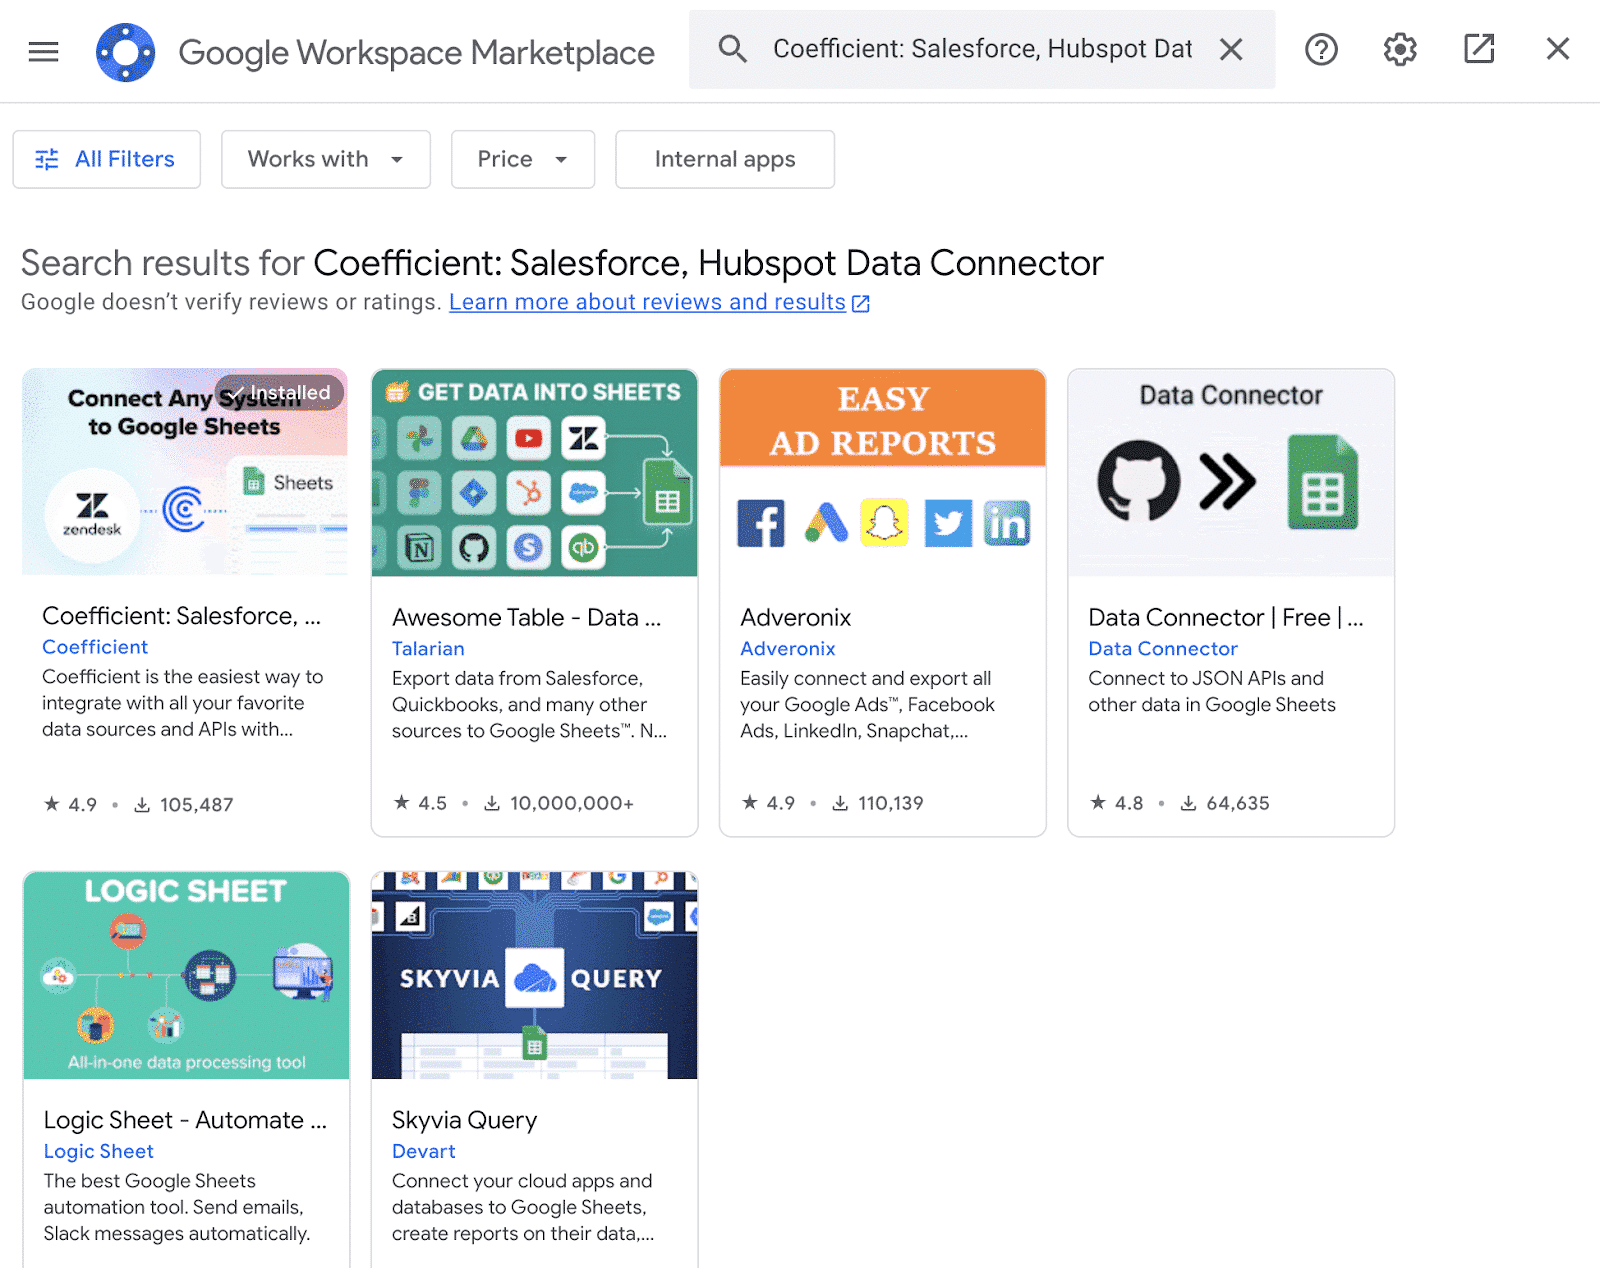
Follow the prompts to grant necessary permissions.
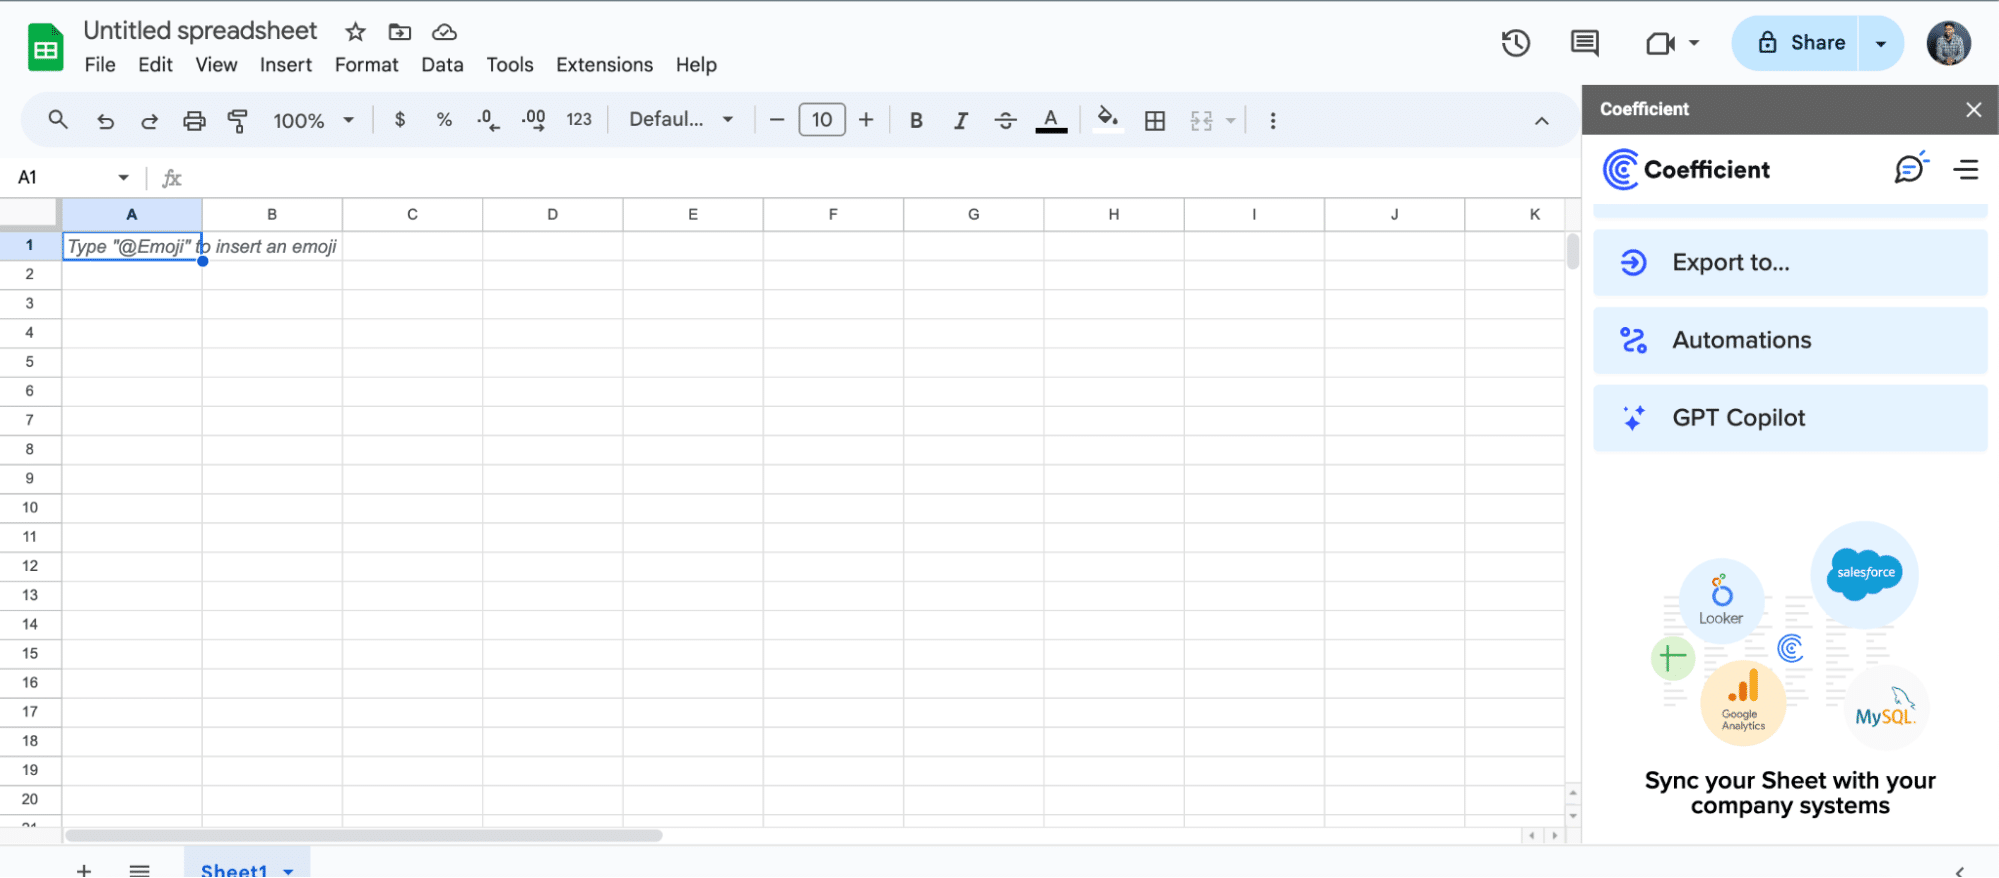
Launch Coefficient from Extensions > Coefficient > Launch.

Coefficient will open on the right-hand side of your spreadsheet.
For Microsoft Excel
Open Excel from your desktop or in Office Online. Click ‘File’ > ‘Get Add-ins’ > ‘More Add-Ins.’
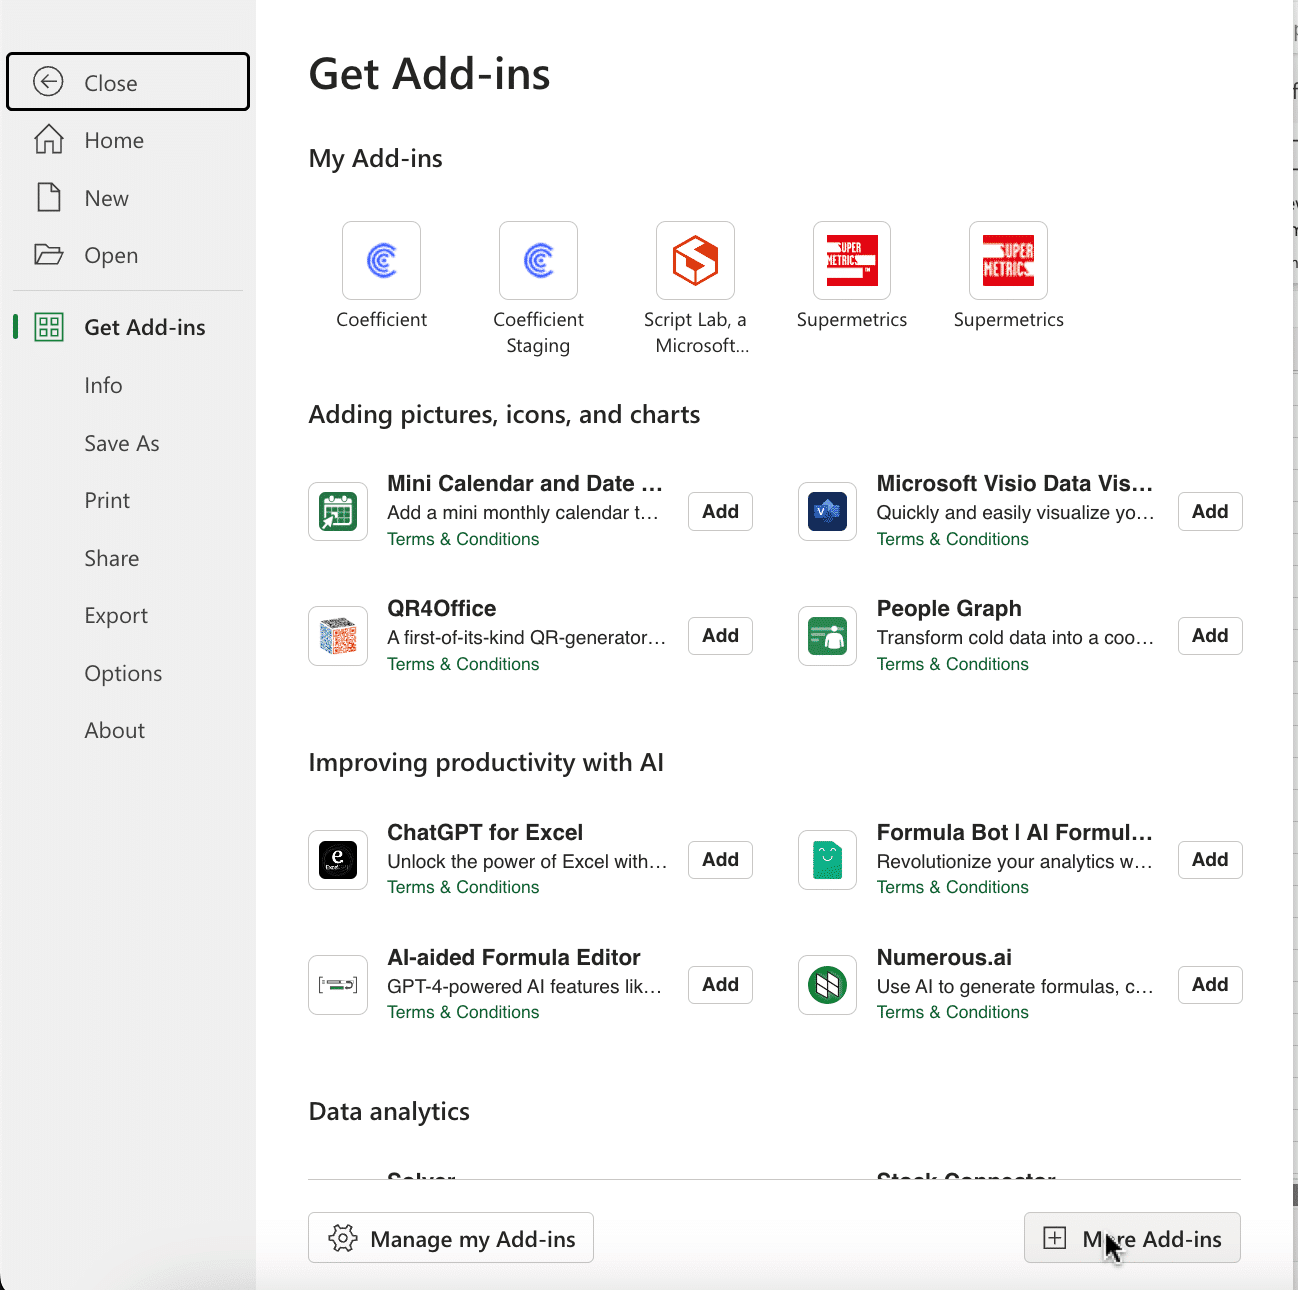
Type “Coefficient” in the search bar and click ‘Add.’
Follow the prompts in the pop-up to complete the installation.
Once finished, you will see a “Coefficient” tab in the top navigation bar. Click ‘Open Sidebar’ to launch Coefficient.
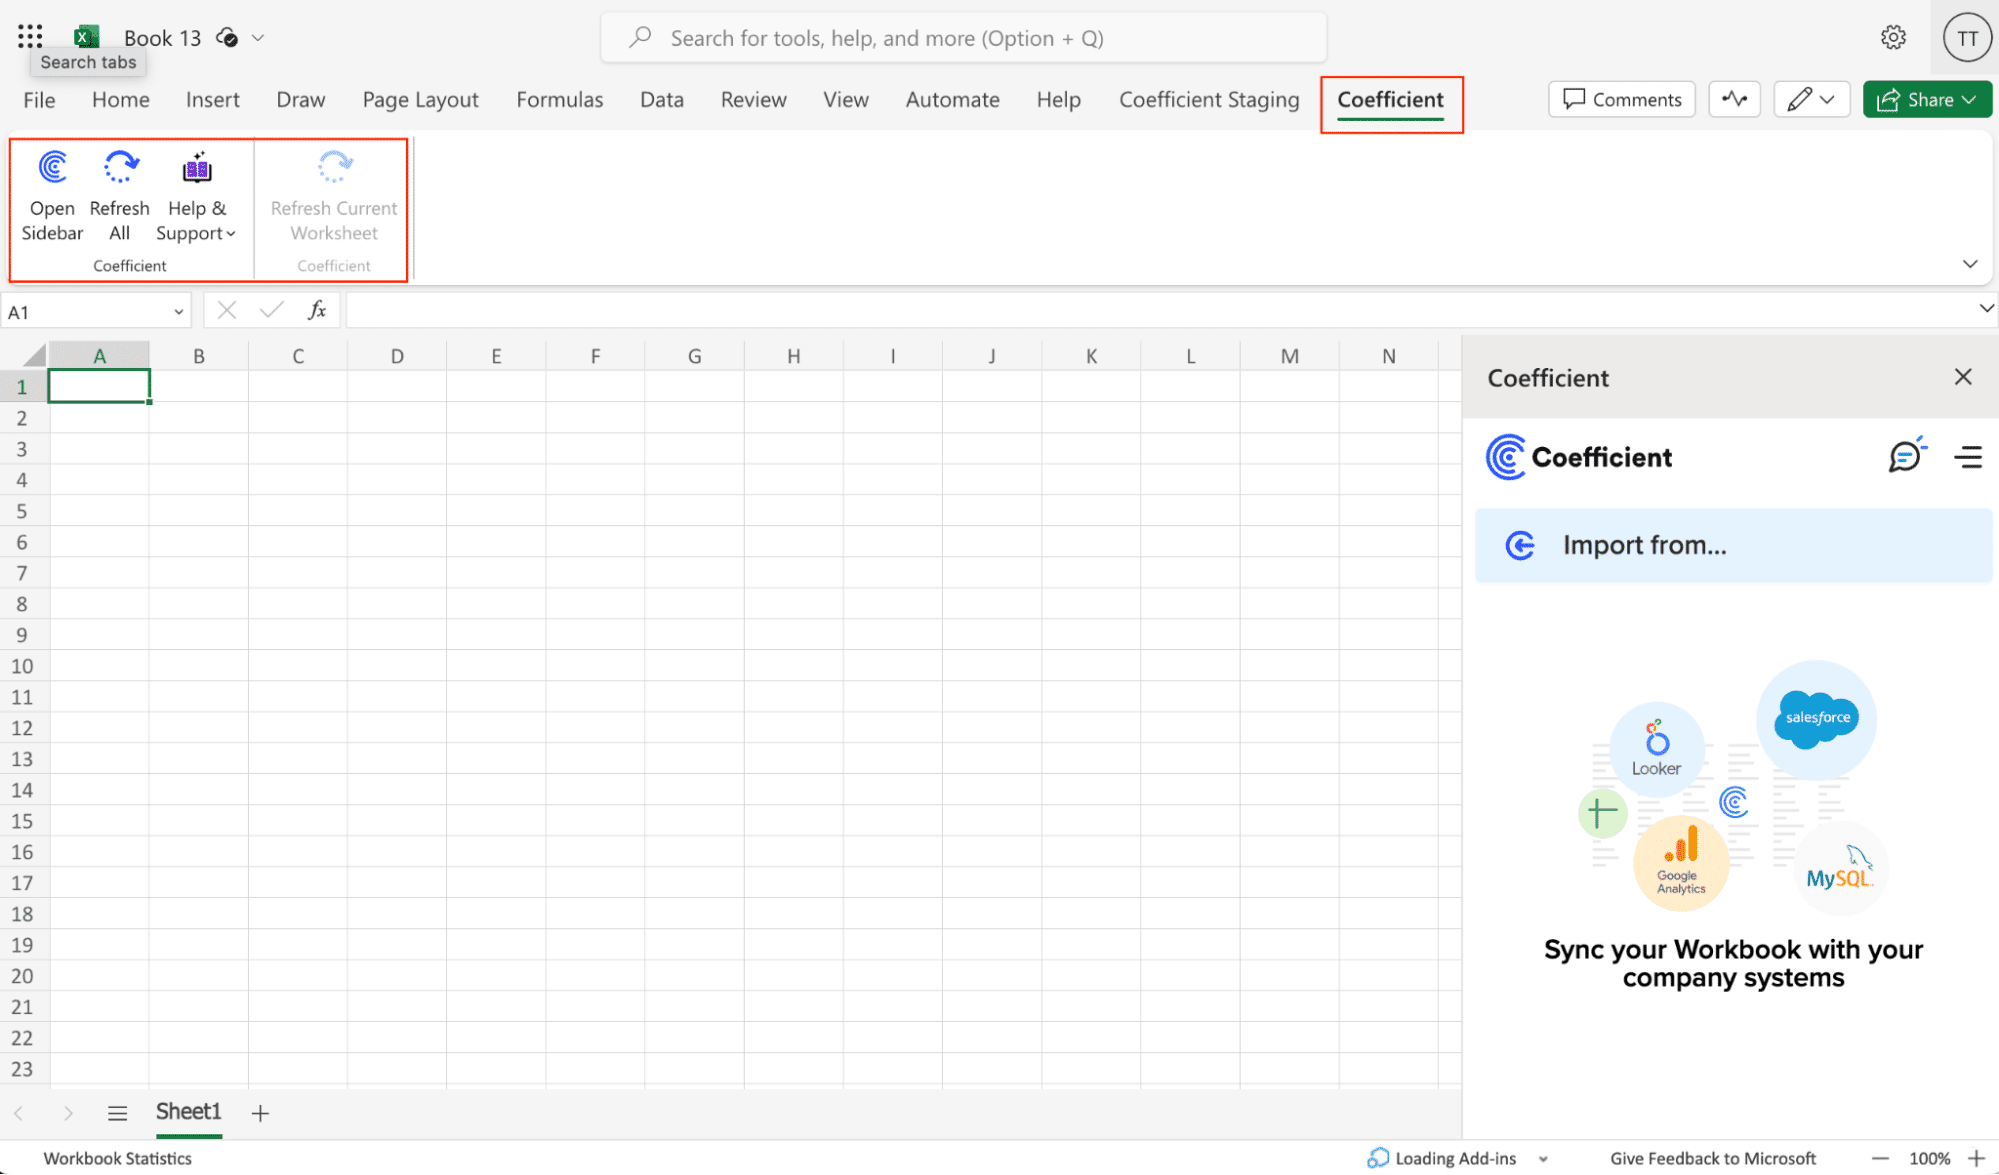
Step 2. Import MySQL Data into Your Spreadsheet
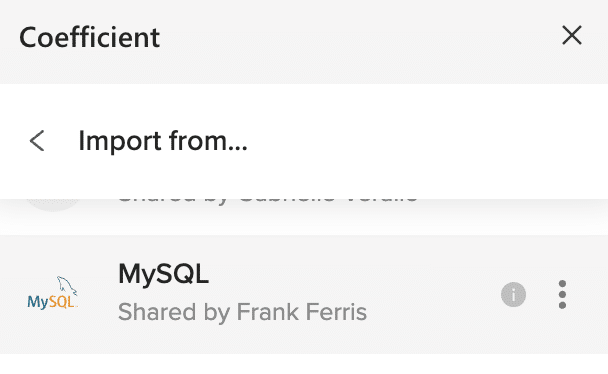
Select ‘Import from’ in the menu. Scroll down and choose ‘MySQL’ as your data source.
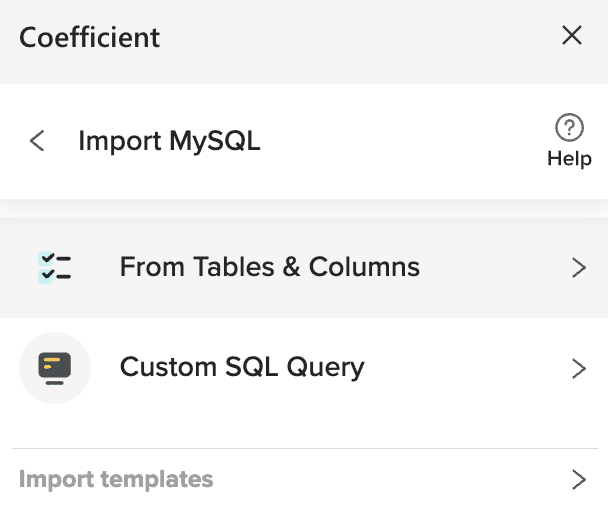
Coefficient provides two MySQL import options: SQL-free table imports for simplicity and custom SQL queries.
In this example, click ‘From Tables & Columns’ to continue to the Import Preview window.
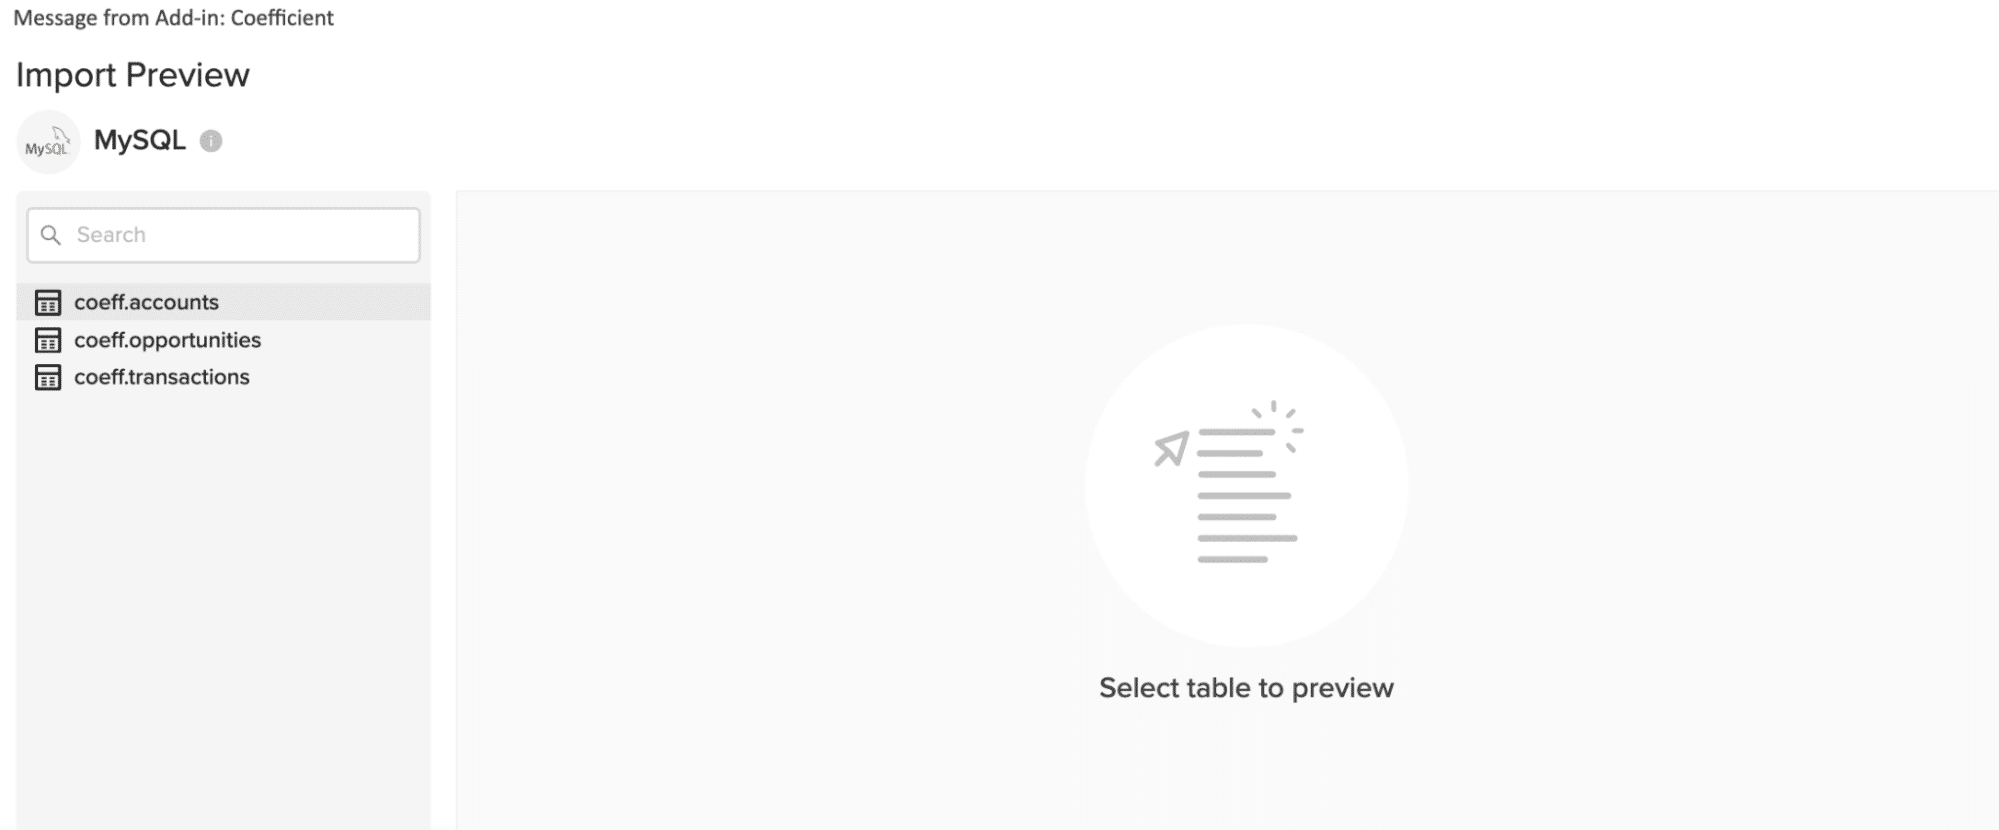
Coefficient’s Import Preview shows you all the table schemas available in your MySQL database.
Select a table to proceed.
After selecting a table, its fields appear on the left in the Data Preview. Simply check or uncheck boxes to include or exclude fields, which then update in the main preview as new columns.
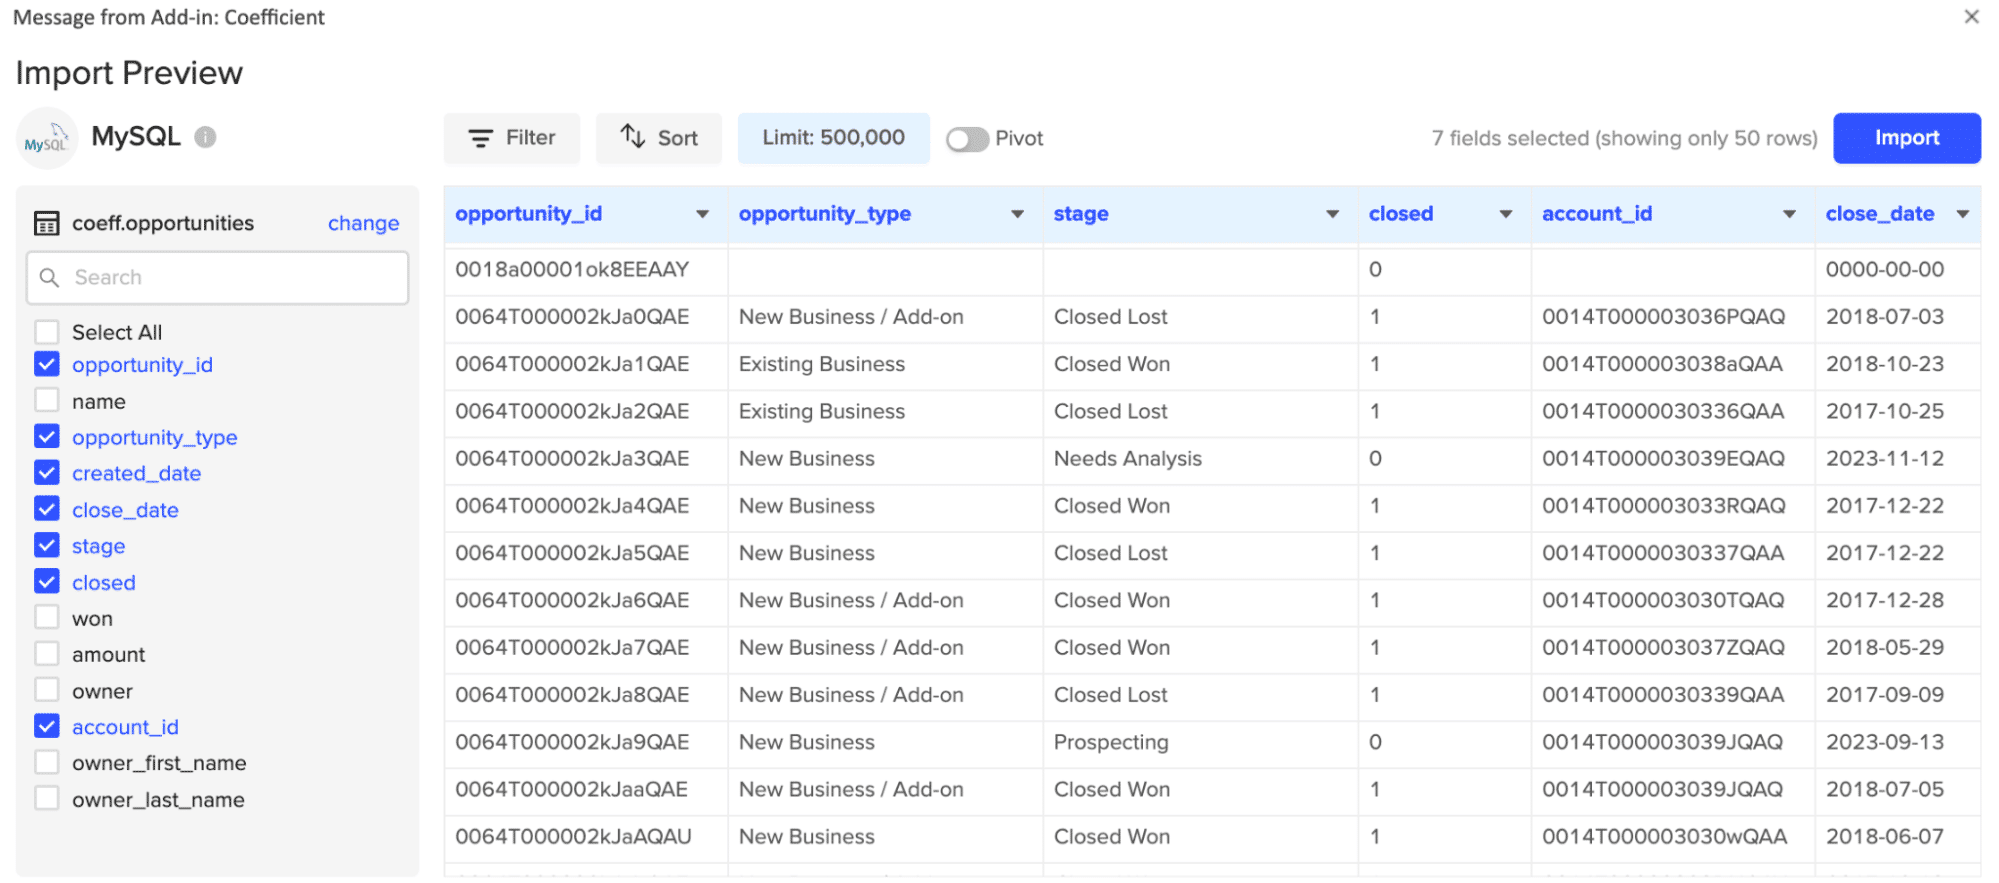
You can further customize your import by adding filters, sorting, limits or even grouping the data in a cloud pivot table.
When you’re done, just click the ‘Import’ button in the upper right corner of the screen, and Coefficient will automatically transfer your data from MySQL to Excel.

Step 3. Export Data from Your Spreadsheet to Salesforce
Before starting, make sure you’ve connected to Salesforce.
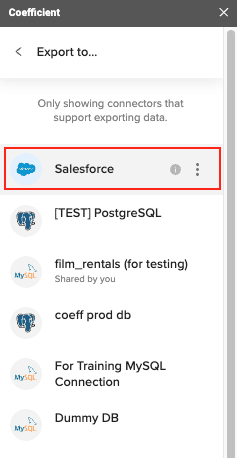
Then, navigate to Coefficient’s menu. Click “Export to…”

Choose Salesforce from the list of available data sources.
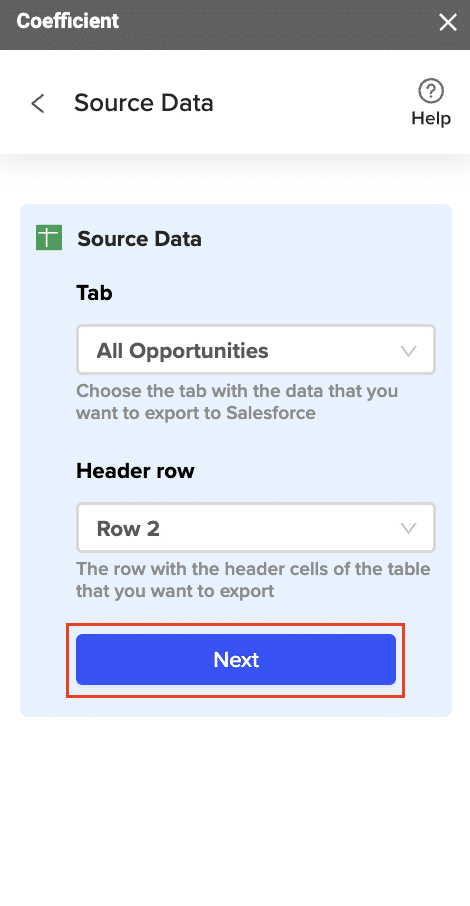
Select the tab and header rows in your spreadsheet that contain the data you want to export.
Define your tab and header row.
Note: Coefficient will automatically map the fields for you if the data in the sheet came from an import from Salesforce using Coefficient.
Next, select the Salesforce Object you want to export data to, e.g., “Opportunity”, “Contacts”, etc.

Then, select the type of action you want to perform—Update, Insert, Upsert, or Delete.
Step 5: Map Fields

Stop exporting data manually. Sync data from your business systems into Google Sheets or Excel with Coefficient and set it on a refresh schedule.

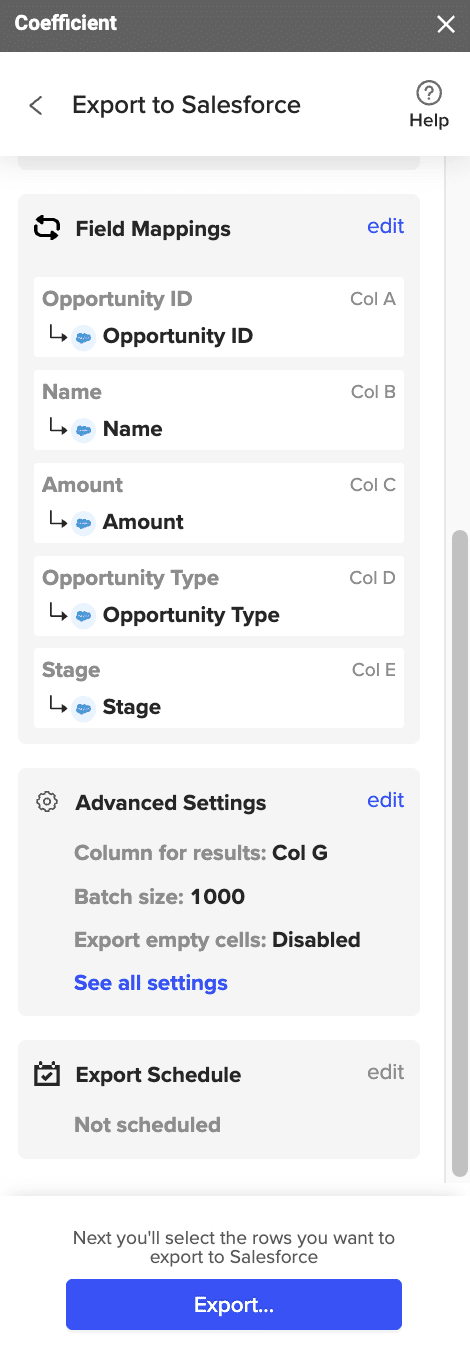
Map the fields from your spreadsheet to the corresponding Salesforce fields.
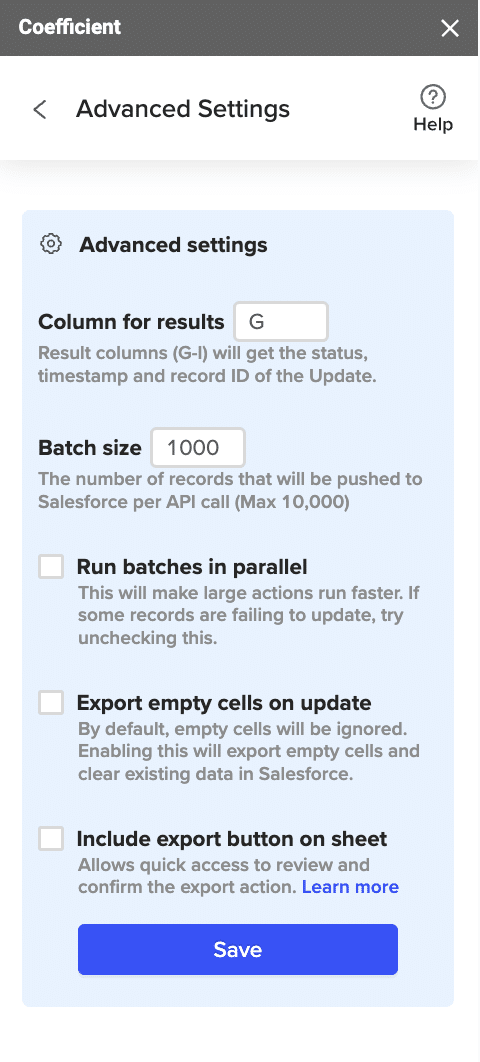
(Optional) Specify additional settings such as batch size, whether to export empty cells on an update, and the column for results.
Note: Batch size is capped at 10,000 rows due to Salesforce API limitations.
Confirm your settings and click “Export”.
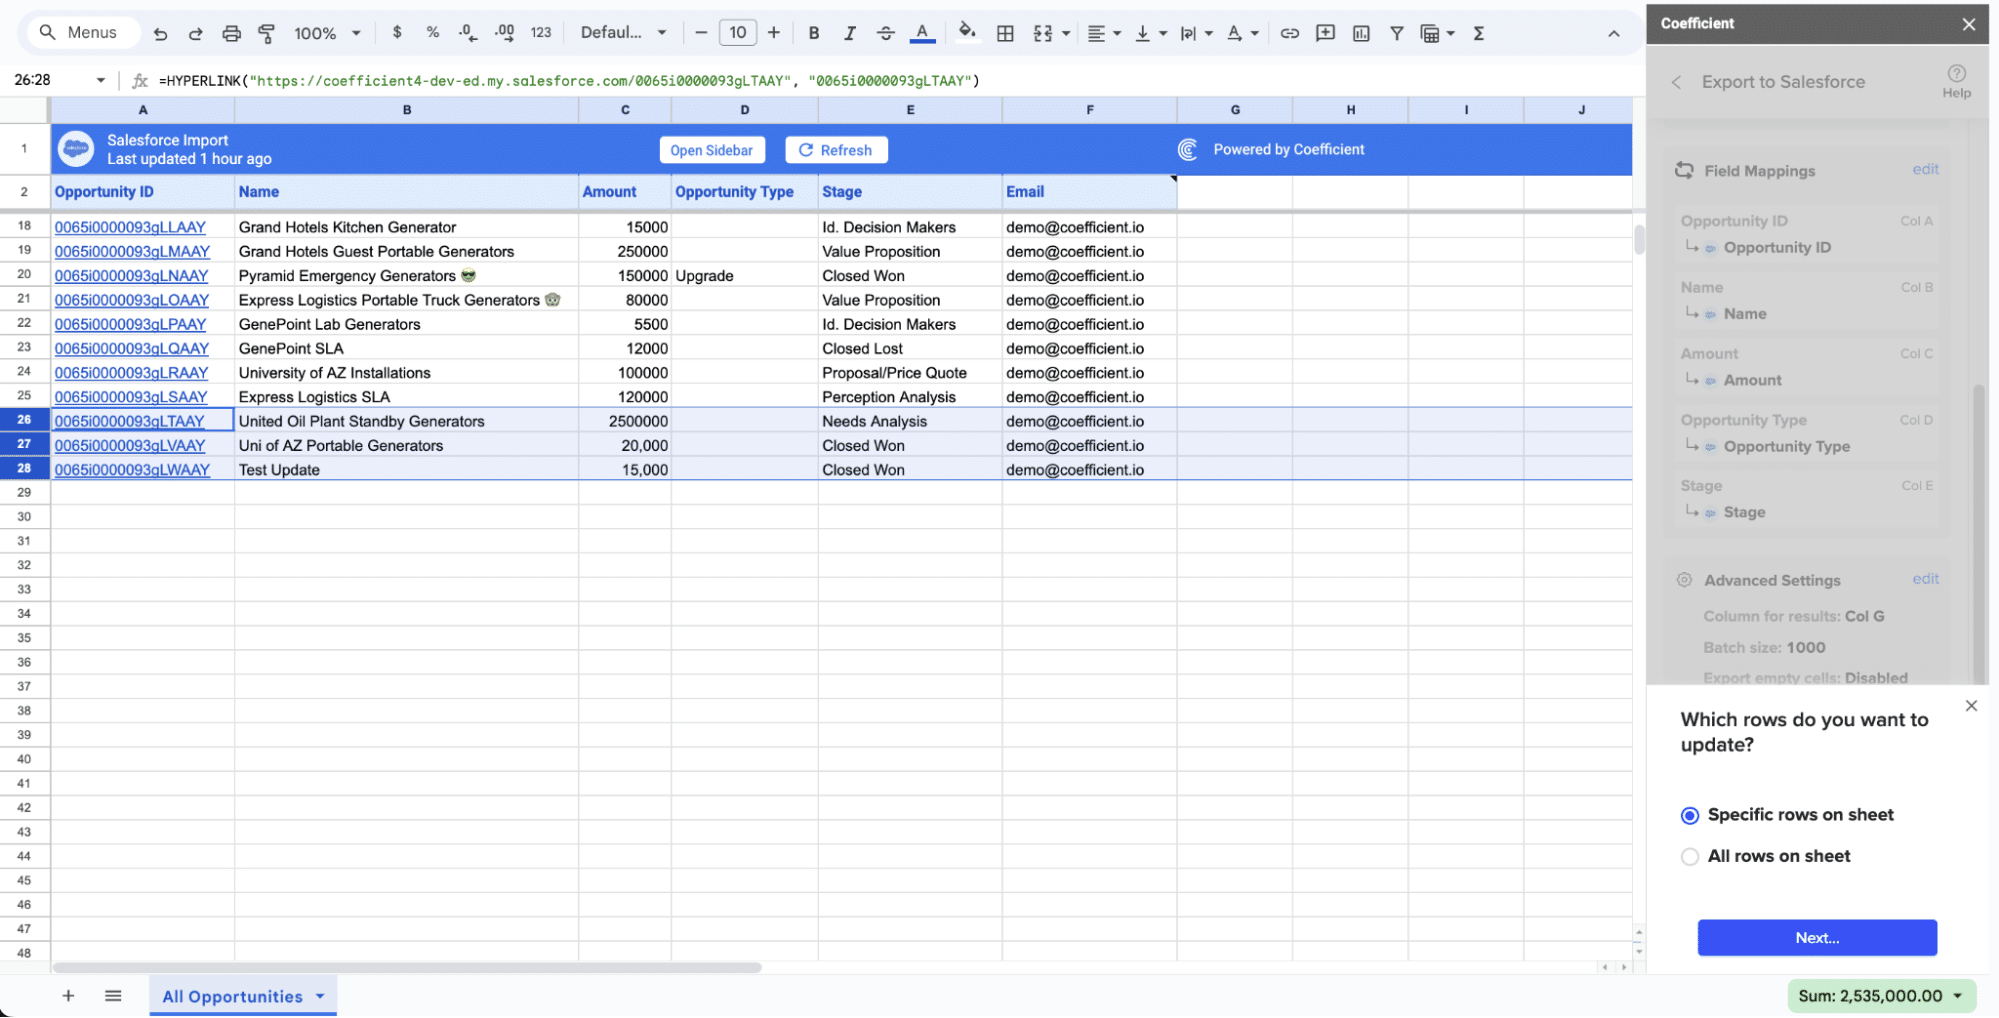
Then, highlight the rows you want to update or export. You can choose to export all rows or specific rows.
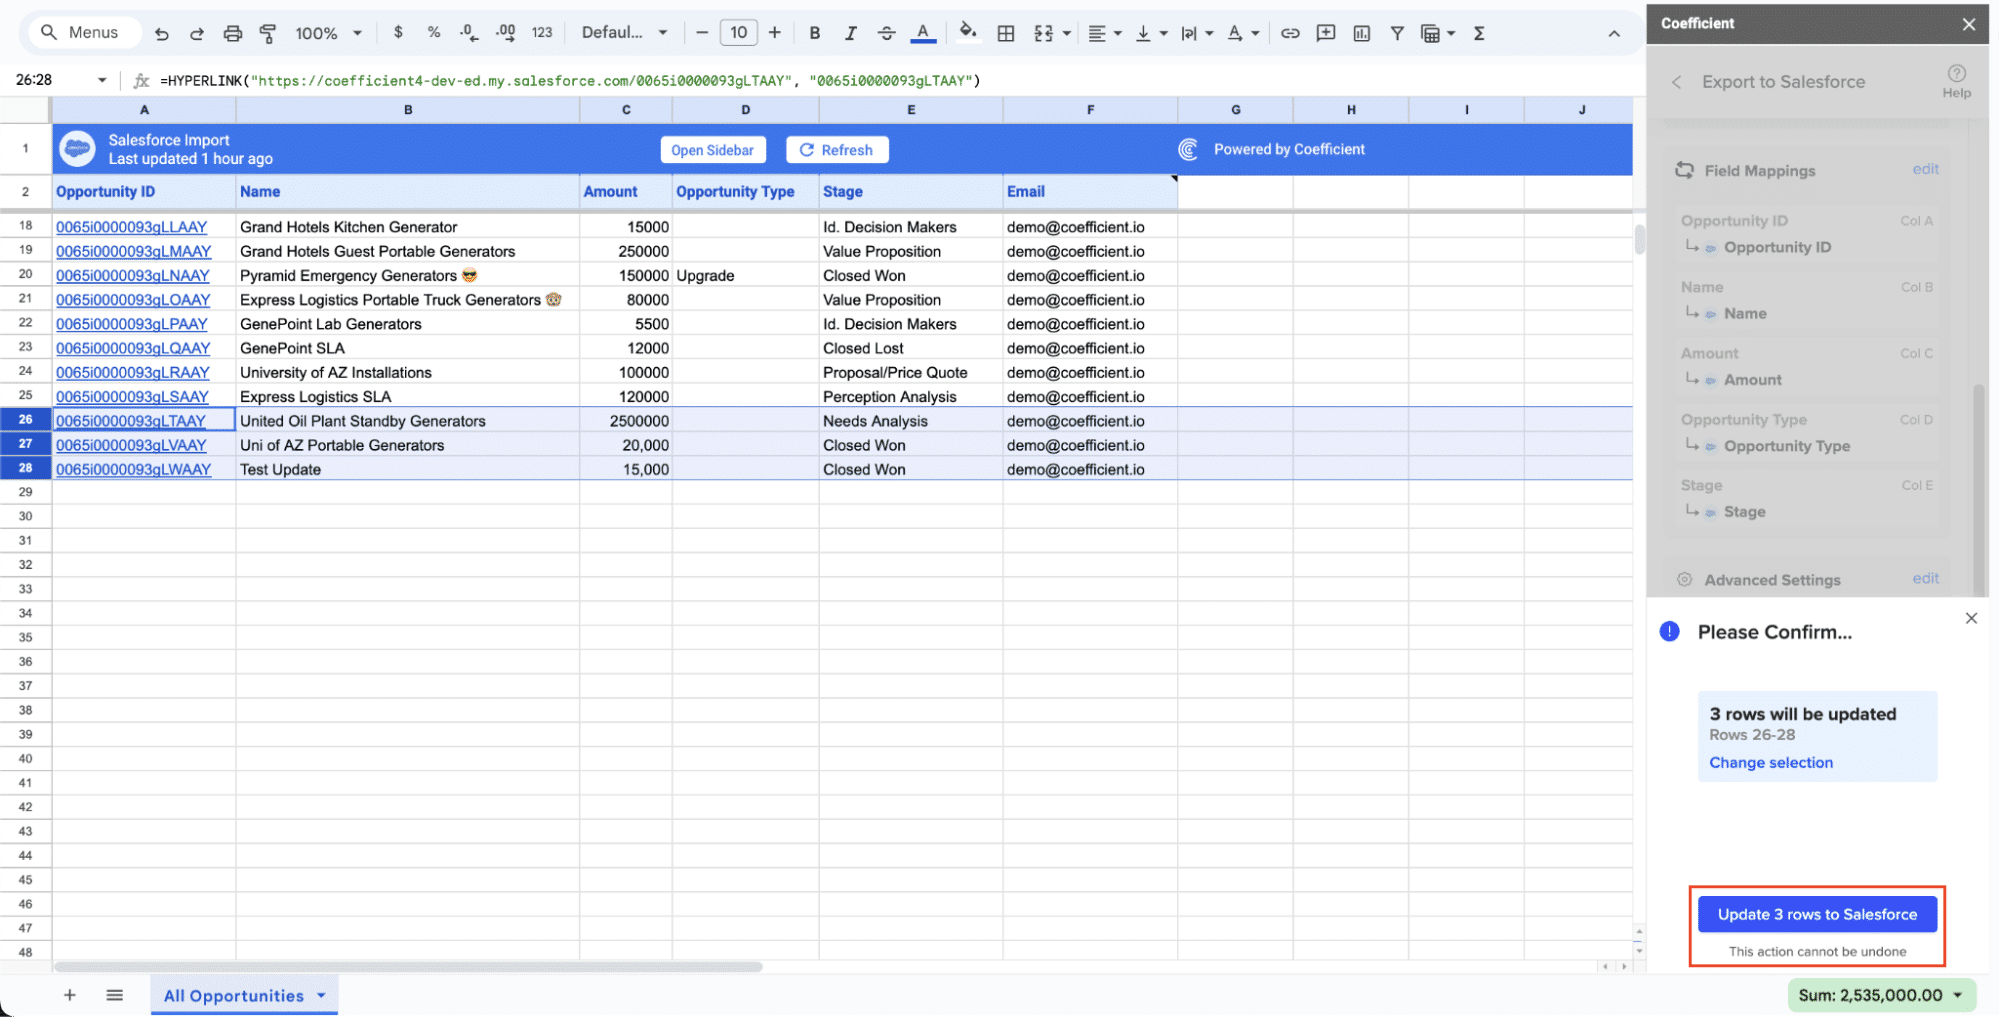
After you’re finished, review your settings and click “Export.”
Follow the prompts to confirm your changes.
In a few seconds, data from your spreadsheet will push to Salesforce.
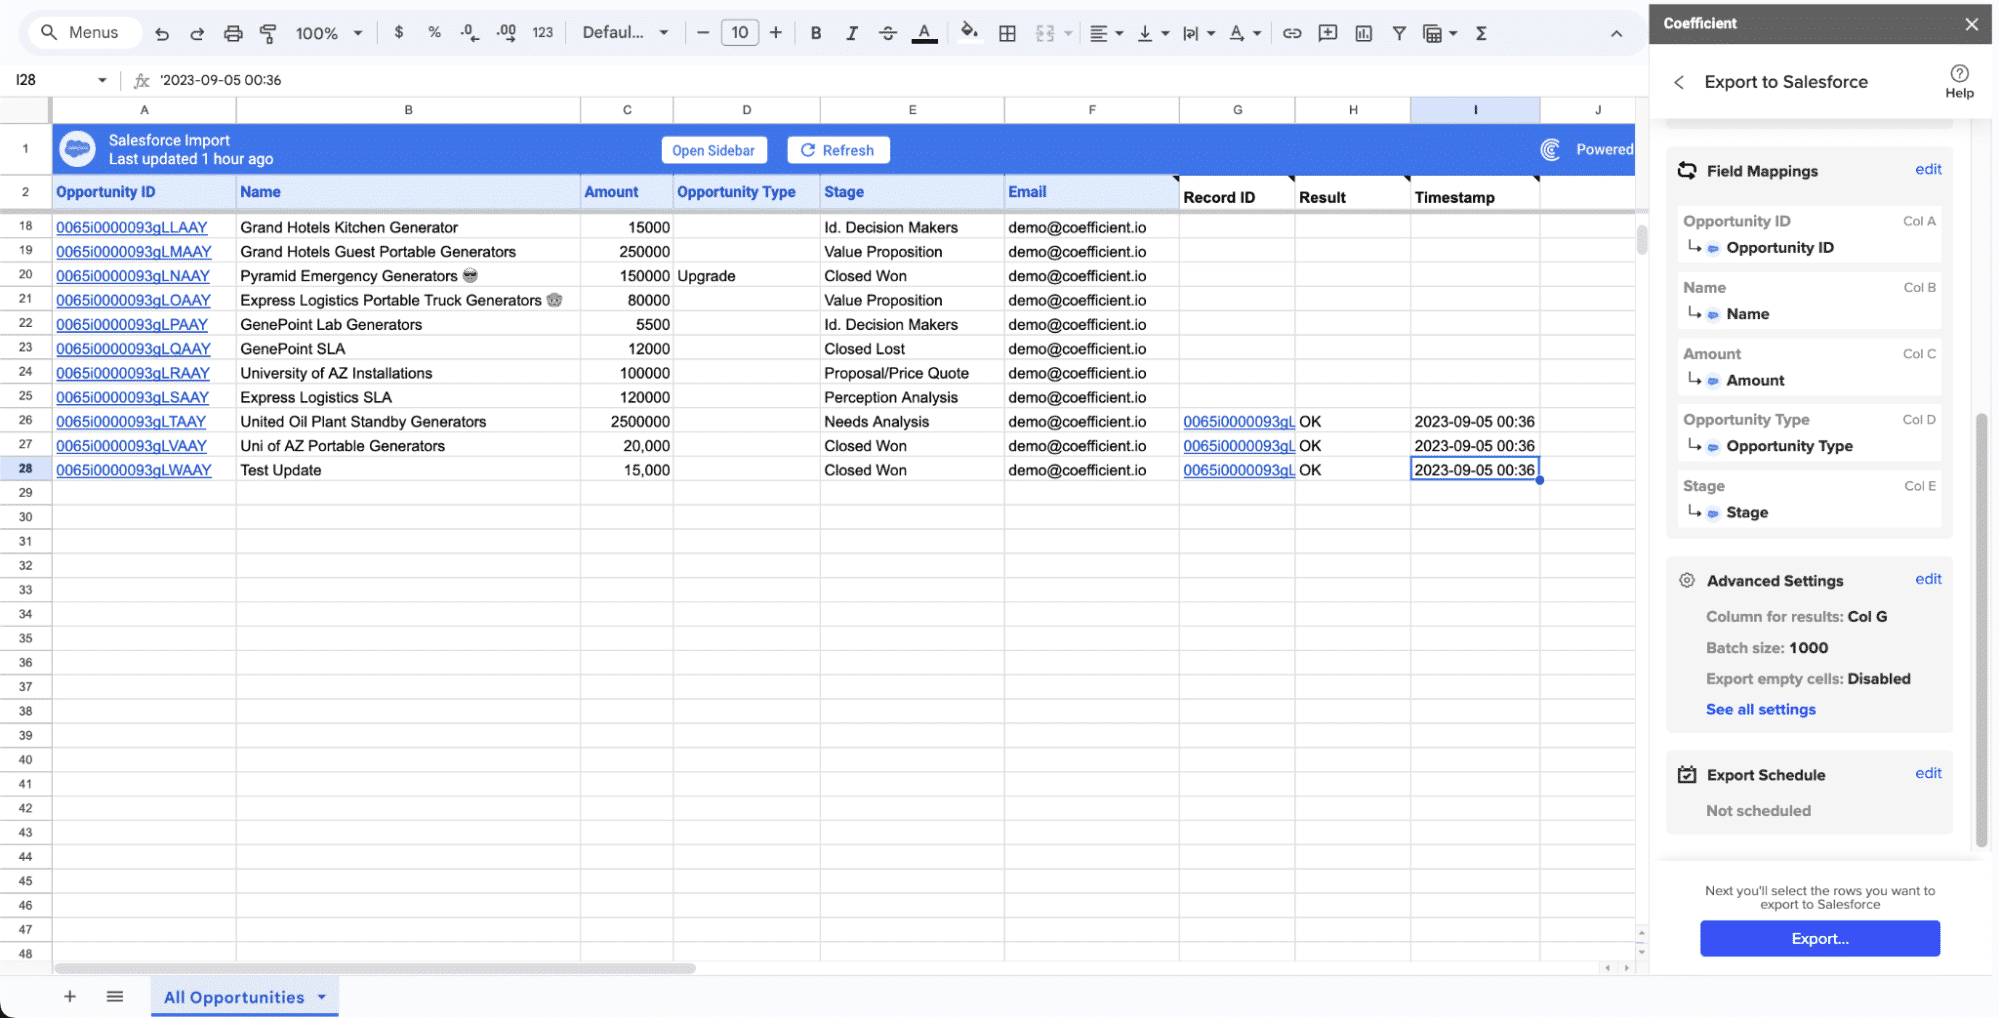
Your spreadsheet will display updated records, along with their export status and the date/time stamp of the update.
Method 2: Zapier
Zapier is a popular automation tool that connects apps and automates workflows without coding.
Pros and Cons
Pros:
- Easy to use
- No-code solution
- Extensive automation capabilities
Cons:
- Can be tedious to set up multiple Zaps
- Limited customization
- Requires premium plan for advanced features
Step-by-Step Walkthrough:
1. Set Up a Zapier Account:
- Sign Up:
- Go to the Zapier website and sign up for an account.
- Fill in the required information and verify your email address to complete the registration process.
2. Connect MySQL and Salesforce:
- Create a New Zap:
- After logging in, click on the “Make a Zap” button.
- Name your Zap to keep track of your automation.
- Set MySQL as the Trigger App:
- In the “Trigger” section, search for and select “MySQL”.
- Choose a trigger event, such as “New Row” or “Updated Row”.
- Connect your MySQL database by entering your connection details (host, database name, username, and password).
- Test the MySQL connection to ensure it’s working correctly.
- Set Salesforce as the Action App:
- In the “Action” section, search for and select “Salesforce”.
- Choose an action event, such as “Create Record” or “Update Record”.
- Connect your Salesforce account by logging in and authorizing Zapier to access your Salesforce data.
- Map the MySQL fields to the corresponding Salesforce fields to define how data should be transferred.
3. Testing:
- Test the Zap:
- Click on “Test & Review” or “Test & Continue” to ensure that data flows correctly from MySQL to Salesforce.
- Check Salesforce to verify that the data has been correctly transferred.
- Turn On the Zap:
- Once testing is successful, turn on the Zap to start the automation process.
- Monitor the Zap from your Zapier dashboard to ensure it continues to run smoothly.
Method 3: Talend

Talend is a powerful integration tool that handles complex data transformations and supports extensive customization. It is recommended to specify the exact Talend Open Studio version to prevent compatibility issues.
Pros and Cons
Pros:
- Flexible and powerful
- Handles complex transformations
- Extensive documentation
Cons:
- Can be complex to set up
- Requires some technical knowledge
- Enterprise version can be costly
Step-by-Step Walkthrough:
1. Download and Install Talend Open Studio:
- Visit Talend Website:
- Go to the Talend website and navigate to the download section.
- Download Talend Open Studio for Data Integration and install it on your system following the provided instructions.
2. Set Up a MySQL Connection:
- Open Talend Open Studio:
- Launch Talend Open Studio and create a new project or open an existing one.
- Create MySQL Connection:
- In the “Repository” panel, right-click on “Metadata” and select “Db Connections”.
- Click “Create Connection” and provide a name for your MySQL connection.
- Enter the MySQL connection details (host, port, database, username, password).
- Click “Check” to test the connection, and then “Finish” to save it.
3. Set Up a Salesforce Connection:
- Create Salesforce Connection:
- Similarly, right-click on “Db Connections” under “Metadata” and select “Create Connection”.
- Provide a name for your Salesforce connection and enter your Salesforce credentials.
- Click “Check” to test the connection, and then “Finish” to save it.
4. Create a Job to Transfer Data:
- Create a New Job:
- In the “Job Designs” tab, right-click and select “Create Job”.
- Provide a name and description for the job and click “Finish”.
- Design the Job:
- Drag and drop the MySQL and Salesforce connections from the “Metadata” section into the job design workspace.
- Use the appropriate Talend components (e.g., tMySqlInput, tSalesforceOutput) to define the data flow.
- Connect the components by dragging lines between them to establish data pipelines.
- Configure Data Mapping:
- Double-click on the components to configure their properties.
- Map the fields from MySQL to the corresponding fields in Salesforce to define how data should be transferred.
5. Run the Job:
- Execute the Job:
- Click the “Run” button to execute the job.
- Monitor the job execution in the “Run” panel and check for any errors.
- Verify Data Transfer:
- Verify that the data has been accurately transferred from MySQL to Salesforce by checking both systems.
Security Considerations
When transferring data between MySQL and Salesforce, it is crucial to ensure data security:
- Use Encrypted Connections: Always use SSL/TLS encryption for database connections to protect data in transit.
- Access Controls: Ensure only authorized users have access to the data integration tools and sensitive information.
- Regular Audits: Perform regular security audits to identify and rectify vulnerabilities.
Troubleshooting Common Issues
- Connection Errors: Verify your network settings and ensure that both MySQL and Salesforce are accessible.
- Data Mismatch: Double-check field mappings and data types to ensure consistency.
- Performance Issues: Optimize your queries and data transfer settings to handle large datasets efficiently.
Conclusion
Integrating MySQL with Salesforce can significantly enhance your business operations by streamlining data flow, ensuring accuracy, and boosting efficiency. Depending on your team’s needs and technical expertise, you can opt for Coefficient for a no-code solution, Zapier for easy automation, or Talend for complex transformations.
Ready to simplify your data integration? Get started with Coefficient today by clicking here.


