Connecting Airtable to Salesforce can significantly enhance your business operations. In this blog, we will explore the benefits of linking these two powerful tools and guide you through the steps to make it happen. By the end of this post, you’ll know how to streamline data management, improve accuracy, and enhance team collaboration.
Advantages of Connecting Airtable to Salesforce
- Enrich customer records: Combine Airtable data with Salesforce records to create more complete and accurate customer profiles.
- Automate data synchronization: Keep Salesforce records up-to-date with the latest information from Airtable, reducing manual data entry.
- Improve team collaboration: Enable sales and marketing teams to work together more effectively by sharing data between Airtable and Salesforce.
Connect Airtable to Salesforce: 3 Methods
Connecting Airtable and Salesforce is crucial for businesses looking to streamline their data management and workflows. With a range of solutions available, organizations can choose the best tool to suit their specific needs and technical expertise.
|
Solution |
Ideal Application |
|
Coefficient |
Teams using Airtable for project management or customer tracking who want to analyze data alongside Salesforce records without requiring technical skills. |
|
Zapier |
Companies seeking to automate specific workflows between Airtable and Salesforce, such as creating new Salesforce records when an Airtable entry is updated. |
|
Integromat (Make) |
Organizations with complex data flows between Airtable and Salesforce that require data transformations, filtering, or multi-step processes. |
How to Connect Airtable to Salesforce
Method 1: Coefficient – No-Code, User-Friendly
Coefficient connects your spreadsheet to all your business data without a single line of code. It provides a user-friendly interface and automatic data updates, making it a reliable option for both technical and non-technical users.
Pros:
- Simple, no-code setup
- Automatic data updates
- Affordable pricing plans
Cons:
- Scheduled automations are not free forever, but pricing plans remain affordable
Step 1. Install Coefficient
For Google Sheets
Open a new or existing Google Sheet, navigate to the Extensions tab, and select Add-ons > Get add-ons.

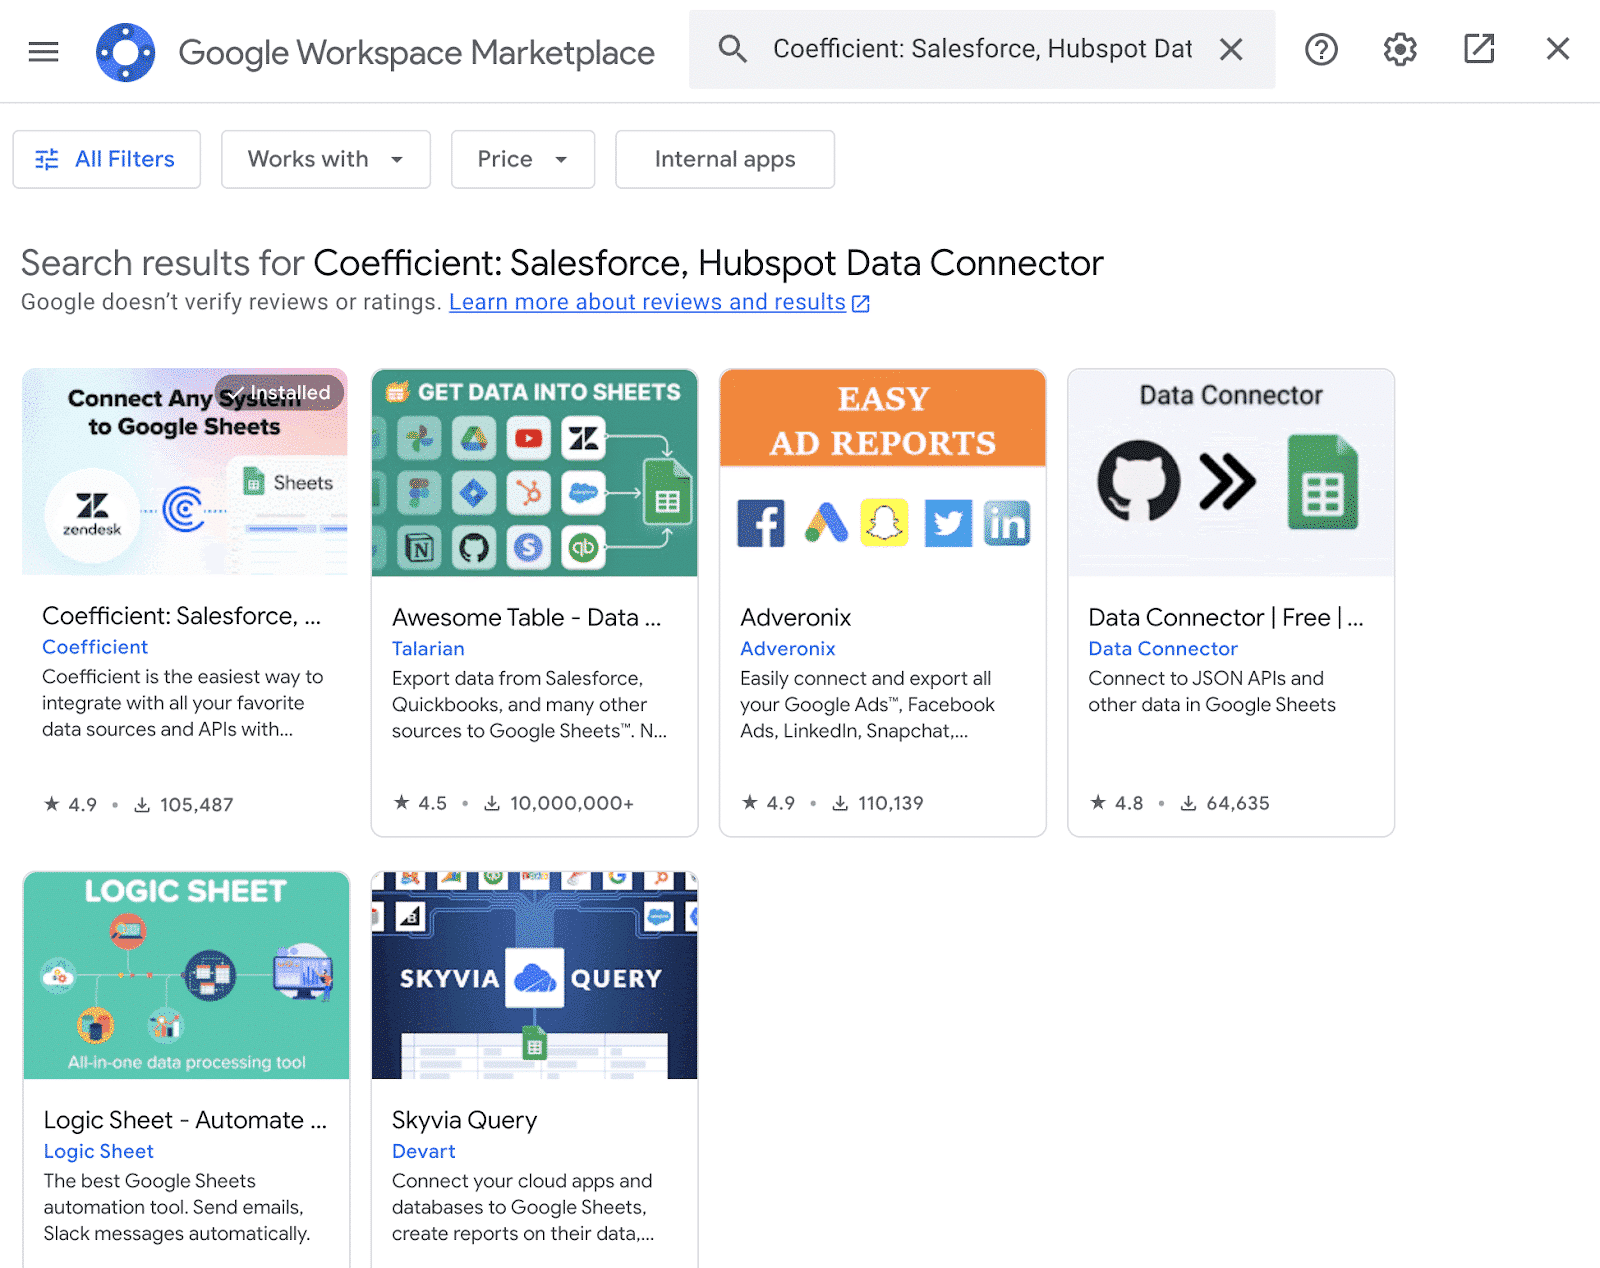
In the Google Workspace Marketplace, search for “Coefficient.”
Follow the prompts to grant necessary permissions.

Launch Coefficient from Extensions > Coefficient > Launch.

Coefficient will open on the right-hand side of your spreadsheet.

For Microsoft Excel
Open Excel from your desktop or in Office Online. Click ‘File’ > ‘Get Add-ins’ > ‘More Add-Ins.’

Type “Coefficient” in the search bar and click ‘Add.’

Follow the prompts in the pop-up to complete the installation.
Once finished, you will see a “Coefficient” tab in the top navigation bar. Click ‘Open Sidebar’ to launch Coefficient.

Step 2. Import Data from Airtable into Your Spreadsheet
Click ‘Import from…’

Scroll down and select Airtable as your data source.
Select ‘From View URL.’
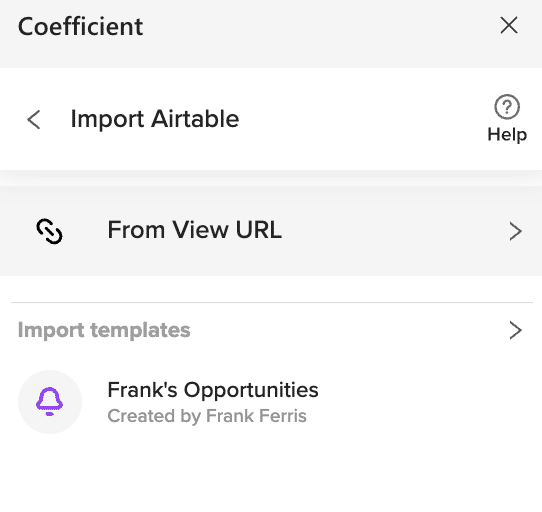
Copy the View’s URL from Airtable (the entire URL) and paste it into the text box.

Click ‘Next’ to continue to Coefficient’s Import Preview window.
Select the fields you want to include in your airtable export.

Then, click the ‘Import’ button at the top-right corner of your screen.
Coefficient will export your Airtable data to Excel in a few seconds!

Step 3. Export Data from Your Spreadsheet to Salesforce
Before starting, make sure you’ve connected to Salesforce.
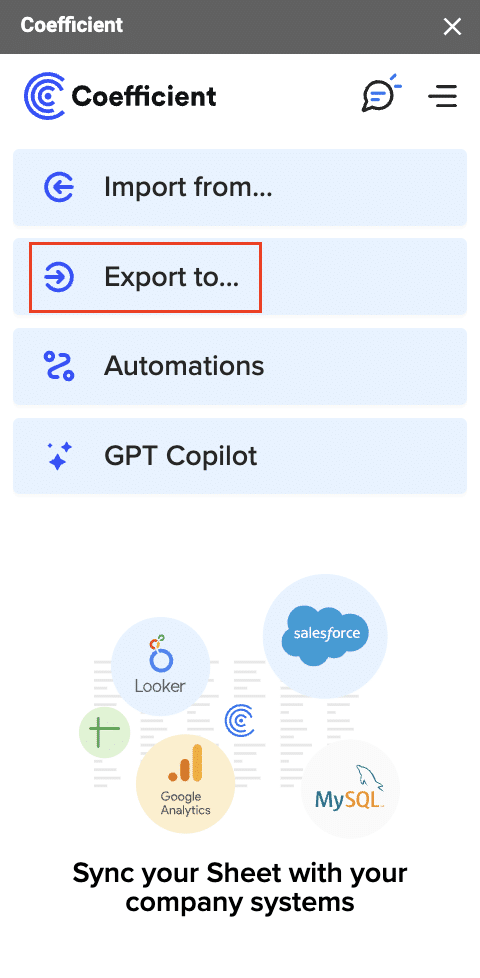
Then, navigate to Coefficient’s menu. Click “Export to…”
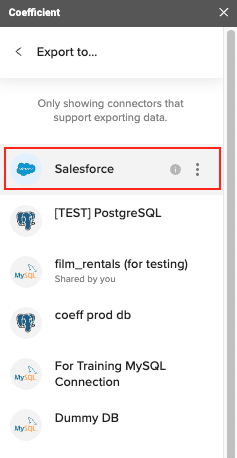
Choose Salesforce from the list of available data sources.

Stop exporting data manually. Sync data from your business systems into Google Sheets or Excel with Coefficient and set it on a refresh schedule.

Select the tab and header rows in your spreadsheet that contain the data you want to export.
Define your tab and header row.

Next, select the Salesforce Object you want to export data to, e.g., “Opportunity”, “Contacts”, etc.
Then, select the type of action you want to perform—Update, Insert, Upsert, or Delete.
Step 5: Map Fields
Map the fields from your spreadsheet to the corresponding Salesforce fields.
Note: If you imported data from Salesforce into your spreadsheet previously, Coefficient will auto-detect and map these fields.
(Optional) Specify additional settings such as batch size, whether to export empty cells on an update, and the column for results.
Note: Batch size is capped at 10,000 rows due to Salesforce API limitations.
Step 7: Select Rows to Export
Confirm your settings and click “Export”.

Then, highlight the rows you want to update or export. You can choose to export all rows or specific rows.

After you’re finished, review your settings and click “Export.”
Follow the prompts to confirm your changes.
In a few seconds, data from your spreadsheet will push to Salesforce.

Your spreadsheet will display updated records, along with their export status and the date/time stamp of the update.
Method 2: Zapier – Flexible Automation
Zapier allows users to create automated workflows between Airtable and Salesforce.
Pros:
- User-friendly
- Highly customizable
- No coding required
Cons:
- Can become expensive with complex Zaps
- Limited advanced data transformation features
Step-by-Step Walkthrough
Using Zapier to Connect Airtable and Salesforce
- Create a Zapier account and log in.
- Start a new Zap by clicking on the ‘Make a Zap’ button.
- Choose Airtable as the trigger app.
- Select an Airtable trigger event, such as ‘New Record’ or ‘Updated Record’.
- Connect your Airtable account and configure the trigger by selecting the base and table.
- Set up the Trigger, ensuring it captures the data change you want to monitor.
Setting Up Salesforce as the Action
- Add an Action to the Zap by selecting Salesforce.
- Choose an action event, such as ‘Create Record’ or ‘Update Record’.
- Connect your Salesforce account and authorize access.
- Configure the action by mapping Airtable fields to Salesforce objects and fields.
- Test the Zap to ensure data flows correctly from Airtable to Salesforce.
- Turn on the Zap to automate the workflow.
Method 3: Dataloader.io
Dataloader.io is known for its robust performance in managing large data transfers.
Pros:
- Handles large volumes of data
- Easy to use interface
- Supports scheduling of data loads
Cons:
- Limited data transformation capabilities
- Requires manual data manipulation for complex tasks
Step-by-Step Walkthrough
Using Dataloader.io to Transfer Data
- Sign up for a Dataloader.io account and log in.
- Create a new task by clicking on ‘New Task’ and selecting ‘Import’.
- Connect your Airtable account by entering the API key and selecting the desired base and table.
- Choose the data you want to export to Salesforce.
Mapping and Importing Data to Salesforce
- Map the fields from Airtable to Salesforce by selecting the corresponding Salesforce object and fields.
- Review the field mappings to ensure data accuracy.
- Schedule the task if you want to automate the data load at regular intervals.
- Run the Task to start the data transfer process.
- Monitor the import and check for errors or mismatches in data.
- Review the transferred data in Salesforce to ensure it matches your expectations.
Conclusion
Connecting Airtable to Salesforce can transform your data management and operations. For a seamless and effective integration, try Coefficient today.


