
Connecting Chargebee to Excel gives you real-time access to your subscription data directly in your spreadsheets.
By connecting these two apps, you can speed up your reporting and data analysis, helping your finance and operations teams make data-driven decisions quickly. This guide shows you three ways to connect Chargebee to Excel, no matter your skill level or preference.
Why Connect Chargebee to Excel?
Integrating Chargebee with Excel simplifies reporting and data analysis, providing real-time insights for informed decision-making.
From tracking subscription metrics to analyzing revenue trends, this integration equips various roles with the data they need at their fingertips.
How to Connect Chargebee to Excel: 3 Methods
Method 1| Coefficient: No-Code, Fully Automated
Coefficient is the fastest, easiest way to export Chargbee data to Excel for technical and non-technical users alike.
Coefficient’s no-code interface makes it easy for anyone to safely get the data they need into their Connected Spreadsheet in a few clicks. This is particularly useful for Excel for Web users who do not have access to Power Query.
To install Coefficient, open Excel from your desktop or in Office Online.
Click ‘File’ > ‘Get Add-ins’ > ‘More Add-Ins.’
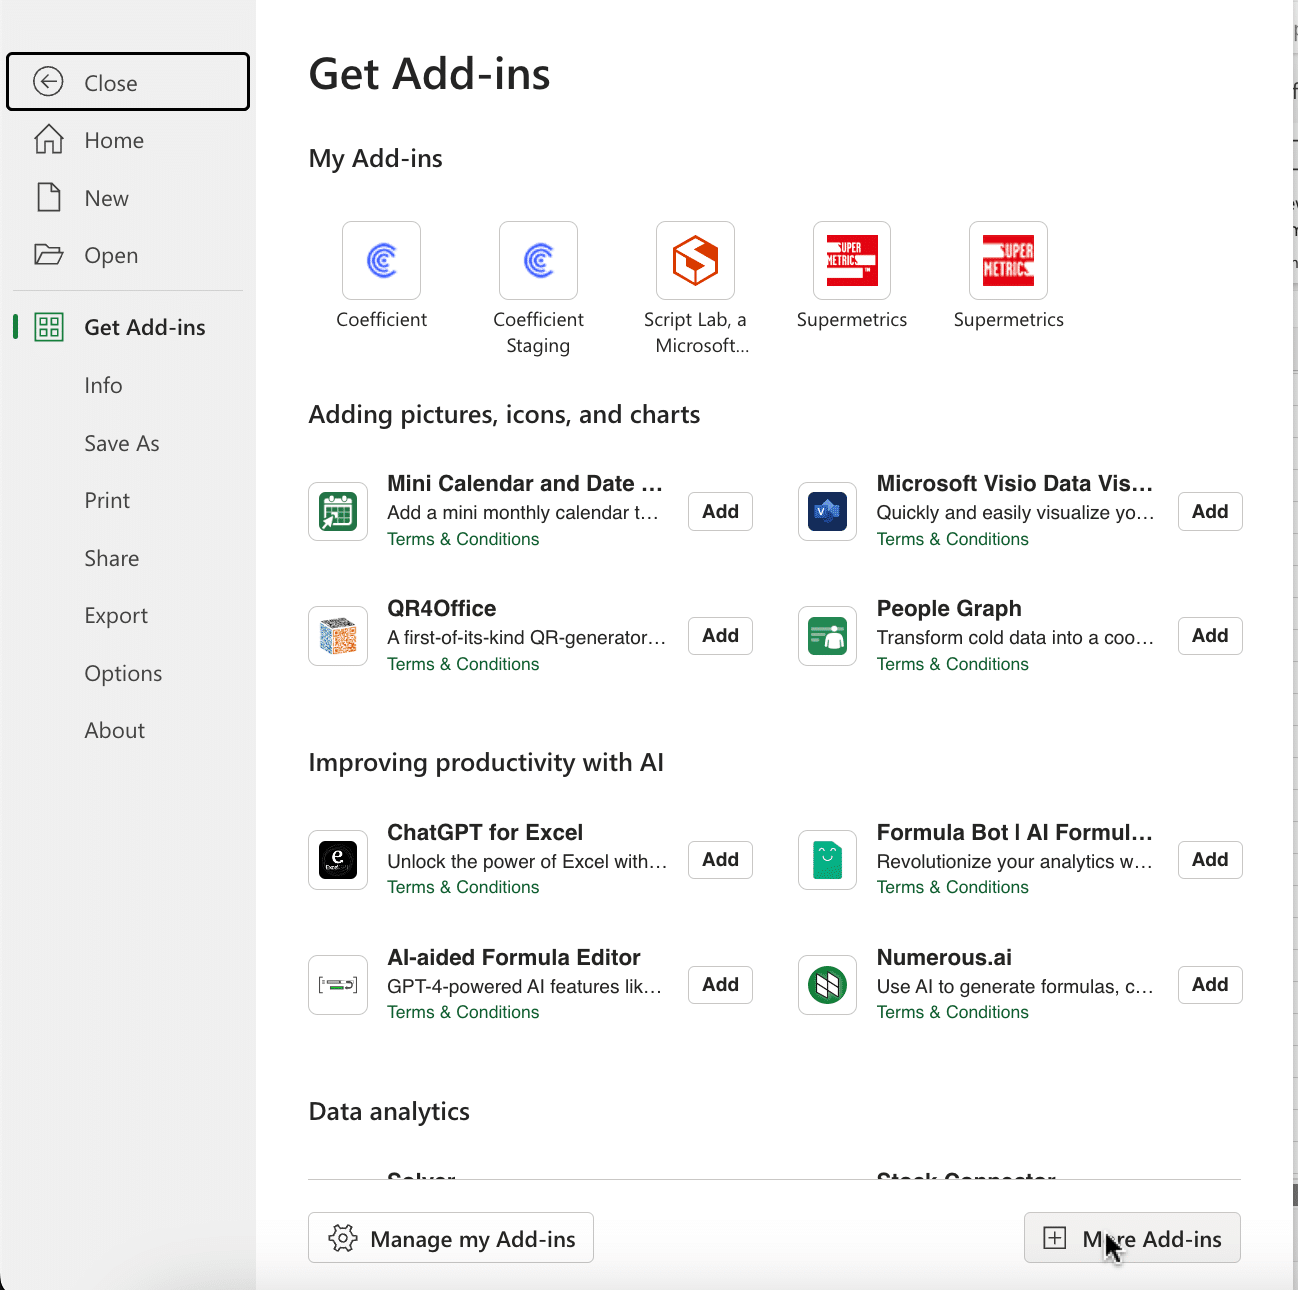
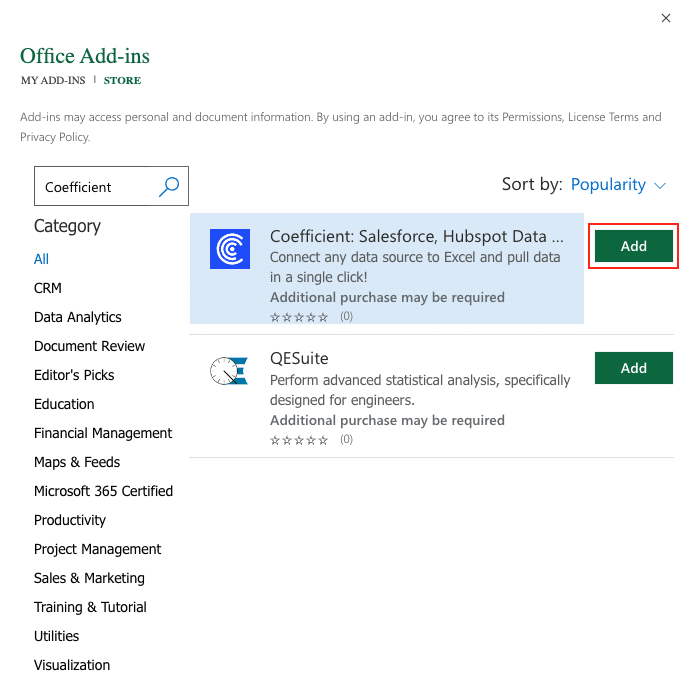
Type “Coefficient” in the search bar and click ‘Add.’
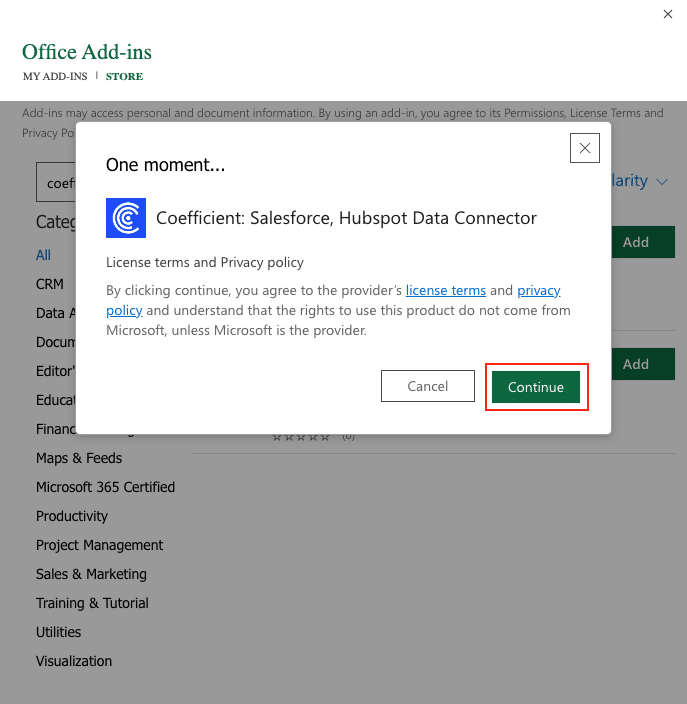
A pop-up will open up. Follow the prompts to complete the installation.
Once finished, you will see a “Coefficient” tab at the top navigation bar.
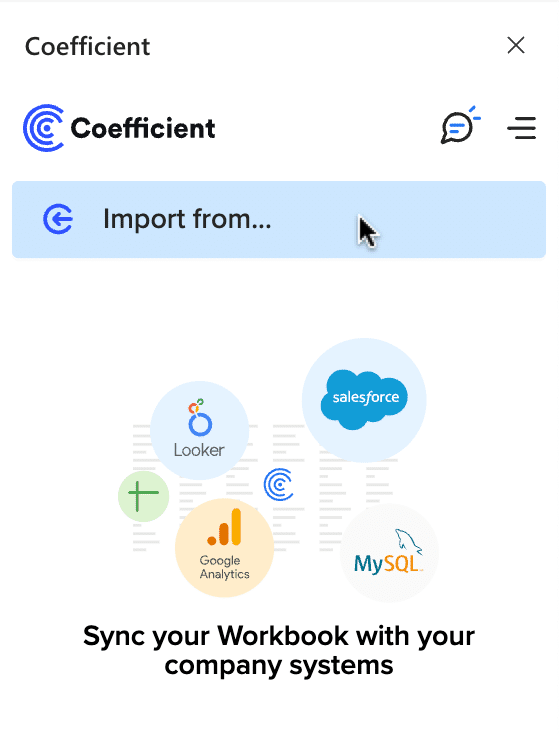
Click ‘Open Sidebar’ to launch Coefficient.
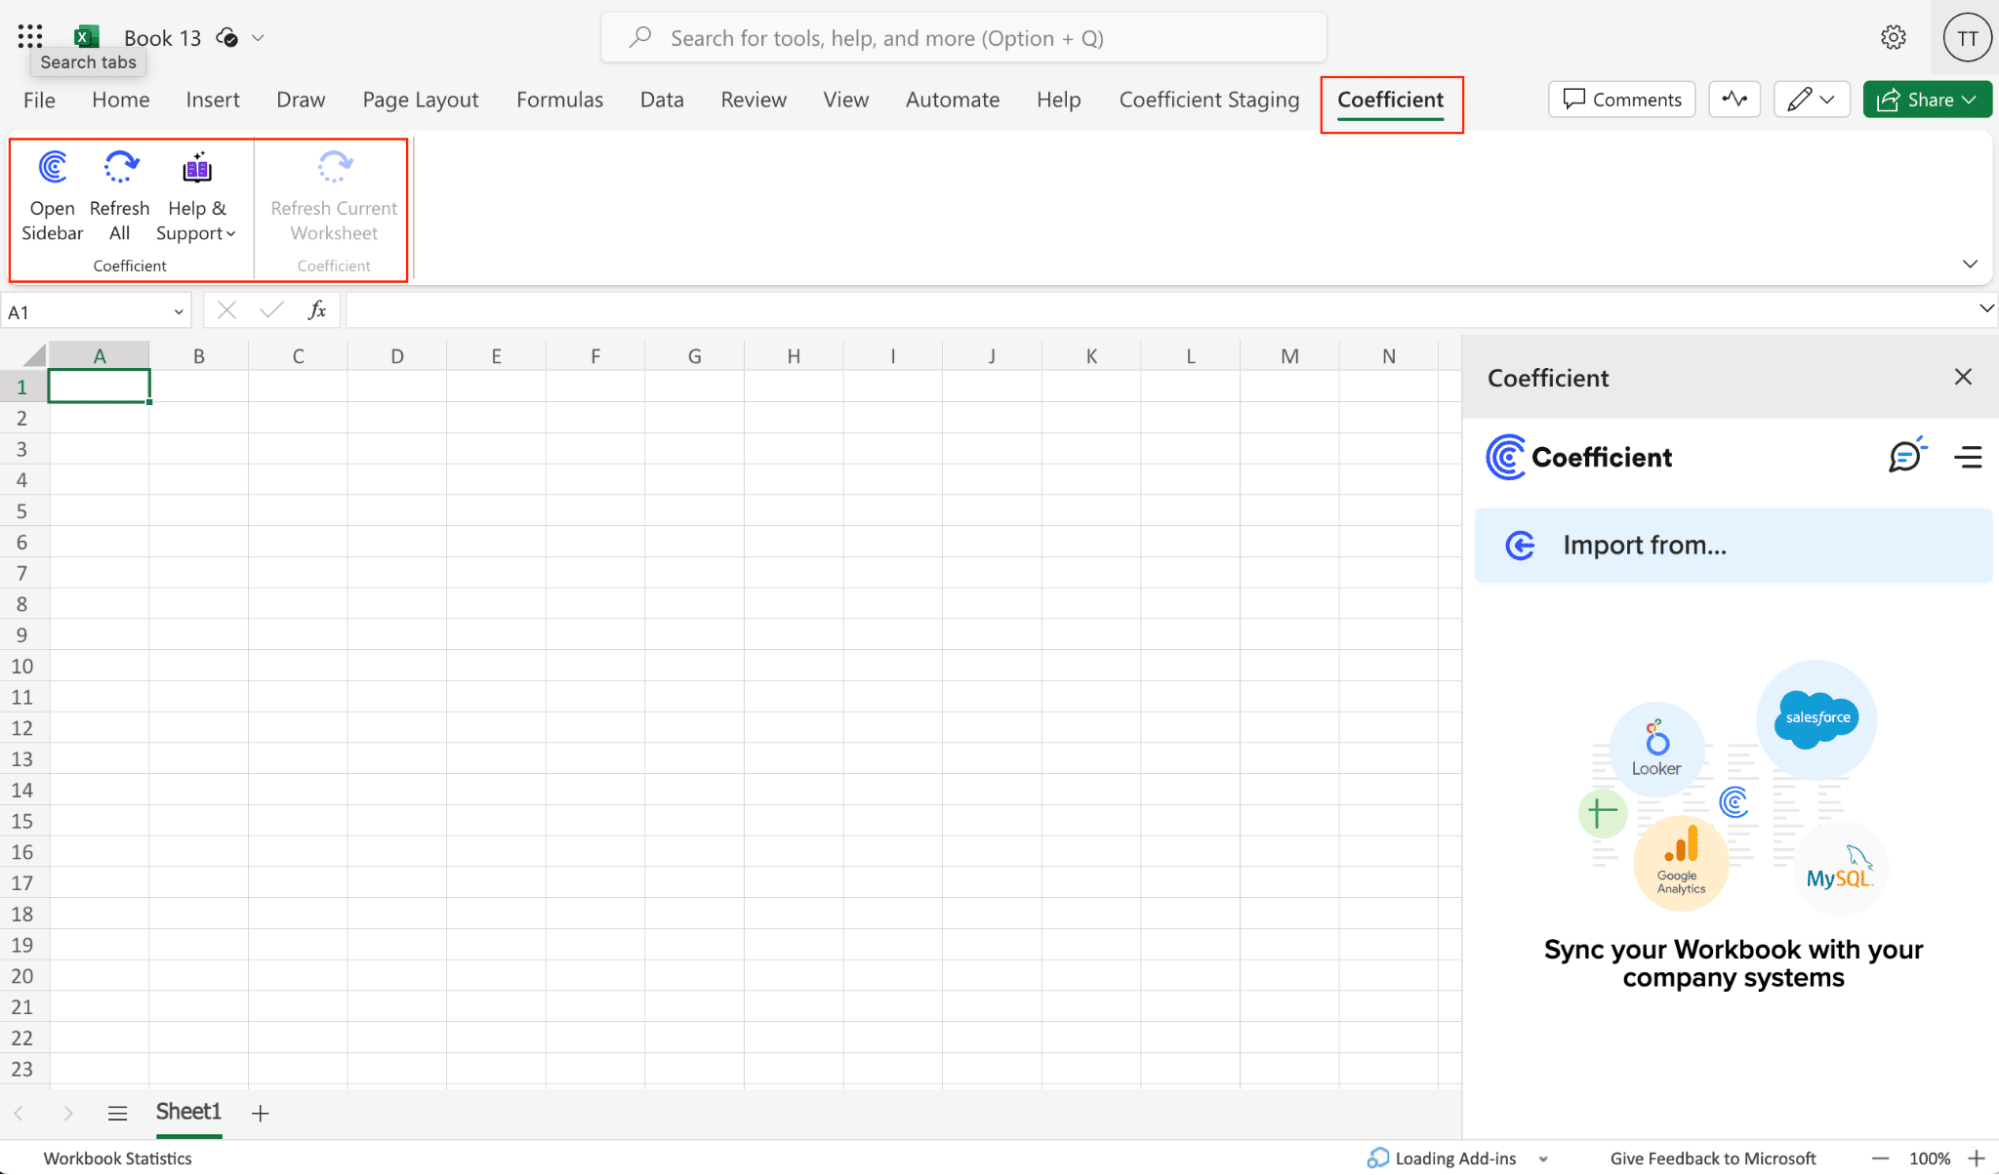
Select ‘Import from…’
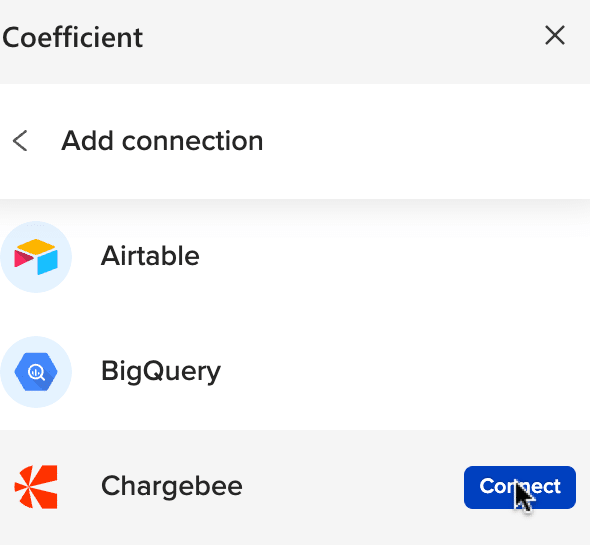
Scroll down until you find Chargebee and click ‘Connect.’
Enter your Chargebeen site name.
Your Chargebee Site Name can be found in the URL when you are logged in and viewing the Dashboard. (e.g. https://sitename.chargebee.com) You can enter the Site Name or the complete Dashboard URL.
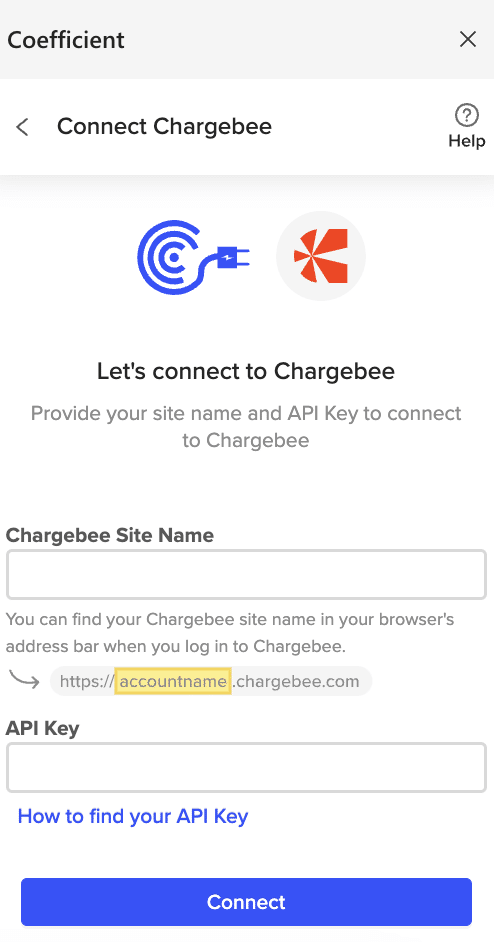
Next, you will need your Chargebee API Key.
From the Chargebee Menu, go to “Settings” → “Configure Chargebee”.

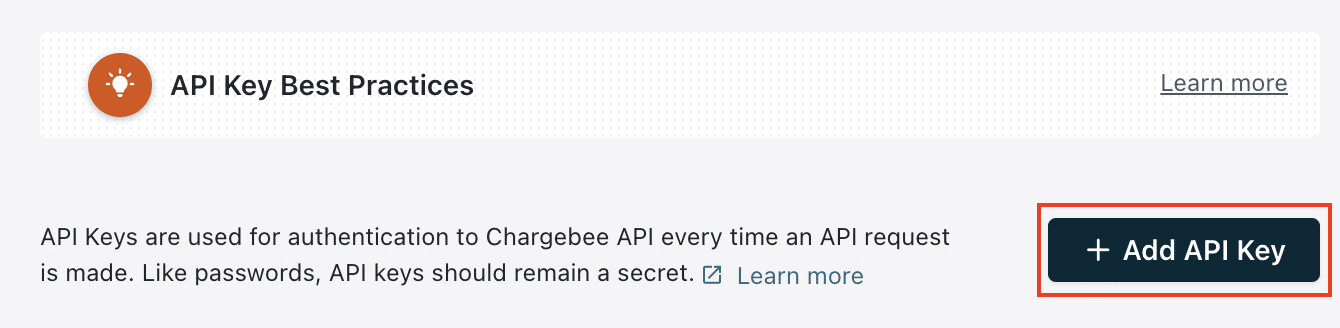
Scroll down to “API Keys and Webhooks” and select “API Keys”.

NOTE: We (HIGHLY) recommend generating a new API Key, since these keys can be tied to specific user(s)/permission(s) and should be treated as private.
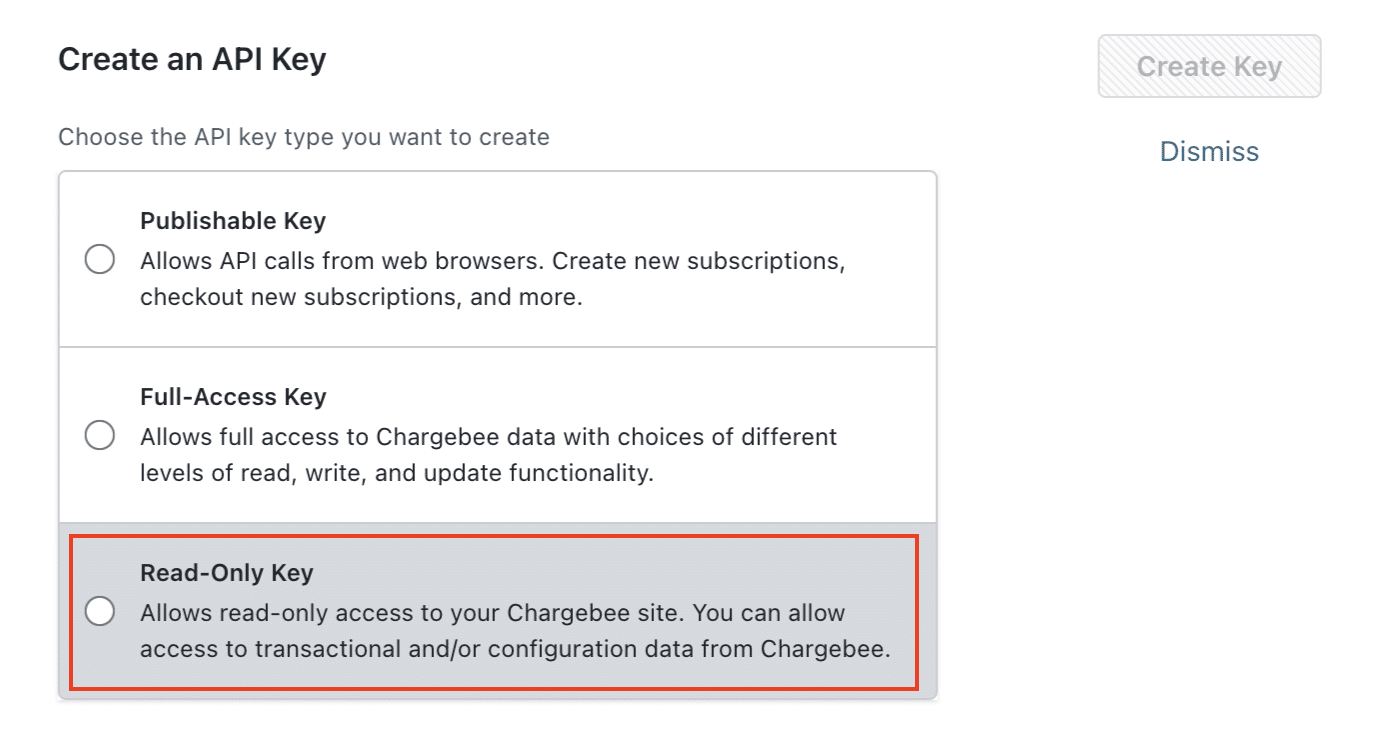
You will be shown different key types for this API Key – we recommend selecting the “Read-Only Key” since we are only pulling in existing data from Chargebee.
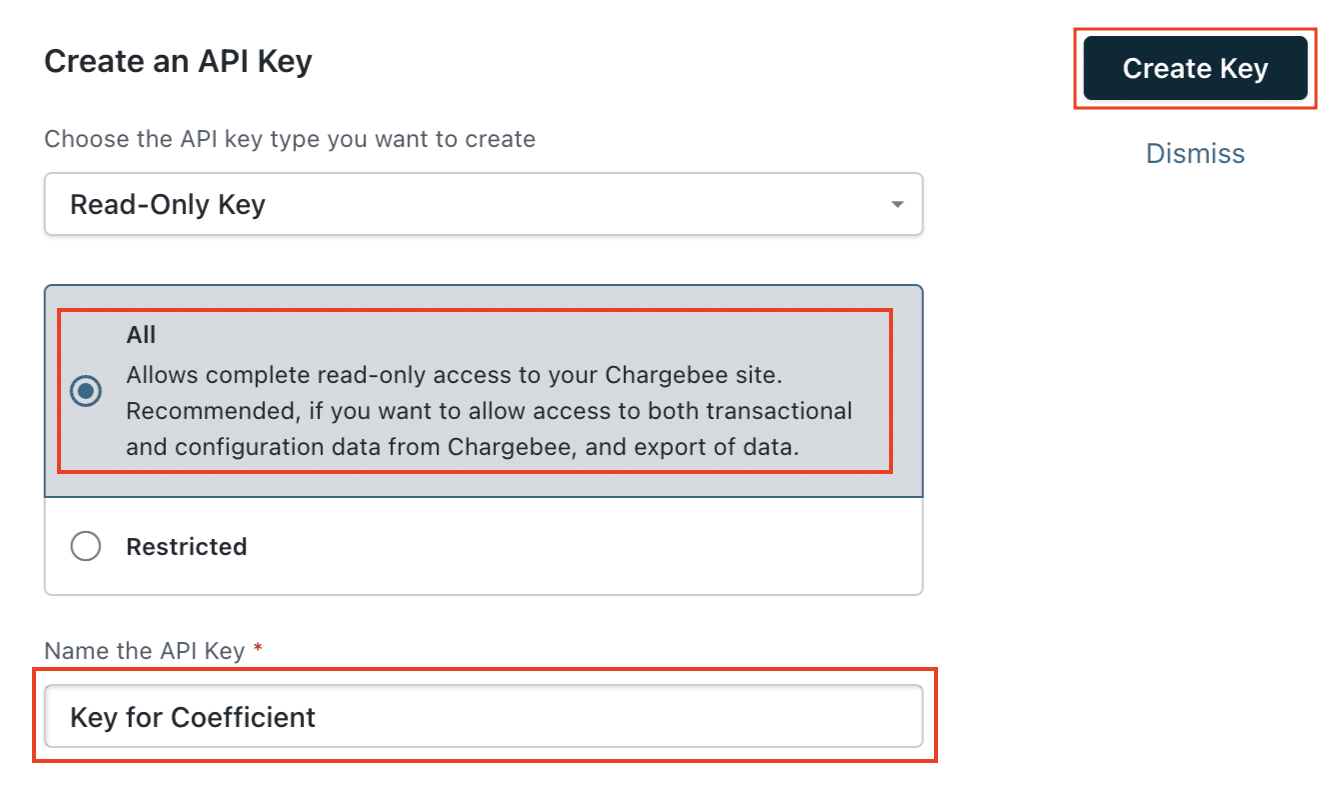
Once you select the Key type, you need to confirm what records the Key should allow you to access/pull data from using Coefficient. We recommend selecting “All”. This will ensure that you are not accidentally leaving out any records that may be important in your imports. Give your API Key a name and then click on the “Create Key” button on the right.
We highly recommend naming your API Key with something like “Key for Coefficient” (as shown) or ”Coefficient API Key”. This will tell you right away what the key is used for – that way no one deletes it by accident.
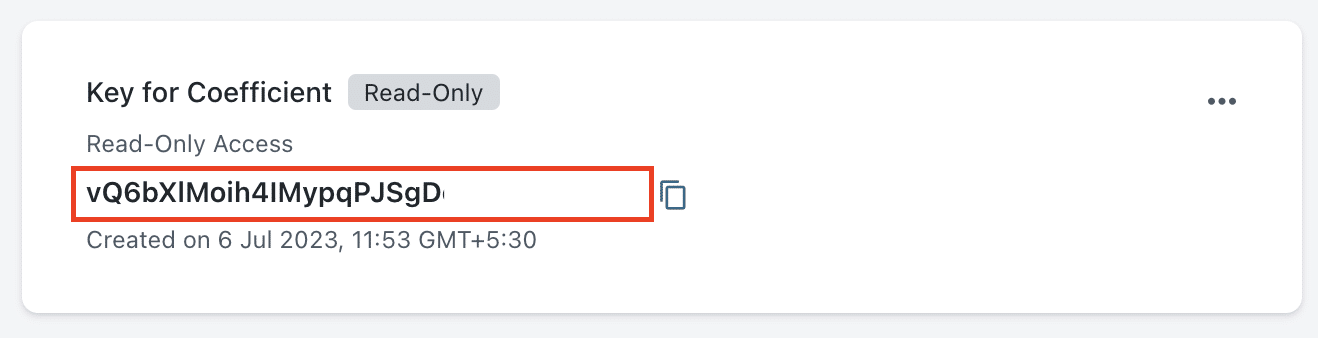
A new API key will be generated. Please copy the Key and paste it into the API Key field provided in the Coefficient sidebar. Then click the “Connect” button (blue) in the Coefficient sidebar to establish your connection.
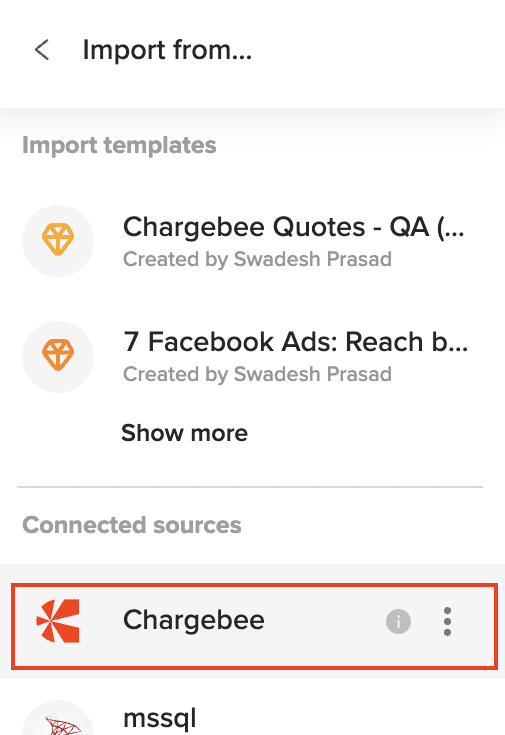
After establishing your connection, return to Chargebee from the Coefficient menu. It will now appear at the bottom of the menu under “Connected sources.”
Select “Chargebee” from the list.
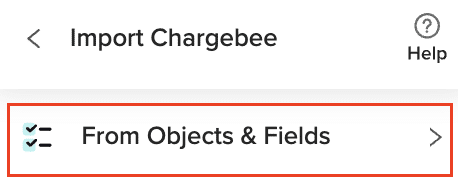
Choose “From Objects & Fields”.
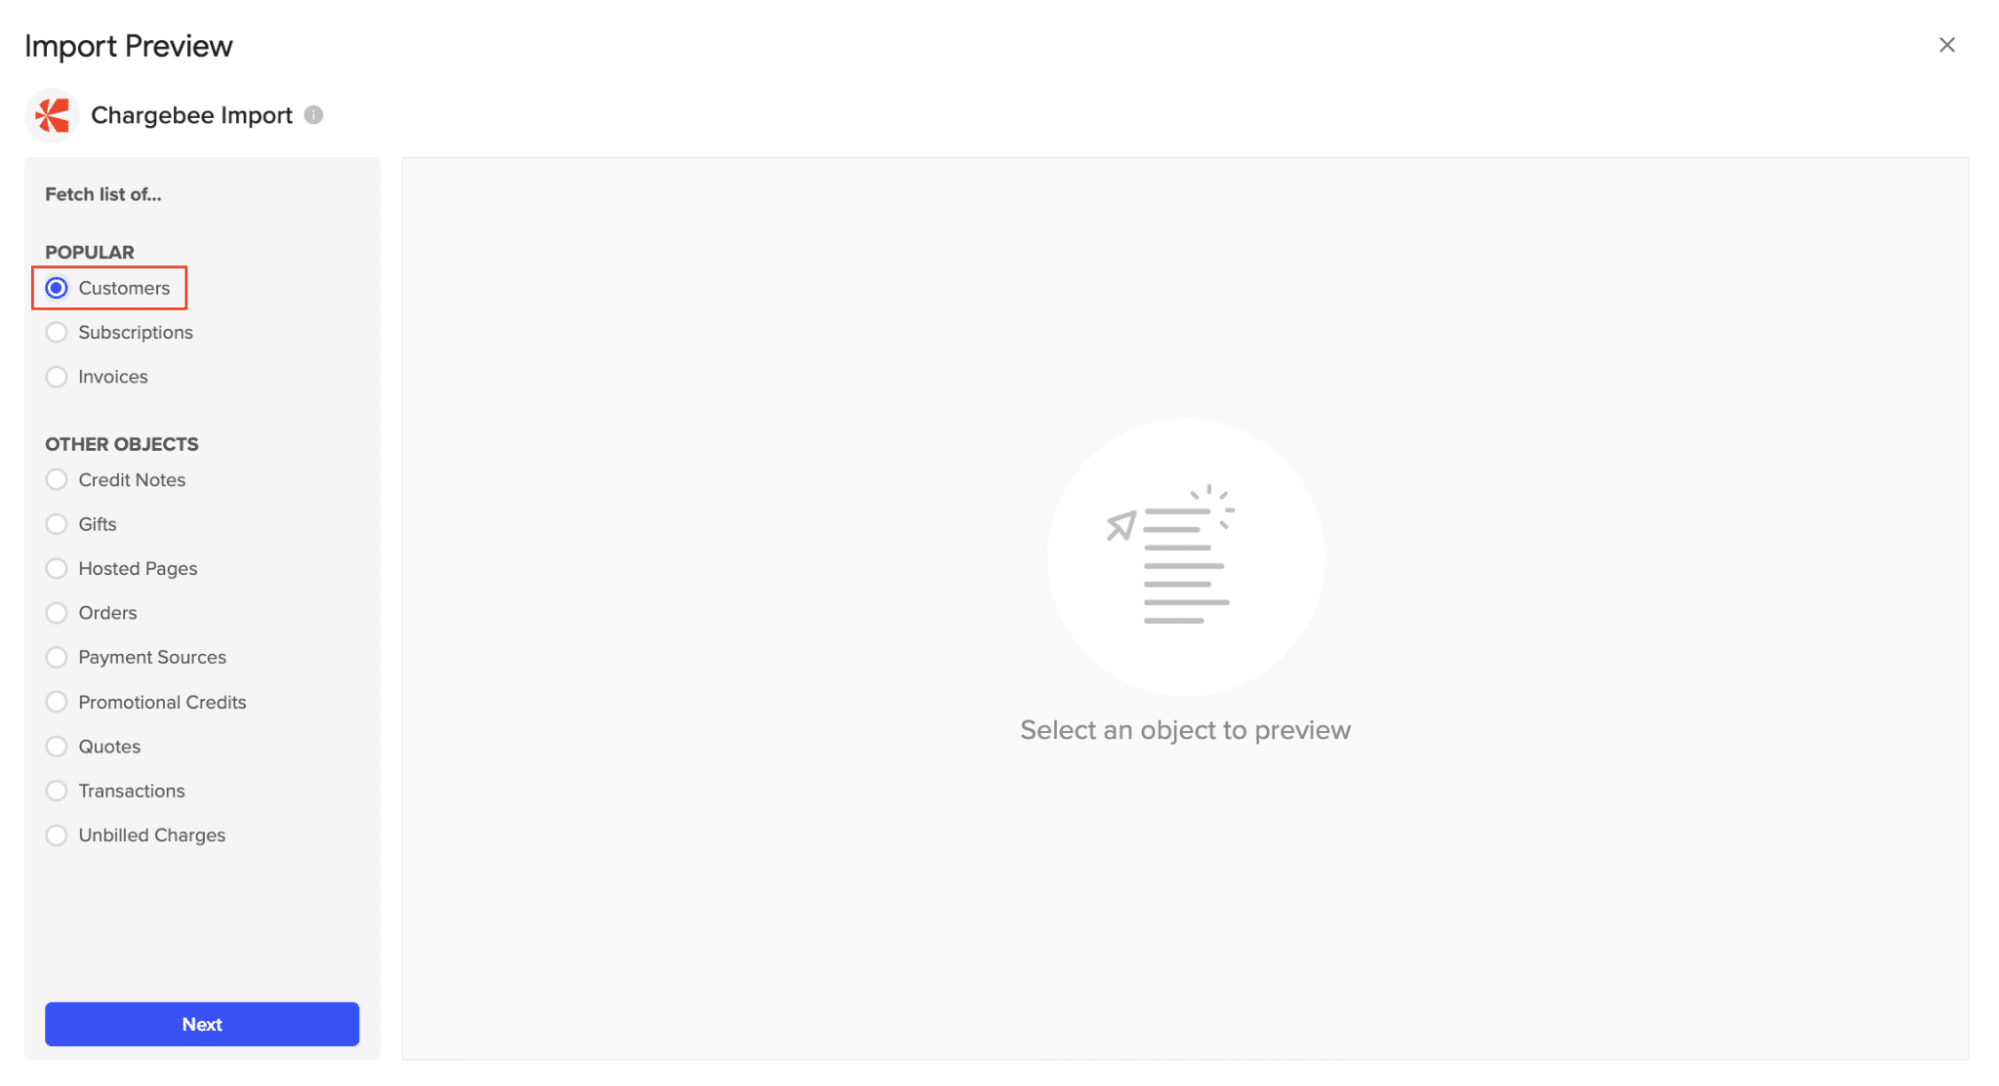
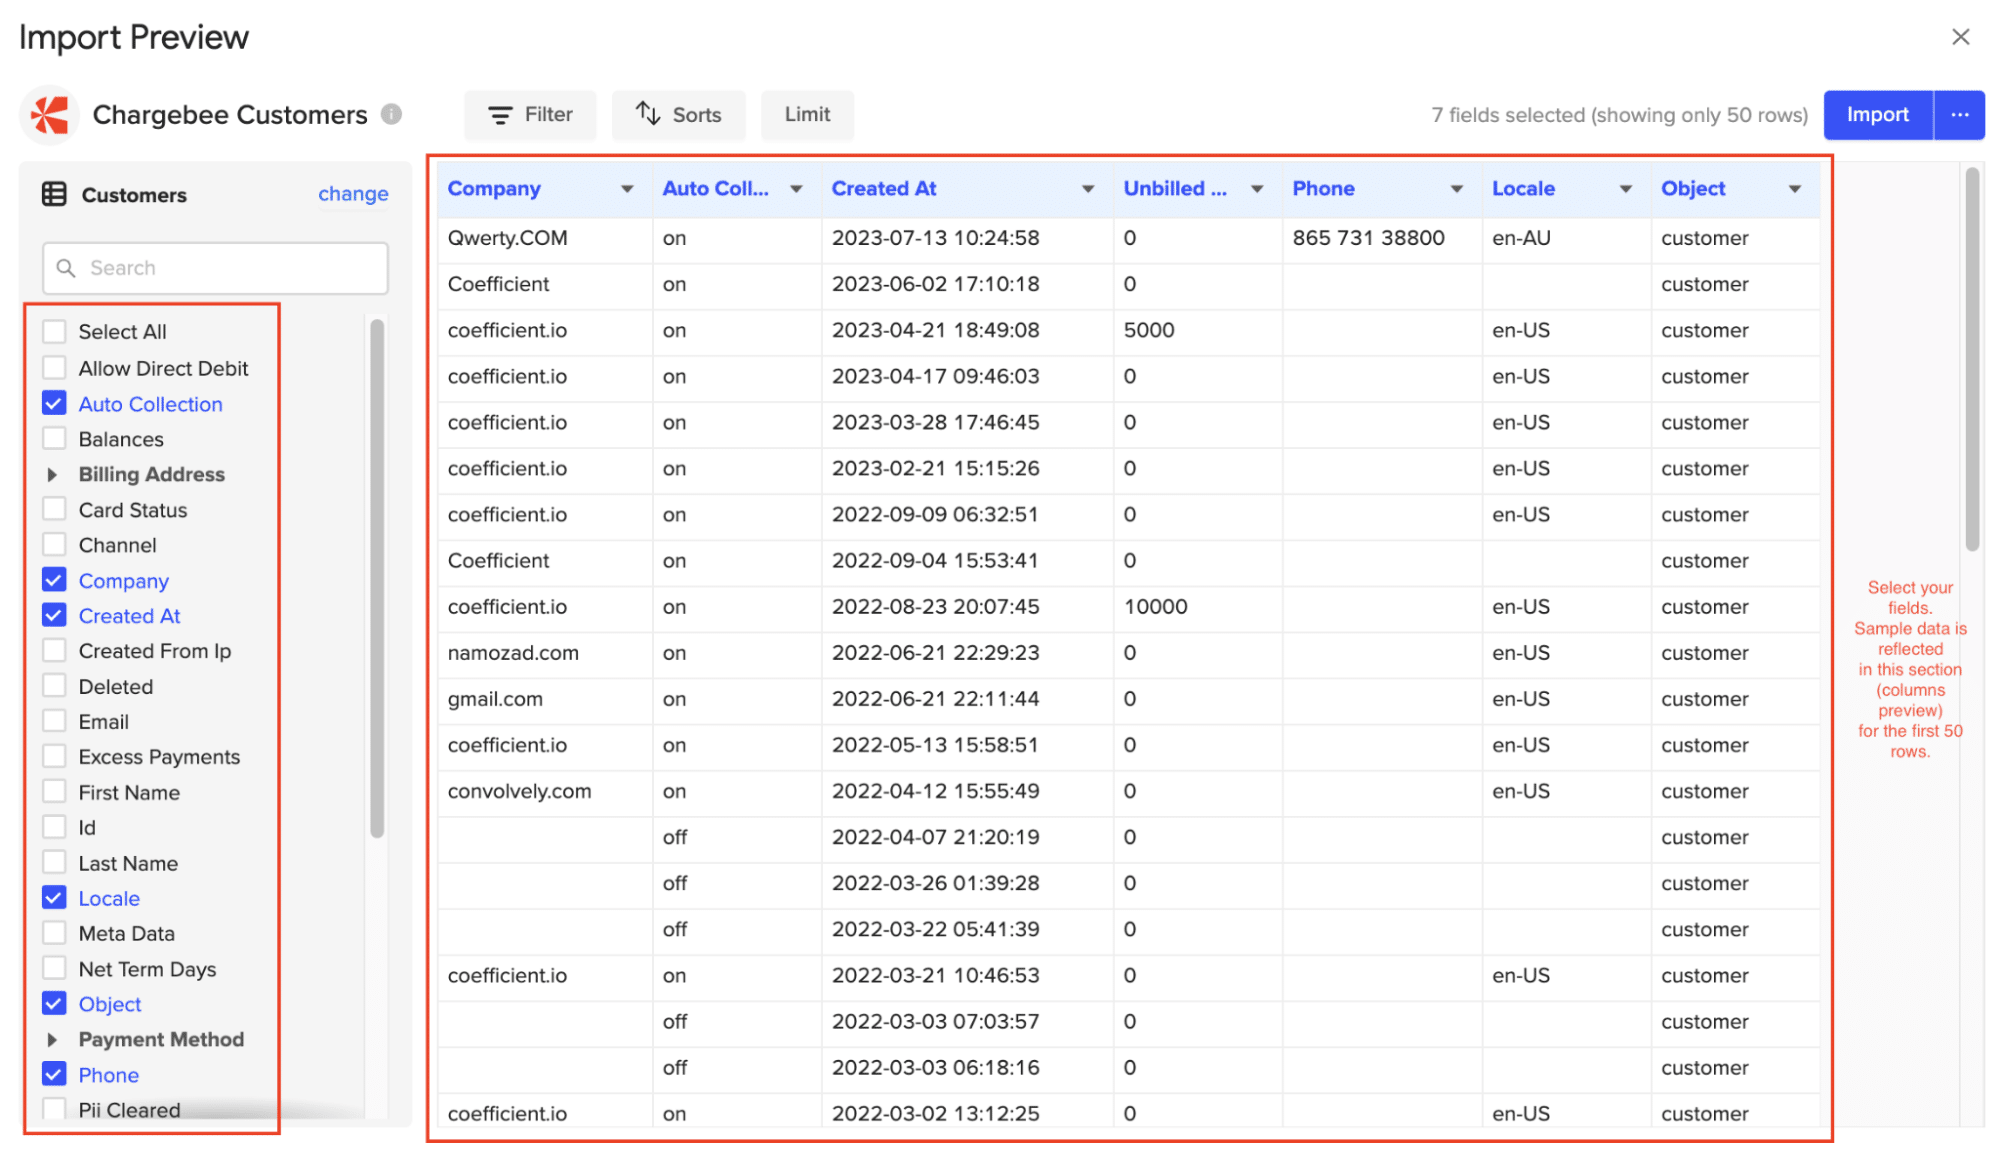
Check (or uncheck) the box(es) corresponding to the fields you would like to include in this import. (Some of the more popular fields may already be selected)
Note: The preview only shows a sample of the results that will be included in your import.
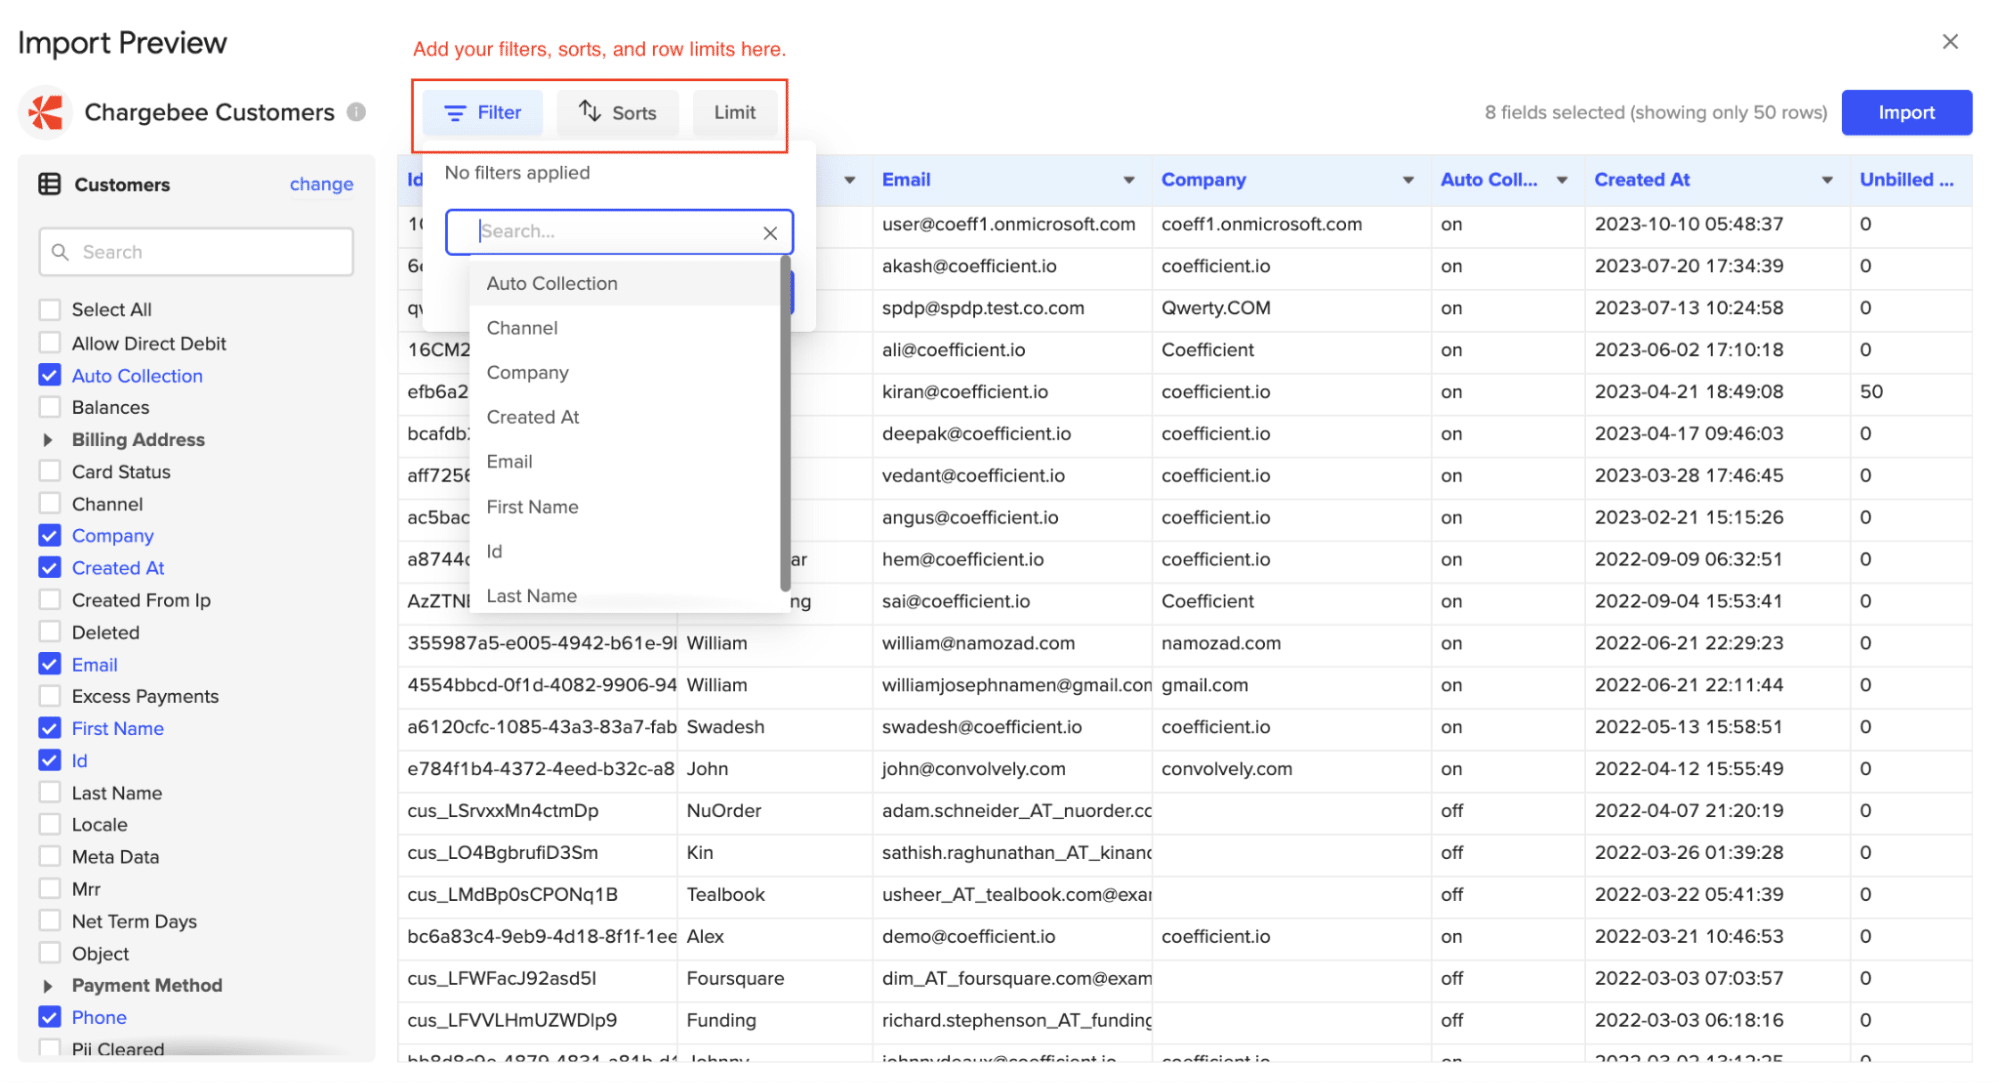
Customize your import by adding filters, sorts, or limits as needed. Then click, “Import” on the top right of your screen.
Congratulations on your first Chargebee import in Coefficient!
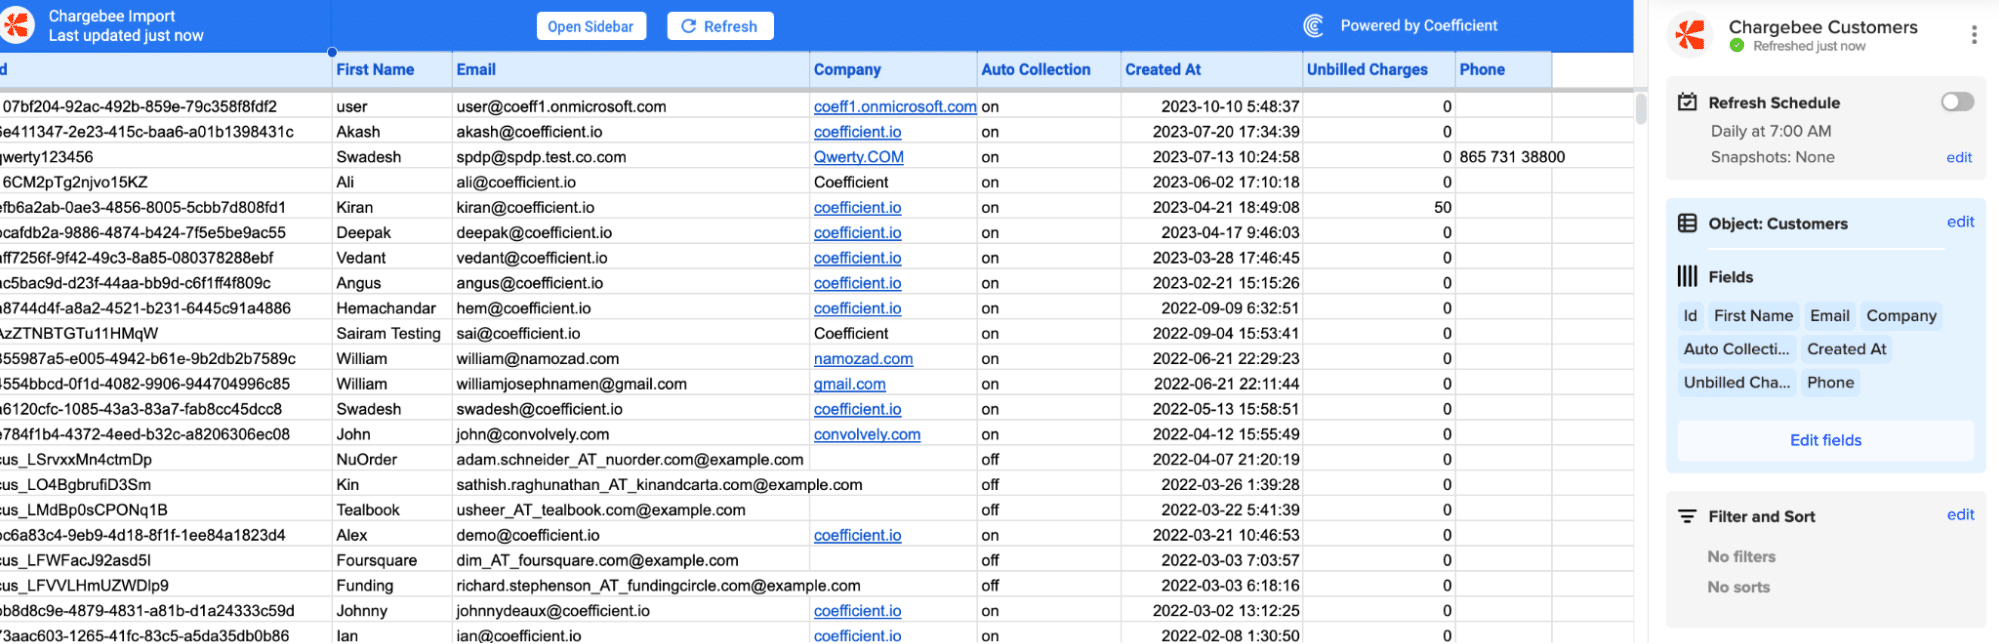
You can also set up automatic data updates to schedule data syncs between Chargebee and Excel. Choose whether to run daily, hourly, or weekly automatic data updates.
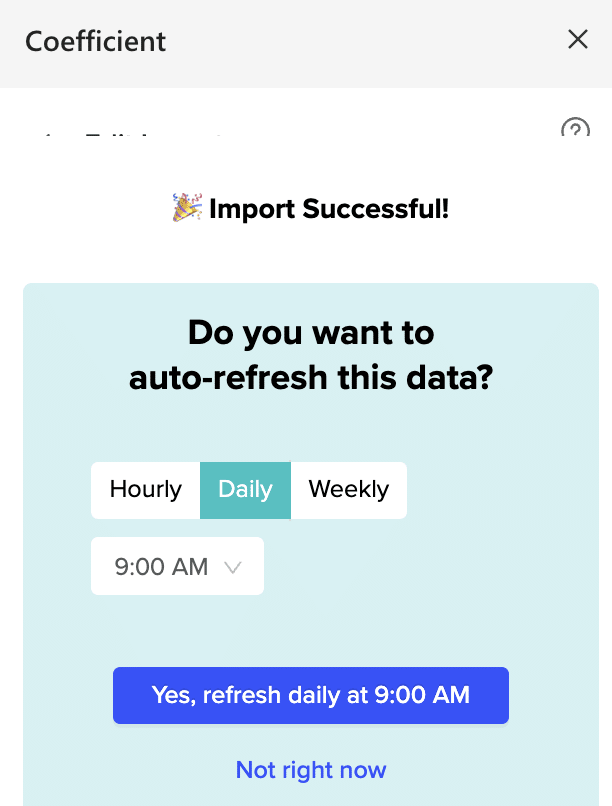
With automatic data updates, your Chargebee data is always up-to-date in your spreadsheet. That means you can build live dashboards and reports on top of the data without performing cumbersome manual updates.
Pros and Cons
Pros:
- No technical skills required
- Real-time data refreshes and notifications
- Data integrity with traceable lineage
Cons:
- Scheduled automations are not free forever, but pricing plans are affordable
Method 2| Manual Export-Import
This traditional approach involves manually exporting data from Chargebee and importing it into Excel.

Stop exporting data manually. Sync data from your business systems into Google Sheets or Excel with Coefficient and set it on a refresh schedule.

Start by logging into your Chargebee account. To access Reports Explorer open the RevenueStory dropdown and click ‘Reports Explorer.’
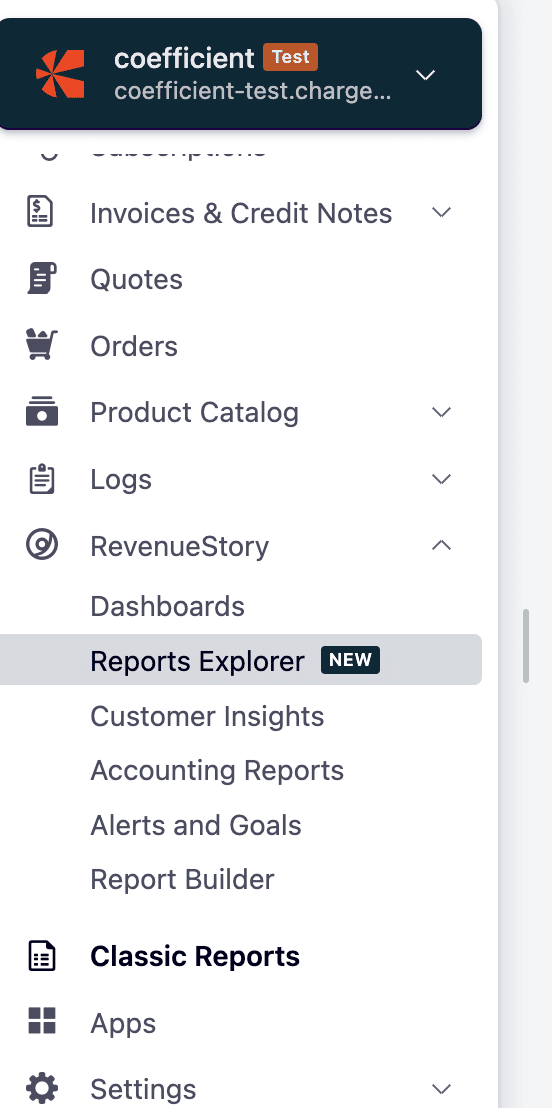
Look for the specific reports or data sets you need, such as subscription data, customer info, or payment history.

Click ‘ + Add Report.’

Select ‘Download’ > ‘CSV’

Open Microsoft Excel and import your CSV.
Pros:
- Straightforward process that doesn’t require external tools
Cons:
- Time-consuming and lacks automation
- No real-time updates, so data may become outdated
- Manual process is prone to human error
Method 3| Zapier
Zapier Integration Zapier is a web-based service that allows you to create automated workflows between different apps, including Chargebee and Excel.
Here’s a step-by-step guide on how to set it up:
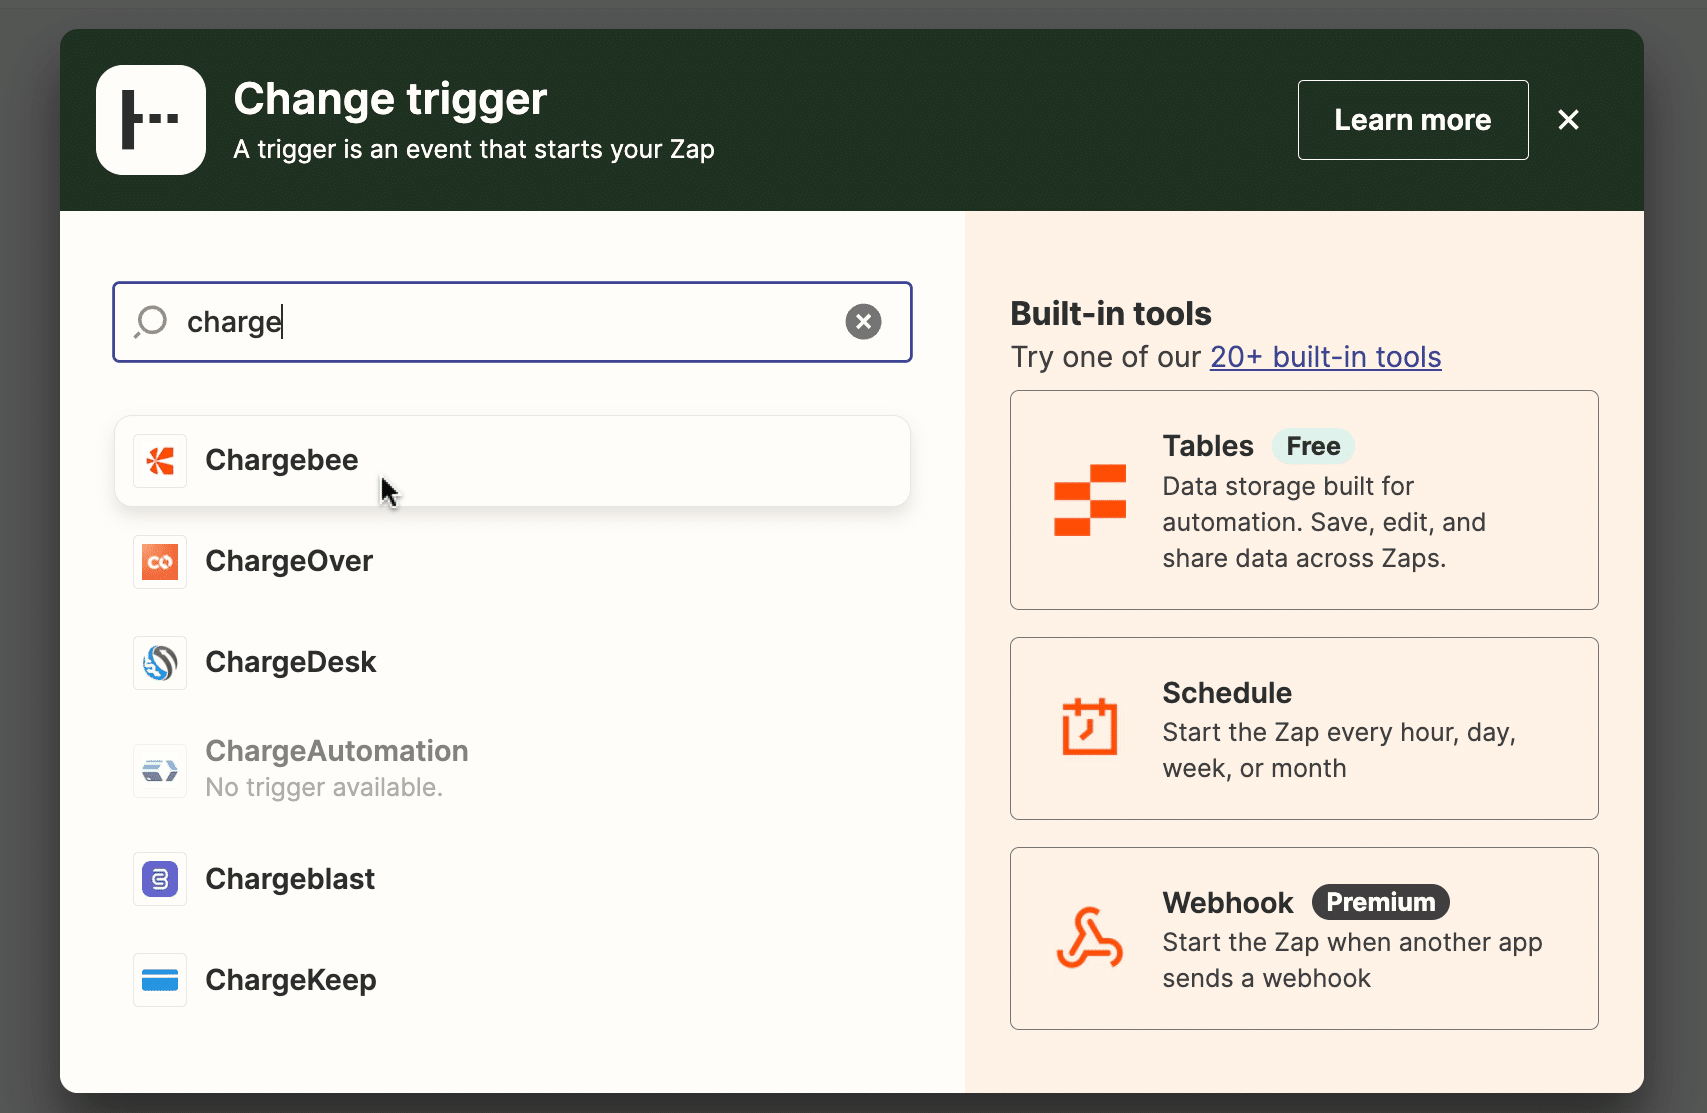
Log into your Zapier account. Click ‘+ Create’ > ‘New Zap.’
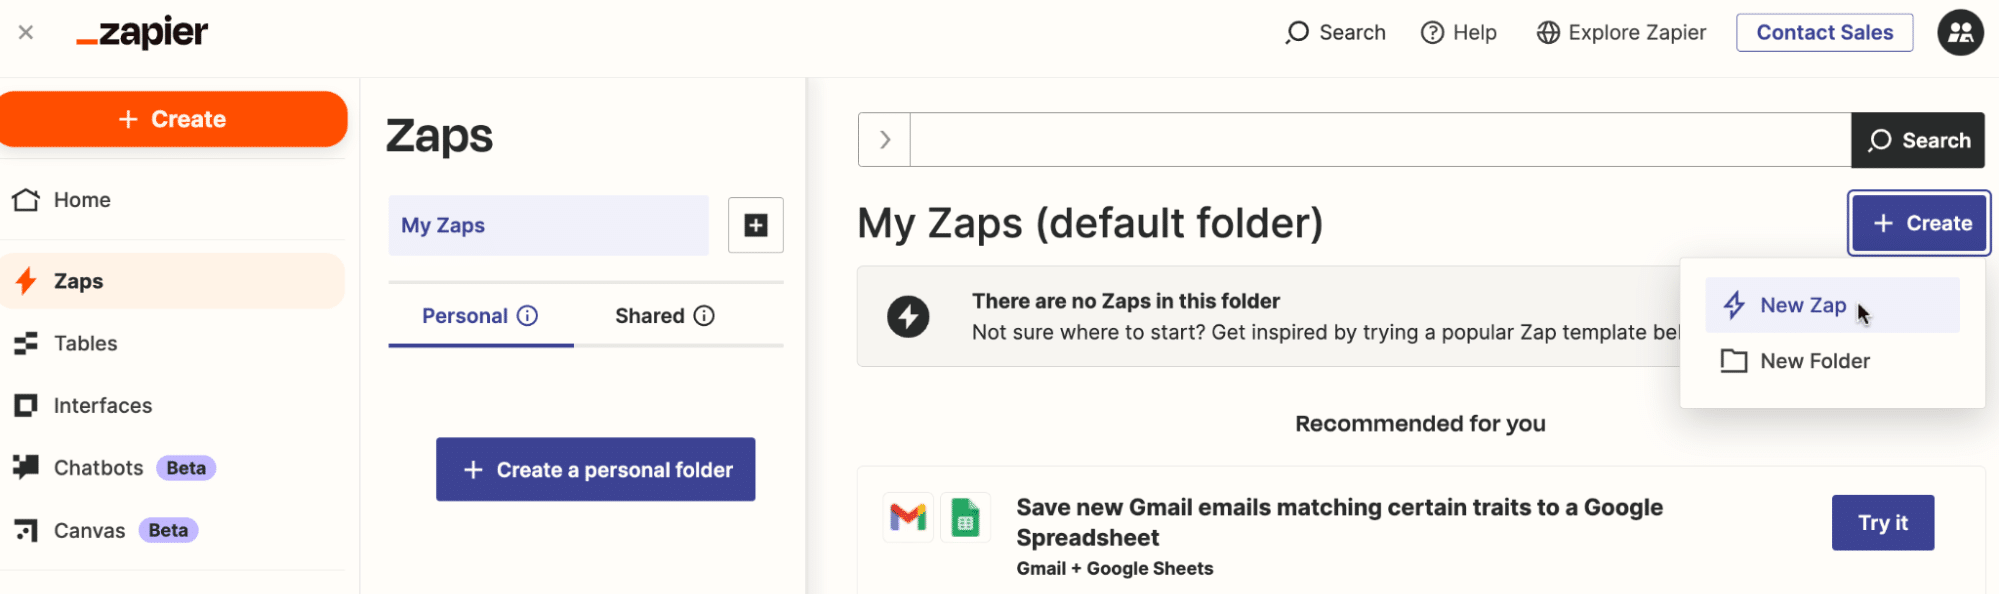
Choose Chargebee as your trigger app and select the event that will trigger the workflow (e.g., New Invoice, New Subscription).
Connect your Chargebee account to Zapier by providing your API key, following the steps above.
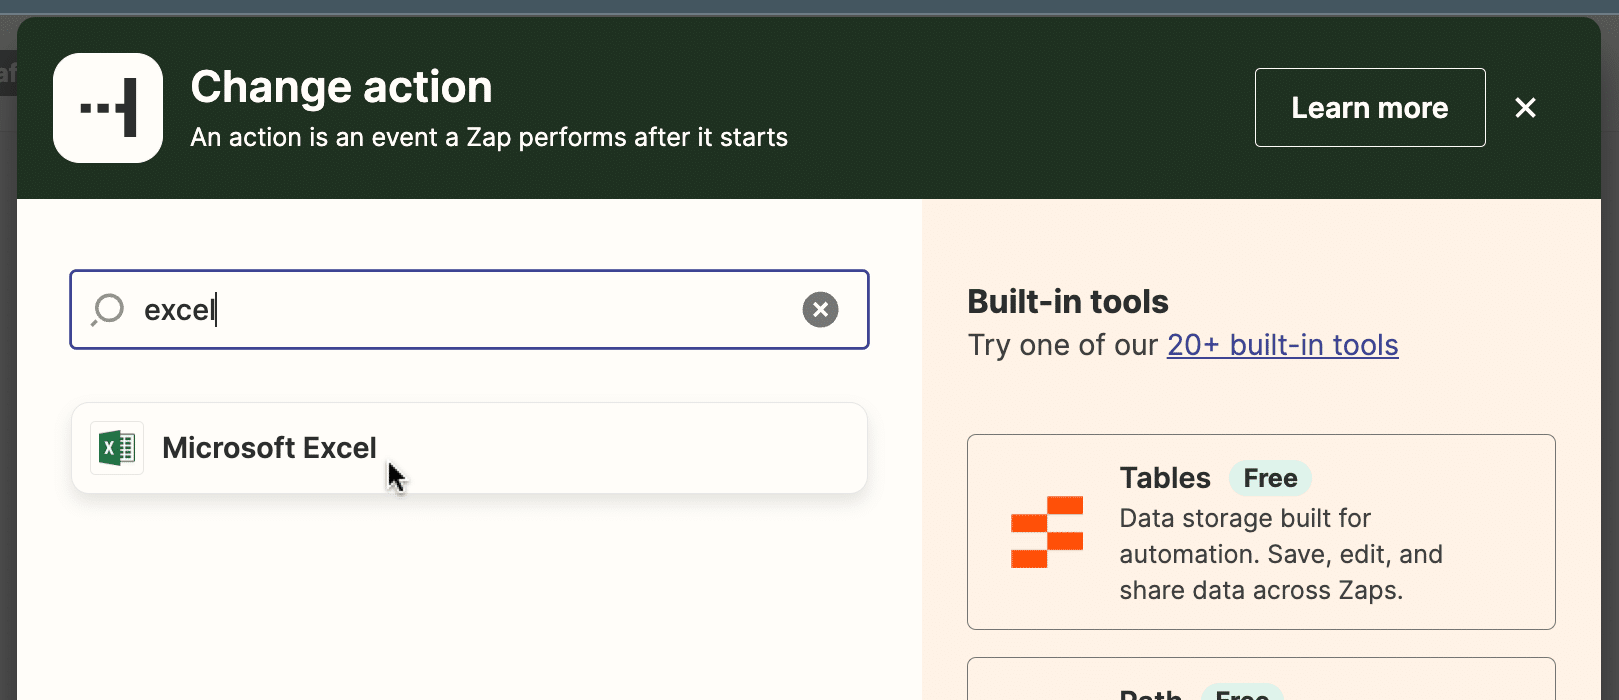
Choose Microsoft Excel Online as your action app.
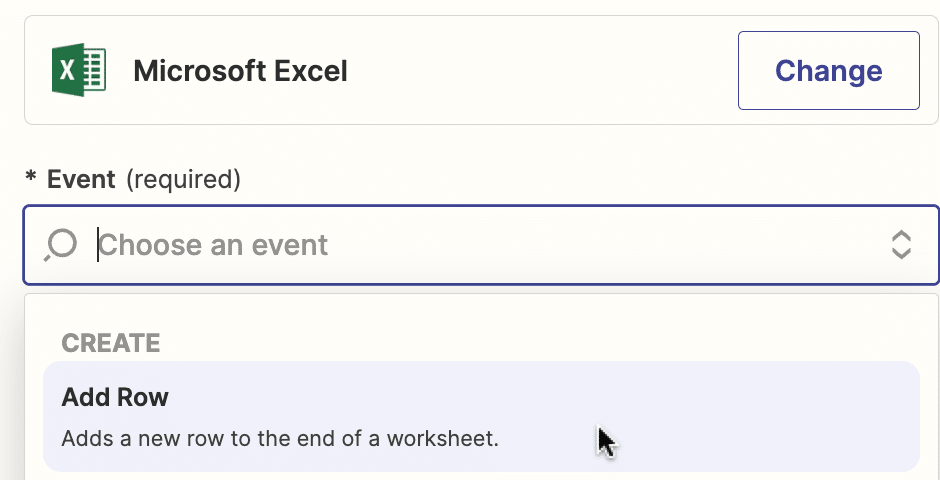
Select “Create Spreadsheet Row” as the action event.
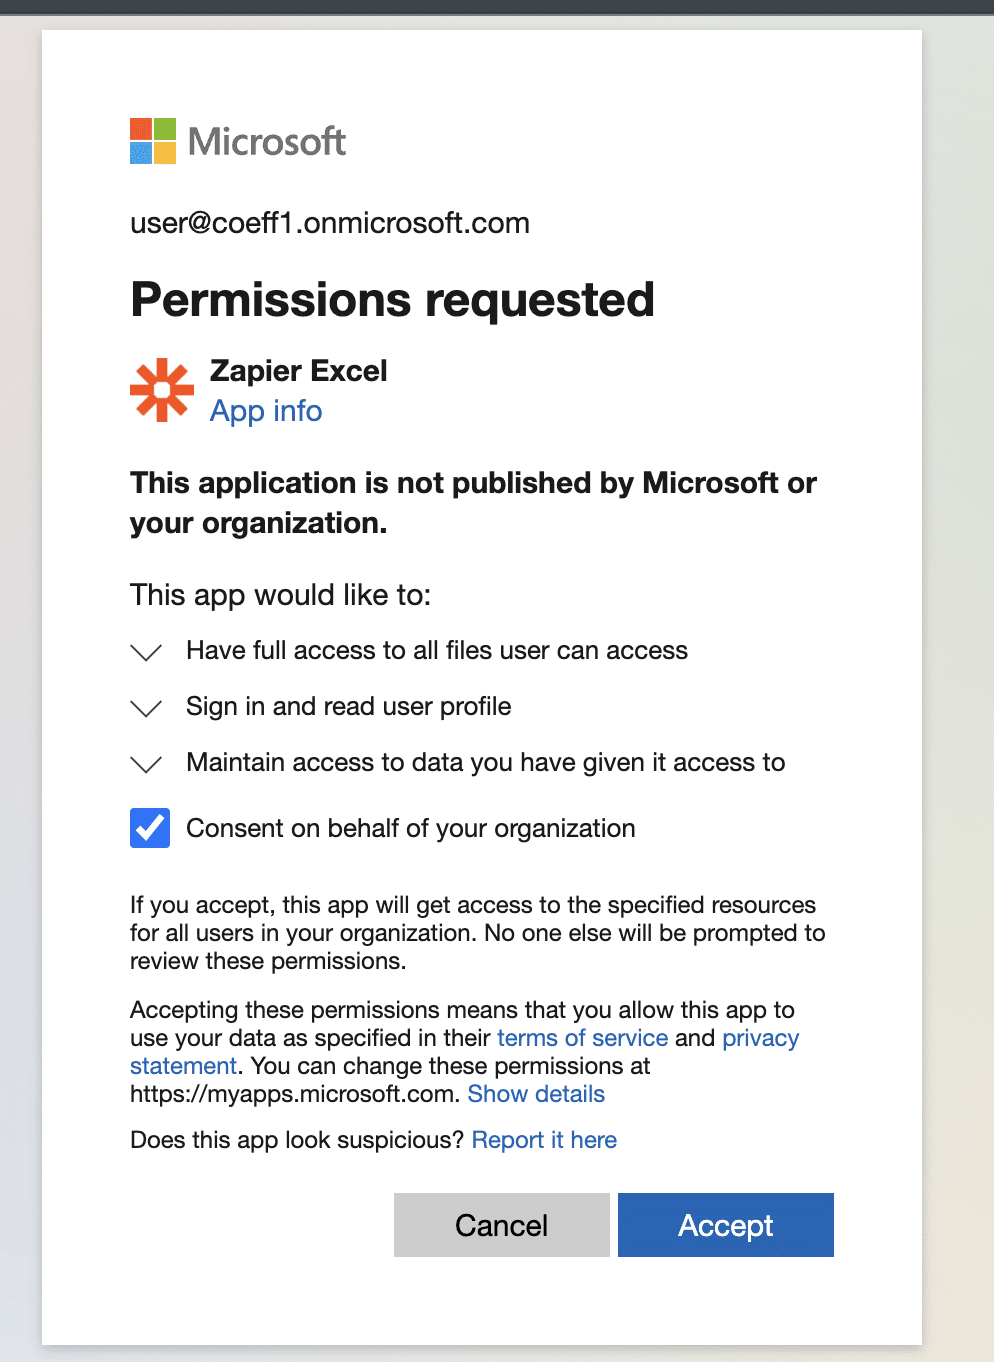
Follow the prompts to connect your Microsoft account to Zapier.
From here:
- Map the data fields from Chargebee to the corresponding columns in your Excel spreadsheet.
- Test your Zap to ensure it’s working correctly.
- Turn on your Zap, and it will automatically add new Chargebee data to your Excel spreadsheet as it comes in.
Pros and Cons:
Pros:
- Automates data transfer between Chargebee and Excel
- No coding required
- Flexible trigger options (daily, weekly, monthly)
Cons:
- Requires a Zapier subscription for more advanced features and higher volume of tasks
- May have some limitations in terms of customization compared to the API method
- Dependent on Zapier’s platform stability and performance
Transform Your Chargebee Data Management with Coefficient
While each way has its benefits, Coefficient stands out by making the process easy with its no-code, automated solution. Give your whole team access to real-time data integration.
Try Coefficient today and see how easy and effective it is. Get Started Today!
Experience the ease and efficiency of Coefficient by starting your journey at Get Started Today!


