Are you looking to connect your LinkedIn Ads data with HubSpot? Whether you’re tracking campaign performance, syncing lead data, or optimizing your B2B marketing efforts, this guide explores three proven methods to integrate LinkedIn Ads with HubSpot. Let’s dive into the advantages of this connection and the step-by-step process for each method.
Why Connect LinkedIn Ads to HubSpot?
Integrating LinkedIn Ads with HubSpot offers several key benefits:
- Lead Generation & Management: Automatically sync LinkedIn Ad leads to HubSpot CRM, enabling immediate follow-up and streamlined lead nurturing processes.
- Campaign Performance Tracking: Consolidate LinkedIn Ads metrics with other marketing data in HubSpot for comprehensive ROI analysis and reporting.
- Account-Based Marketing (ABM): Align LinkedIn Ad targeting with HubSpot company lists for precise audience targeting and engagement tracking.
Top 3 Methods to Connect LinkedIn Ads to HubSpot
Here’s a quick comparison of the three main solutions for connecting LinkedIn Ads to HubSpot:
| Solution | Best For |
| Coefficient | Marketing teams needing flexible, spreadsheet-based reporting and automation for LinkedIn Ads data in HubSpot |
| Native HubSpot Integration | Basic LinkedIn Ads management and lead form syncing within HubSpot’s marketing hub |
| Zapier | Simple automation between LinkedIn Ads and HubSpot for specific trigger-based actions |
Let’s explore each method in detail.
#1 Coefficient: Flexible Reporting and Automation

Coefficient offers a no-code solution for connecting LinkedIn Ads to HubSpot through Google Sheets or Excel. This method enables custom reporting and automated data syncing between platforms.
Step-by-step guide:
Step 1. Install Coefficient
For Google Sheets
- Open a new or existing Google Sheet, navigate to the Extensions tab, and select Add-ons > Get add-ons.
- In the Google Workspace Marketplace, search for “Coefficient.”
- Follow the prompts to grant necessary permissions.
- Launch Coefficient from Extensions > Coefficient > Launch.
- Coefficient will open on the right-hand side of your spreadsheet.

For Microsoft Excel
- Open Excel from your desktop or in Office Online. Click ‘File’ > ‘Get Add-ins’ > ‘More Add-Ins.’
- Type “Coefficient” in the search bar and click ‘Add.’
- Follow the prompts in the pop-up to complete the installation.
- Once finished, you will see a “Coefficient” tab in the top navigation bar. Click ‘Open Sidebar’ to launch Coefficient.

Step 2. Connect and Import Data from Linkedin AdsClick ‘Import from…’ from the Coefficient menu.
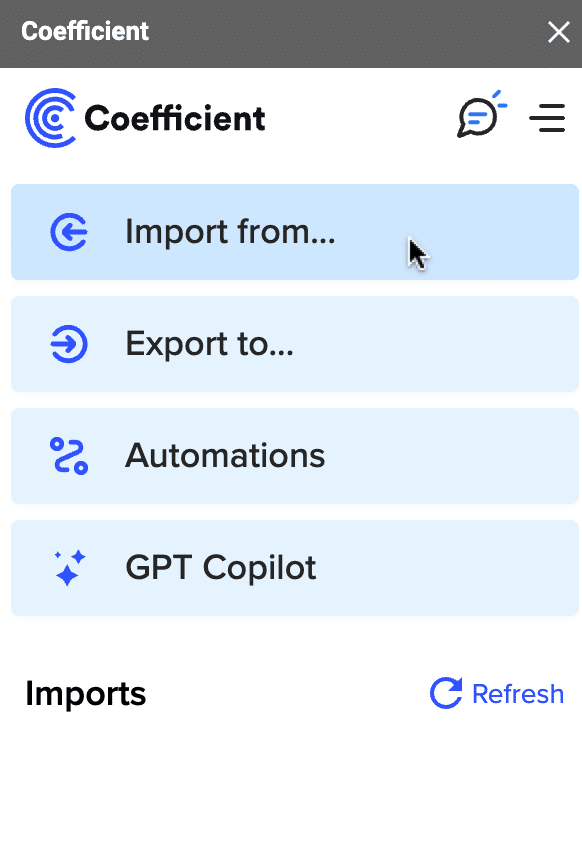
Navigate down the menu to find the LinkedIn Ads. Click ‘Connect.’

Coefficient will prompt you to grant it access to your LinkedIn Ads account.
Click ‘Authorize’ to proceed.

Enter your LinkedIn Ads credentials and click ‘Sign In.’

Click ‘Allow’ to grant access to Coefficient to your LinkedIn Ads account.

Once connected, navigate back to the Coefficient menu > ‘Import from…’ > ‘LinkedIn Ads.’
Select ‘Start from Scratch.’

Coefficient’s Import Preview menu allows you to select the metrics you want to import to your sheet.

Customize your import by adding filters, setting row limits, or pivoting your data for varied perspectives.

The Time Granularity dropdown allows you to easily view ad performance over time: daily, monthly, or yearly.
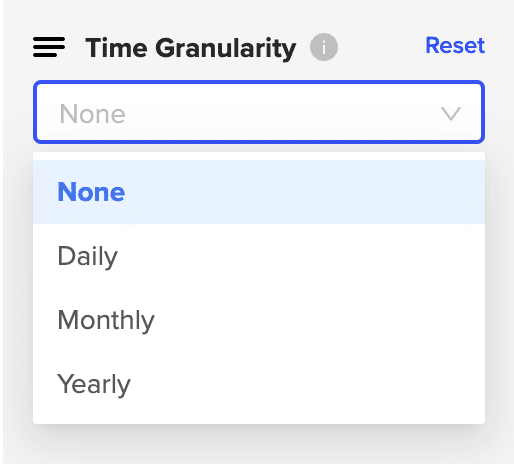
After customizing your fields, click ‘Refresh Preview’ to see the changes in the preview window.
Click ‘Import’ to continue.

Your data will automatically populate your spreadsheet.
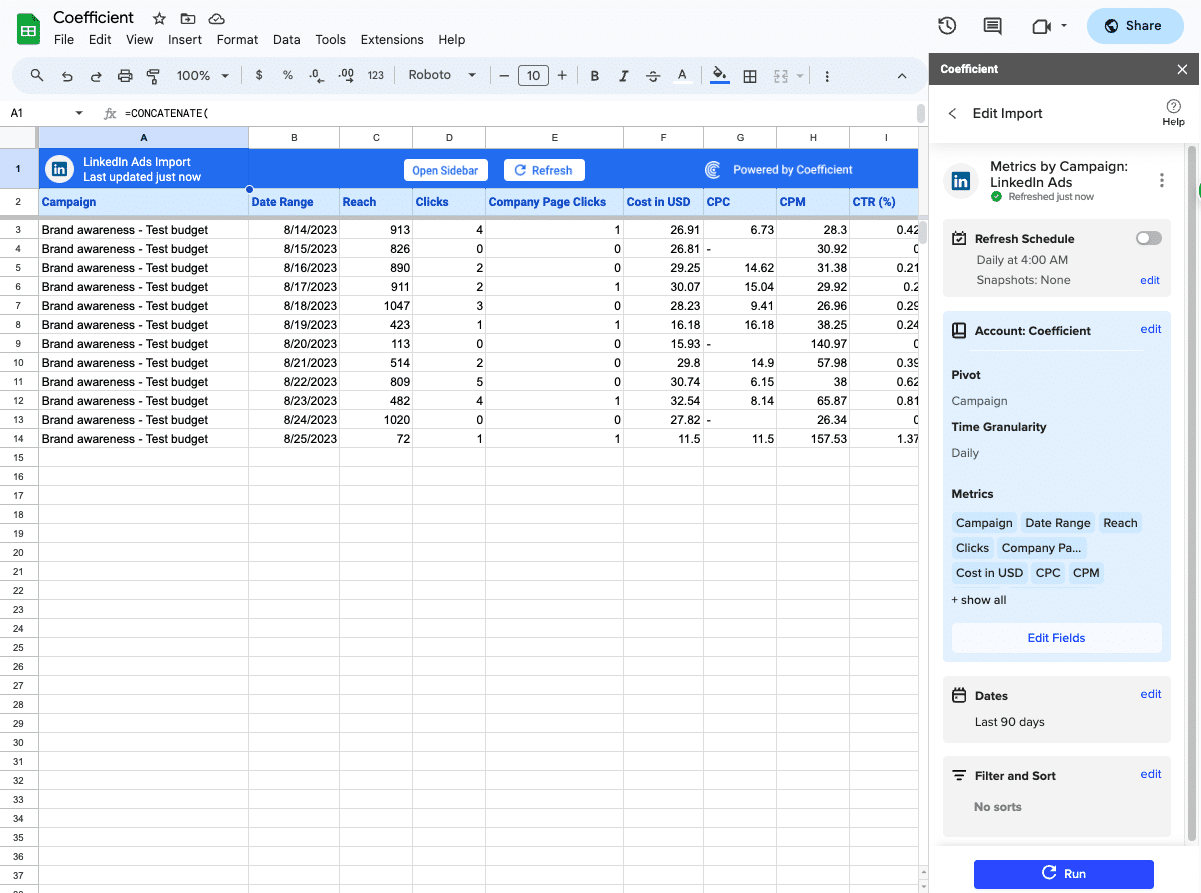
Step 3. Export Data to HubSpot
- Navigate to Export: In Coefficient’s sidebar, click Export to…, then select HubSpot.
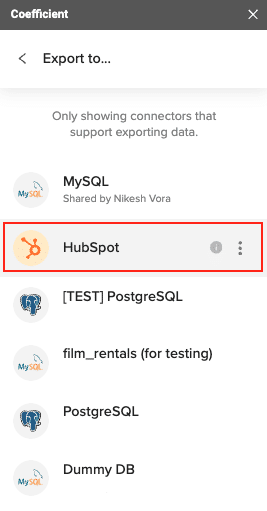
- Select Data and Action: Choose the tab and header row in your sheet that contains the data you want to export. Define your tab and header row. Select the HubSpot Object (e.g., Contacts, Deals) and choose the type of action: Update, Insert, Upsert, or Delete
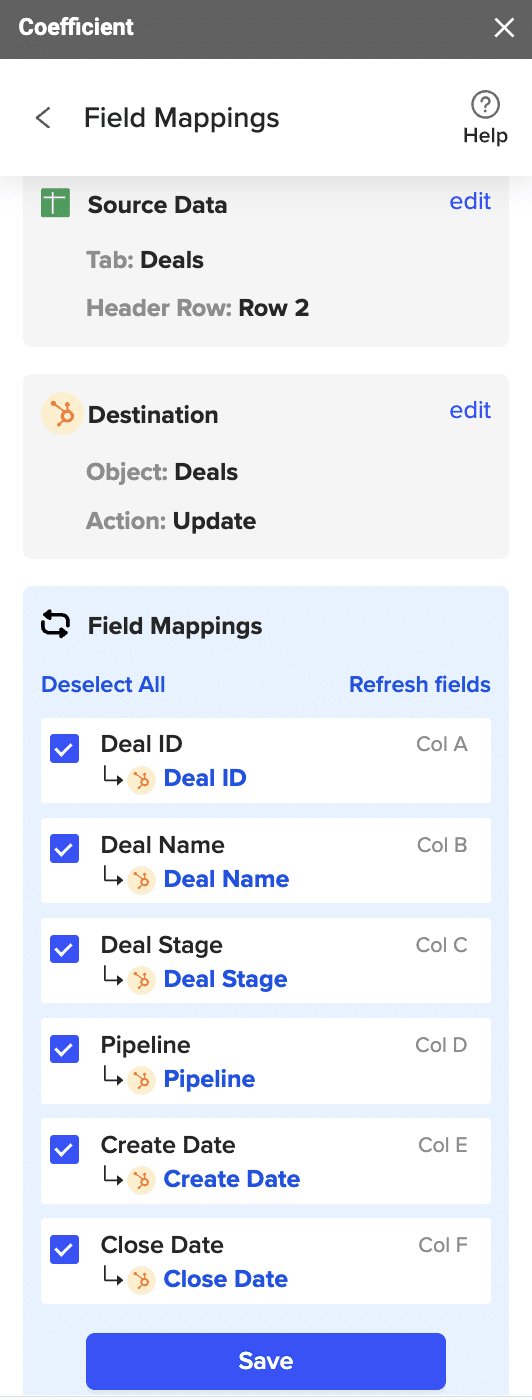
- Map Fields: Map the fields from your Google Sheets data to the corresponding fields in HubSpot. If your data came from a HubSpot import, fields would be auto-mapped by Coefficient. Otherwise, you’ll need to manually map your data
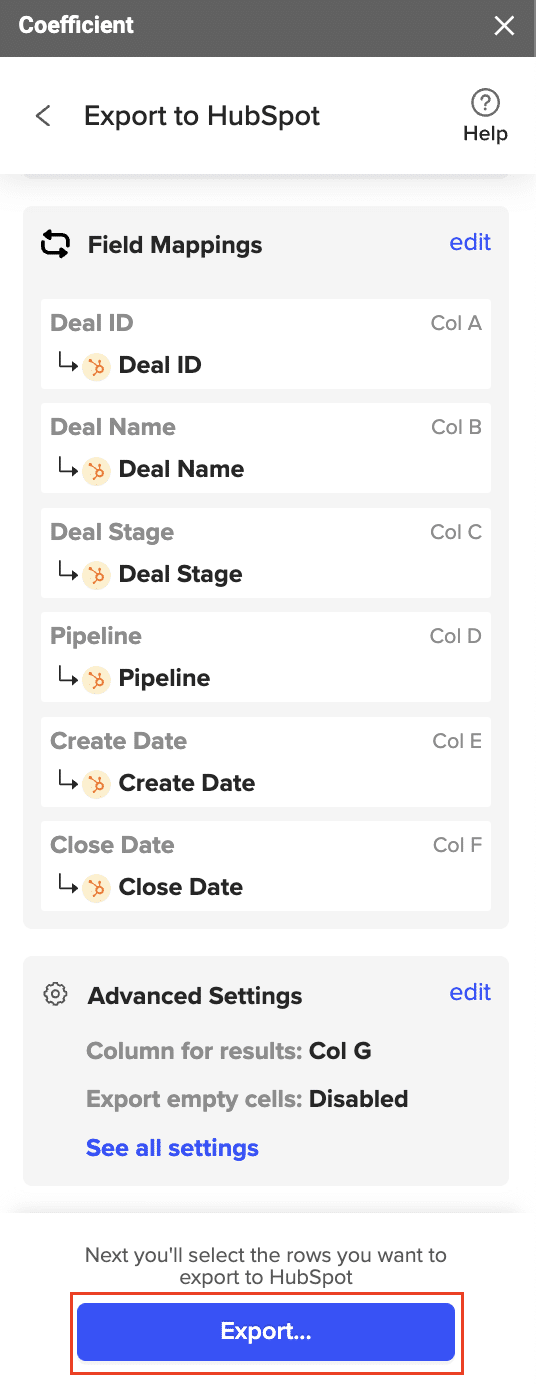
- Customize and Export: Specify additional settings like batch size and export options. Confirm your settings and click Export. Coefficient will process the request and update HubSpot accordingly
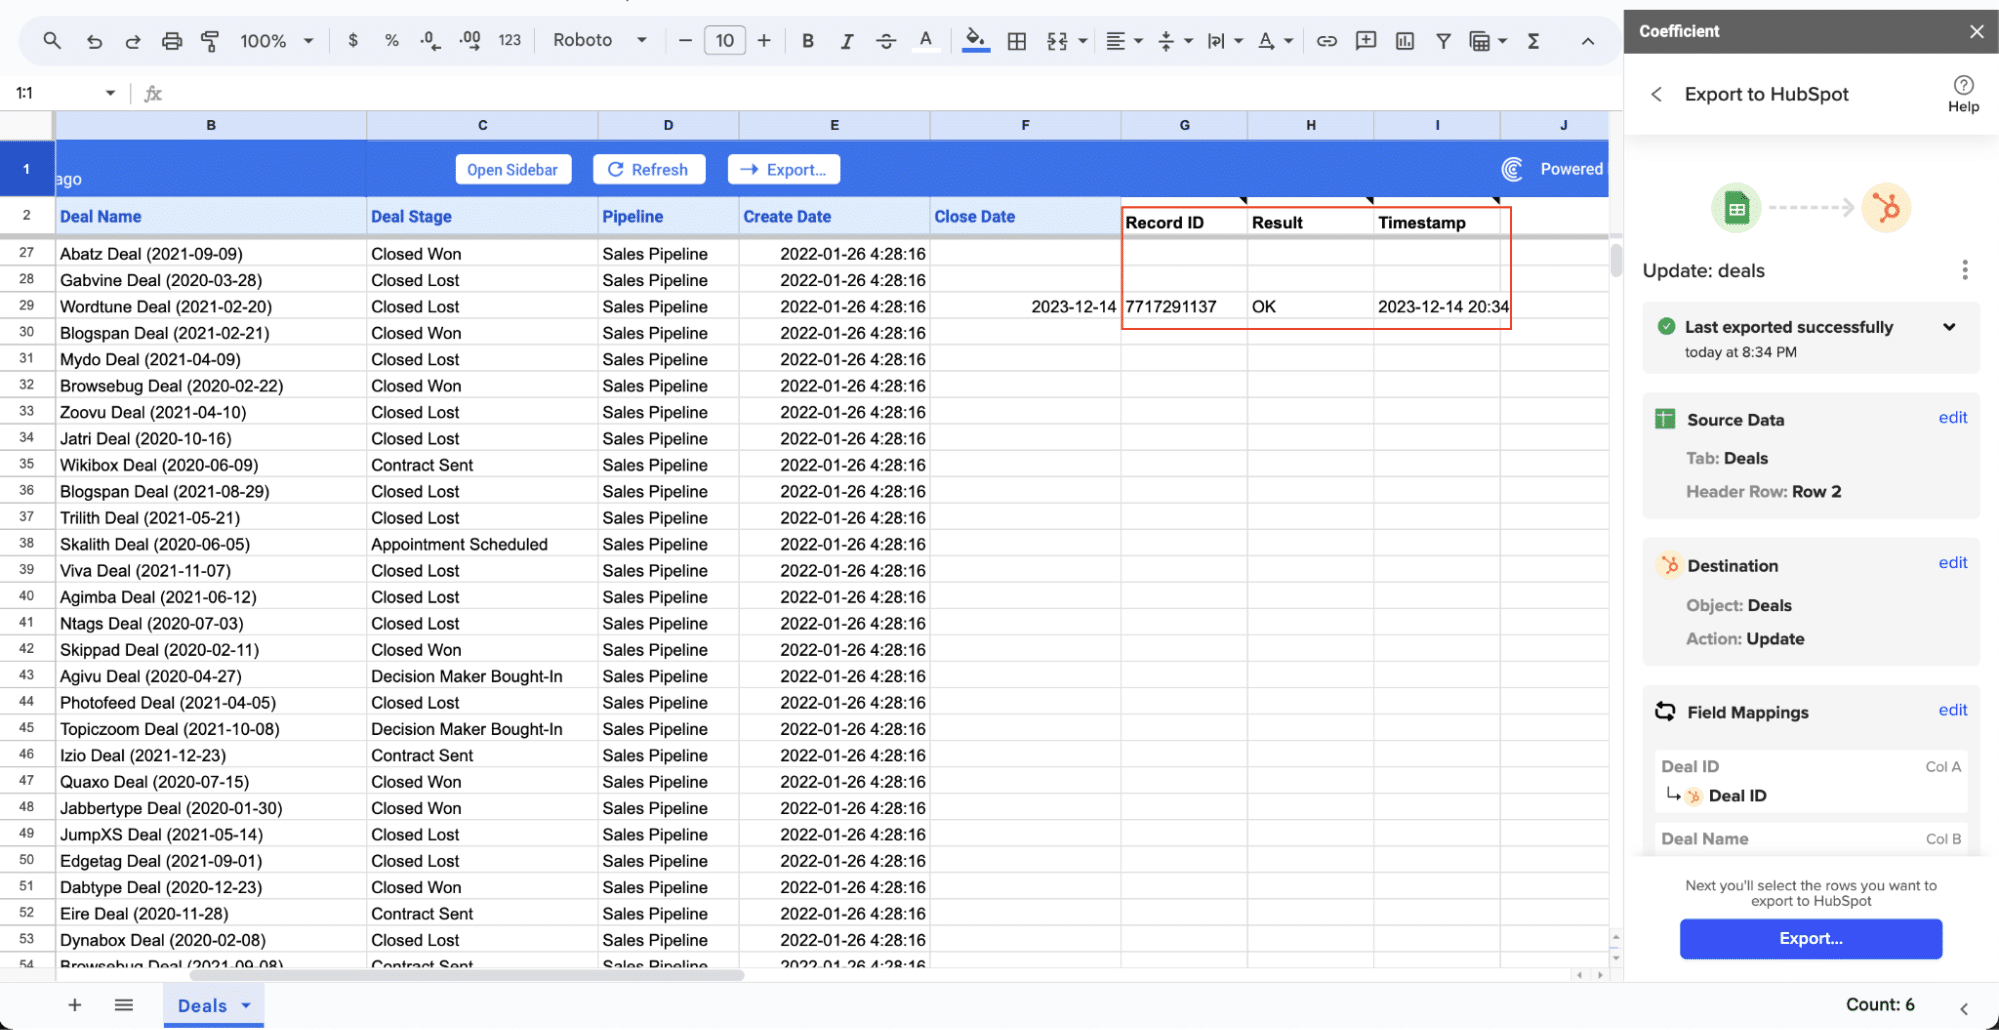
Check your spreadsheet to confirm. The records will have the record ID, result status, and timestamp of the update.
Pros:
- Customizable reporting templates
- Real-time data syncing
- Automated processes
- No coding required
- Spreadsheet-based interface
Cons:
- Requires spreadsheet knowledge
- Additional system in tech stack
#2 Native HubSpot Integration: Built-in Solution
HubSpot’s built-in LinkedIn Ads integration allows direct campaign management and lead syncing within the HubSpot marketing hub.
Step-by-step guide:
Step 1: Access HubSpot Marketing Hub Navigate to HubSpot’s advertising integration section where you can connect your LinkedIn Ads account directly through the marketing hub interface.
Required access path: Settings → Marketing → Ads → LinkedIn Ads Integration
Step 2: LinkedIn Account Authentication Connect your LinkedIn Ads account through HubSpot’s secure authentication process with proper permission scoping.
Authentication requirements:
- LinkedIn Campaign Manager access
- Super Admin or Account Manager role
- Billing account access
- HubSpot Marketing Hub Professional or Enterprise tier
Step 3: Campaign Sync Configuration Set up synchronization preferences for your LinkedIn Ad campaigns, including which data points to track and monitor.
Key sync options:
- Campaign performance metrics
- Lead form submissions
- Audience targeting data
- Budget utilization
- Creative asset performance
Step 4: Lead Capture Setup Configure how LinkedIn Ad leads are captured and processed within your HubSpot CRM.
Lead processing settings:
- Contact property mapping
- Lead scoring rules
- Form field associations
- Duplicate handling preferences
- Lead assignment rules
Step 5: Analytics Integration Establish reporting parameters to track campaign performance directly within HubSpot.
Reporting capabilities:
- Campaign ROI tracking
- Lead source attribution
- Conversion path analysis
- Audience engagement metrics
- Cost per acquisition monitoring
Pros:
- Native integration
- Direct lead syncing
- Built-in campaign management
- No additional costs
Cons:
- Limited customization
- Basic reporting capabilities
- Restricted to HubSpot’s features
#3 Zapier: Automated Workflows

Zapier provides automated processes between LinkedIn Ads and HubSpot through customizable triggers and actions.
Step-by-step guide:
Step 1. Sign up for a Zapier account
Visit Zapier’s website and create an account if you don’t already have one.
Step 2. Create a new Zap (automated workflow)
In your Zapier dashboard, click on ” + Create” > “New Zap” to start setting up your automation workflow.

Step 3. Choose LinkedIn Ads as the trigger app
Search for “LinkedIn Ads” in the app selection and choose it as your trigger app.
Step 4. Select the specific LinkedIn Ads trigger event
Choose the event that will initiate your workflow
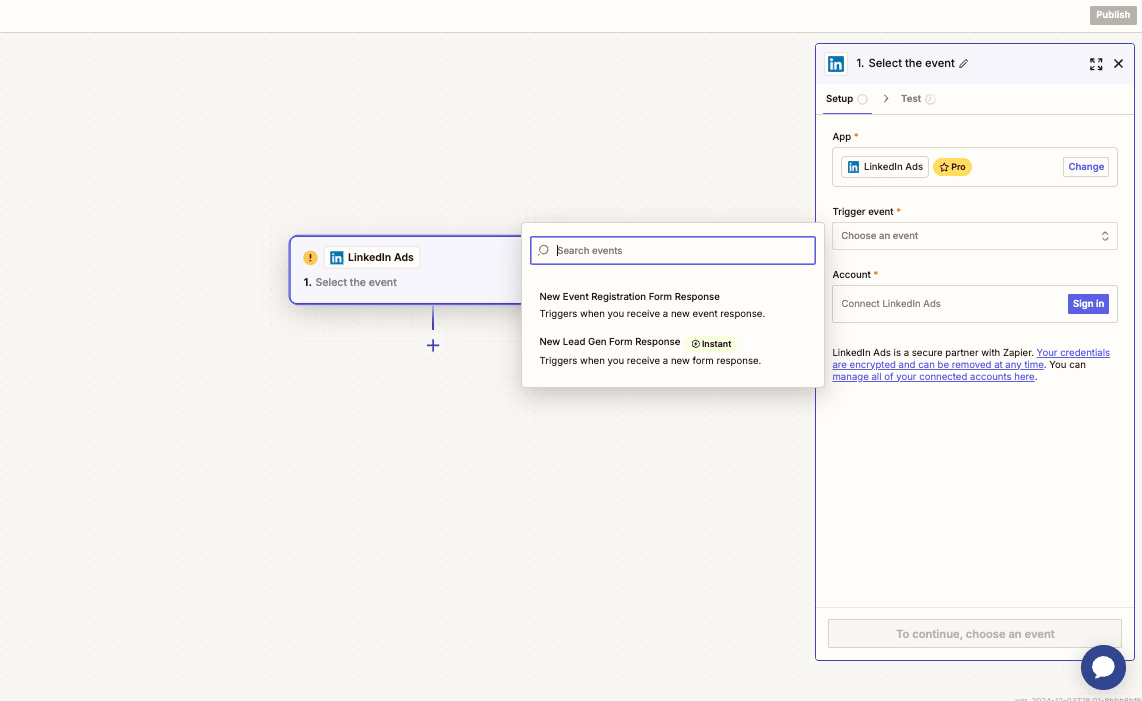
Step 5. Connect your LinkedIn Ads account to Zapier
Follow the prompts to authenticate your LinkedIn Ads account with Zapier.
Step 6. Choose HubSpot as the action app
In the action step, search for and select “HubSpot” as your action app.
Step 7. Select the action to perform in HubSpot
Choose the specific action you want to perform, such as “Add Contact to List” or “Create Company.”
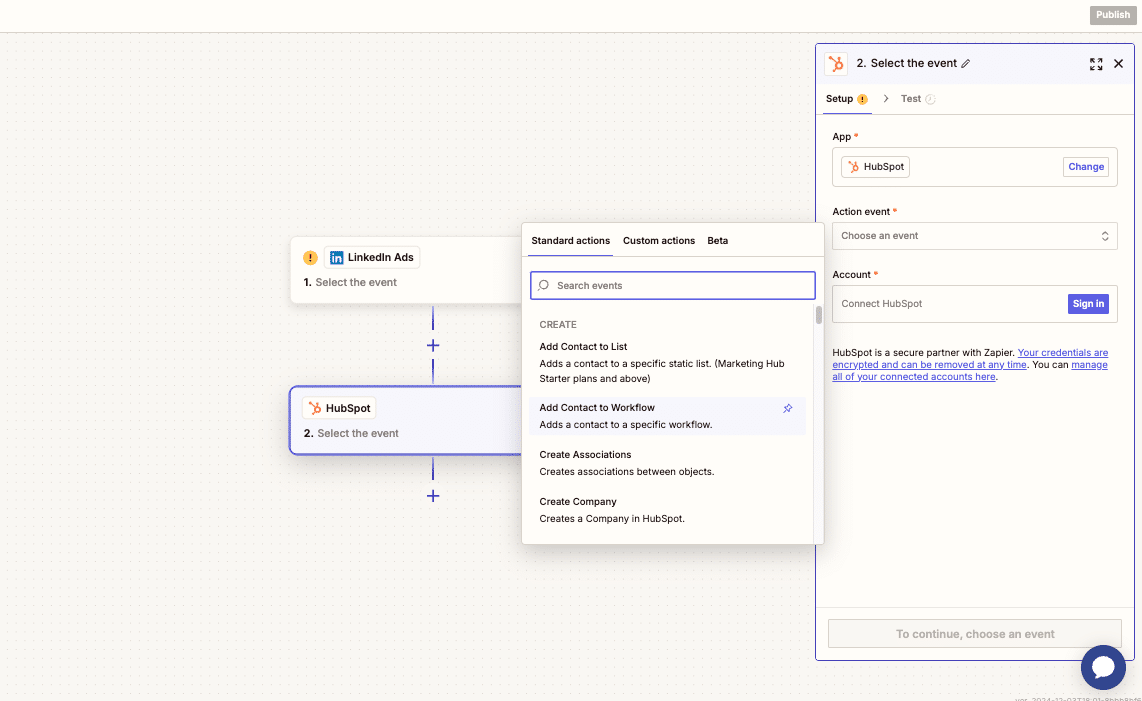
Step 8. Map the LinkedIn Ads data fields to the corresponding HubSpot table columns
Use Zapier’s field mapping interface to match the LinkedIn Ads data with the appropriate columns in your HubSpot table.
Step 9. Test and activate your Zap
Run a test to ensure your Zap is working correctly, then activate it to start the automated workflow.
Pros:
- Multiple automation options
- Easy setup
- No coding required
Cons:
- Limited data customization
- Potential sync delays
- Usage limits on free plan
Optimize Your LinkedIn Ads Performance with HubSpot
Connecting LinkedIn Ads to HubSpot can significantly improve your B2B marketing operations. Whether you choose Coefficient’s flexible reporting solution, HubSpot’s native integration, or Zapier’s automation capabilities, you’ll be better equipped to manage leads, track campaign performance, and execute targeted ABM strategies.
Ready to enhance your marketing efforts? Get started with Coefficient today to unlock advanced reporting and automation capabilities for your LinkedIn Ads and HubSpot integration. Start optimizing your B2B marketing now.


