Are you looking to streamline your customer support and sales workflows? Integrating your Freshdesk ticketing system with Salesforce CRM is a great way to boost productivity and enhance customer experiences. In this post, we’ll explore three methods to seamlessly connect Freshdesk and Salesforce, including the no-code Coefficient solution and two other popular options – Zapier and MuleSoft.
The Advantages of Connecting Freshdesk and Salesforce
By syncing your customer support and CRM data, you can empower your teams with the information they need to deliver exceptional service. Here are some key benefits of connecting Freshdesk with Salesforce:
- 360-Degree Customer View: Create a unified customer profile by merging Freshdesk support history with Salesforce sales data. This comprehensive view includes ticket details, purchase history, account status, and ongoing opportunities, enabling both support and sales teams to make informed decisions and provide context-aware assistance.
- Improved Customer Service: Give your support and sales teams a complete view of each customer by unifying data from Freshdesk and Salesforce. With access to a customer’s full history of interactions and purchases, your agents can provide faster, more personalized service.
- Proactive Churn Prevention: Identify at-risk customers before they leave by combining support ticket frequency and severity from Freshdesk with account health scores from Salesforce.
3 Methods to Connect Freshdesk and Salesforce Compared
There are various tools available to integrate Freshdesk and Salesforce, each with their own unique features, benefits, and use cases. Here’s an overview of three of the best options:
| Solution | Best For |
| Coefficient | Teams looking for an easy, no-code way to sync Freshdesk tickets and customer data with Salesforce records. |
| Zapier | Companies that want to automate specific Freshdesk-Salesforce workflows without complex setup. |
| MuleSoft | Enterprises with advanced integration needs requiring customization and scalability. |
Let’s dive into each method in more detail, including step-by-step instructions to get started.
Connect Freshdesk to Salesforce: Step-by-Step Guidees
Method 1: Coefficient – No-Code, User-Friendly
Coefficient connects your spreadsheet to all your business data without a single line of code. It provides a user-friendly interface and automatic data updates, making it a reliable option for both technical and non-technical users.
Pros:
- Simple, no-code setup
- Automatic data updates
- Seamless integration with Google Sheets
- Two-way syncing capability
Cons:
- Some advanced features may require premium plans
How to Connect Freshdesk to Salesforce with Coefficient
Step 1: Install the Coefficient
For Google Sheets
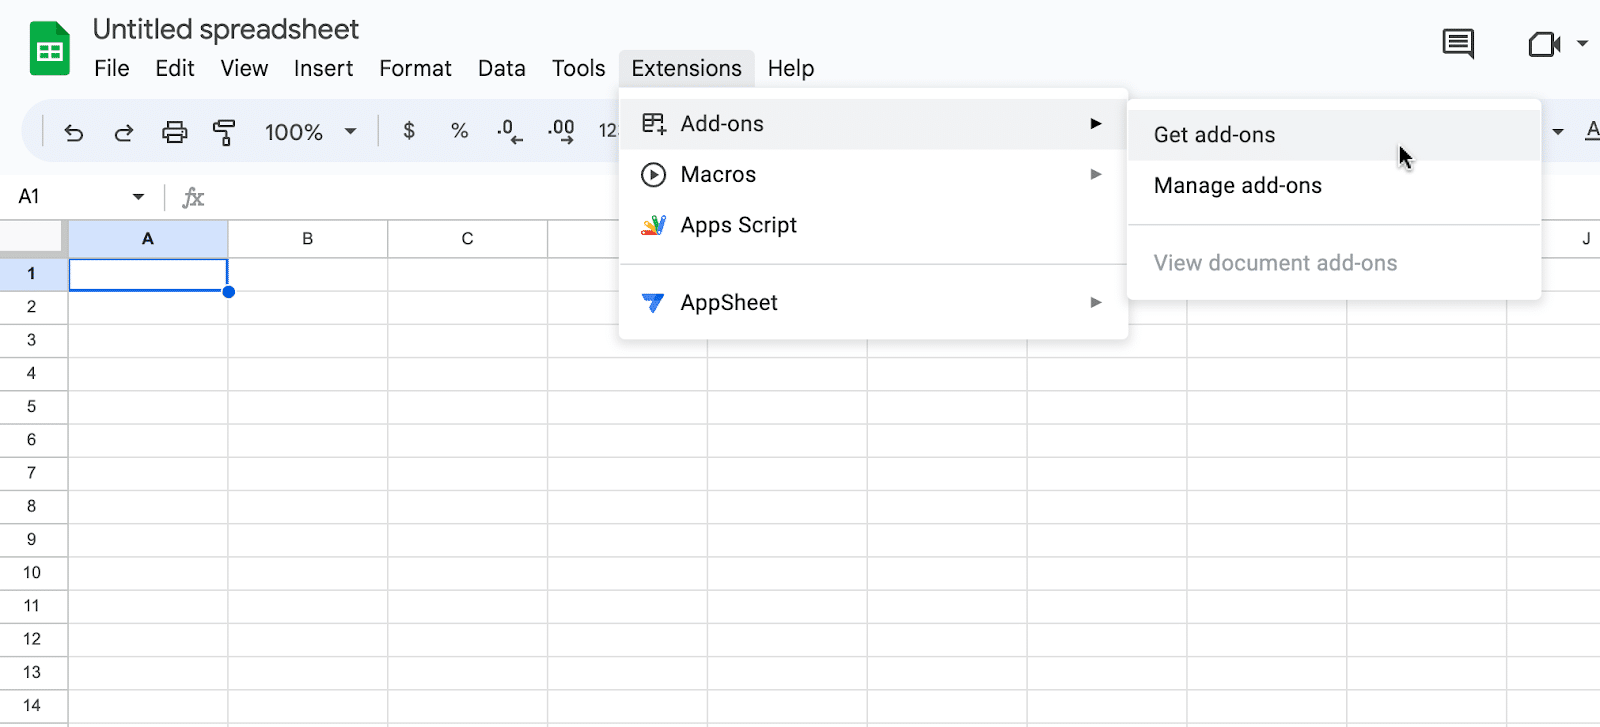
Open a new or existing Google Sheet, navigate to the Extensions tab, and select Add-ons > Get add-ons.
In the Google Workspace Marketplace, search for “Coefficient.”

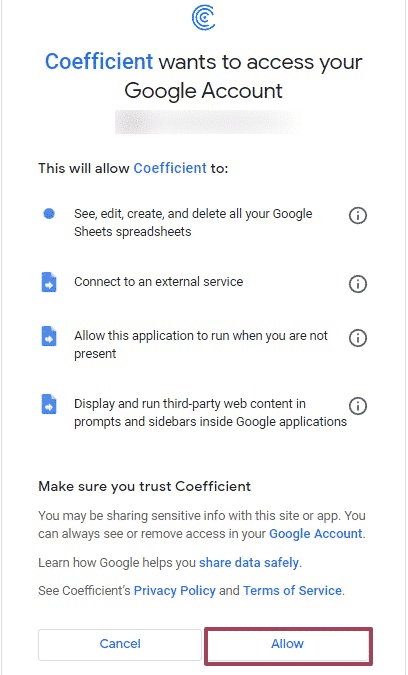
Follow the prompts to grant necessary permissions.
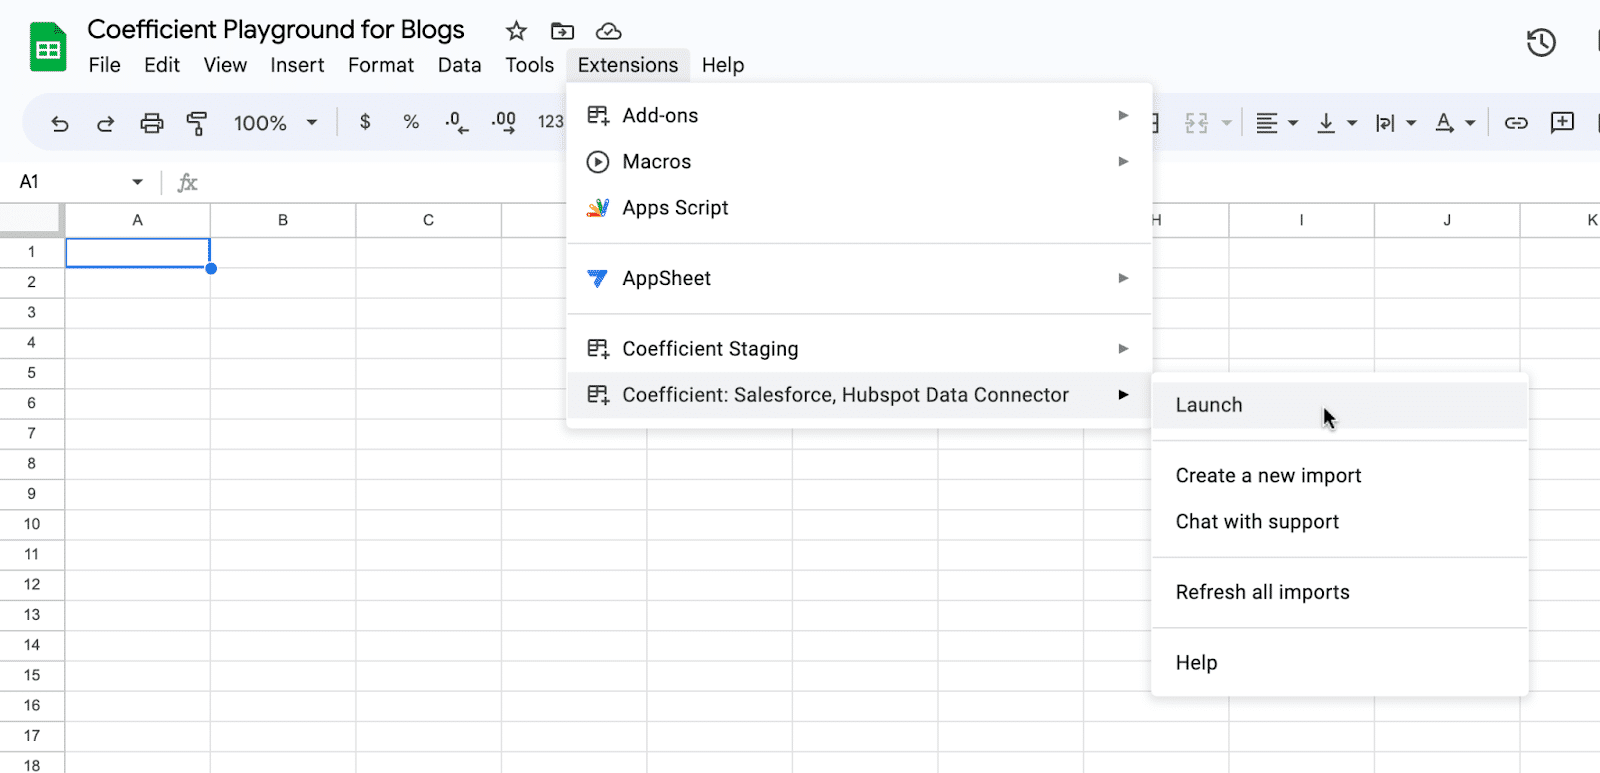
Launch Coefficient from Extensions > Coefficient > Launch.
Coefficient will open on the right-hand side of your spreadsheet.

For Microsoft Excel
Open Excel from your desktop or in Office Online. Click ‘File’ > ‘Get Add-ins’ > ‘More Add-Ins.’
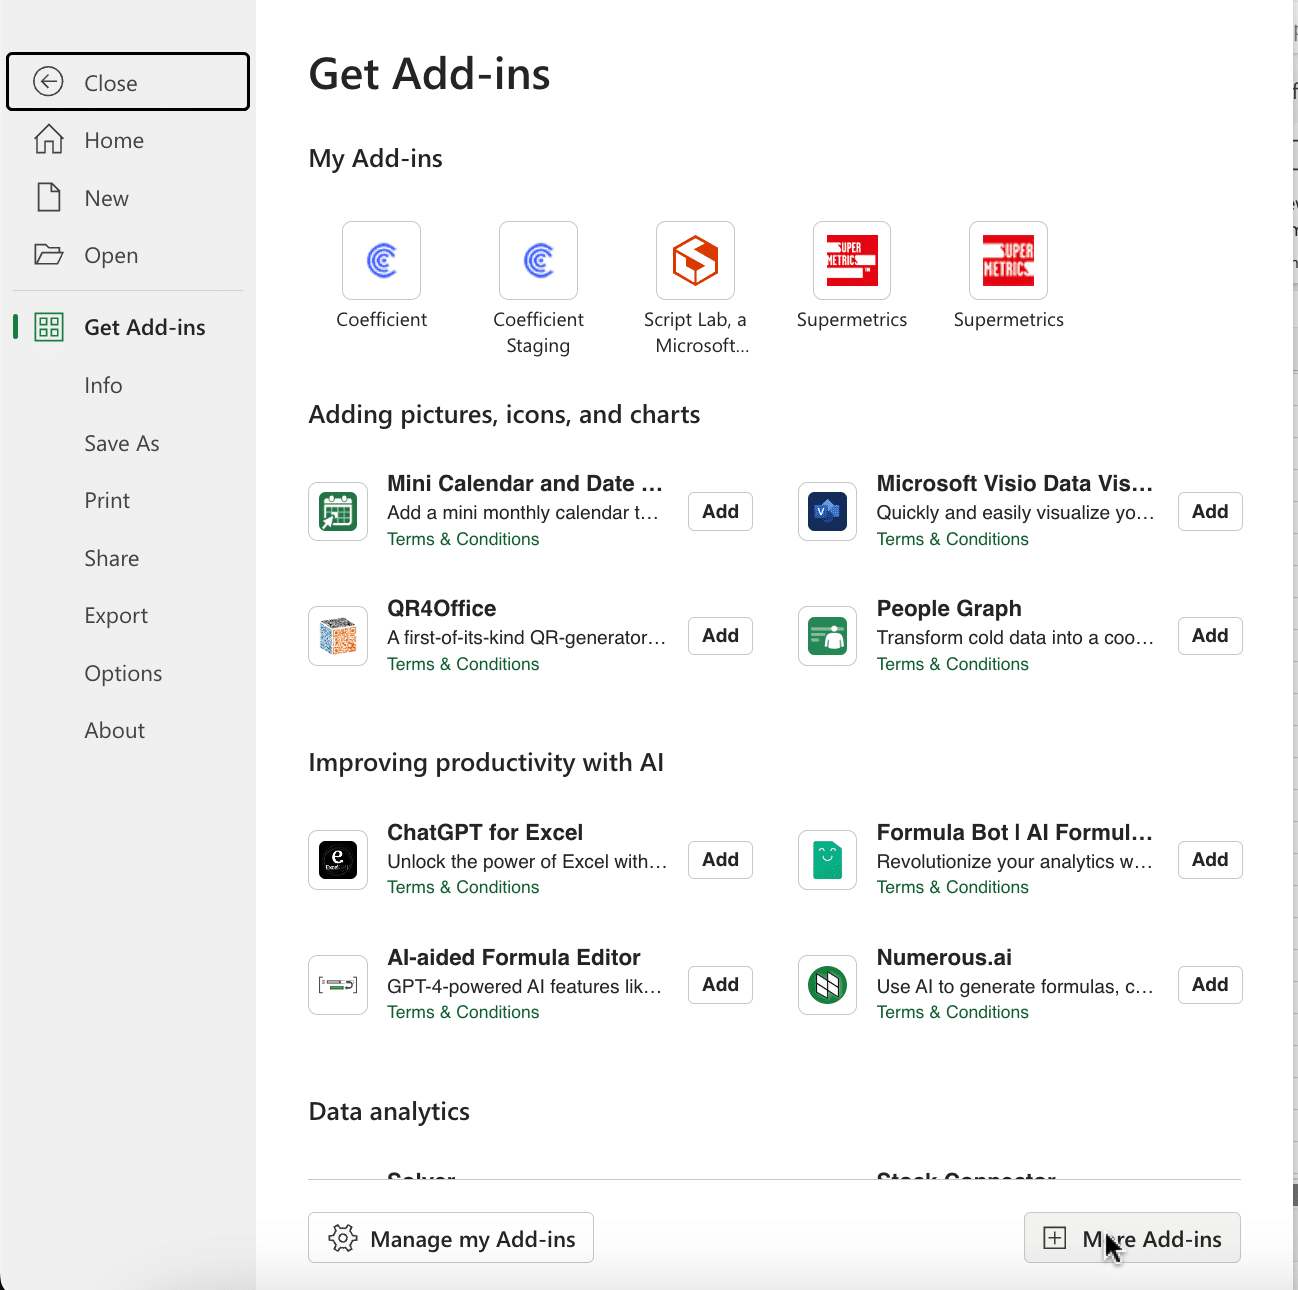
Type “Coefficient” in the search bar and click ‘Add.’
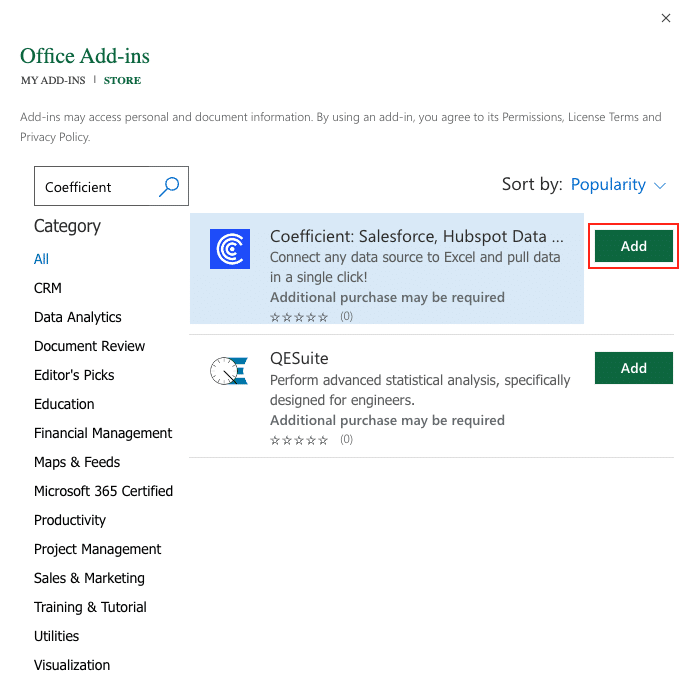
Follow the prompts in the pop-up to complete the installation.
Once finished, you will see a “Coefficient” tab in the top navigation bar. Click ‘Open Sidebar’ to launch Coefficient.
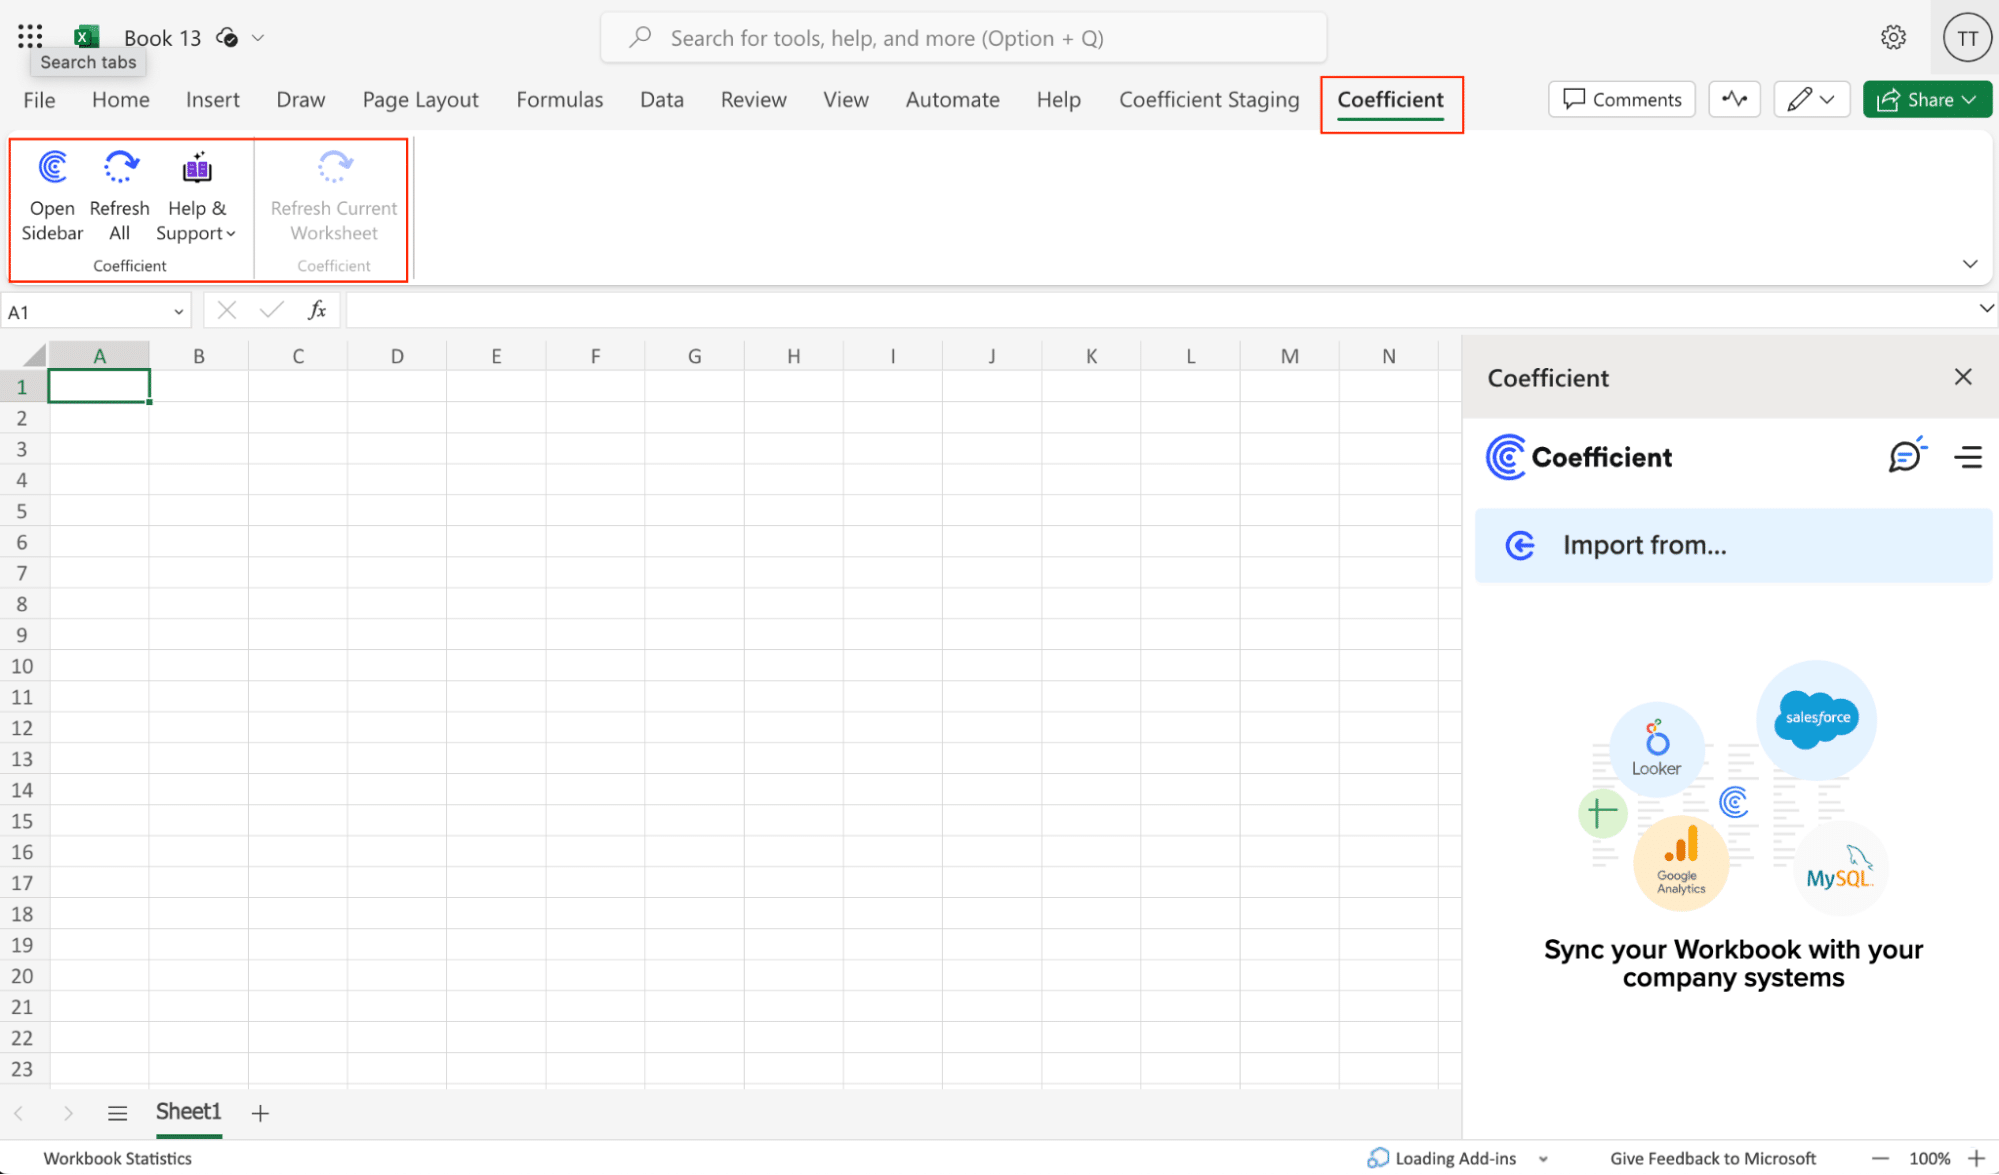
Step 2. Import Freshdesk Data to Your Spreadsheet
With Coefficient installed, you’re now ready to import your Freshdesk data into Excel. Let’s walk through the process step by step:
In the Coefficient sidebar, click on “Import From” > “Add a Connection.” Select “Freshdesk” from the list of available data sources.
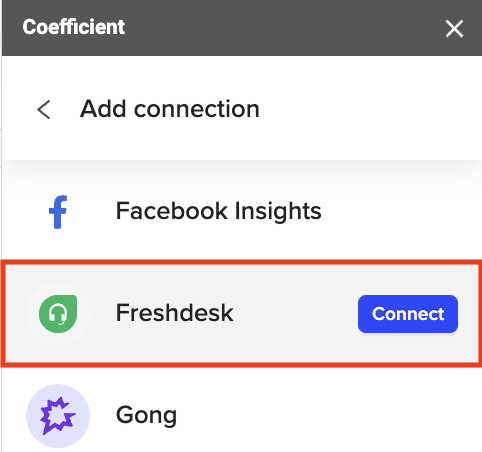
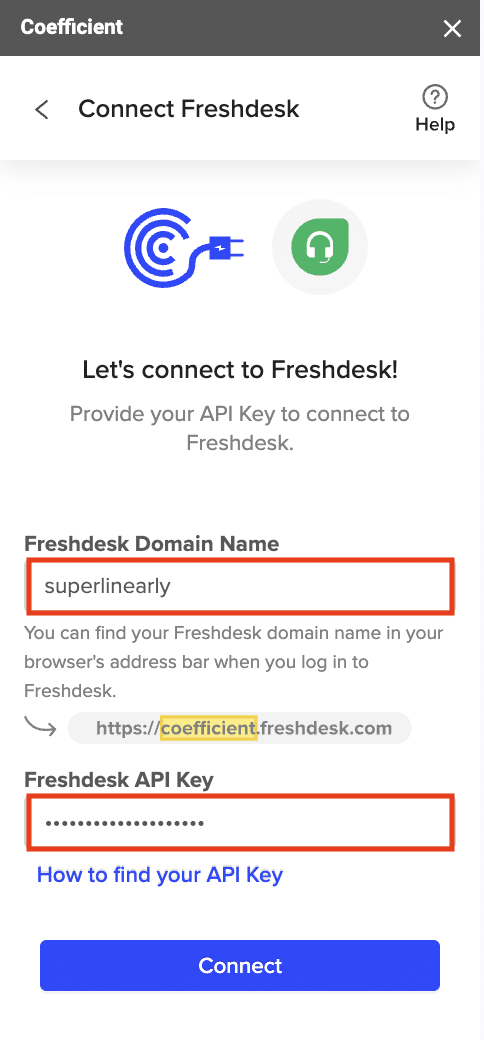
Add your Freshdesk domain name, which can be found in the URL when logged into Freshdesk (e.g., “Coefficient” in “coefficient.freshdesk.com”).
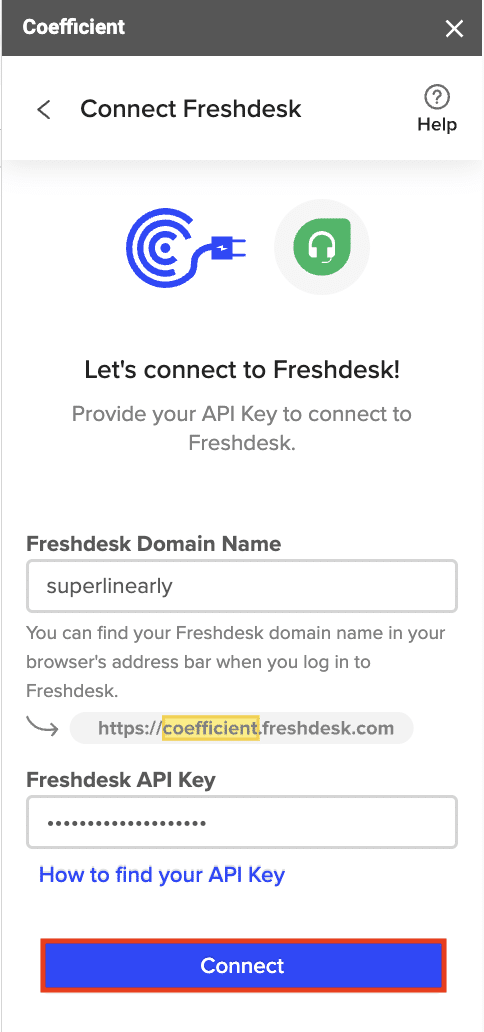
Enter your Freshdesk API key and click “Connect.”
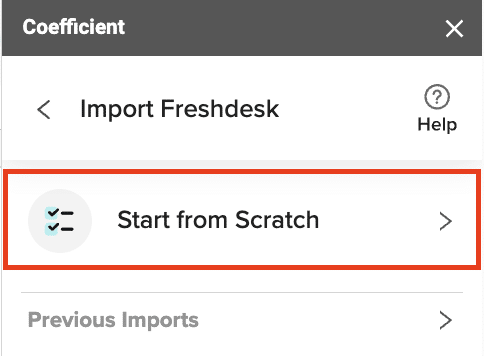
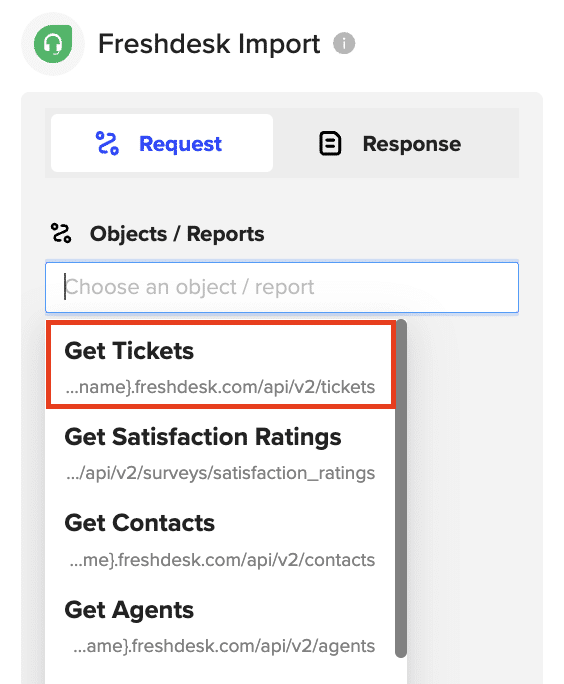
Select an endpoint, such as “Get Tickets”, to fetch data from.
Optionally, add filters to refine your data import, such as searching for a specific requester’s email.
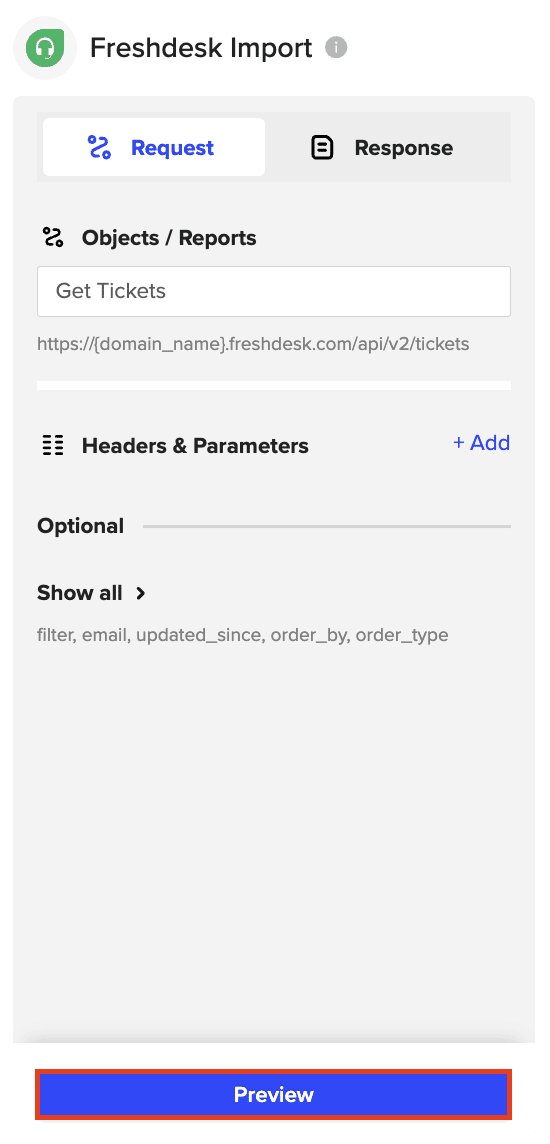
Click “Preview” to continue.
Choose the data fields you want to include in your import, such as subject, status, requester, priority, creation date, due date, ticket ID, and tags.
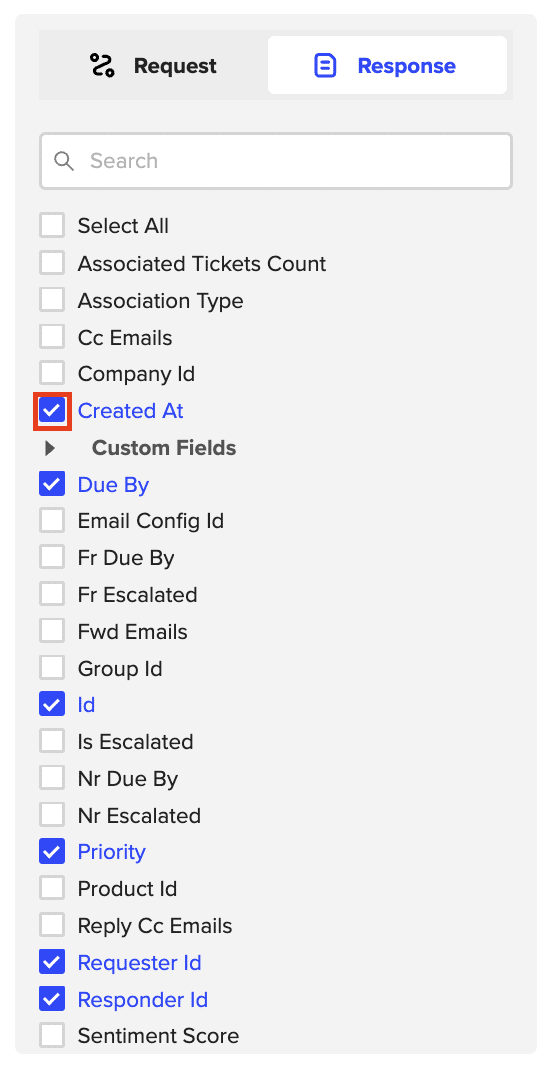
When you’re finished, click “Import” to fetch the selected data into your Excel spreadsheet.
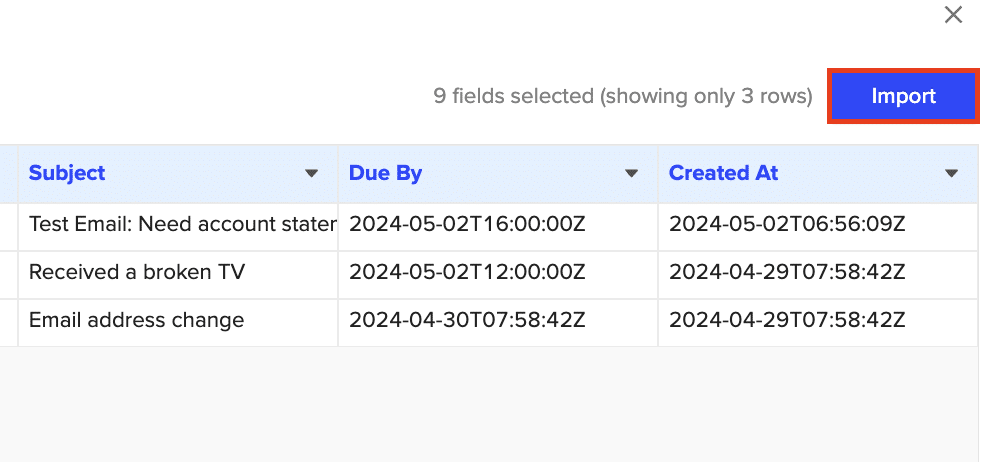
Step 3. Export Data from Your Spreadsheet to Salesforce
Before starting, make sure you’ve connected to Salesforce.
https://www.youtube.com/watch?v=B5qUY5zs-vc
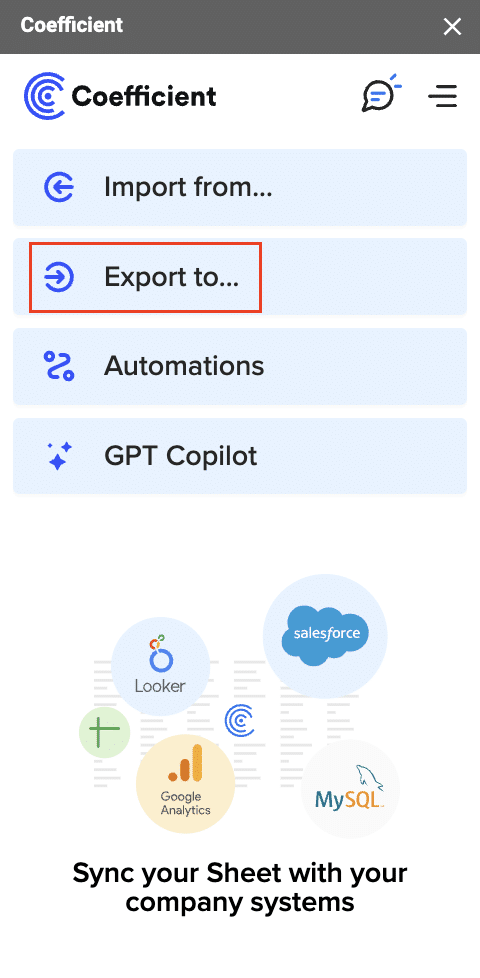
Then, navigate to Coefficient’s menu. Click “Export to…”
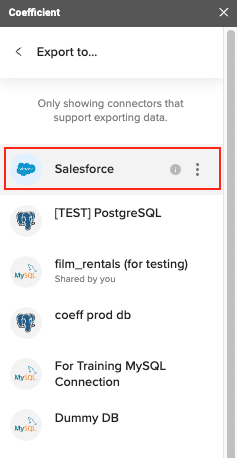
Choose Salesforce from the list of available data sources.
Select the tab and header rows in your spreadsheet that contain the data you want to export.
Define your tab and header row.
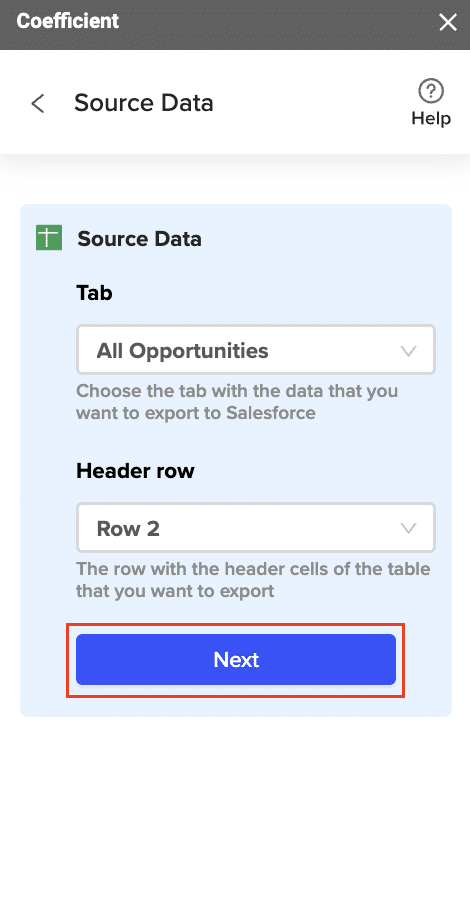
Note: Coefficient will automatically map the fields for you if the data in the sheet came from an import from Salesforce using Coefficient.
Next, select the Salesforce Object you want to export data to, e.g., “Opportunity”, “Contacts”, etc.
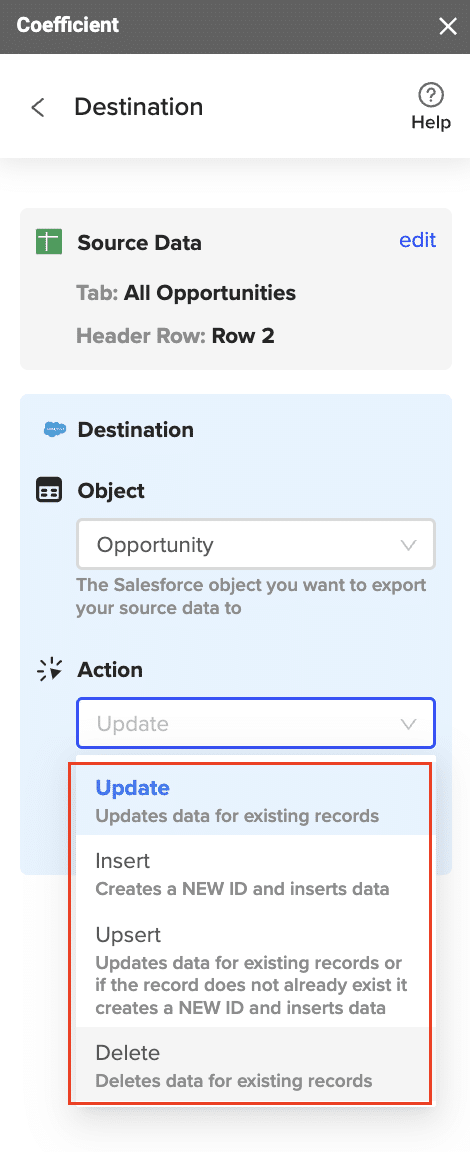
Then, select the type of action you want to perform—Update, Insert, Upsert, or Delete.
Step 5: Map Fields
Map the fields from your spreadsheet to the corresponding Salesforce fields.
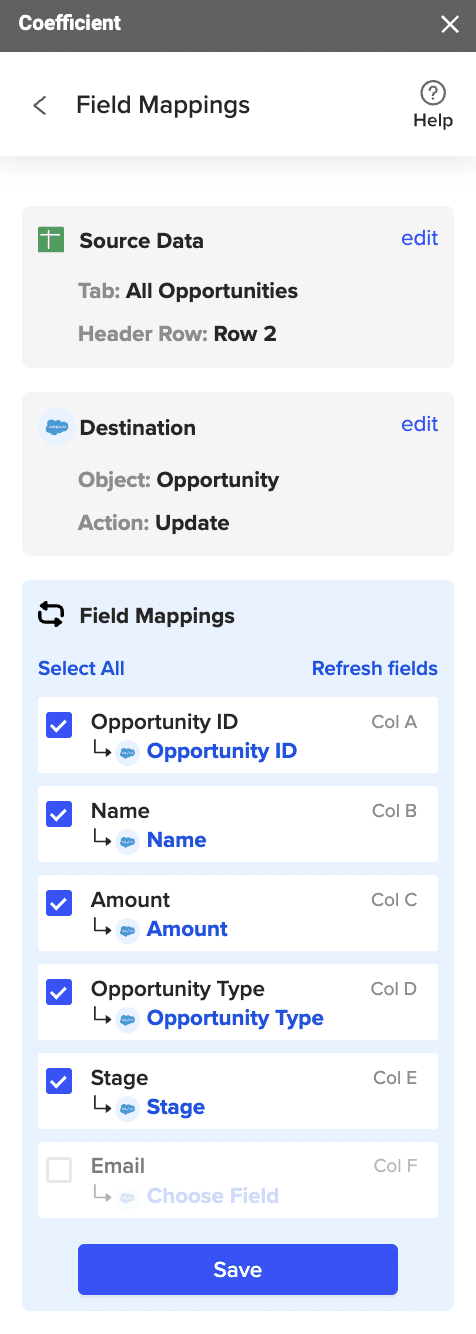
Note: If you imported data from Salesforce into your spreadsheet previously, Coefficient will auto-detect and map these fields.

Stop exporting data manually. Sync data from your business systems into Google Sheets or Excel with Coefficient and set it on a refresh schedule.
Get Started
(Optional) Specify additional settings such as batch size, whether to export empty cells on an update, and the column for results.
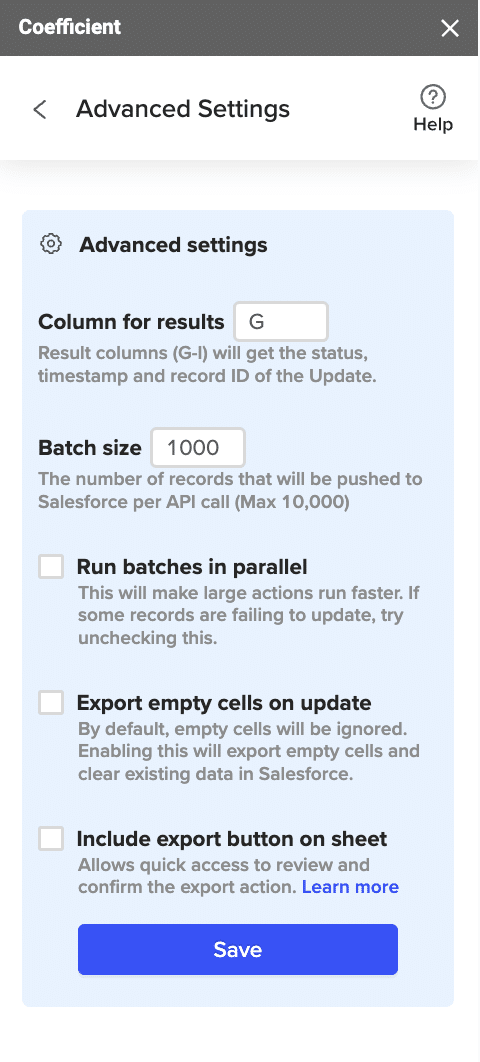
Note: Batch size is capped at 10,000 rows due to Salesforce API limitations.
Step 7: Select Rows to Export
Confirm your settings and click “Export”.
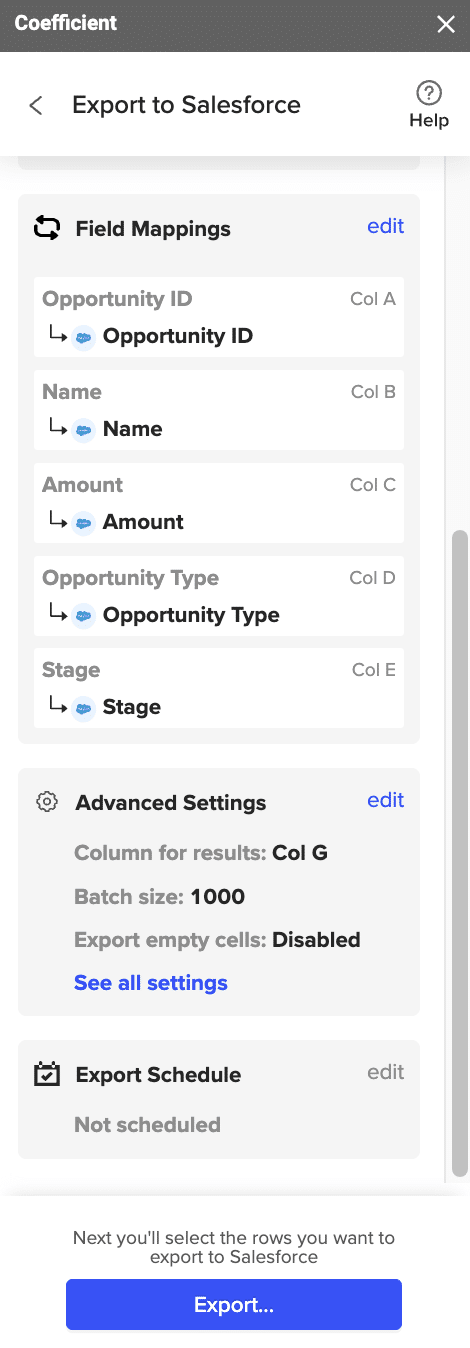
Then, highlight the rows you want to update or export. You can choose to export all rows or specific rows.
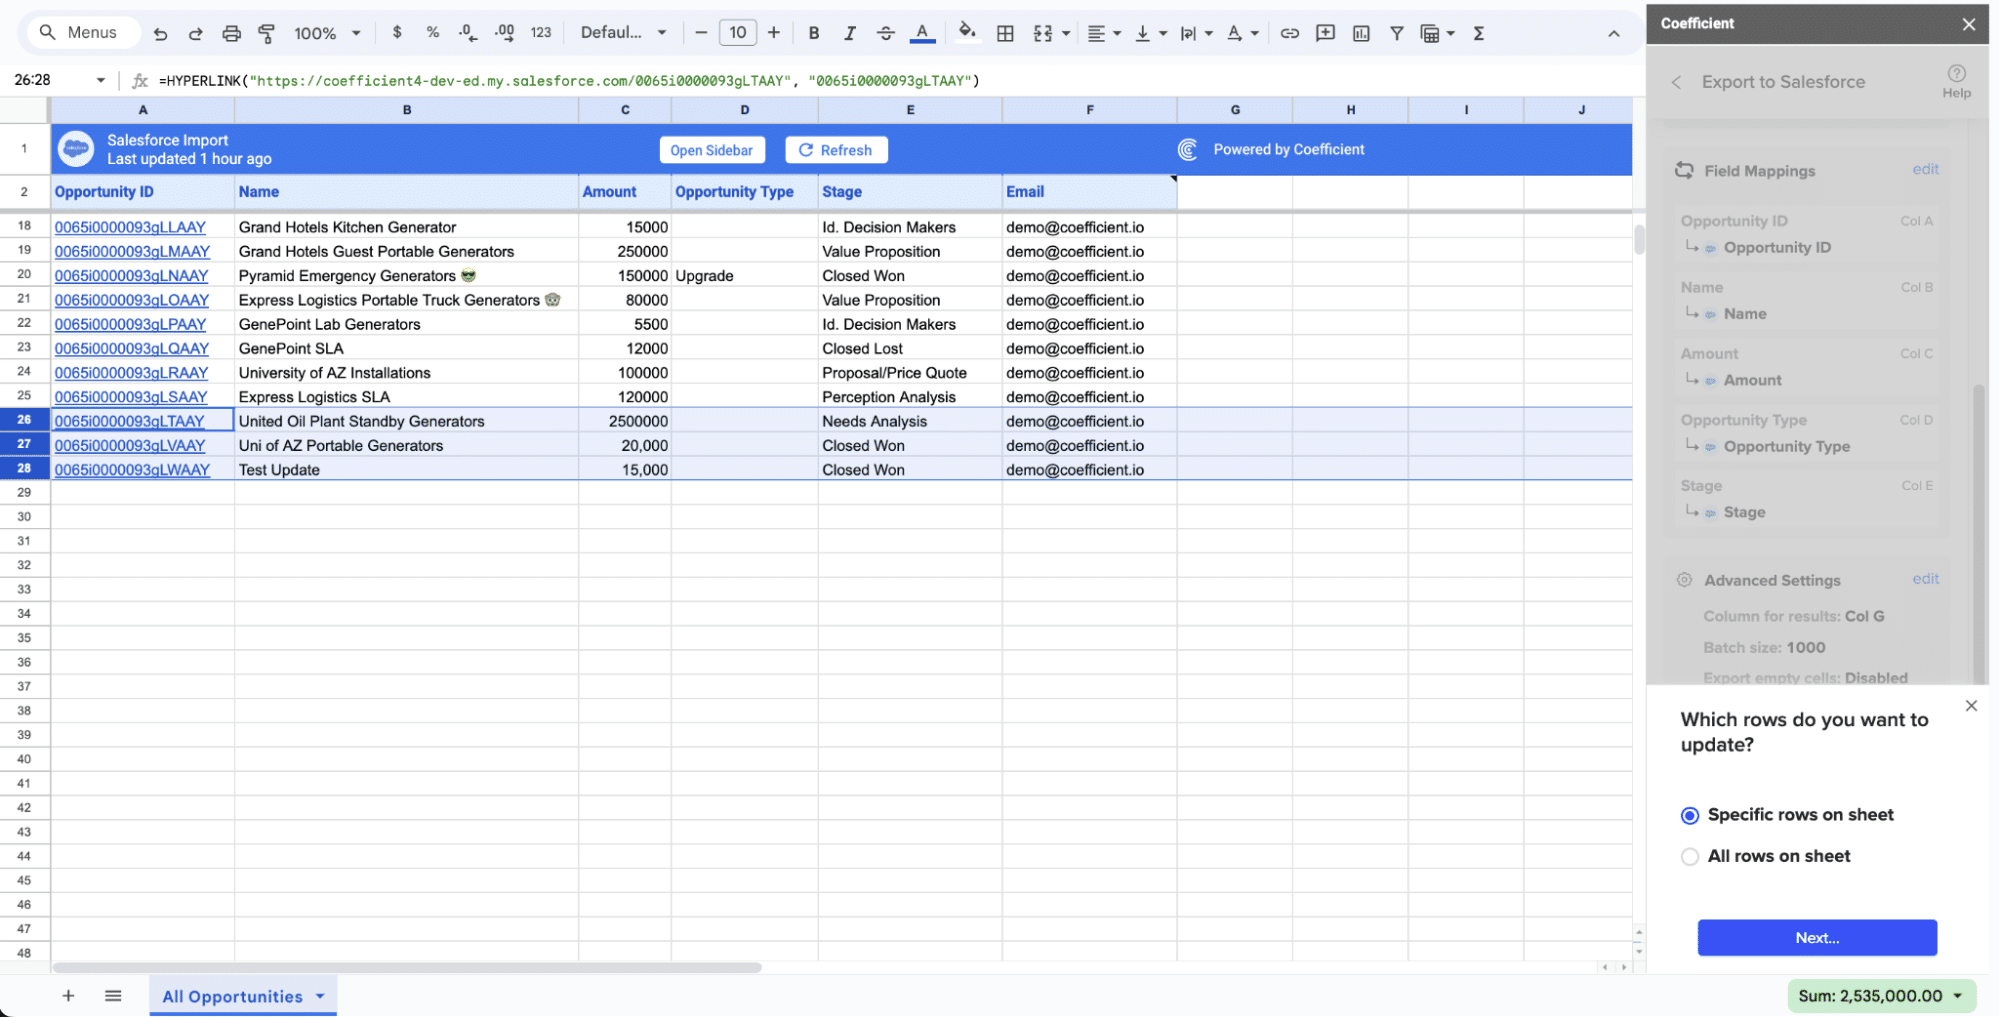
After you’re finished, review your settings and click “Export.”
Follow the prompts to confirm your changes.
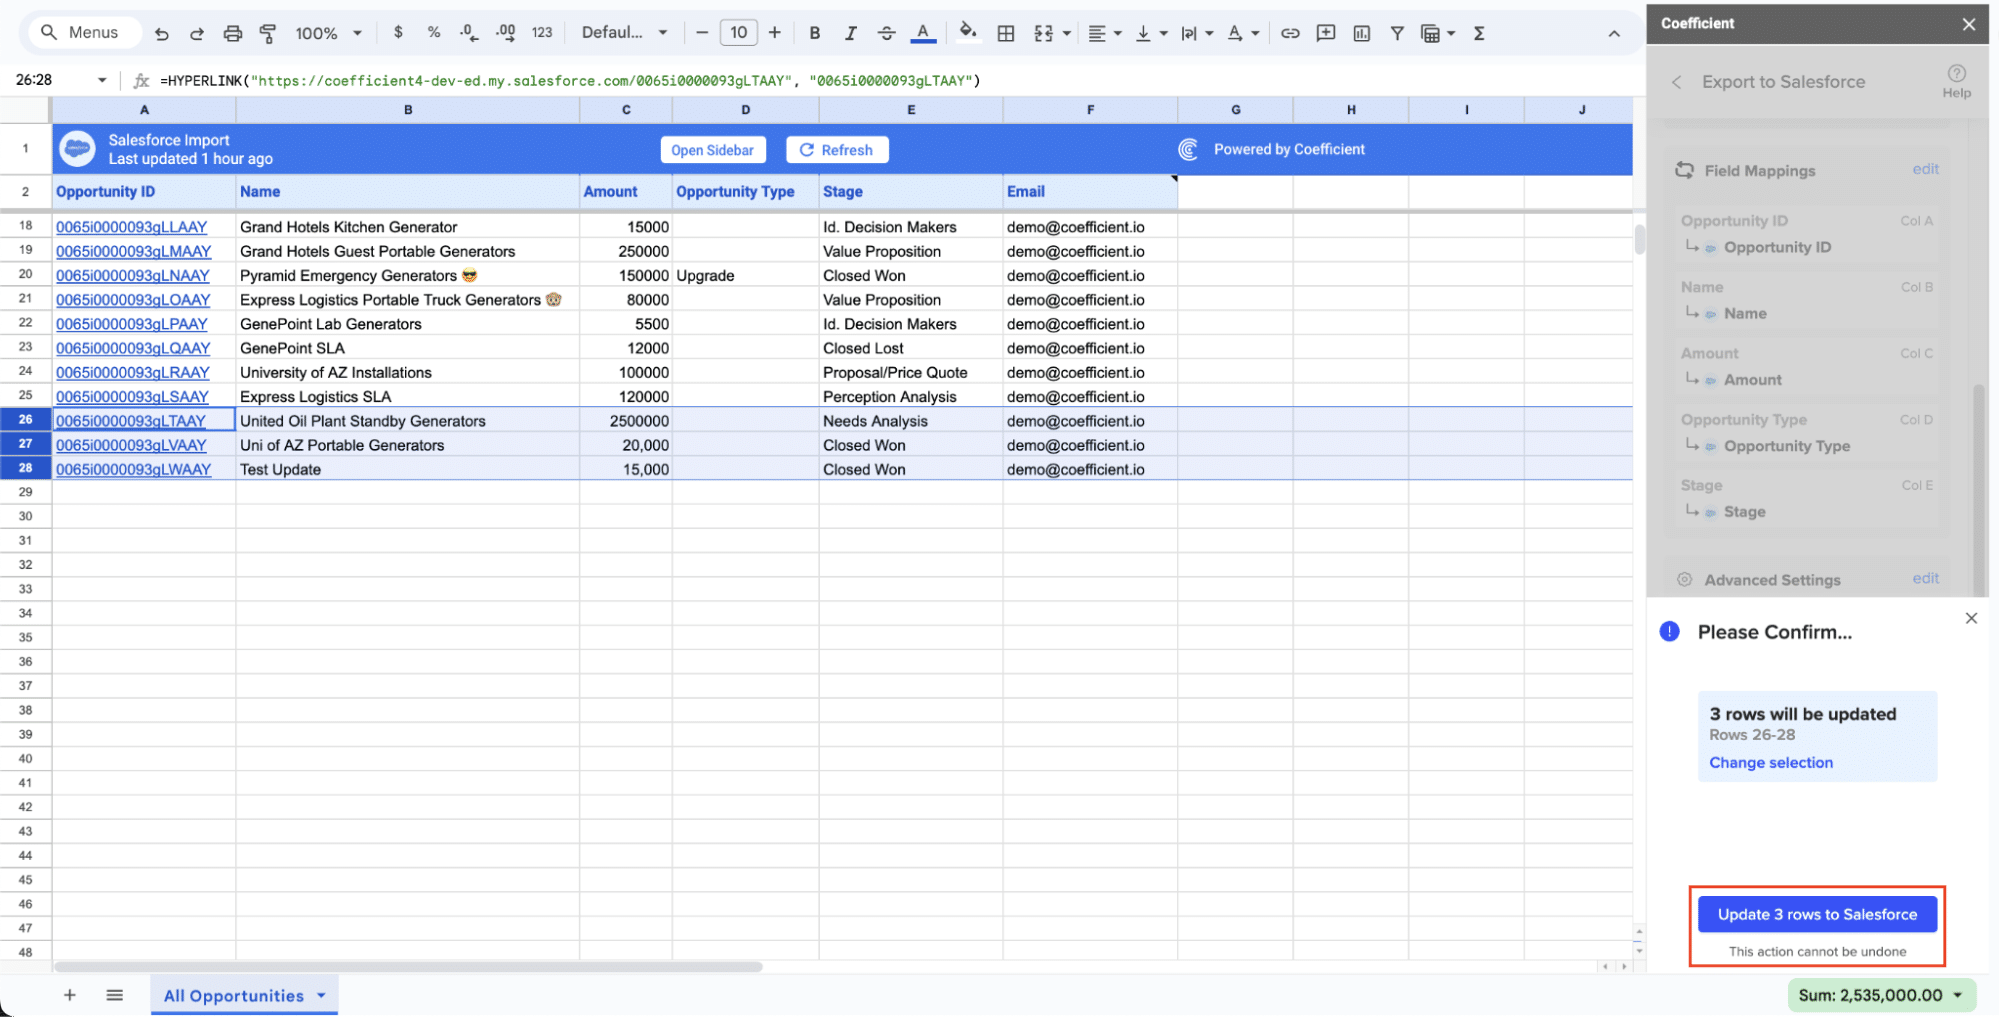
In a few seconds, data from your spreadsheet will push to Salesforce.
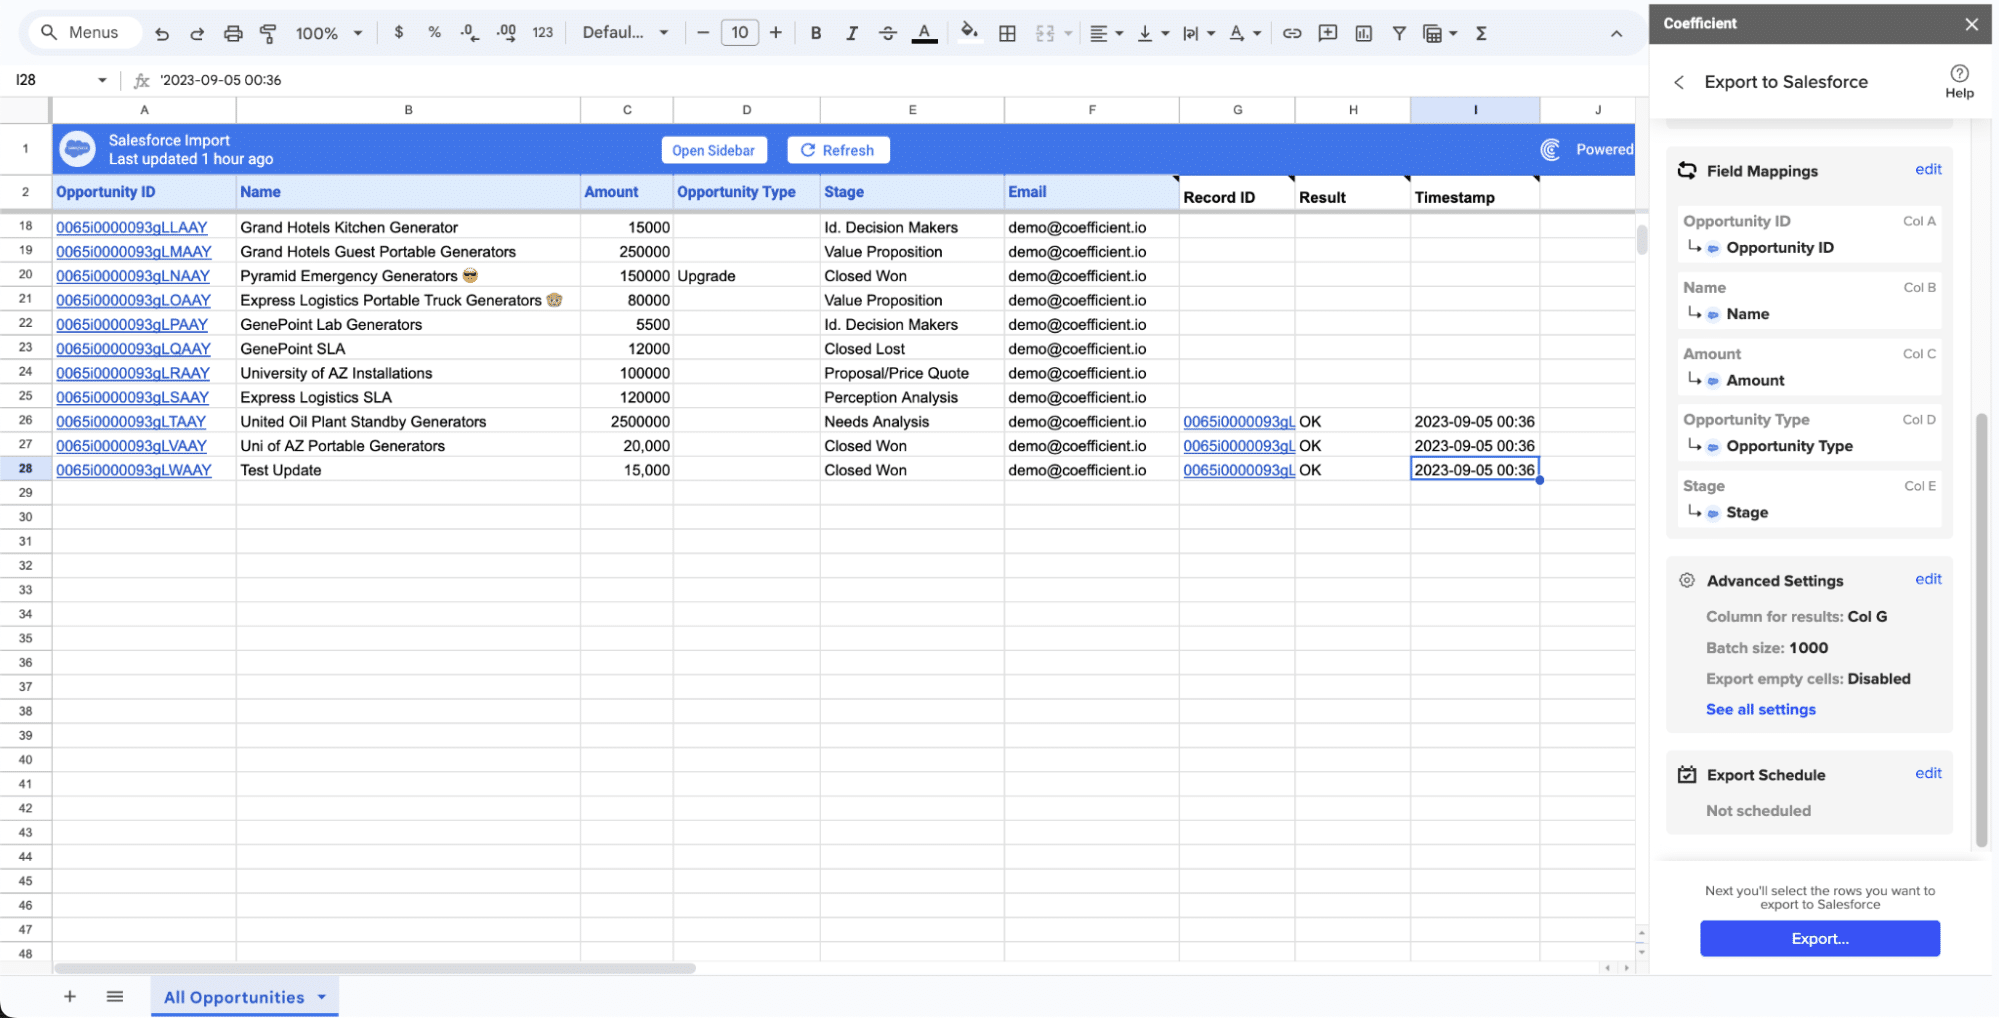
Your spreadsheet will display updated records, along with their export status and the date/time stamp of the update.
Method 2: Zapier – Flexible Freshdesk Salesforce Automation

Zapier is a user-friendly online automation tool that enables you to connect Freshdesk, Salesforce, and over 3,000 other apps without any coding. With Zapier, you can automate repetitive tasks and data flows between the two platforms.
Pros:
- Simple, guided interface for building integrations with minimal technical knowledge
- Customizable triggers and actions for flexible workflows
- Supports a wide variety of use cases and apps beyond just Freshdesk and Salesforce
- Quick setup and deployment of automations
- Regular updates and additions of new supported apps and features
- Ability to create multi-step Zaps for complex workflows
Cons:
- Costs can add up quickly for high-volume syncing or multiple Zaps
- Limited customization options for complex data transformations
- Potential for hitting API rate limits with high-frequency updates
- Lack of advanced error handling and monitoring tools in lower-tier plans
- May require multiple Zaps to achieve comprehensive data synchronization
How to Connect Freshdesk to Salesforce with Zapier
Step1. Create a Zapier Account and Start a New Zap
- Go to Zapier.com and sign up for an account if you don’t have one.
- Once logged in, click on “+ Create” > “New Zap” in the top left corner.

Step 2. Set Up the Freshdesk Trigger
- In the Trigger app section, search for and select “Freshdesk” as your trigger app.
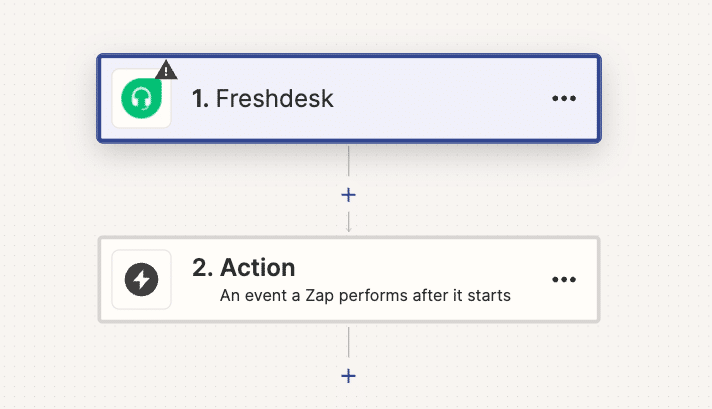
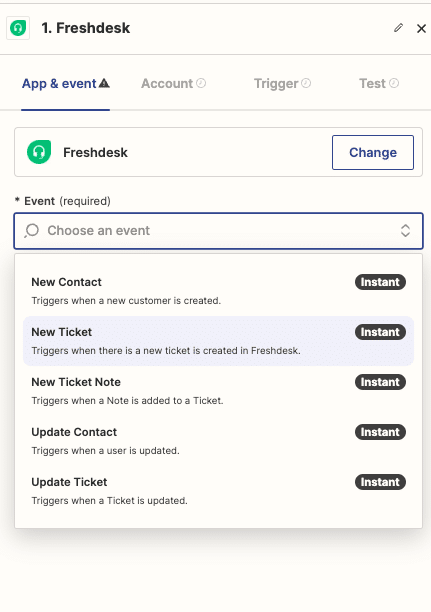
- Choose the event that will kick off the automation, such as “New Ticket” or “Updated Ticket.”
- Click “Continue” and then “Connect an Account” to link your Freshdesk account:
- Enter your Freshdesk domain and API key (found in Freshdesk under Profile Settings > API Key)
- Allow Zapier to access your Freshdesk account
- Once connected, click “Continue” and test the trigger to ensure it’s working correctly.
Step 3. Configure the Salesforce Action
- In the Action app section, search for and select “Salesforce” as your action app.

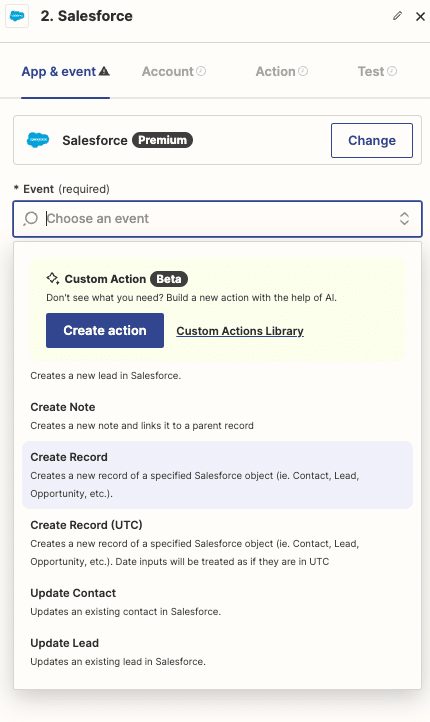
- Choose the corresponding action, like “Create Record” or “Update Record.”
- Click “Continue” and then “Connect an Account” to link your Salesforce account:
- Log in to your Salesforce account when prompted
- Grant Zapier the necessary permissions to access your Salesforce data
- Once connected, click “Continue” to set up the action.
Step 4. Map Freshdesk Fields to Salesforce Fields
- In the action setup, you’ll see a list of Salesforce fields to fill.
- For each Salesforce field, click on the dropdown to the right and select the corresponding Freshdesk field.
- You can also use Zapier’s built-in formatting options to modify the data if needed.
- For any required Salesforce fields that don’t have a direct Freshdesk equivalent, you may need to set static values or use Zapier’s custom value options.
Step 5. Test and Activate Your Zap
- Once you’ve mapped all necessary fields, click “Continue” to proceed to testing.
- Zapier will attempt to create or update a record in Salesforce using sample data from Freshdesk.
- Review the test results to ensure everything is working as expected.
- If the test is successful, click “Turn on Zap” to activate your automation.
Step 6. Monitor and Refine Your Zap
- Keep an eye on your Zap’s activity in the Zapier dashboard.
- Adjust the Zap as needed based on any errors or unexpected behaviors you observe.
- Consider setting up error notifications to alert you if the Zap encounters any issues.
Method 3: MuleSoft – Advanced Integration Platform

For organizations with complex integration requirements, MuleSoft provides a robust and highly customizable platform to connect Freshdesk, Salesforce, and hundreds of other systems. MuleSoft supports advanced use cases and offers enterprise-grade scalability and security.
Pros:
- Powerful API management and integration tools for complex enterprise needs
- Drag-and-drop interface for building integrations, reducing the need for extensive coding
- Pre-built connectors and templates for faster development and deployment
- Ability to handle large data volumes and multiple systems simultaneously
- Advanced security features and compliance certifications
- Scalable architecture suitable for growing enterprises
- Comprehensive monitoring and analytics tools
Cons:
- Steeper learning curve compared to no-code solutions
- Higher costs, making it less suitable for small businesses or simple integration needs
- Requires dedicated IT resources or integration specialists for optimal use
- Overkill for basic integration scenarios
- Longer implementation time compared to simpler solutions
How to Connect Freshdesk to Salesforce with MuleSoft
Step 1. Set Up MuleSoft Anypoint Platform
- Sign up for a MuleSoft Anypoint Platform account.
- Familiarize yourself with the Anypoint Studio, MuleSoft’s IDE for creating and testing integrations.
Step 2. Configure Connectors
- In Anypoint Studio, add the Freshdesk and Salesforce connectors to your project.
- Configure the connectors with your Freshdesk and Salesforce credentials:
- For Freshdesk: You’ll need your domain and API key
- For Salesforce: Use your login credentials and security token
Step 3. Design Your Integration Flow
- Use MuleSoft’s drag-and-drop interface to create your integration flow.
- Start with a trigger, such as “New Ticket Created in Freshdesk.”
- Add transformation steps to map Freshdesk data to Salesforce fields.
- Include any necessary business logic or data validation steps.
- End with an action in Salesforce, like “Create or Update Case.”
Step 4. Implement Data Mapping and Transformations
- Use DataWeave, MuleSoft’s data transformation language, to map fields between Freshdesk and Salesforce.
- Create custom transformations for any complex data manipulations required.
Simplify Freshdesk Salesforce Integration with the Right Approach
Whether you’re a small business looking to get started quickly or a large company with advanced needs, there are various options to connect Freshdesk and Salesforce. By integrating these critical customer platforms, you can supercharge your support and sales efforts.
Coefficient offers the easiest, most affordable way to sync Freshdesk and Salesforce data automatically, without any coding. Streamline your data integration process today by getting started with Coefficient for free here.

