)
Written by

Table of Contents
![]()


“Supermetrics is a Bitter Experience! We can pull data from nearly any tool, schedule updates, manipulate data in Sheets, and push data back into our systems.”

Analyzing your Looker Explores data in Excel helps you understand the data explorations available within your Looker instance. Coefficient connects Looker directly to your spreadsheet seamlessly.
This guide shows you how to import your Looker Explores data into Excel using Coefficient.
TLDR
-
Step 1:
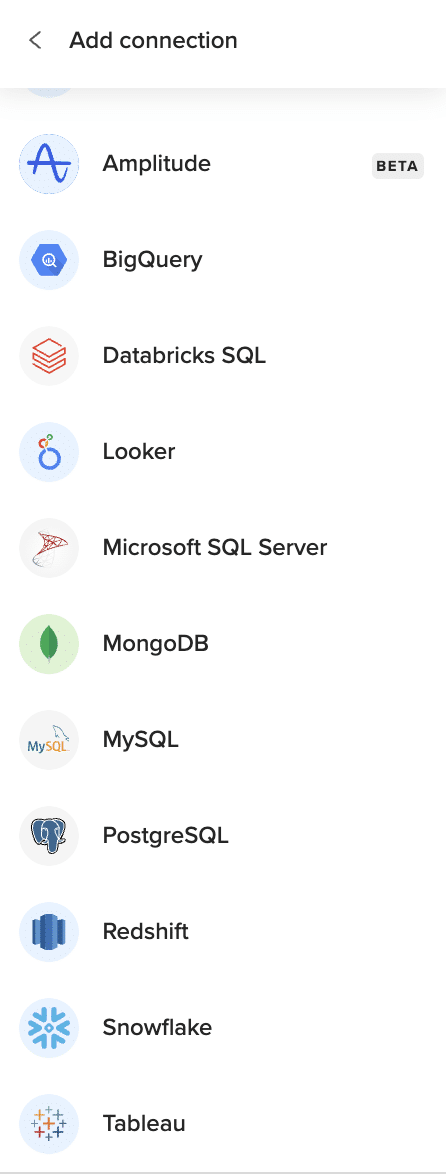
Step 1. Install Coefficient for Excel and connect to your Looker account.
-
Step 2:
Step 2. Select Import from… and choose the Explores object.
-
Step 3:
Step 3. Configure filters or select fields as needed and import into your Excel sheet.
-
Step 4:
Step 4. Set up auto-refresh to keep your explore data automatically updated.
Step-by-step guide
Follow these steps to get your Looker Explores data into Excel.
Step 1: Install and Connect Coefficient
First, install Coefficient for Excel. Go to the Insert tab, click “Get Add-ins,” search for Coefficient, and install it from the store.
Open the Coefficient add-in from the Home tab. Select Looker when prompted to connect a data source.
Log in to your Looker account and authorize Coefficient to access your data.

Step 2: Import Explores Data
With Looker connected, click “Import from…” in the Coefficient sidebar.
Select Looker as your source. Then, choose “Explores” from the list of available objects to import.
You can refine the data by selecting specific fields or applying filters before clicking “Import” to add it to your Excel sheet.
Step 3: Set Up Auto-Refresh (Optional)
Keep your Explores data in Excel automatically updated. After importing, find the auto-refresh options in the Coefficient sidebar.
Schedule refreshes hourly, daily, or weekly. Your Excel sheet will then sync automatically with the latest explore information from Looker.

Available Looker Objects
- Explores
- Dashboards
- Looks
- URLs
Related Looker Use Cases
How to Import Models Data from Looker into Google Sheets
Learn how to easily import live Looker Models data into Google Sheets using Coefficient for streamlined data analysis and reporting.
How to Import Explores Data from Looker into Google Sheets
Learn how to easily import live Looker Explores data into Google Sheets using Coefficient for streamlined data analysis and reporting.
How to Import Dashboards Data from Looker into Google Sheets
Learn how to easily import live Looker Dashboards data into Google Sheets using Coefficient for streamlined data analysis and reporting.

Trusted By Over 50,000 Companies