As a Shopify store owner, you know that data is the key to growing your business. But accessing and analyzing that data can be a challenge.
In this guide, we’ll show you three ways to export your Shopify data to Excel, so you can make informed decisions and drive your business forward.
Export Shopify Data to Excel: 3 Methods
Method 1 – Coefficient: No-Code, Fully Automated
Coefficient is the fastest, easiest way to export Shopify data to Excel for technical and non-technical users alike.
Coefficient’s no-code interface makes it easy for anyone to safely get the data they need into their Connected Spreadsheet in a few clicks. This is particularly useful for Excel for Web users who do not have access to Power Query.
To install Coefficient, open Excel from your desktop or in Office Online.
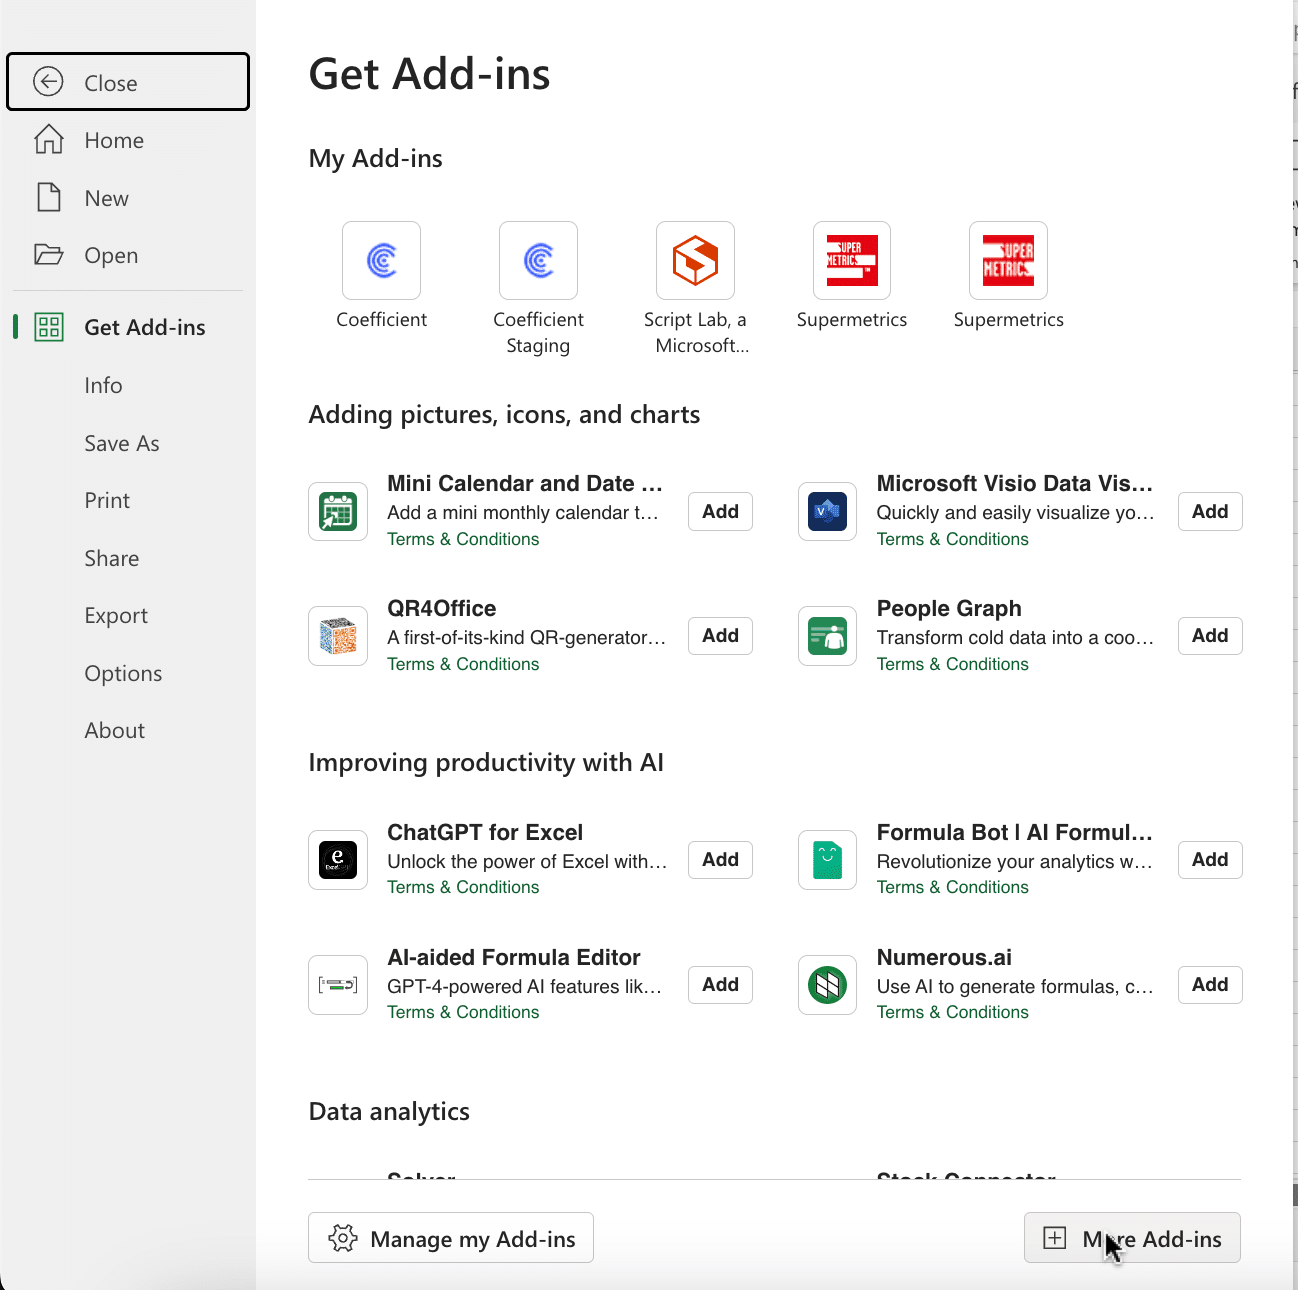
Click ‘File’ > ‘Get Add-ins’ > ‘More Add-Ins.’
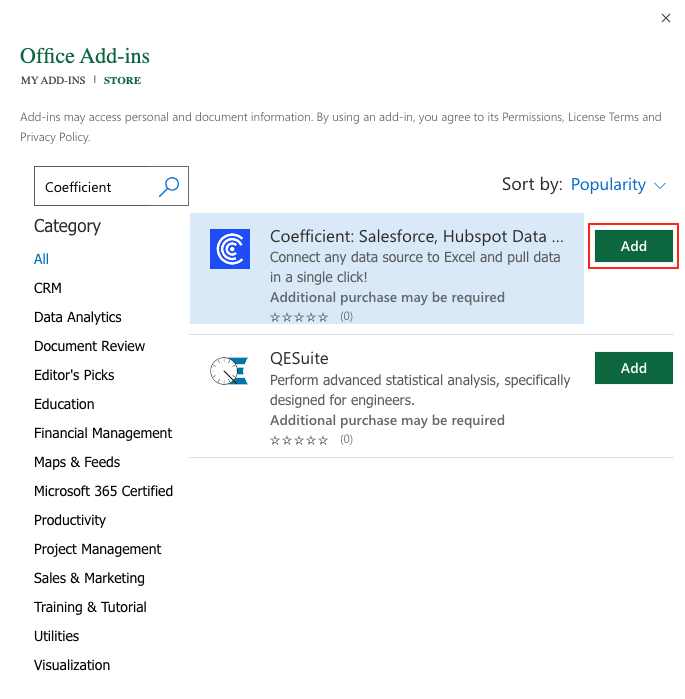
Type “Coefficient” in the search bar and click ‘Add.’
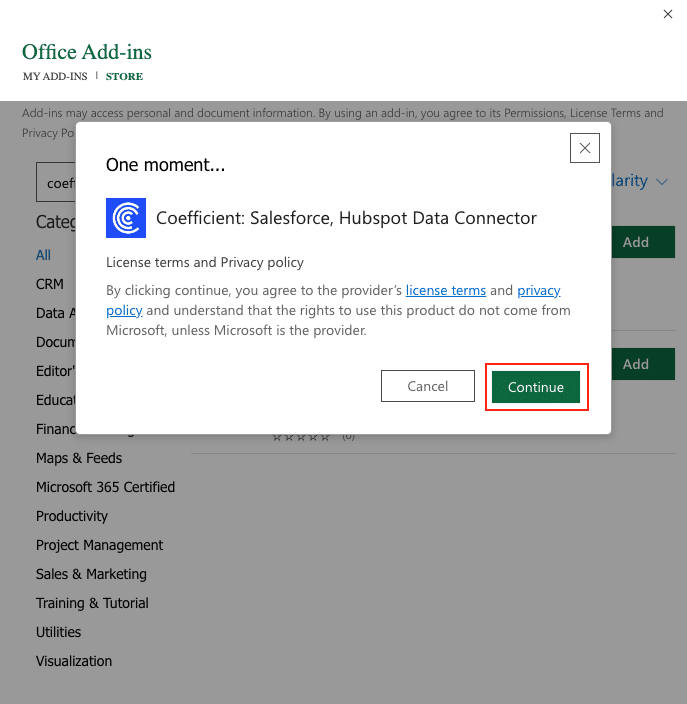
A pop-up will open up. Follow the prompts to complete the installation.
Once finished, you will see a “Coefficient” tab at the top navigation bar.
Click ‘Open Sidebar’ to launch Coefficient.
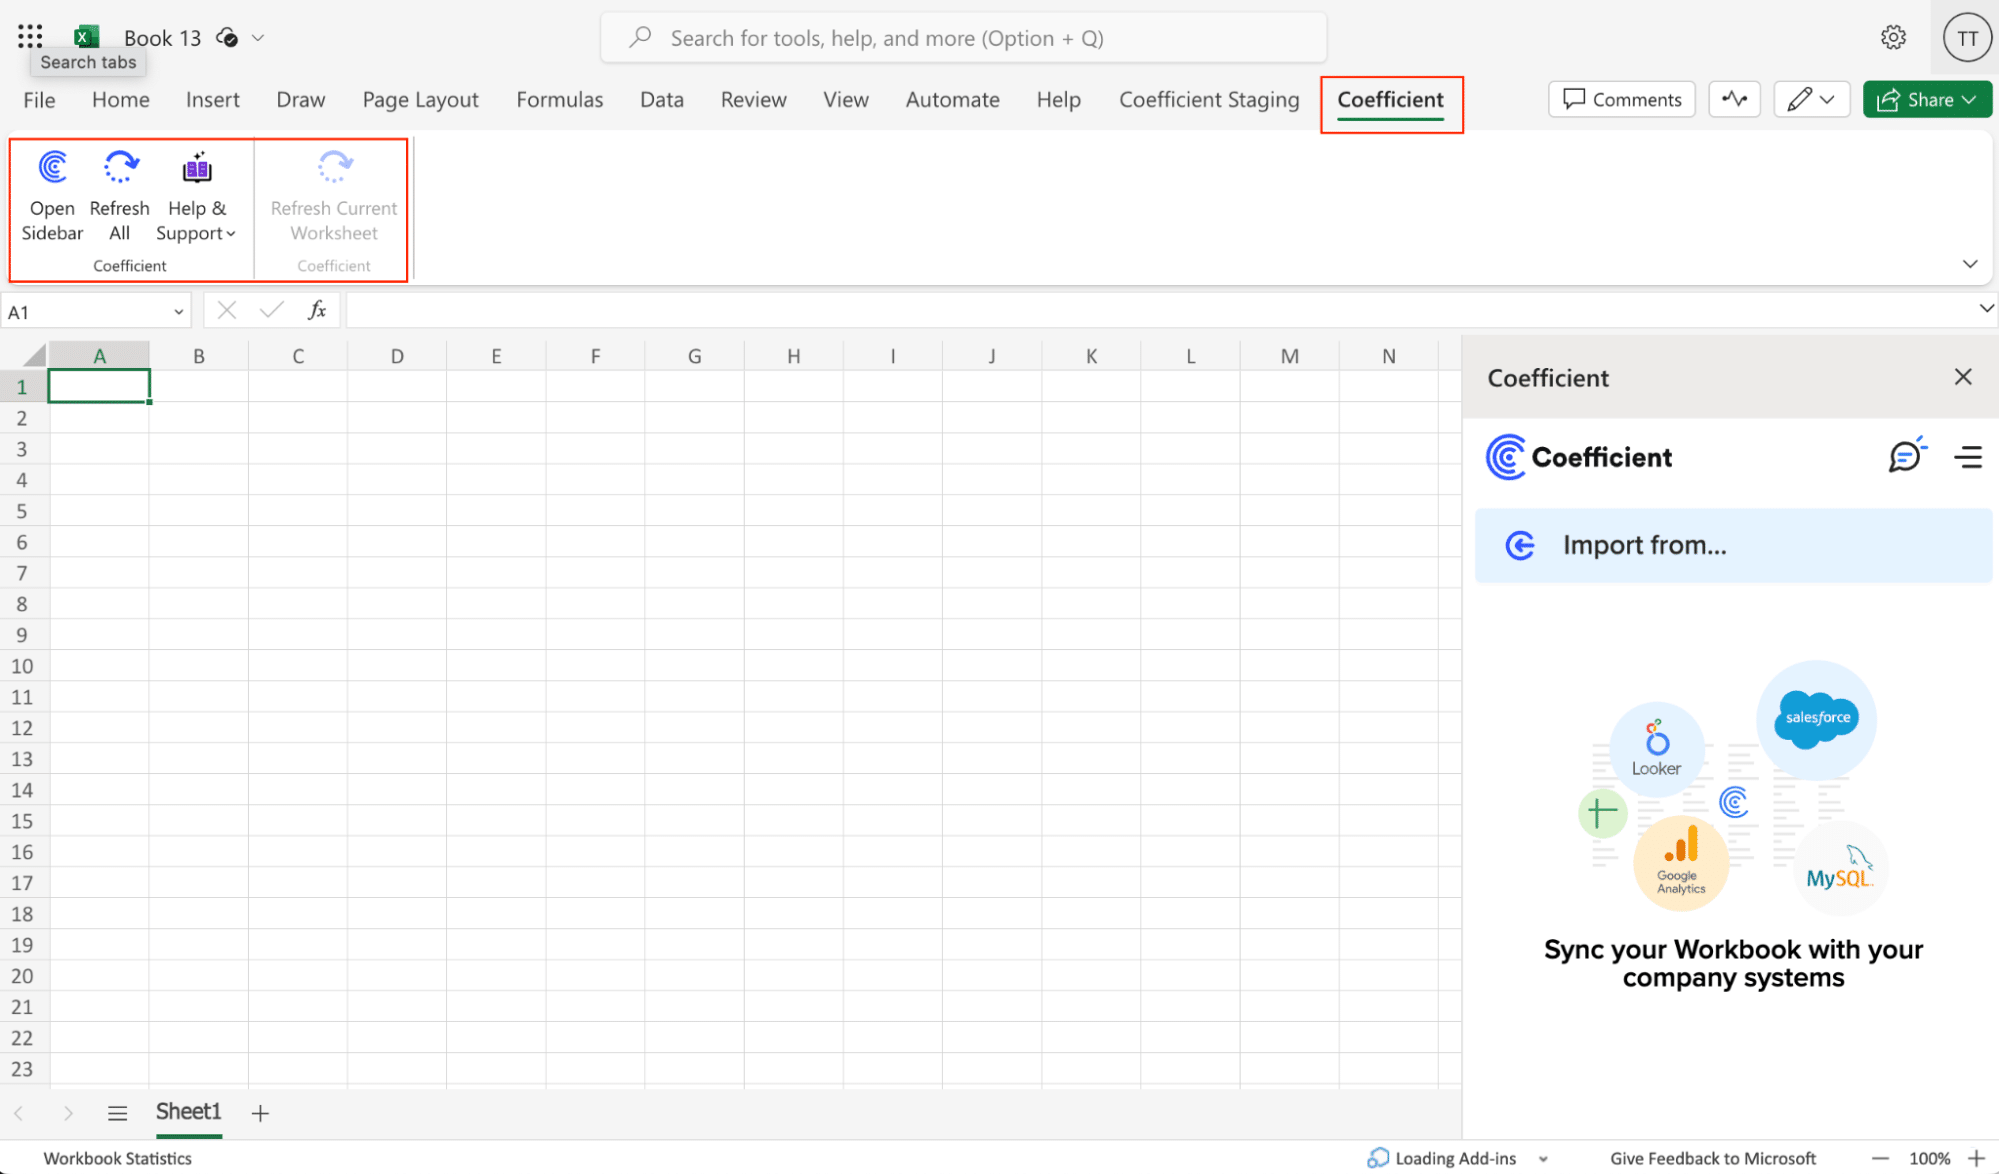
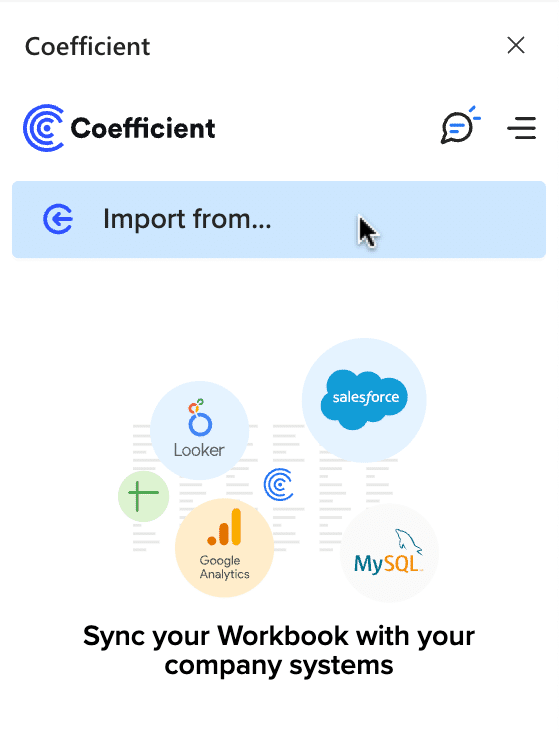
Select ‘Import from…’
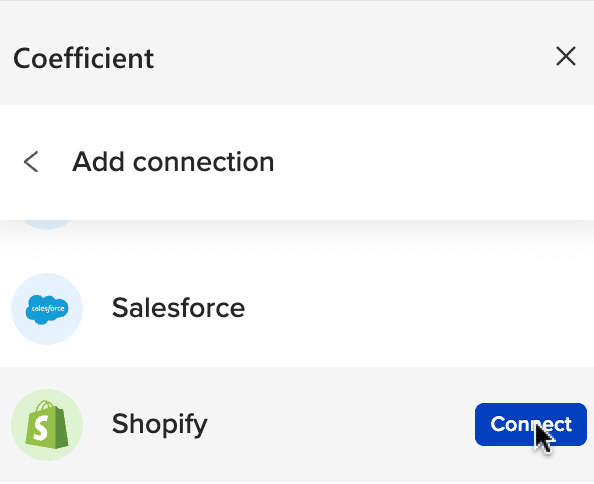
Scroll down until you see Shopify and click ‘Connect.’
Follow the prompts to authorize Coefficient to access your Shopify account.
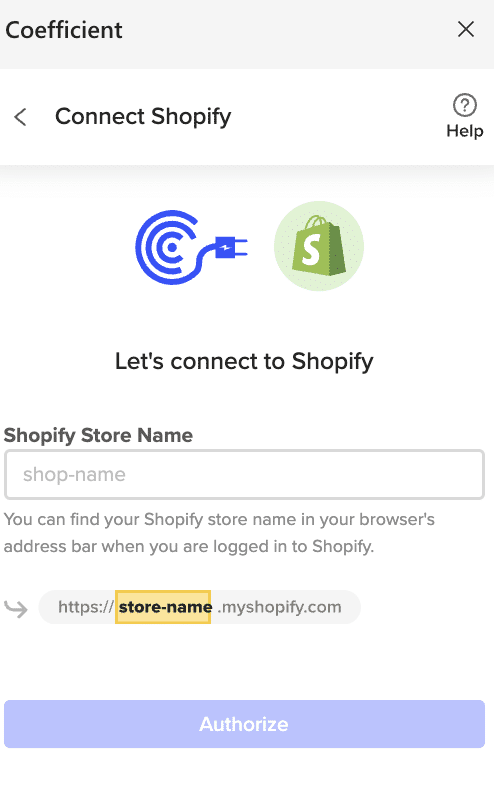
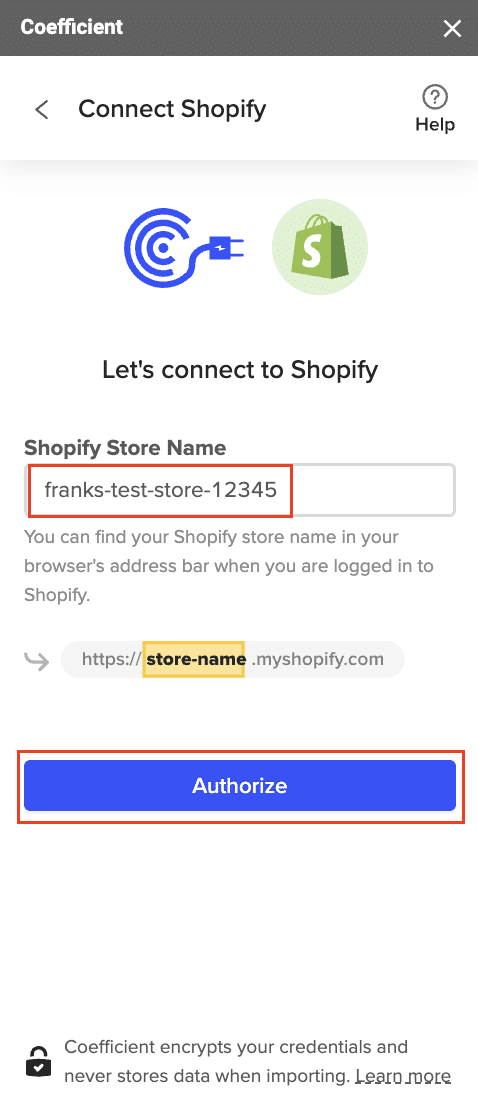
Enter your “Shopify Store Name” and click ‘Authorize.’
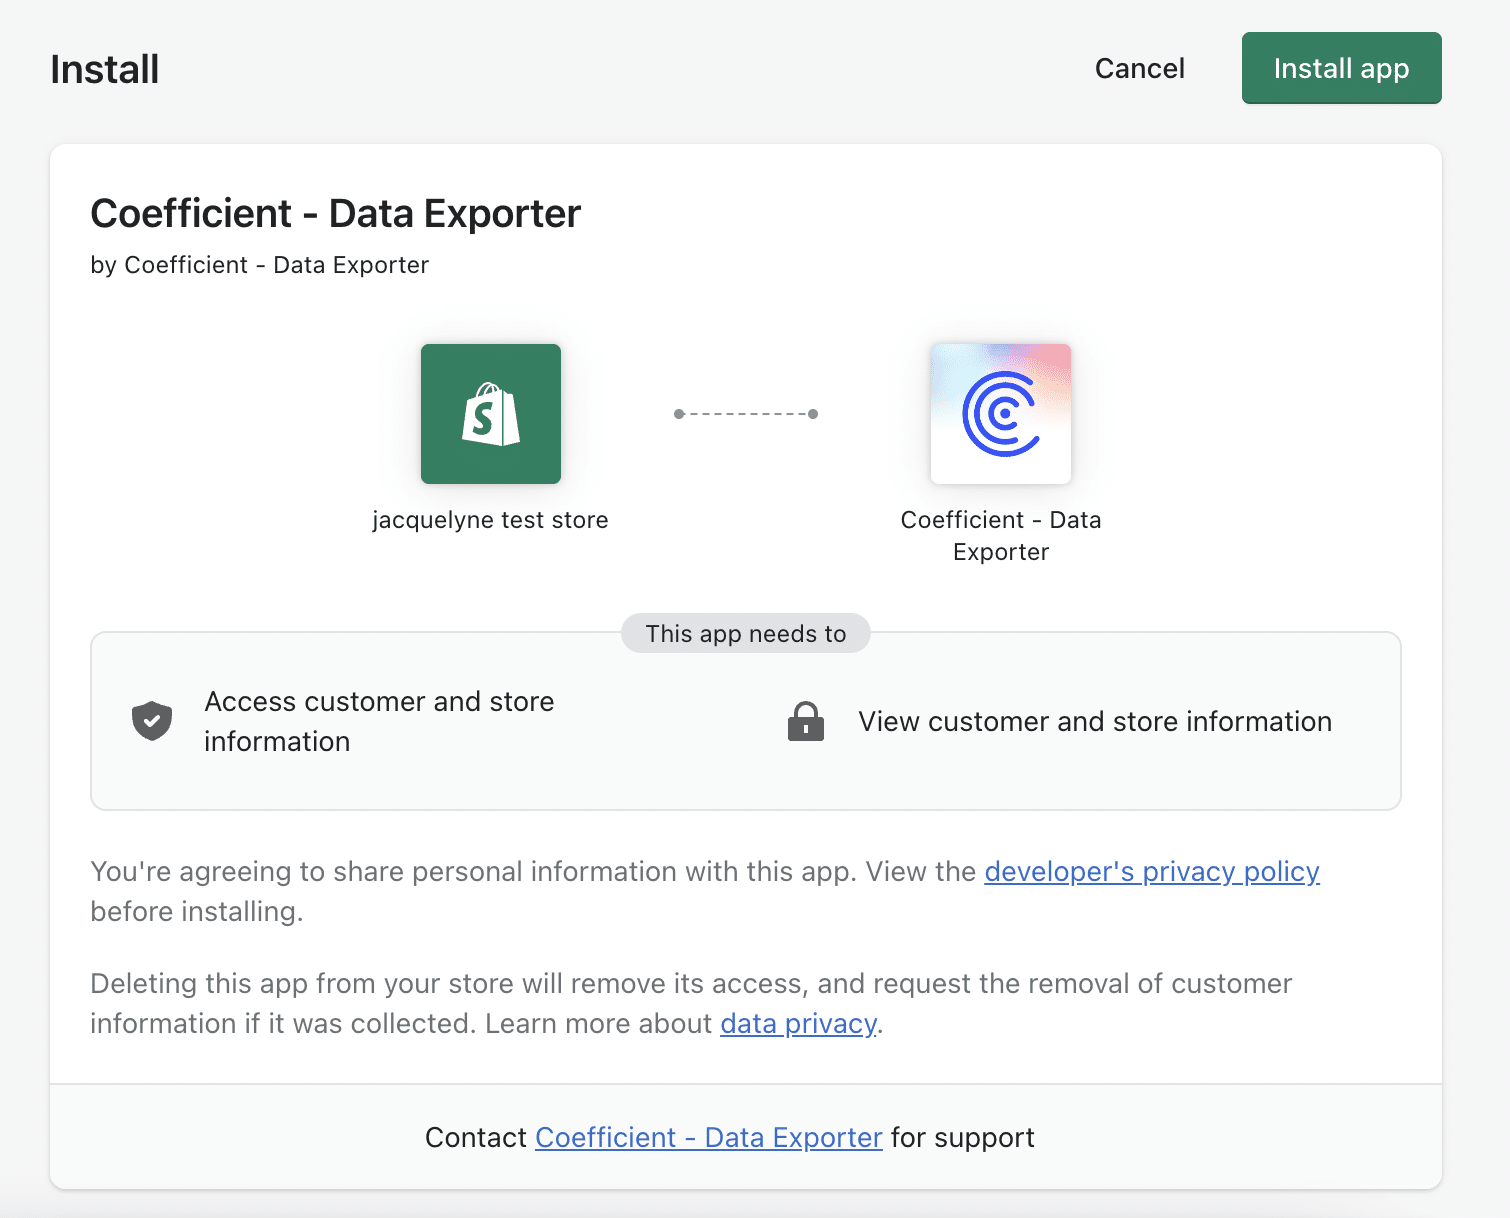
You will be taken to this screen in your Shopify instance. Click the ‘Install app’ button to proceed.
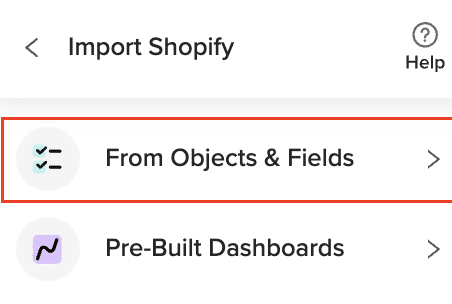
After connecting, return to Shopify from the Coefficient menu ‘Import From…’ > ‘Shopify’ > ‘From Objects & Fields.’
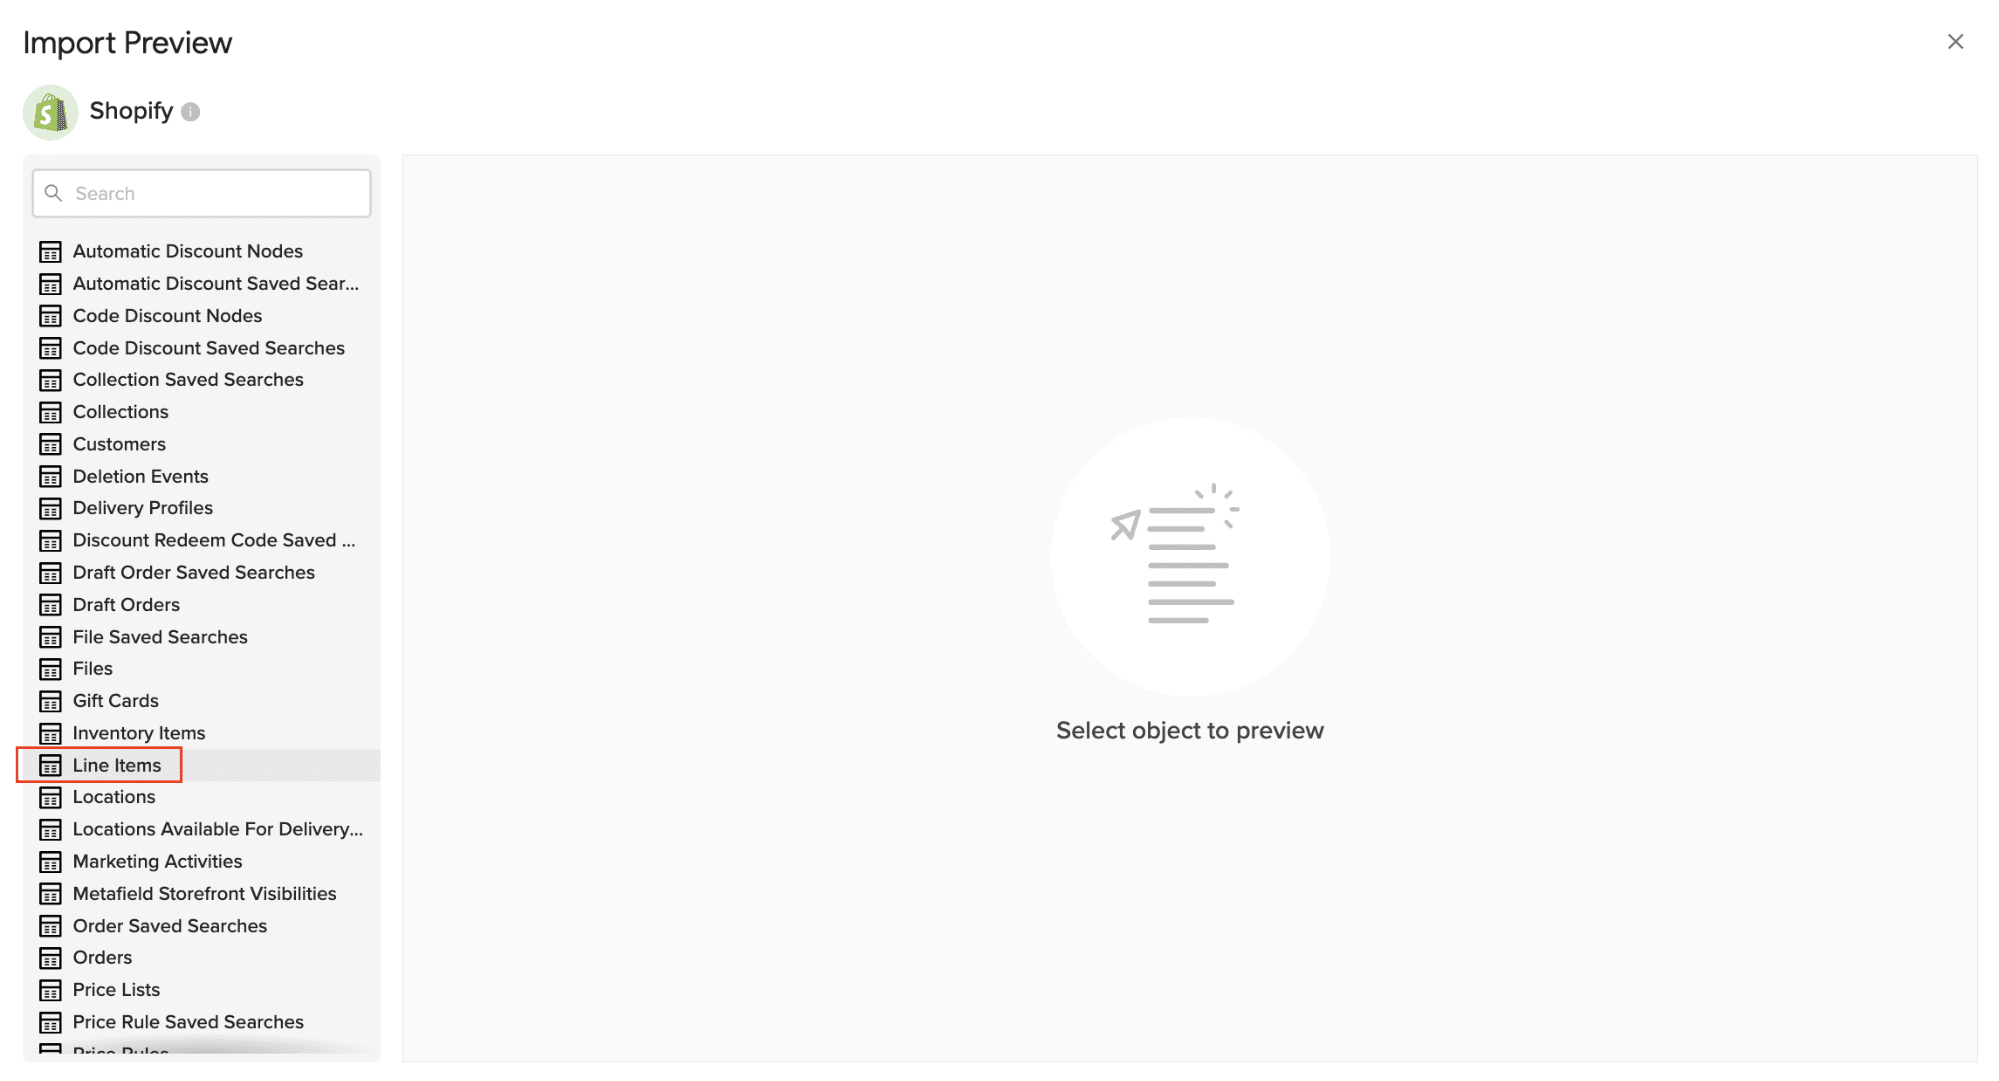
Select the Shopify object you would like to import your data from (eg. Line Items).
Select the desired fields for your import.
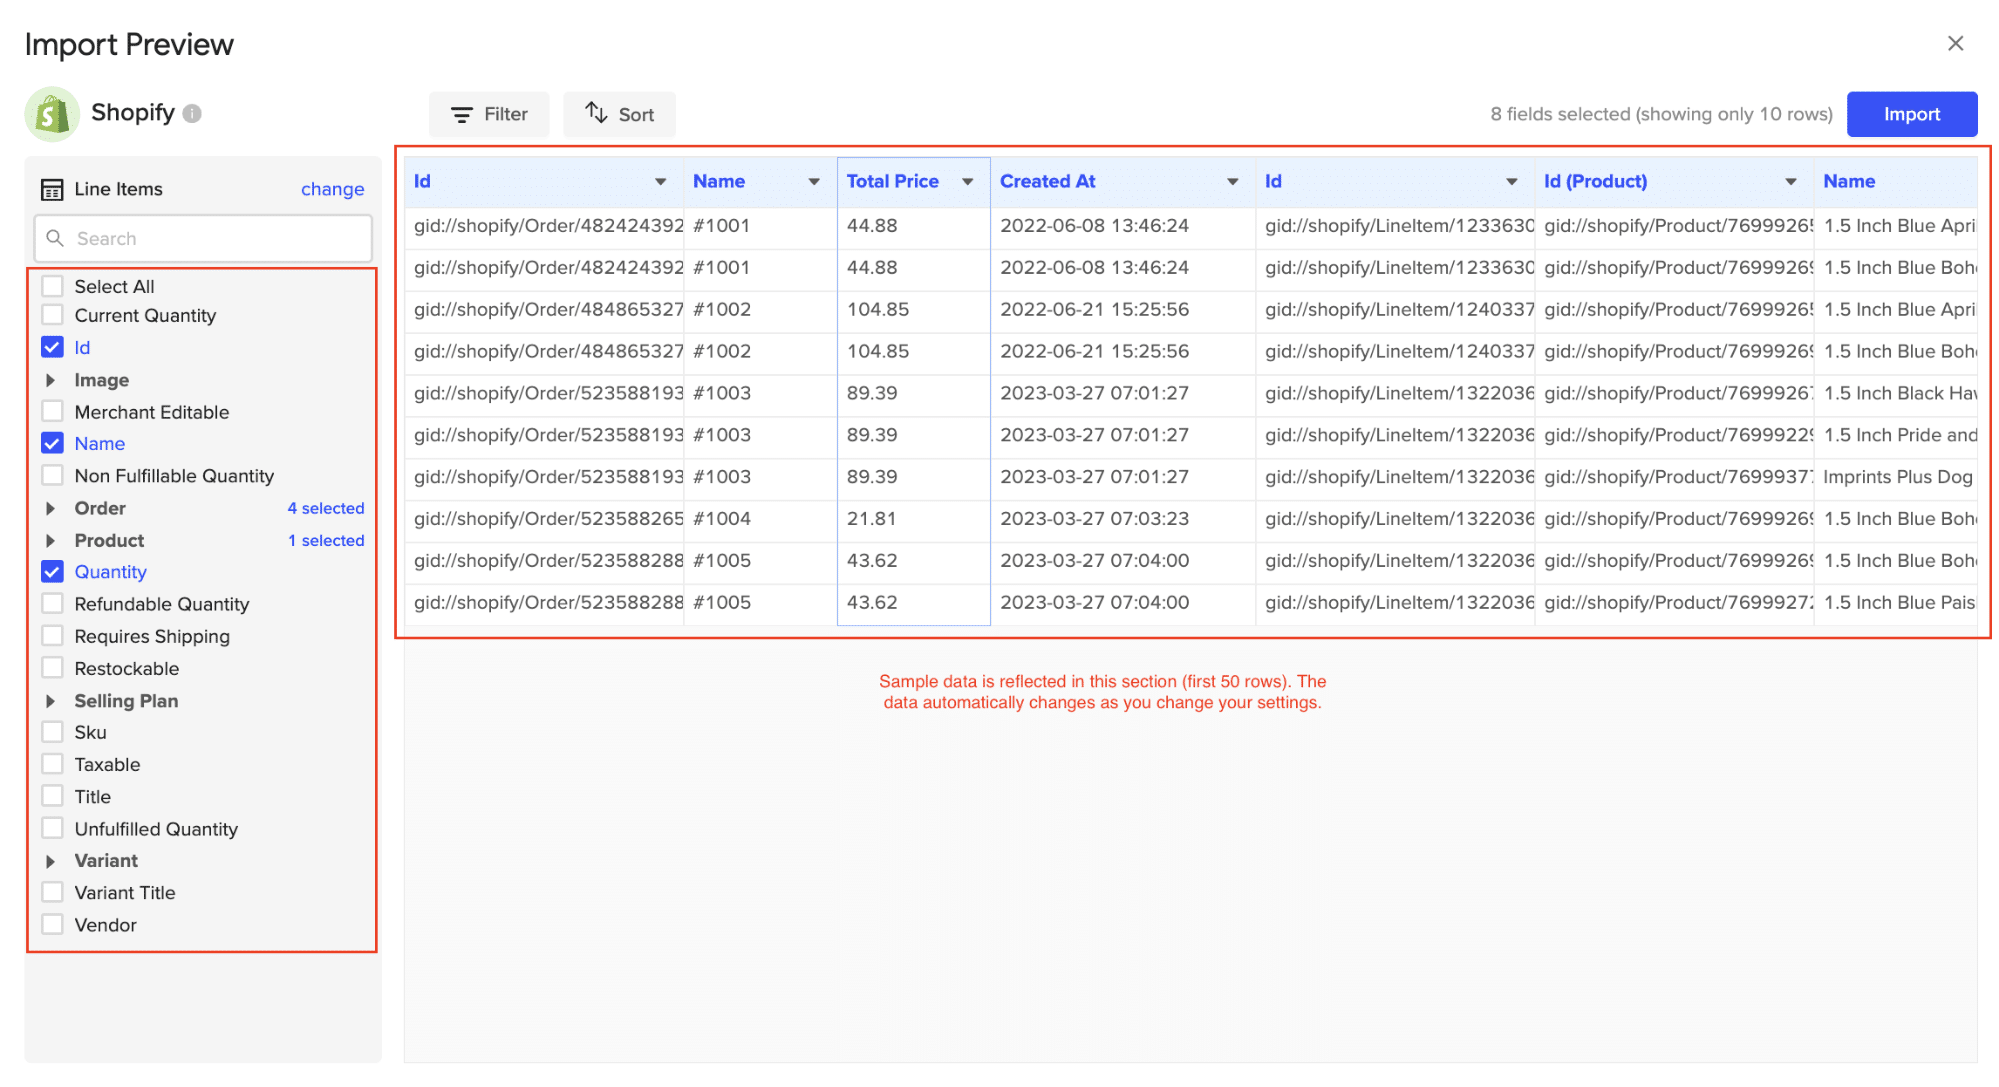
Customize your import by adding filter(s). Click ‘Import’ when you’re finished.
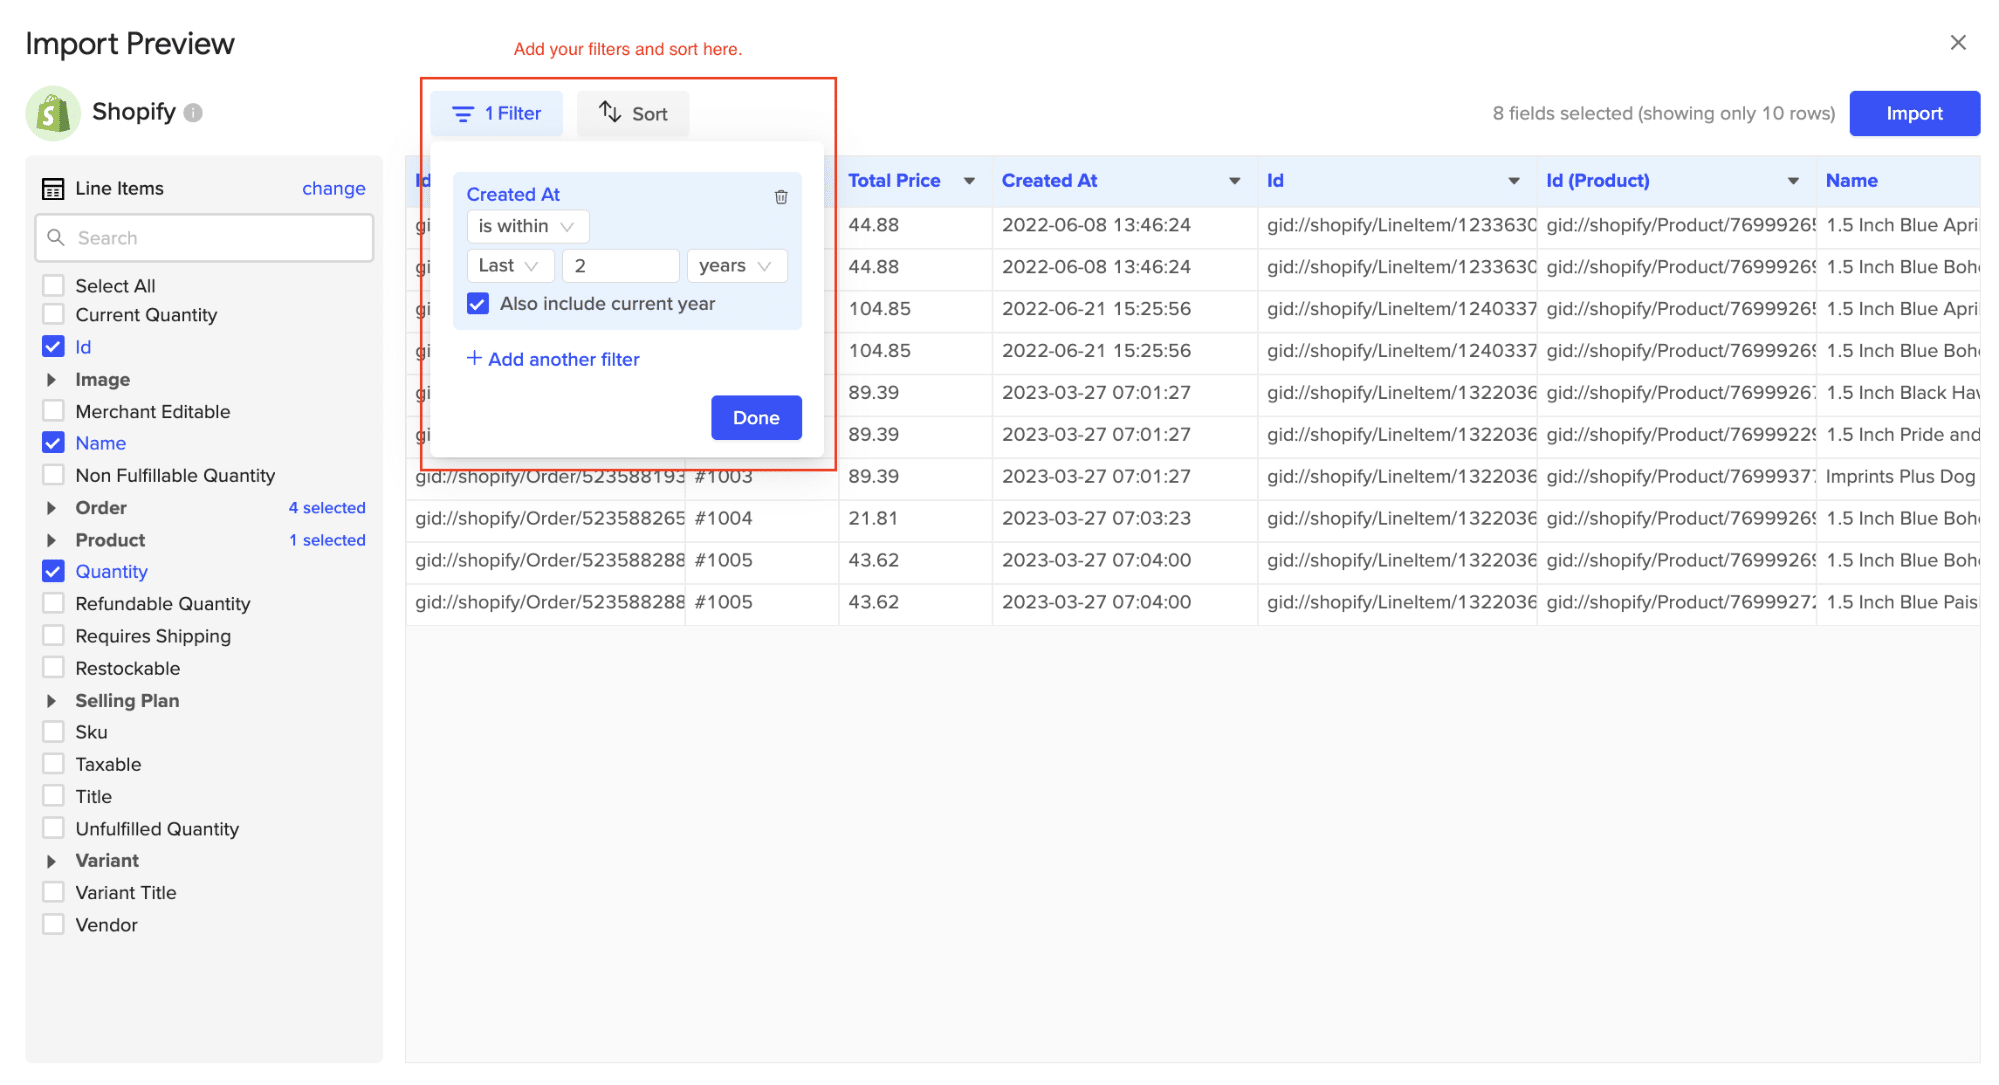
Your Shopify data will automatically populate your Excel spreadsheet in a few seconds!

You can also set up automatic data updates to schedule data syncs between Shopify and Excel. Choose whether to run daily, hourly, or weekly automatic data updates.
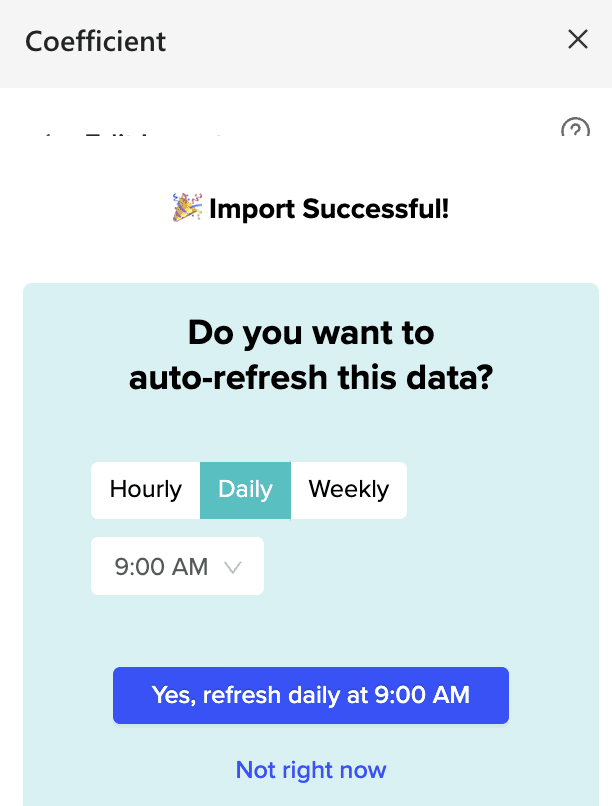
With automatic data updates, your Shopify data is always up-to-date in your spreadsheet. That means you can build live dashboards and reports on top of the data without performing cumbersome manual updates.
Pros:
- Simple, no-code setup
- Automatic data updates keep your spreadsheets fresh
- Affordable pricing plans
Cons:
- Scheduled automations are not free forever but pricing plans are affordable
Method 2 – Shopify Reports and Excel Data Import
For individuals familiar with Excel and seeking a straightforward, direct method without additional tools, manually importing Shopify data into Excel via reports is a reliable method. Here’s how to accomplish it:
Log in to your Shopify admin panel.
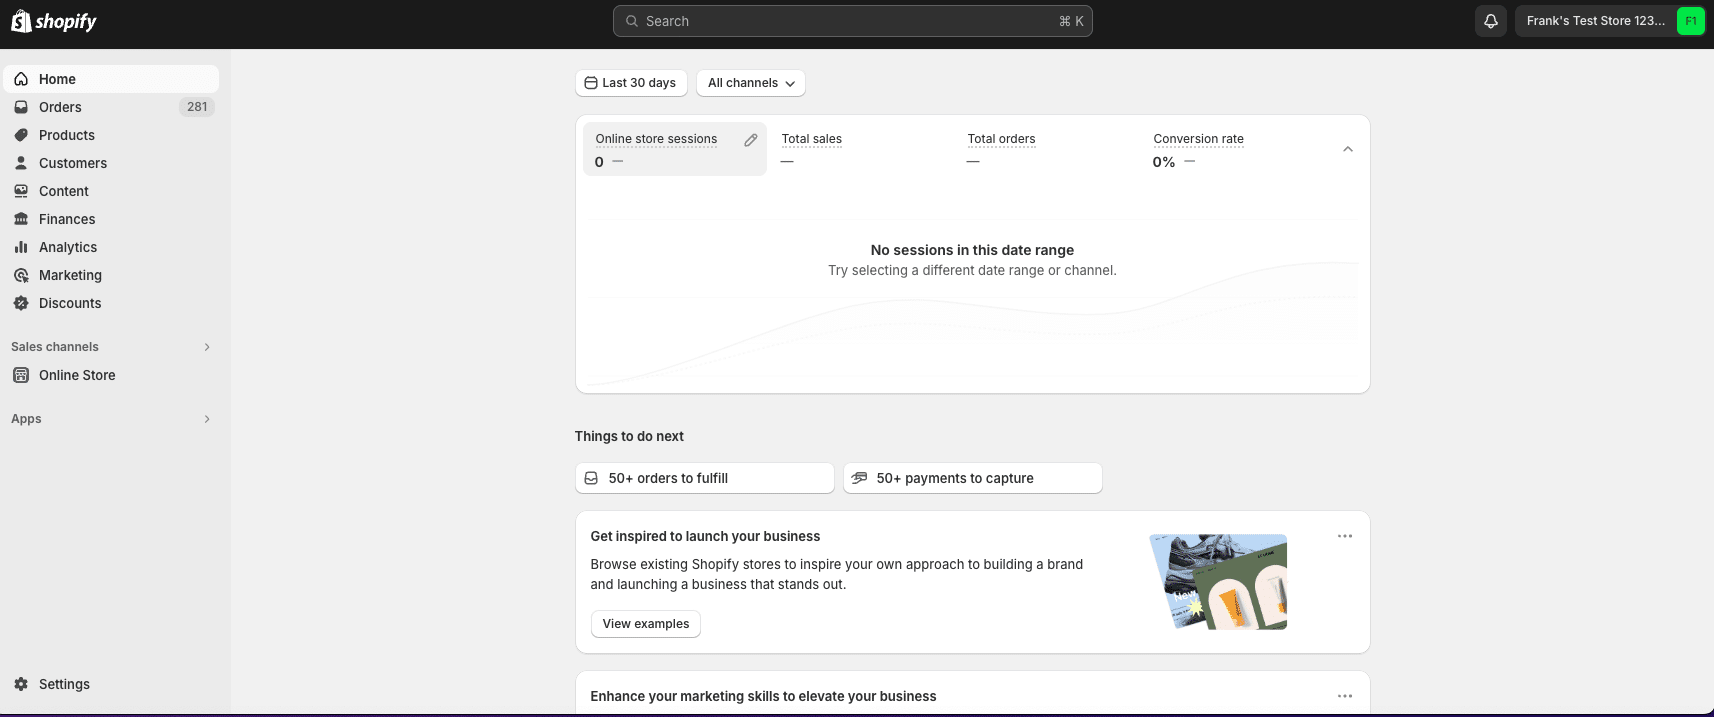
Navigate to the left hand panel and select ‘Analytics.’
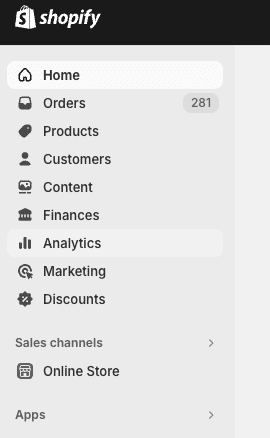
Click ‘Reports.’
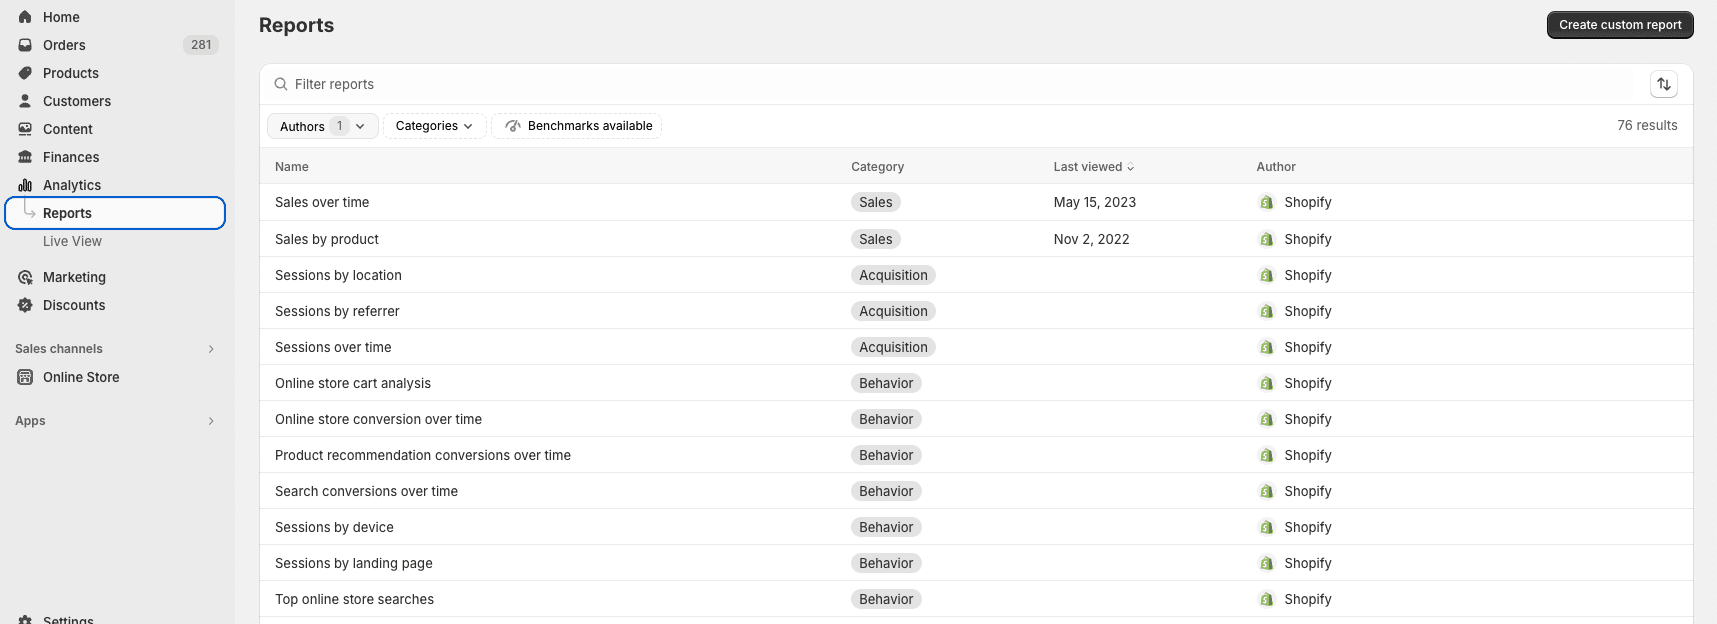
Choose the report you wish to export; for instance, “Sales by product” or “Sales over time.”
Click ‘Export’ at the top of the report page.

Hit the ‘Export’ button to download your file.

From here, open your file in Excel to continue your analysis.
Pros:
- No additional tools needed
- Full control over data exports
Cons:
- Time-consuming and prone to errors
- No real-time data updates
Method 3 – Zapier
Zapier Integration Zapier is a web-based service that allows you to create automated workflows between different apps, including Shopify and Excel.
Here’s a step-by-step guide on how to set it up:
Log into your Zapier account. Click ‘+ Create’ > ‘New Zap.’

Choose Shopify as your trigger app and select the event that will trigger the workflow (e.g., New Report)
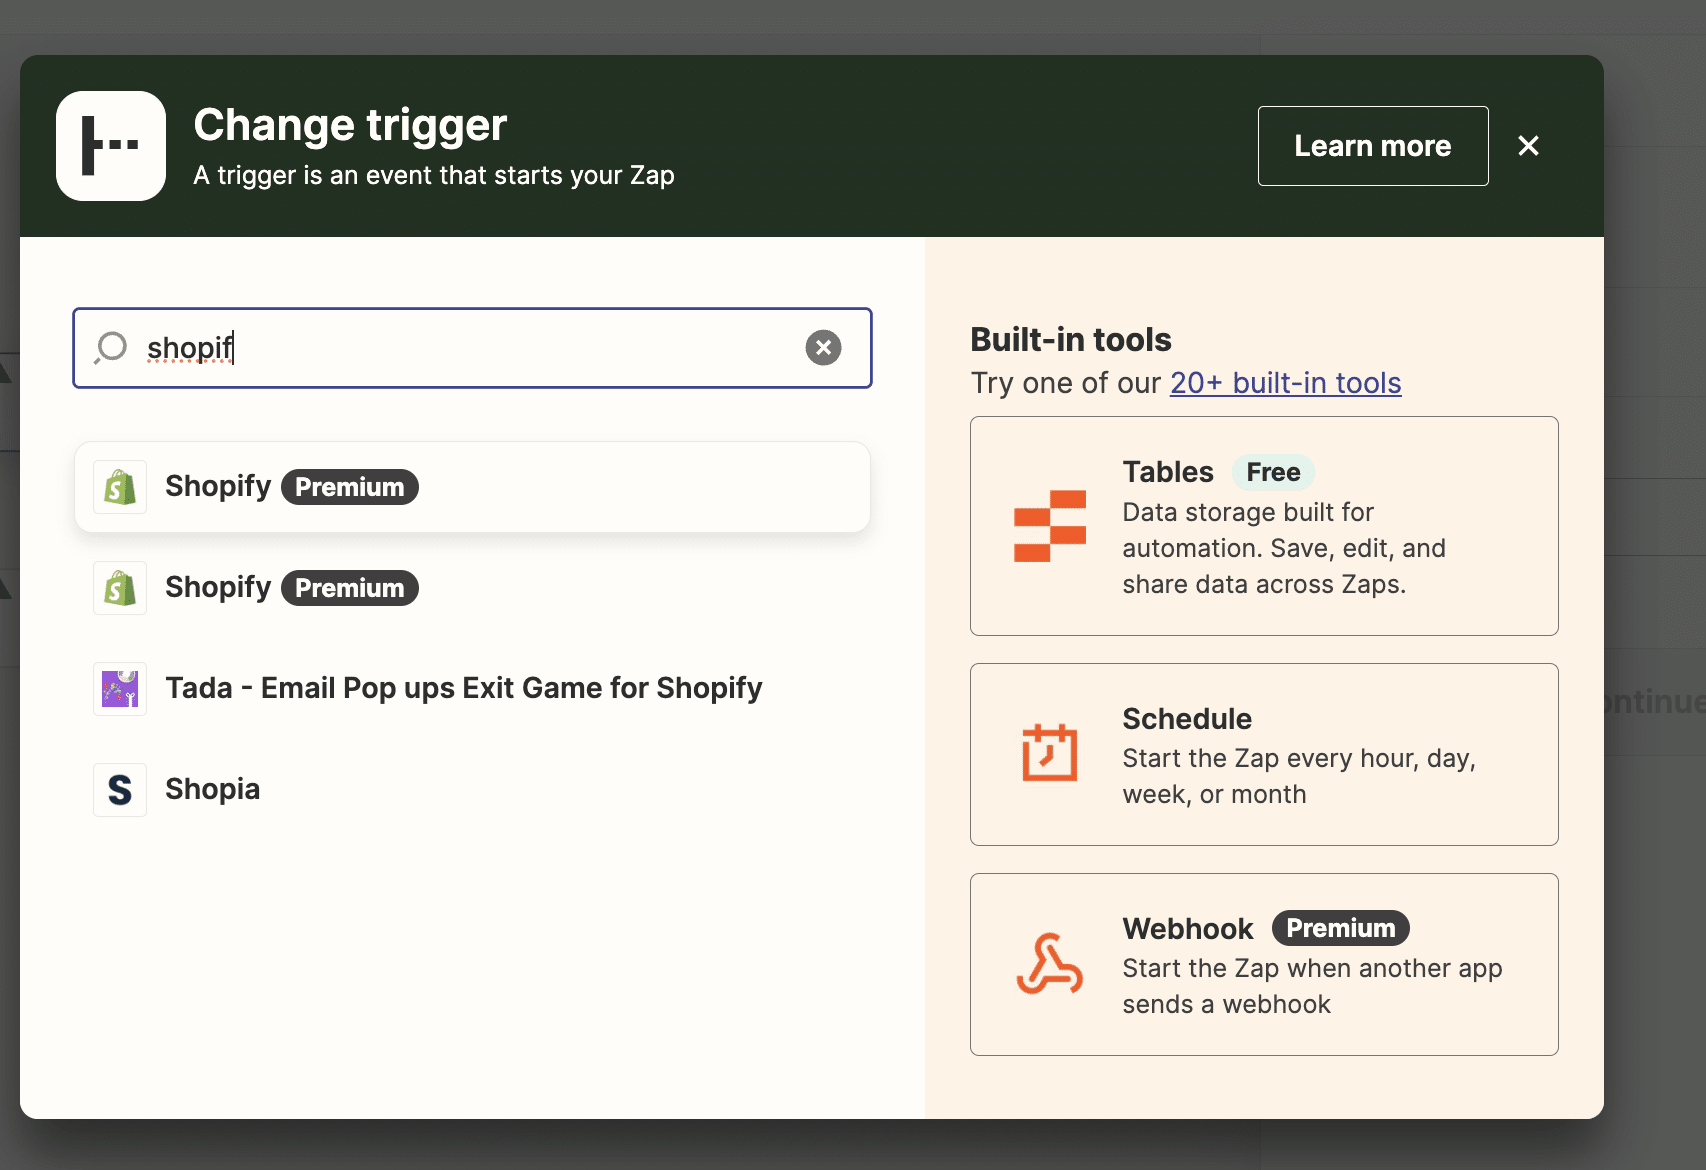
Choose Shopify as your trigger app and select the event that will trigger the workflow (e.g., New Report). Follow the prompts to connect your Shopify account to Zapier.
Connect your Shopify account to Zapier by providing your API key, following the steps above.
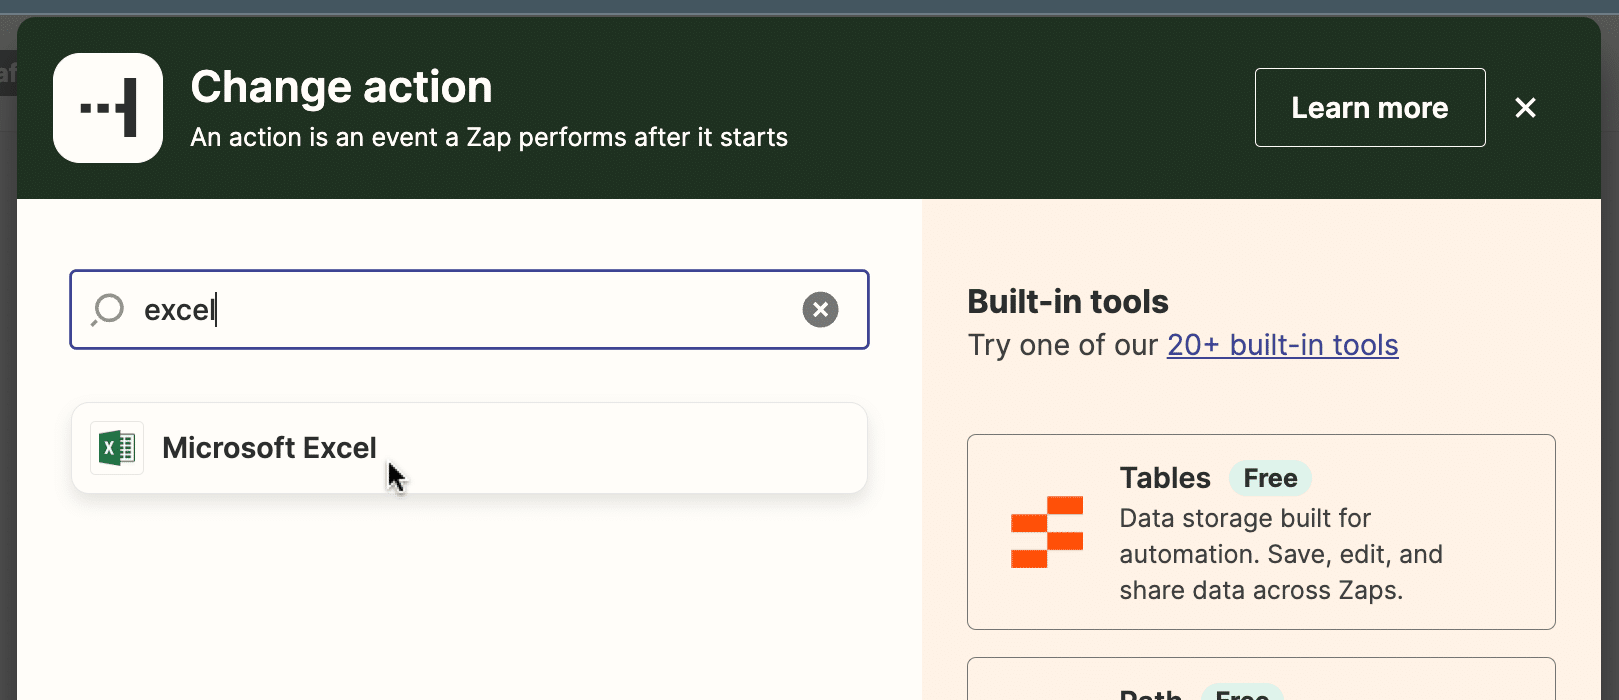
Choose Microsoft Excel Online as your action app.
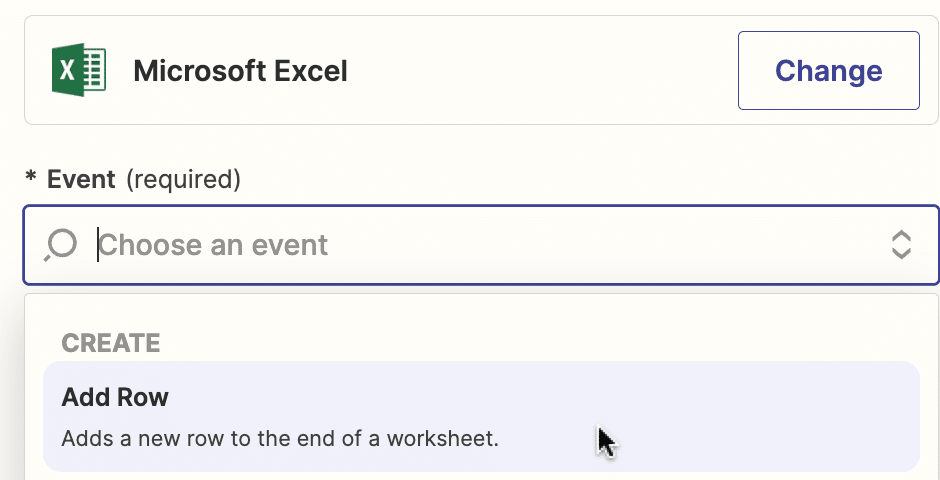
Select “Create Spreadsheet Row” as the action event.
Follow the prompts to connect your Microsoft account.
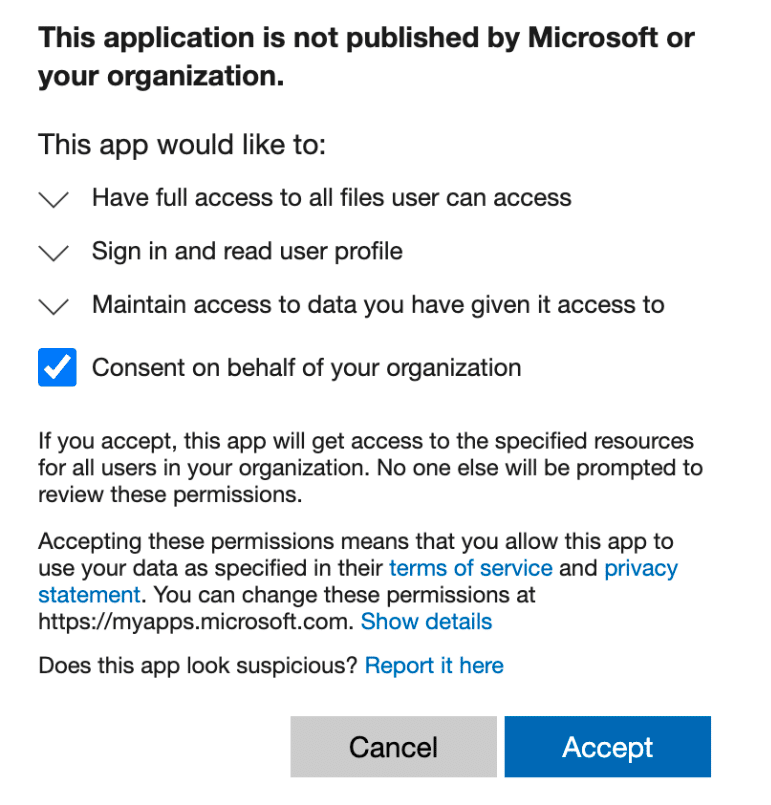
From here:
- Map the data fields from Shopify to the corresponding columns in your Excel spreadsheet.
- Test your Zap to ensure it’s working correctly.
- Turn on your Zap, and it will automatically add new Microsoft Ads data to your Excel spreadsheet as it comes in.
Pros:
- Automates data transfer
- Flexible trigger options
Cons:
- Requires a Zapier subscription for advanced features
- May have customization limitations
Take Control of Your Shopify Data Today
Don’t let data management hold your business back. Choose the Shopify-Excel integration method that works best for you and start making data-driven decisions today.
For a fast, easy, and reliable solution, try Coefficient. Get started for free today!


