Getting your Rippling Employees data into Google Sheets helps you manage HR information, track employee details, and build custom reports. Coefficient makes this process seamless and automatic.
This guide shows you how to import your Rippling Employees data into Google Sheets using Coefficient.
TLDR
-
Step 1:
Step 1. Install Coefficient from the Google Workspace Marketplace and connect to your Rippling account.
-
Step 2:
Step 2. Select Import from… and choose the Employees object.
-
Step 3:
Step 3. Configure any filters/columns you need and import the data to your Google Sheets.
-
Step 4:
Step 4. Set up auto-refresh to keep your data updated automatically on your preferred schedule.
Here’s a simple guide to importing your Rippling Employees data:
Step 1: Installation and Connection
First, you need to get Coefficient for your Google Sheets.
- Open Google Sheets.
- Go to Extensions > Add-ons > Get add-ons.
- Search for “Coefficient” and install it from the Google Workspace Marketplace.
Once installed, open the Coefficient add-on from the Extensions menu. In the Coefficient sidebar that appears, click “Import from…”. Select Rippling from the list of connectors and follow the prompts to connect your account securely.

Step 2: Importing the Data
After connecting Rippling, you’ll be prompted to select what data you want to import.
- Choose the option to import Objects.
- Select the Employees object from the list provided.
- You can then choose specific fields (columns) you want to pull into your sheet.
- Apply any filters or sorting options if needed to refine your data.
- Click the “Import” button.
Your Rippling Employees data will now load directly into your Google Sheets.
Step 3: (Optional) Setting Up Auto-Refresh
To ensure your Employees data stays current, set up auto-refresh.
- With your imported data sheet open, find the import listed in the Coefficient sidebar.
- Click the “Refresh” button next to the import name.
- Select “Auto Refresh”.
- Choose your desired schedule (e.g., hourly, daily, weekly) and click “Save”.
Coefficient will now automatically update your Employees data on the schedule you set.

Available Rippling Objects
- Workers
- Users
- Groups
- Departments
- Teams
- Levels
- Work Locations
- Company Activity
- Company Leave Types
- Leave Balances
- Leave Requests
How to Import Departments Data from Rippling into Google Sheets
Getting your Rippling Departments data into Google Sheets helps you manage organizational structure, track department details, and build custom reports. Coefficient makes this process seamless and automatic.
This guide shows you how to import your Rippling Departments data into Google Sheets using Coefficient.
TLDR
-
Step 1:
Step 1. Install Coefficient from the Google Workspace Marketplace and connect to your Rippling account.
-
Step 2:
Step 2. Select Import from… and choose the Departments object.
-
Step 3:
Step 3. Configure any filters/columns you need and import the data to your Google Sheets.
-
Step 4:
Step 4. Set up auto-refresh to keep your data updated automatically on your preferred schedule.
Here’s a simple guide to importing your Rippling Departments data:
Step 1: Installation and Connection
First, you need to get Coefficient for your Google Sheets.
- Open Google Sheets.
- Go to Extensions > Add-ons > Get add-ons.
- Search for “Coefficient” and install it from the Google Workspace Marketplace.
Once installed, open the Coefficient add-on from the Extensions menu. In the Coefficient sidebar that appears, click “Import from…”. Select Rippling from the list of connectors and follow the prompts to connect your account securely.
Step 2: Importing the Data
After connecting Rippling, you’ll be prompted to select what data you want to import.
- Choose the option to import Objects.
- Select the Departments object from the list provided.
- You can then choose specific fields (columns) you want to pull into your sheet.
- Apply any filters or sorting options if needed to refine your data.
- Click the “Import” button.
Your Rippling Departments data will now load directly into your Google Sheets.
Step 3: (Optional) Setting Up Auto-Refresh
To ensure your Departments data stays current, set up auto-refresh.
- With your imported data sheet open, find the import listed in the Coefficient sidebar.
- Click the “Refresh” button next to the import name.
- Select “Auto Refresh”.
- Choose your desired schedule (e.g., hourly, daily, weekly) and click “Save”.
Coefficient will now automatically update your Departments data on the schedule you set.
Available Rippling Objects
- Workers
- Users
- Groups
- Departments
- Teams
- Levels
- Work Locations
- Company Activity
- Company Leave Types
- Leave Balances
- Leave Requests
How to Import Users Data from Rippling into Excel
Importing Users data from Rippling into Excel helps IT and security teams track system access, manage user permissions, and ensure proper governance. Coefficient makes this process seamless and automatic.
This guide will show you how to import your Rippling Users data into Excel using Coefficient.
TLDR
-
Step 1:
Step 1. Open Excel > Insert tab > Get Add-ins > Install Coefficient from Office Add-ins store.
-
Step 2:
Step 2. Connect your Rippling account and select the Users object to import.
-
Step 3:
Step 3. (Optional) Enable auto-refresh to keep your data updated automatically.
Step 1: Install Coefficient in Excel and Connect Your Rippling Account
Begin by installing the Coefficient add-in in your Excel workbook:
- Open Excel and navigate to the Insert tab in the ribbon.
- Click on “Get Add-ins” to open the Office Add-ins store.
- Search for “Coefficient” and click “Add” to install it.
- Once installed, open the Coefficient sidebar by clicking on the Coefficient icon in the ribbon.
- Click on “Import from…” to see available data sources.
Step 2: Import Users Data from Rippling
Now it’s time to connect to Rippling and import your Users data:
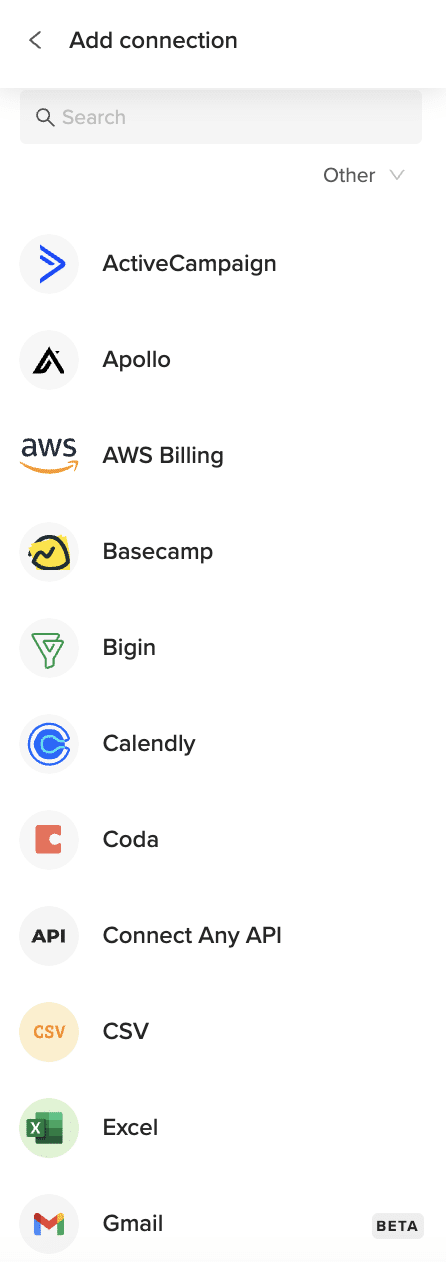
- In the Coefficient sidebar, navigate to the “Other” category.
- Find and select “Rippling” from the list of connectors.
- Log in to your Rippling account when prompted.
- Select “Users” from the list of available objects.
- Configure any filters or select specific fields you want to import.
- Click “Import” to bring your Users data into Excel.
Step 3: Set Up Auto-Refresh (Optional)
To ensure your Users data stays up-to-date automatically:
- Hover over your imported data range in Excel.
- Click on the “Data Settings” icon that appears.
- Select “Schedule Refresh” from the menu.
- Choose your preferred refresh frequency (hourly, daily, or weekly).
- Set the specific timing for the refresh to occur.
- Click “Save” to confirm your auto-refresh settings.
Available Rippling Objects
- Workers
- Users
- Groups
- Departments
- Teams
- Levels
- Work Locations
- Company Activity
- Company Leave Types
- Leave Balances
- Leave Requests