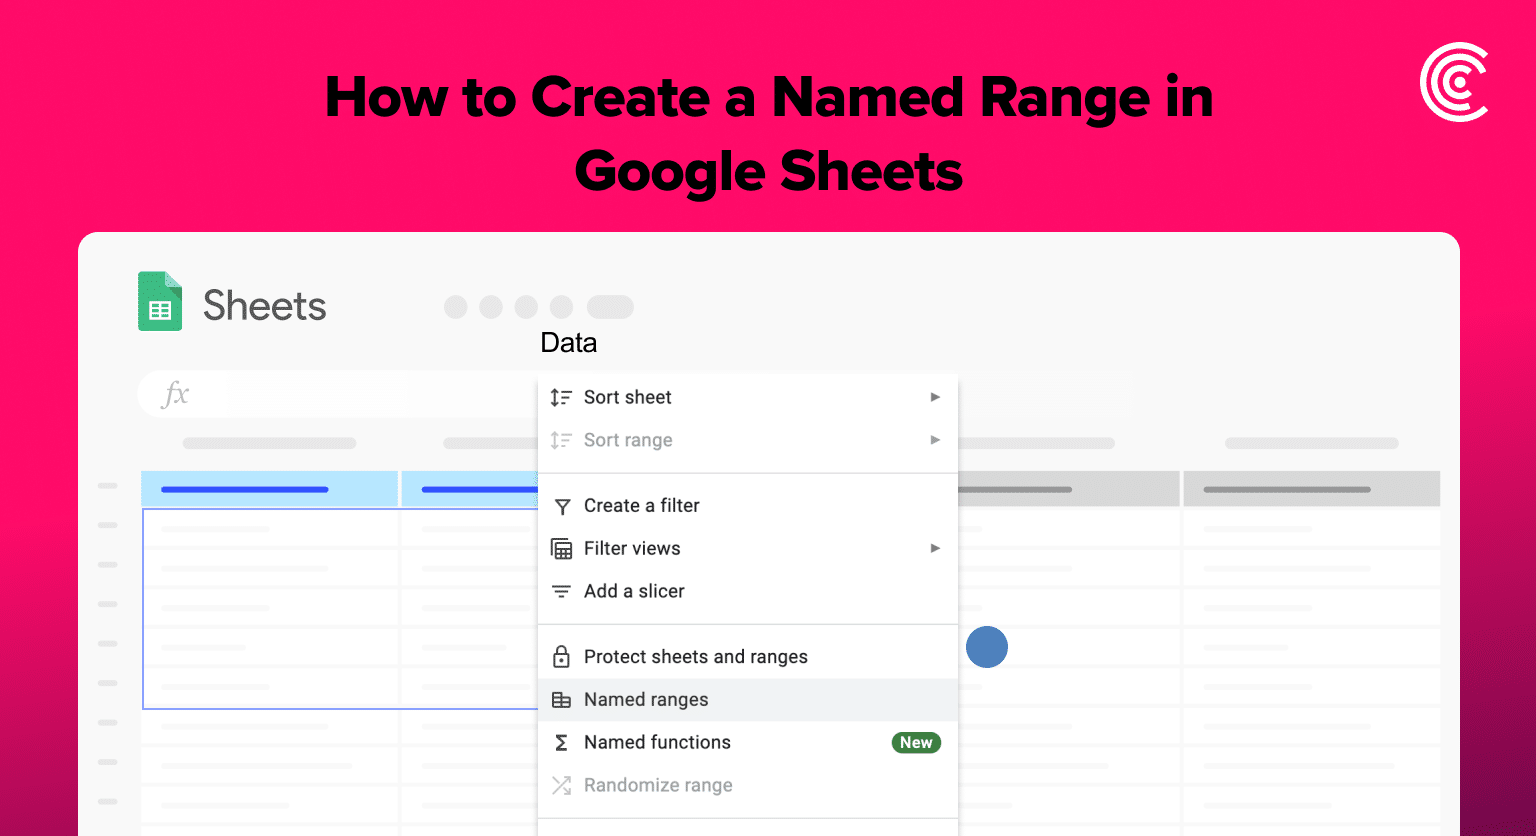
Named ranges in Google Sheets are a powerful tool that allow users to easily refer to specific cells or ranges of cells by a custom name. This can be especially helpful when working with large datasets or complex formulas, as it can simplify the process of selecting and referencing data. By creating a named range, users can quickly and easily refer to a specific set of cells without having to remember the exact cell references.
How to Create a Named Range
To create a named range in Google Sheets:
- Simply select the range of cells that you want to name
- Click on “Data” in the menu bar, followed by “Named ranges”
- In the dialog box that appears, enter the name you want to assign to the range and click “Done”.
- You can also create a dynamic named range Google Sheets, which automatically updates as new data is added to the range.
How to Use Named Ranges in Formulas and Functions
Using named ranges in formulas and functions is straightforward. Instead of typing cell references, simply type the name of the named range.
For example, if you have a named range called “SalesData” that contains the sales figures for the year, you can use the following formula to calculate the total sales:
=SUM(SalesData)
Named ranges can also be used in conditional formatting rules, making it easier to apply formatting to specific ranges of cells.
To do this:
- Select the range of cells you want to format
- Click on “Format” in the menu bar, followed by “Conditional formatting”.
- In the dialog box that appears, select “Custom formula is” from the drop-down menu, then enter the formula using the named range.
Dealing with Unknown Range Name Google Sheets Errors
When using named ranges in Google Sheets, it is common to encounter errors related to unknown range names. These errors occur when the named range being referenced does not exist in the sheet.
To resolve this error, the user should:
- Check the spelling and capitalization of the named range.
- If the named range is still not found, the user should check that the named range is defined in the correct sheet.
- If the named range is defined in a different sheet, the user should reference the named range by using the sheet name followed by an exclamation mark and the named range.
For example, if the named range is defined in the sheet named “Sales”, the user should reference it as “Sales!NamedRange”.
How to Reference Named Ranges
Referencing named ranges in Google Sheets is a simple process. To reference a named range, the user should simply:
Type the name of the google sheets reference named range in the formula bar preceded by an equal sign
For example, if the named range is “SalesData”, the user should reference it as “=SalesData”.
Named ranges can also be referenced using the INDIRECT function. The INDIRECT function allows the user to reference a named range using a cell reference. For example, if the named range is “SalesData” and the cell reference is A1, the user should reference it as “=INDIRECT(A1)”.
In conclusion, troubleshooting and referencing named ranges is an essential skill for any Google Sheets user. By following the guidelines outlined above, users can avoid errors related to unknown range names and reference named ranges with ease. Whether you’re using them in formulas, functions, or conditional formatting rules, named ranges can save you time and make your spreadsheet more efficient.
Use AI to Build Faster in Google Sheets
Named ranges make formula creation and large datasets much easier to manage. If you’ve looking to add more productivity to your Google Sheets processes, you can use Coefficient’s free GPT Copilot to automatically create formulas, pivots, and charts. To use GPT Copilot, you need to install Coefficient. The install process takes less than a minute.
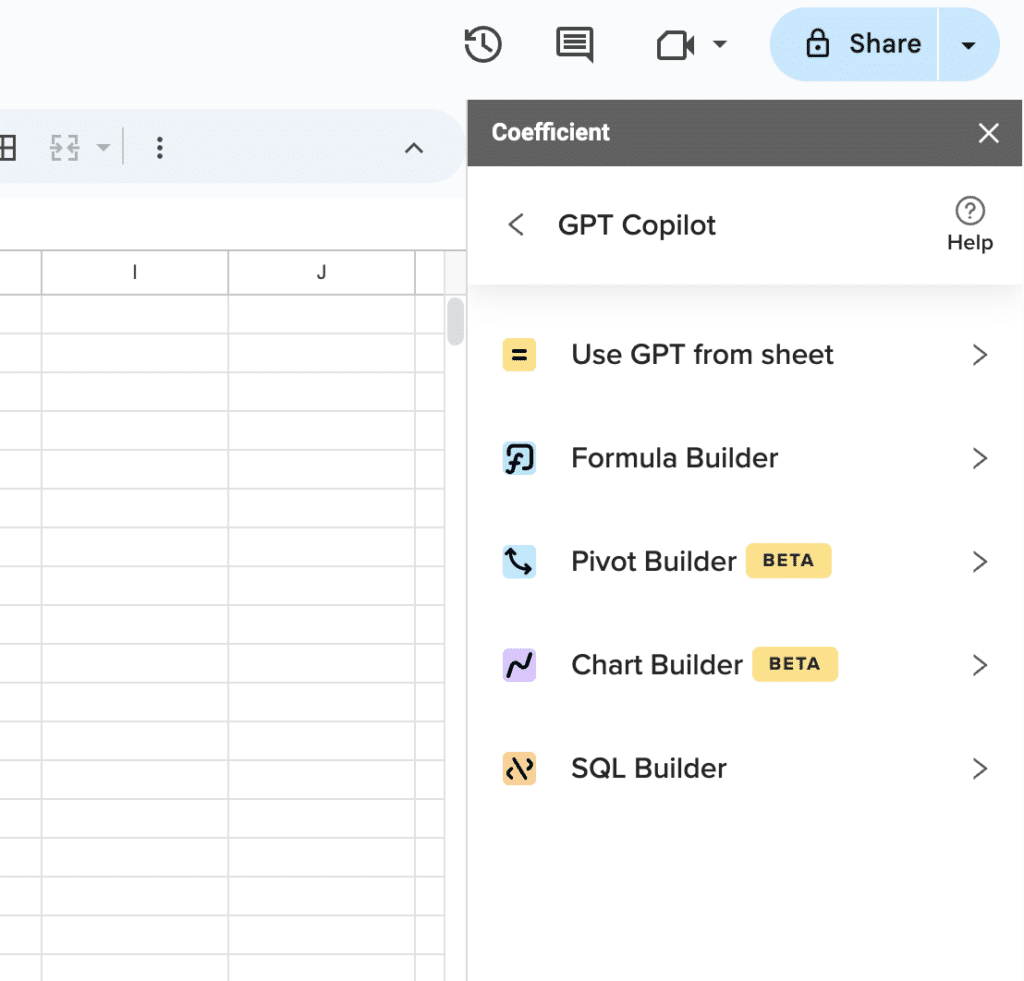
Supercharge your spreadsheets with GPT-powered AI tools for building formulas, charts, pivots, SQL and more. Simple prompts for automatic generation.

You can get started for free right from our website.
Search for “Coefficient”. Click on the Coefficient app in the search results.
Accept the prompts to install. Once the installation is finished, return to Extensions on the Google Sheets menu. Coefficient will be available as an add-on.
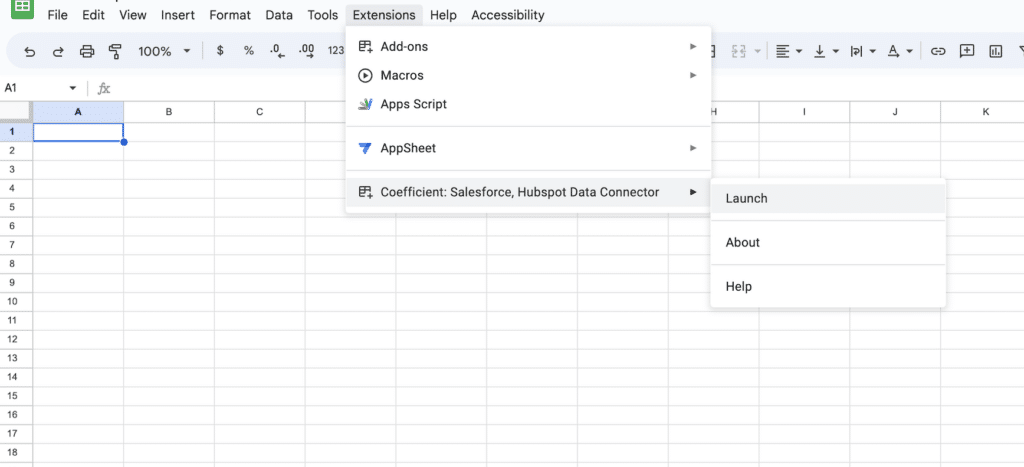
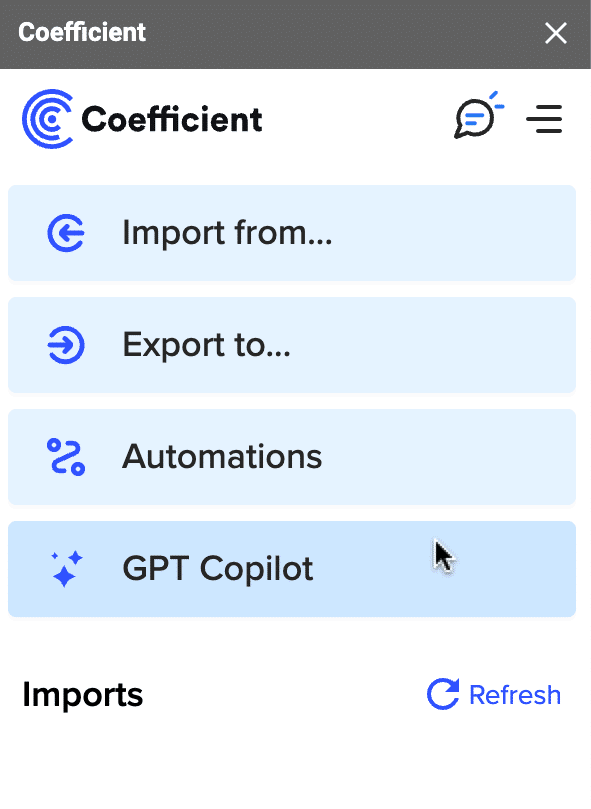
Now launch the app. Coefficient will run on the sidebar of your Google Sheet. Select GPT Copilot on the Coefficient sidebar.
For this example, let’s test out Formula Builder.
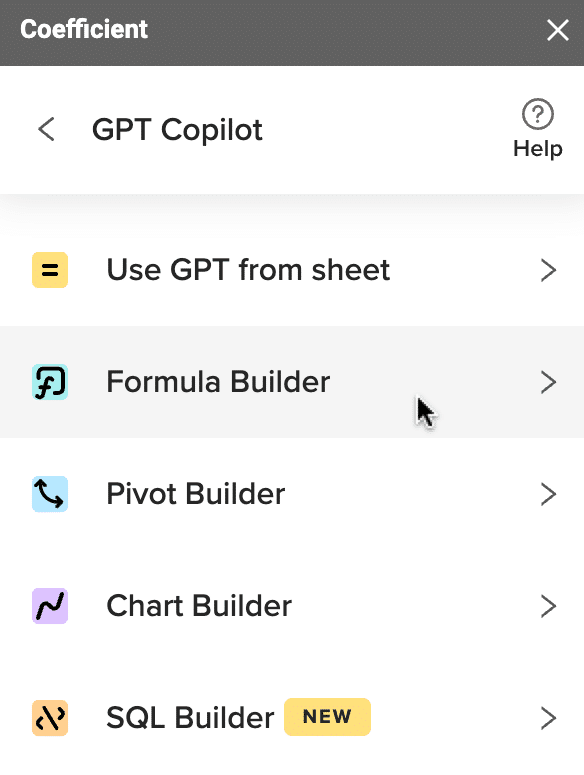
Type a description of a formula into the text box.
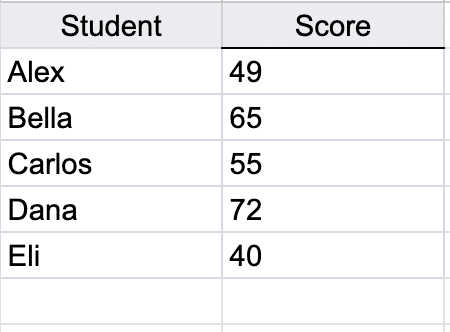
Let’s take these student’s scores above and Calculate the average score in column B if the score is above 50.
Then press ‘Build’. Formula Builder will automatically generate the formula you need.
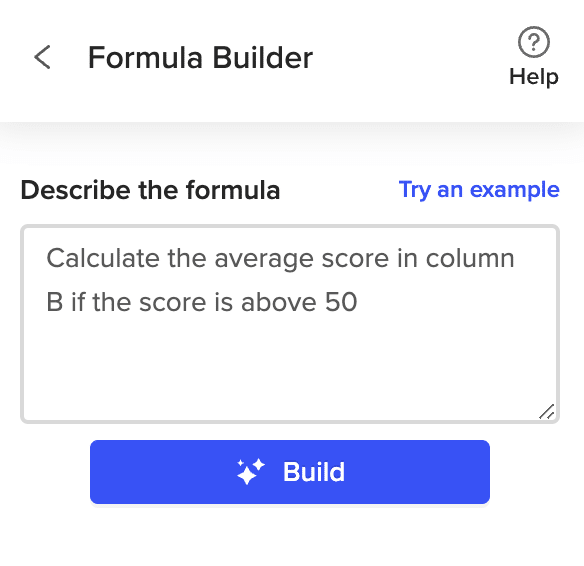
Then press ‘Build’. Formula Builder will automatically generate your formula.

