Excel named ranges transform complex spreadsheets from confusing cell references into clear, maintainable formulas. Instead of typing =SUM(A1:A100), you can use =SUM(MonthlyRevenue), making your spreadsheets easier to understand and maintain. This guide shows you how to create, use, and manage named ranges in Excel to streamline your workflow.
Create Your First Named Range in Excel
Creating a named range takes just a few clicks and immediately improves your spreadsheet’s clarity. Here’s how to set up your first named range:
- Select Your Cell Range
- Open your Excel spreadsheet
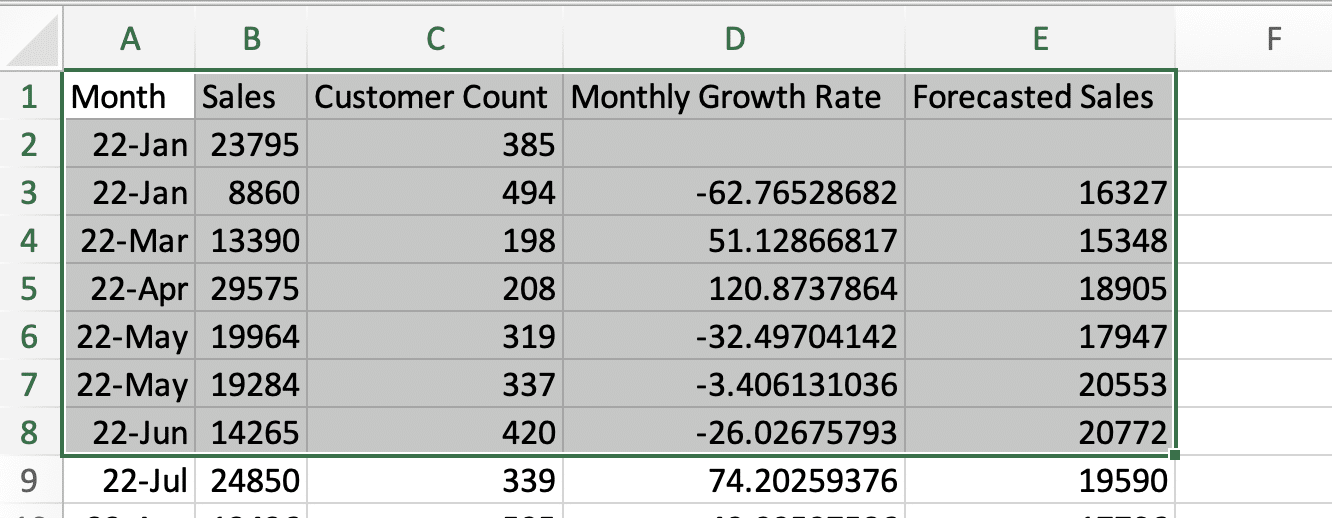
- Click and drag to highlight the cells you want to name
-
- Ensure you include all relevant data cells
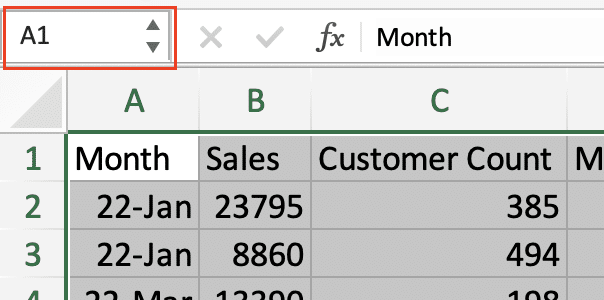
- Access the Name Box
- Look for the Name Box left of the formula bar
- Current cell reference appears here (e.g., A1)
-
- Click to activate the box
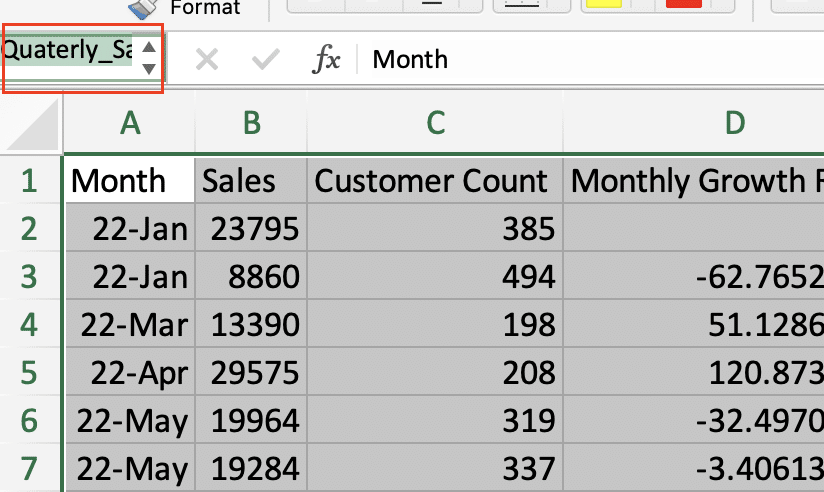
- Name Your Range
- Type your chosen name (e.g., “QuarterlySales”)
-
- Press Enter to confirm
- The range is now named and ready to use
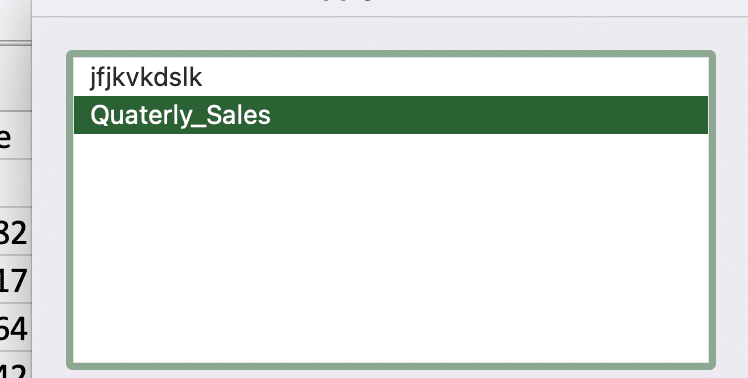
- Verify in Name Manager
- Press Ctrl + F3 to open Name Manager
- Find your new range in the list
- Check the reference is correct
Using the Create from Selection Feature
For spreadsheets with clear headers, Excel offers a faster way to create multiple named ranges:
- Select Data with Headers
- Highlight entire data set including headers
- Include both row and column headers if needed
- Access Create from Selection
- Navigate to Formulas tab
- Click Create from Selection
- Or use keyboard shortcut Ctrl + Shift + F3

- Choose Header Location
|
Option |
When to Use |
|---|---|
|
Top Row |
Column headers at the top |
|
Left Column |
Row headers on the left |
|
Bottom Row |
Summary data at bottom |
|
Right Column 
Try the Free Spreadsheet Extension Over 500,000 Pros Are Raving About
Stop exporting data manually. Sync data from your business systems into Google Sheets or Excel with Coefficient and set it on a refresh schedule. Get Started |
Totals on the right |
- Review Generated Names
- Excel creates names based on headers
- Check Name Manager for accuracy
- Adjust any unclear or incorrect names
Working with Named Ranges in Formulas
Named ranges simplify formula creation and maintenance:
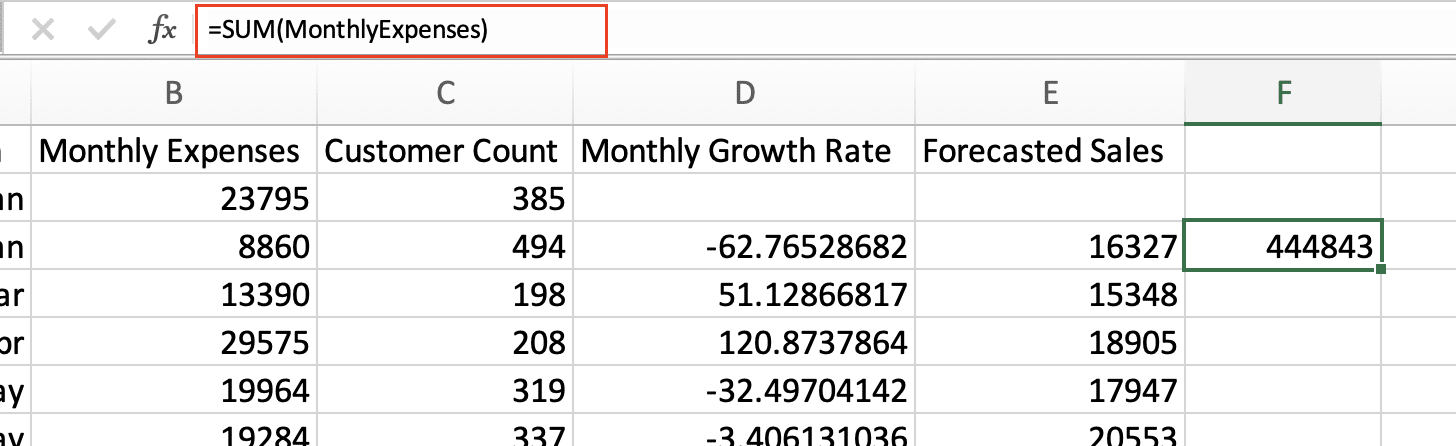
Replace Cell References
Instead of: =SUM(B2:B50)
- Use: =SUM(MonthlyExpenses)
- Use in Calculations
- Reference named ranges directly in formulas
- Combine multiple named ranges
- Apply functions as normal
- Cross-Worksheet References
- Named ranges work across sheets
- No need to include sheet references
- Maintain formulas when moving data
Managing Multiple Named Ranges
Keep your named ranges organized:
- Access Name Manager
- Press Ctrl + F3
- Review all named ranges
-
- Sort by name or reference
- Edit Existing Ranges
- Double-click range to modify
- Update references if data moves
- Rename for clarity if needed
- Clean Up Unused Ranges
- Delete obsolete names
- Fix broken references
- Consolidate duplicate ranges
Naming Conventions and Rules
Follow these guidelines for effective named ranges:
- Allowed Characters
- Letters, numbers, underscores
- No spaces (use underscores instead)
- Must start with letter or underscore
- Scope Considerations
- Workbook-level names
- Sheet-specific names
- Avoid duplicate names
- Best Practices
- Use clear, descriptive names
- Include units if relevant
- Keep names concise
Next Steps
Start implementing named ranges in your spreadsheets today. Begin with a single important range, then expand to more complex calculations. As you build confidence, share your improved workbooks with colleagues.
Ready to take your Excel data management to the next level? Try Coefficient to automatically sync live data from 50+ business systems directly into your spreadsheets. Get started with Coefficient today and combine the power of named ranges with real-time data updates.


