Need to turn your Excel spreadsheet into a PDF? This guide covers multiple methods to convert Excel files to PDF format while preserving formatting and layout.
Tutorial: Convert Excel to PDF Using Microsoft Excel
Converting an Excel file to PDF in the latest version of Microsoft Excel is straightforward. Here’s how to do it:
Step 1: Open your Excel file
- Launch Microsoft Excel and open the workbook you want to convert.
- Ensure all data and formatting are correct before proceeding.
Step 2: Access the File menu
- Click on the “File” tab in the top-left corner of the Excel window.

- This will open the backstage view with various file-related options.
Step 3: Select the “Export” option
- In the backstage view, locate and click on “Export” in the left-hand menu.

- This will display different export options for your Excel file.
Step 4: Choose “Create PDF/XPS Document”
- Click on “Create PDF/XPS Document” from the available export options.

- A new dialog box will appear with PDF creation settings.
Step 5: Adjust settings for optimization
- Click the “Options” button in the “Publish as PDF or XPS” dialog box.
- Choose between “Standard” (higher quality, larger file size) or “Minimum” (smaller file size, potentially lower quality) publishing options.
- Select which sheets or sections of your workbook to include in the PDF.
Step 6: Name and save the PDF file
- Click “Publish” to open the “Save As” dialog box.
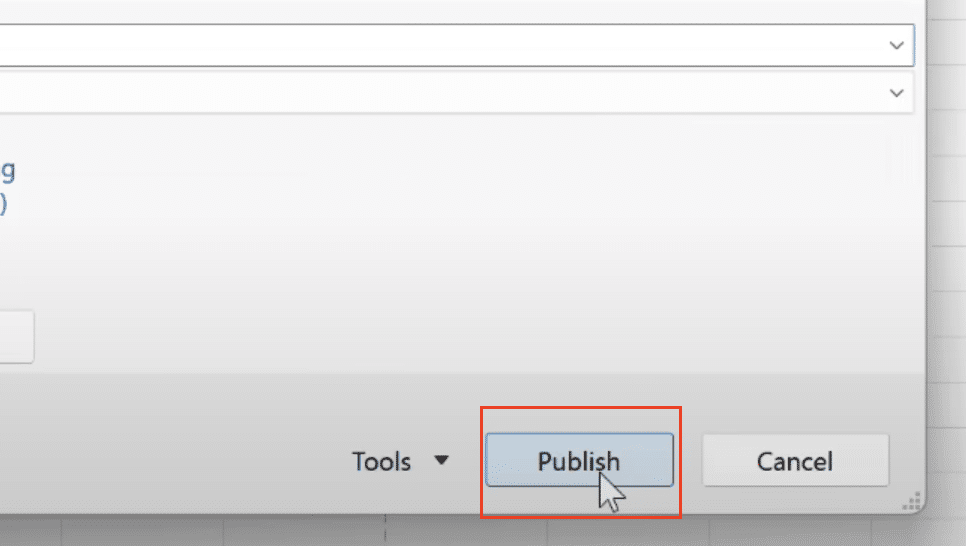
- Choose a location on your computer to save the PDF.
- Enter a name for your PDF file.
- Click “Save” to create and save the PDF version of your Excel workbook.
Converting Multiple Excel Sheets to PDF
If you need to convert multiple sheets from your Excel workbook into a single PDF, follow these steps:
Step 1: Select all desired sheets
- Hold down the Ctrl key on your keyboard.
- Click on each sheet tab you want to include in the PDF.
- All selected sheets will be highlighted.
Step 2: Follow the export process
- Proceed with the same export process described in the previous section.
- When you reach the “Options” dialog, ensure “Entire workbook” is selected under “Publish what.”

Step 3: Verify sheet inclusion
- Before finalizing the PDF creation, double-check that all selected sheets are listed in the “Sheets in PDF” section of the Options dialog.
- If any sheets are missing, cancel the process and reselect your sheets before trying again.
Preserving Excel Formatting in PDF
To ensure your Excel formatting translates accurately to the PDF format:
Step 1: Use the “Options” button
- In the “Publish as PDF or XPS” dialog, click the “Options” button.
- This opens additional settings for PDF creation.
Step 2: Select content to include
- Choose whether to publish the entire workbook or specific sheets.
- Decide if you want to include document properties in the PDF.
Step 3: Set quality preferences
- Under “PDF options,” choose between “Standard” (better quality) or “Minimum size” (smaller file).
- Higher quality settings will preserve more of your original Excel formatting but result in larger file sizes.
Step 4: Review and publish
- Click “OK” to apply your settings.
- Review the PDF after creation to ensure all formatting has been preserved as expected.
How to Convert Excel to PDF in Landscape Mode
Sometimes, your Excel data may be better suited for a landscape orientation in PDF format. Here’s how to make this adjustment:
Step 1: Open Page Layout settings
- In Excel, click the “Page Layout” tab in the ribbon.

- Locate the “Page Setup” group.
Step 2: Change orientation to Landscape
- Click on “Orientation” in the Page Setup group.

- Select “Landscape” from the dropdown menu.

Step 3: Adjust margins if necessary
- Click on “Margins” in the Page Setup group.

- Choose a preset margin option or select “Custom Margins” for more control.
- Adjust margins to ensure all your content fits properly in landscape mode.
Step 4: Export to PDF
- Follow the standard export process described earlier.
- Your PDF will now be created in landscape orientation.
Converting Excel to PDF Without Cutting Off Content
To ensure all your Excel content fits properly in the PDF without being cut off:
Step 1: Adjust page breaks in Excel
- Go to the “View” tab in Excel.
- Click on “Page Break Preview” in the Workbook Views group.

- Drag the blue lines to adjust where page breaks occur.
Step 2: Use “Fit to” option in Page Setup
- Click the small arrow in the bottom-right corner of the Page Setup group on the Page Layout tab.
- In the Page Setup dialog, go to the “Page” tab.
- Under Scaling, select “Fit to:”

Step 3: Set scale to 1 page wide by 1 page tall
- Enter “1” in both the “page(s) wide” and “tall” fields.
- This will automatically adjust the scaling to fit your content on one page.
Step 4: Preview before exporting
- Use the “Print Preview” feature to check how your content will appear.
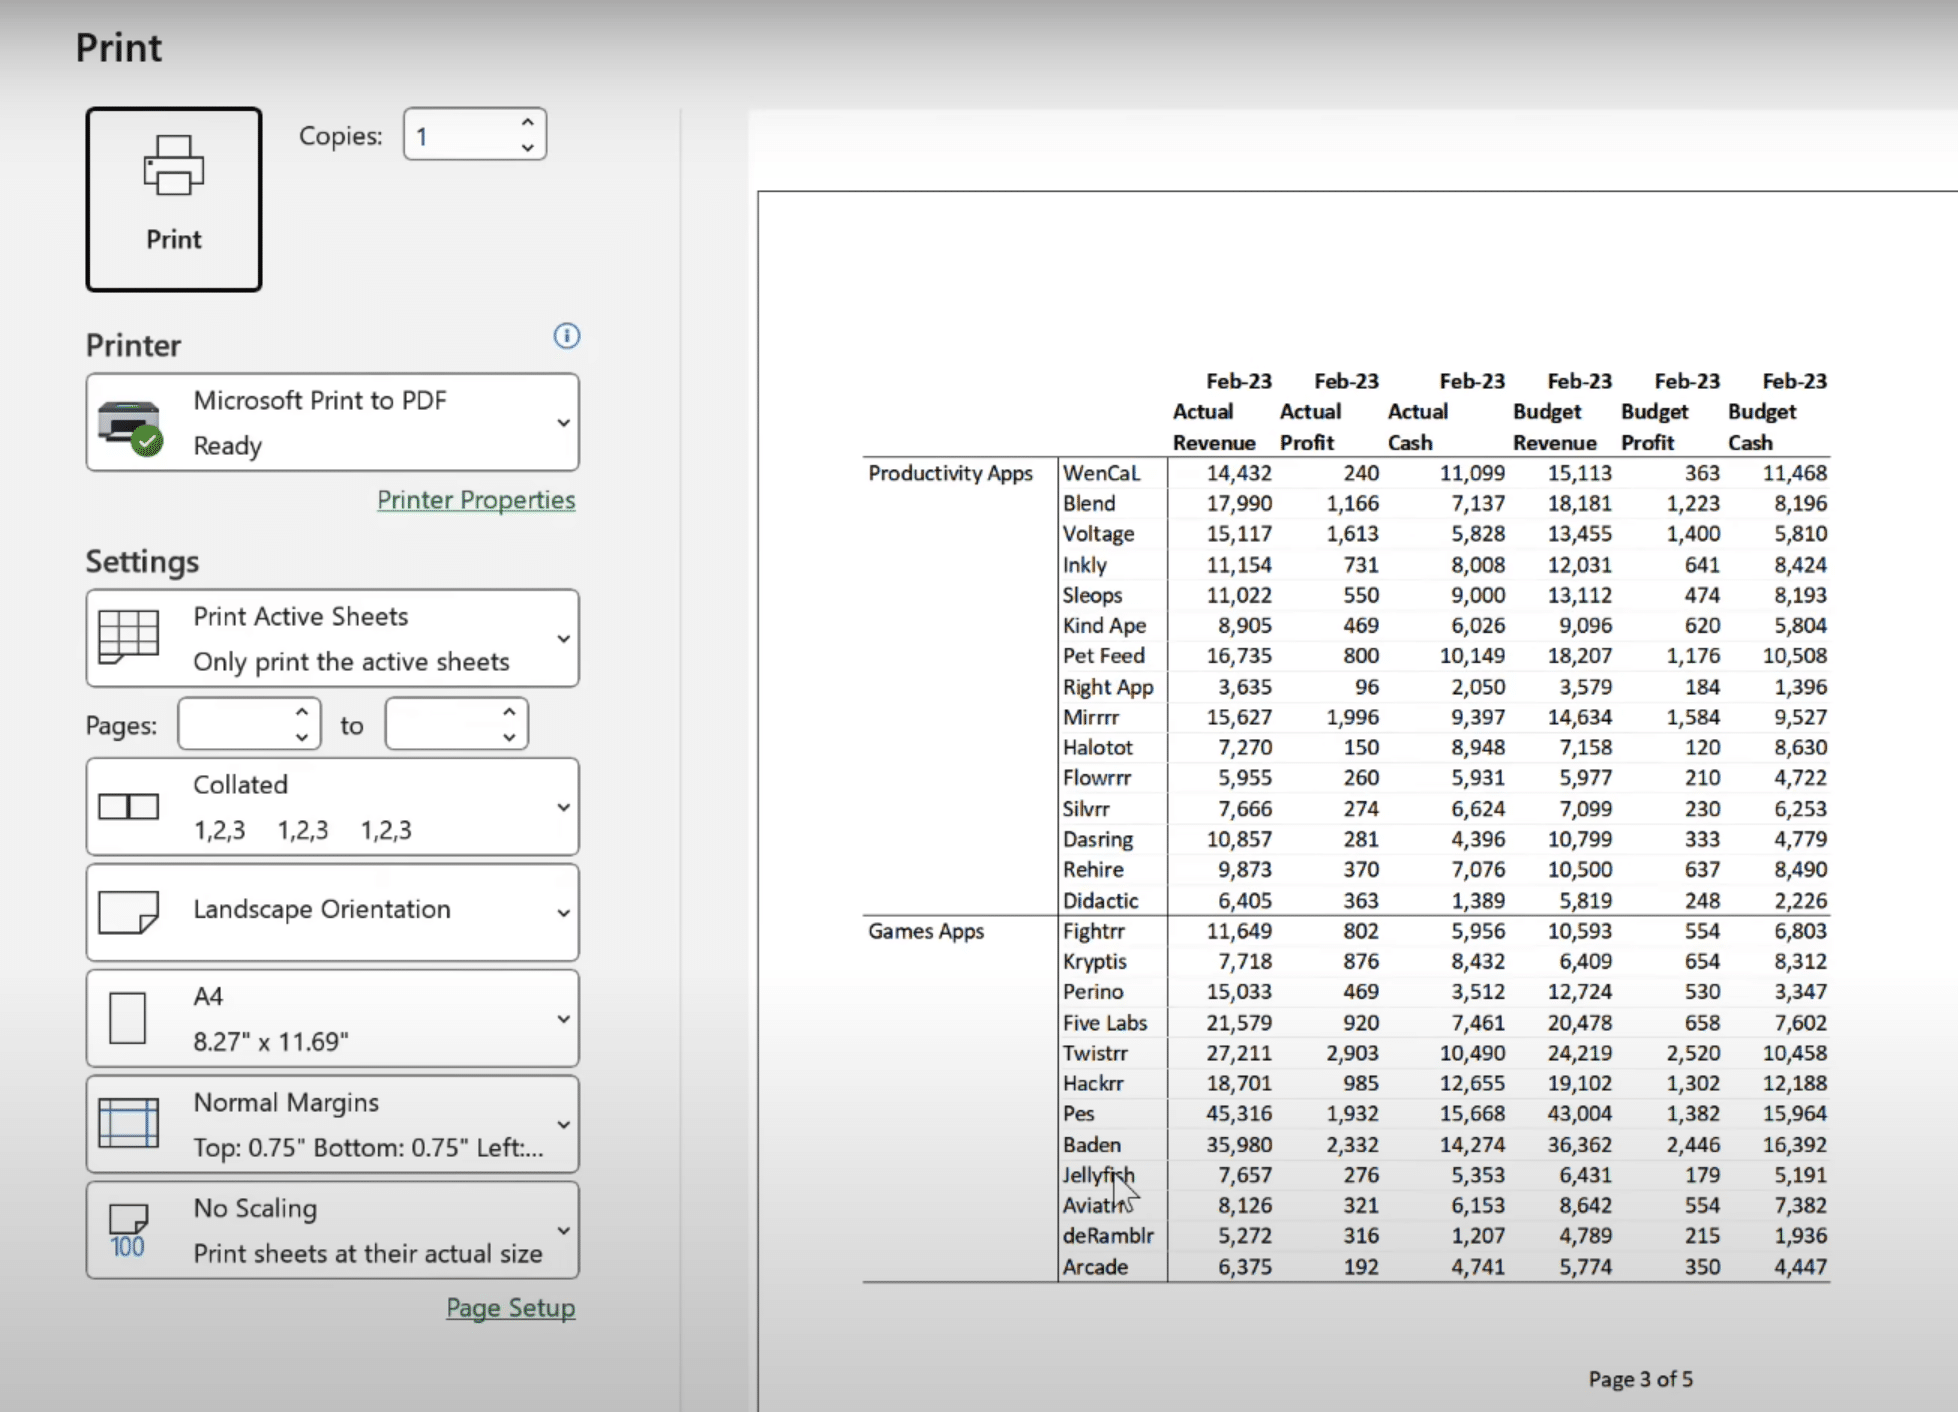
- Make any necessary adjustments before proceeding with the PDF export.
Using the Print to PDF Feature
An alternative method to convert Excel to PDF is using the Print to PDF feature:

Stop exporting data manually. Sync data from your business systems into Google Sheets or Excel with Coefficient and set it on a refresh schedule.
Get Started
Step 1: Access Print menu
- Press Ctrl + P on your keyboard or go to File > Print.

- This opens the Print dialog.
Step 2: Select “Microsoft Print to PDF” as printer
- In the Printer dropdown, choose “Microsoft Print to PDF.“

- This option is built into Windows and doesn’t require additional software.
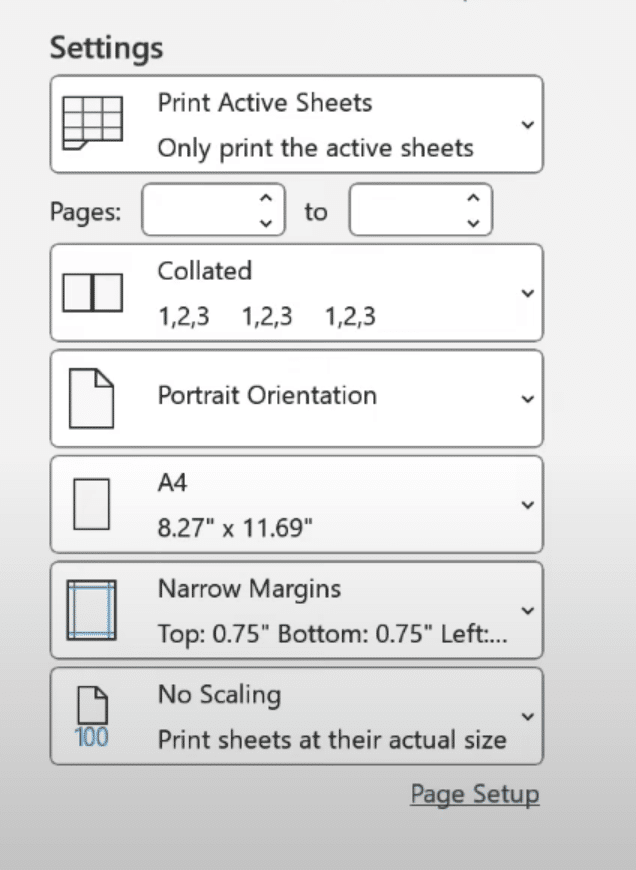
Step 3: Adjust print settings
- Set the number of copies, which sheets to print, and other print options as needed.
- Use the “Settings” section to adjust orientation, paper size, and margins.
Step 4: Create the PDF
- Click “File” to open the “Save As” dialog.

- Choose a location and name for your PDF file.
- Click “Save” to create the PDF.
Creating an Editable PDF from Excel
To create a PDF that maintains some editability, you can use Adobe Acrobat DC:
Step 1: Open Excel file in Acrobat
- Launch Adobe Acrobat DC.
- Go to File > Create > PDF from File.
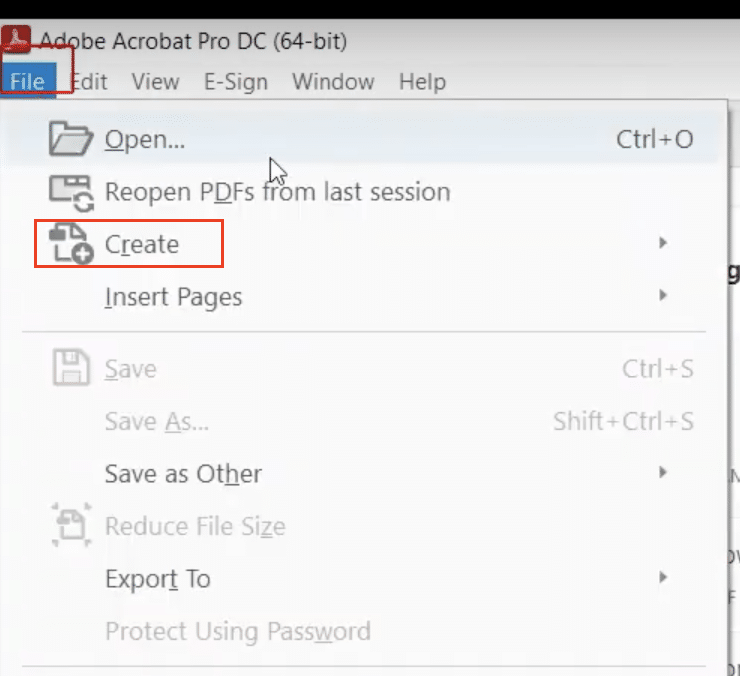
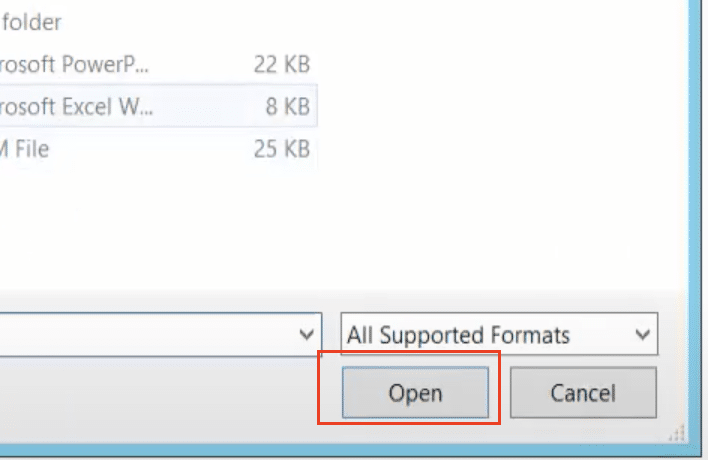
- Select your Excel file and click “Open“.
Step 2: Select “Save as Adobe PDF”
- In Acrobat, go to File > Save As > Adobe PDF.

- This opens the conversion settings dialog.
Step 3: Choose options for form fields and interactivity
- Go to options at the sidebar and click ‘Forms > Create’

- In the conversion settings, select “Use the current document or browse a file > Use the current document“.
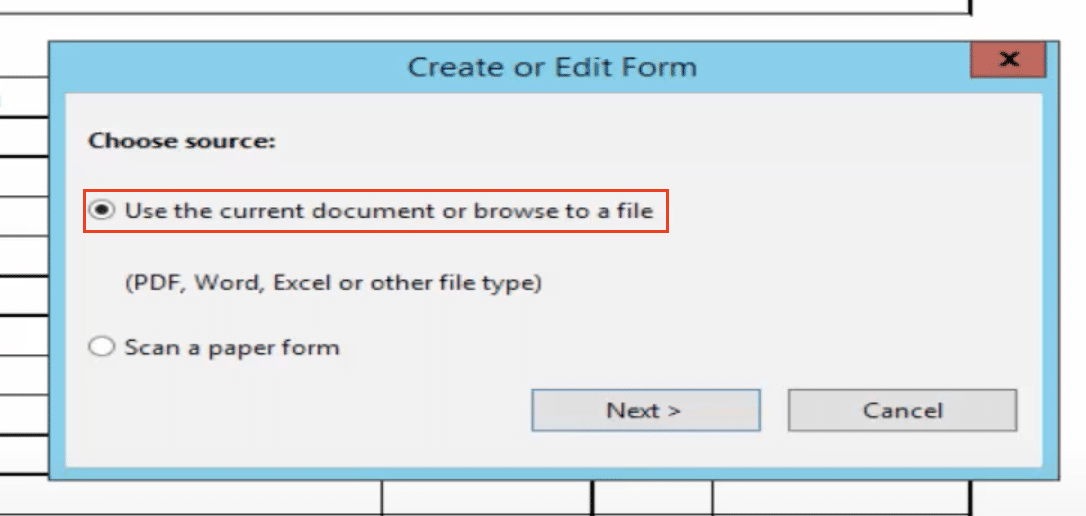
- Choose whether to detect form fields automatically or manually add them later.
Step 4: Save and test the editable PDF
- Click “File > Save” to create your editable PDF.

- Open the new PDF and test the editable fields to ensure they work as expected.
Online Tools for Excel to PDF Conversion
For quick conversions without installing software, online tools can be useful:
Step 1: Choose an online converter
- Popular options include Adobe Online, Smallpdf, and PDFConverter.com.
- Consider factors like file size limits and privacy policies when selecting a tool.
Step 2: Upload your Excel file
- Most online converters have a simple “Upload” or “Choose File” button.
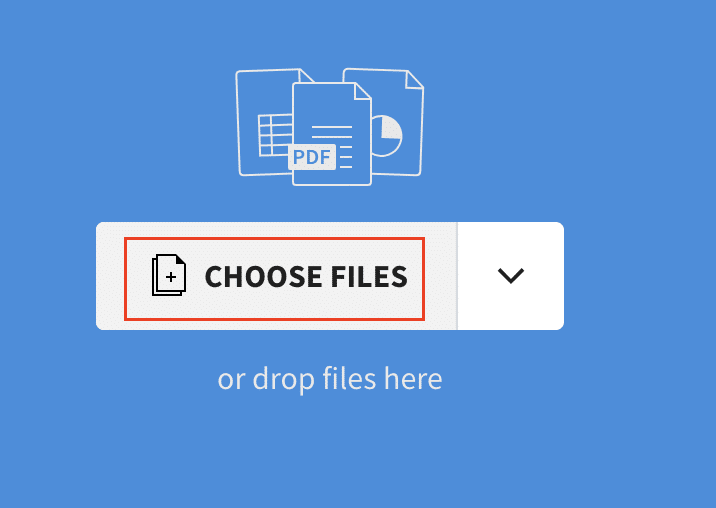
- Select your Excel file from your computer.
Step 3: Convert and download
- Click the “Convert” or “Create PDF” button on the website.
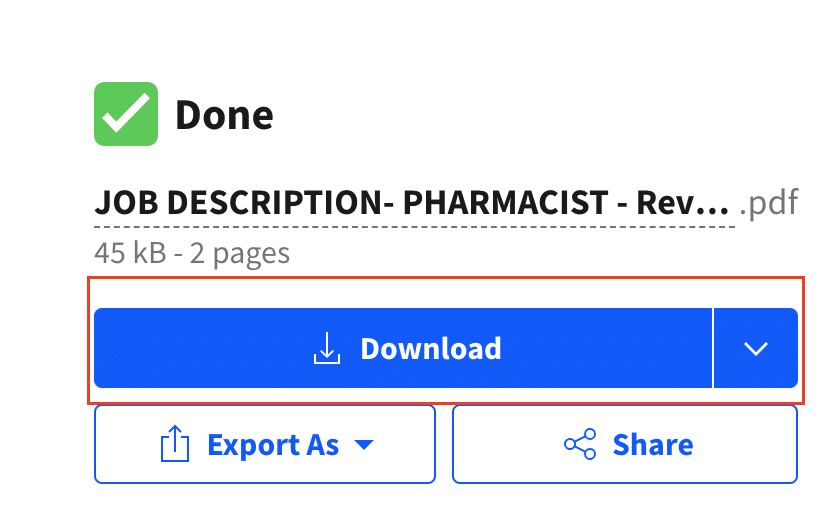
- Wait for the conversion to complete, then download your new PDF file.
Note: Be cautious when using online tools with sensitive data, as your file will be uploaded to a third-party server.
Streamlining Your Excel to PDF Workflow
Converting Excel to PDF doesn’t have to be a time-consuming process. By choosing the right method for your needs and following the steps outlined in this guide, you can quickly create professional-looking PDFs from your Excel data.
Remember to consider factors like formatting preservation, file size, and editability when selecting your conversion method. With practice, you’ll find the approach that works best for your specific requirements.
For those looking to further enhance their data management and reporting capabilities, consider exploring Coefficient. This powerful add-on allows you to sync live data from various business systems directly into your spreadsheets, making report creation and data analysis even more efficient. Get started with Coefficient today to take your spreadsheet capabilities to the next level.

