Are you struggling to sync your NetSuite and HubSpot data? This comprehensive guide will walk you through three proven methods to connect these powerful platforms. You’ll learn how to streamline your business operations, enhance customer insights, and improve your sales process.
Advantages of Connecting NetSuite to HubSpot
Integrating NetSuite and HubSpot offers several key benefits for businesses:
- Unified customer data: By syncing customer information between NetSuite and HubSpot, you create a complete 360-degree view of your clients.
- Streamlined sales process: When you connect NetSuite to HubSpot, deal information in HubSpot automatically updates based on NetSuite transactions.
- Enhanced financial reporting: Leveraging HubSpot’s marketing data in NetSuite enables more accurate revenue attribution.
Top 3 Methods to Connect NetSuite to HubSpot
Now that we understand the benefits, let’s explore the three most effective ways to connect NetSuite to HubSpot. Each method has its strengths, so choose the one that best fits your organization’s needs and technical capabilities.
| Solution | Best For |
| Coefficient | Non-technical users who want to sync NetSuite and HubSpot data using Google Sheets as an intermediary for data transformation and analysis |
| HubSpot’s Native Integration | Companies looking for a straightforward, out-of-the-box solution for basic NetSuite and HubSpot data synchronization |
| Celigo Integration Platform | Enterprises requiring a scalable, customizable integration solution with advanced mapping and workflow capabilities |
Let’s dive into each method and explore how to set them up step-by-step.
Method 1. Coefficient

Coefficient is a powerful data integration tool that allows users to connect NetSuite and HubSpot through Google Sheets. This solution provides a flexible and user-friendly approach to data synchronization and analysis, making it ideal for non-technical users who want to leverage the familiarity of spreadsheets.
Step-by-Step Walkthrough:
Step 1. Install Coefficient
For Google Sheets
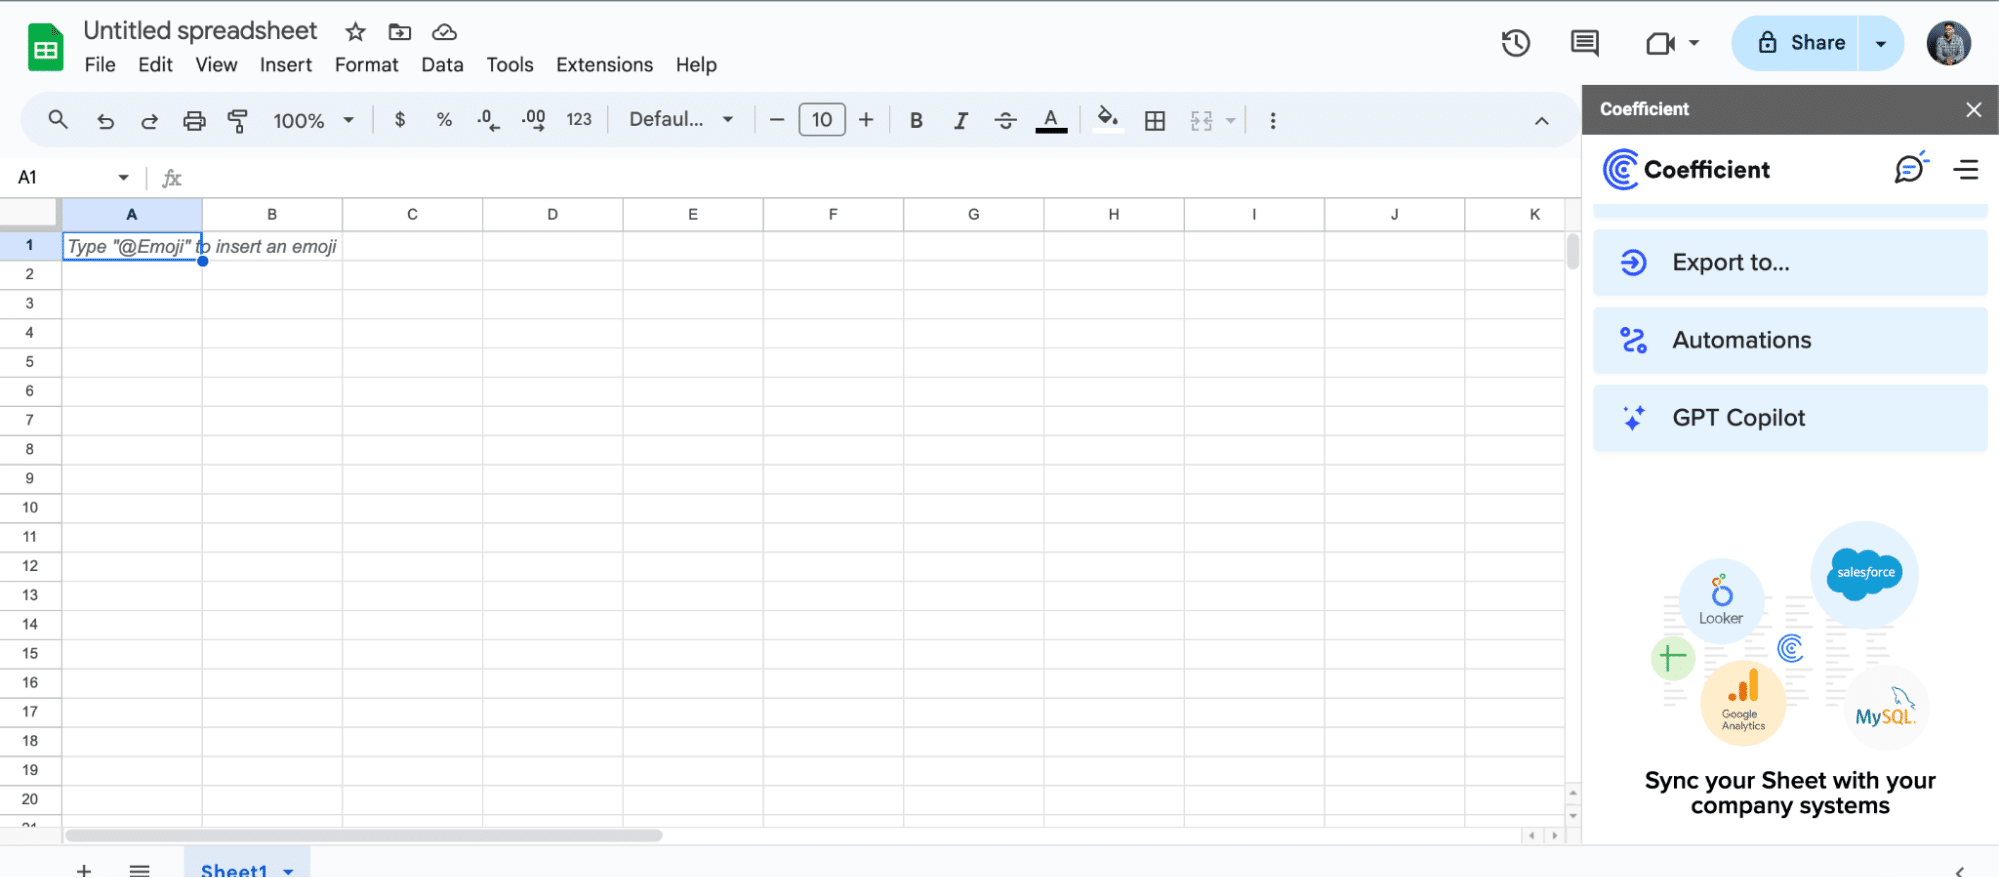
- Open a new or existing Google Sheet, navigate to the Extensions tab, and select Add-ons > Get add-ons.
- In the Google Workspace Marketplace, search for “Coefficient.”
- Follow the prompts to grant necessary permissions.
- Launch Coefficient from Extensions > Coefficient > Launch.
- Coefficient will open on the right-hand side of your spreadsheet.
For Microsoft Excel
- Open Excel from your desktop or in Office Online. Click ‘File’ > ‘Get Add-ins’ > ‘More Add-Ins.’
- Type “Coefficient” in the search bar and click ‘Add.’
- Follow the prompts in the pop-up to complete the installation.
- Once finished, you will see a “Coefficient” tab in the top navigation bar. Click ‘Open Sidebar’ to launch Coefficient.

Step 2. Connect and Import Data from NetSuite
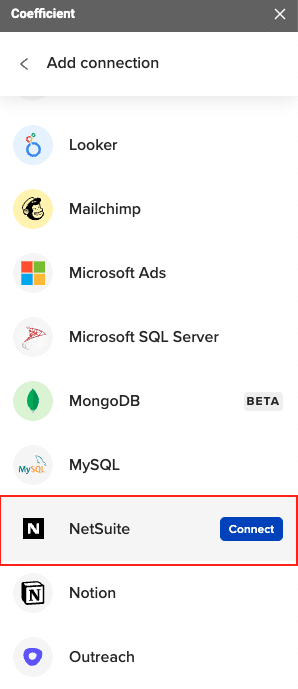
- Open Coefficient Sidebar: In the Coefficient sidebar, click Import from…, then select NetSuite.
- Authenticate NetSuite: Follow the prompts to authenticate and connect your NetSuite account.
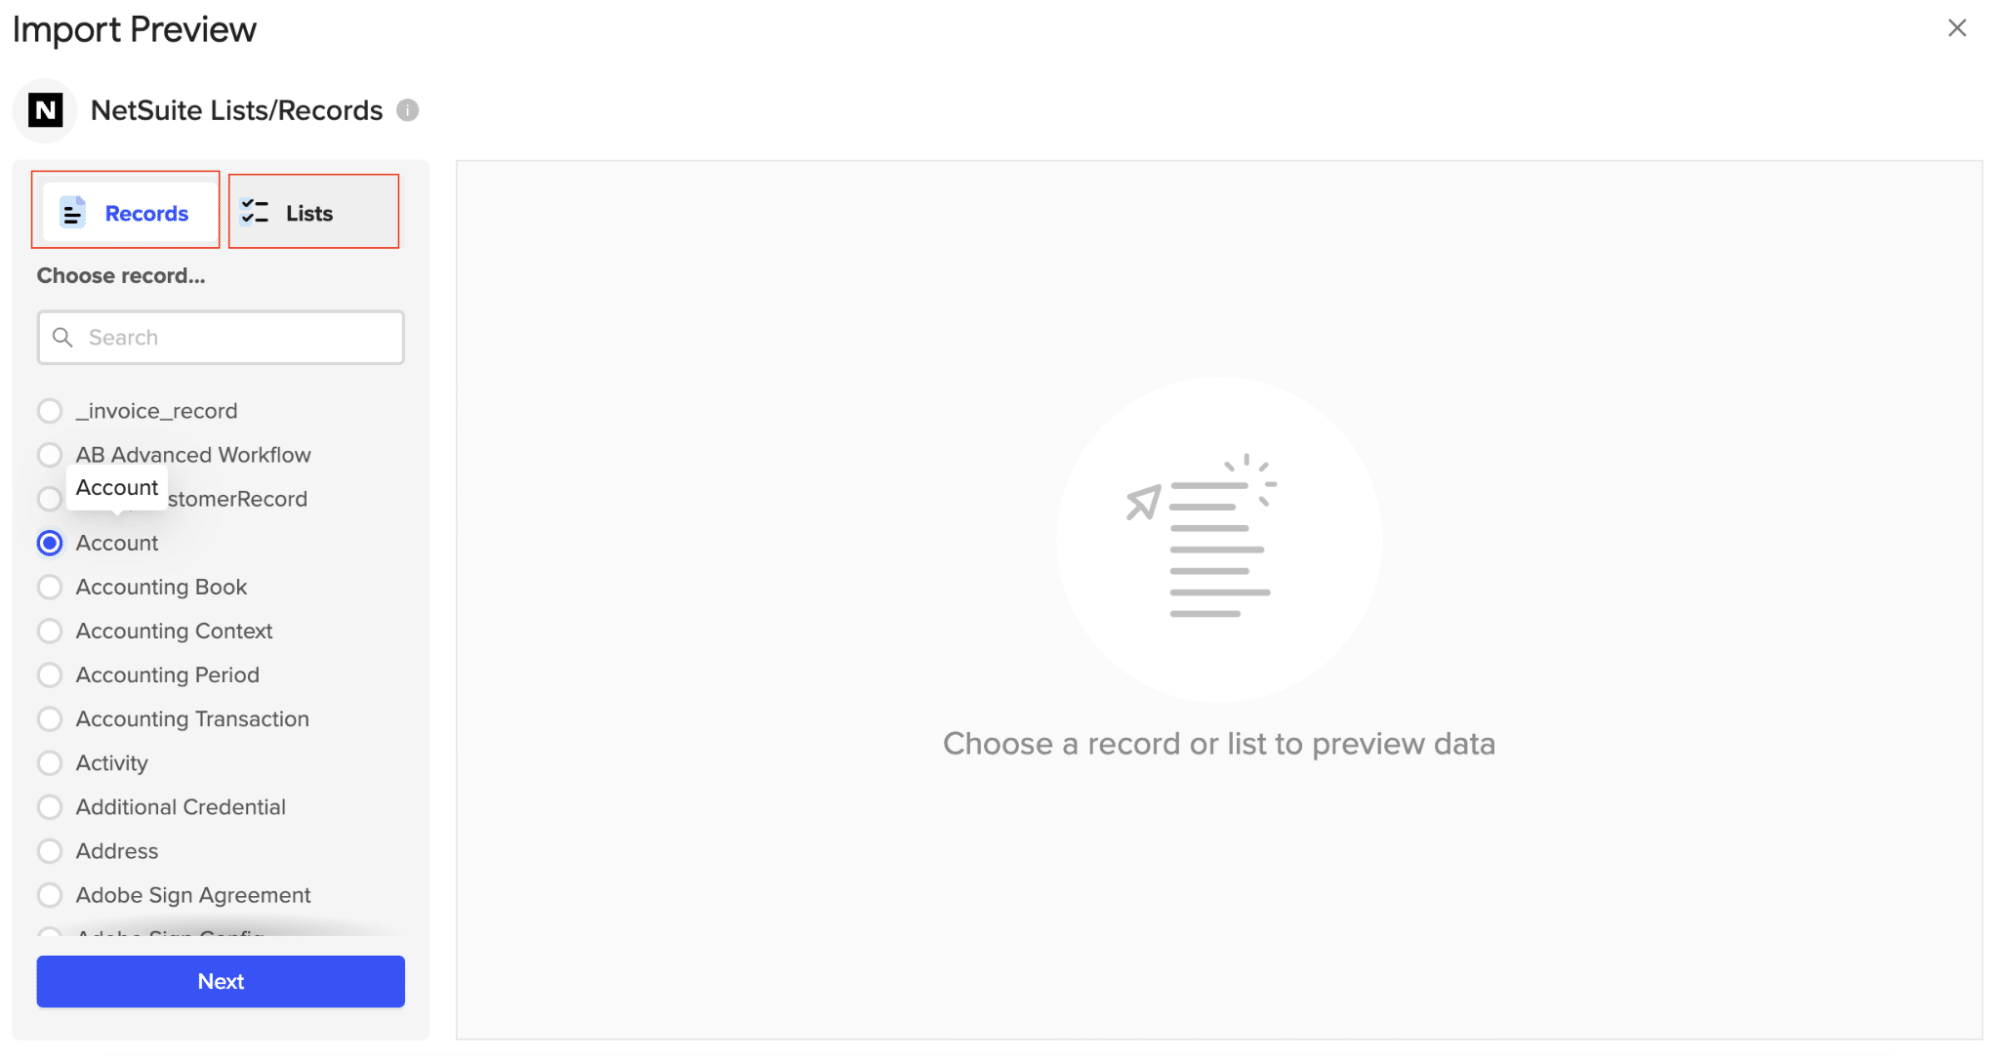
- Select Data: Choose the data you need from NetSuite. Configure any necessary filters and click
Import. Your NetSuite data will populate in your spreadsheet.
Step 3. Export Data to HubSpot
- Navigate to Export: In Coefficient’s sidebar, click Export to…, then select HubSpot.

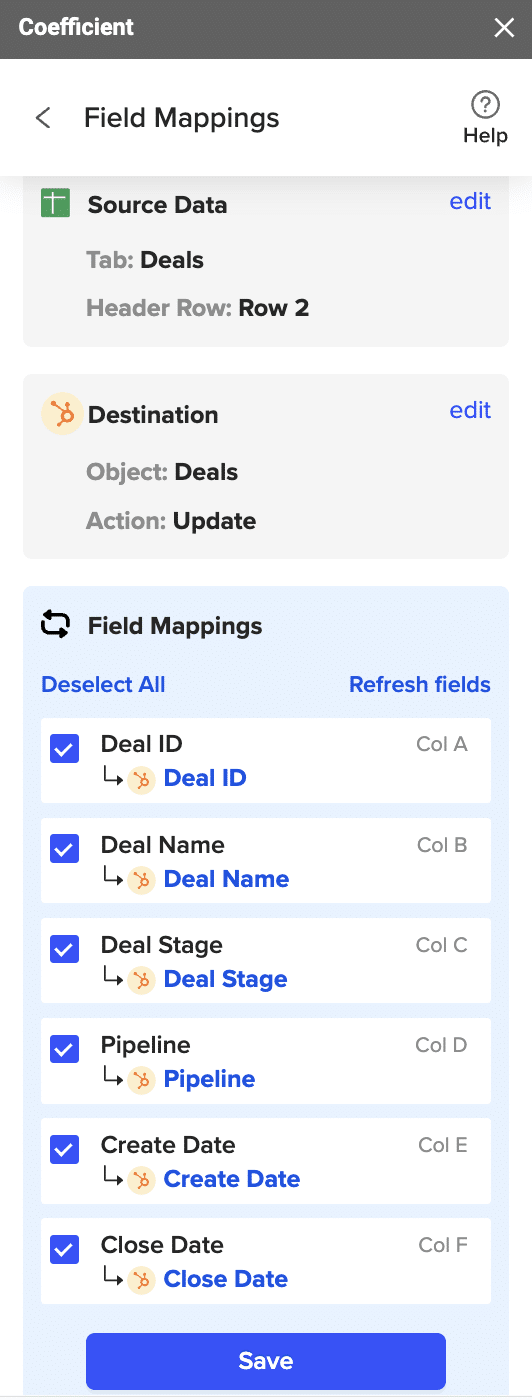
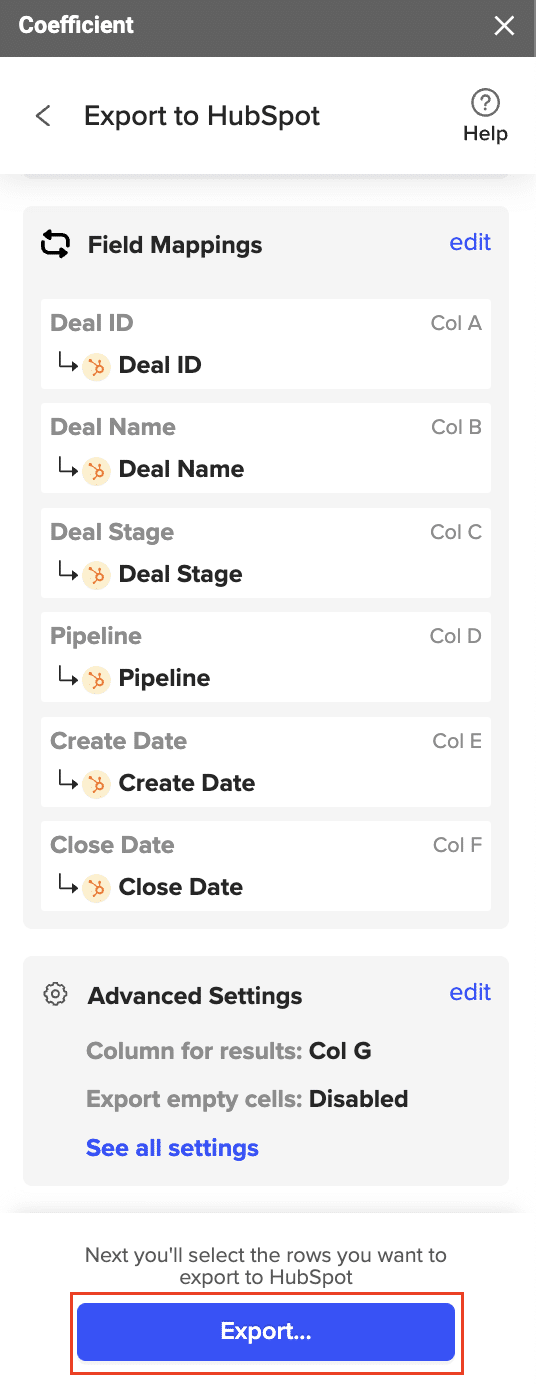
- Select Data and Action: Choose the tab and header row in your sheet that contains the data you want to export. Define your tab and header row. Select the HubSpot Object (e.g., Contacts, Deals) and choose the type of action: Update, Insert, Upsert, or Delete
- Map Fields: Map the fields from your Google Sheets data to the corresponding fields in HubSpot. If your data came from a HubSpot import, fields would be auto-mapped by Coefficient. Otherwise, you’ll need to manually map your data
- Customize and Export: Specify additional settings like batch size and export options. Confirm your settings and click Export. Coefficient will process the request and update HubSpot accordingly
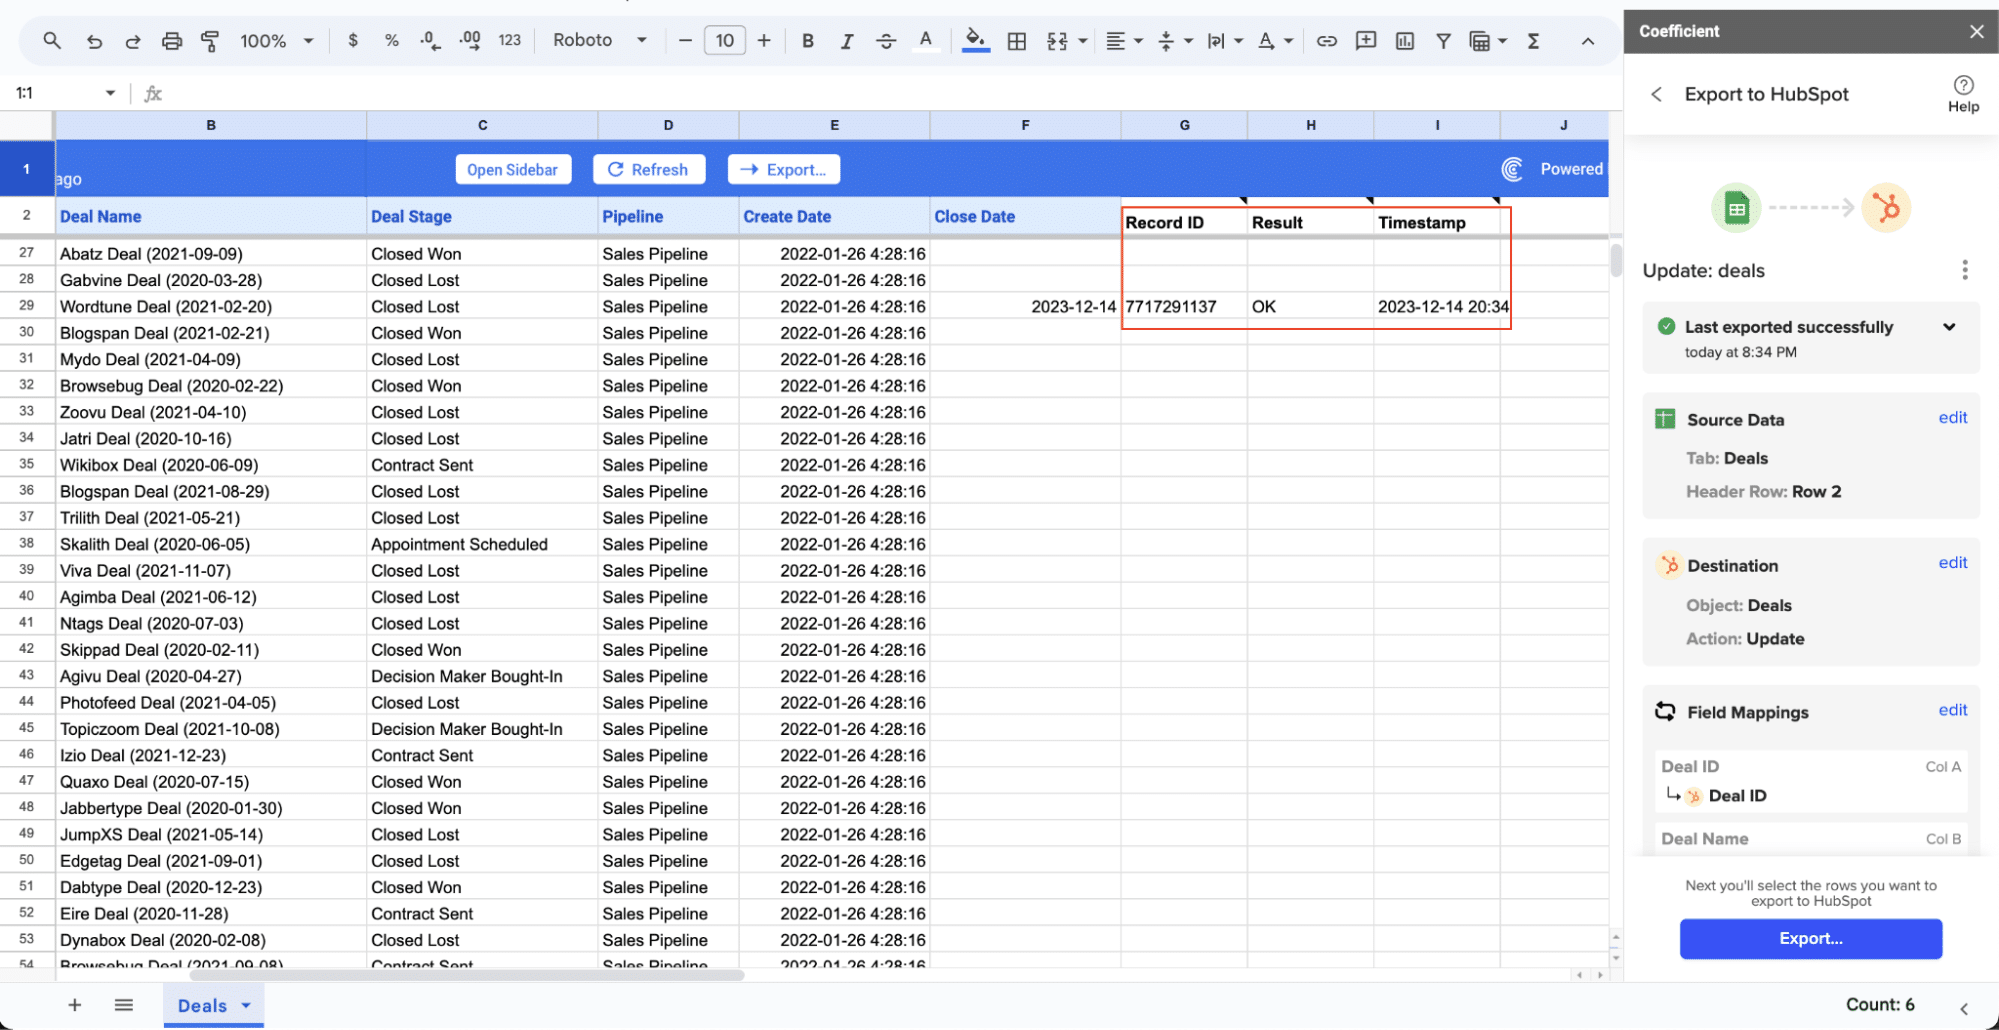
Check your spreadsheet to confirm. The records will have the record ID, result status, and timestamp of the update.
Pros:
- Coefficient’s user-friendly interface makes it accessible for team members without technical expertise.
- The platform offers flexible data transformation capabilities, allowing you to customize your data integration process.
- Real-time data updates ensure that your teams always work with the most current information.
- Coefficient provides a cost-effective solution for businesses of all sizes.
Cons:
- Using Google Sheets as an intermediary may introduce an additional step in your data flow.
- Coefficient may have limitations when dealing with extremely large data sets, depending on Google Sheets’ capacity.
For more information on leveraging Coefficient’s NetSuite integration for Google Sheets, check out our detailed guide here.
#2 HubSpot’s Native Integration
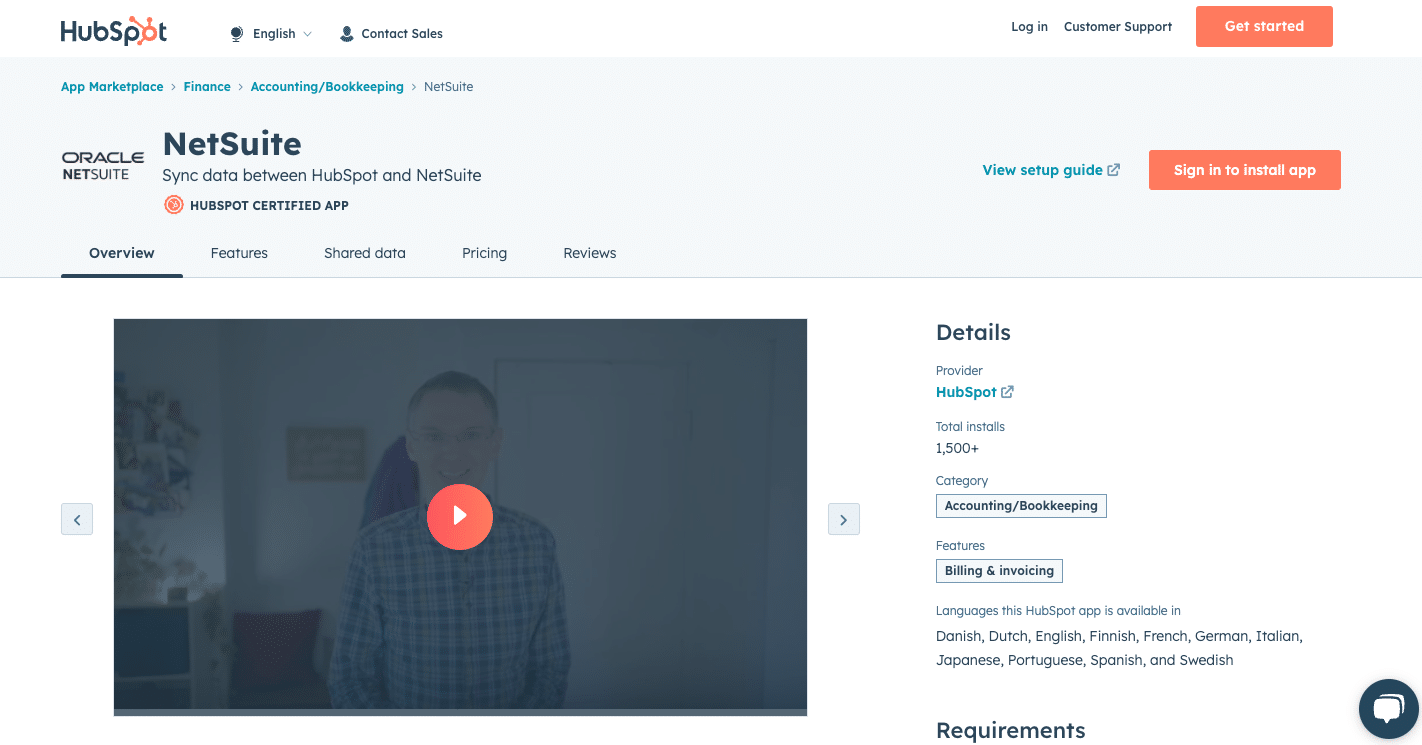
HubSpot offers a built-in integration with NetSuite, providing a straightforward way to connect the two platforms without the need for third-party tools.
This method is ideal for companies looking for a simple, out-of-the-box solution for basic NetSuite and HubSpot data synchronization.
Step-by-Step Walkthrough:
Step 1. Navigate to HubSpot’s Integrations settings
Log in to your HubSpot account and go to the main menu. Click on “Settings” and then select “Integrations” from the left sidebar.
Step 2. Select NetSuite from the list of available integrations
In the Integrations marketplace, search for “NetSuite” and click on the NetSuite integration card.
Step 3. Click “Set up your sync”
On the NetSuite integration page, click the “Set up your sync” button to begin the configuration process.
Step 4. Choose the objects you want to sync
Select the data objects you want to synchronize between NetSuite and HubSpot. Common choices include companies, contacts, and deals.
Step 5. Configure field mappings between NetSuite and HubSpot
Map the corresponding fields between NetSuite and HubSpot to ensure data is transferred correctly. Pay attention to required fields and data types to avoid sync errors.
Step 6. Set up sync frequency and conflict resolution rules
Choose how often you want the data to sync between the two platforms. Also, define rules for handling conflicts when the same record is updated in both systems.
Step 7. Activate the integration
Once you’ve configured all settings, activate the integration to start syncing data between NetSuite and HubSpot.
Pros:
- HubSpot’s native integration doesn’t require any additional software, simplifying the setup process.
- The integration offers an easy setup process, making it accessible for users with limited technical knowledge.
- Users can rely on direct support from HubSpot for any integration-related issues.
Cons:
- The native integration may offer limited customization options compared to third-party solutions.
- Some advanced use cases or complex data flows might not be fully supported by the built-in integration.
#3 Celigo Integration Platform

Celigo offers a robust integration platform that specializes in connecting NetSuite with various applications, including HubSpot. This solution provides advanced features for complex integration scenarios, making it ideal for enterprises requiring a scalable, customizable integration solution with advanced mapping and workflow capabilities.
Step-by-Step Walkthrough:
Step 1. Sign up for a Celigo account
Visit the Celigo website and create an account. Choose the plan that best fits your integration needs.
Step 2. Select the NetSuite-HubSpot integration template
In the Celigo dashboard, navigate to the integration templates and select the NetSuite-HubSpot integration option.
Step 3. Authenticate your NetSuite and HubSpot accounts
Follow the prompts to connect your NetSuite and HubSpot accounts to the Celigo platform. This typically involves entering your credentials and granting necessary permissions.
Step 4. Configure data mappings and transformation rules
Use Celigo’s visual mapping interface to define how data should flow between NetSuite and HubSpot. Set up field mappings, data transformations, and any custom logic required for your specific use case.
Step 5. Set up error handling and notifications
Configure error handling rules to manage sync issues automatically. Set up email notifications to alert relevant team members when specific errors occur or when manual intervention is needed.
Step 6. Schedule sync frequency and data flow directions
Define how often data should sync between NetSuite and HubSpot. Specify whether the sync should be one-way or bidirectional for each data object.
Step 7. Test and deploy the integration
Run a series of tests to ensure the integration works as expected. Once satisfied with the results, deploy the integration to start syncing data between NetSuite and HubSpot in your live environment.
Pros:
- Celigo’s platform offers highly customizable and scalable integration solutions to meet complex business requirements.
- The platform supports intricate data mappings and workflows, allowing for advanced automation scenarios.
- Celigo provides robust error handling and monitoring features to ensure data integrity and sync reliability.
Cons:
- The setup process for Celigo may be more complex compared to simpler integration methods, requiring more time and technical expertise.
- Celigo’s advanced features and capabilities typically come with a higher cost compared to other solutions.
Streamline Your NetSuite and HubSpot Integration Today
Connecting NetSuite to HubSpot can significantly improve your business processes by aligning your ERP and CRM data. The right solution depends on your specific needs:
- Choose Coefficient for its user-friendly approach and flexibility
- Opt for HubSpot’s native integration if simplicity is your priority
- Select Celigo for advanced capabilities and enterprise-level requirements
Whichever method you choose, integrating these powerful platforms will streamline your operations, enhance customer insights, and drive business growth. Take the first step towards a more efficient workflow by getting started with Coefficient today.
For more insights on leveraging NetSuite data, check out our guide on Top NetSuite Connector Apps.


