Are you looking to link your Shopify store with HubSpot’s customer relationship management (CRM) and marketing features? This guide explores three effective ways to integrate these platforms, helping you sync customer data, automate marketing processes, and improve your e-commerce operations.
Why Connect Shopify to HubSpot?
Before we dive into the methods, let’s examine the benefits of connecting these two powerful platforms:
- Unified Customer Data Management: Automatically sync customer details, purchase history, and behavior data between your online store and CRM. This integration allows for better customer segmentation and personalized marketing campaigns.
- Enhanced Marketing Automation: Create automated marketing sequences based on shopping behavior, abandoned carts, and purchase history. This approach increases customer engagement and boosts sales.
- Improved Revenue Tracking: Gain a complete view of your customer’s journey by combining e-commerce metrics with marketing performance data. This comprehensive overview enables better ROI analysis and informed decision-making.
Top 3 Methods to Connect Shopify to HubSpot
Here’s a quick comparison of the three main methods we’ll cover:
| Solution | Best For |
| Coefficient | Teams needing flexible data syncing and custom reporting capabilities through spreadsheets, with the ability to transform and analyze data before pushing to HubSpot |
| Native HubSpot Integration | Small to medium-sized businesses seeking a direct, out-of-the-box solution for basic data synchronization |
| Zapier | Users requiring specific automation processes and custom triggers between Shopify and HubSpot |
Let’s explore each method in detail.
1. Coefficient: Flexible Data Syncing Through Spreadsheets

Coefficient provides a spreadsheet-based solution that allows you to sync Shopify data to HubSpot through Google Sheets or Excel. This method offers greater flexibility in data transformation and reporting capabilities while maintaining real-time synchronization.
Steps to set up Coefficient:
Step 1. Install Coefficient
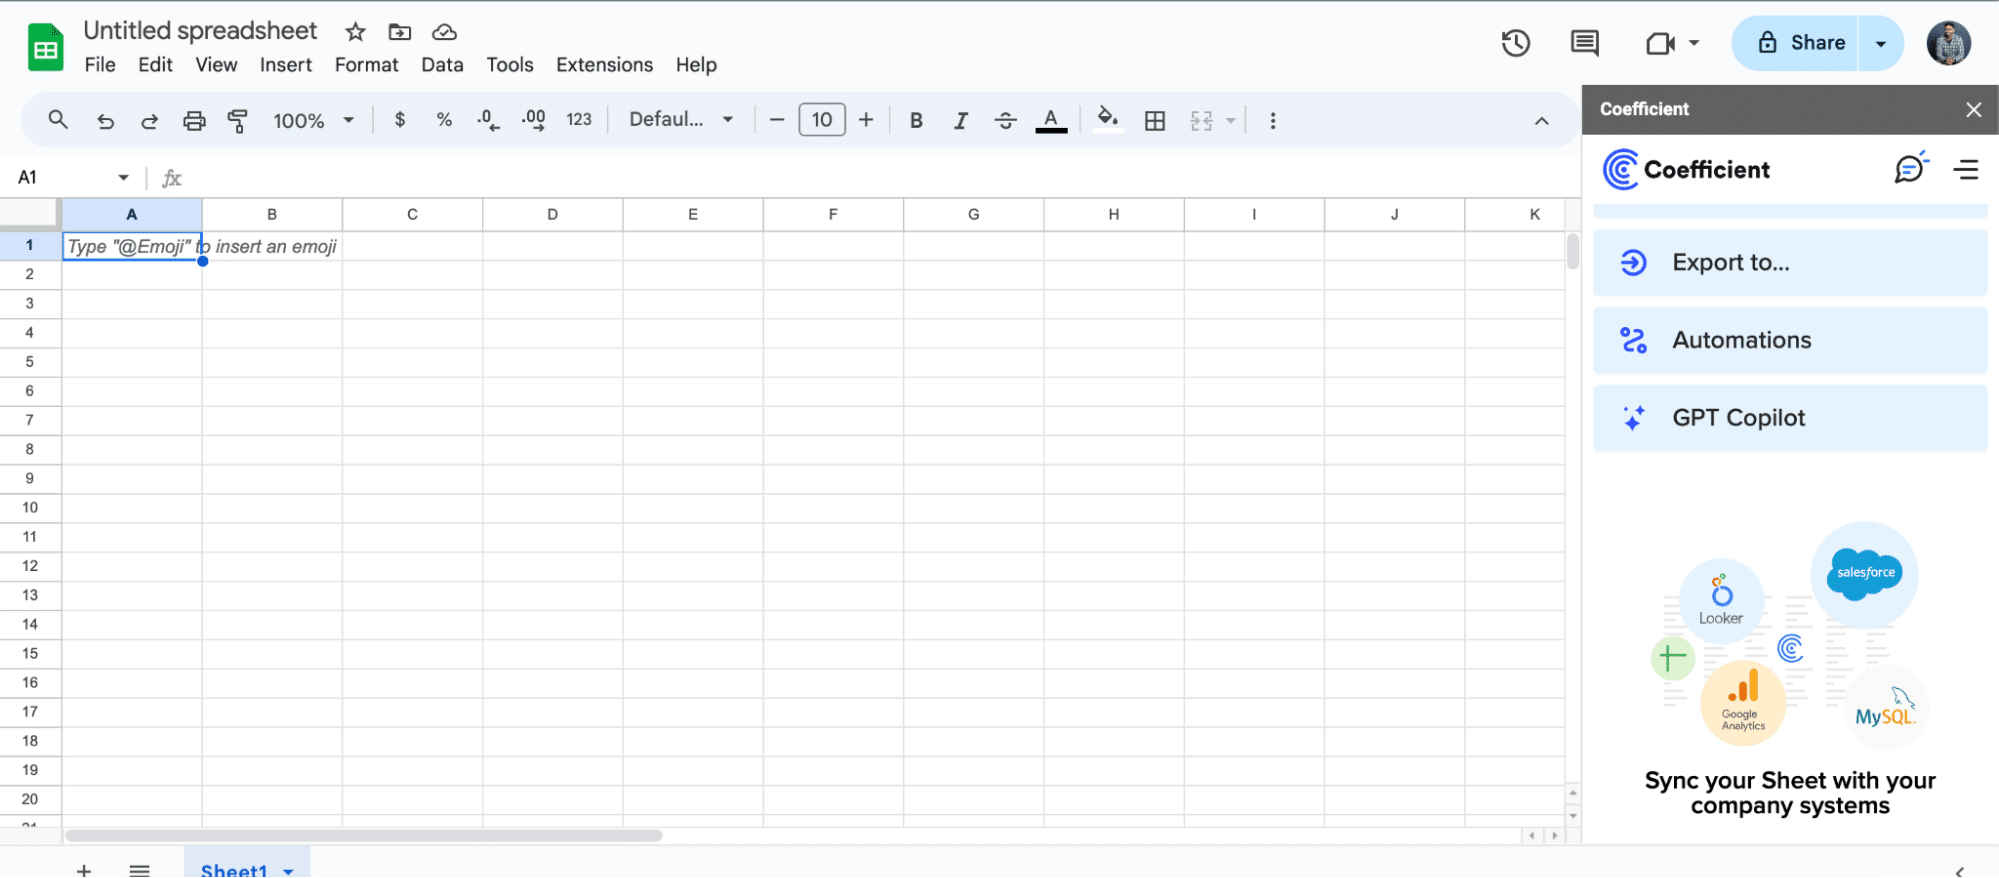
For Google Sheets
- Open a new or existing Google Sheet, navigate to the Extensions tab, and select Add-ons > Get add-ons.
- In the Google Workspace Marketplace, search for “Coefficient.”
- Follow the prompts to grant necessary permissions.
- Launch Coefficient from Extensions > Coefficient > Launch.
- Coefficient will open on the right-hand side of your spreadsheet.
For Microsoft Excel
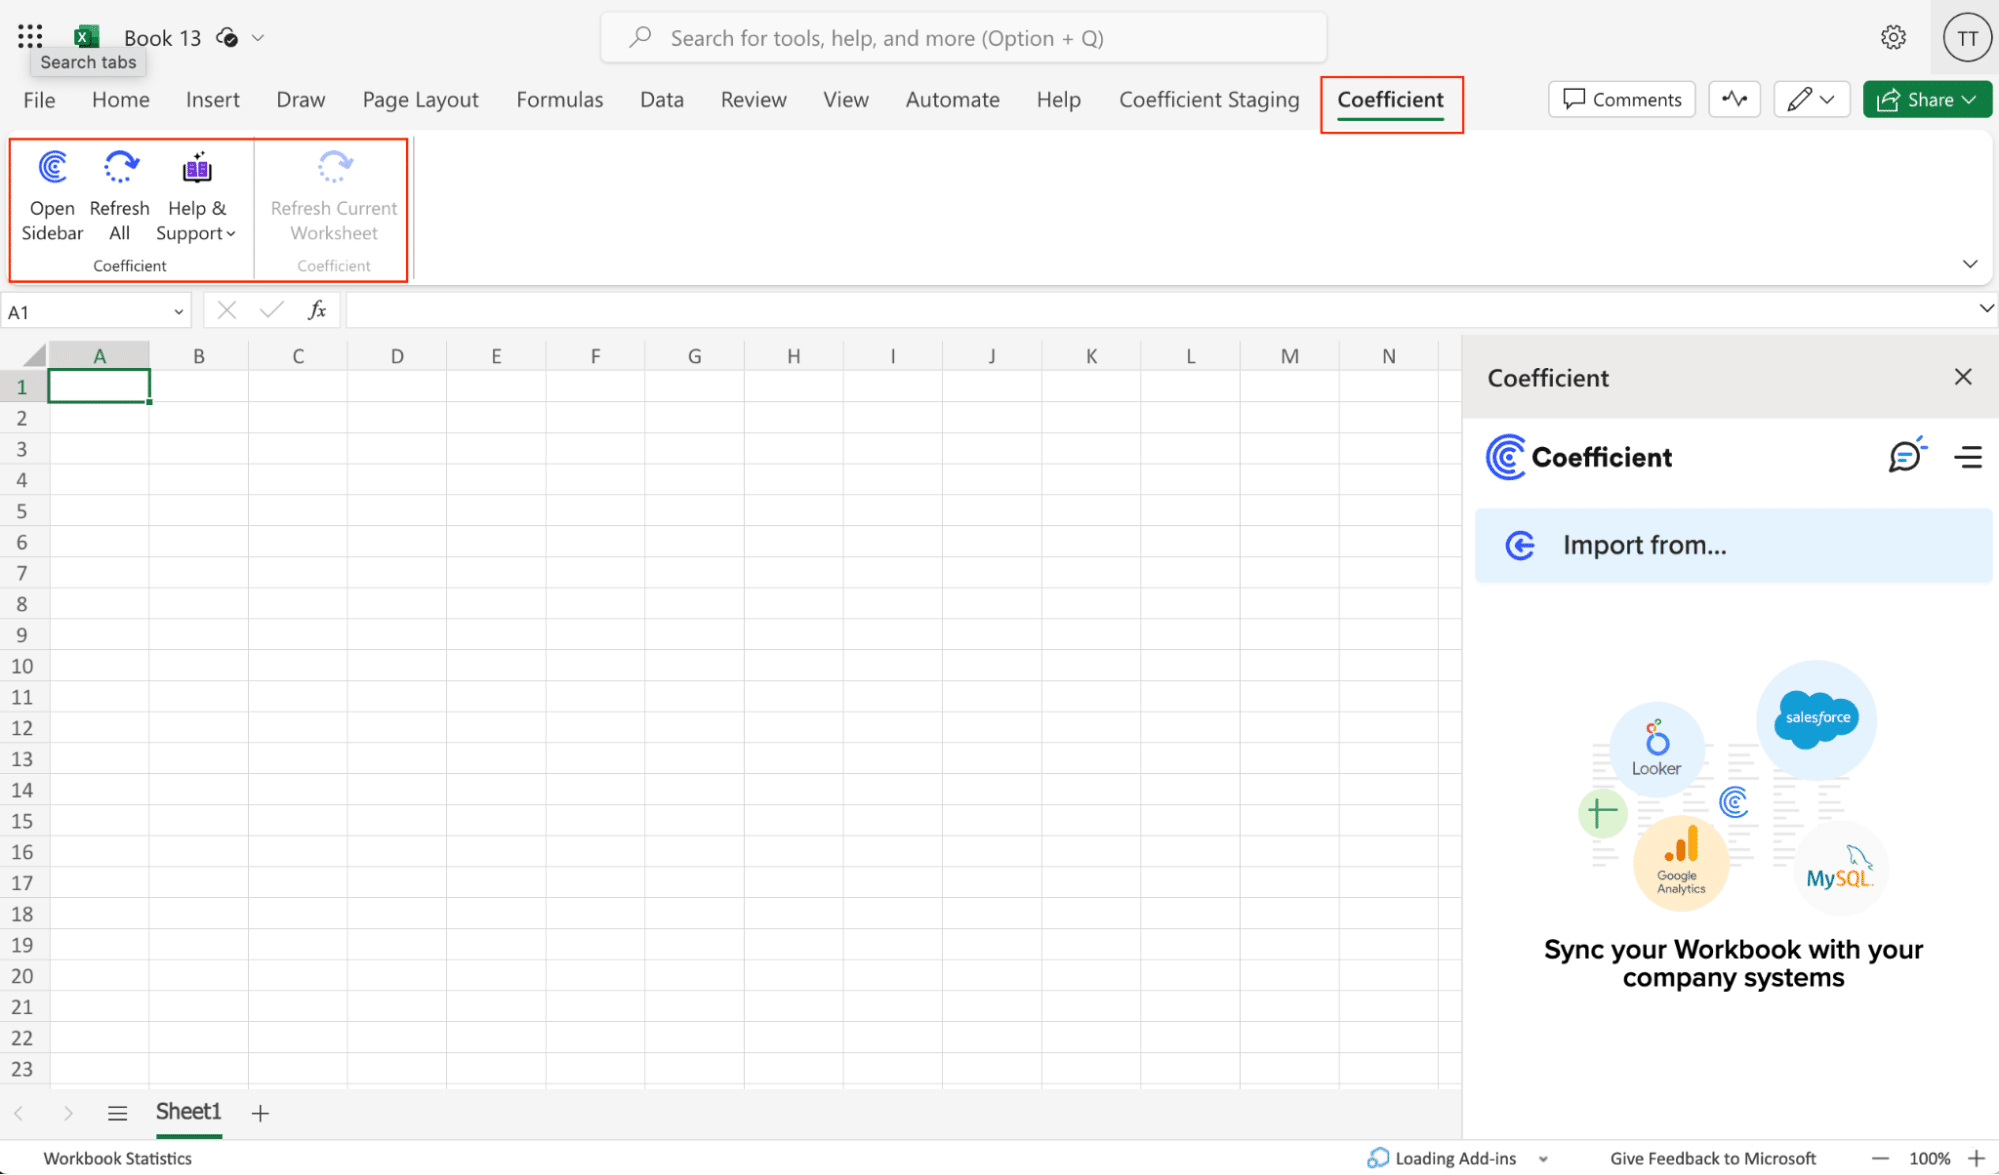
- Open Excel from your desktop or in Office Online. Click ‘File’ > ‘Get Add-ins’ > ‘More Add-Ins.’
- Type “Coefficient” in the search bar and click ‘Add.’
- Follow the prompts in the pop-up to complete the installation.
- Once finished, you will see a “Coefficient” tab in the top navigation bar. Click ‘Open Sidebar’ to launch Coefficient.
Step 2. Connect and Import Data from Shopify
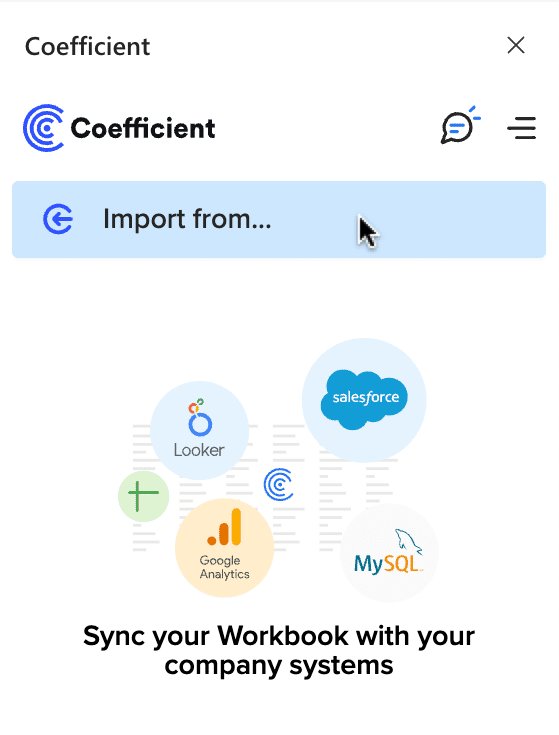
Select ‘Import from…’
Scroll down until you see Shopify and click ‘Connect.’

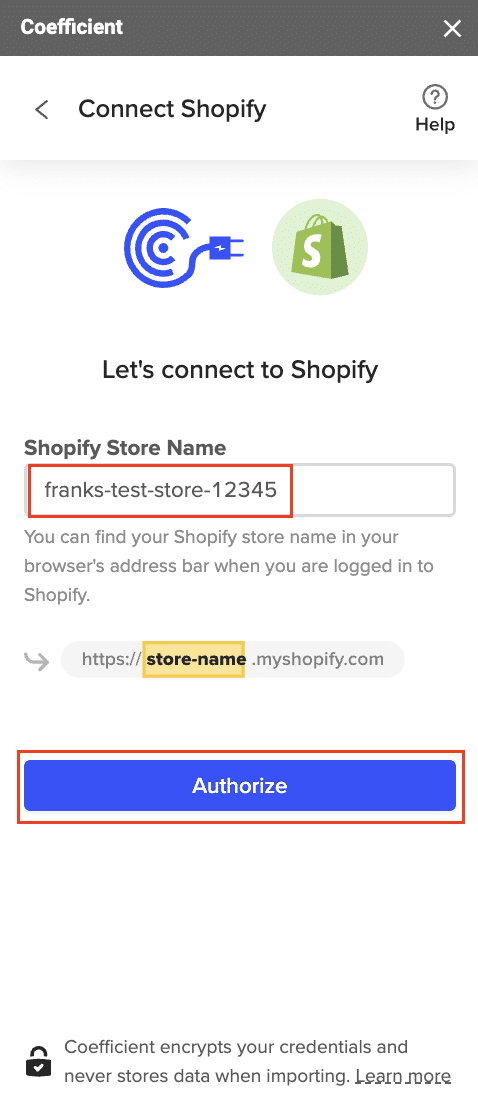
Follow the prompts to authorize Coefficient to access your Shopify account.

Enter your “Shopify Store Name” and click ‘Authorize.’
You will be taken to this screen in your Shopify instance. Click the ‘Install app’ button to proceed.

After connecting, return to Shopify from the Coefficient menu ‘Import From…’ > ‘Shopify’ > ‘From Objects & Fields.’
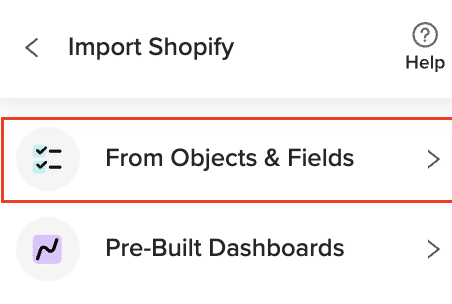
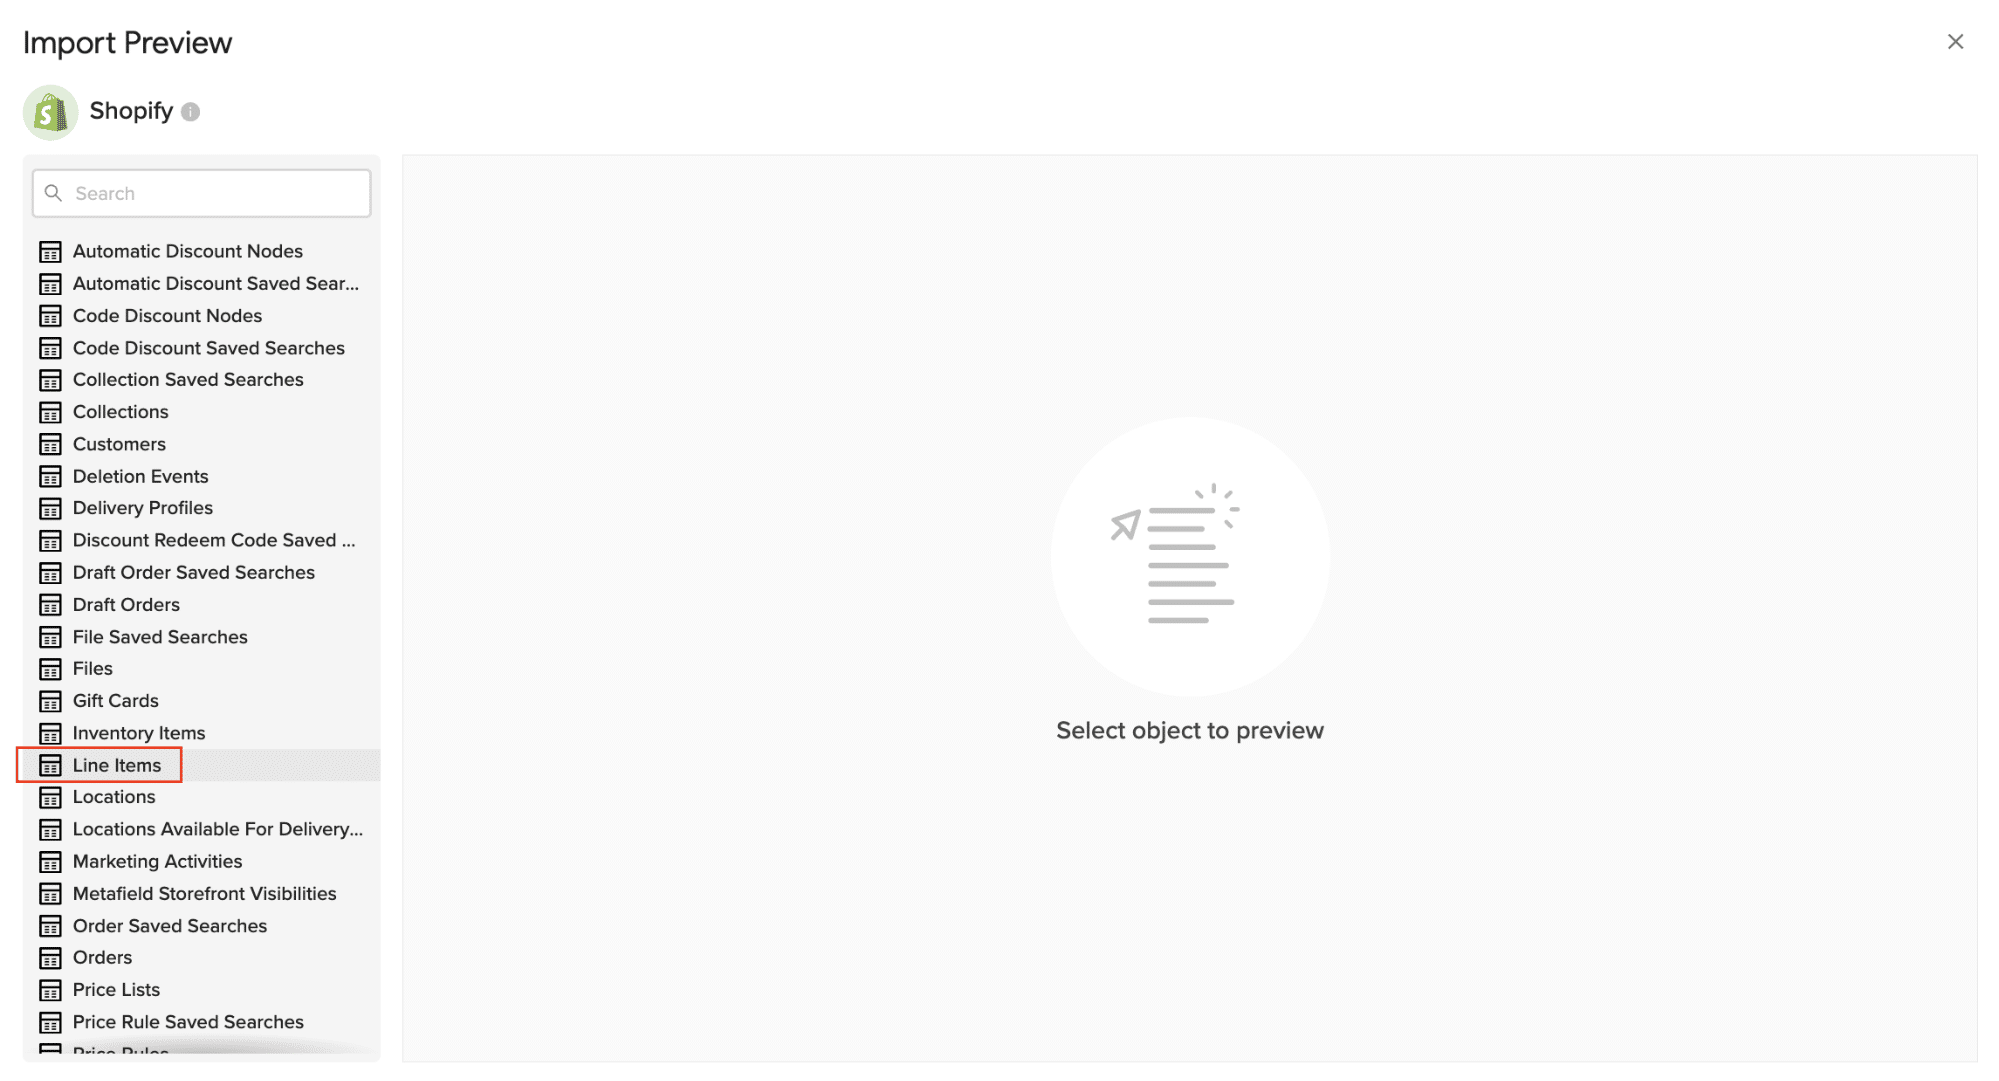
Select the Shopify object you would like to import your data from (eg. Line Items).
Select the desired fields for your import.
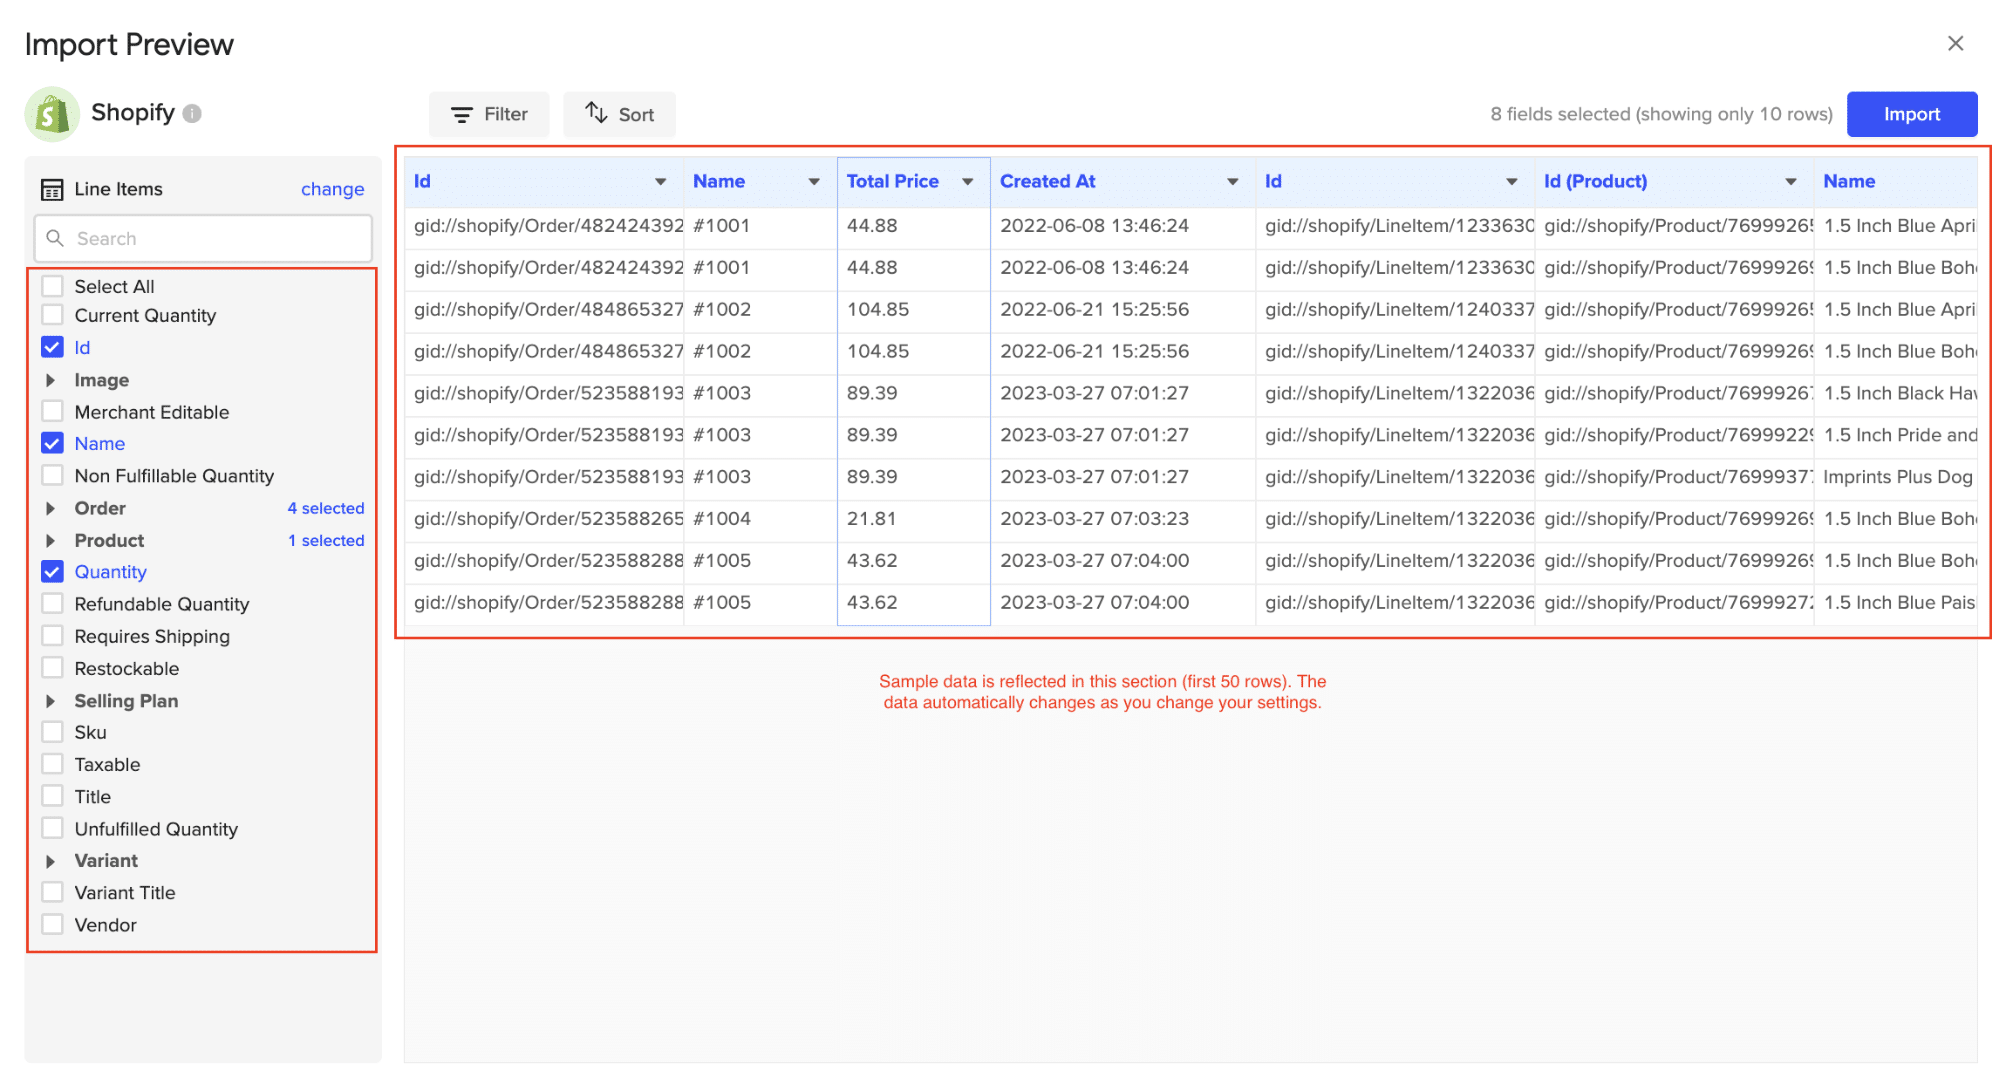
Customize your import by adding filter(s). Click ‘Import’ when you’re finished.

Your Shopify data will automatically populate your Excel spreadsheet in a few seconds!

Step 3. Export Data to HubSpot
- Navigate to Export: In Coefficient’s sidebar, click Export to…, then select HubSpot.
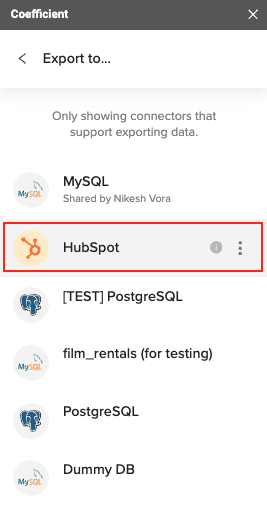
- Select Data and Action: Choose the tab and header row in your sheet that contains the data you want to export. Define your tab and header row. Select the HubSpot Object (e.g., Contacts, Deals) and choose the type of action: Update, Insert, Upsert, or Delete
- Map Fields: Map the fields from your Google Sheets data to the corresponding fields in HubSpot. If your data came from a HubSpot import, fields would be auto-mapped by Coefficient. Otherwise, you’ll need to manually map your data

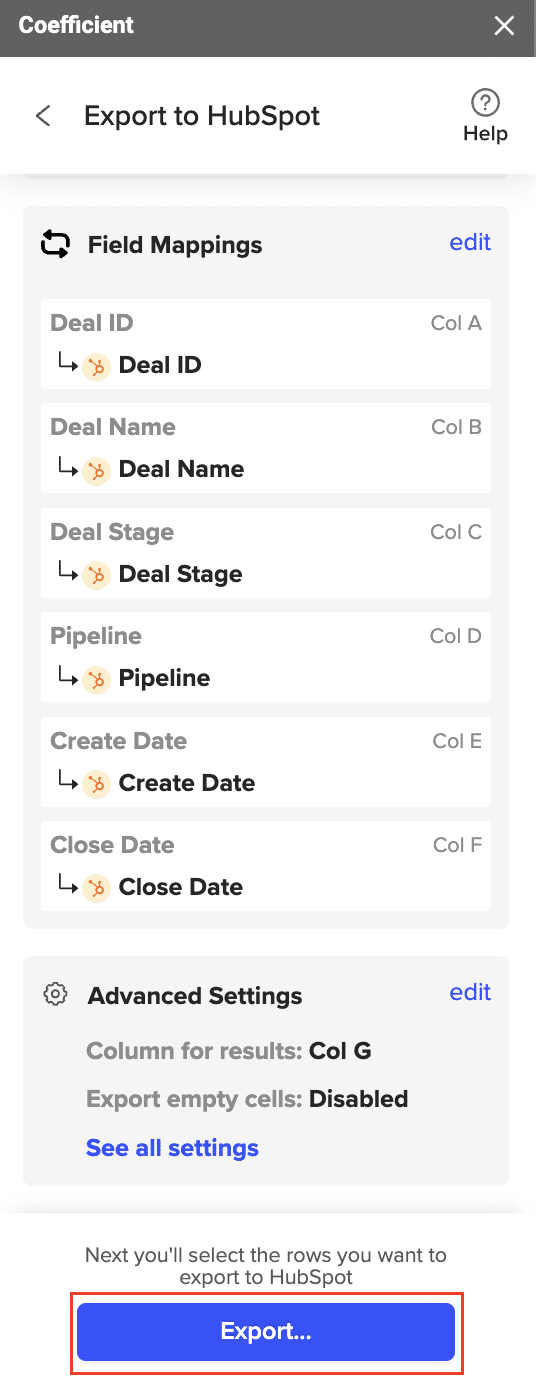
- Customize and Export: Specify additional settings like batch size and export options. Confirm your settings and click Export. Coefficient will process the request and update HubSpot accordingly
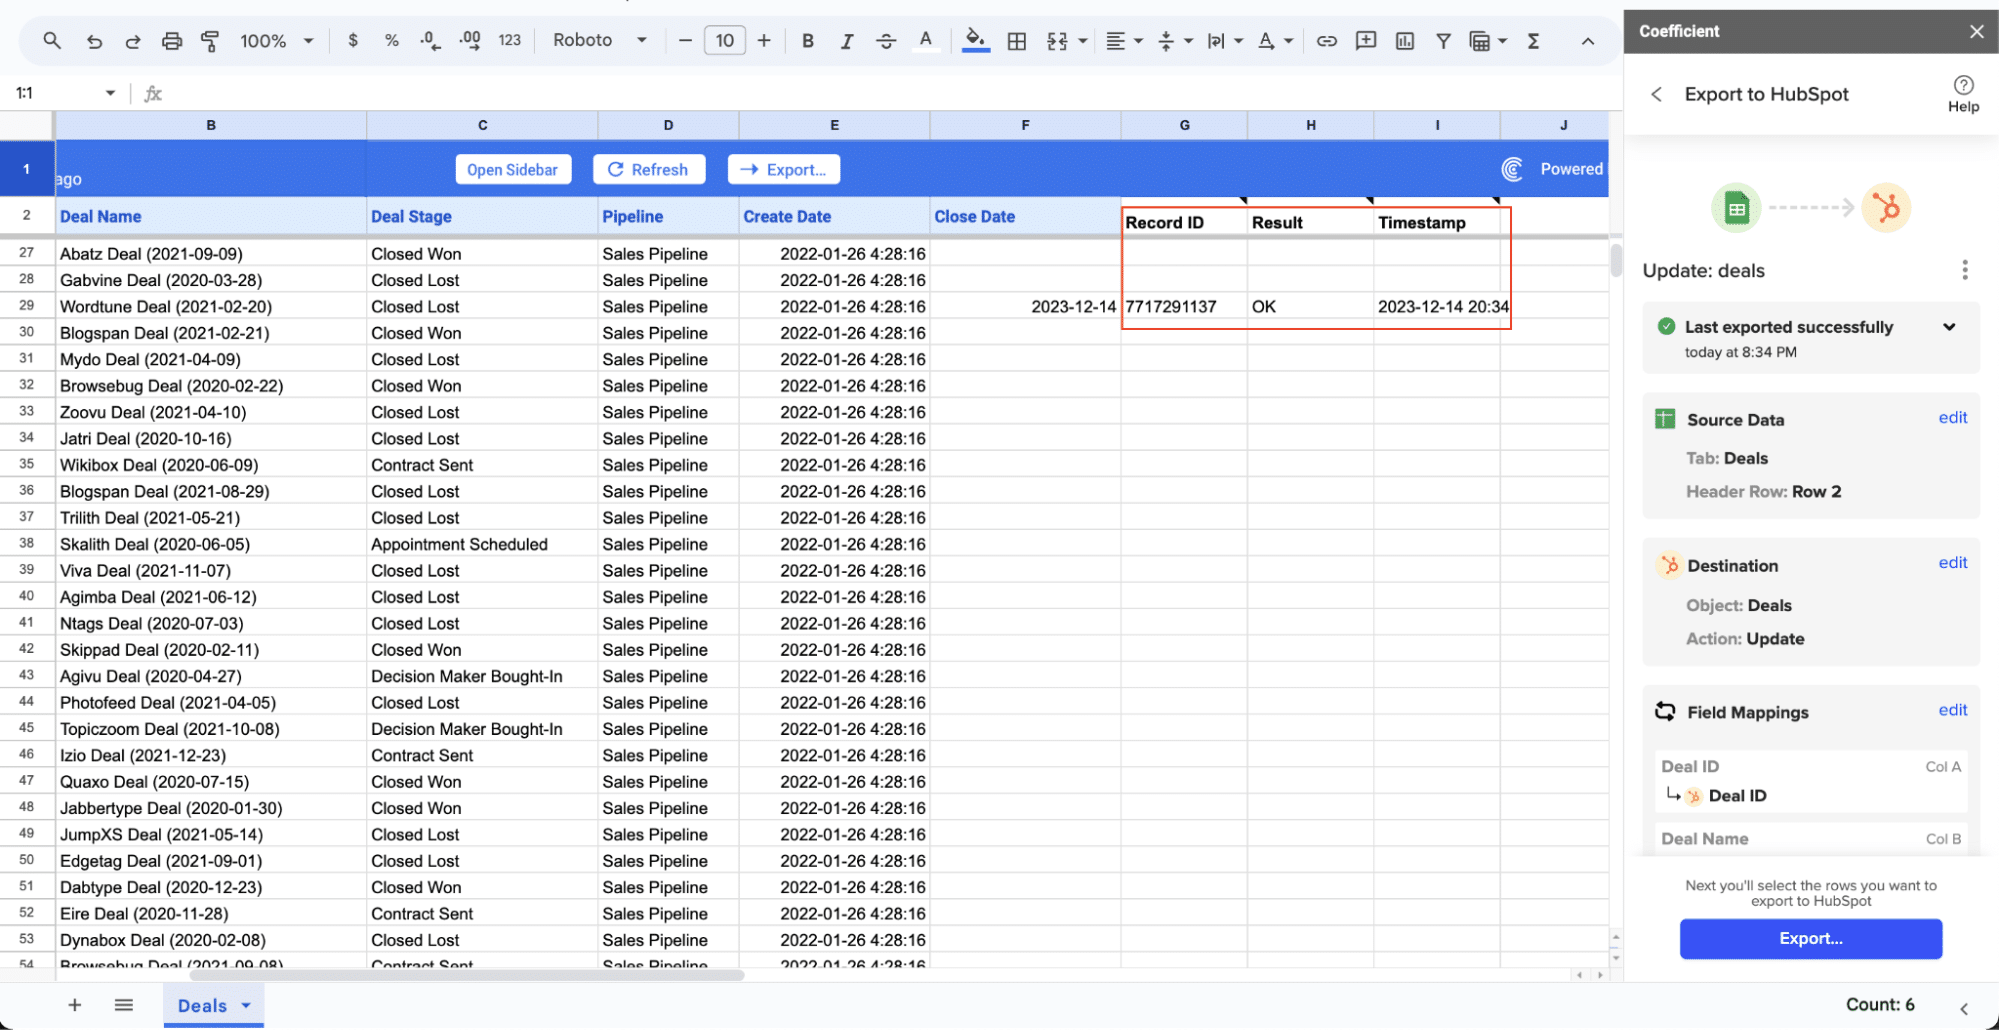
Check your spreadsheet to confirm. The records will have the record ID, result status, and timestamp of the update.
Pros:
- Flexible data transformation capabilities
- Custom reporting options
- Real-time data synchronization
- No coding required
- Spreadsheet-based familiar interface
Cons:
- Requires spreadsheet knowledge
- Additional system in the tech stack
2. Native HubSpot Integration: Direct Connection
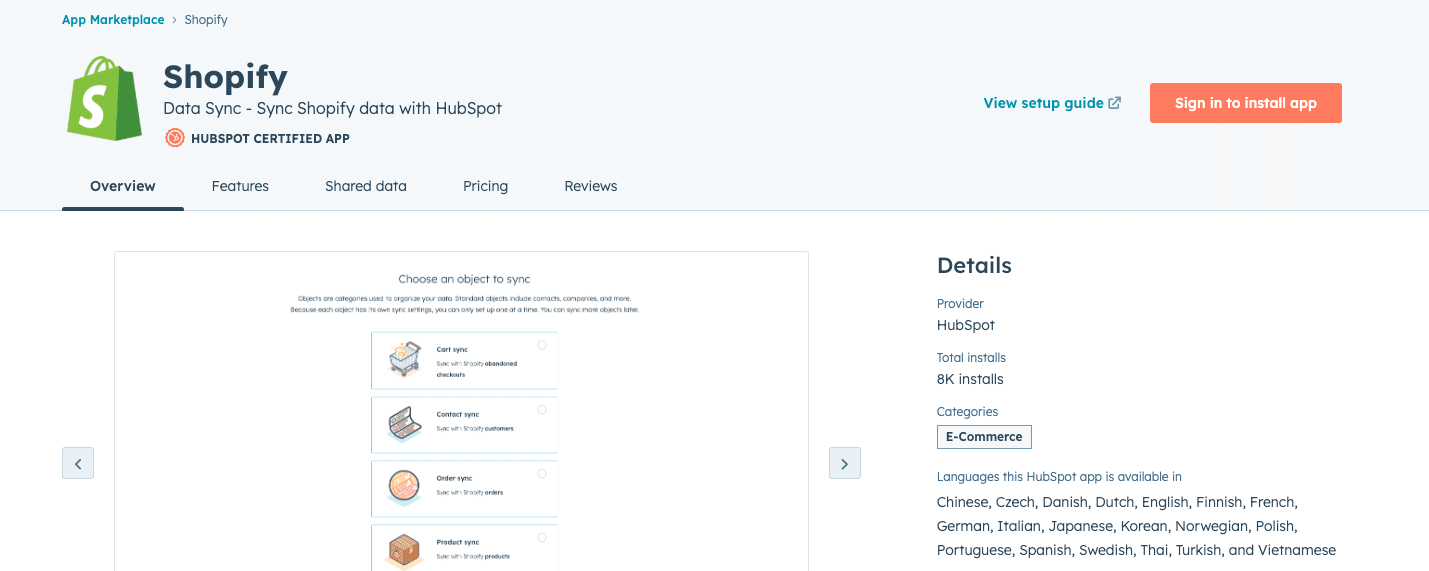
HubSpot’s official Shopify integration provides a direct connection between both platforms, allowing for immediate data synchronization and basic automation capabilities.
Steps to set up native HubSpot integration:
Step 1: Access HubSpot Integration Directory Navigate to HubSpot’s integration marketplace and locate the official Shopify connector in the expanded e-commerce section.
Copy
Navigate to:
Settings → Integrations → App Marketplace → Search “Shopify”
Or direct URL: app.hubspot.com/ecosystem/shopify
Required permissions:
- HubSpot Admin access
- Shopify store admin credentials
- Two-factor authentication enabled
Step 2: Store Authentication
Connect your Shopify store through OAuth 2.0 protocol with enhanced security measures.
{
“authentication”: {
“store_url”: “your-store.myshopify.com”,
“access_scopes”: [
“read_orders”,
“read_customers”,
“read_products”,
“read_inventory”
],
“auth_method”: “oauth2.0”,
“token_refresh”: “automatic”
}
}
Step 3: Data Sync Configuration
Define comprehensive data synchronization rules for customer and order information.
{
“sync_settings”: {
“customers”: {
“sync_frequency”: “real-time”,
“contact_properties”: [
“email”,
“first_name”,
“last_name”,
“total_spent”,
“orders_count”
],
“company_properties”: [
“total_revenue”,
“last_order_date”
]
},
“orders”: {
“sync_frequency”: “15_minutes”,
“deal_properties”: [
“amount”,
“products”,
“status”
]
}
}
}
Step 4: Field Mapping Setup
Configure detailed field mappings between Shopify and HubSpot properties.
field_mappings:
contact:
– shopify_field: “customer.email”
hubspot_field: “email”

Stop exporting data manually. Sync data from your business systems into Google Sheets or Excel with Coefficient and set it on a refresh schedule.
Get Started
type: “string”
– shopify_field: “customer.total_spent”
hubspot_field: “customer_lifetime_value”
type: “currency”
– shopify_field: “customer.orders_count”
hubspot_field: “total_orders”
type: “number”
Step 5: Automation Rules Configuration
Set up automated workflows based on Shopify triggers and HubSpot actions.
def configure_automation_rules():
rules = {
“high_value_customer”: {
“trigger”: “order.total > 500”,
“actions”: [
“add_to_list: VIP Customers”,
“assign_lifecycle: Customer”,
“notify_sales_rep”
]
},
“abandoned_cart”: {
“trigger”: “cart.abandoned”,
“delay”: “1_hour”,
“actions”: [
“enroll_workflow: Cart Recovery”,
“create_task: Follow Up”
]
}
}
Pros:
- Official integration
- Direct connection
- Basic automation included
- No additional cost
- Regular updates
Cons:
- Limited customization options
- Basic reporting capabilities
- Fixed data mapping
3. Zapier: Custom Automation Workflows
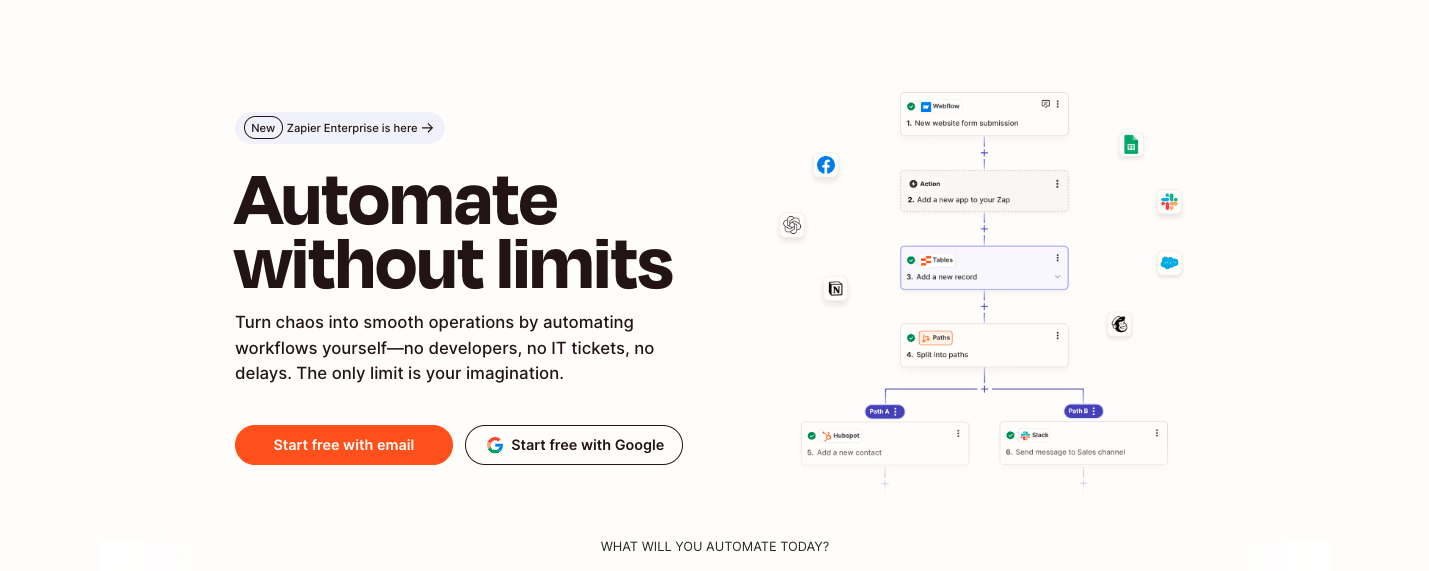
Zapier offers a no-code solution for creating custom automation processes between Shopify and HubSpot, ideal for specific trigger-based actions.
Steps to set up Zapier:
Step 1. Sign up for a Zapier account
Visit Zapier’s website and create an account if you don’t already have one.
Step 2. Create a new Zap (automated workflow)
In your Zapier dashboard, click on ” + Create” > “New Zap” to start setting up your automation workflow.

Step 3. Choose Shopifyas the trigger app
Search for “Google Ads” in the app selection and choose it as your trigger app.
Step 4. Select the specific Shopify trigger event
Choose the event that will initiate your workflow
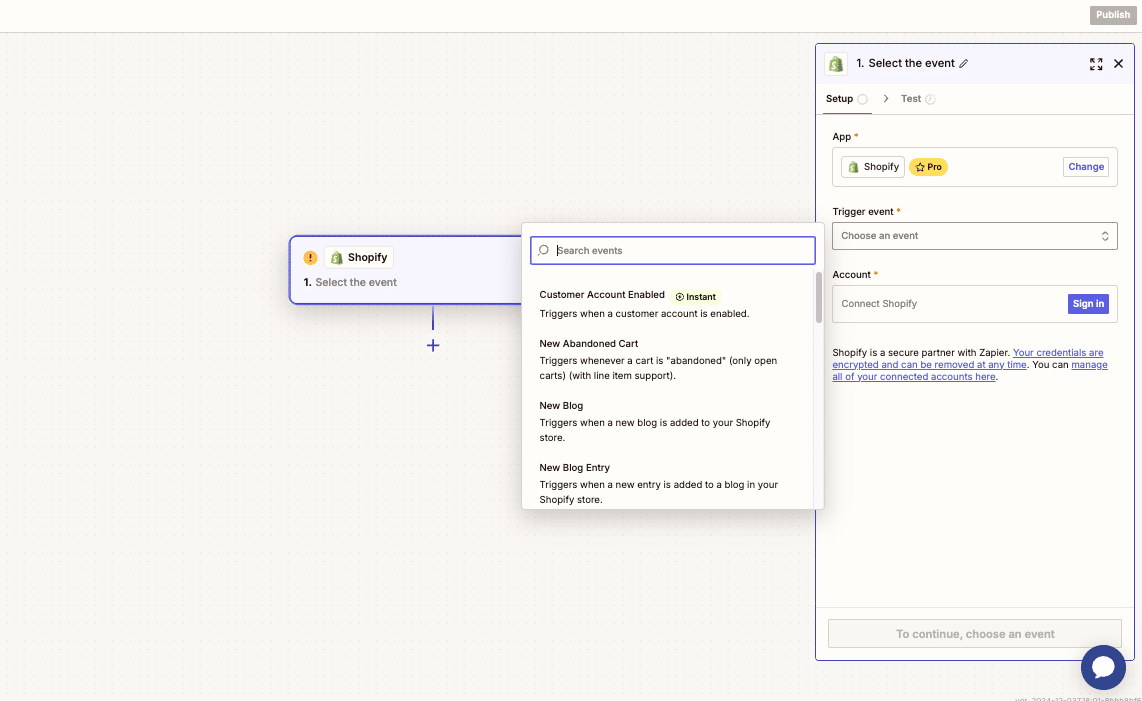
Step 5. Connect your Shopify account to Zapier
Follow the prompts to authenticate your Shopifyaccount with Zapier.
Step 6. Choose HubSpot as the action app
In the action step, search for and select “HubSpot” as your action app.
Step 7. Select the action to perform in HubSpot
Choose the specific action you want to perform, such as “Add Contact to List” or “Create Company.”
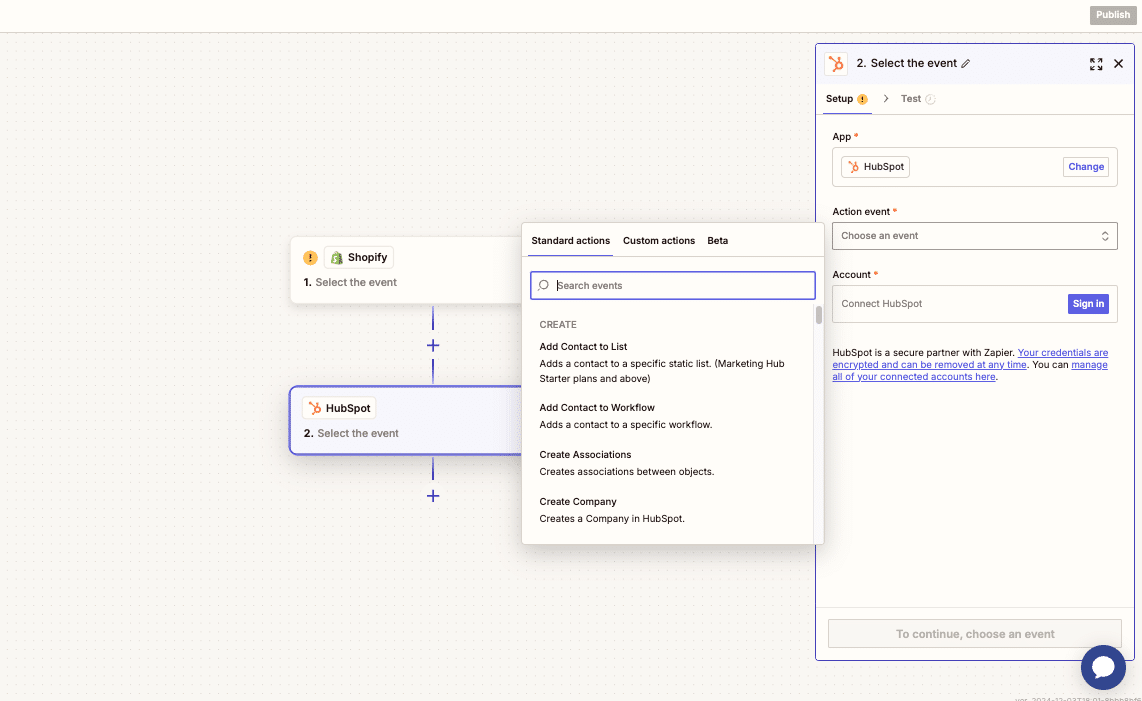
Step 8. Map the Shopifydata fields to the corresponding HubSpot table columns
Use Zapier’s field mapping interface to match the Shopifydata with the appropriate columns in your HubSpot table.
Step 9. Test and activate your Zap
Run a test to ensure your Zap is working correctly, then activate it to start the automated workflow.
Pros:
- Custom automation processes
- Multiple trigger options
- No coding required
- Wide range of additional integrations
Cons:
- Can become costly with multiple zaps
- Potential sync delays
- Limited data transformation capabilities
Connect Shopify to HubSpot with Coefficient
Integrating Shopify with HubSpot is crucial for creating a seamless e-commerce marketing ecosystem. While each method has its advantages, Coefficient offers the most flexible solution for teams needing custom reporting and data transformation capabilities.
Ready to streamline your e-commerce operations? Get started with Coefficient today and experience the power of automated data synchronization.

