Finance and fulfillment teams often create separate NetSuite saved searches and reports, leading to data inconsistencies and conflicting metrics that cause confusion during management reviews and cross-departmental analysis.
Here’s how to create unified data sources with department-specific presentation layers that ensure both teams work from identical source data.
Create unified data sources with standardized definitions using Coefficient
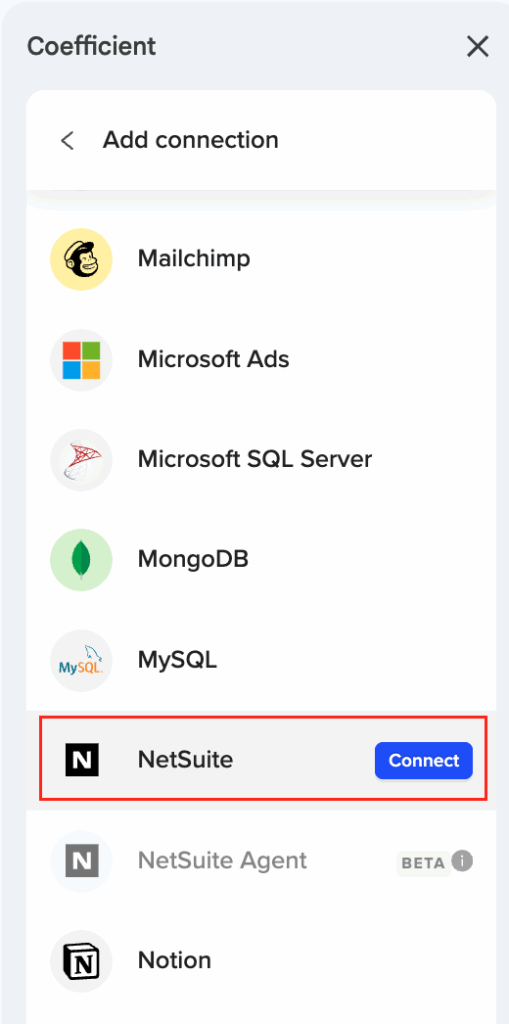
Coefficient provides an effective solution for standardizing NetSuite data views across finance and fulfillment teams by creating unified data sources with department-specific presentation layers. Create standardized imports of core records like Transactions, Sales Orders, and Item Fulfillments that include all fields needed by both teams, ensuring both departments work from identical source data in NetSuite .
How to make it work
Step 1. Create master data imports with all departmental fields.
Build standardized imports of core records including Transactions, Sales Orders, and Item Fulfillments with all fields needed by both finance and fulfillment teams. This ensures both departments work from identical source data with consistent timing.
Step 2. Establish consistent field definitions and formatting.
Use Coefficient’s field selection capabilities to establish standard field naming and data formatting conventions that both teams understand. Standardize date formats, currency handling, status classifications, and custom field usage across departments.
Step 3. Build shared workbooks with department-specific sheets.
Create master workbooks with standardized NetSuite data imports, then build department-specific sheets with customized pivot tables and analysis while maintaining data consistency. Finance gets revenue analysis while fulfillment gets shipping metrics from the same source.
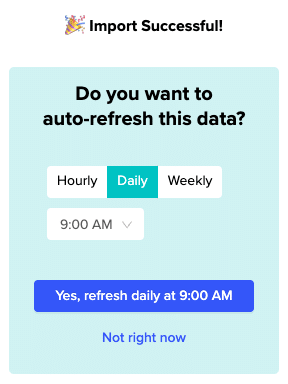
Step 4. Implement synchronized refresh scheduling.
Set up unified refresh schedules that update both finance and fulfillment views simultaneously, eliminating timing discrepancies that cause metric conflicts between departments during reporting periods.
Step 5. Develop standardized reporting templates.
Create standardized Coefficient templates for common cross-departmental metrics like order-to-cash cycle analysis, ensuring both teams use consistent calculation methodologies and definitions for shared KPIs.
Eliminate data discrepancies between departments
This standardization approach eliminates data discrepancies between finance revenue recognition and fulfillment shipping metrics while providing consistent customer, product, and transaction definitions across departments. Standardize your cross-departmental data today.