Harvest is a powerful time tracking and project management tool that helps businesses and freelancers monitor time spent on projects, track expenses, and generate invoices.
By connecting Harvest to Microsoft Excel using Coefficient, you can seamlessly import your time tracking and project data for further analysis, reporting, and visualization. This tutorial will walk you through the process of setting up the integration and fetching your Harvest data into Excel.
Prefer video? Watch the tutorial below!
Advantages of using Excel to Analyze Harvest Data
- Uncover Valuable Insights: Consolidate your Harvest data with information from other sources in Excel to gain a comprehensive understanding of your time tracking, projects, and team performance.
- Save Time and Effort: Coefficient automates the process of importing and updating your Harvest data in Excel, eliminating manual data entry and ensuring your reports and analyses are always based on the most current information.
- Empower Your Team: Share your Harvest data with team members and collaborate on project analysis, enabling your team to identify and address issues in real-time.
Tutorial: Connecting Harvest to Excel Using Coefficient
Step 1: Install Coefficient in Excel
Before we get started, you’ll need to install Coefficient in Excel. Don’t worry, it’s a fast and straightforward process that you only need to do once. Follow these simple steps to get started:
Open Excel from your desktop or in Office Online.
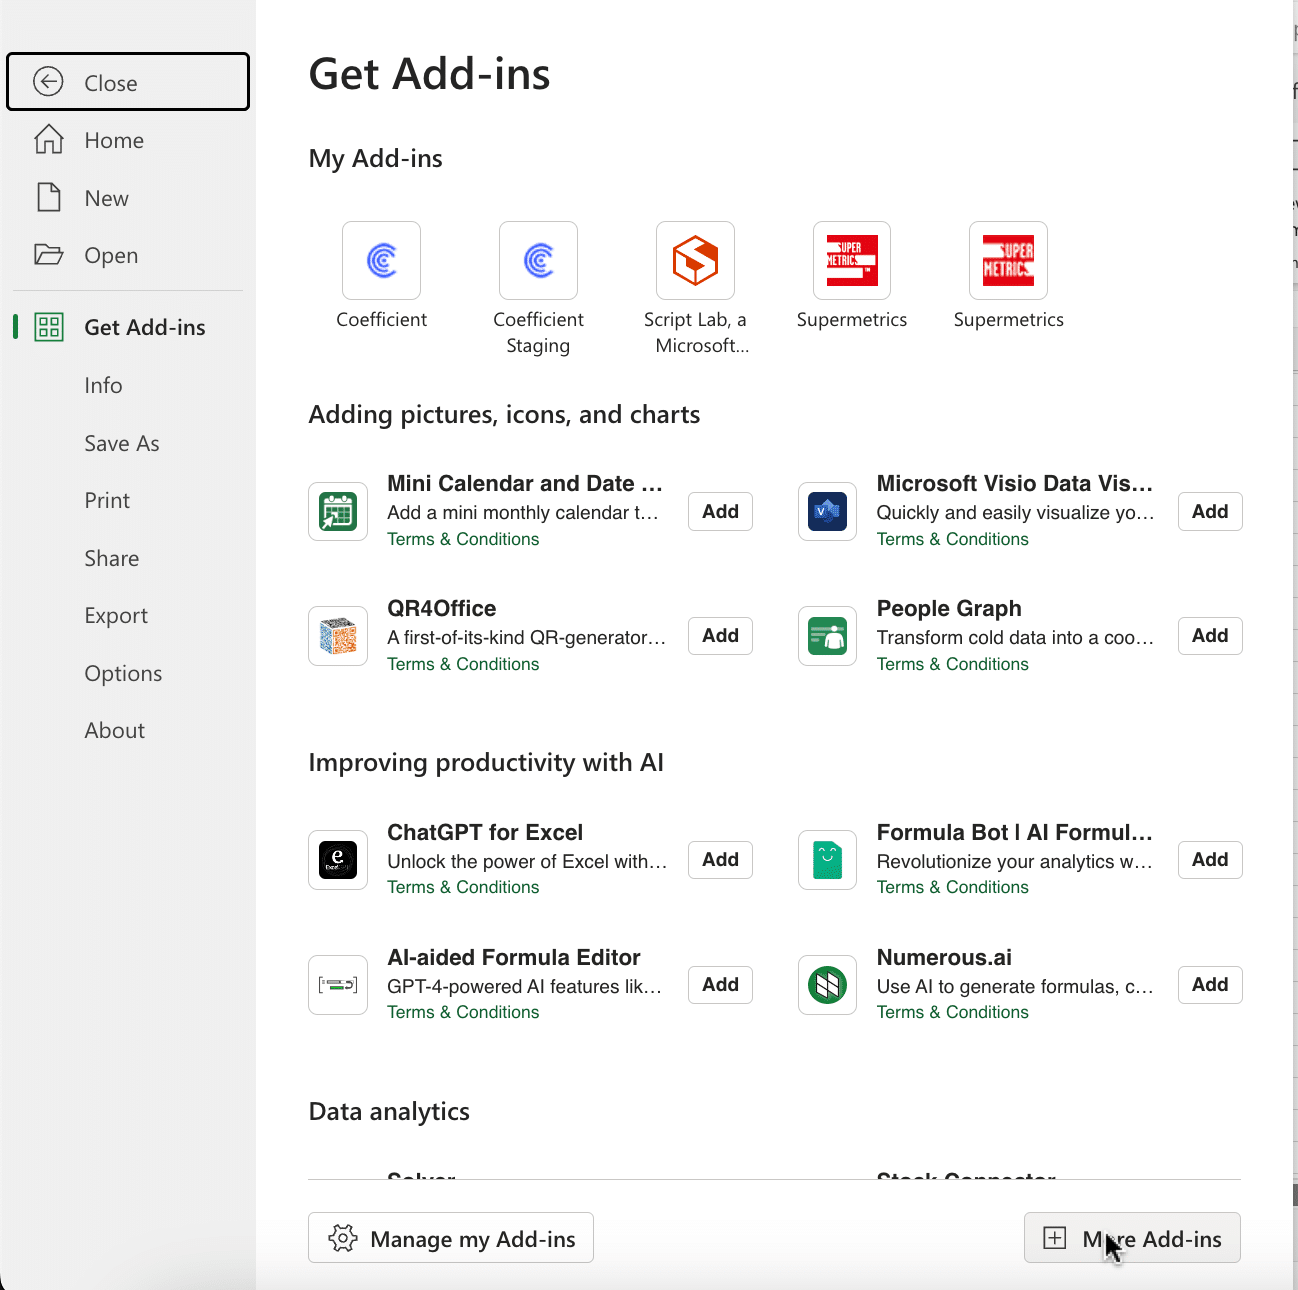
Click ‘File’ > ‘Get Add-ins’ > ‘More Add-Ins.’
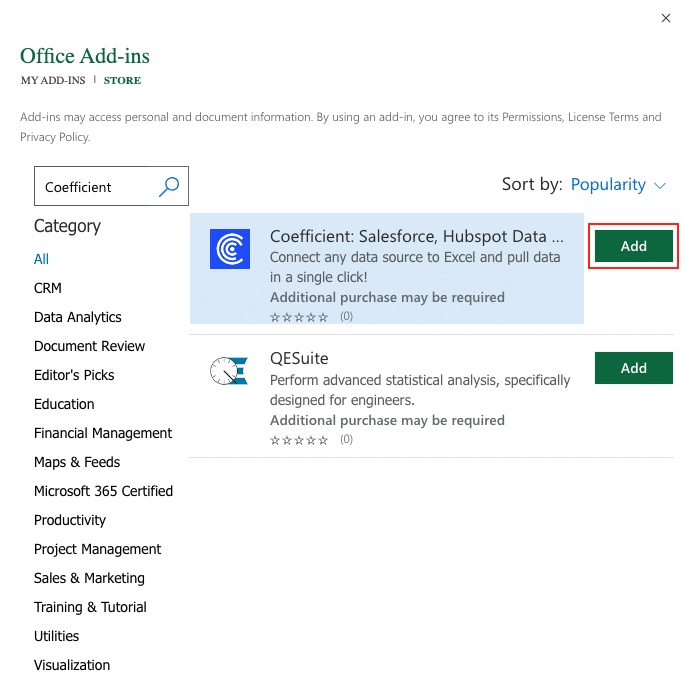
Type “Coefficient” in the search bar and click ‘Add.’
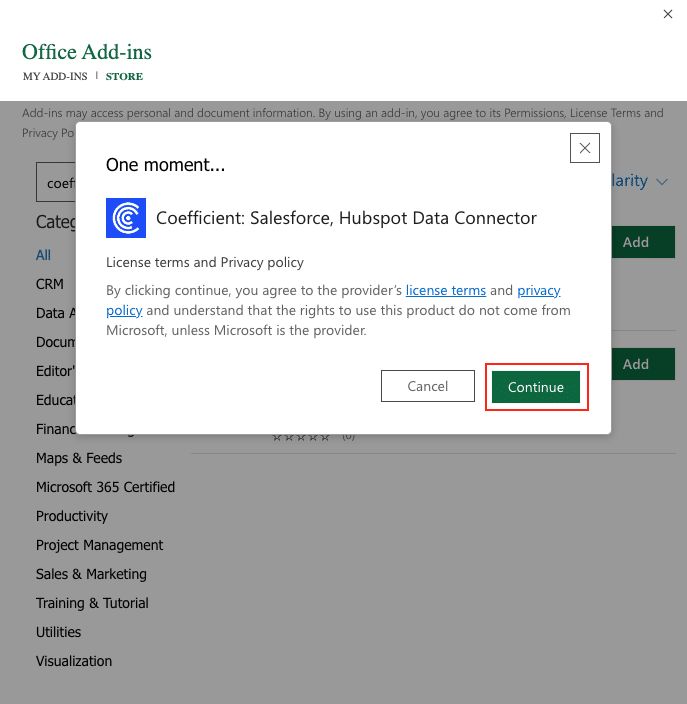
A pop-up will open up. Follow the prompts to complete the installation.
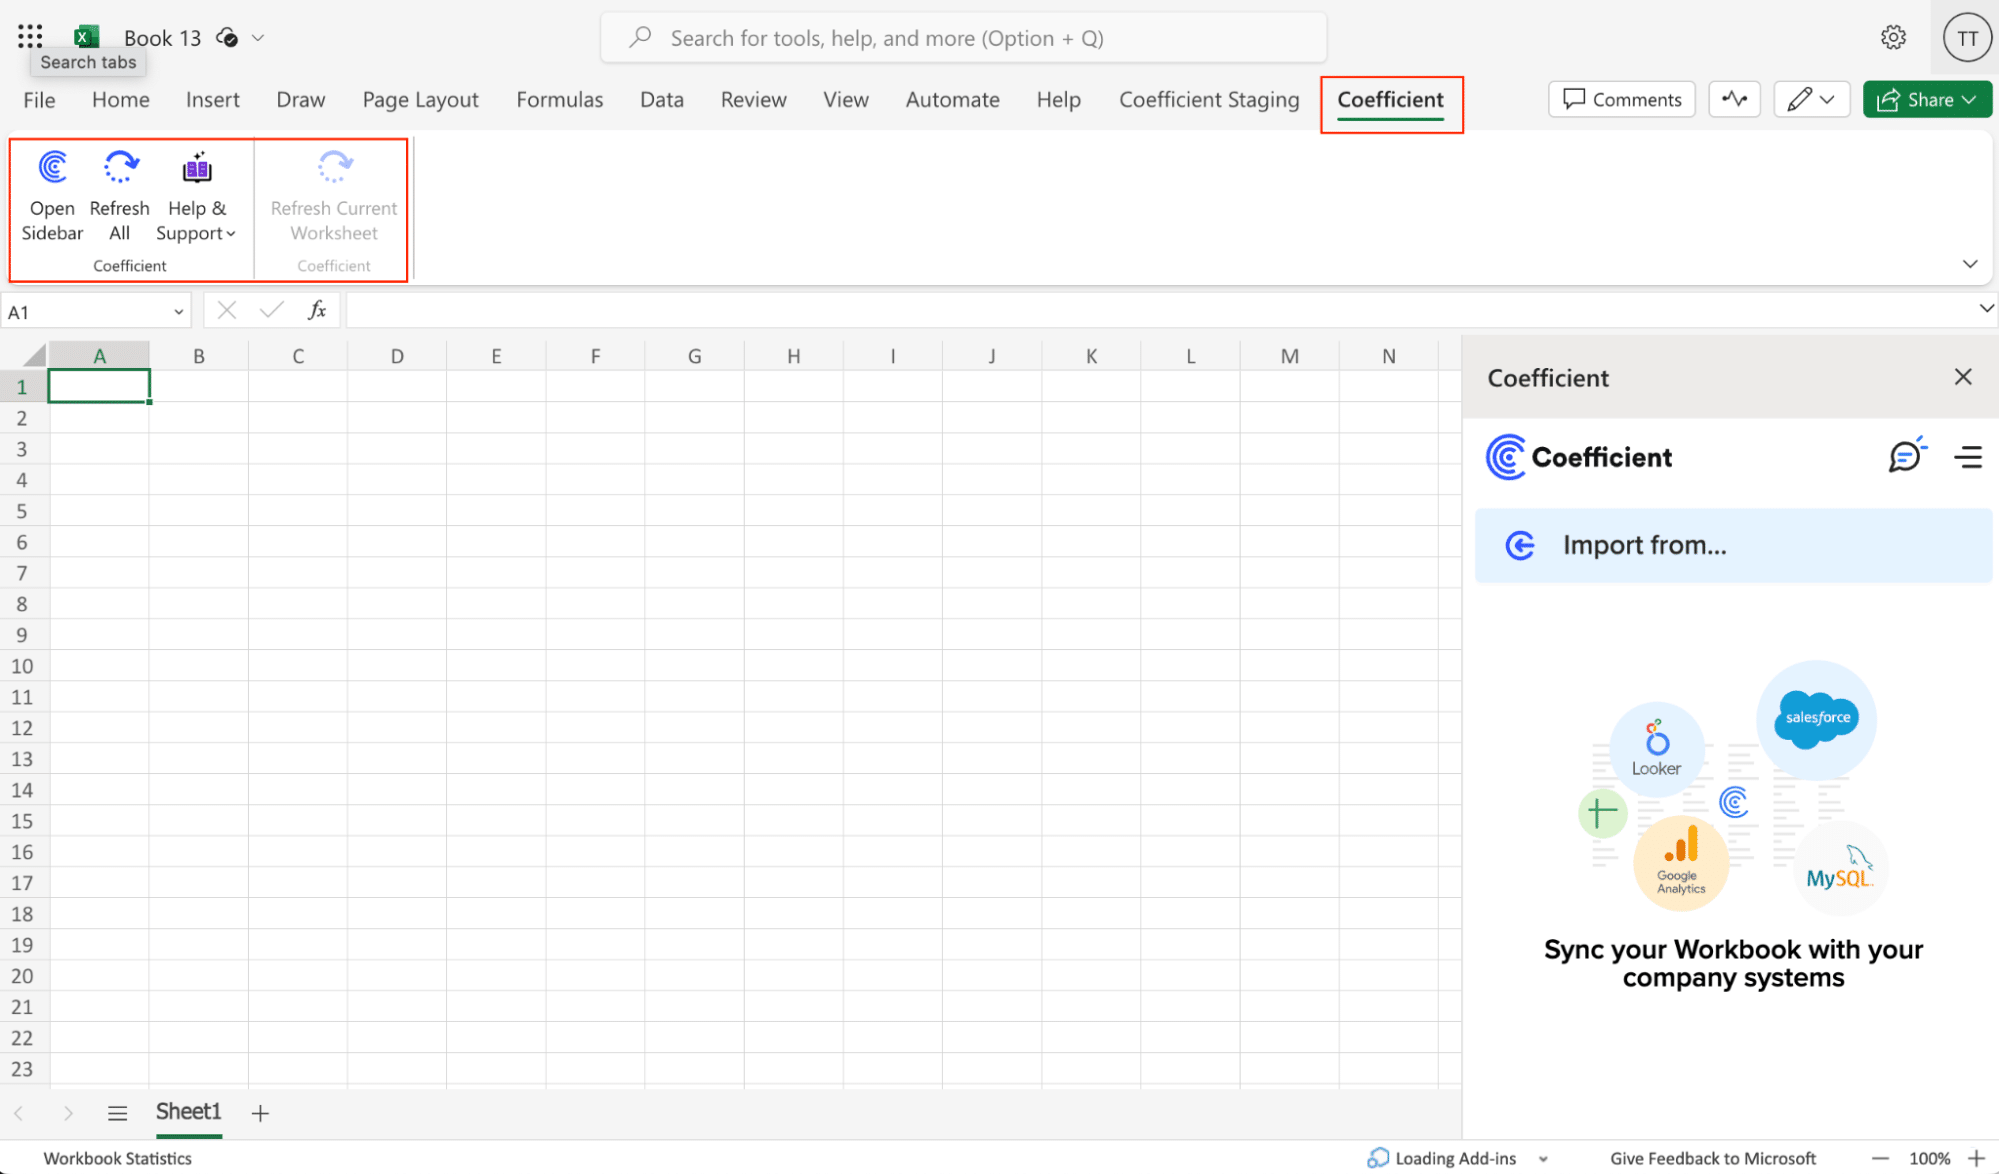
Once finished, you will see a “Coefficient” tab at the top navigation bar.
Click ‘Open Sidebar’ to launch Coefficient.
Step 2: Connect Harvest as a Data Source in Coefficient
With Coefficient installed, you’re now ready to import your Harvest data into Excel. Let’s walk through the process step by step:
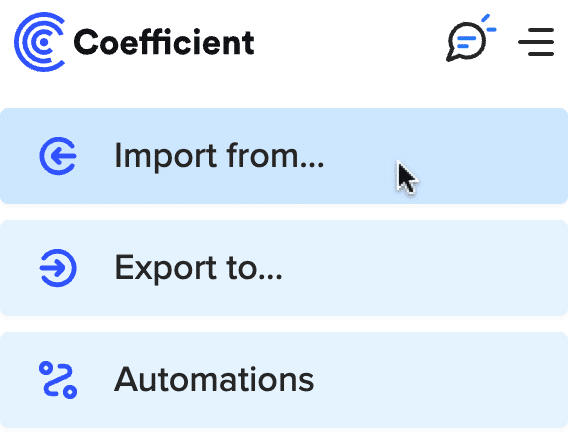
Click ‘Import from…’ from the Coefficient menu.
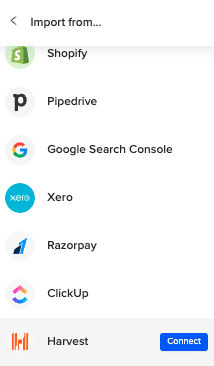
Navigate down the menu to find Harvest. Click ‘Connect.’
Follow the prompts to authorize Coefficient to access your data.

Now you’re ready to import your data!
Step 3: Fetch Harvest Data
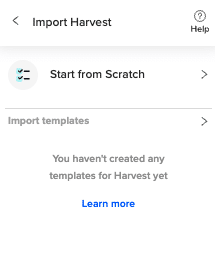
Select ‘Start from Scratch.’
Review the list of objects you can import into Coefficient in the Preview menu (e.g. Clients, Expenses, Invoices, or Reports.
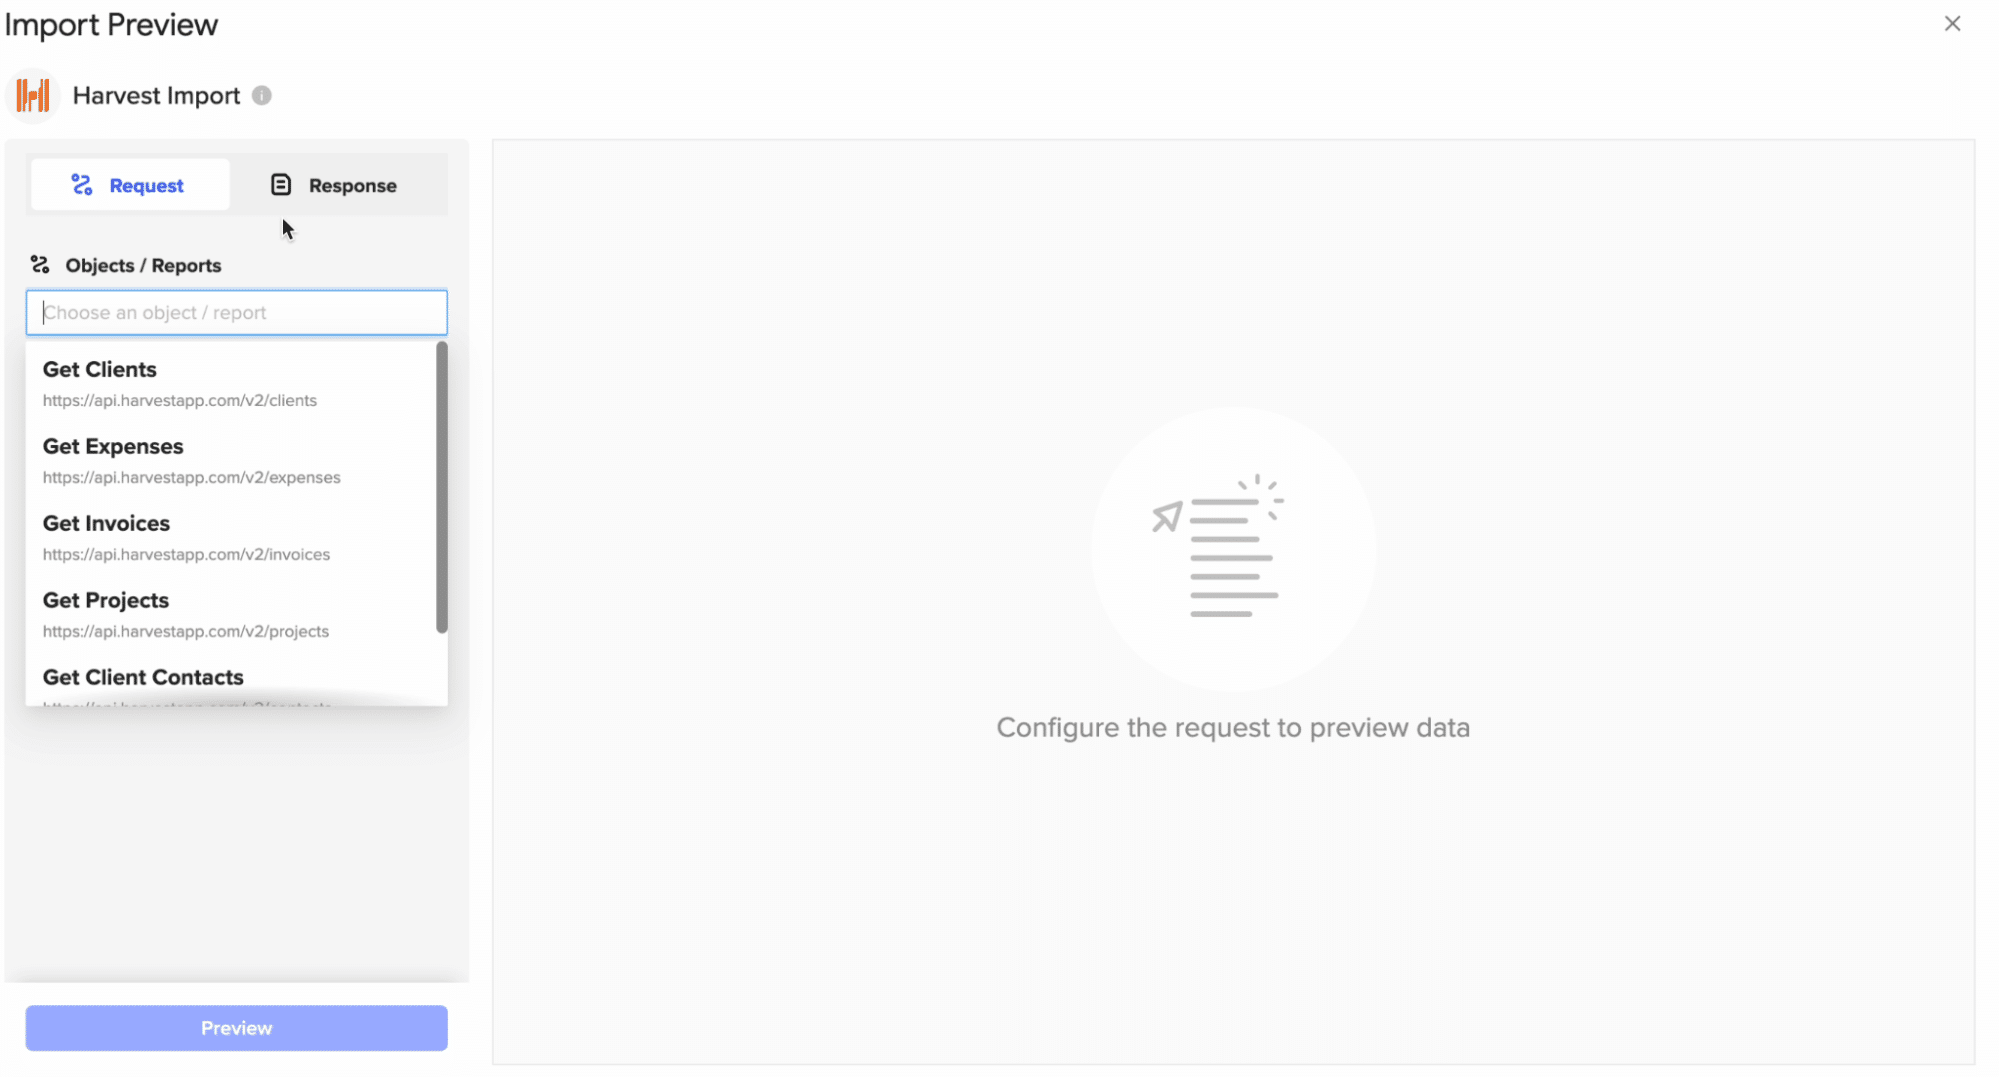
In this example, we’ll fetch Clients. Choose ‘Get Clients‘ to continue.
Customize your import by toggling fields in the left-hand menu. When finished, click ‘Import.’
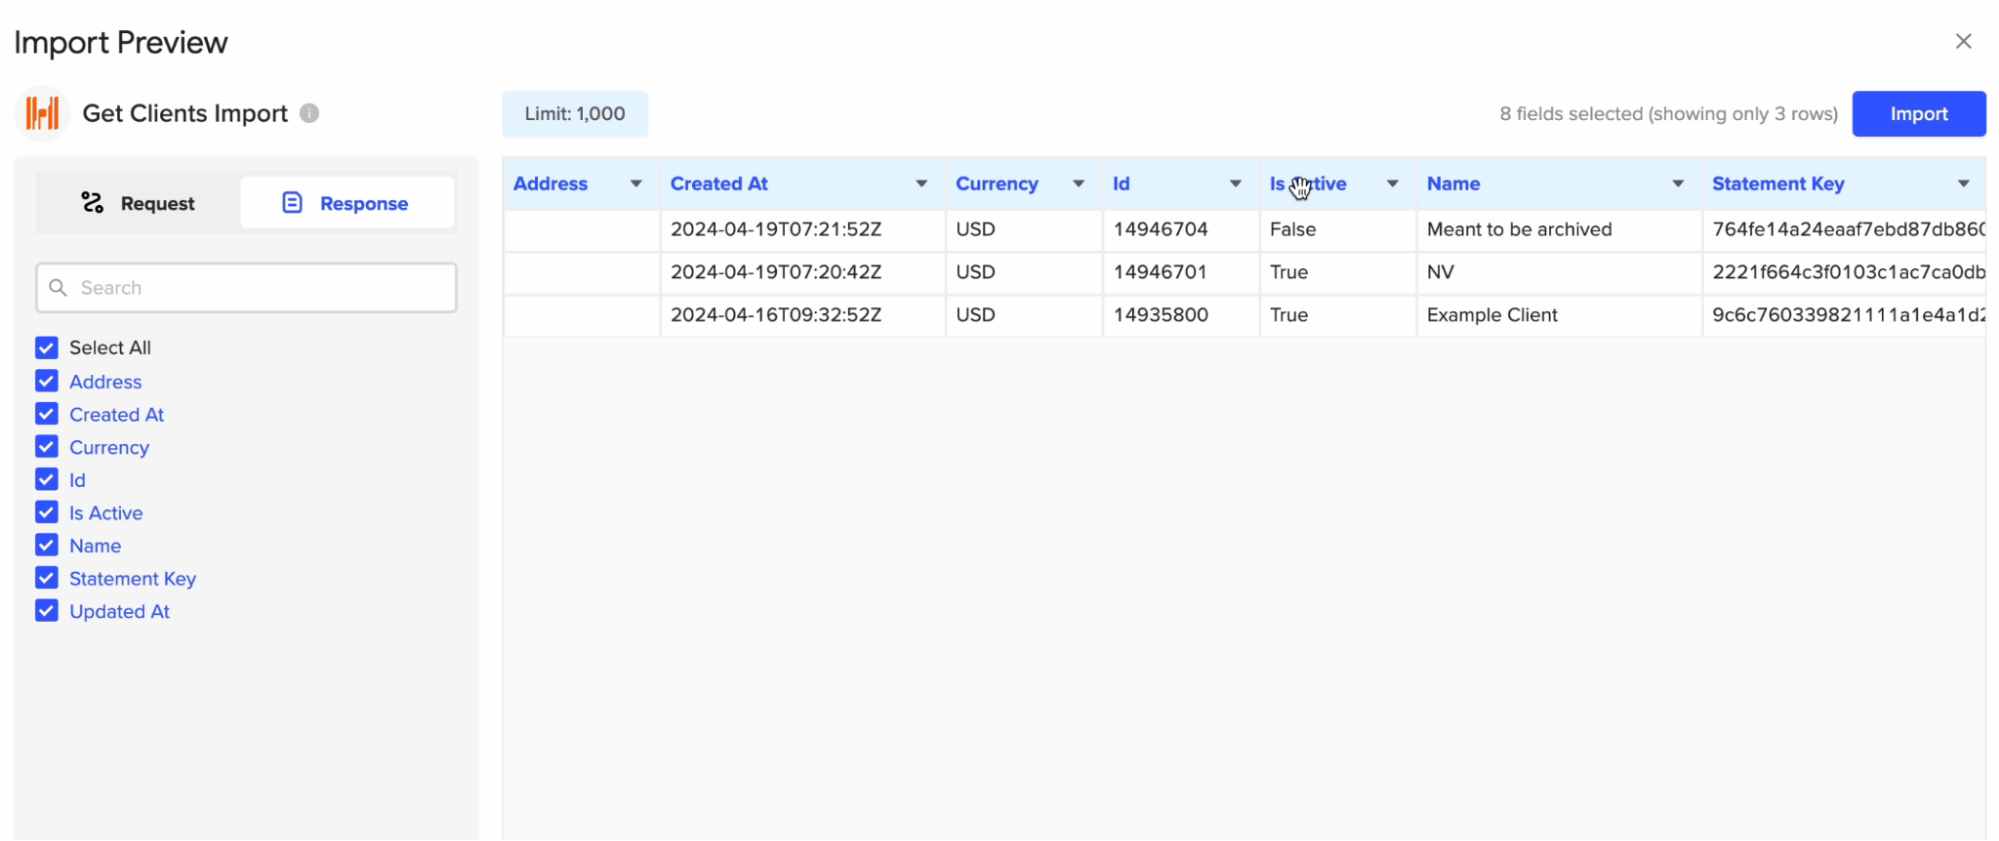
Coefficient will automatically push the data to your spreadsheet!
Tips and Tricks: Analyzing Harvest Data in Excel
- Create Interactive Dashboards: Use Excel’s built-in charts and formatting options or Coefficient’s pre-built templates to build interactive dashboards that provide a clear overview of your Harvest data.
- Automate Data Updates: Set up automatic data refreshes in Coefficient to keep your Harvest data in Excel always up-to-date, ensuring that your analyses and reports are based on the most current information.
- Set Up Alert Notifications: Configure Coefficient to send alert notifications to Slack or email when specific conditions are met, such as when a project exceeds its budgeted hours. This will help you stay on top of critical issues without constantly monitoring your sheets.
Connect Harvest to Excel in Seconds with Coefficient
Connecting Harvest to Microsoft Excel using Coefficient streamlines the process of importing and analyzing your time tracking, project, and expense data.
By following this step-by-step tutorial, you can easily fetch your Harvest clients, expenses, invoices, and reports into an Excel workbook, allowing you to leverage the power of Excel for custom reporting, data analysis, and visualization.
Get started with Coefficient today to supercharge your Harvest data management and take your project management to new heights.